Rockinghorse Ridge
Rockinghorse Ridge is a smaller section of the main spine of the Gore Range connecting the 12,965′ Peak P and its taller 13,041′ neighbor, West Partner Peak. The difficulties of the ridge are probably no more than a half mile in length, but what it lacks in length it more than makes up for in quality scrambling in the heart of the Gore Range. It is one of the classic ridges of the Gores and gets its name from a large tower along its ridge crest dubbed The Rocking Horse. A few years ago in July of 2012, our little crew consisting of myself, J, Baba, & Chuck descended towards Upper Piney Lake from the ridge en route to West Partner Peak from Peak P’s summit before the real complexities of Rockinghorse Ridge. This descent was due to several reasons: 1) because it was later in the day and boomers were starting to build, 2) we had no tent, there was a fire ban, and we had bivied in the Upper Piney Basin the night before in the worst mosquitos documented since the Great Gore Mosquito Influx of 1808 (this event is not real – the mosquitos were just pretty horrendous), 3) because we did not have mosquito repellent, and 4) because we did not want to stay out another night with no tent nor mosquito repellent and a fire ban in absolutely terrifying mosquito country. We had climbed Peak H that day, traversed The Saw to Peak J, onto Peak P, and we were en route to West Partner Peak when the decision was made to descend. Needless to say, The Rocking Horse has been always in the back of my mind ever since.
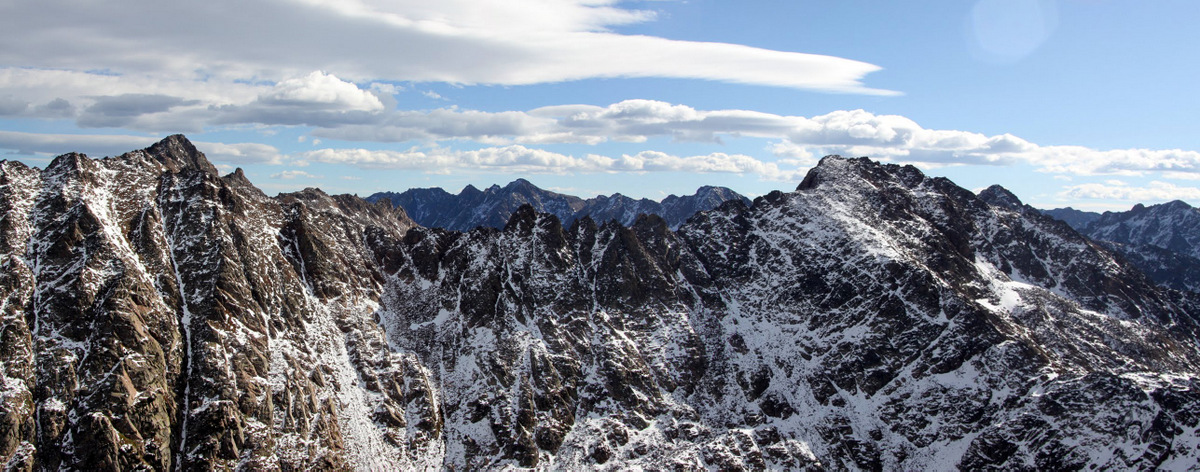
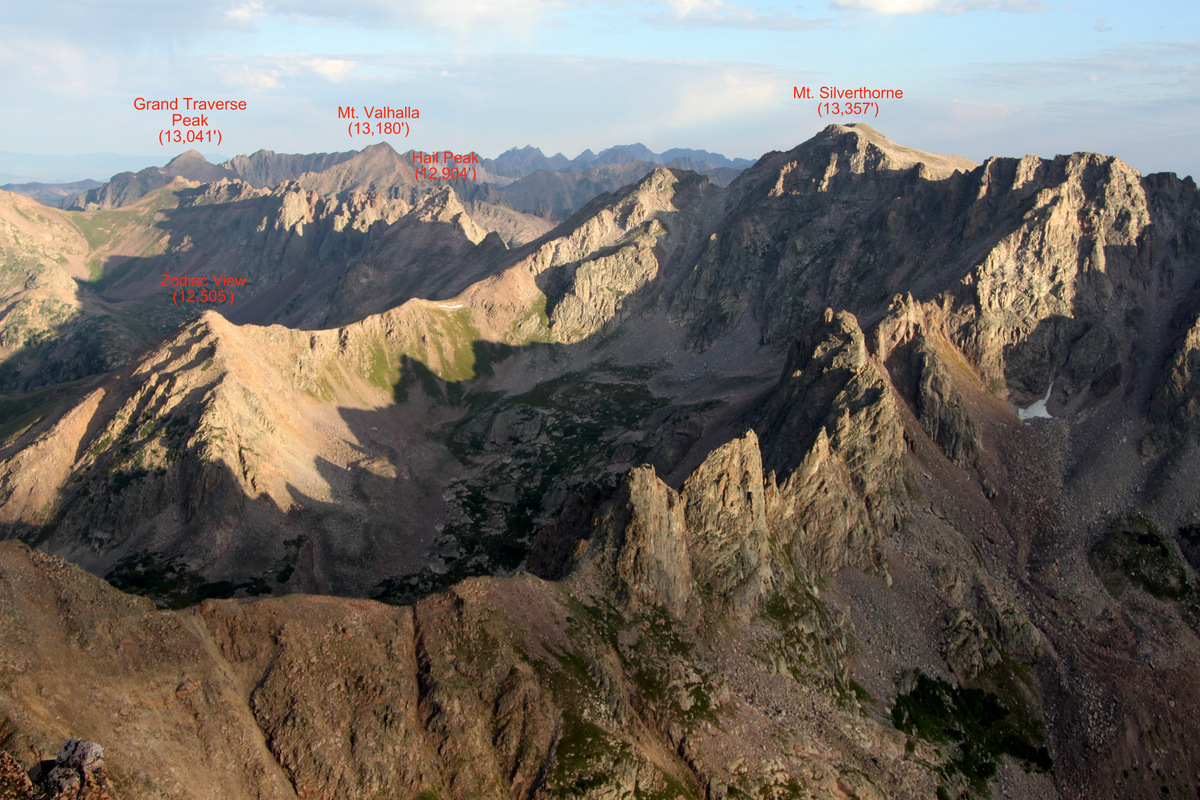
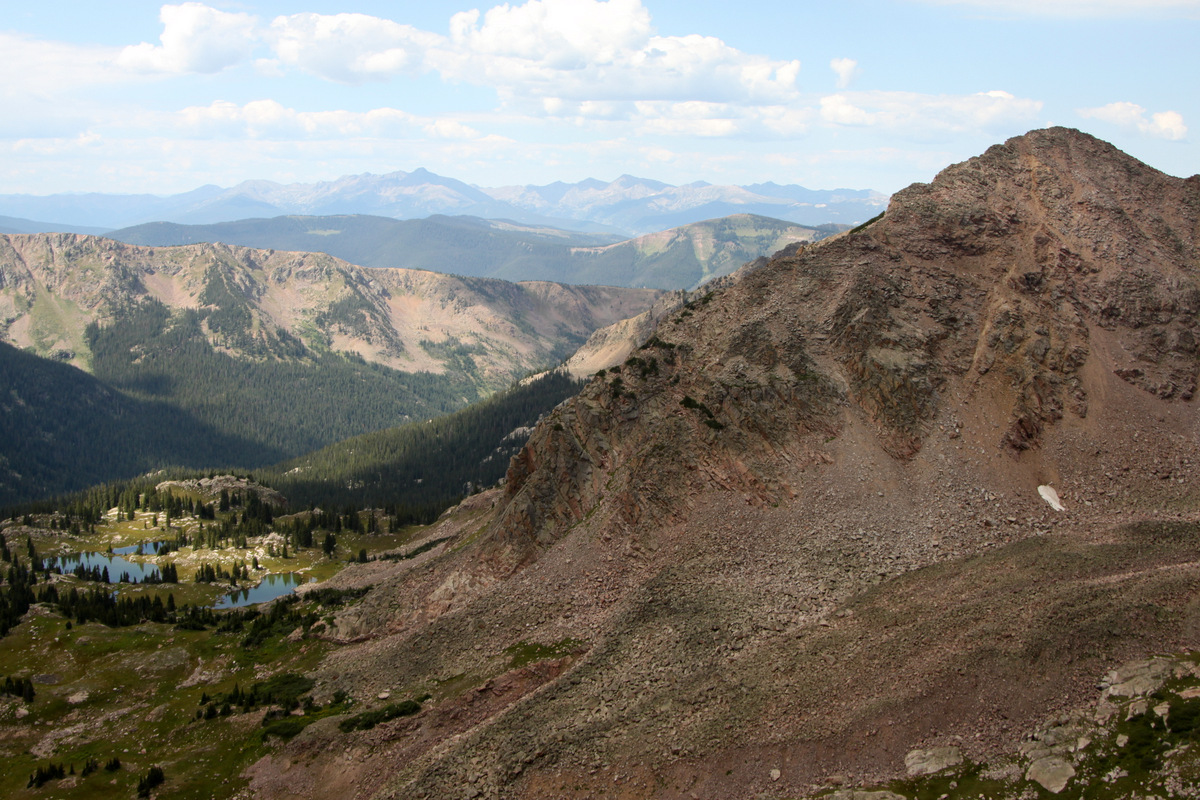
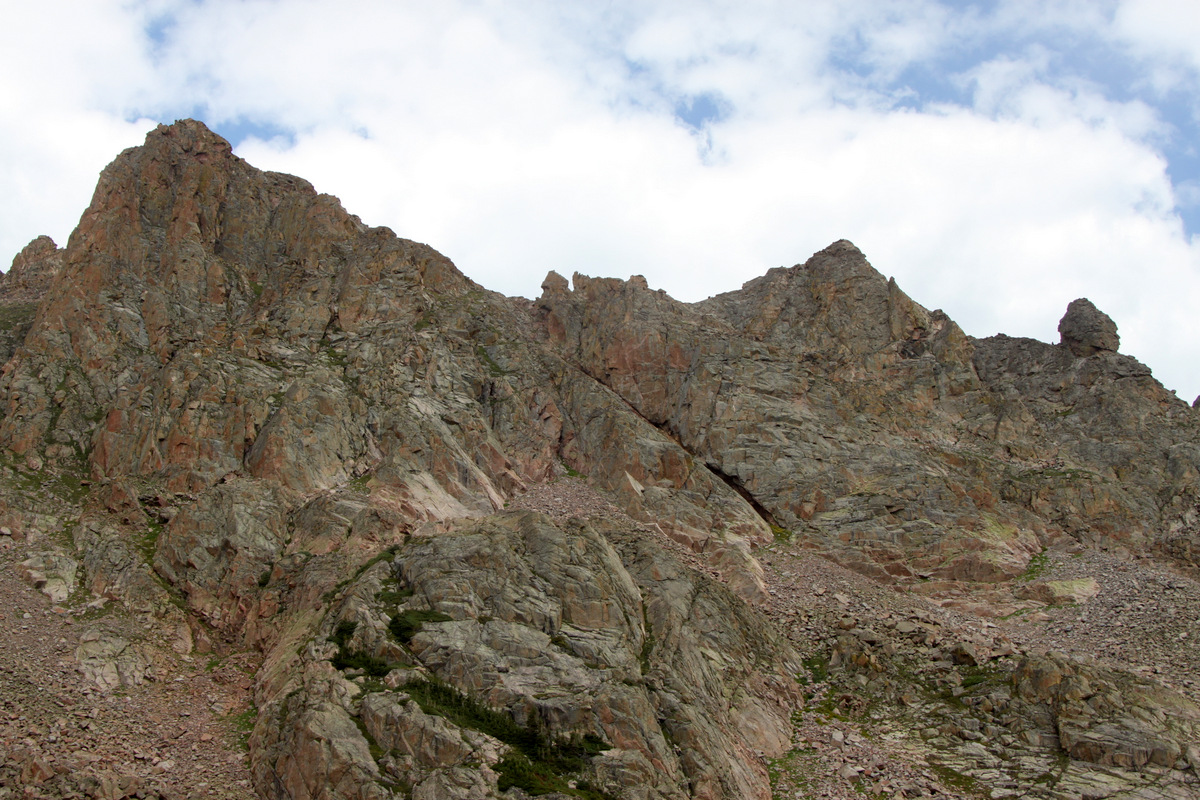
Rockinghorse Ridge connecting Peak P (left) to West Partner Peak (right) as seen from the summit of the Spider (12,692′) in mid-October of 2011 on a climb of the Fly & the Spider from Booth Lake

View northwest of Rockinghorse Ridge and all of our favorite peaks from the summit of East Partner Peak (13,057′) in July of 2012 before one of my Partner Traverse trips
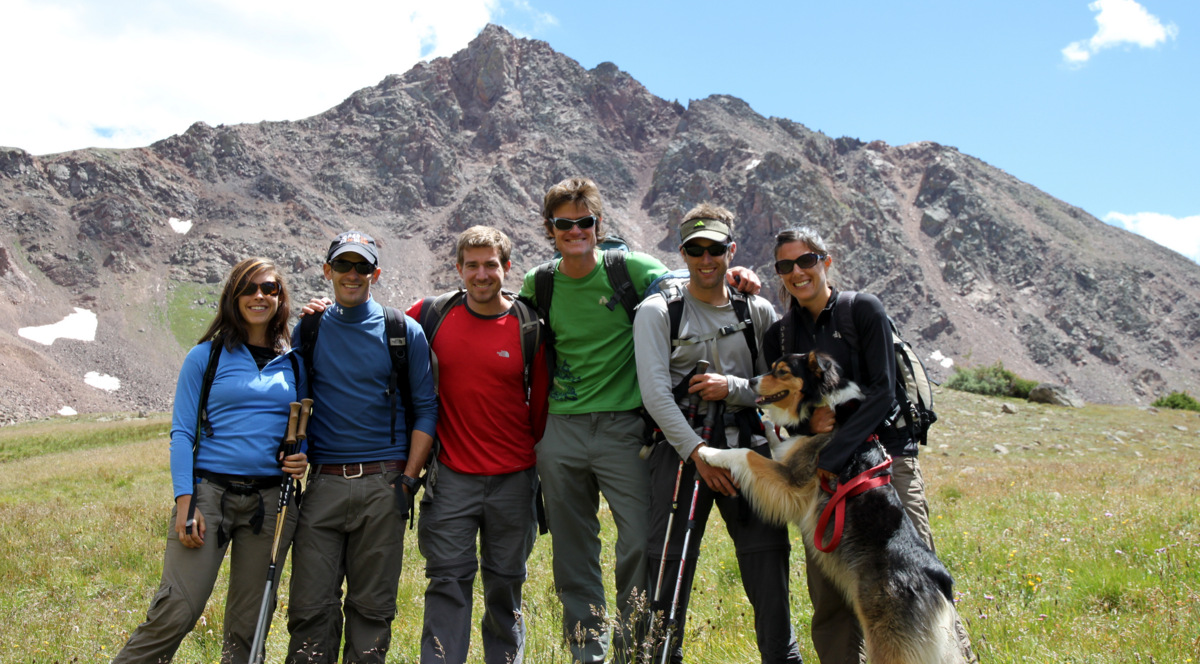
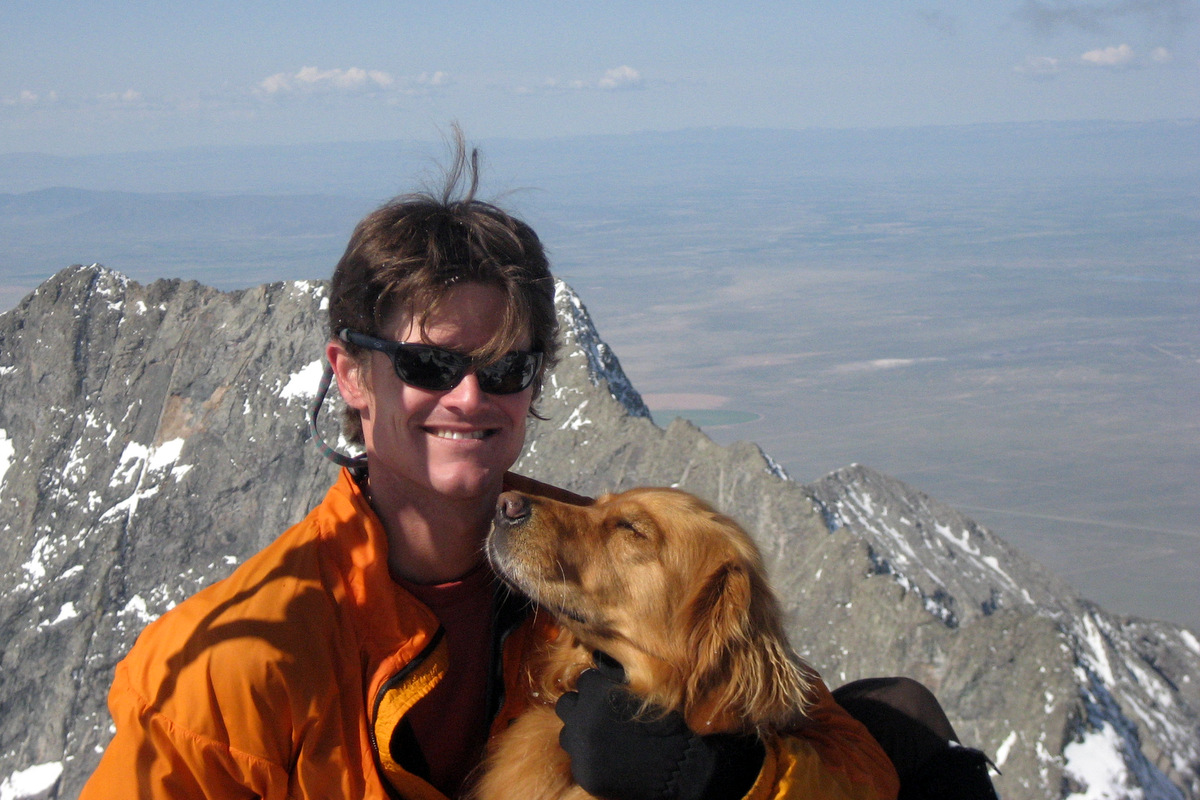
Fast forward to last weekend and I thought Rockinghorse Ridge may make for a nice fall day trip from the Booth trailhead in East Vail. A few usual partners in crime joined me for the ridge including seasoned Gore enthusiast Brian Miller & recent Gore convert Dillon Sarnelli. Friends Jason & Becky Blyth with their golden retriever Taj joined us for the hike in and branched off to climb West Partner Peak via its manageable west ridge from just south of East Booth Pass. It was just perfect fall weather. The Aspen colors were really about in their prime and the Booth trail is always a nice hike. We got hiking around 6:30am or so and leisurely took our time chatting and catching up with one another. The plan was fairly simple: head up to East Booth Pass, descend/traverse over to a point below the Rockinghorse Ridge saddle, climb up to the ridge, summit Peak P, traverse Rockinghorse Ridge to West Partner Peak’s summit, and then continue south along the ridge over to Outpost Peak’s summit. Outpost was a requirement for Mr. Miller (and me too) as this low 12er is one of the few Gore peaks we have yet to top out on. Unfortunately, with the late day storms rolling in and thunder very close by, we chose to descend before tagging its summit. Nevertheless, Outpost’s northeast bowl will be a great spring ski for which we have already started game planning.
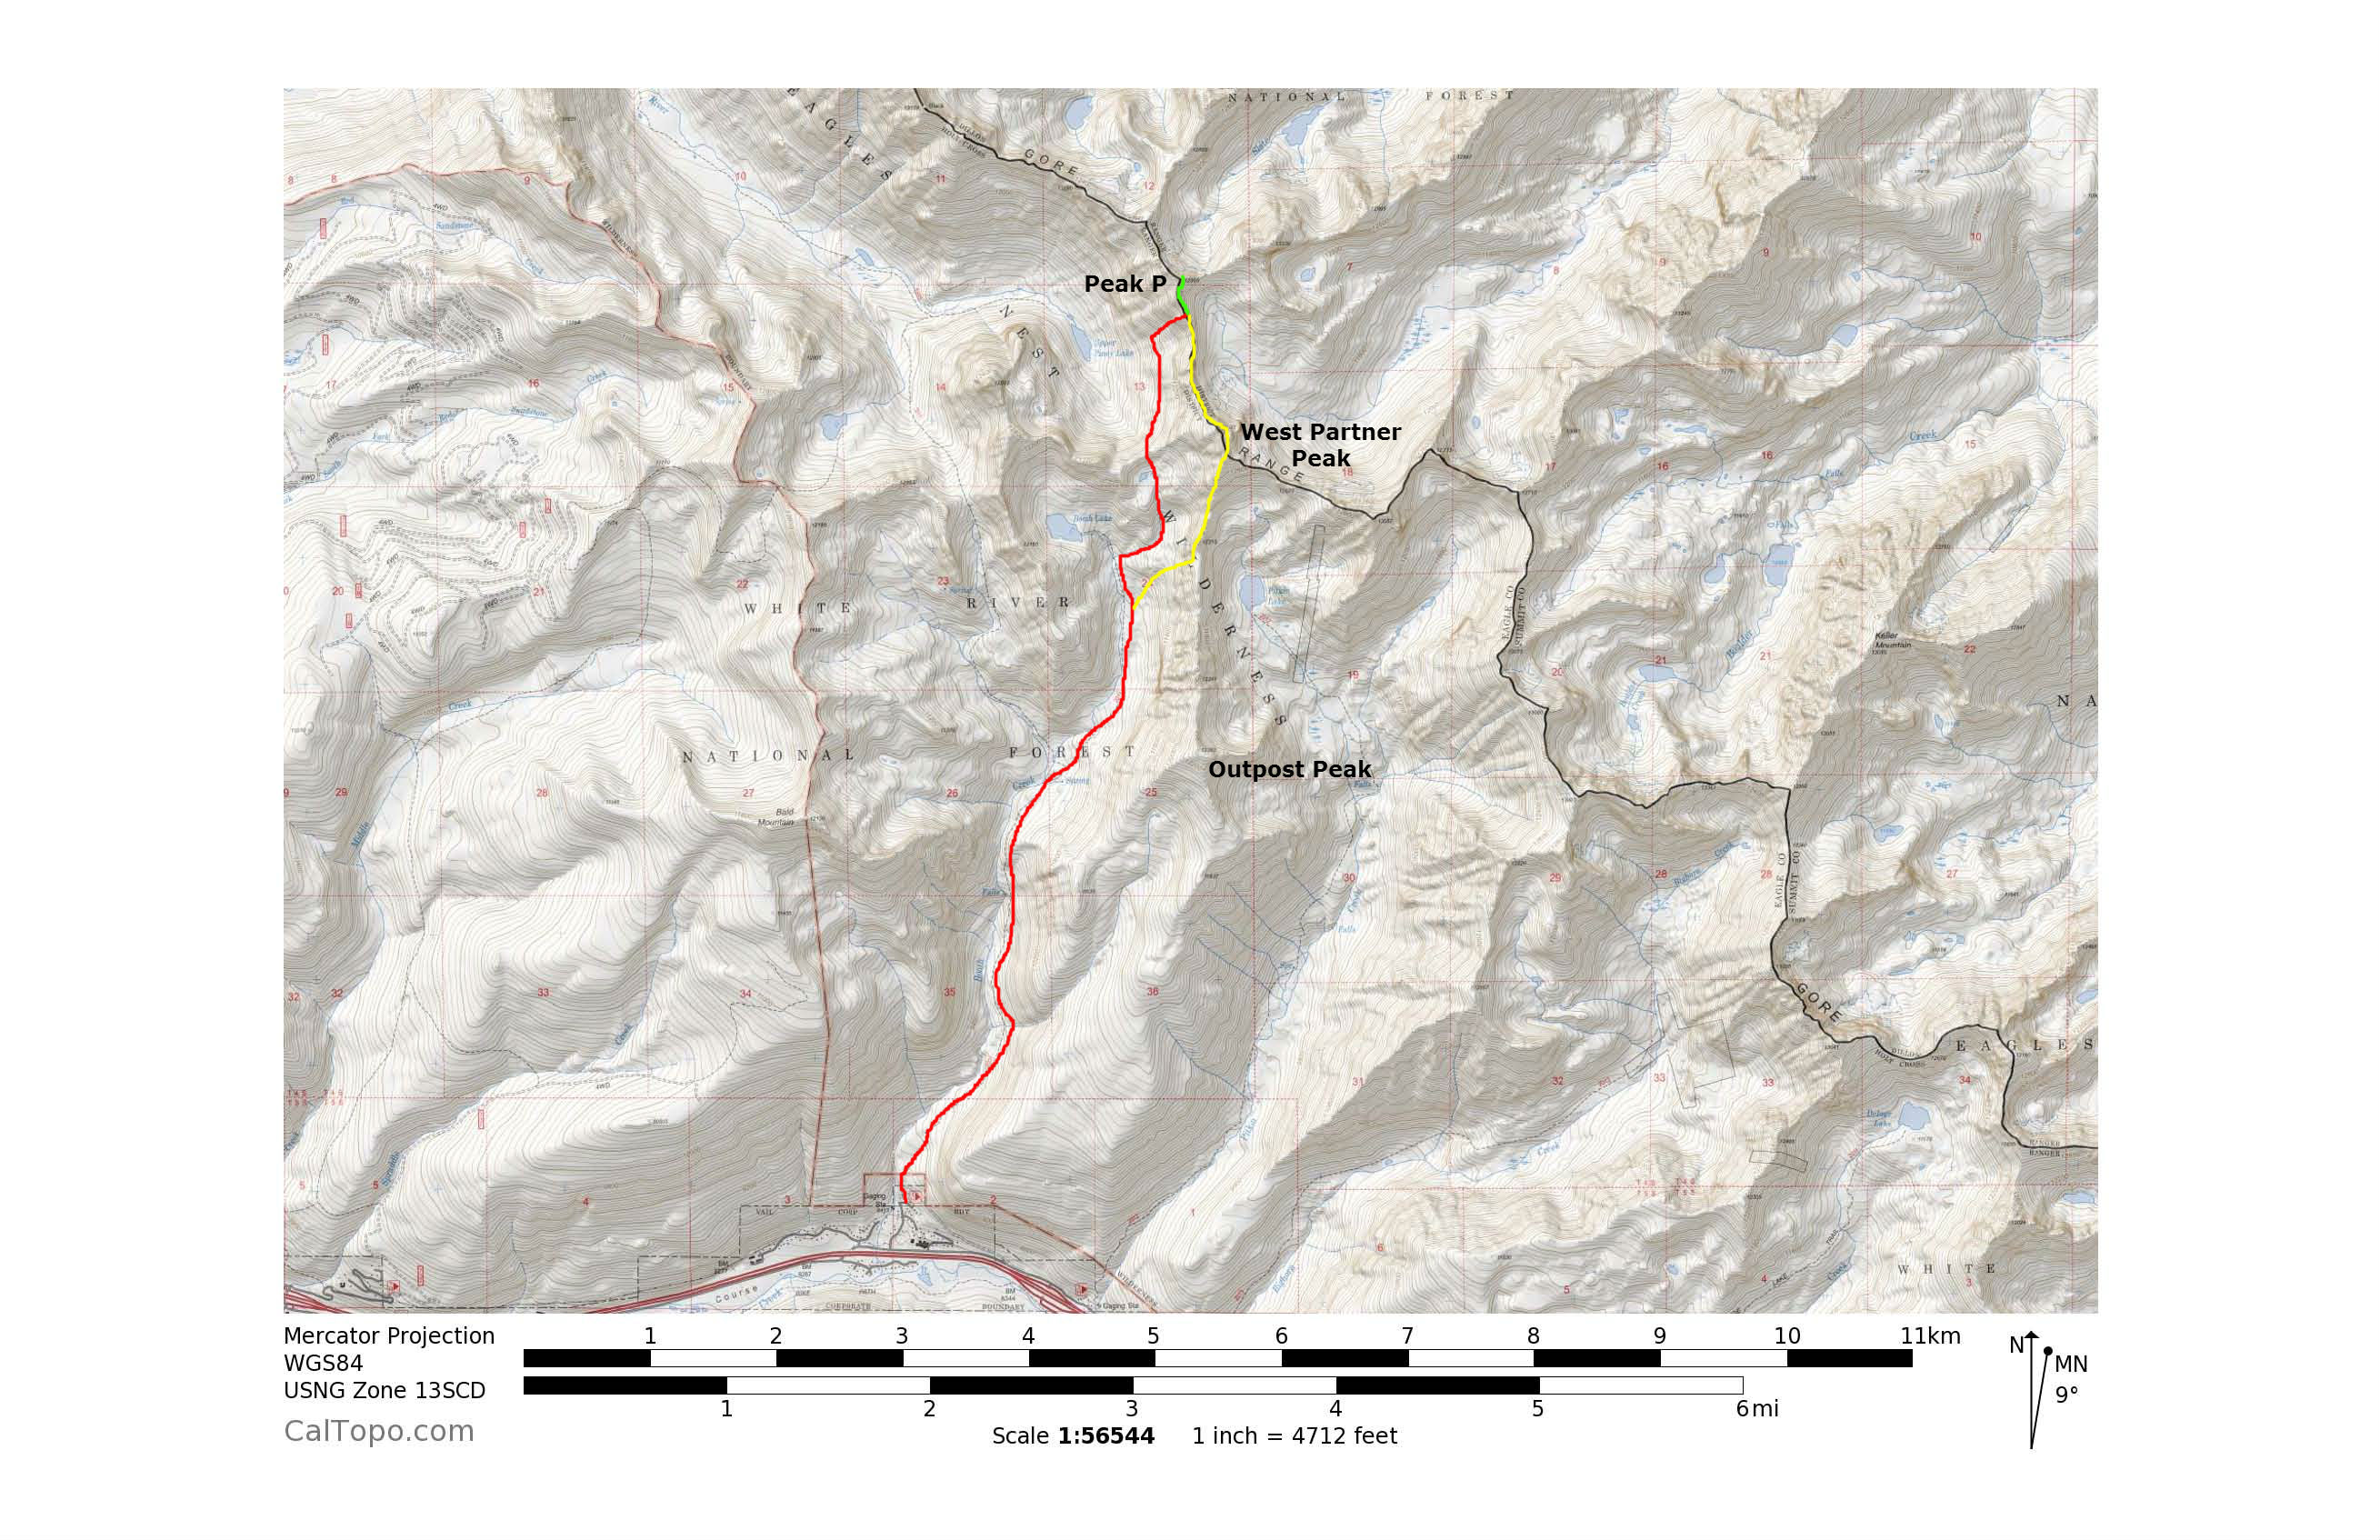
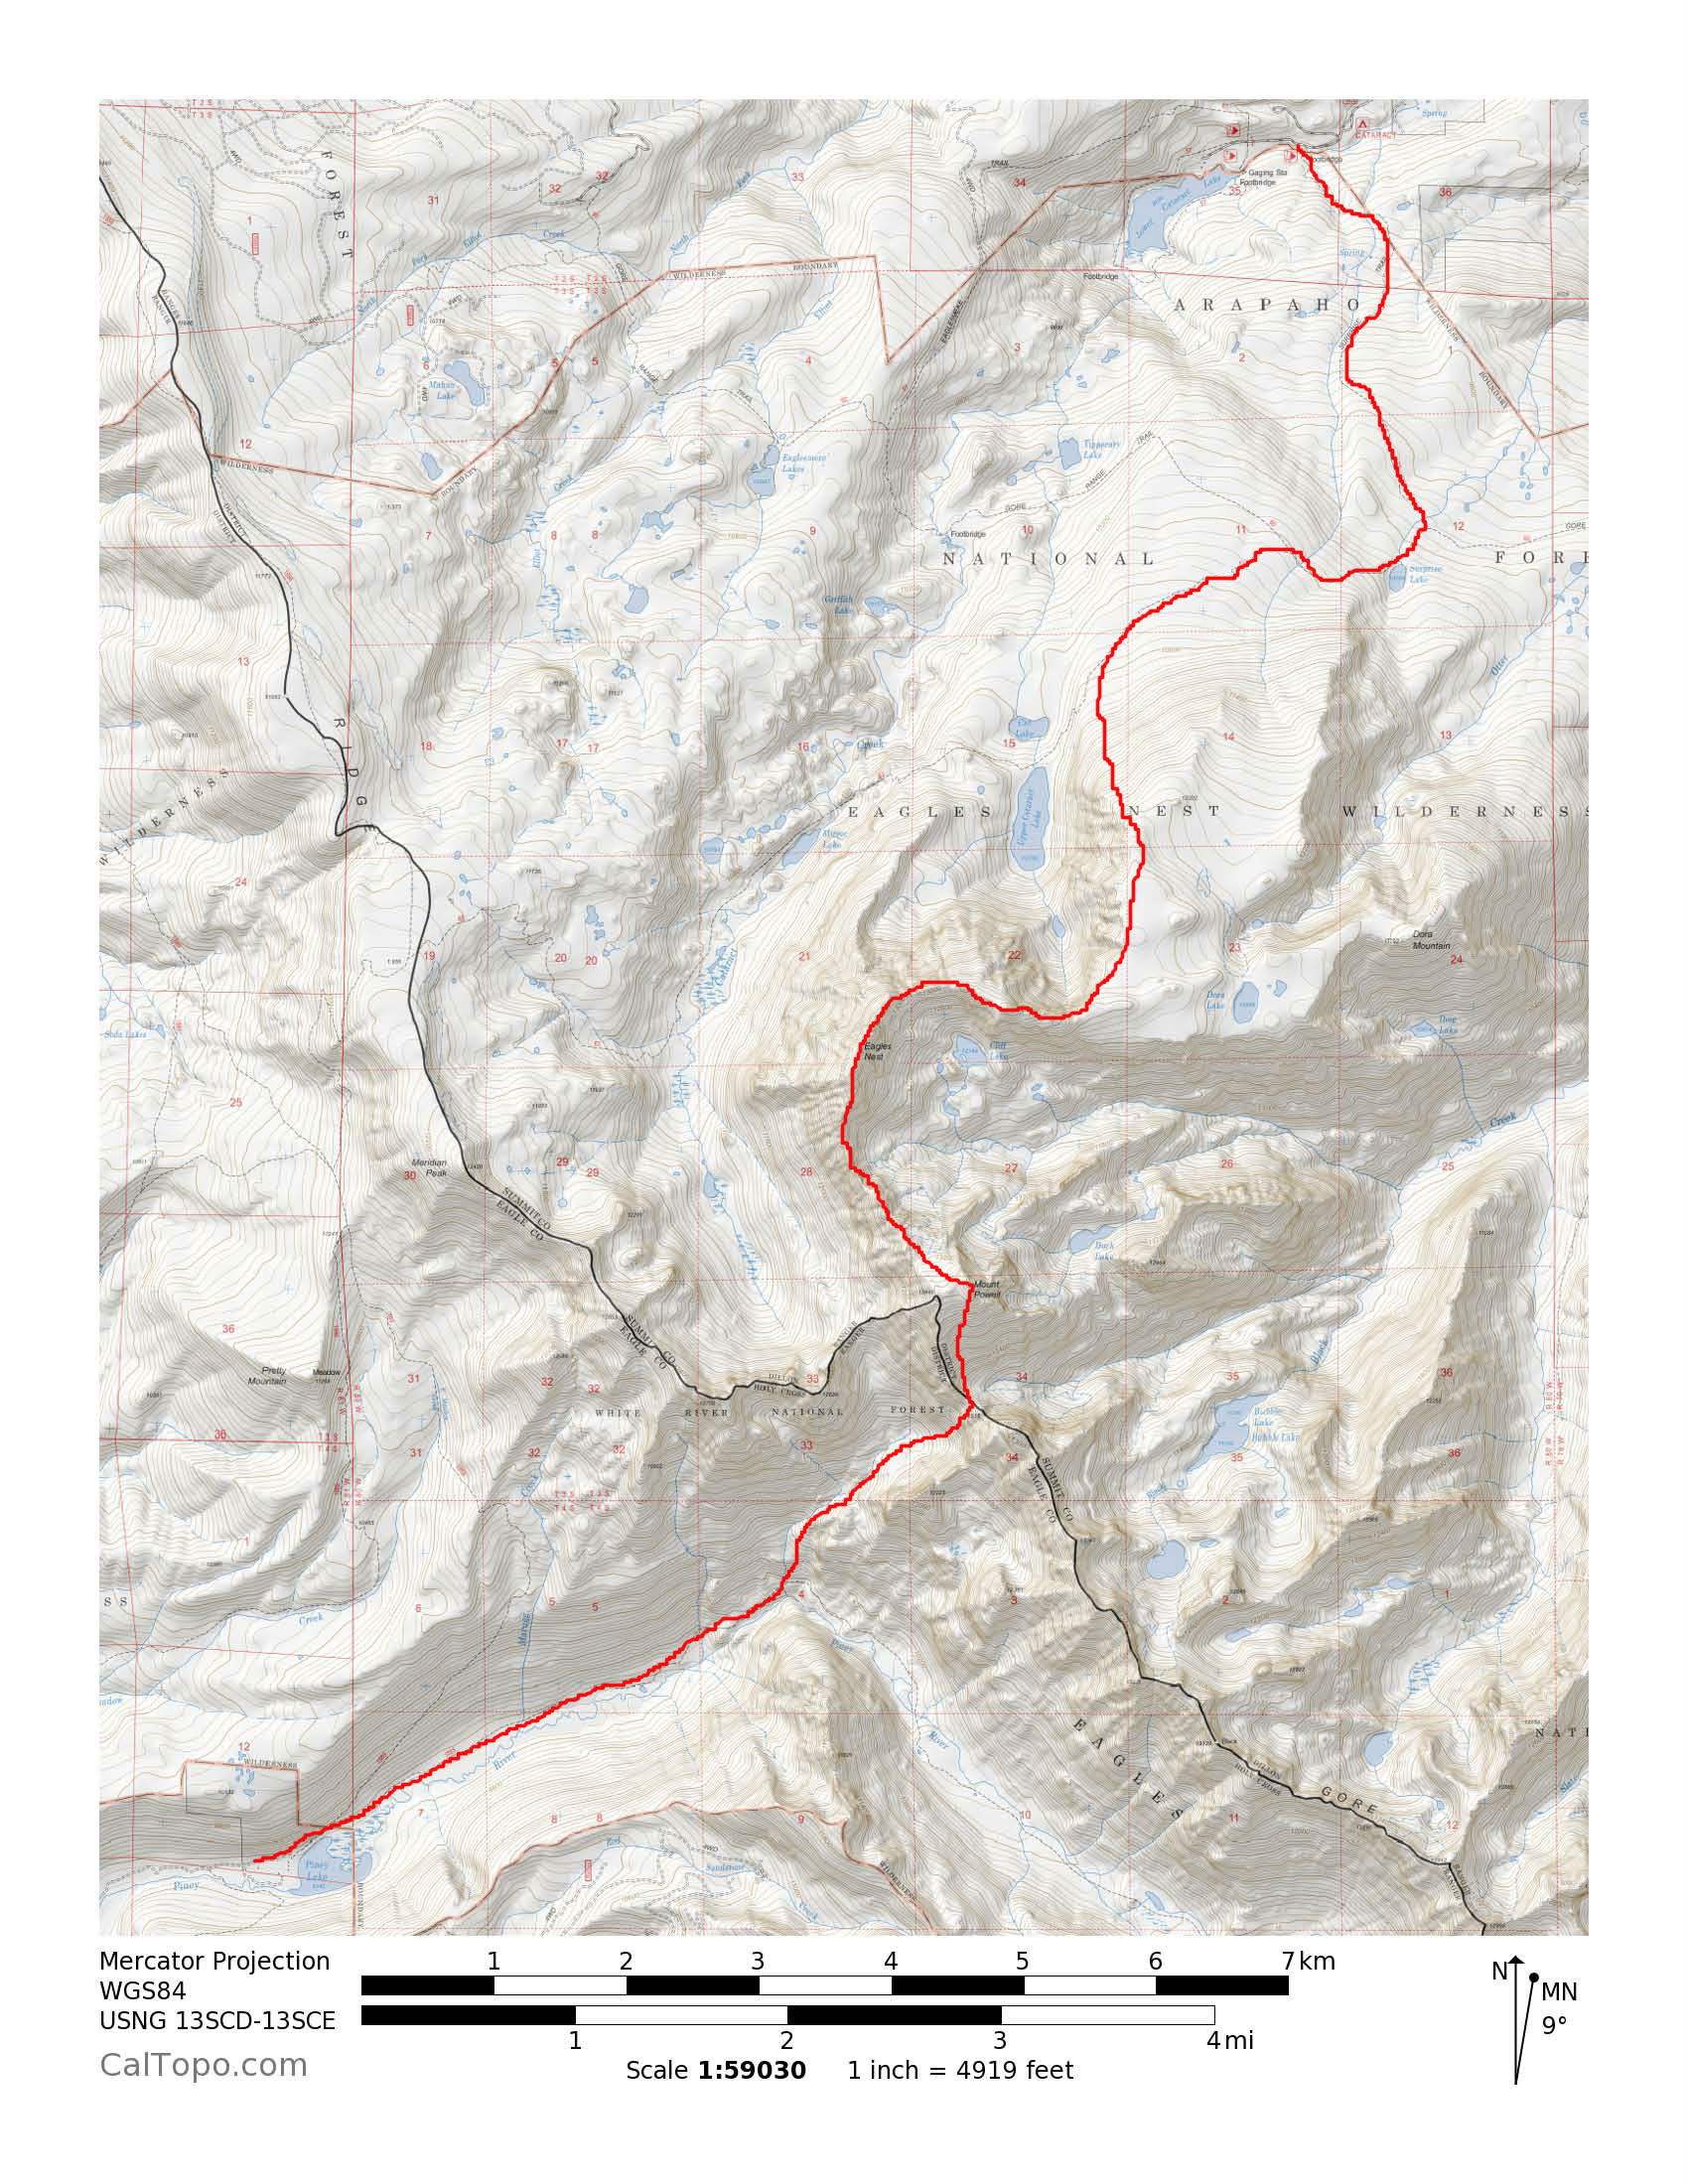
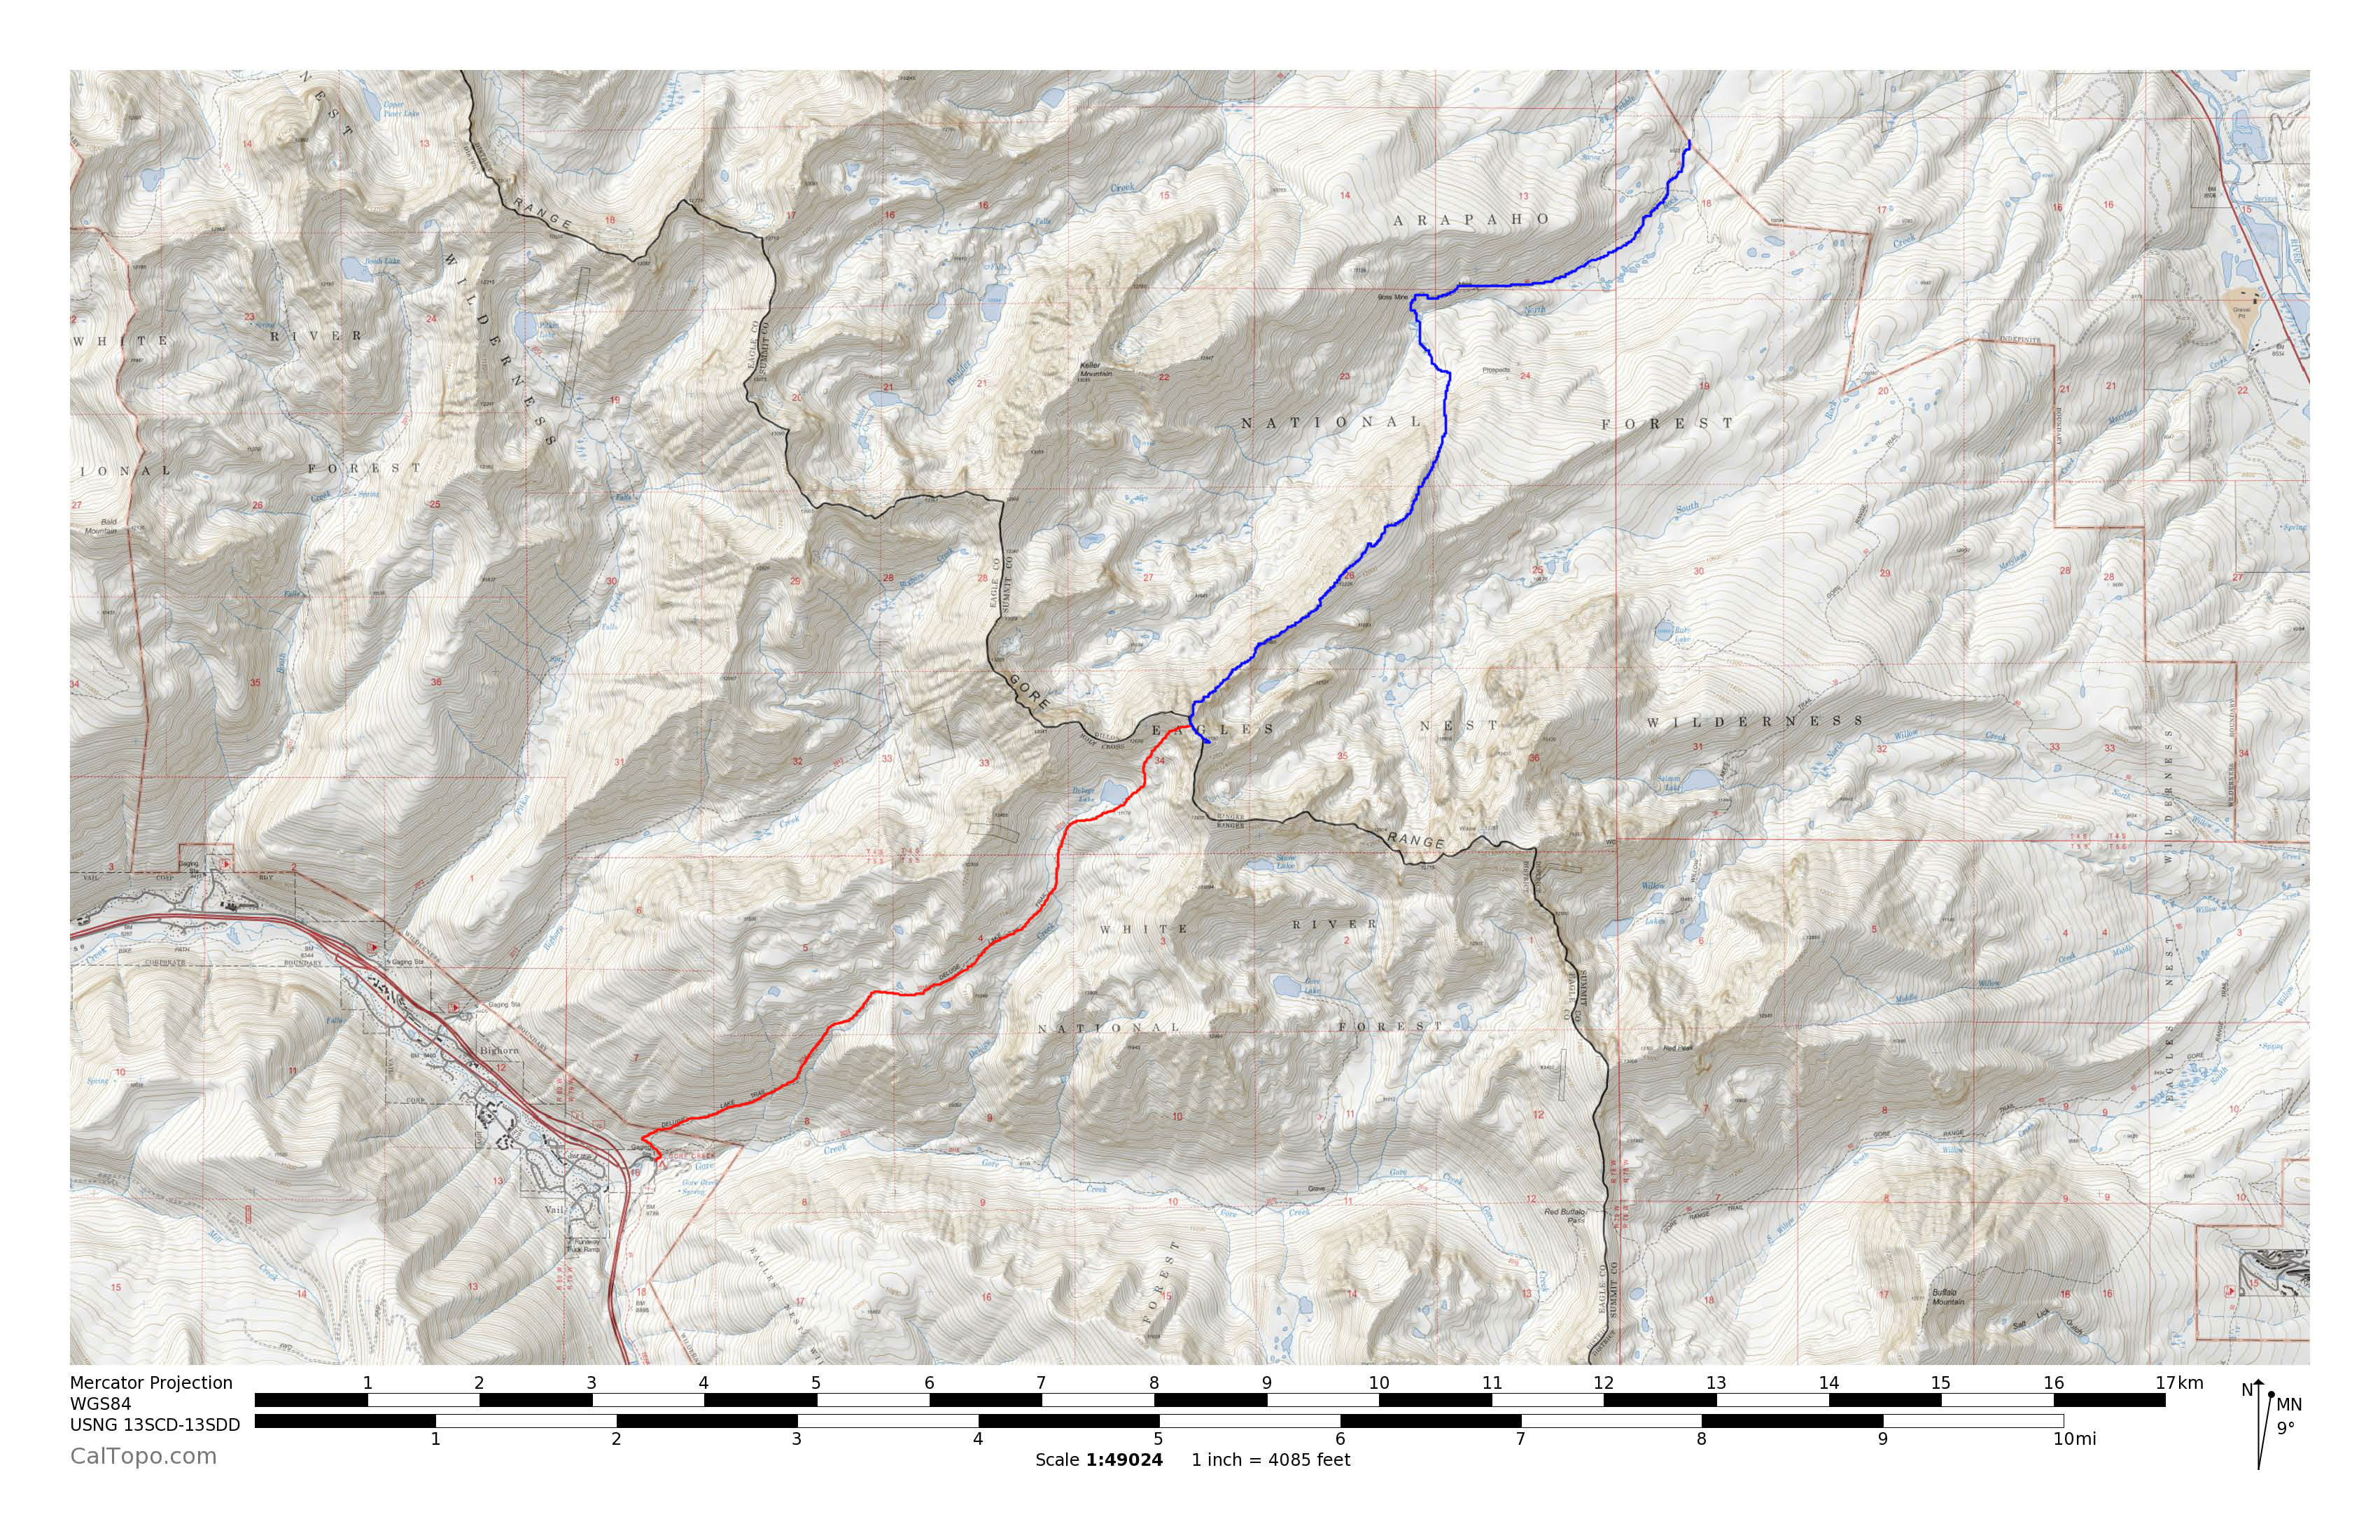
Our Rockinghorse Ridge loop from the Booth drainage. Red is the approach up and over East Booth Pass and traverse to Rockinghorse Ridge. Green is the quick trip up to Peak P. Yellow is Rockinghorse Ridge and West Partner Peak’s south ridge.
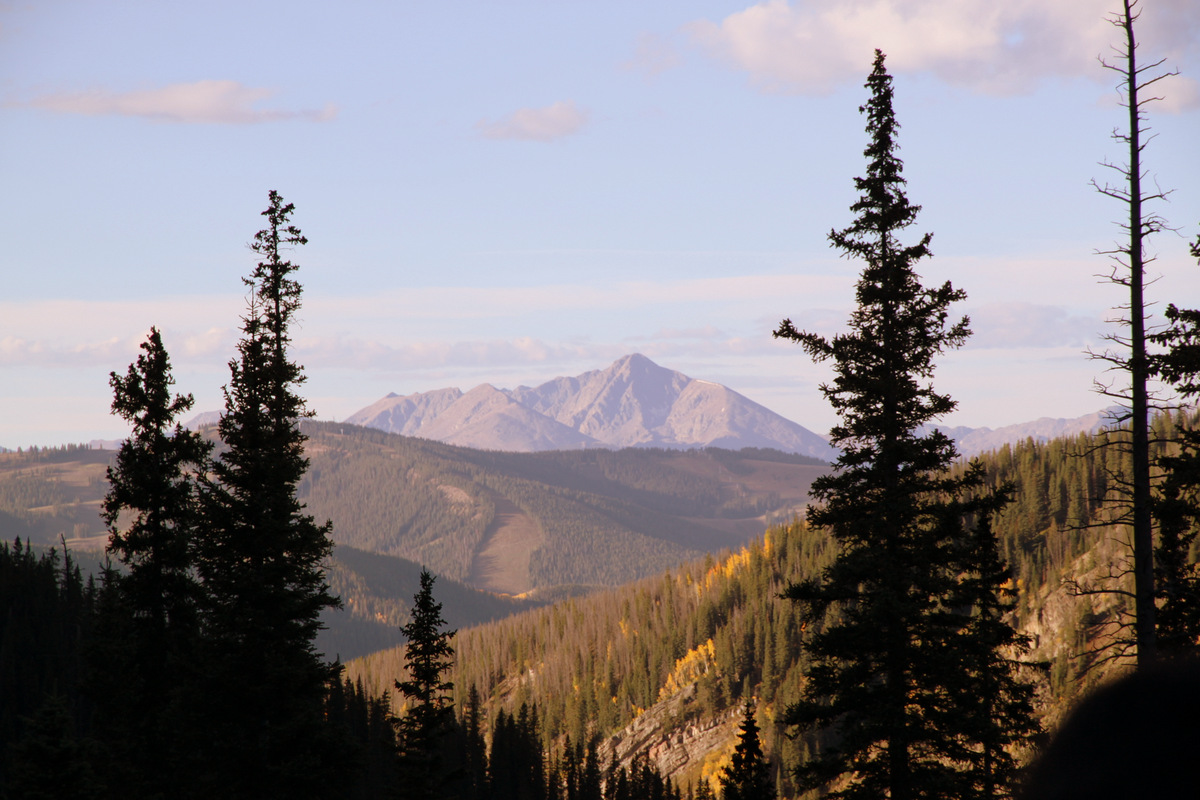
Mt. of the Holy Cross from the Booth trail
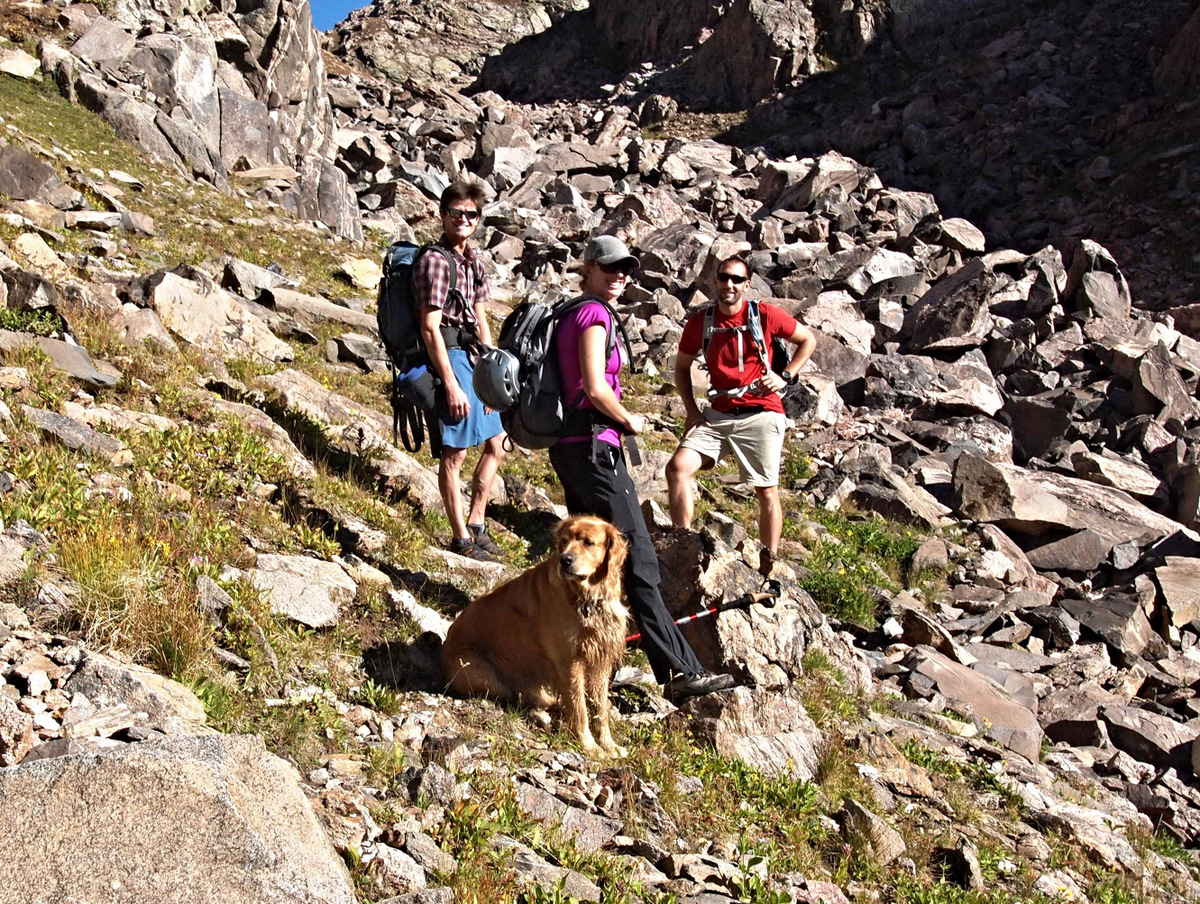
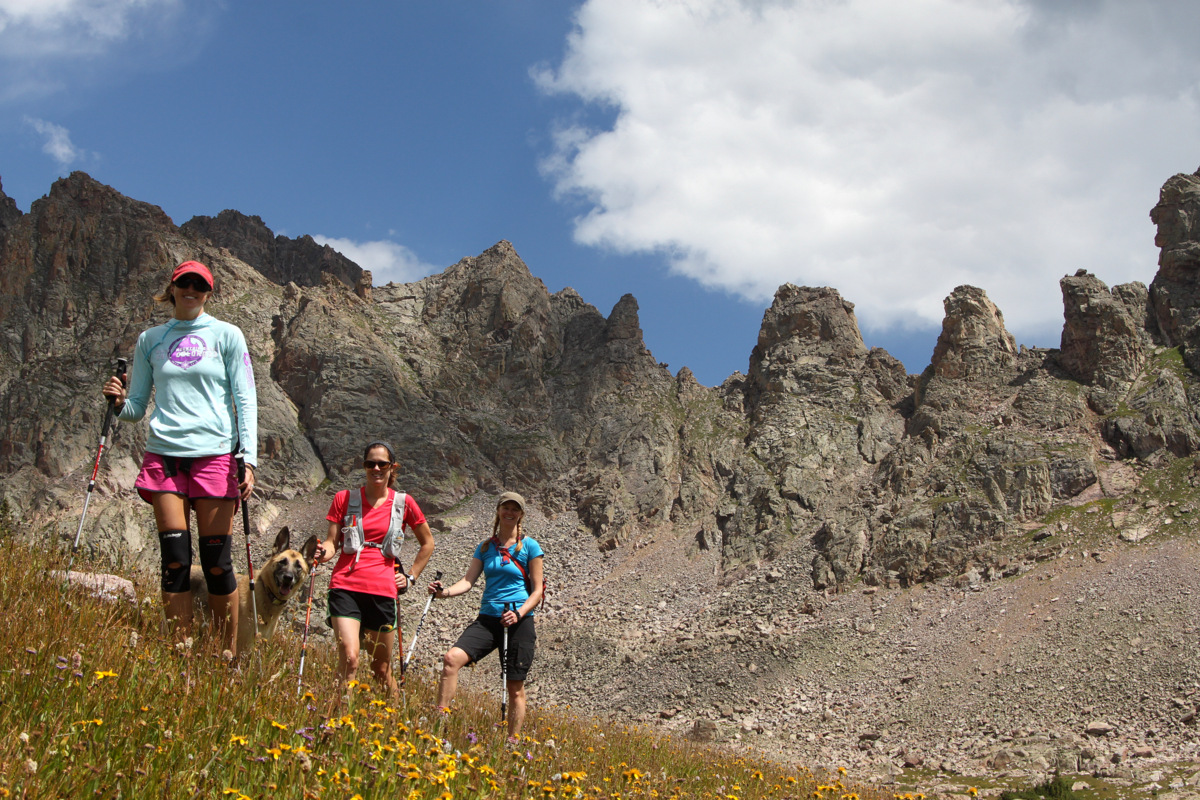
All the Blyths & myself en route to East Booth Pass. Photo by Dillon
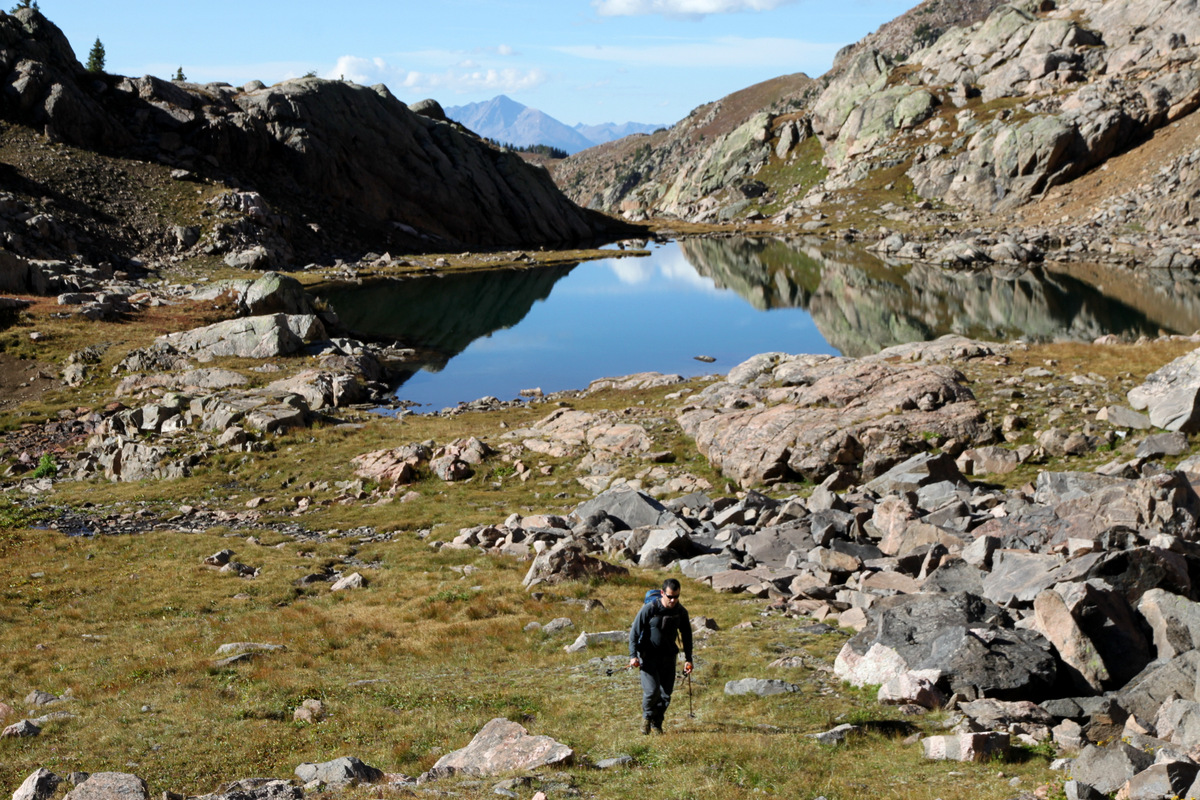
Brian and the beautiful secluded lake just south of East Booth Pass
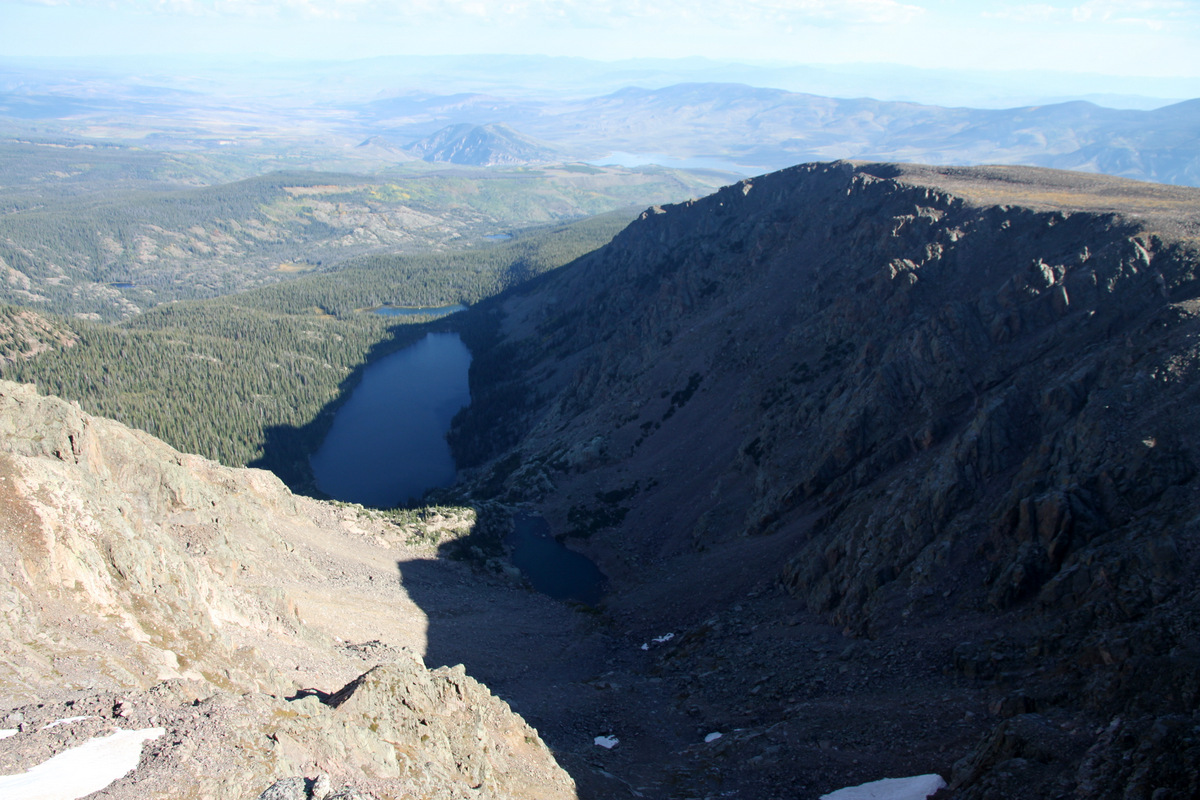
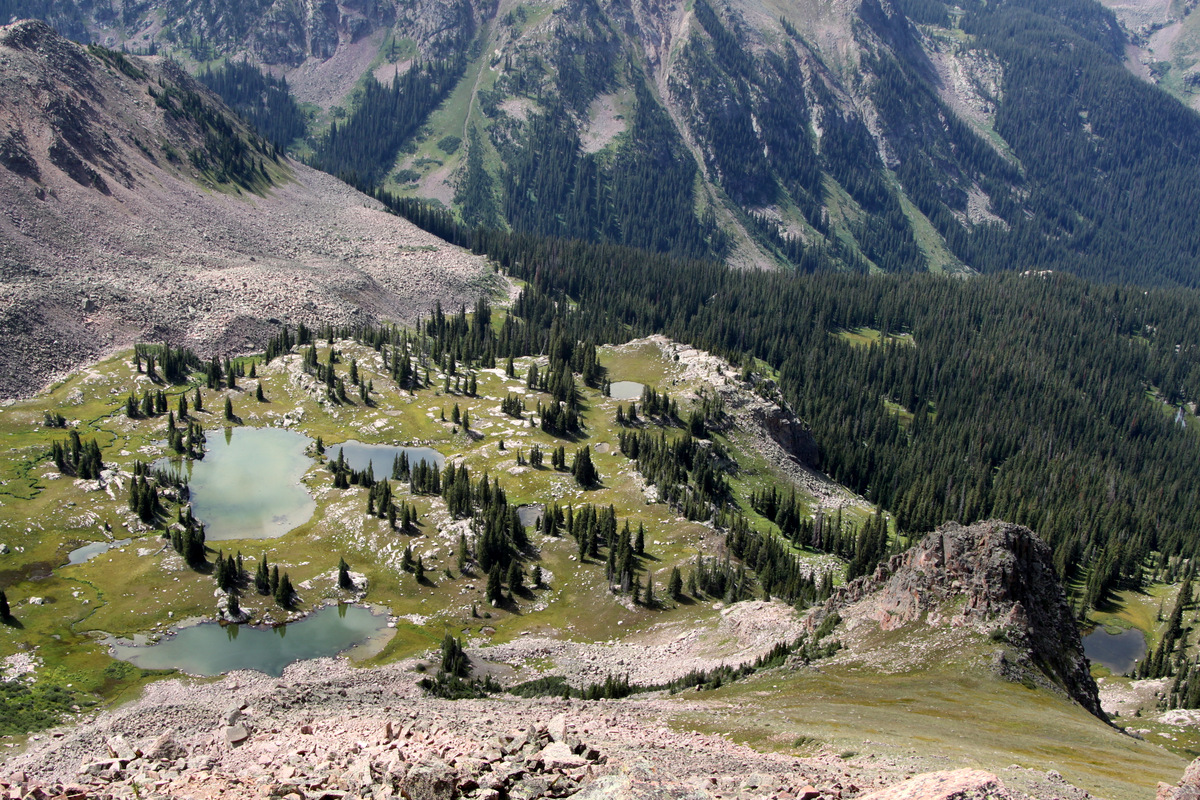
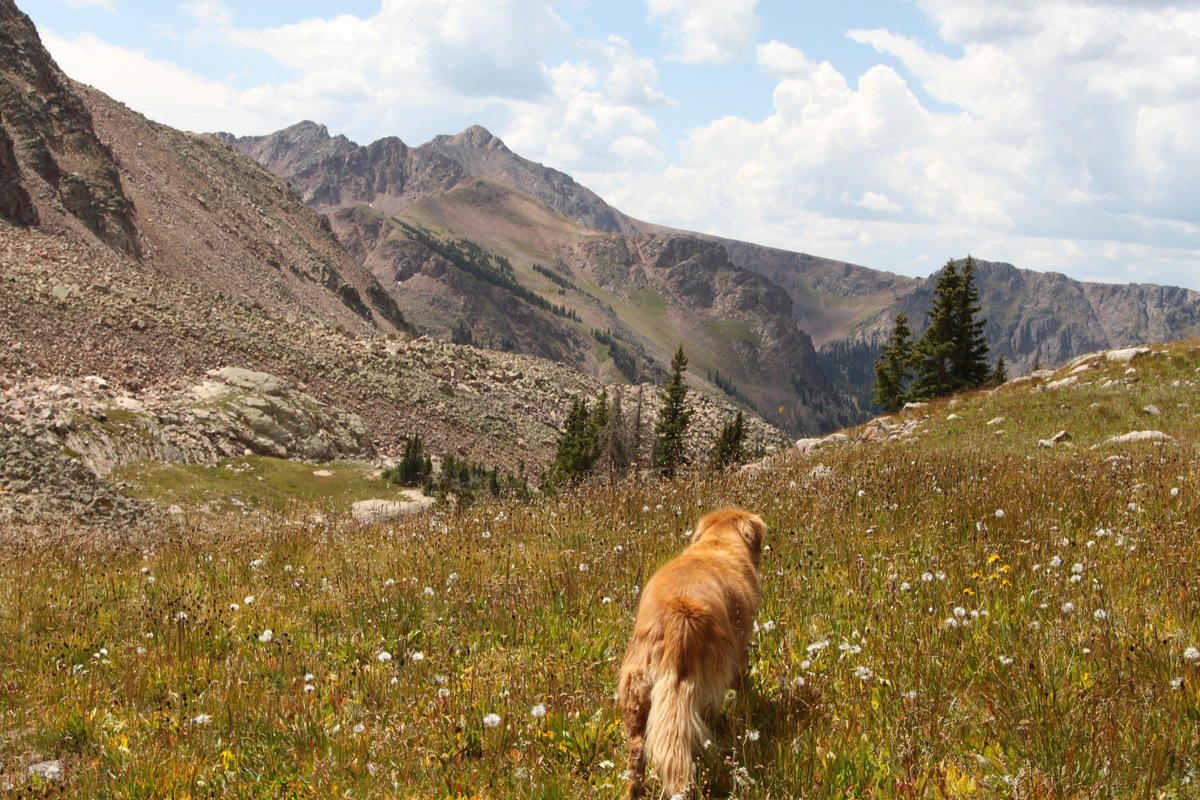
Becky, Jason, & Taj broke off for West Partner’s west ridge a few hundred feet below East Booth Pass and we said our goodbyes. I always love looking down onto the rarely visited Upper Piney Lake basin. The view down from East Booth Pass surely didn’t disappoint.
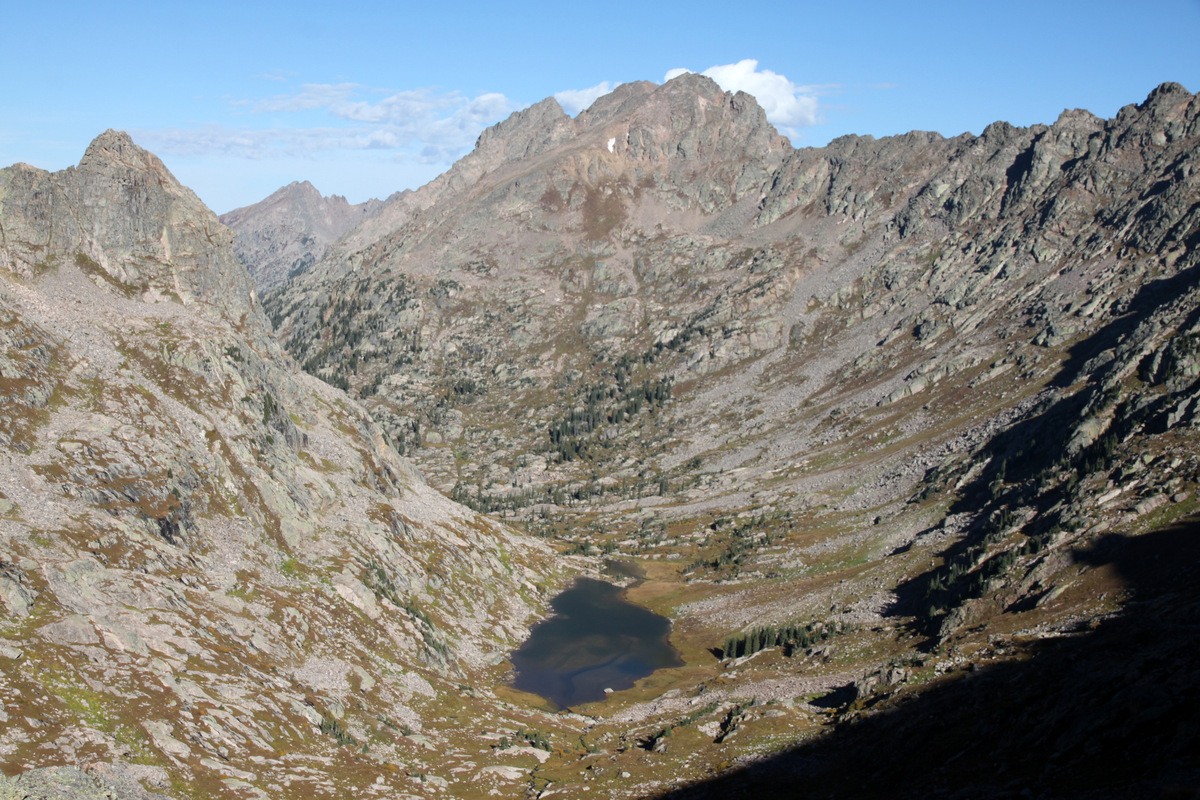
Upper Piney Lake from East Booth Pass. The Saw is the skyline on the right connecting Peak H (center) to Peak J (out of picture on the right)
Brian mentioned he and Mike Rodenack had traversed from East Booth Pass across the west facing slopes below Rockinghorse Ridge years ago without dropping all the way to Upper Piney Lake and it had worked out well albeit they were on snow.
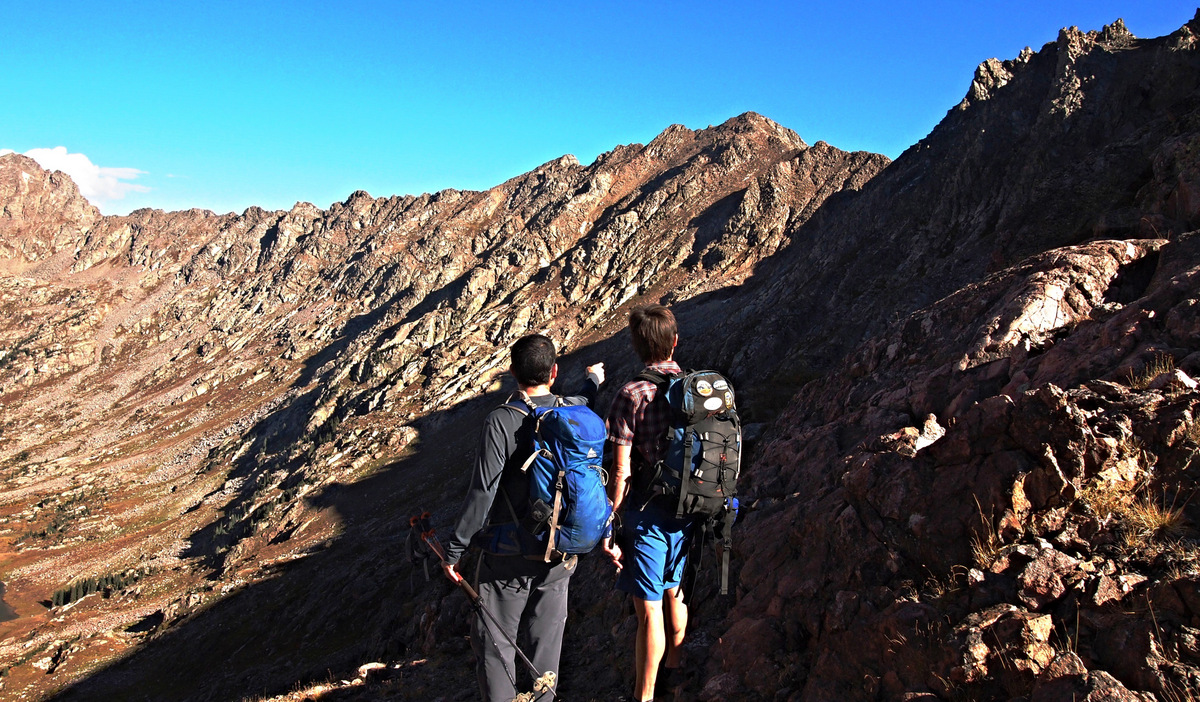
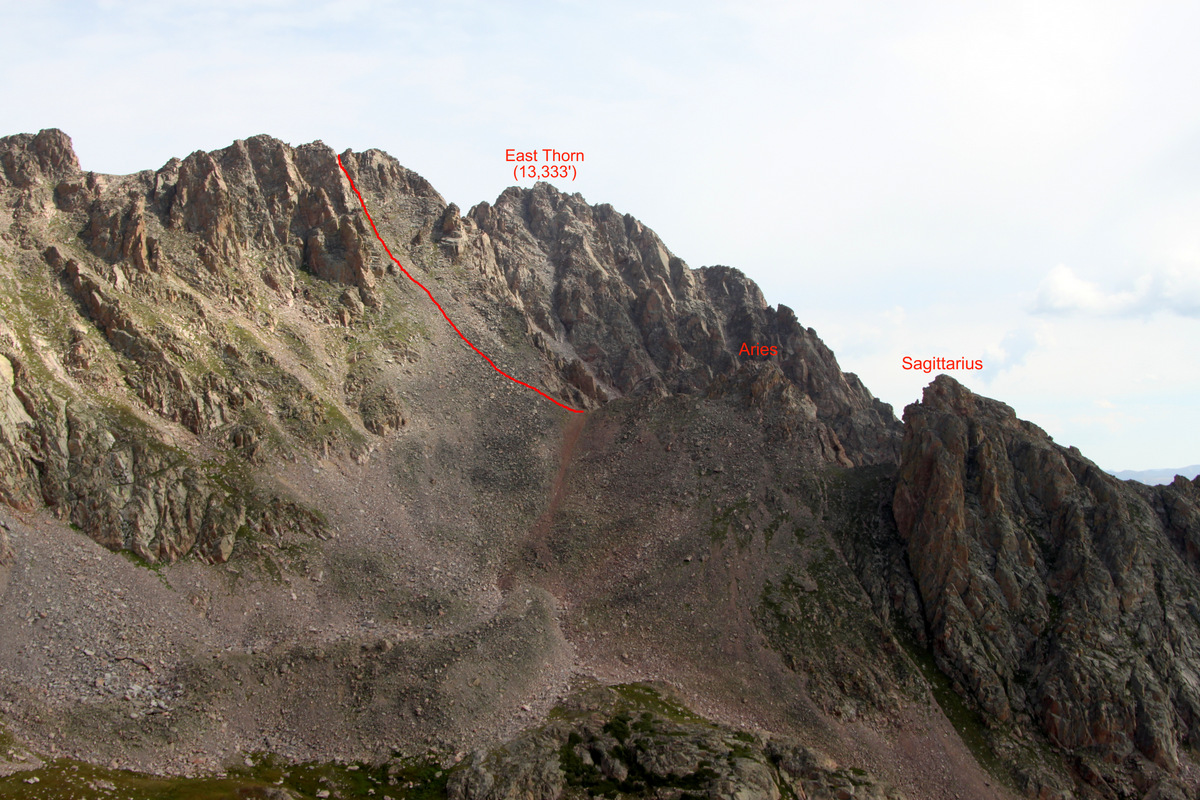
Brian explaining the traverse over to a point below the saddle low point of Rockinghorse Ridge from East Booth Pass. Photo by Dillon
The route looked very doable and we made our way northeast across slabs with some class 3/4 scrambling thrown in for good measure.
Brian on the traverse from East Booth Pass
Brian on a fun slab portion of the traverse. East Booth Pass can be seen on the far right

Brian on a nifty little dihedral
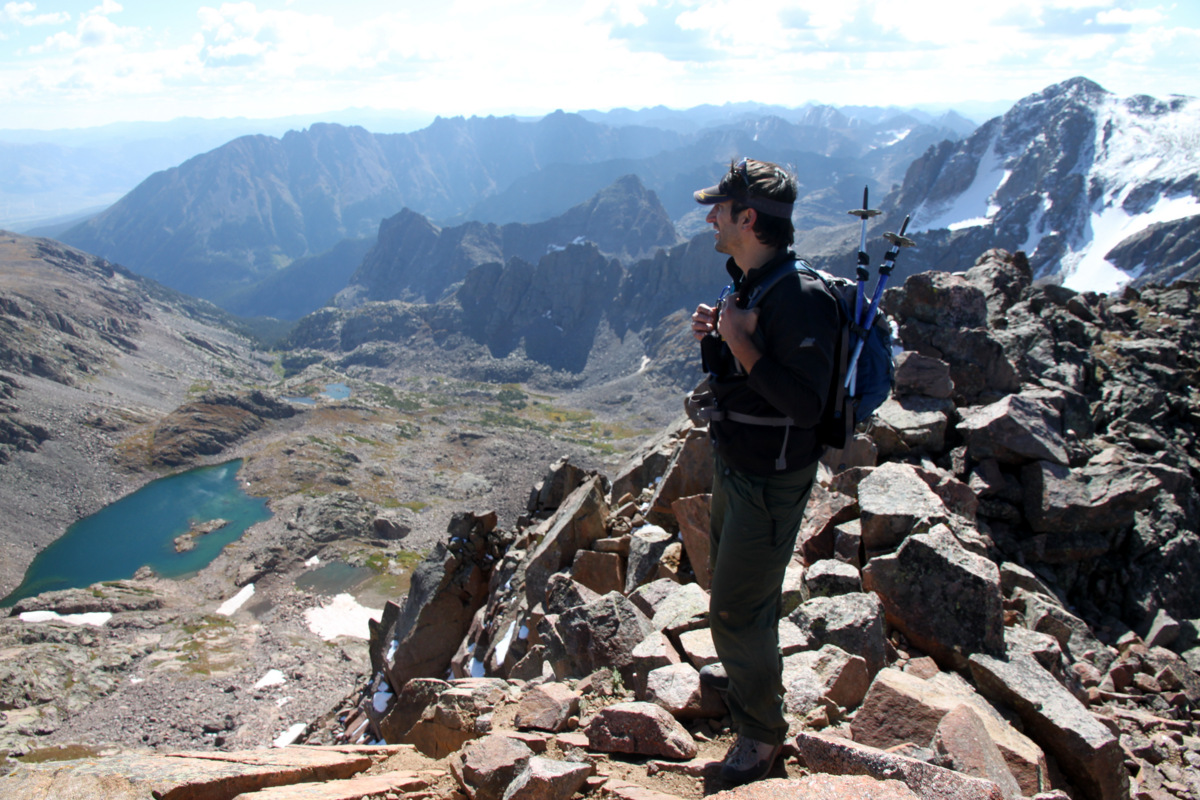
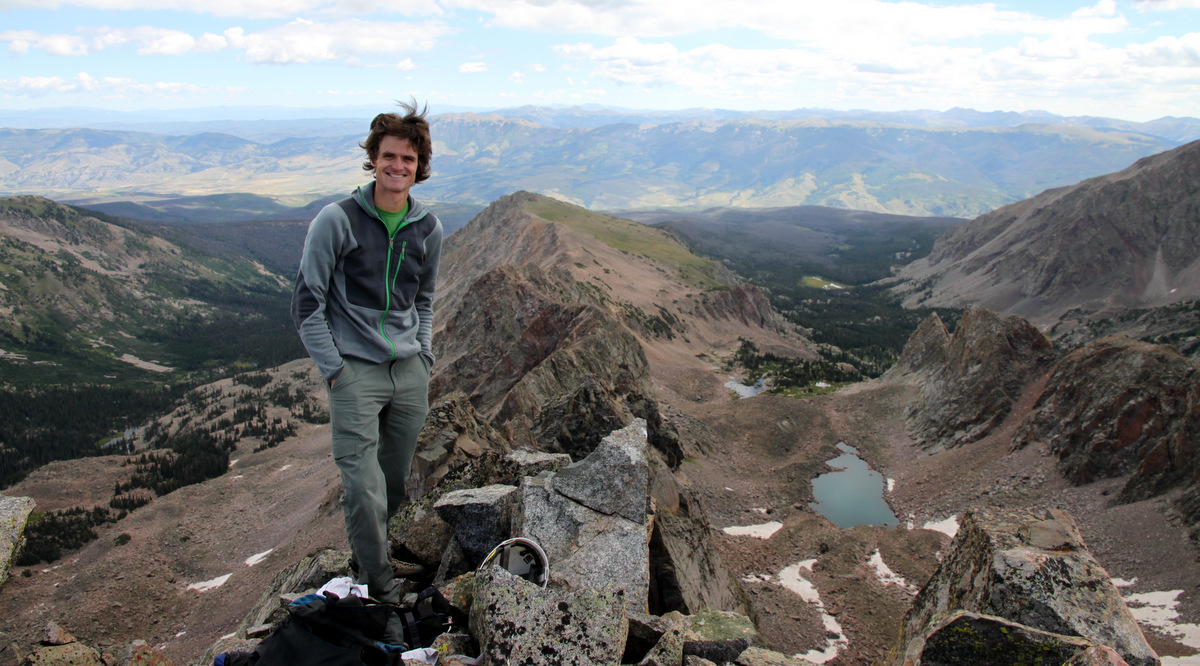
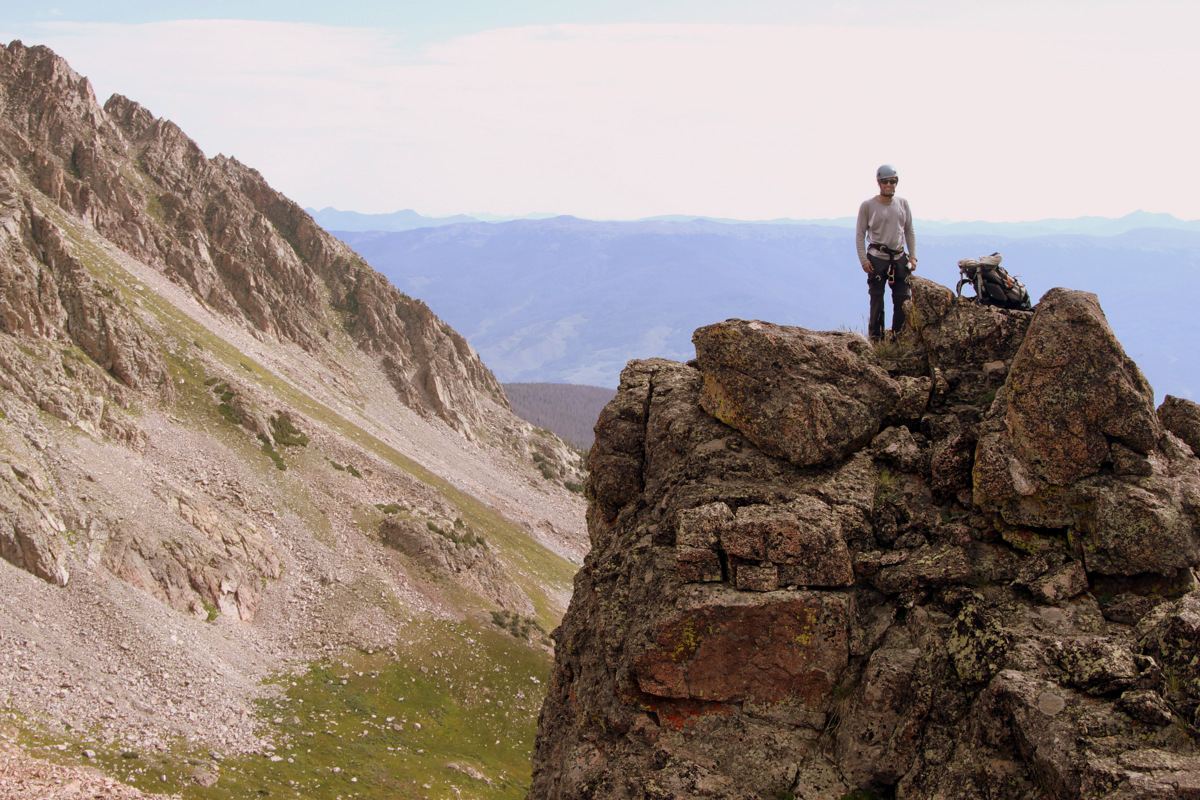
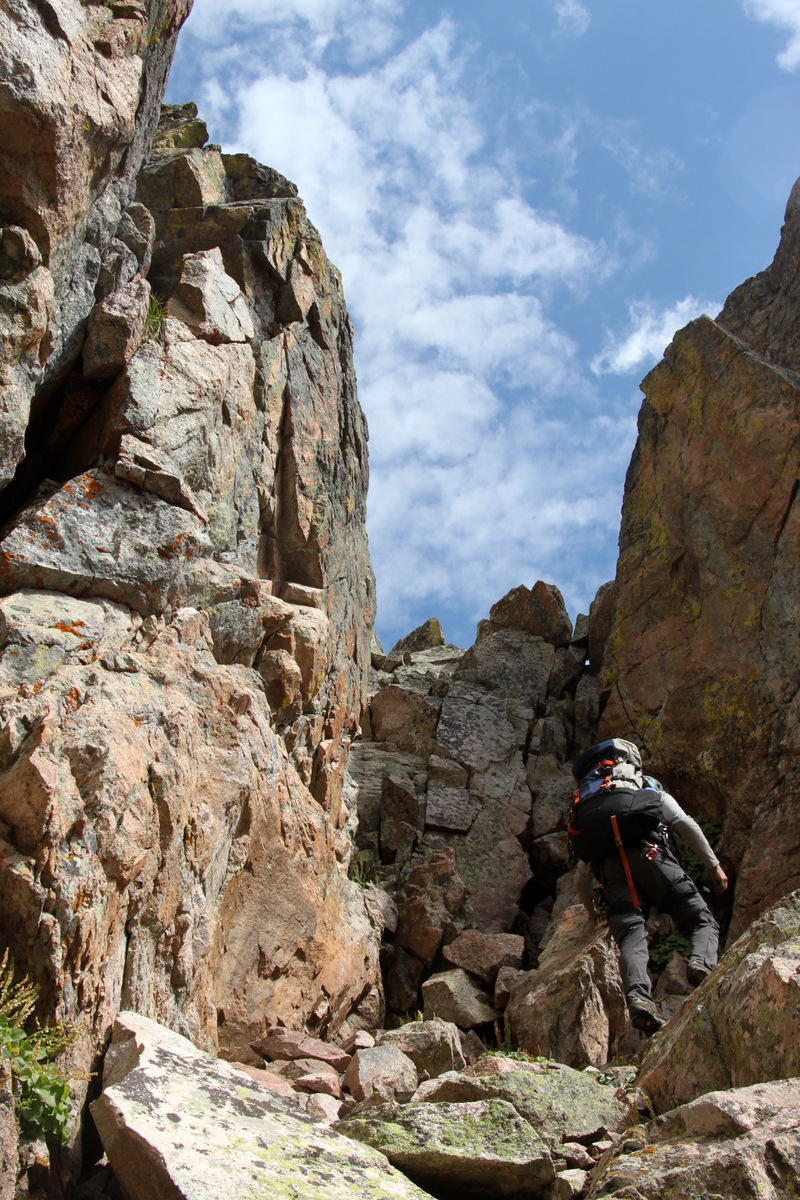
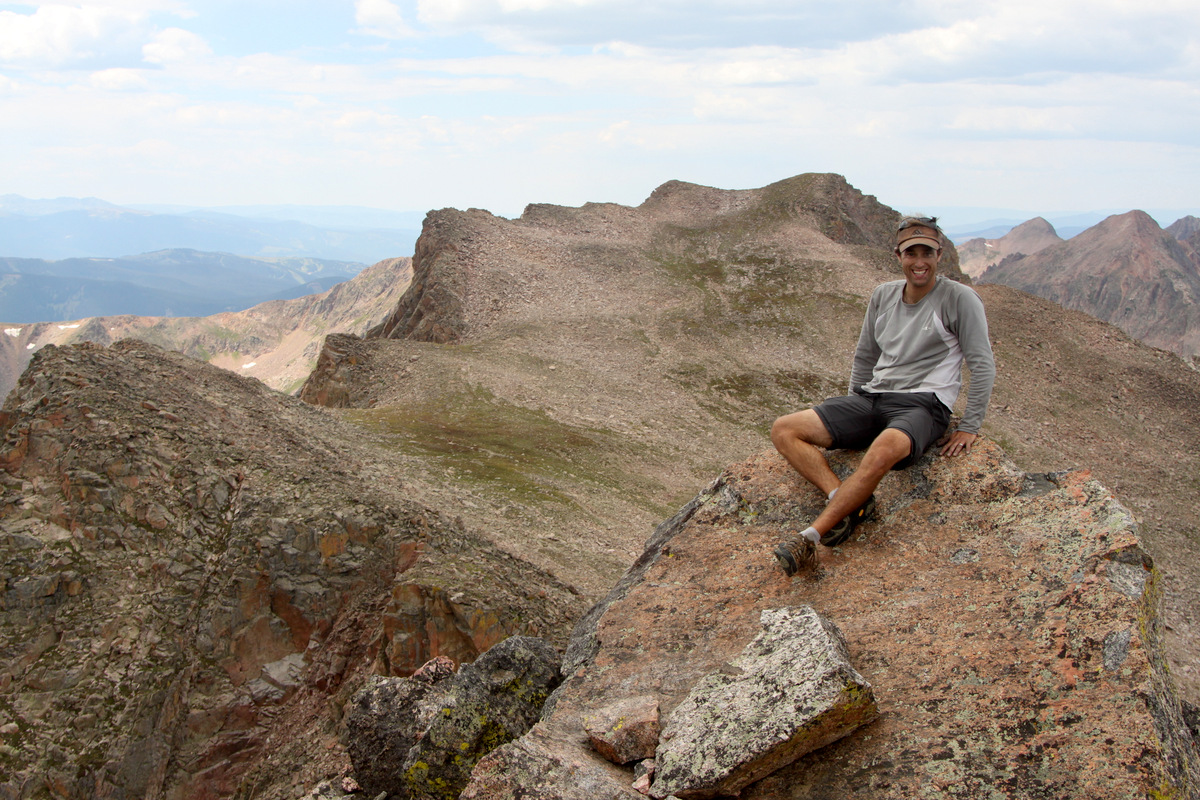
Dillon took a higher road than Brian & myself for some reason and ended up topping out on Rockinghorse Ridge to the south of the deep notch marking the low point of the ridge. Brian & I made it over to the steep grass gully we were aiming for and climbed straight up to the ridge. We heard Dillon calling to us and waiving a map. He was stuck. Nowhere to downclimb to join us on the north side of the deep notch. I felt bad as he wanted to climb Peak P, but honestly downclimbing into the notch was low 5th class terrain and he was better off just staying put and relaxing a bit until Brian & I came over to him. At this point, we saw Jason Blyth on the summit of West Partner Peak and I think he saw us. Brian decided to cook up some pasta with pesto on the ridge proper (talk about brunch with a view) and I decided to just boogie up to Peak P. I love the views from Peak P. I feel like I’m really in the center of the Gore Range.

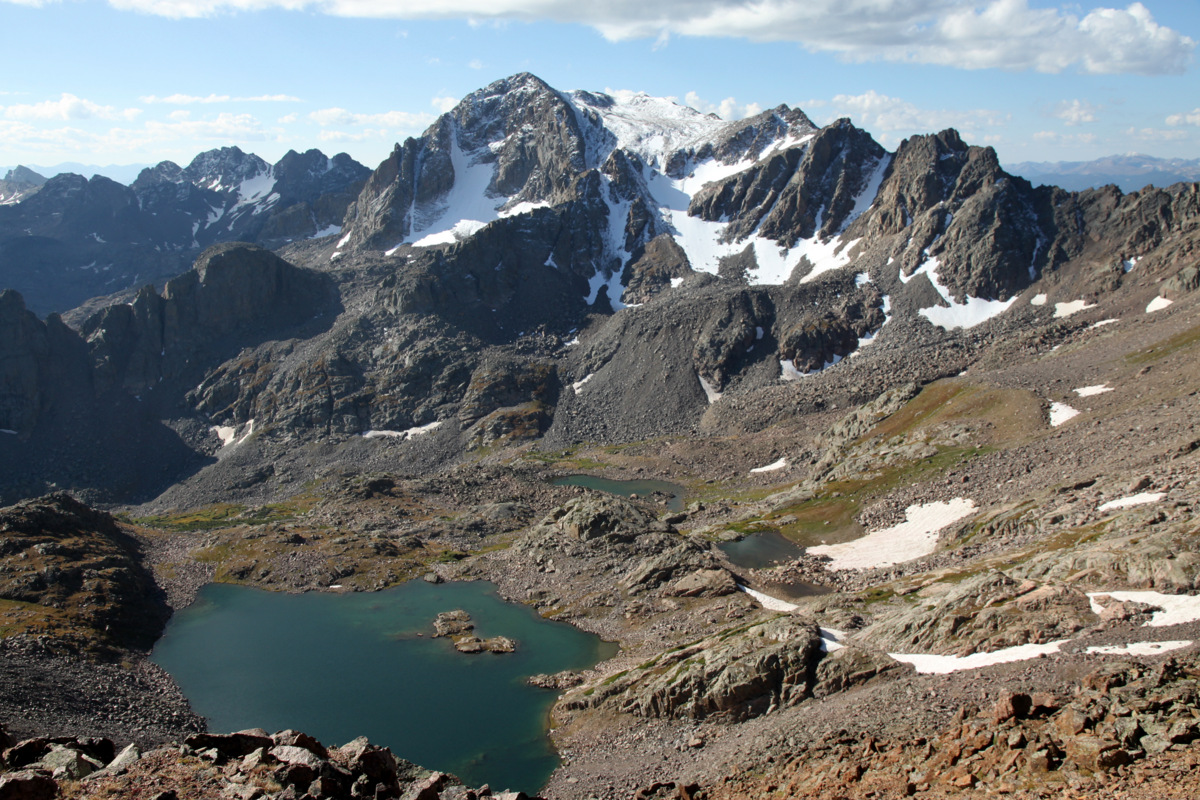
Upper Slate Lake basin as seen from the summit of Peak P including the four tiers of lakes, Peak Q on the right, and Peal L in the distance on the left
Peak L
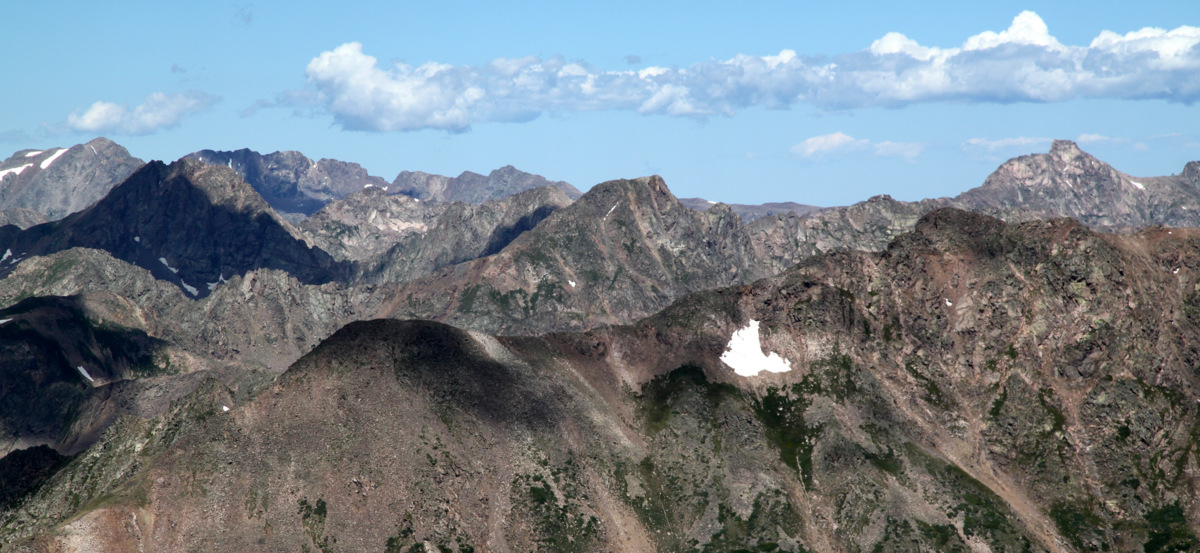
Looking north to Peak J and the northern Gores

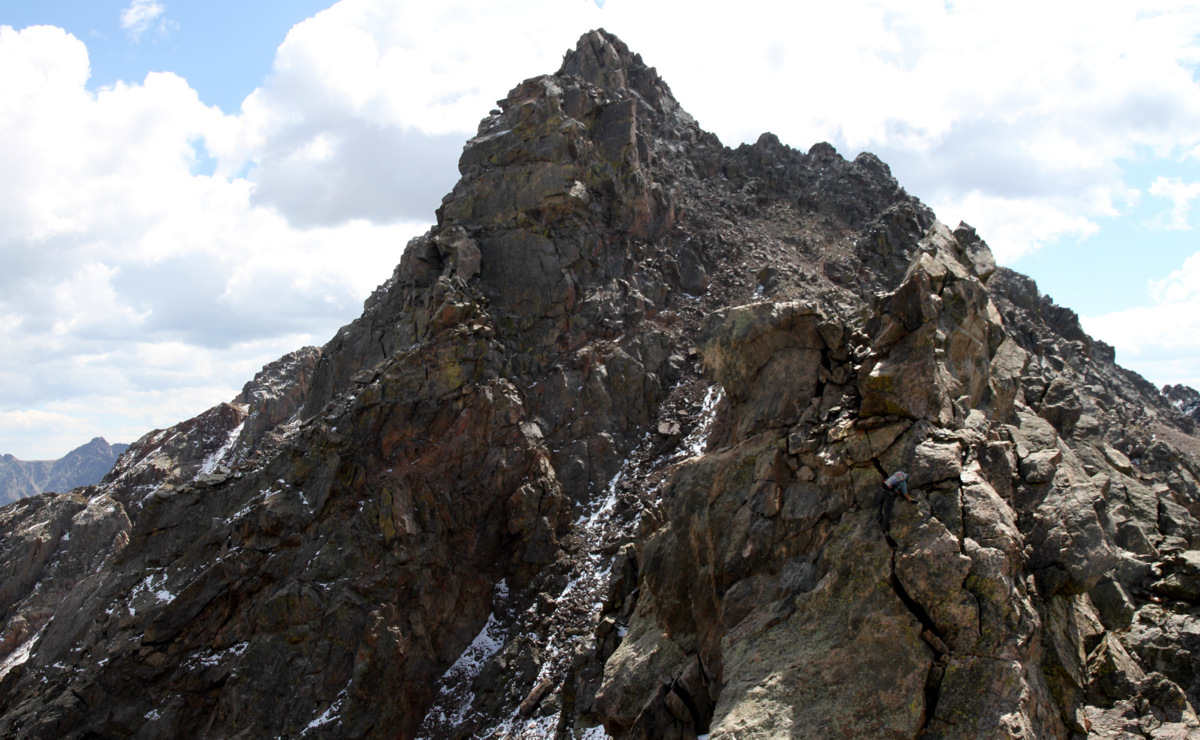
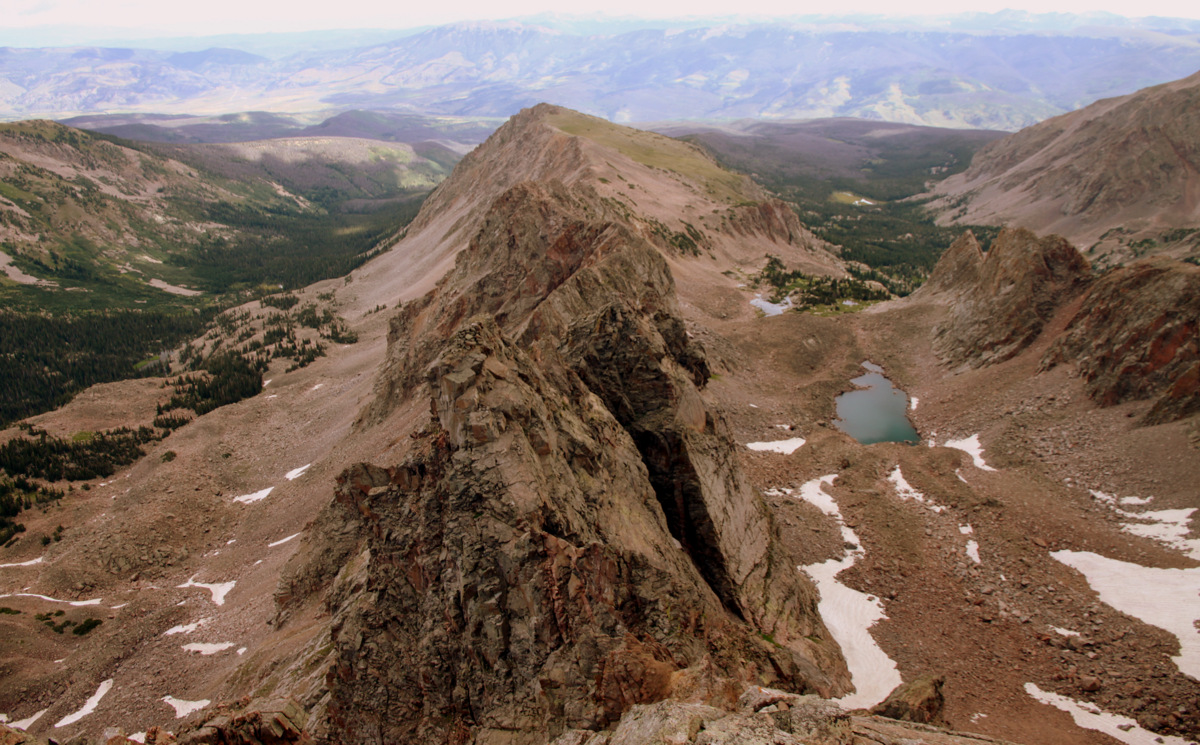
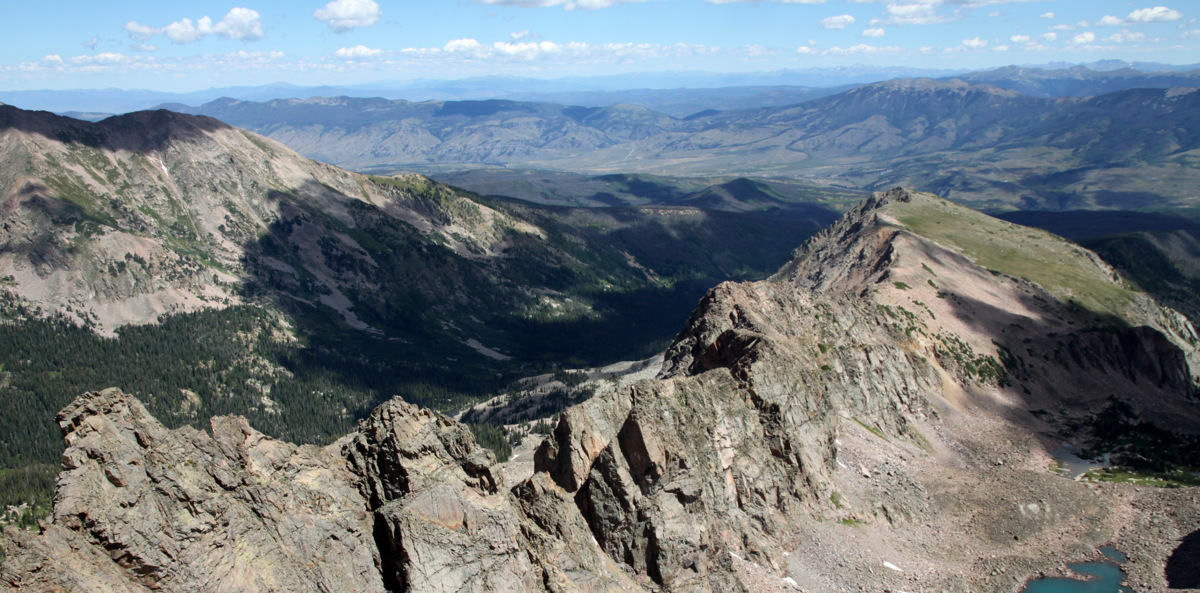
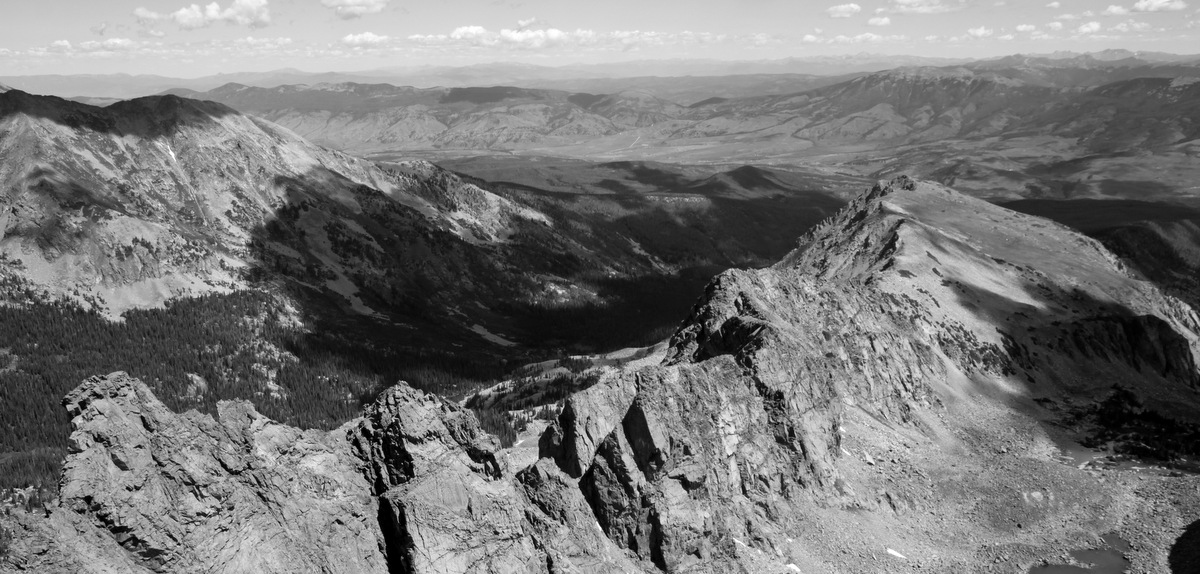
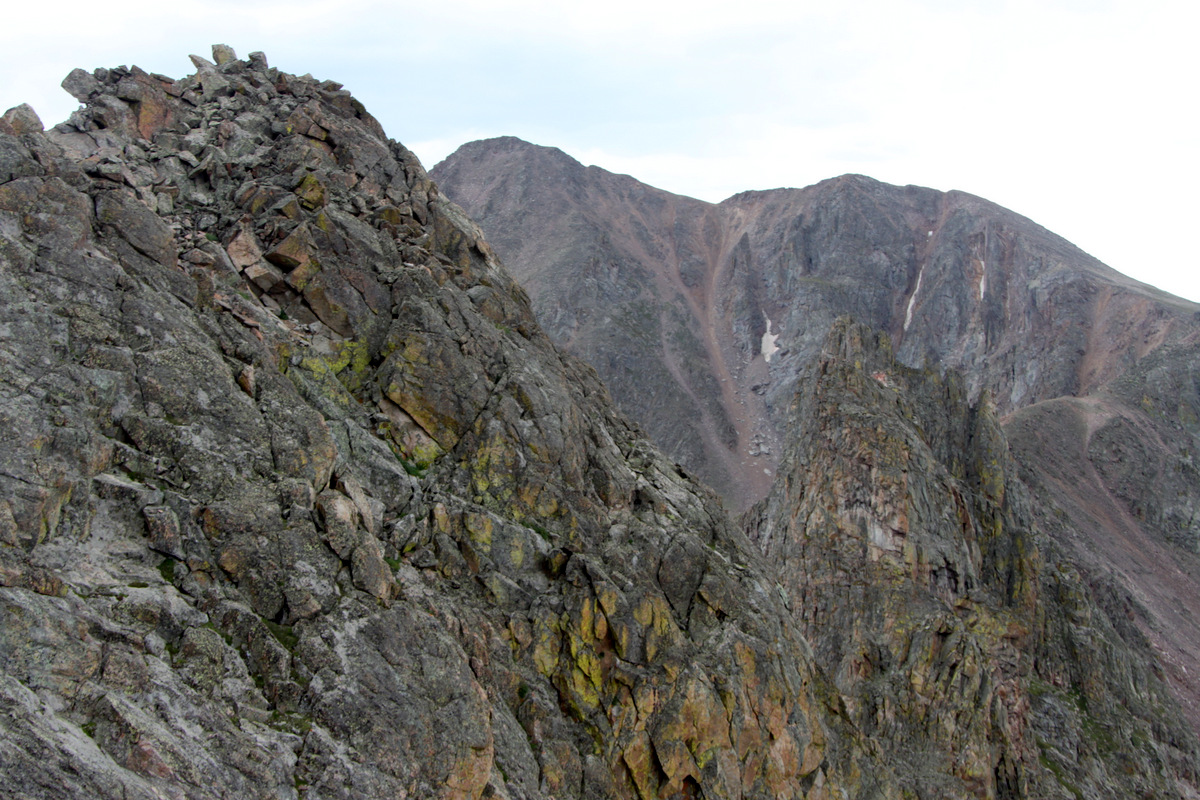
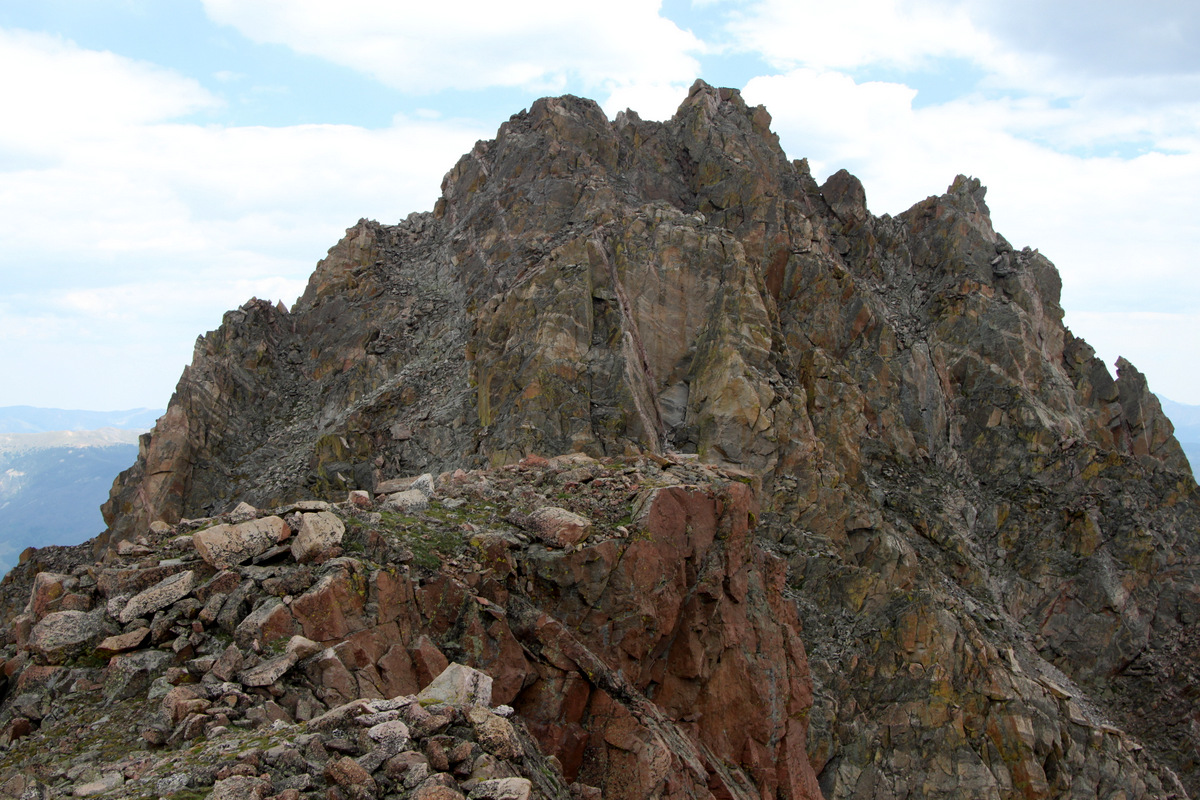
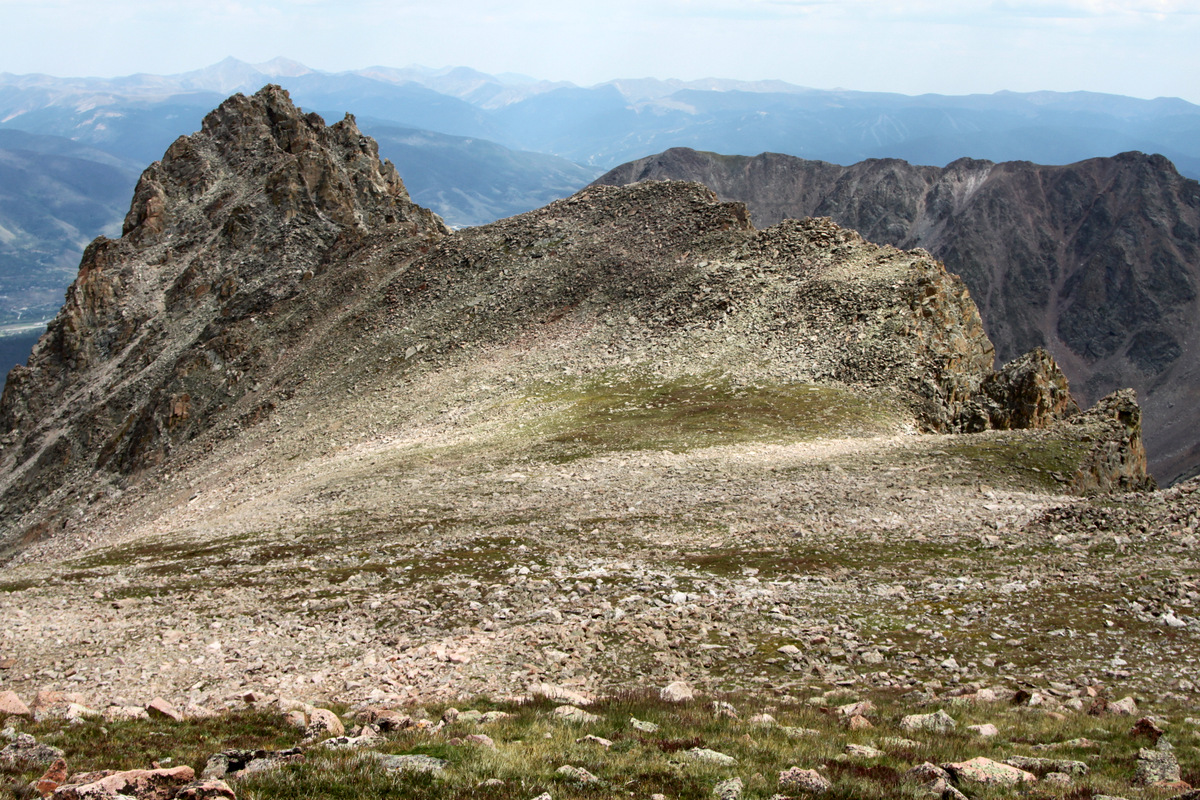
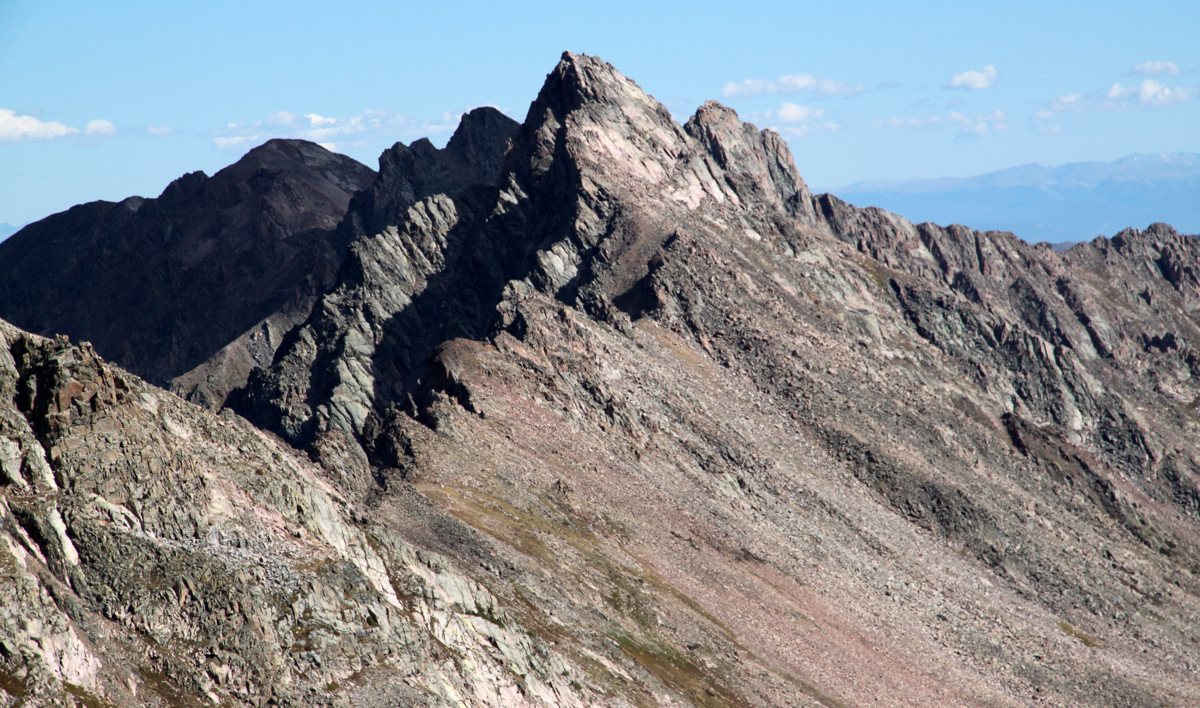
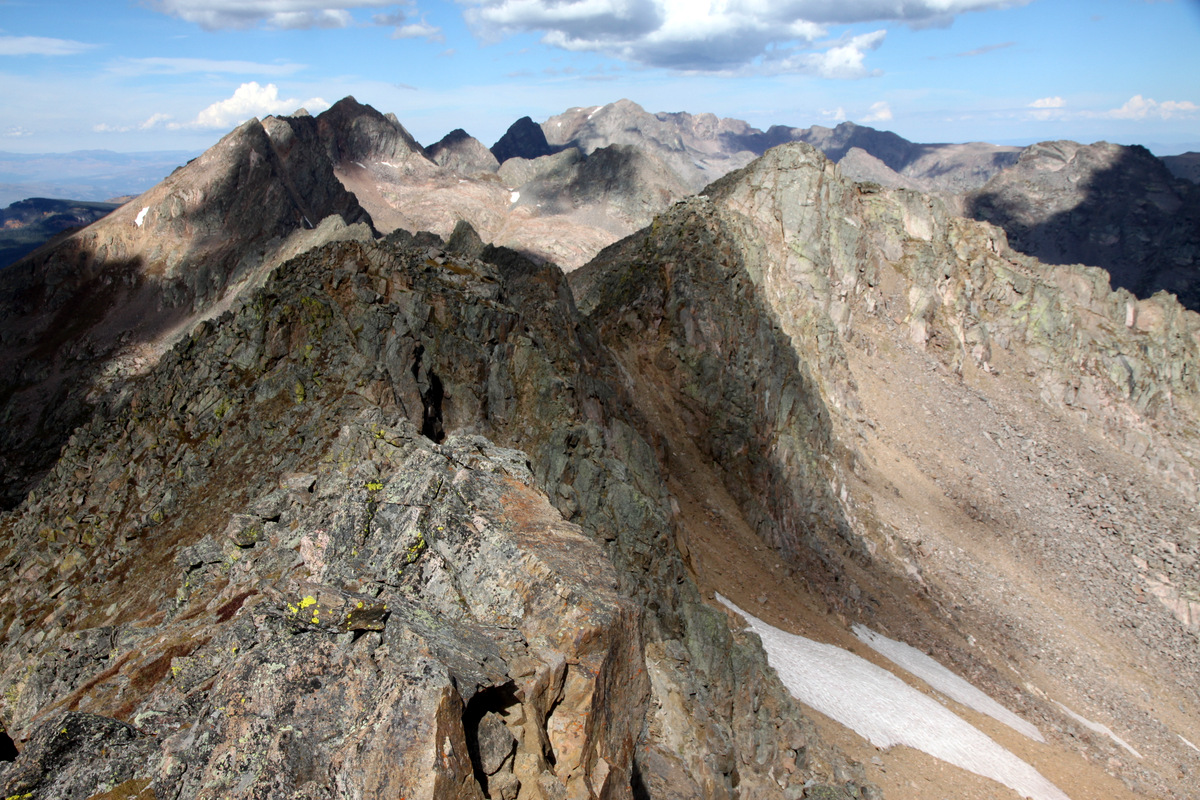
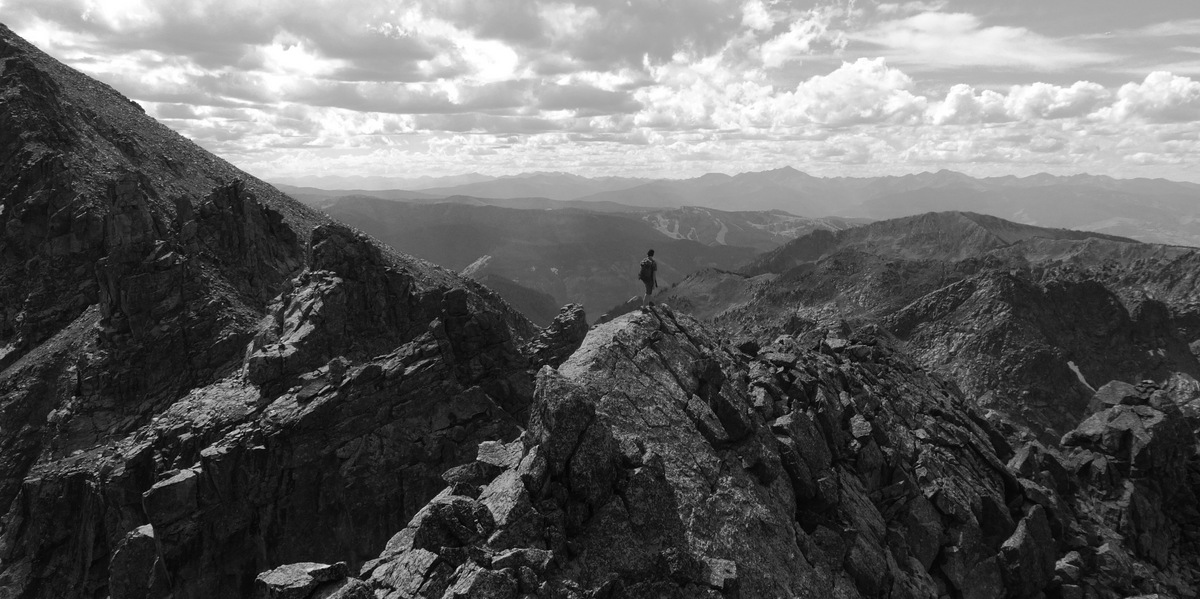
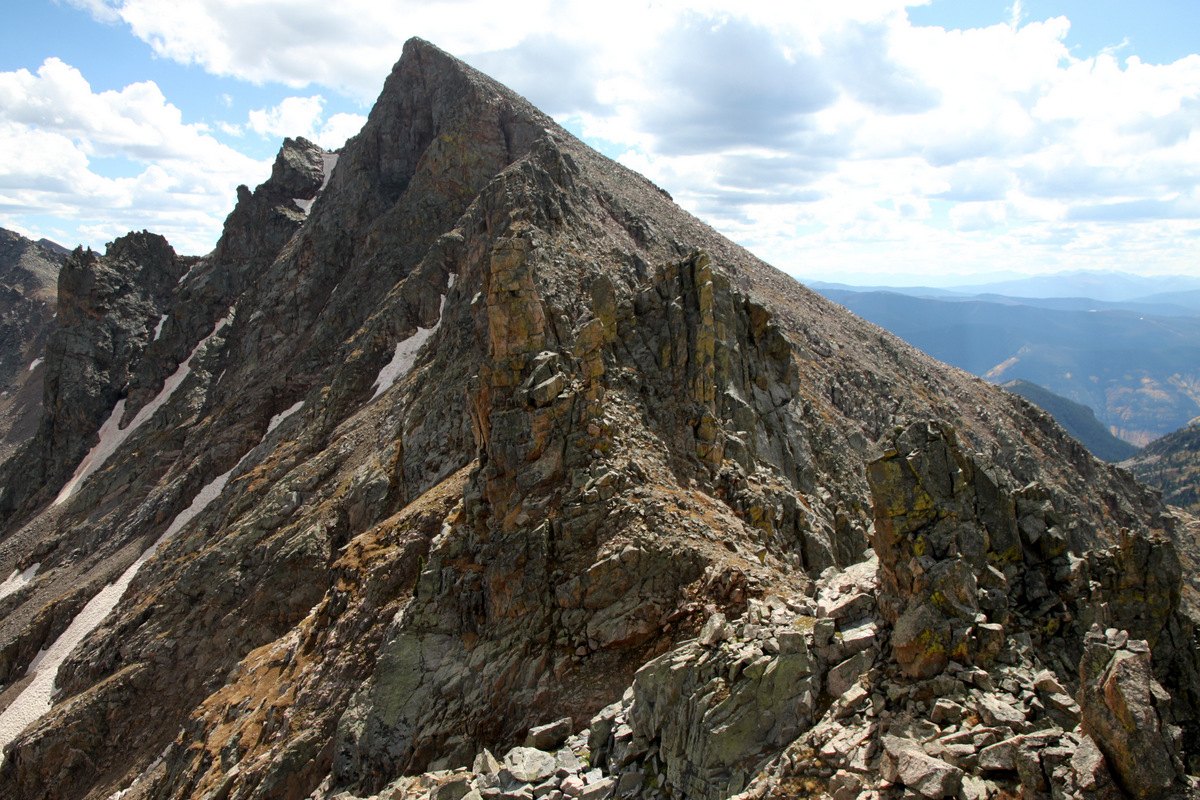
Rockinghorse Ridge to West Partner Peak as seen from the summit of Peak P
A few minutes on top and a few pics later, I scampered back down to Brian and he offered me some of his feast. Yum.

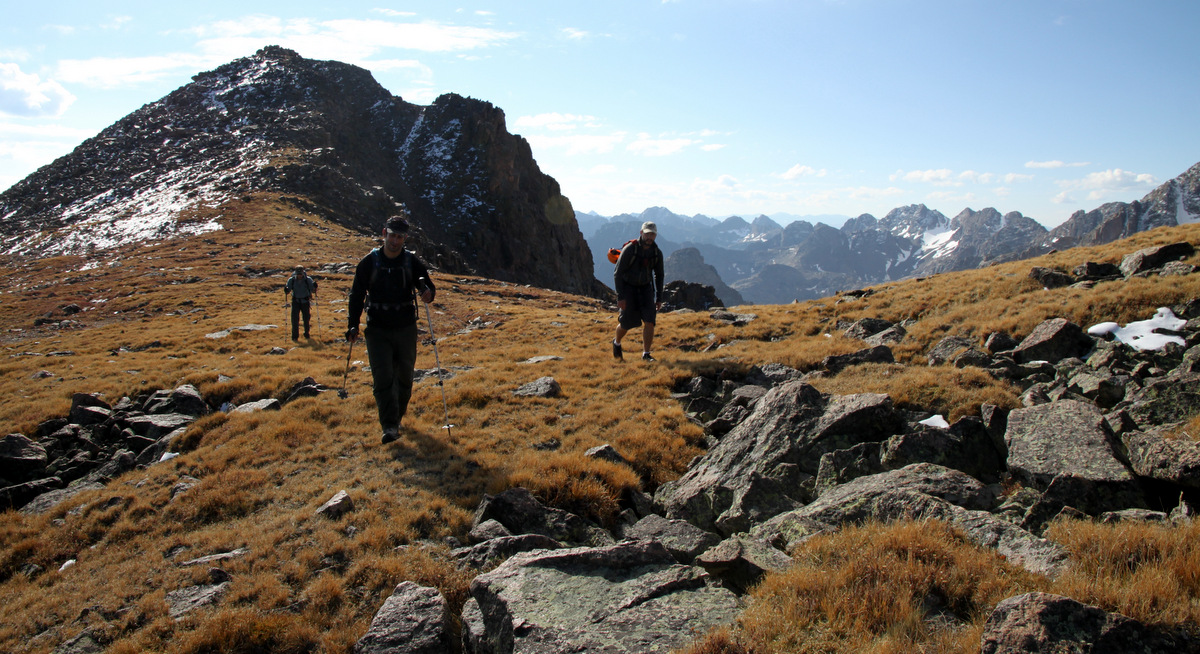
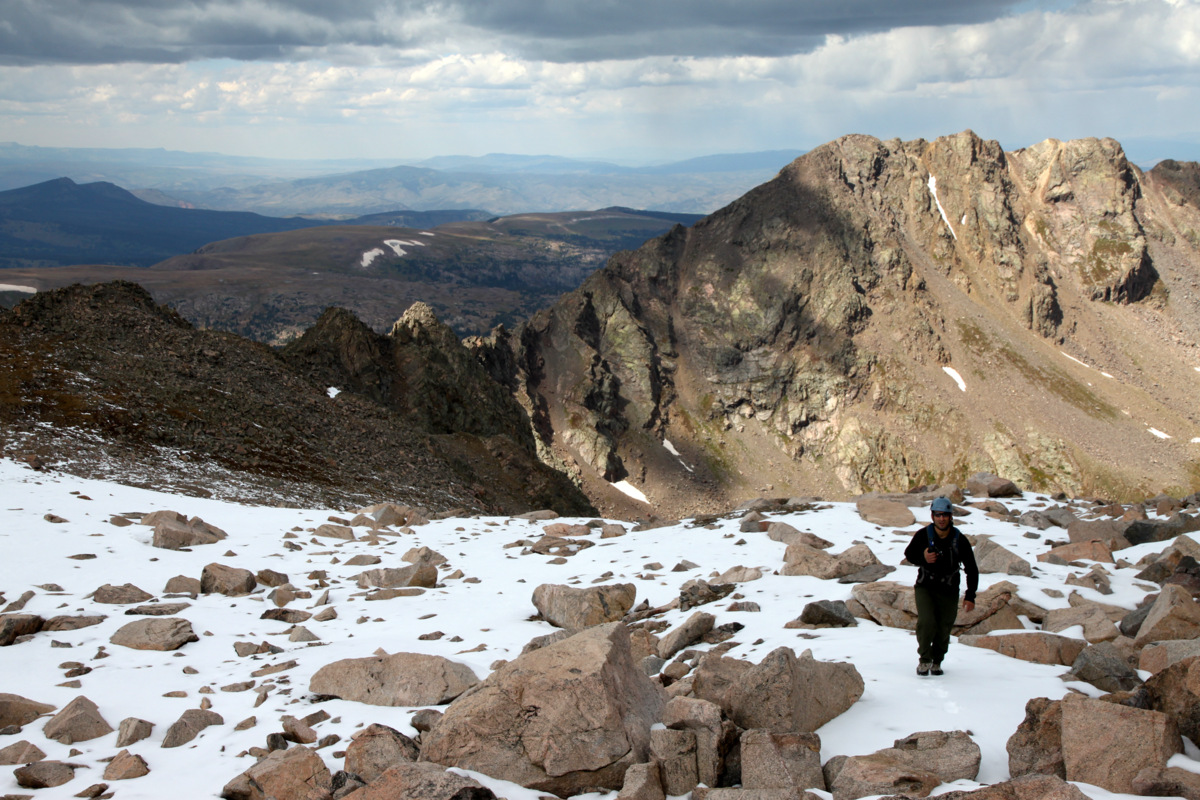
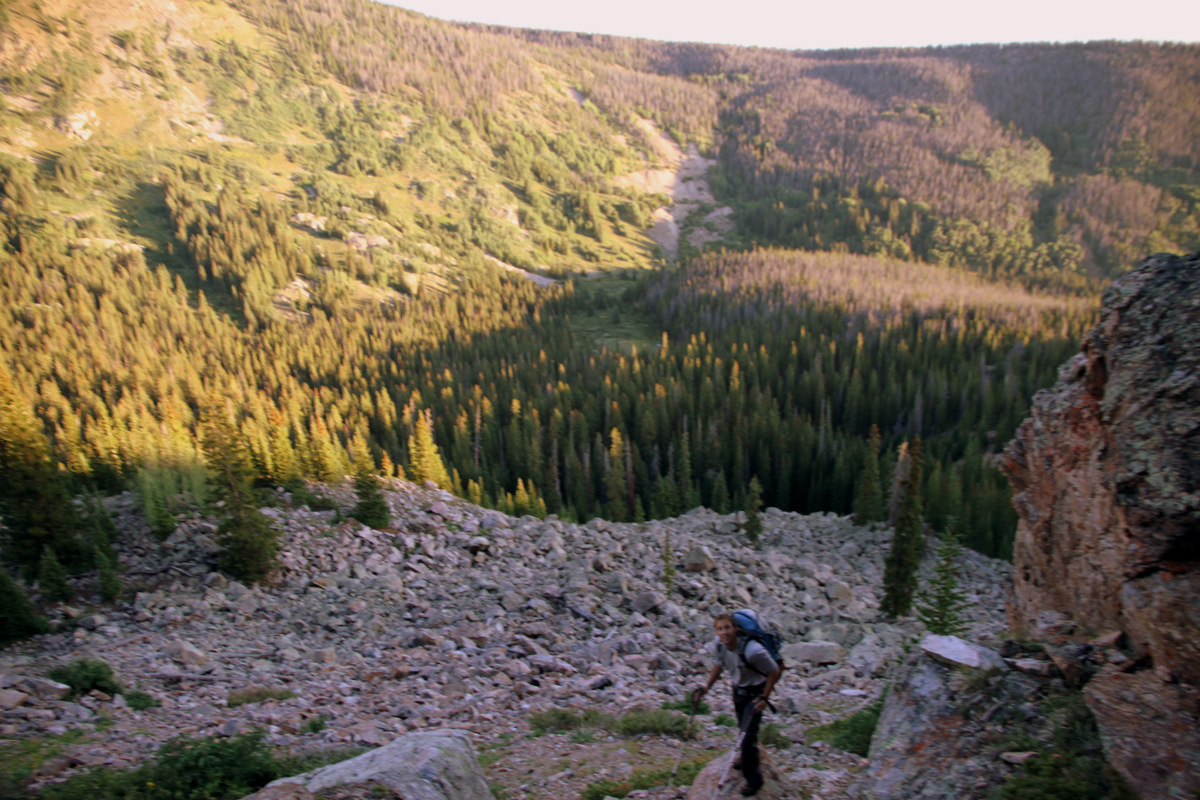
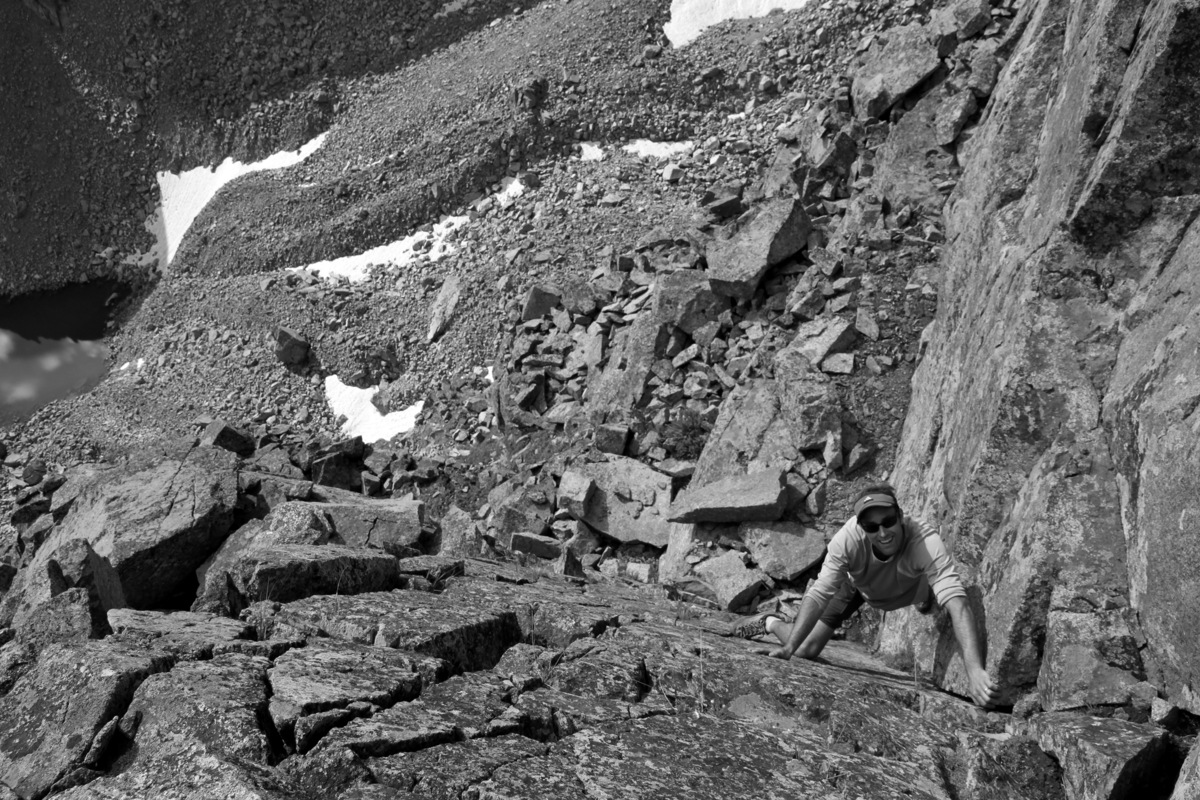
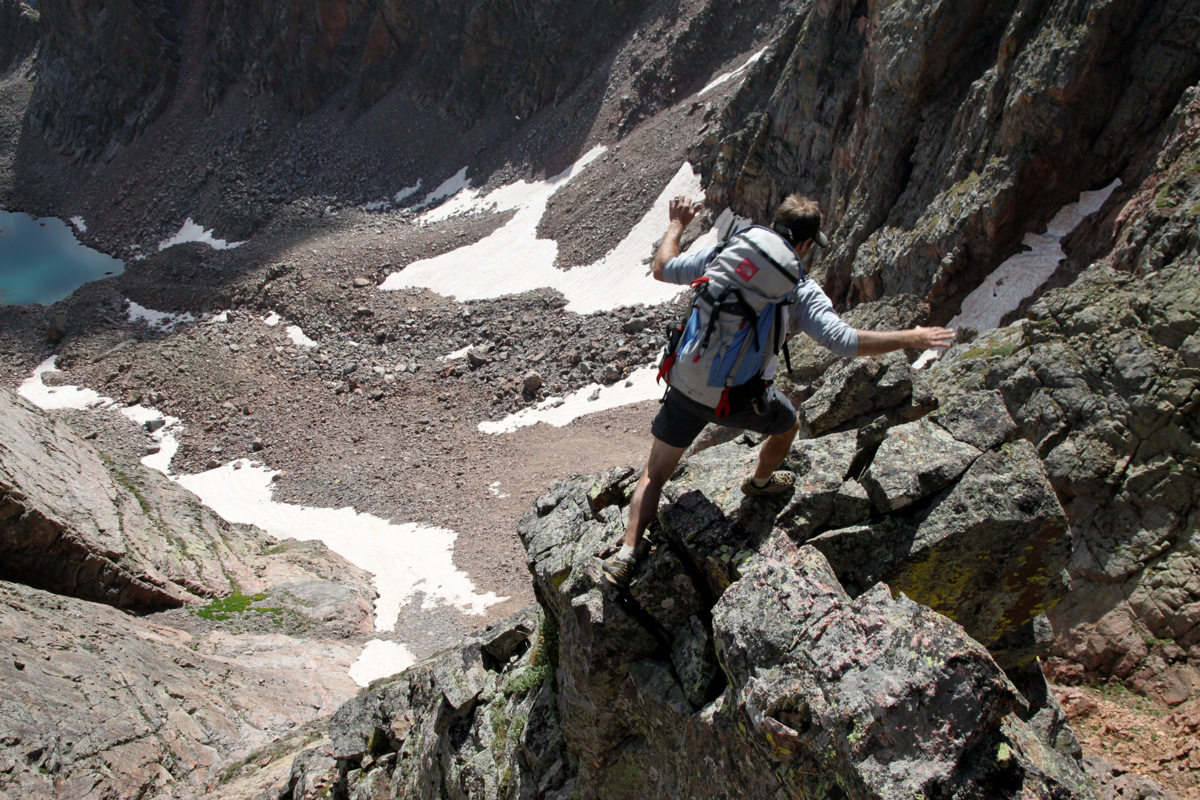
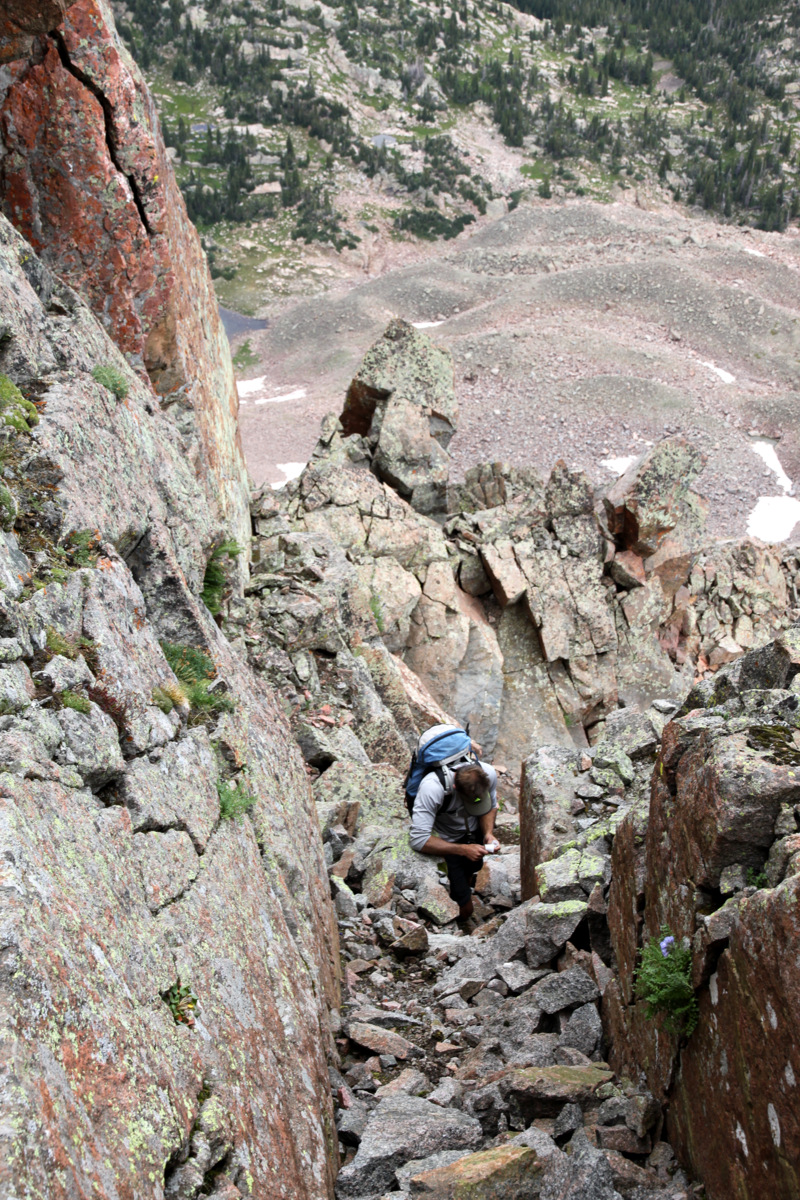
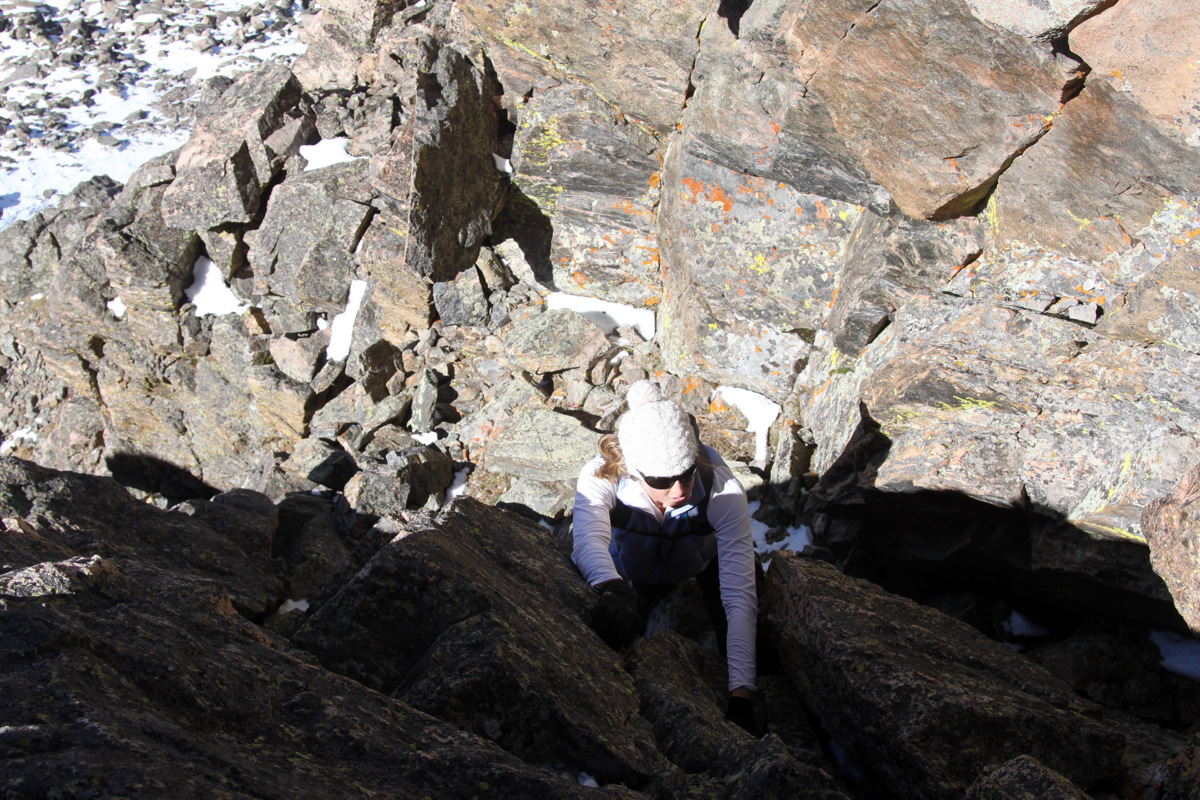
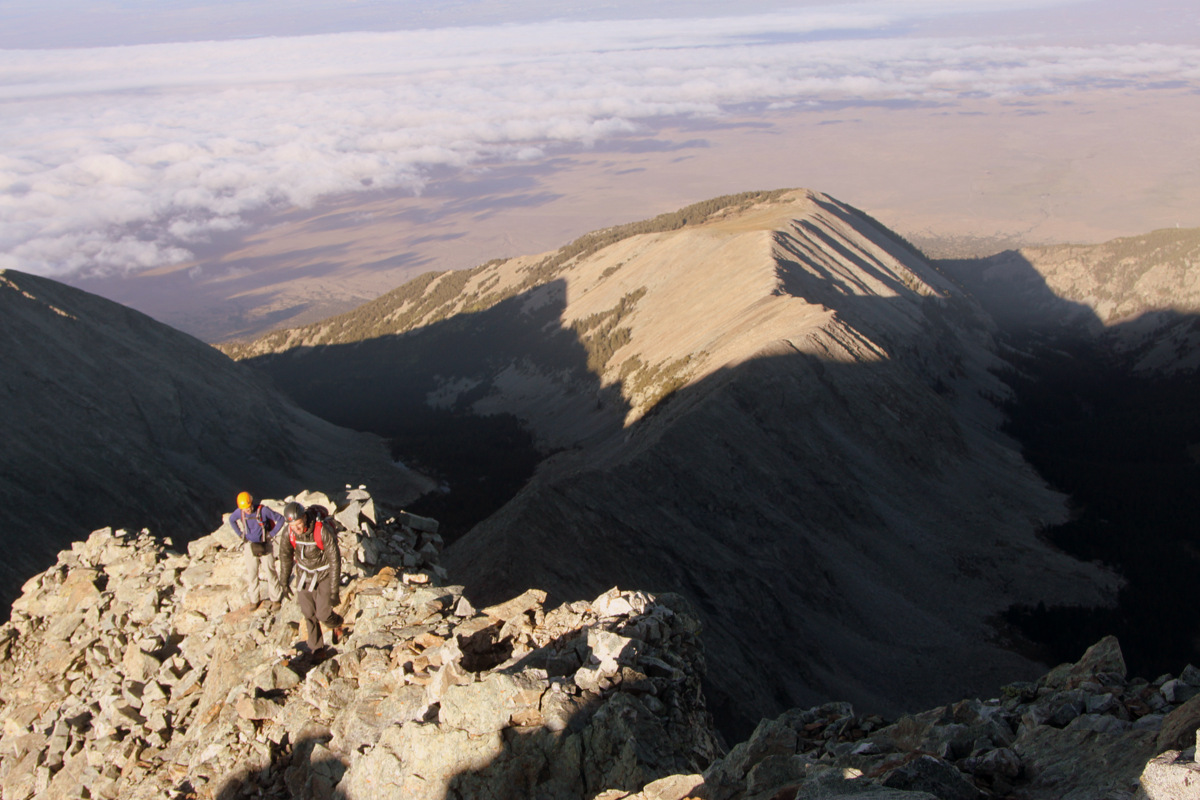
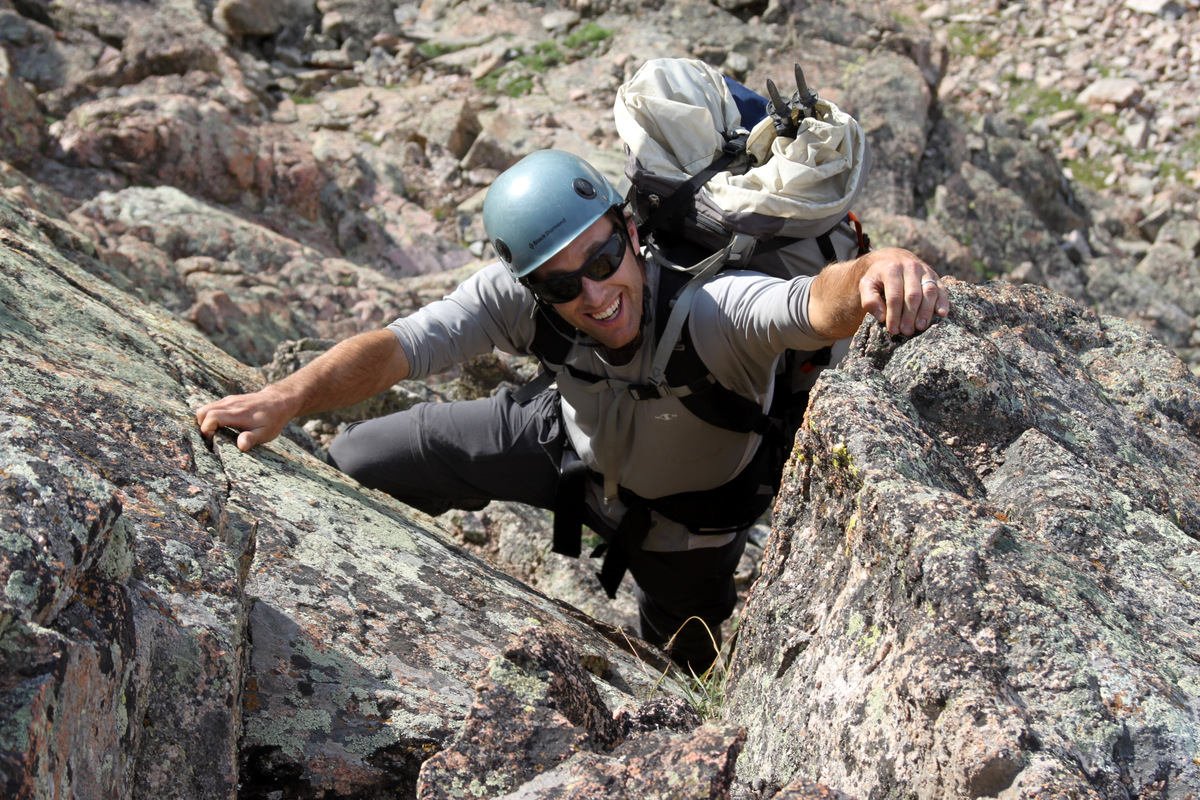
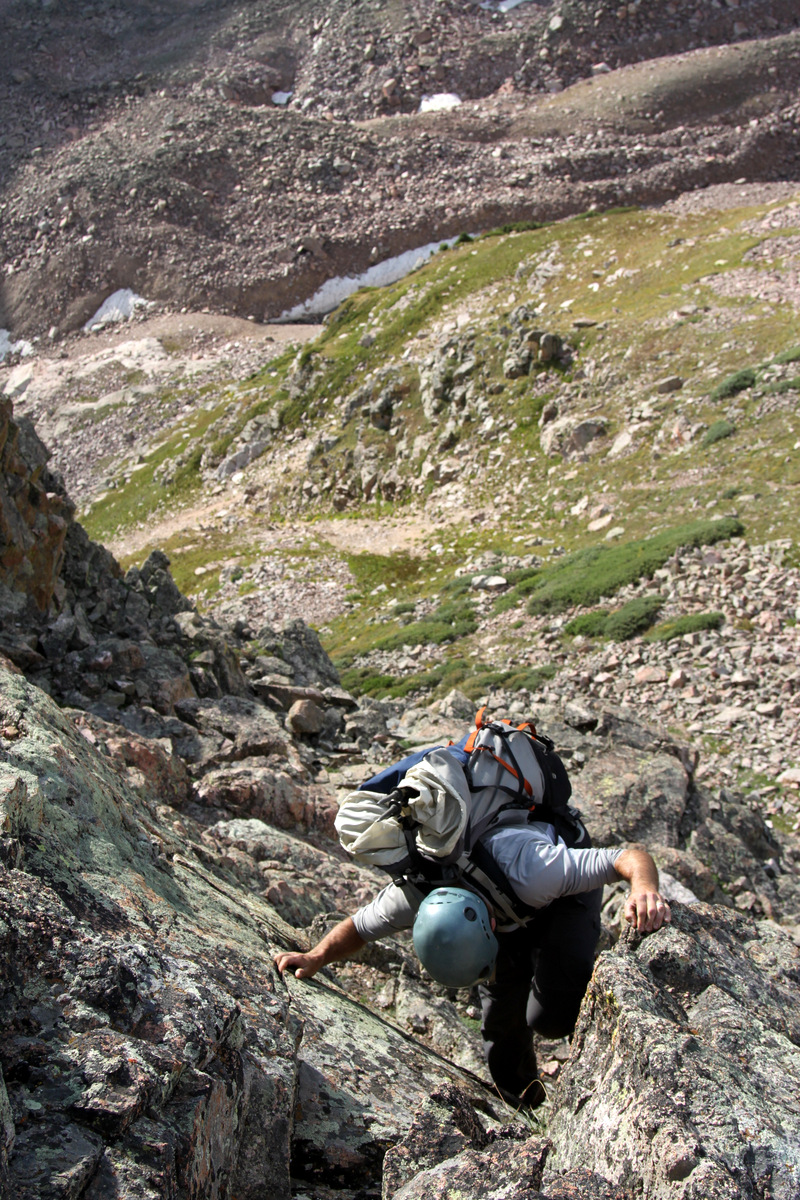
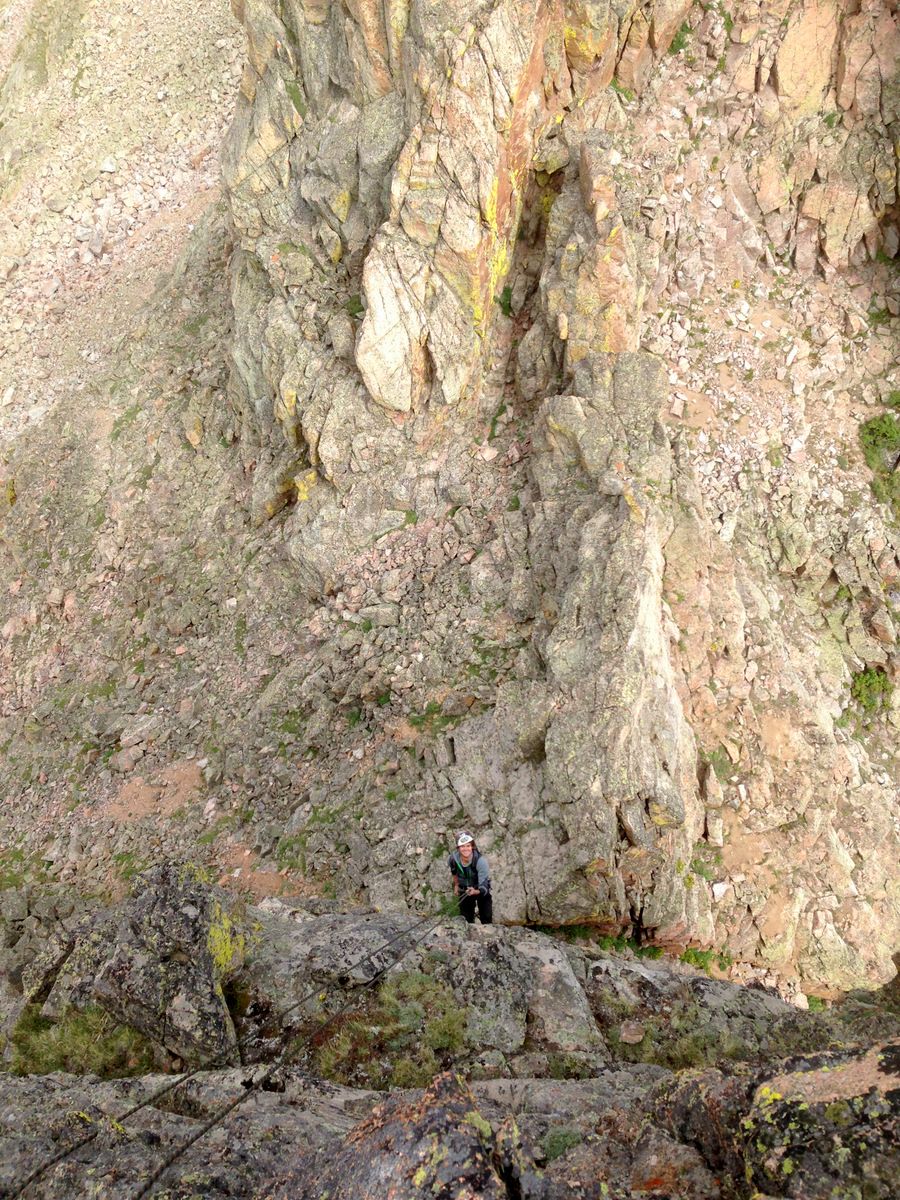
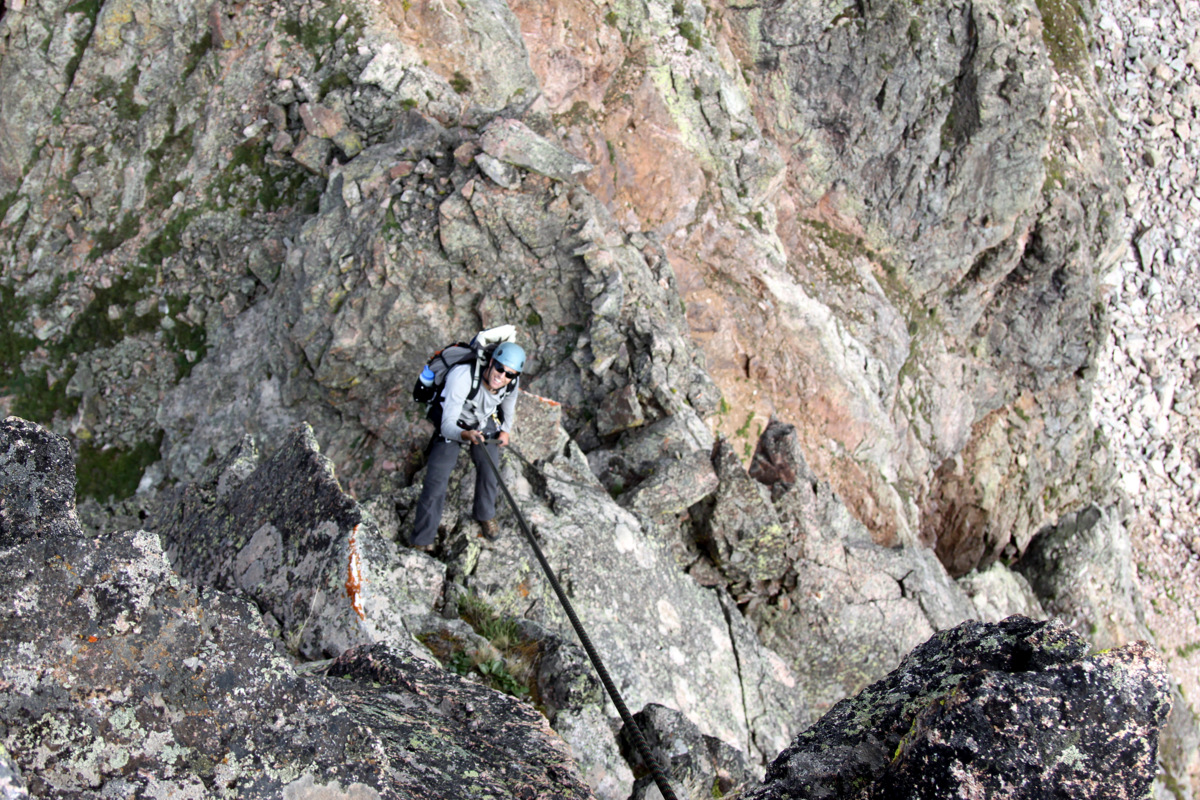
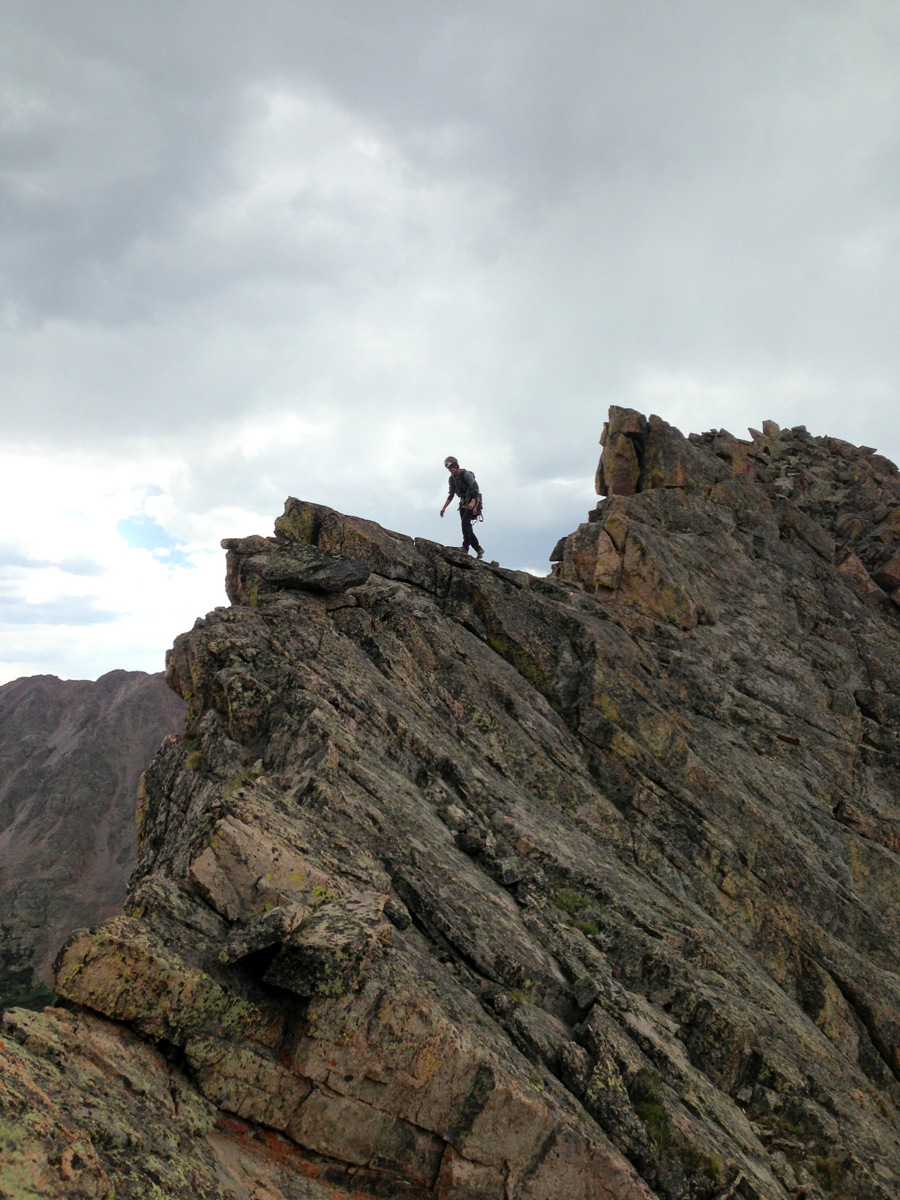
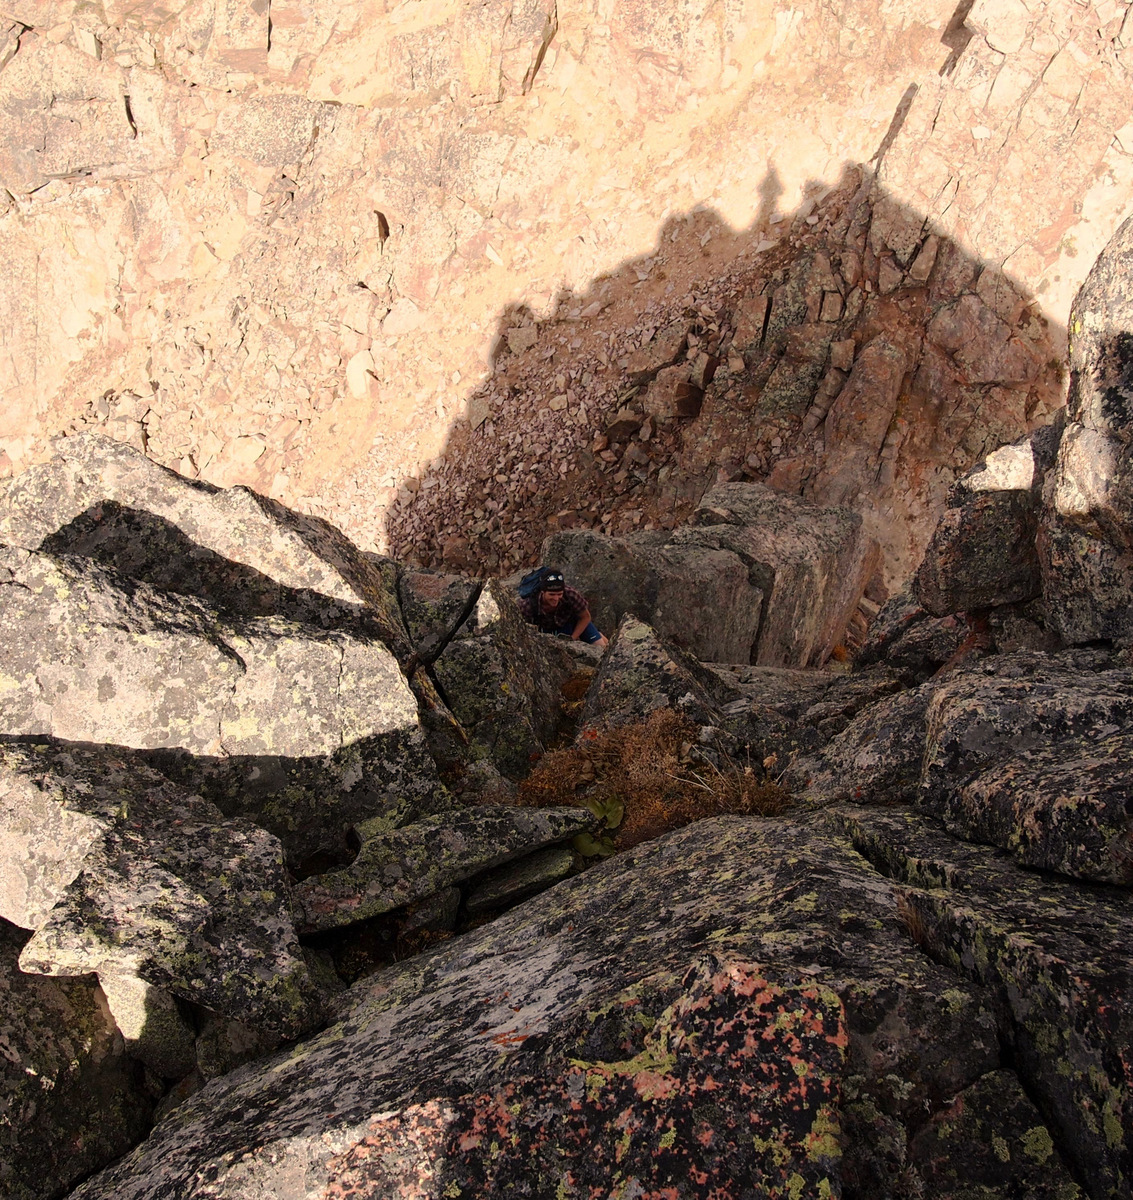
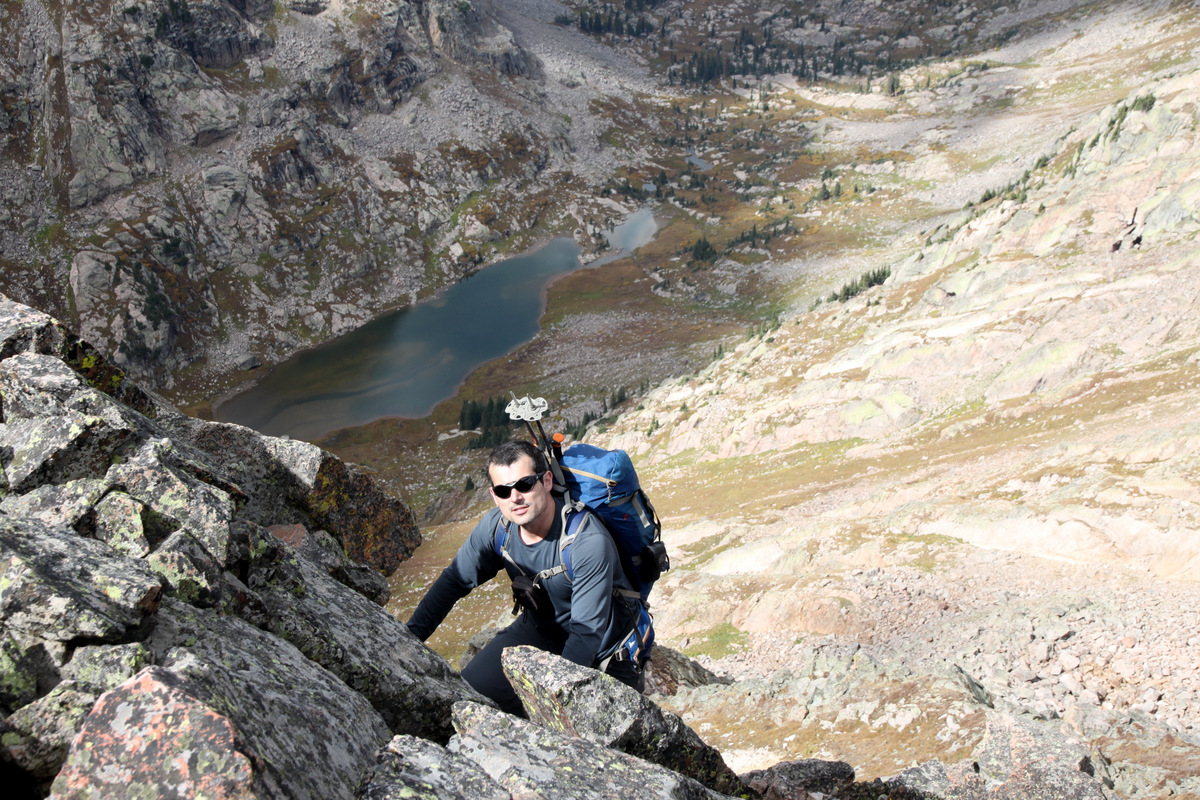
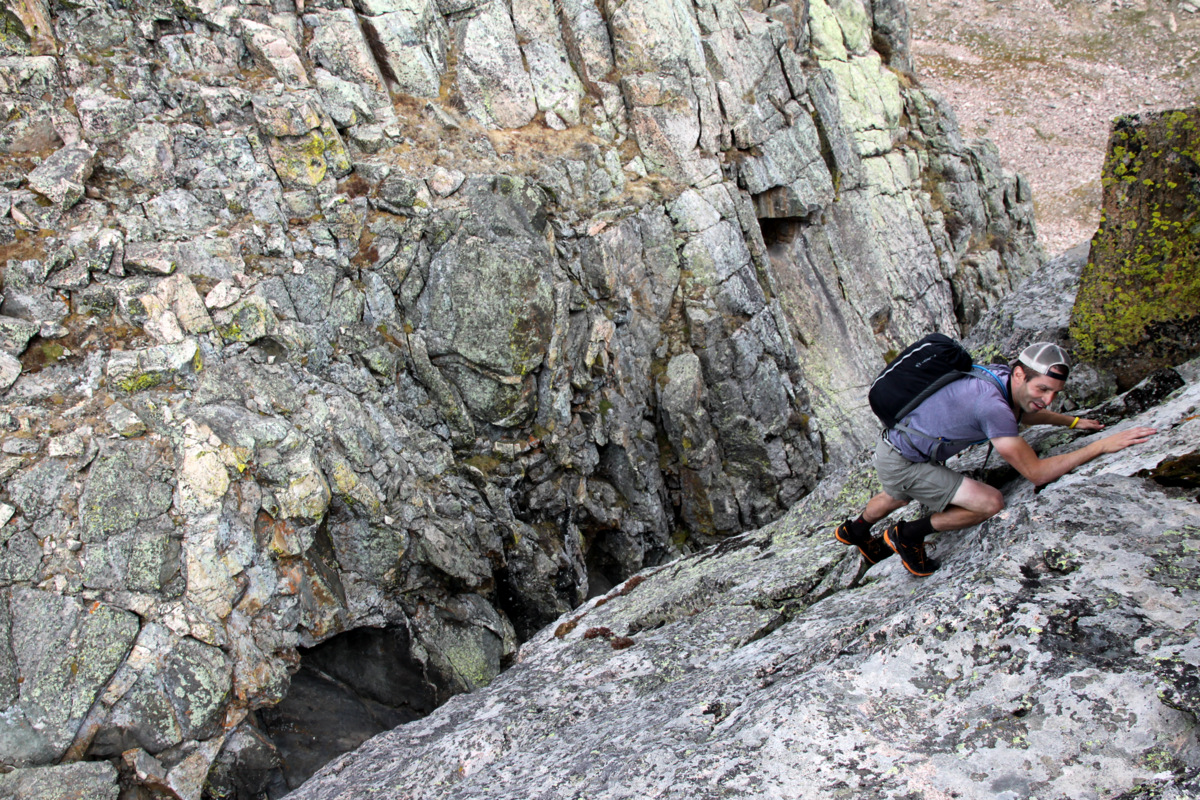
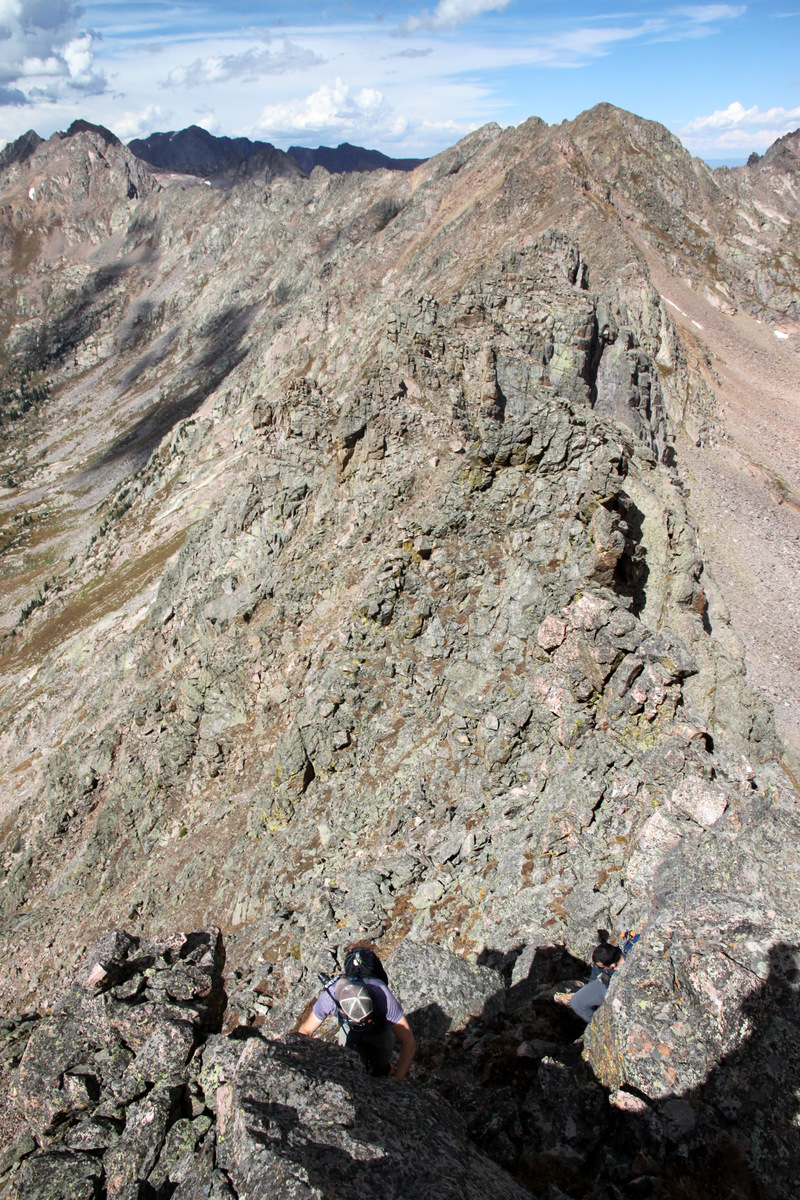
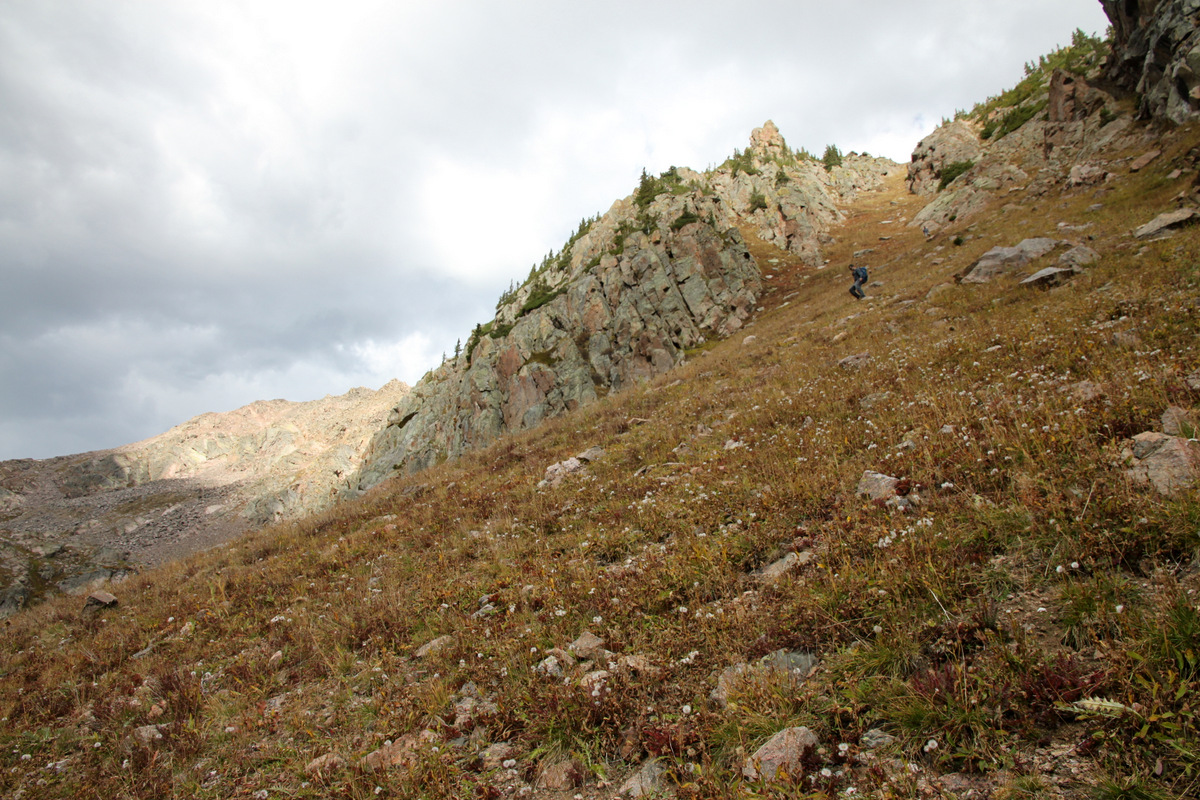
Dillon shot this zoomed-in pic of me coming down from Peak P
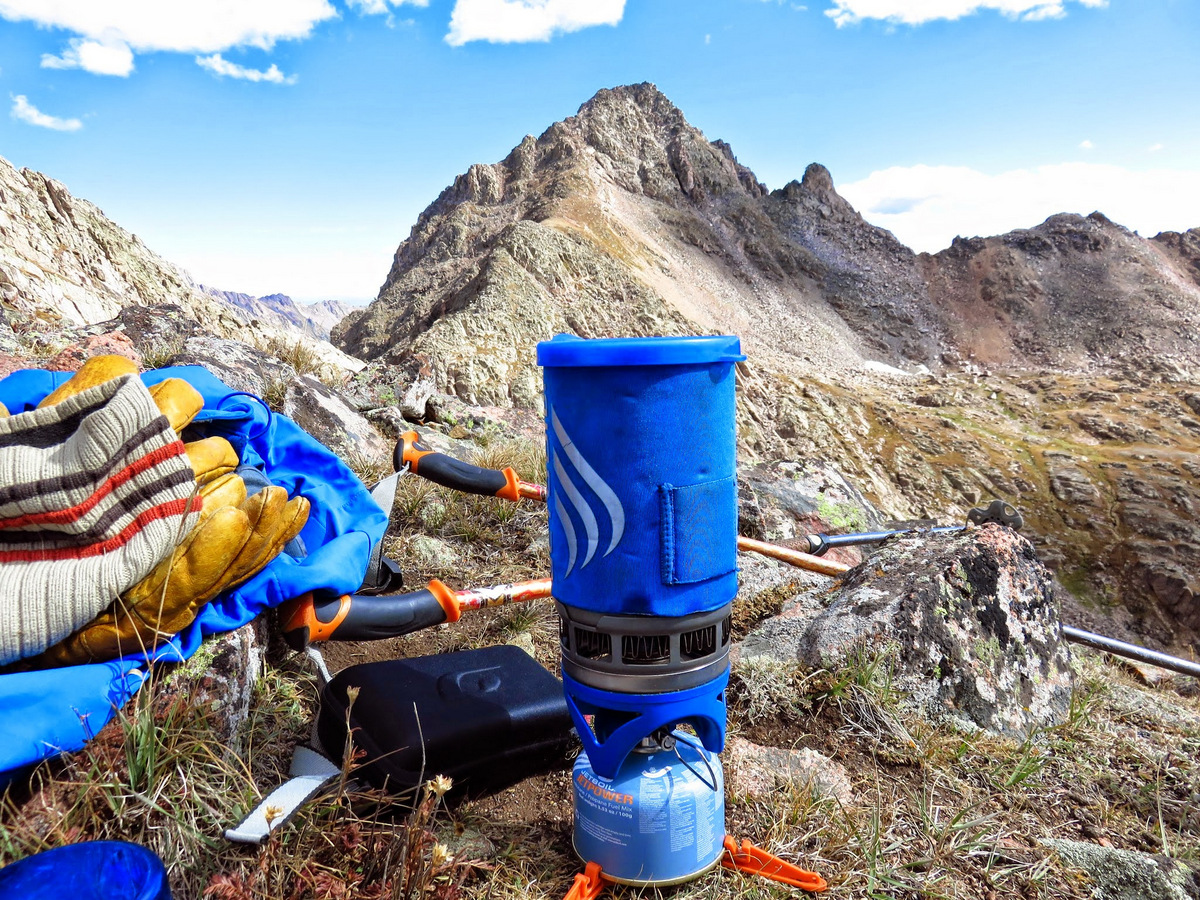
Brian’s kitchen on Rockinghorse Ridge with Peak Q looming in the distance. Photo by Brian

Brian feasting
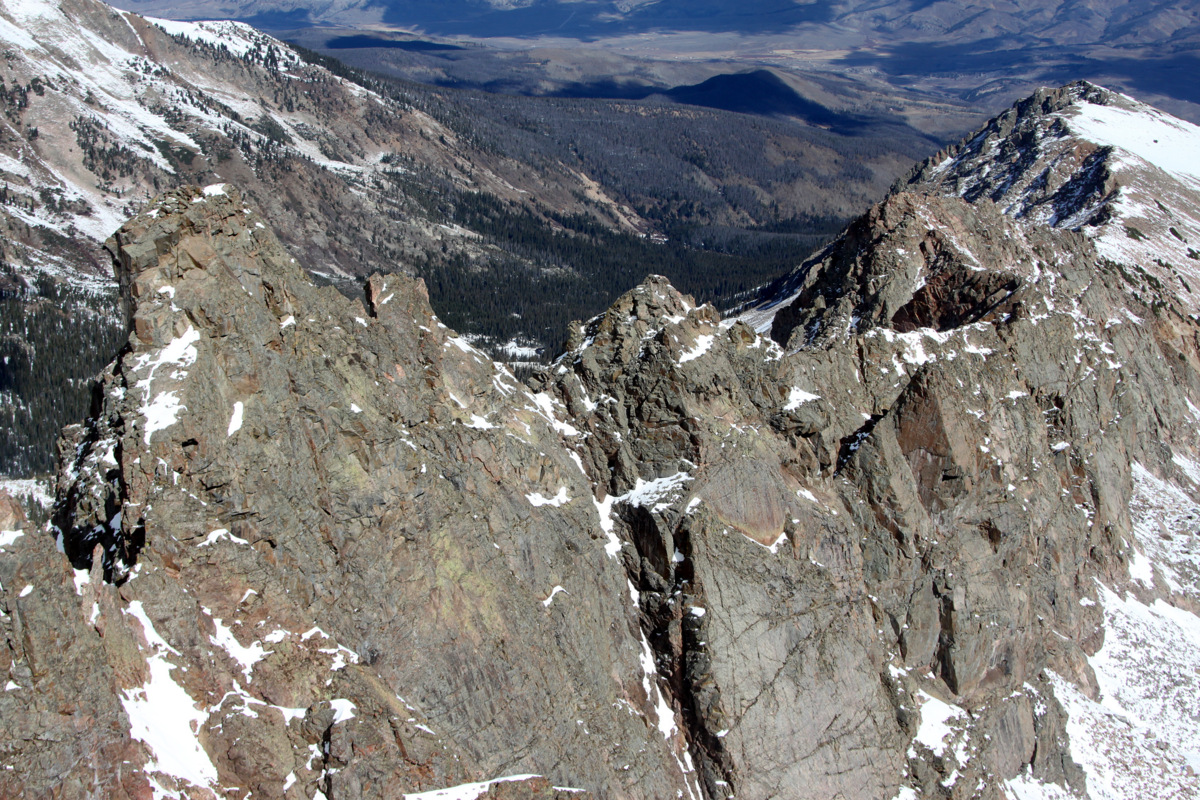
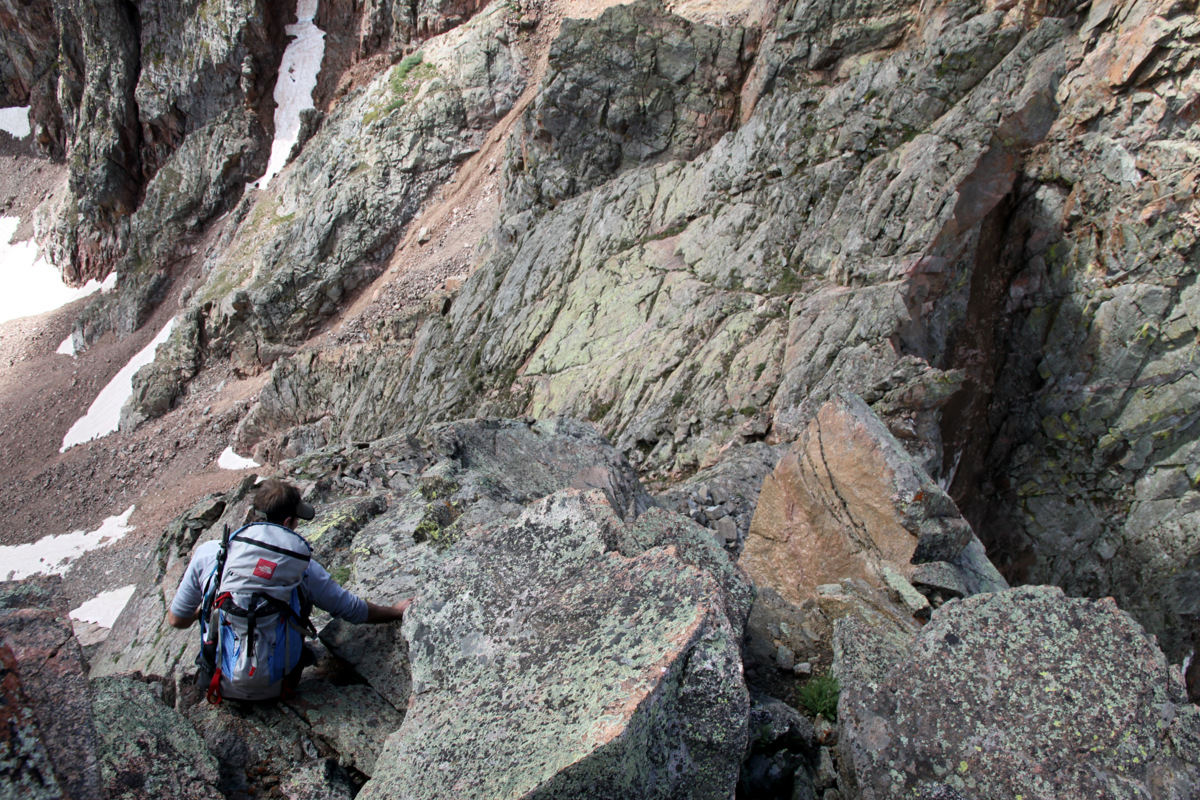
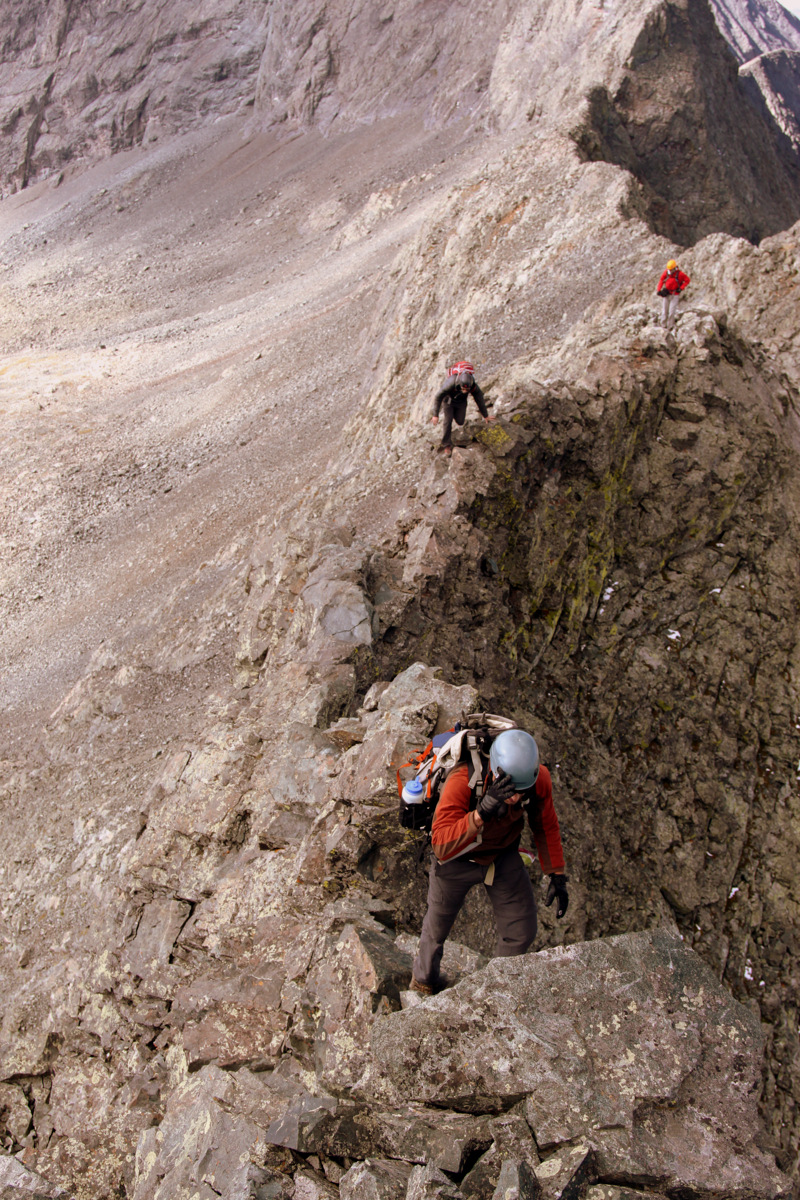
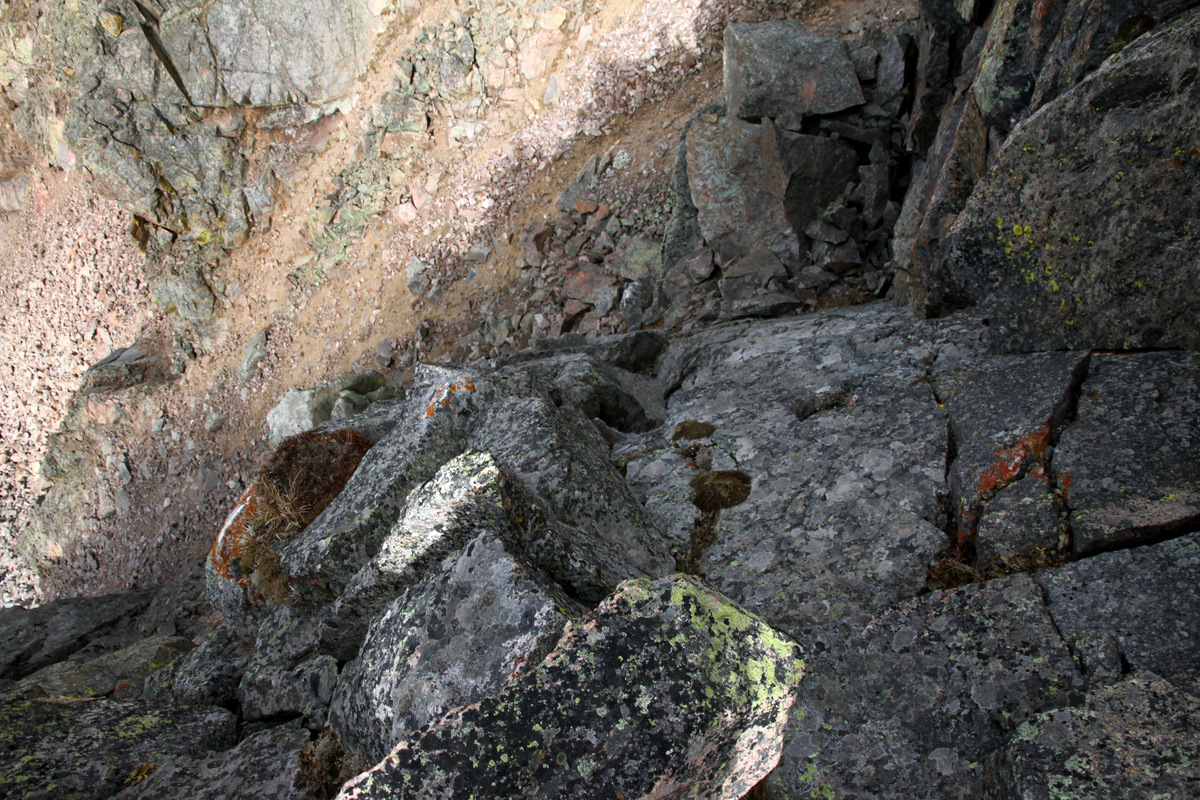
We then packed up and made our way south to the first deep notch inn the ridge. Fun scrambling down and out of the notch ensued and soon we were heading onto the second deeper notch which had stopped Dillon in his tracks.

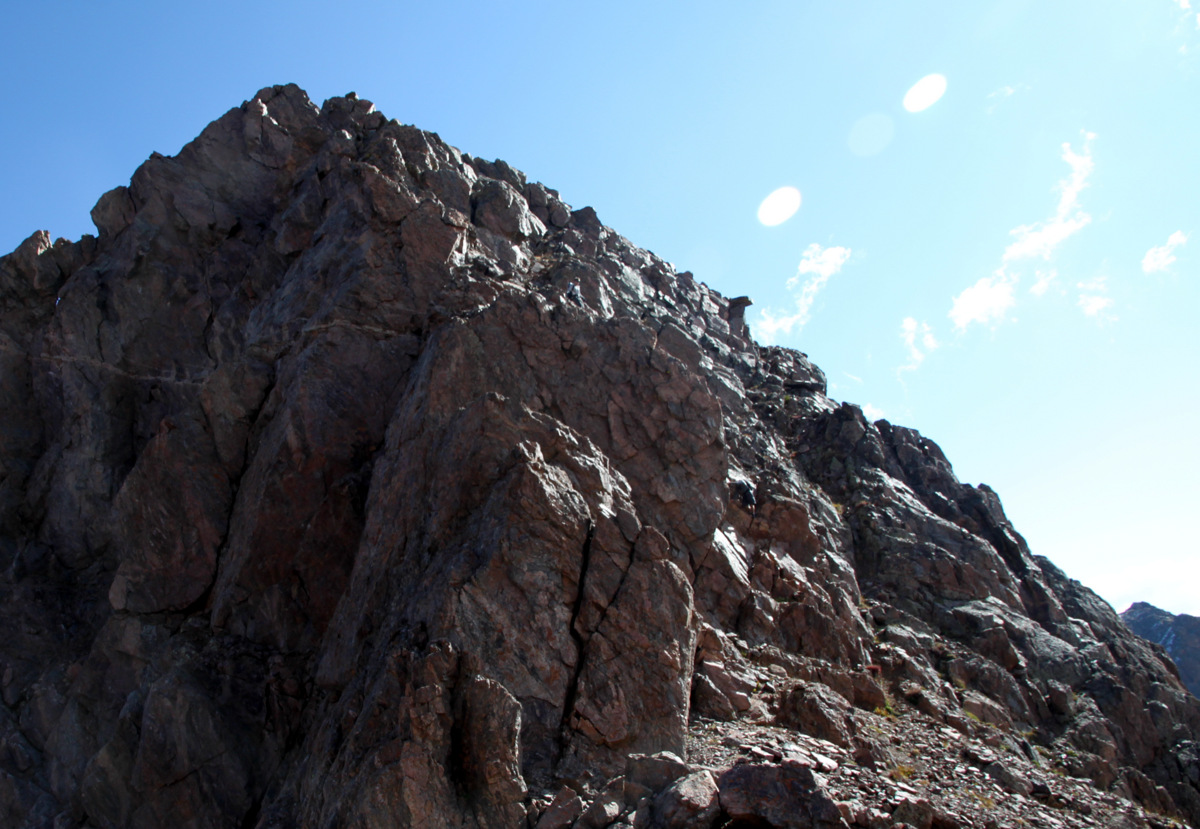
The first notch. We reclimbed right up the center (maybe class 4)

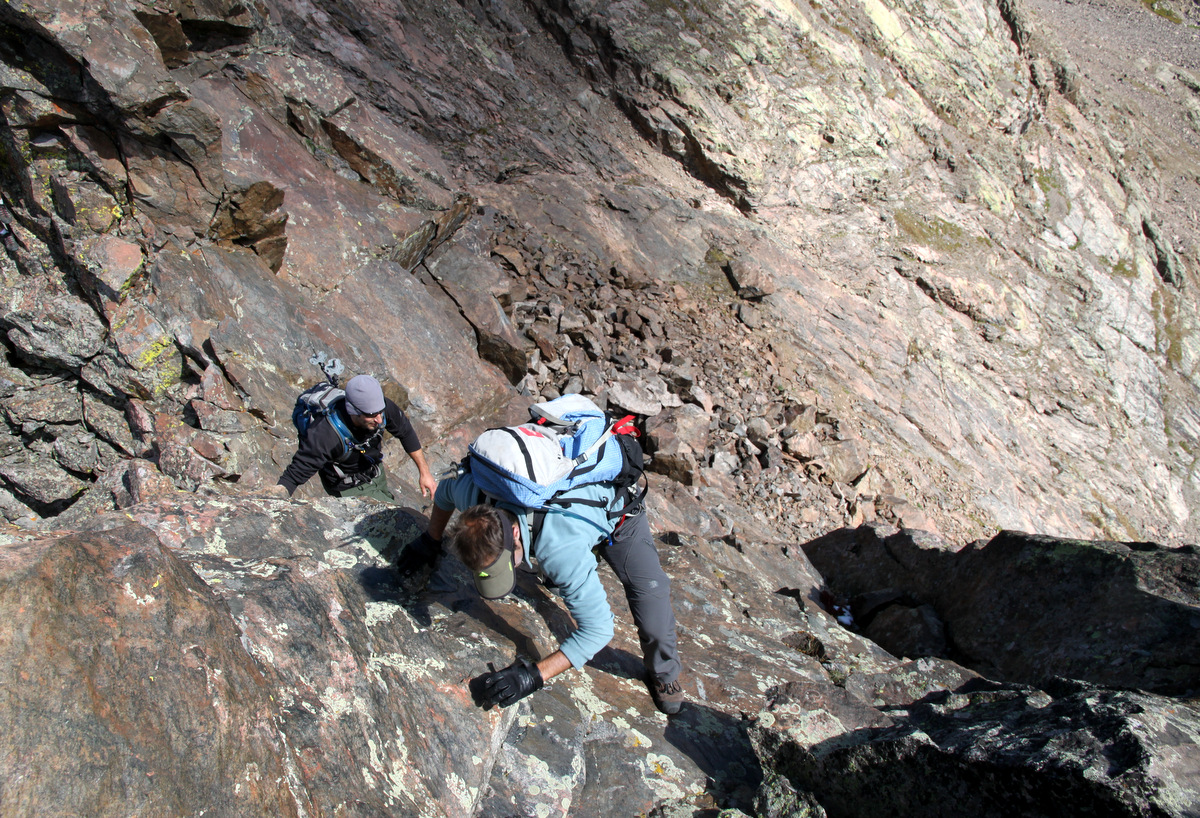
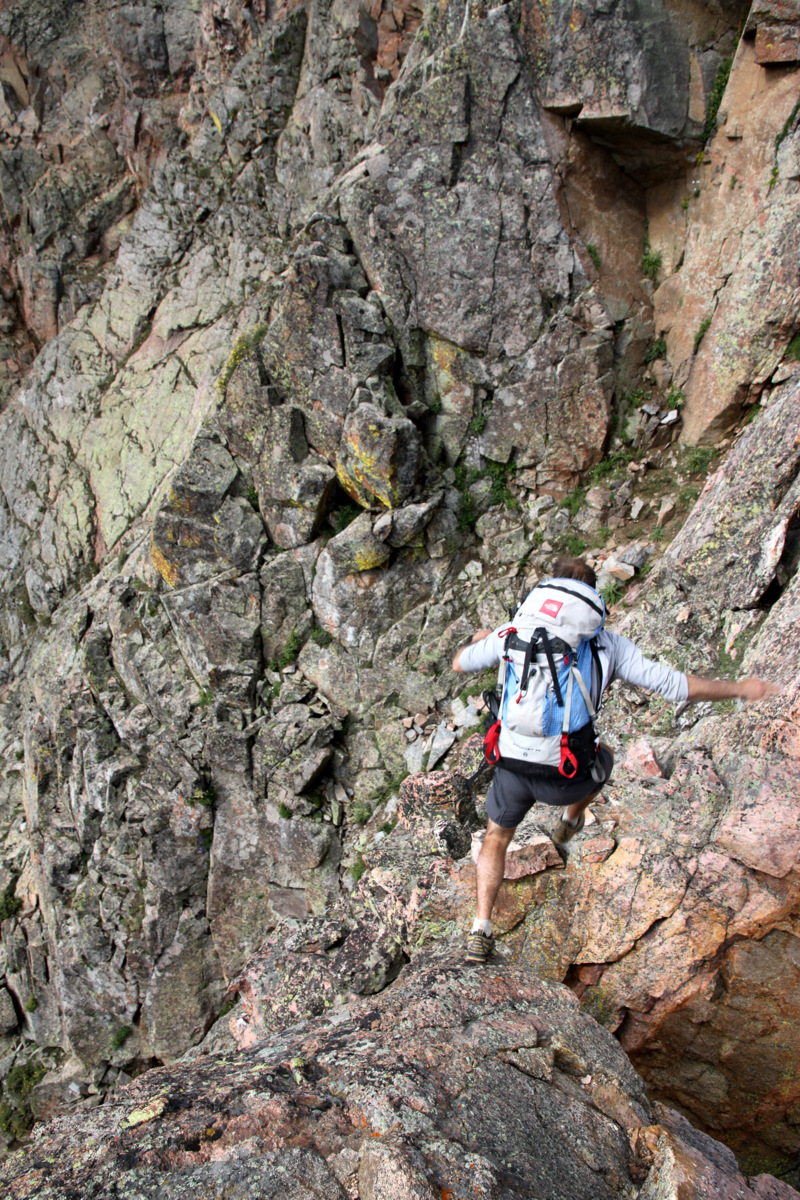
Brian downclimbing to the first notch
Brian climbing out of the first notch
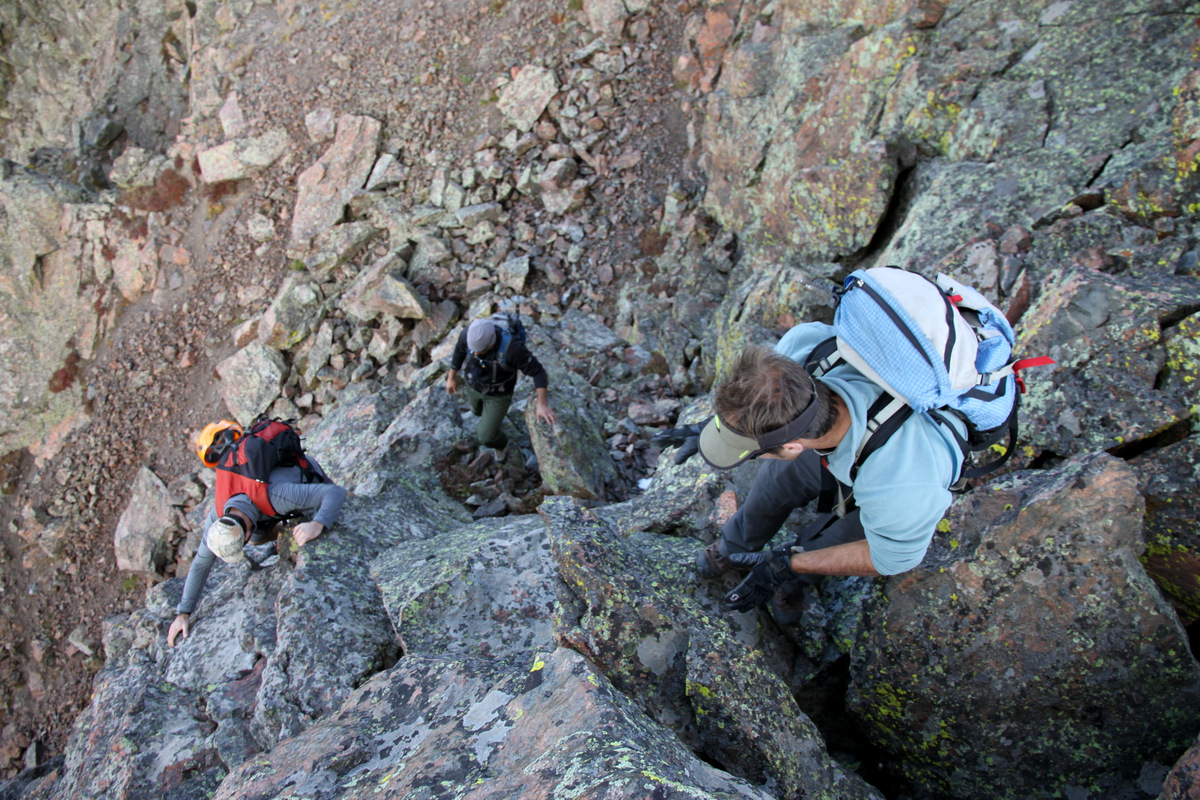
Good scrambling
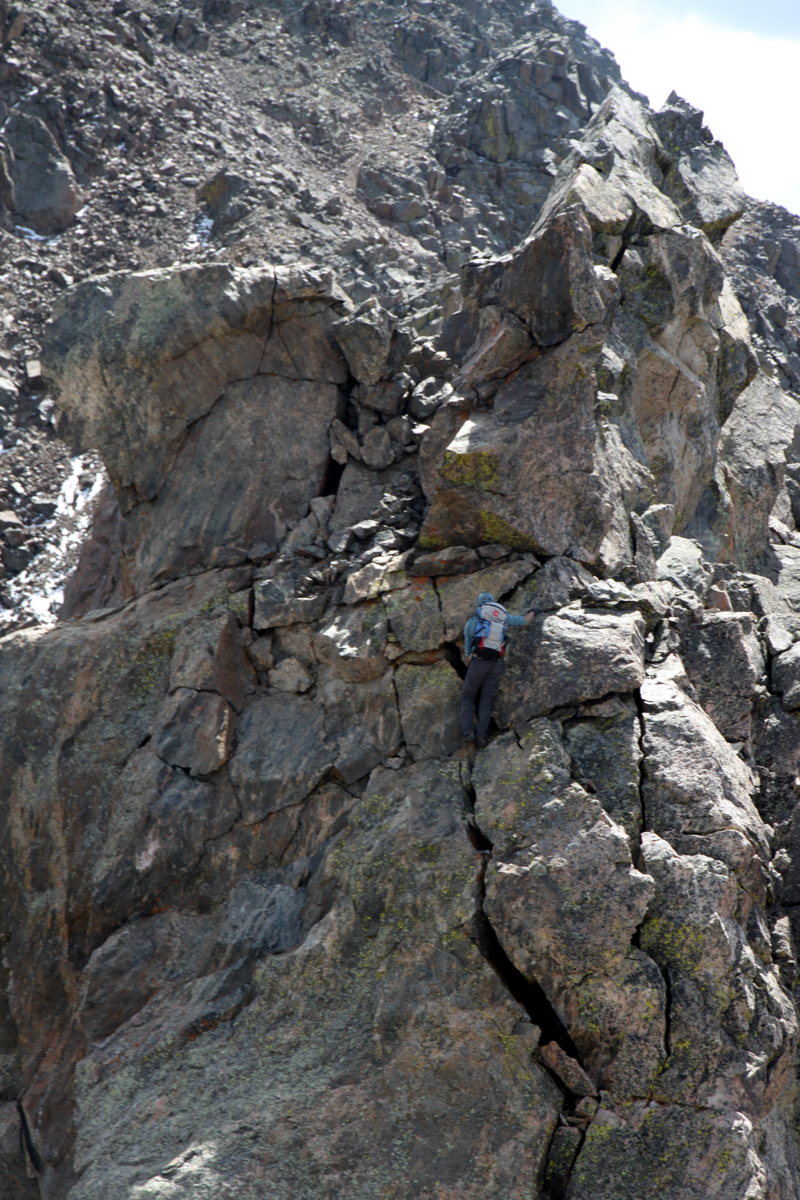
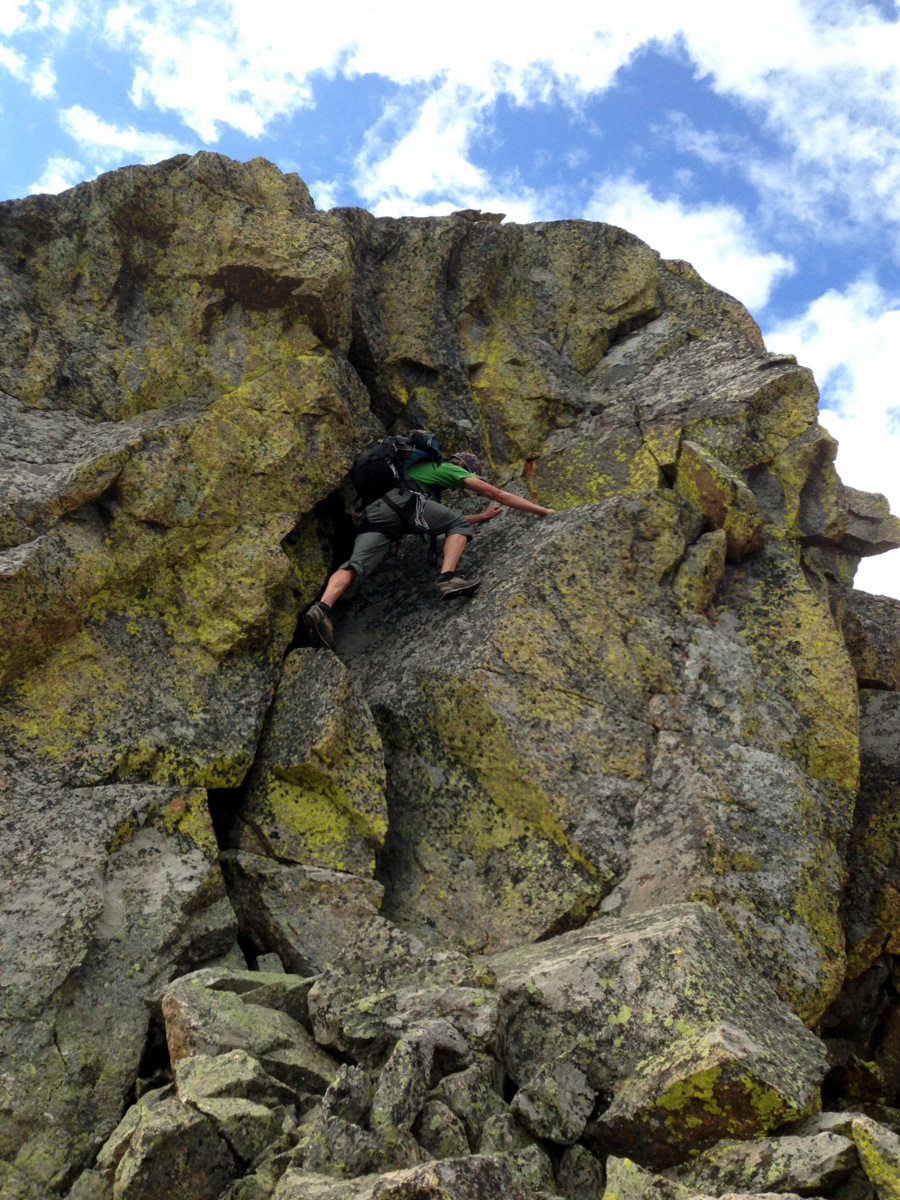
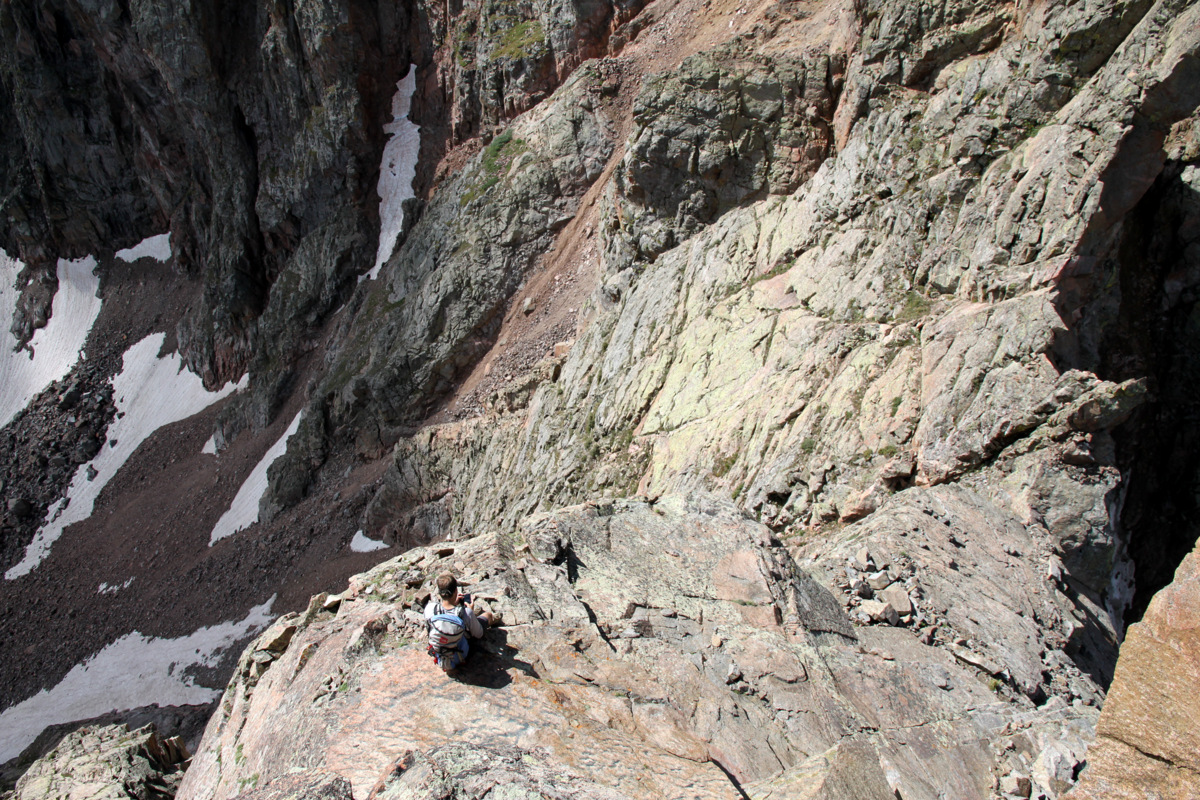
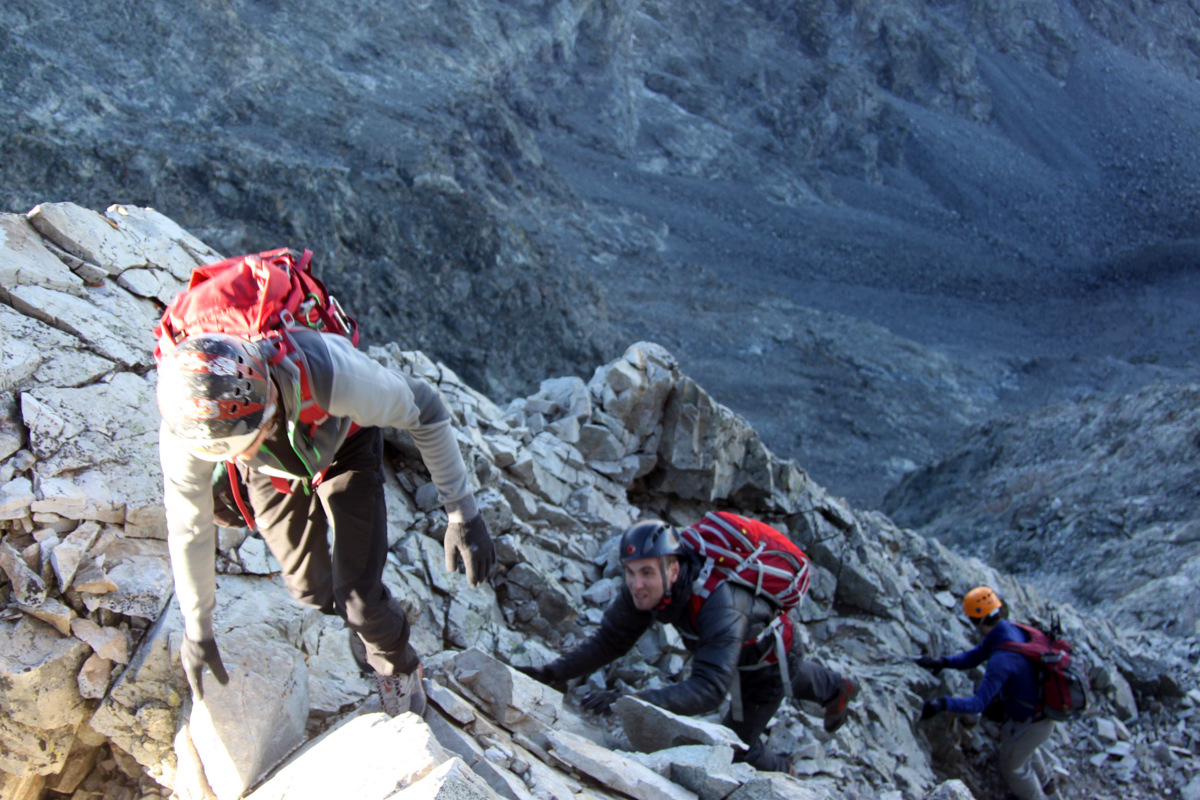
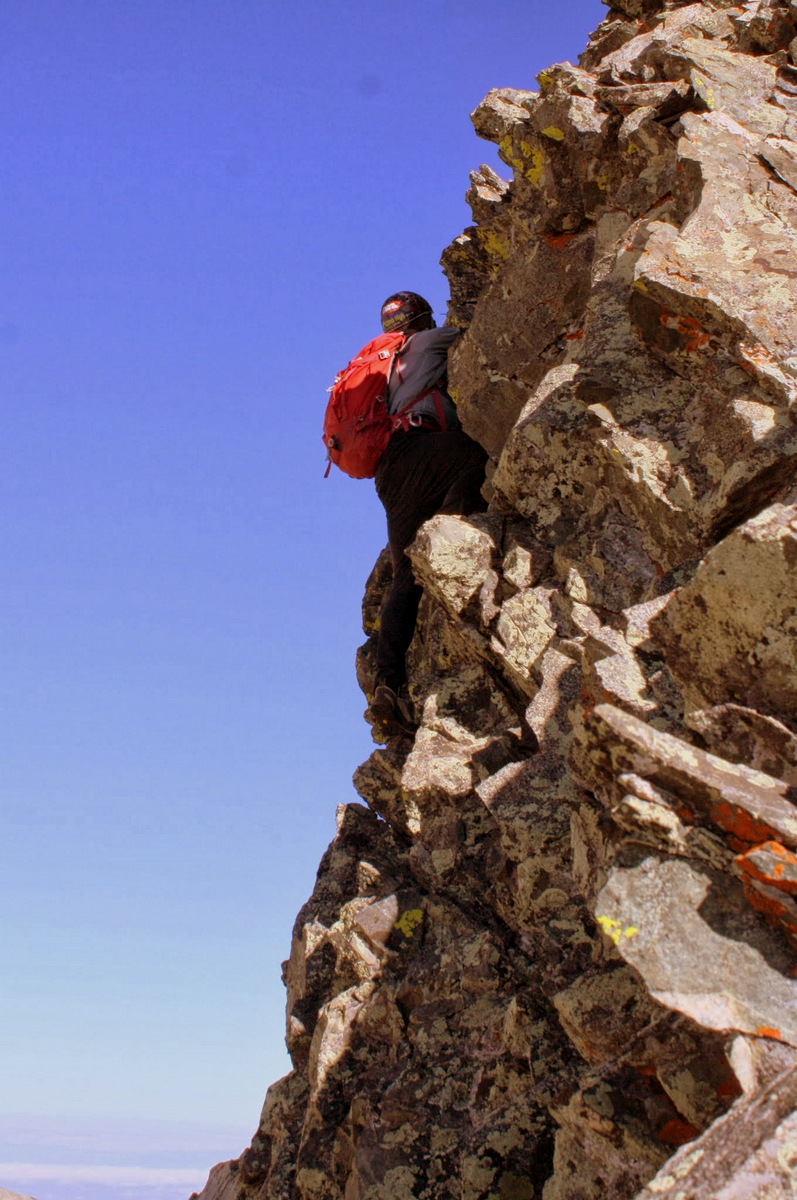
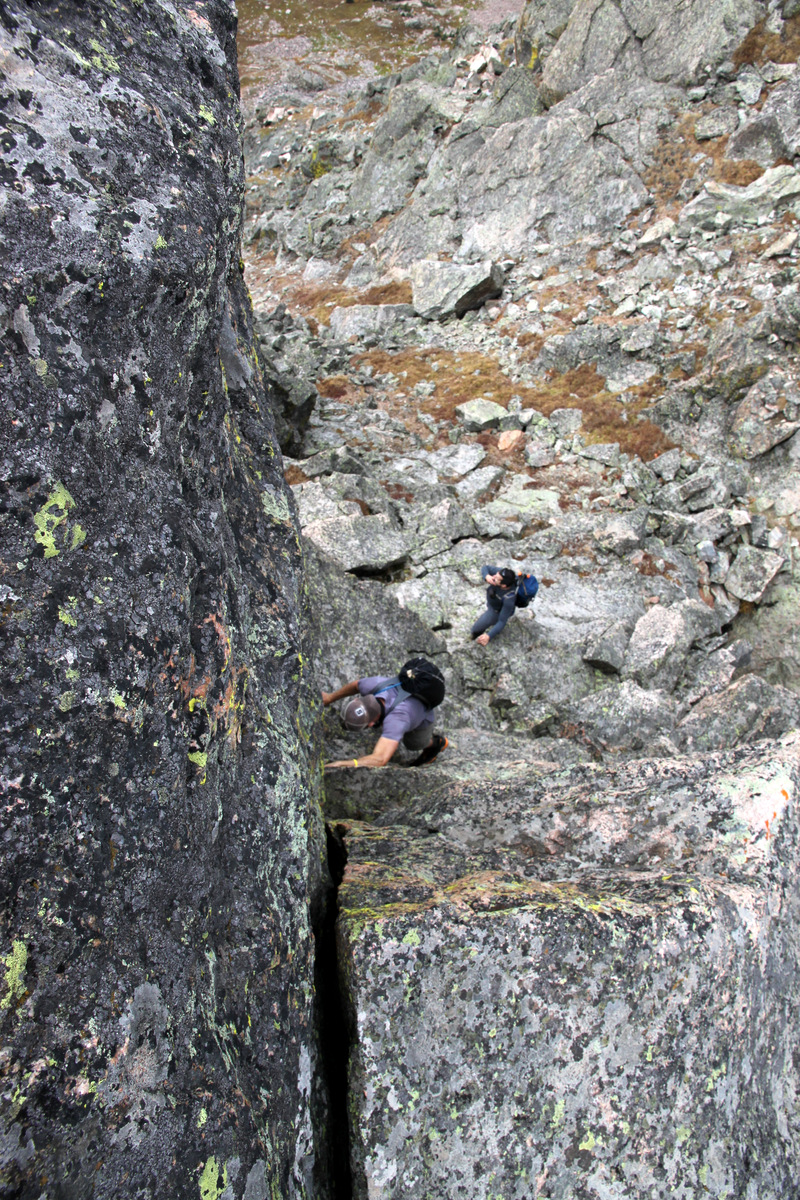
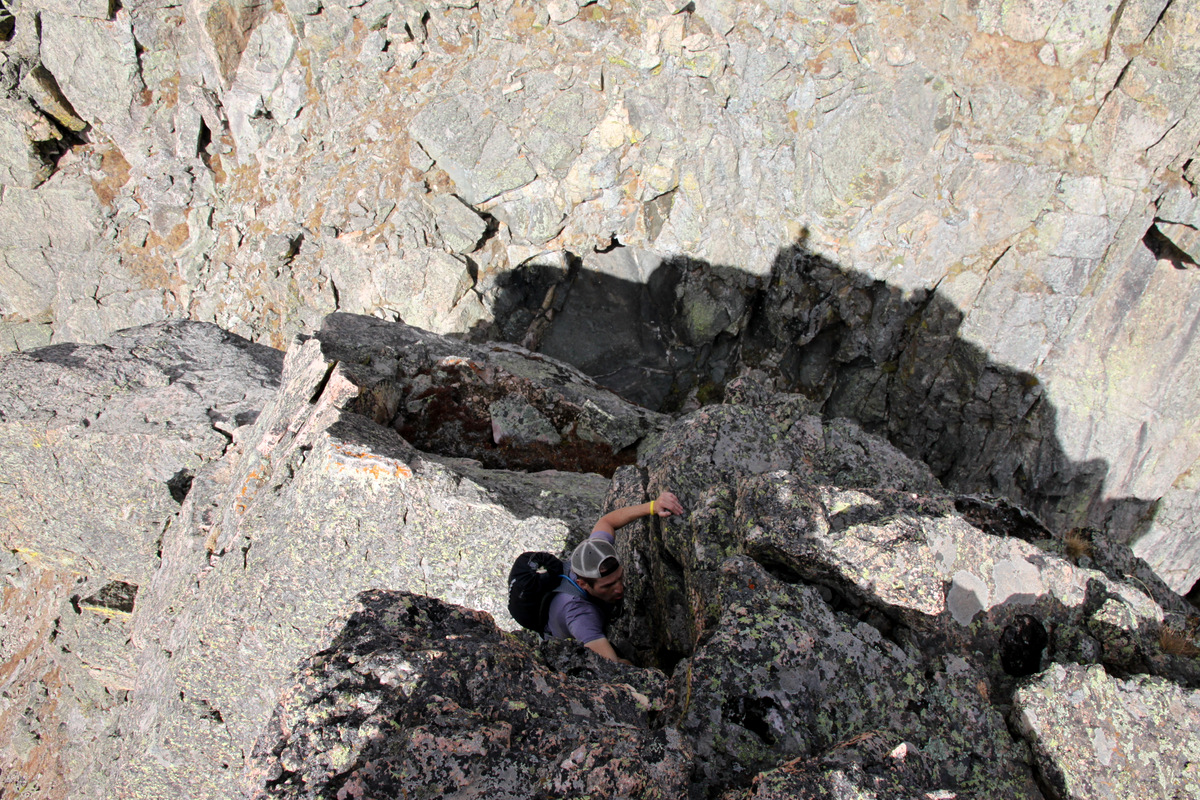
Brian & I were both looking to take the reclimb out of the second notch head-on to meet up with Dillon. I attempted the lower portion directly, but really came to an impass which required me to surmount a small roof with some big exposure in trail running shoes. No thanks. I circled around to the east side of the ridge to find a nice class 4 dihedral which accessed the low 5th class upper portion of the ridge proper. Brian found another low 5th class route about 20′ to the west of the ridge proper.

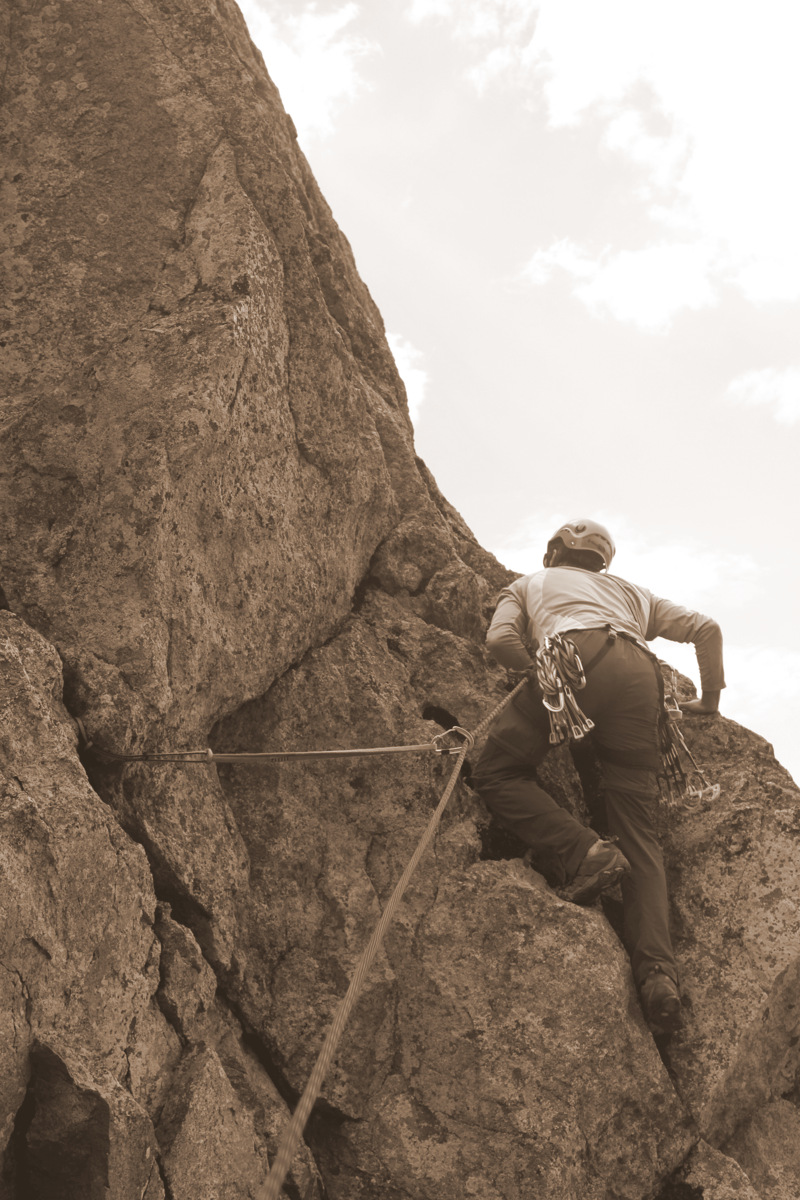
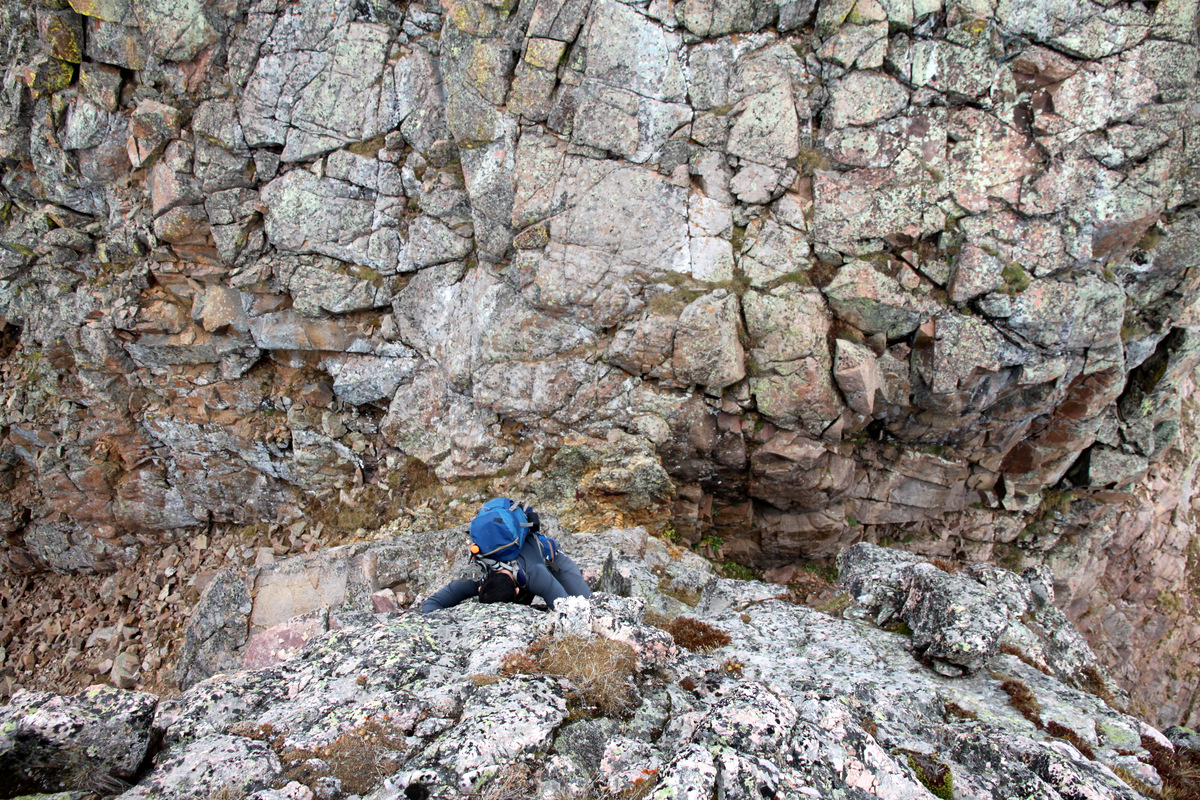
Me attempting the lower portion of the ridge proper out of the second notch before backing off and going around to the left. Photo by Brian
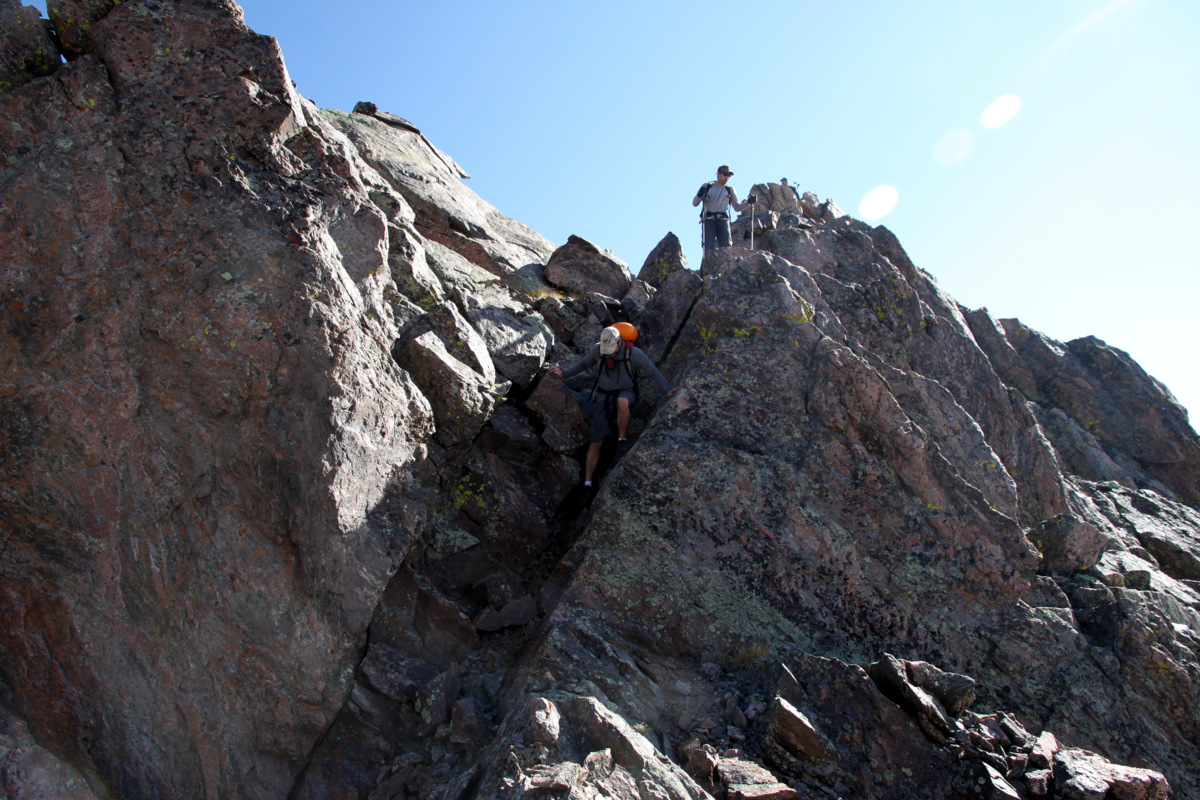
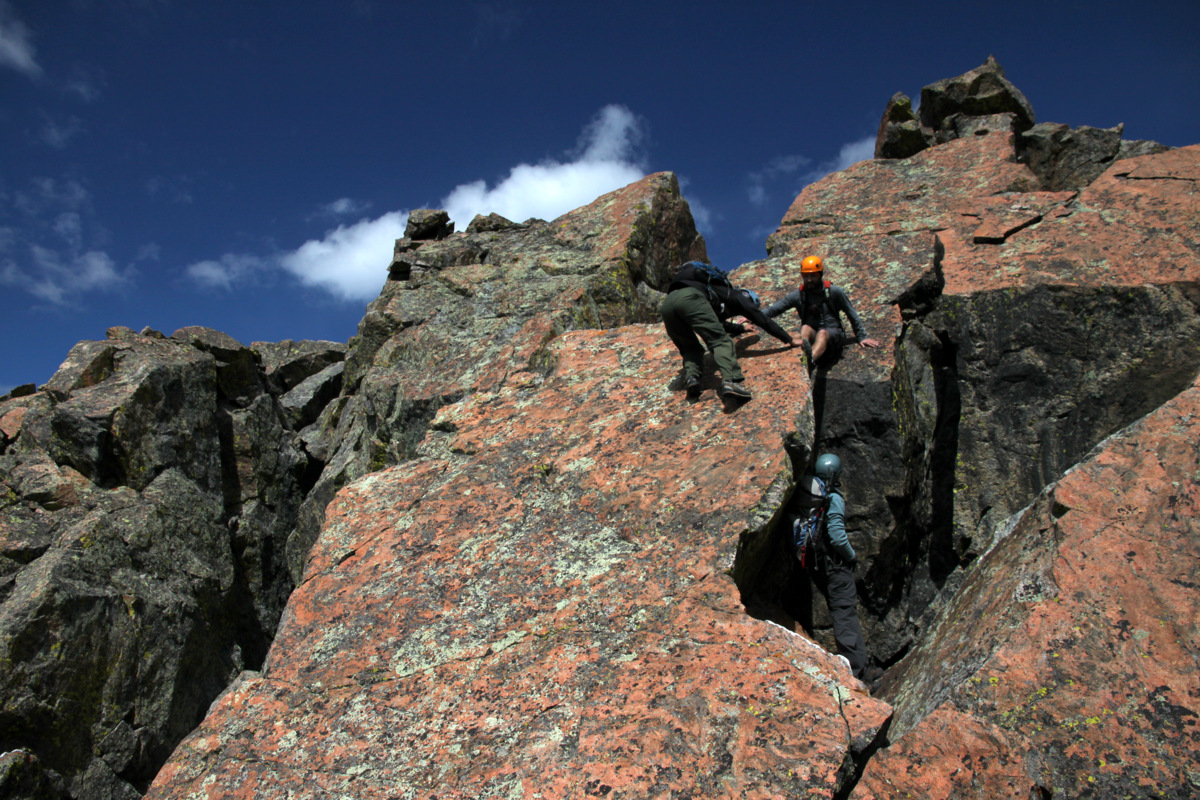
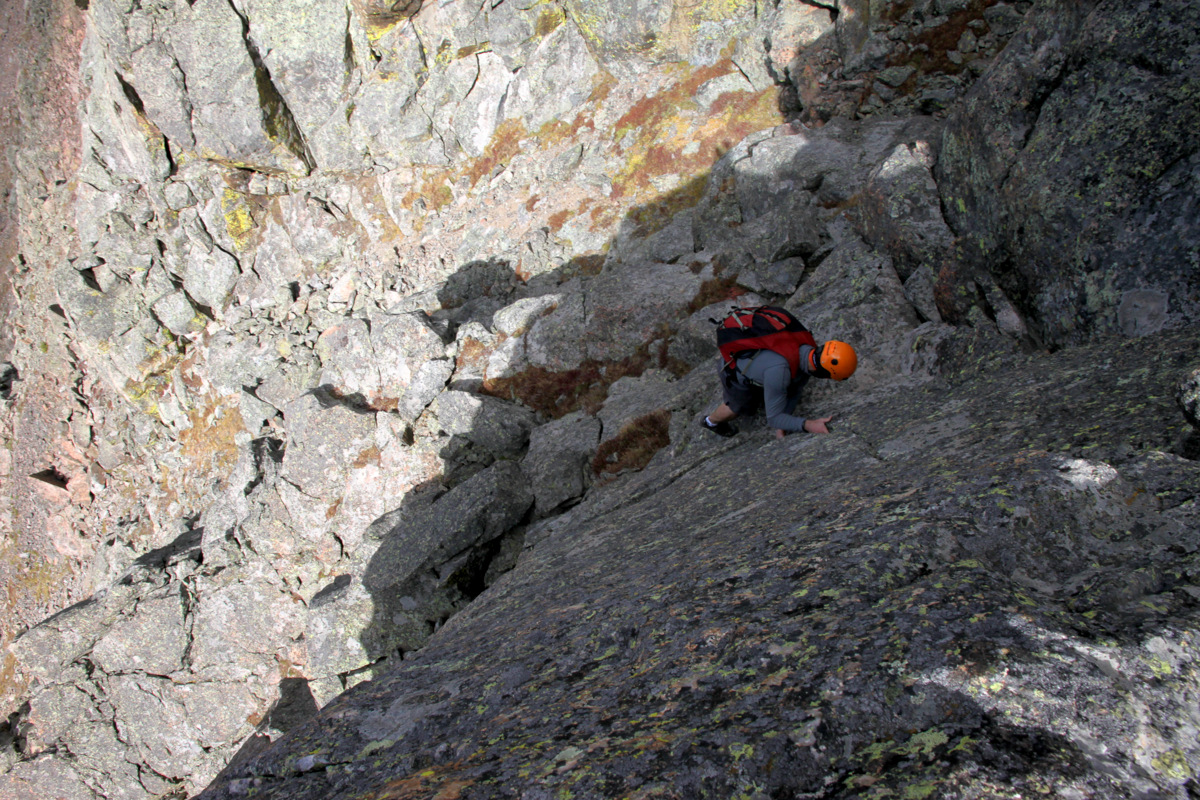
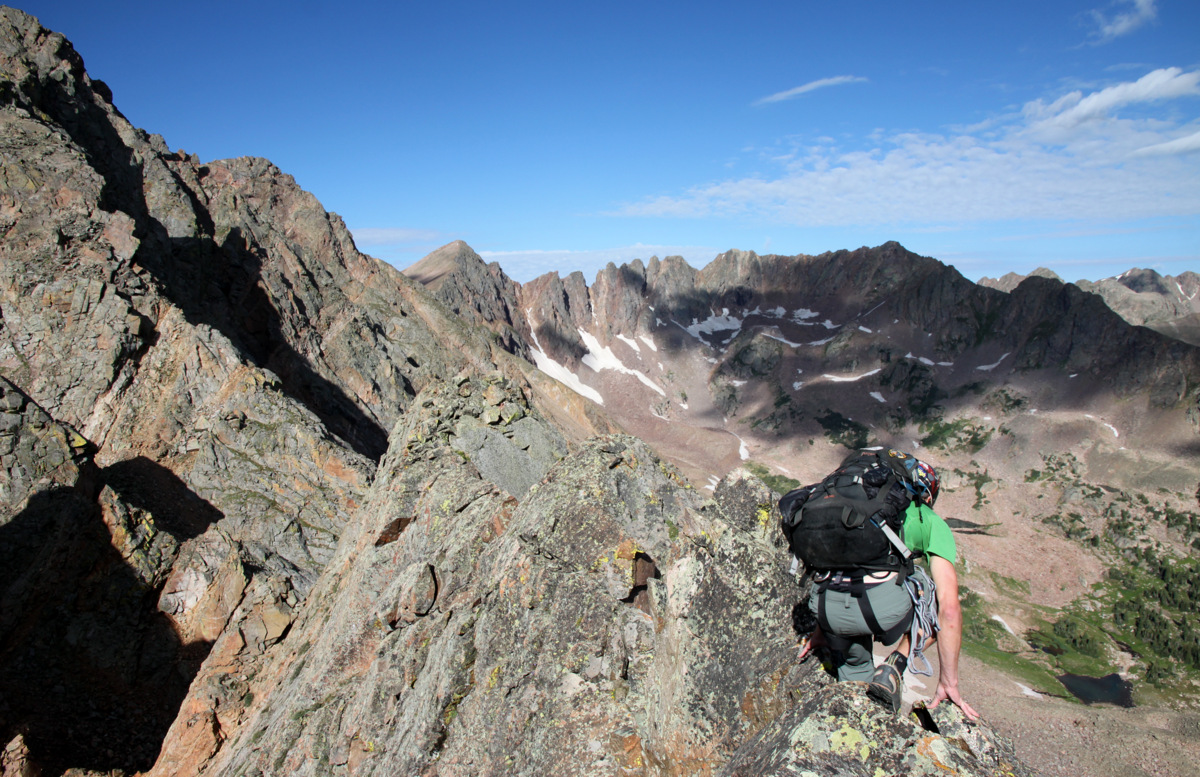
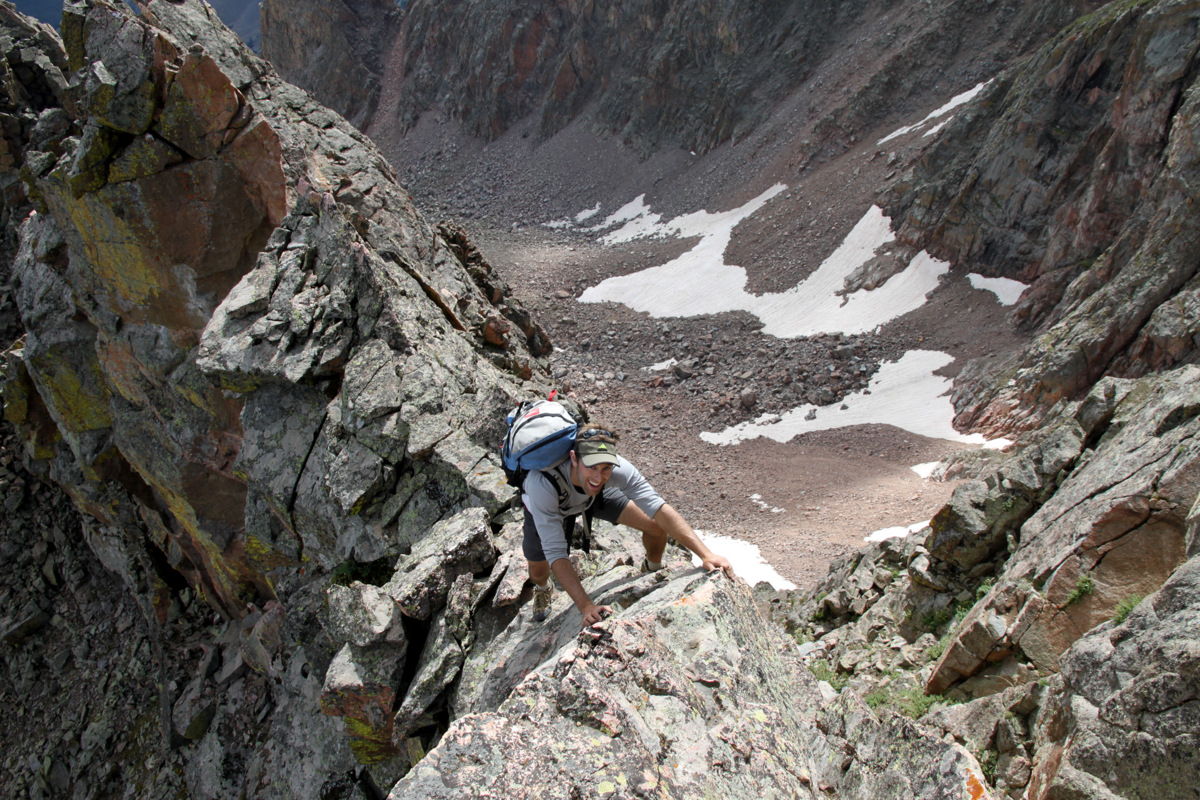
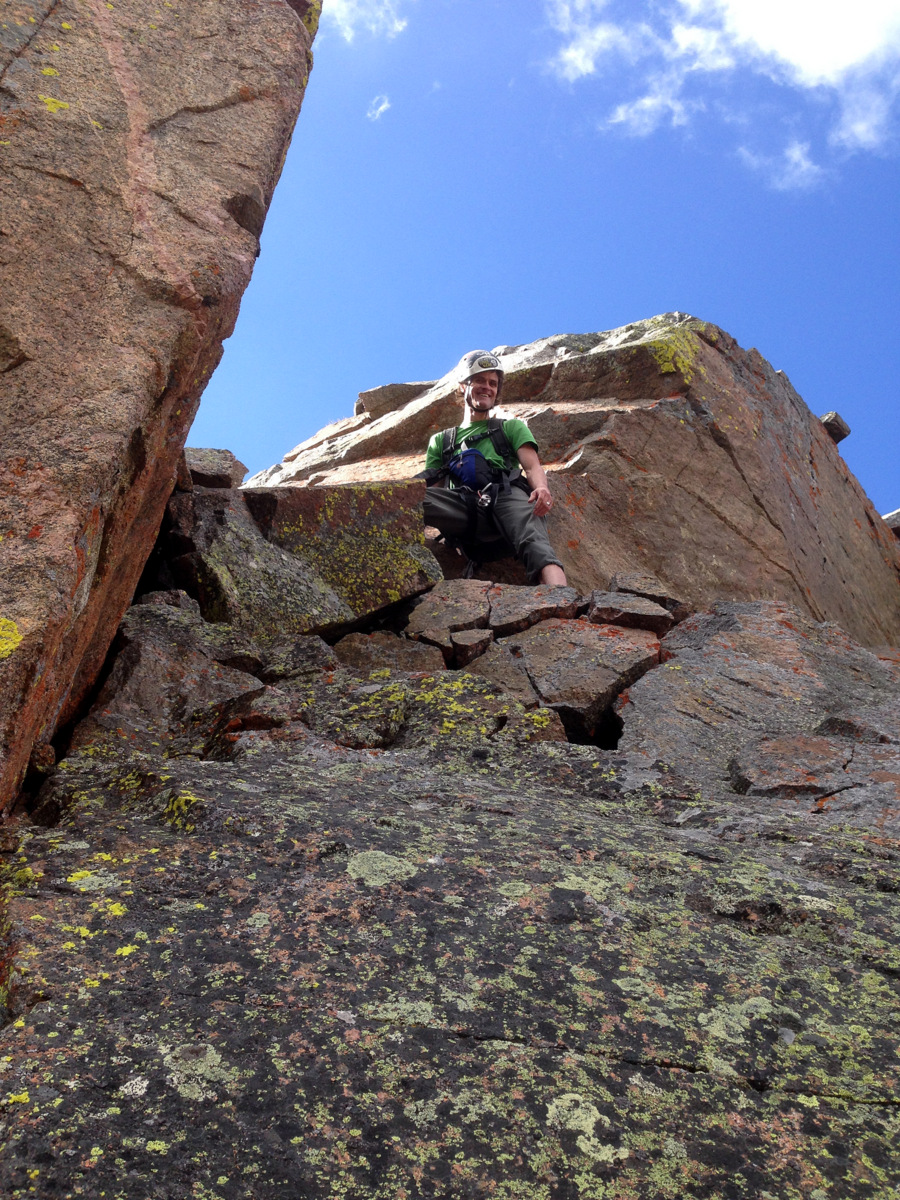
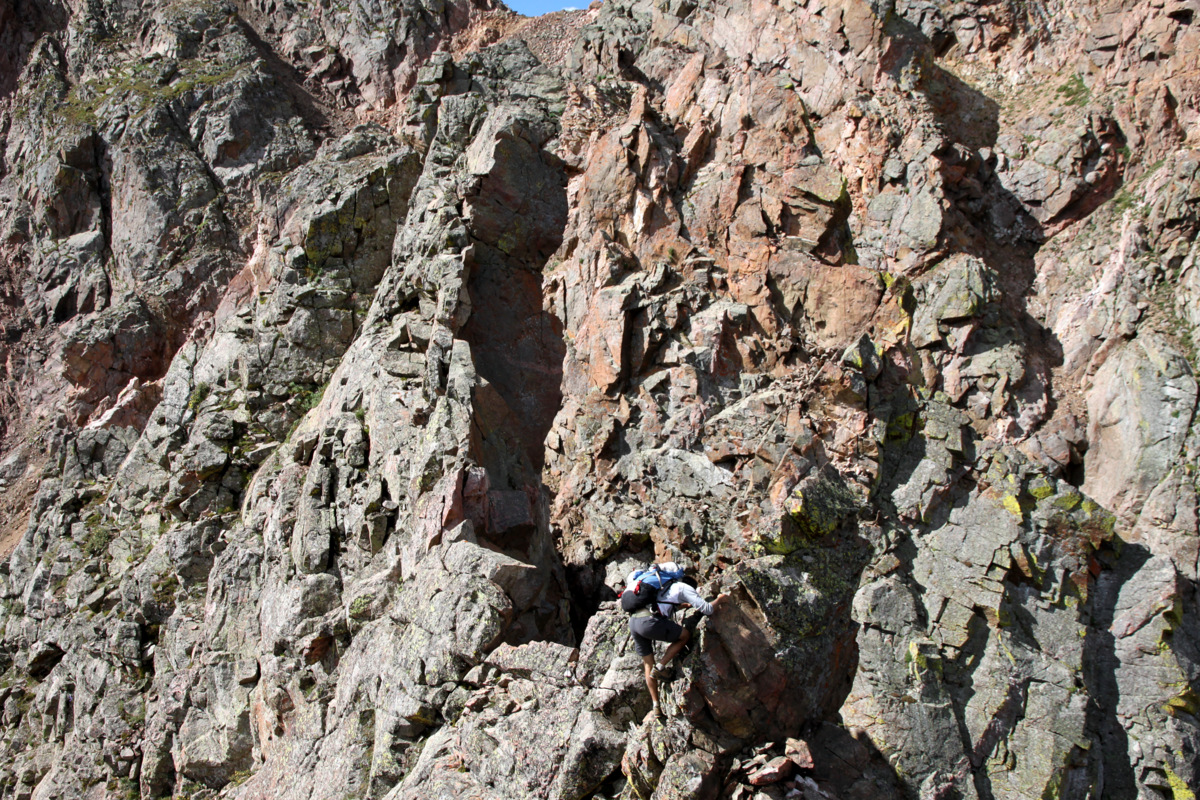
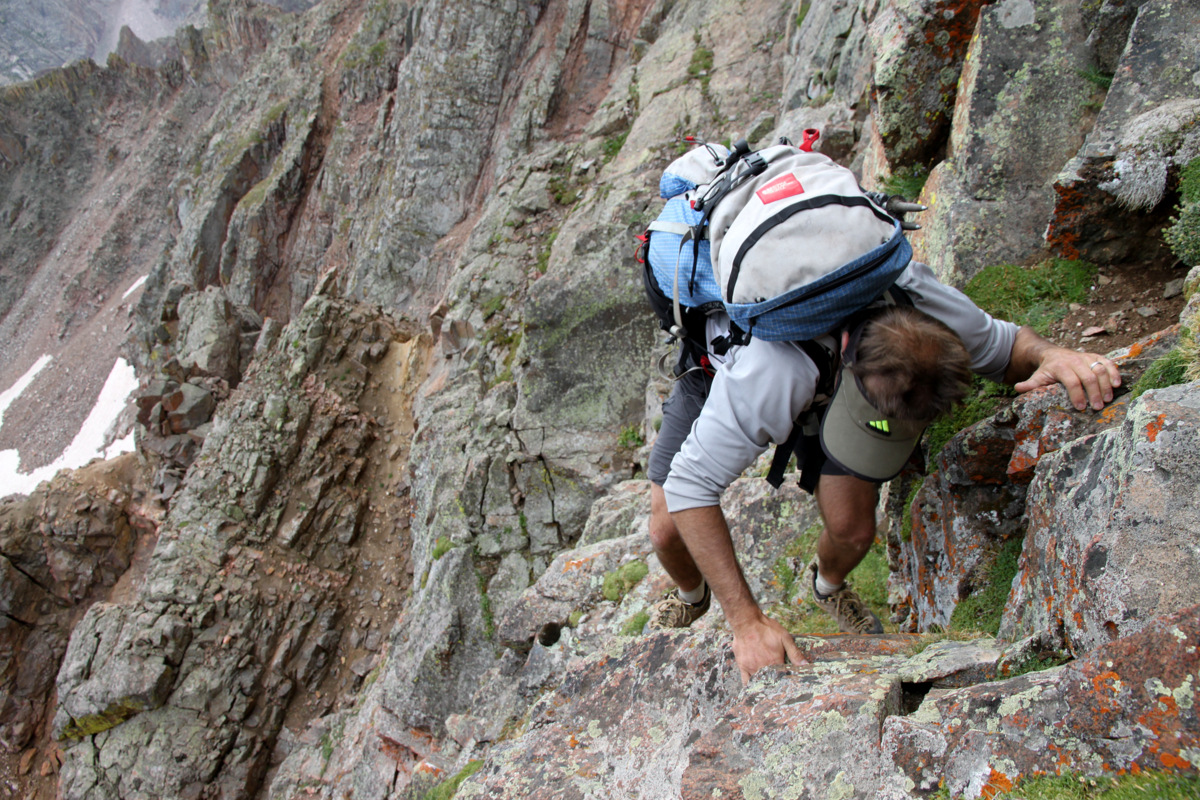
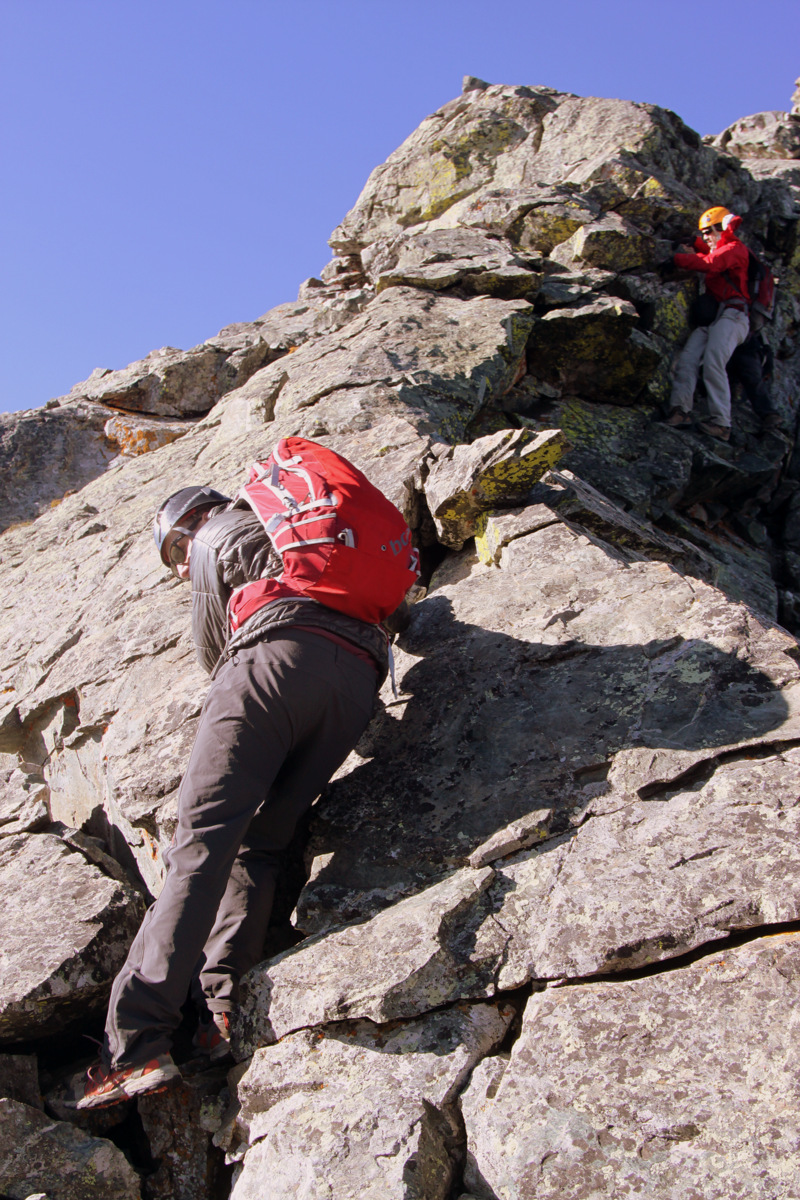
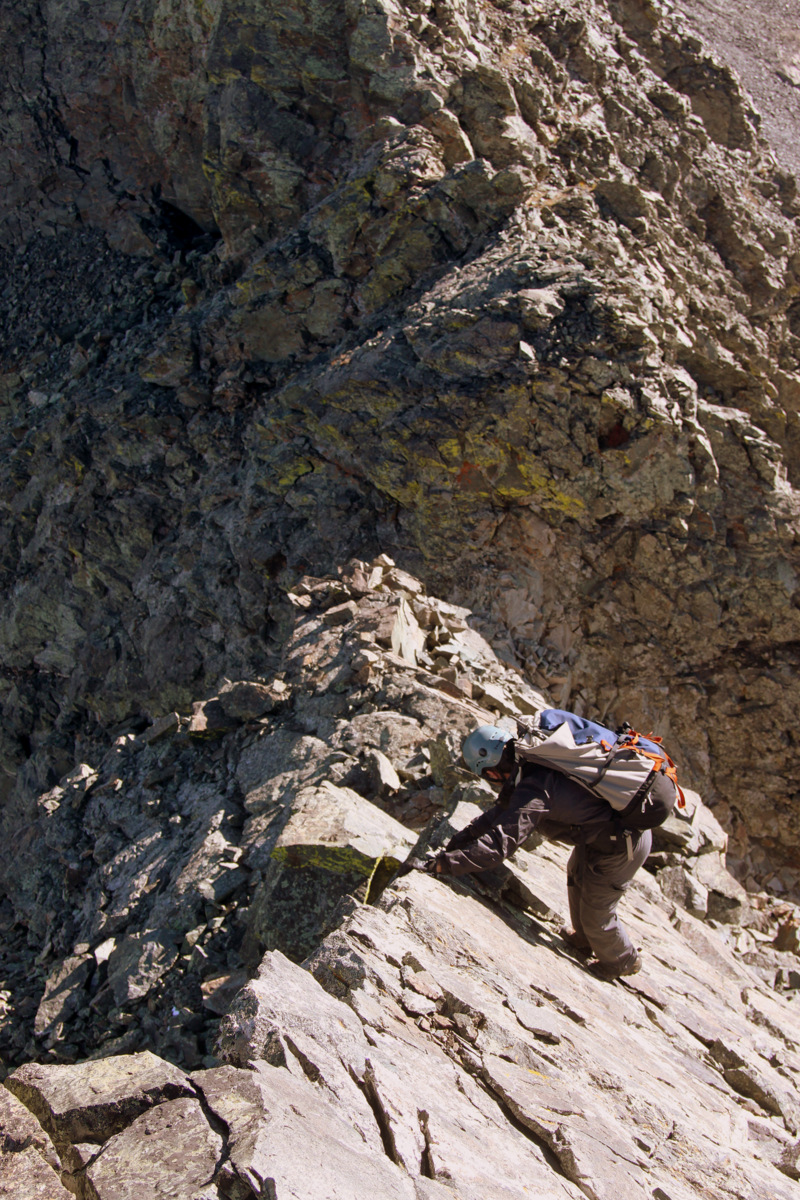
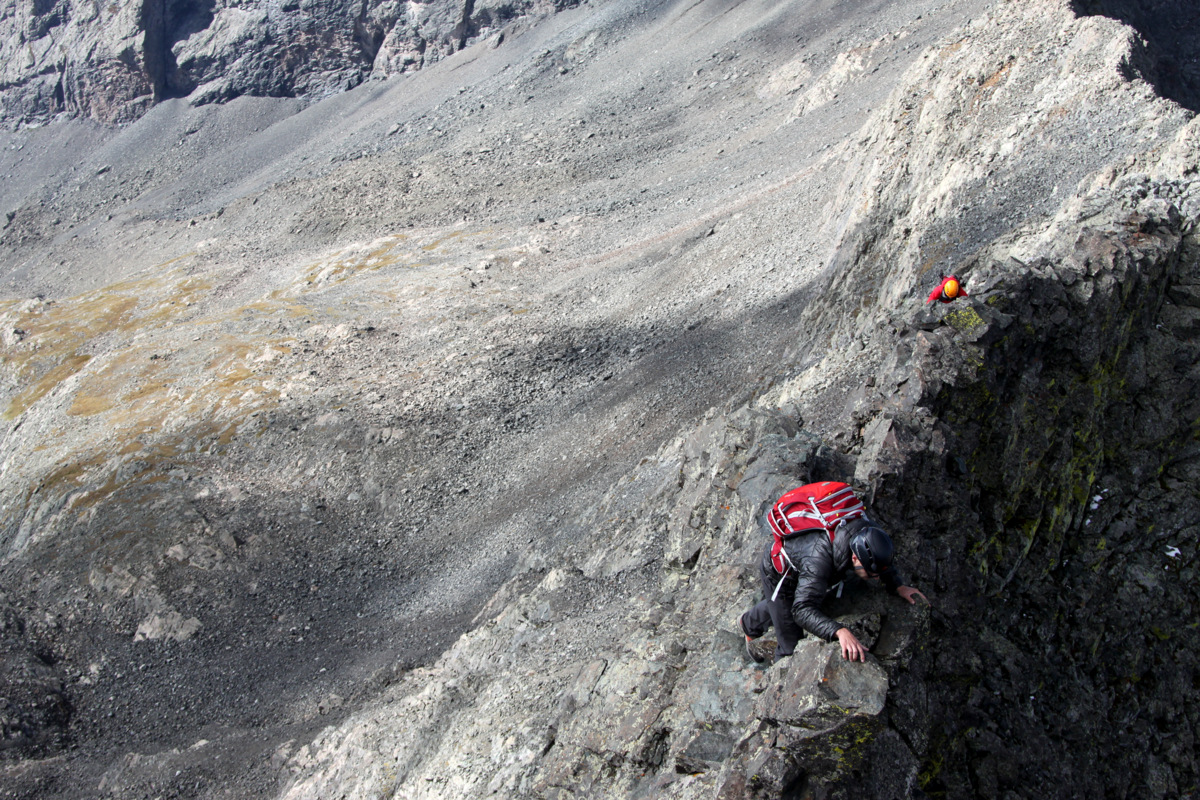
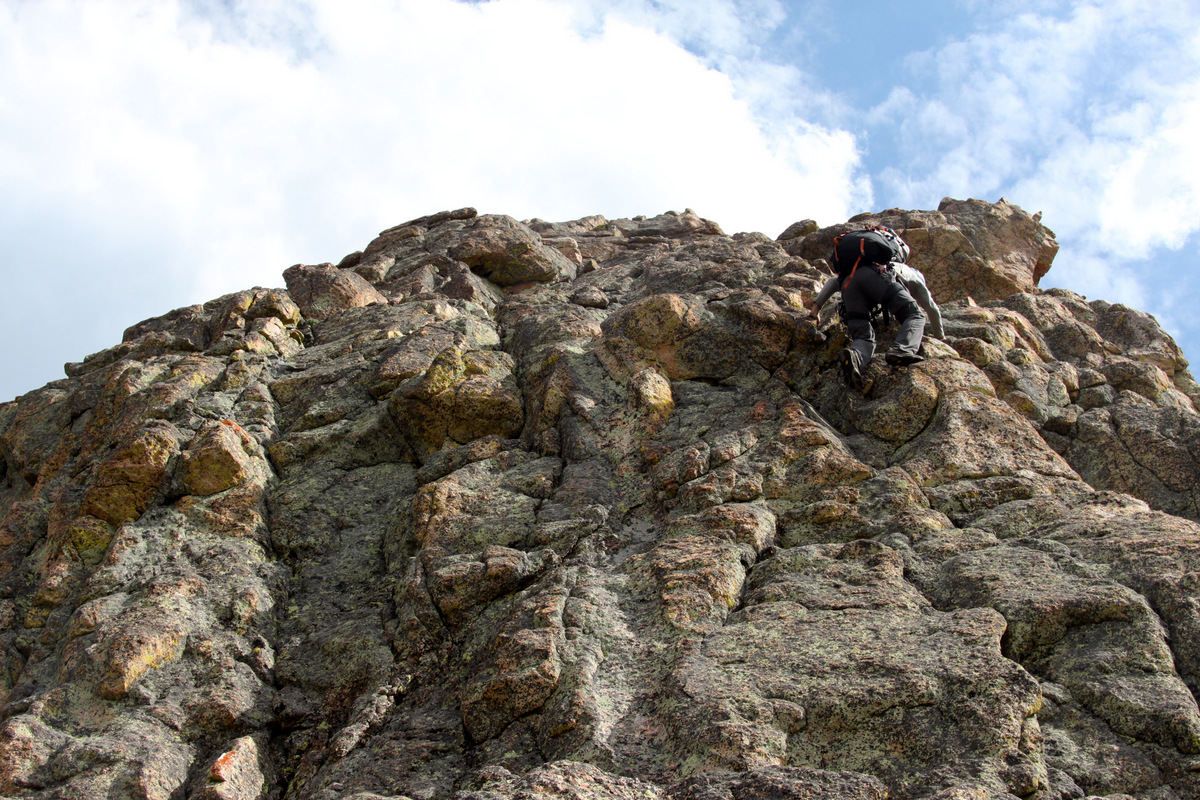
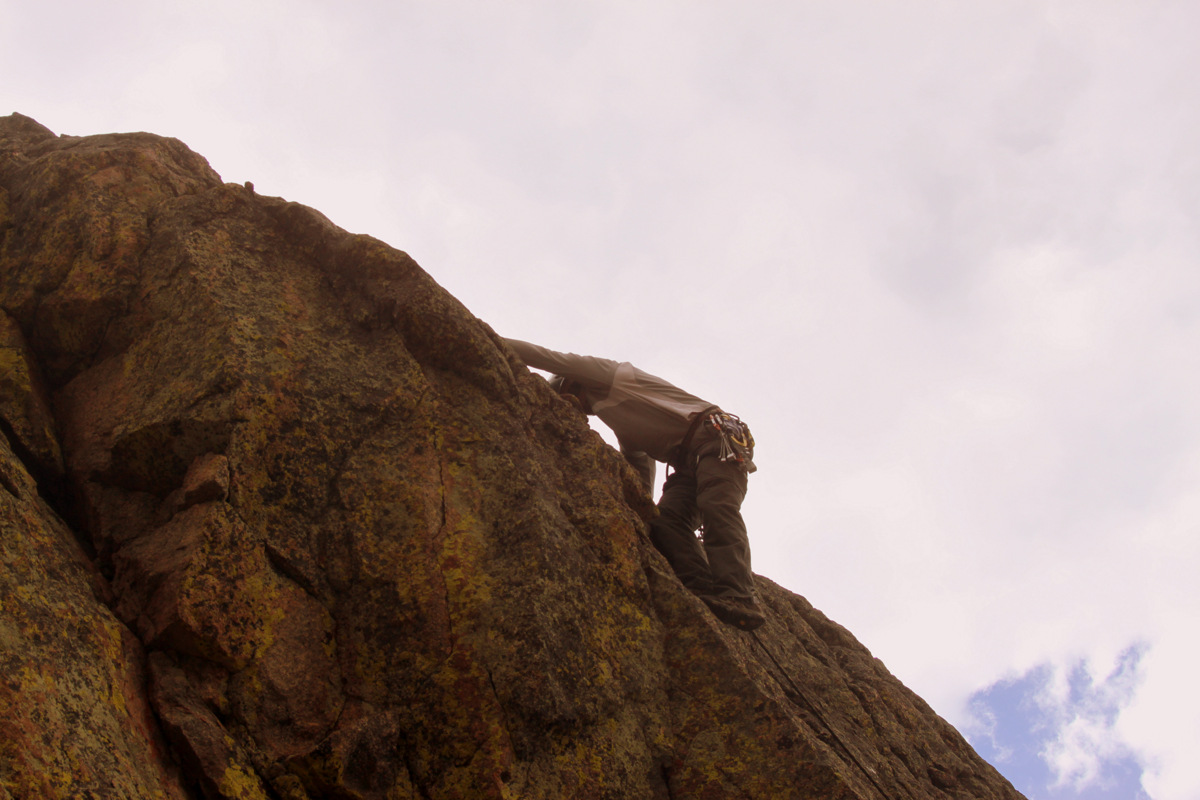
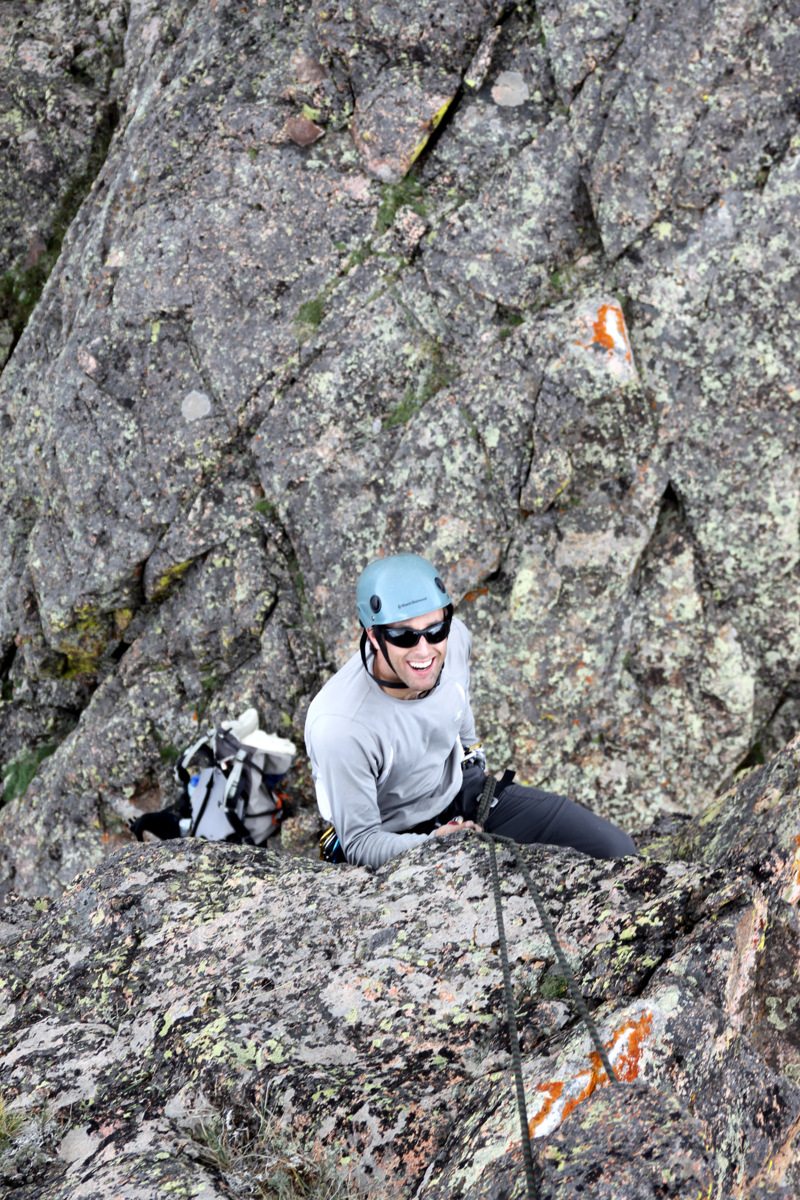
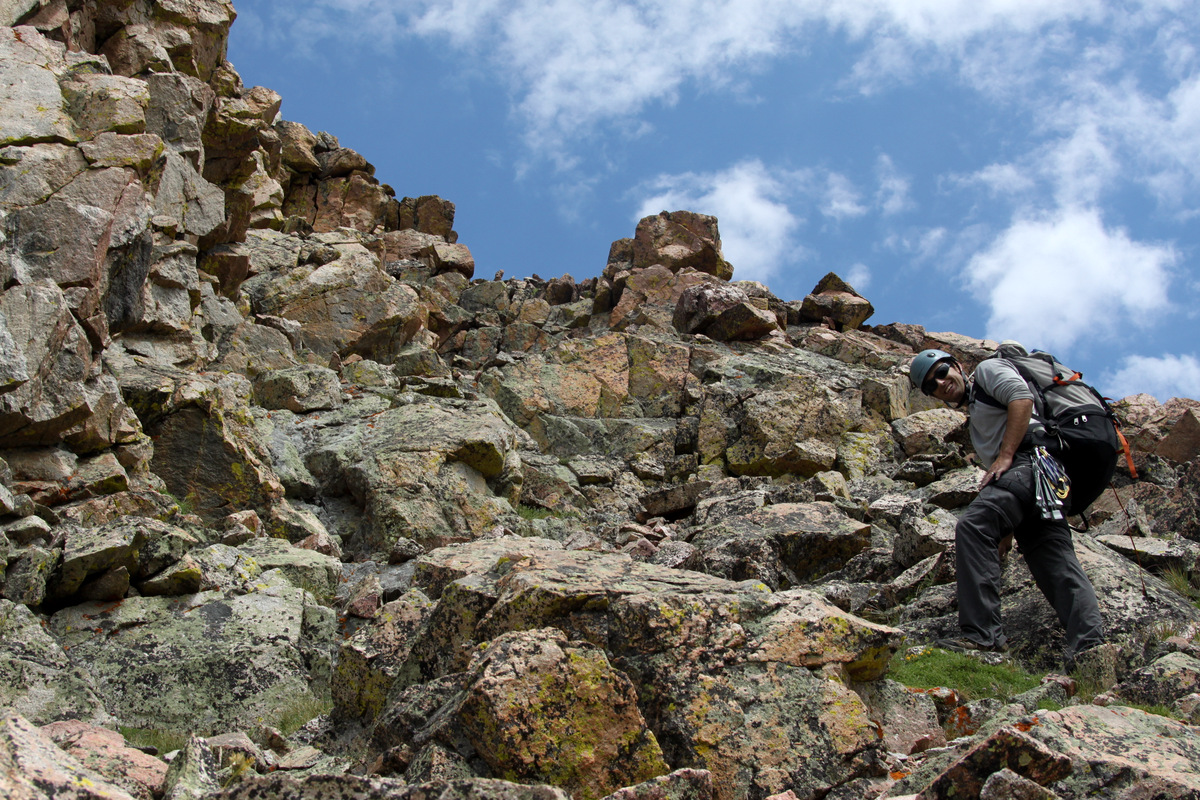
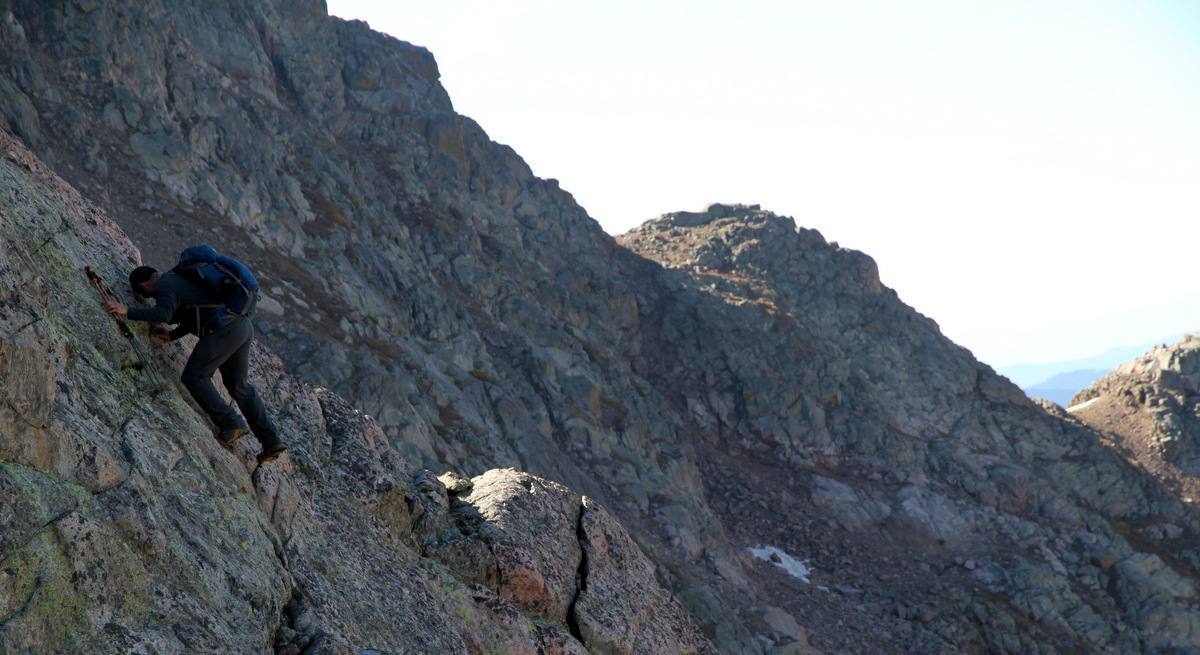
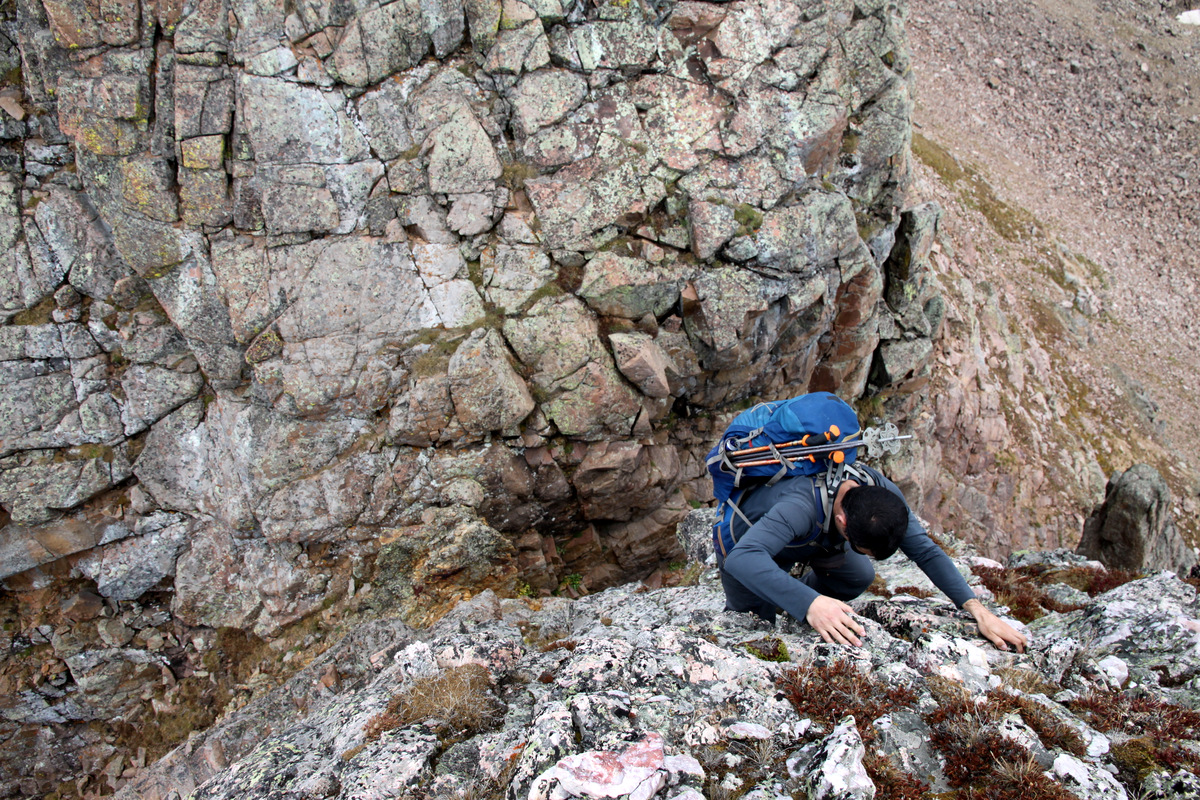
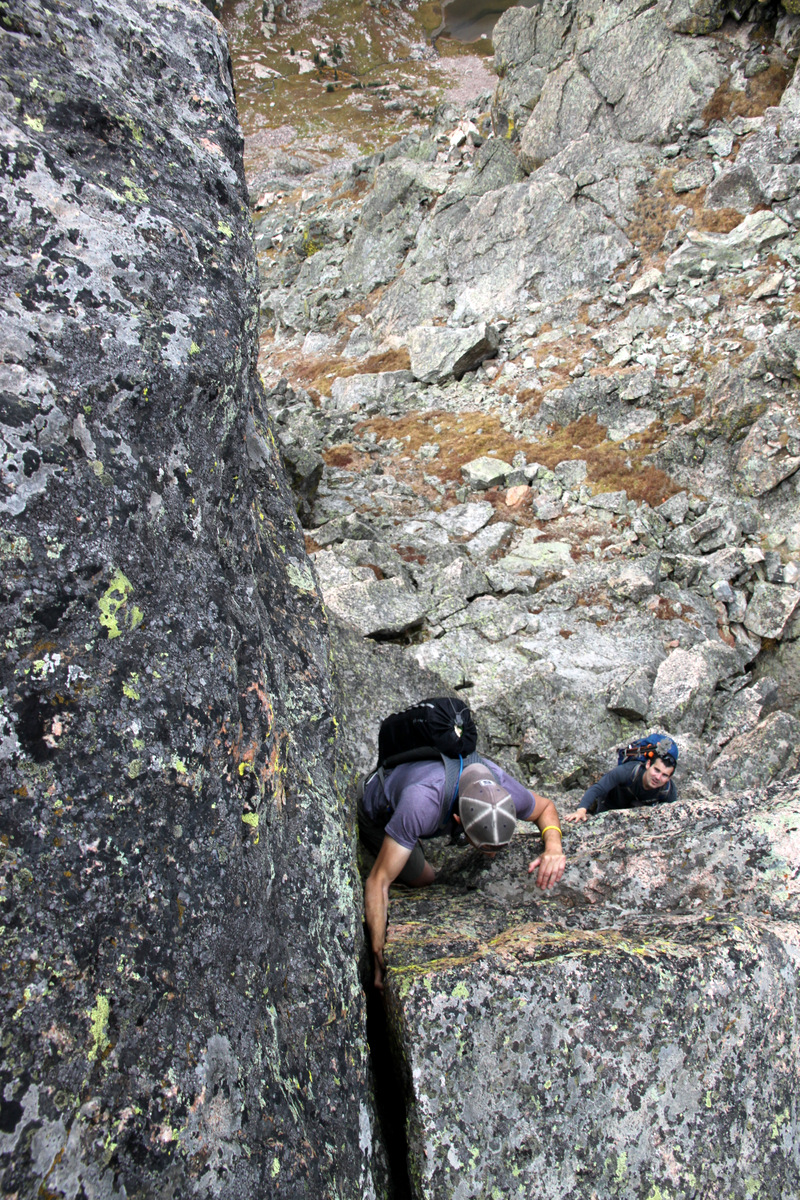
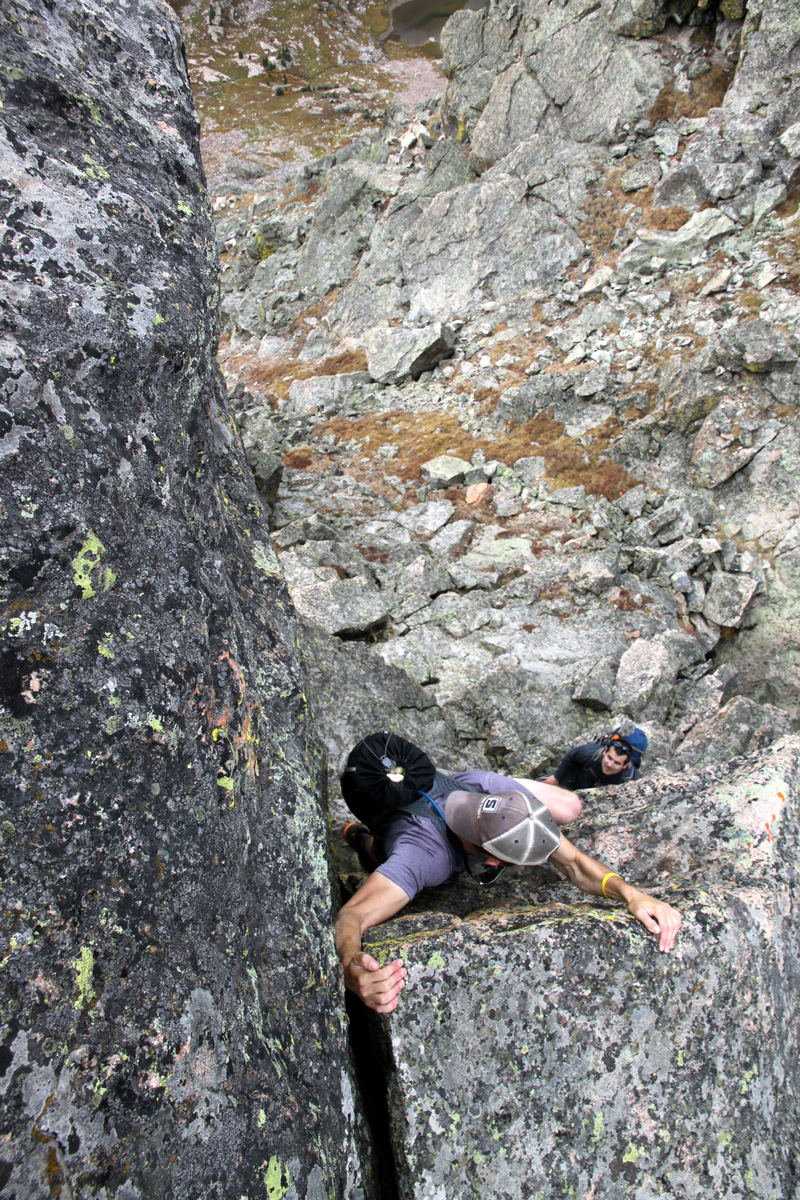
Me climbing the upper portion of the ridge proper out of the second notch. Photo by Dillon

Brian topping out on his line out of the second notch
Looking down Brian’s route
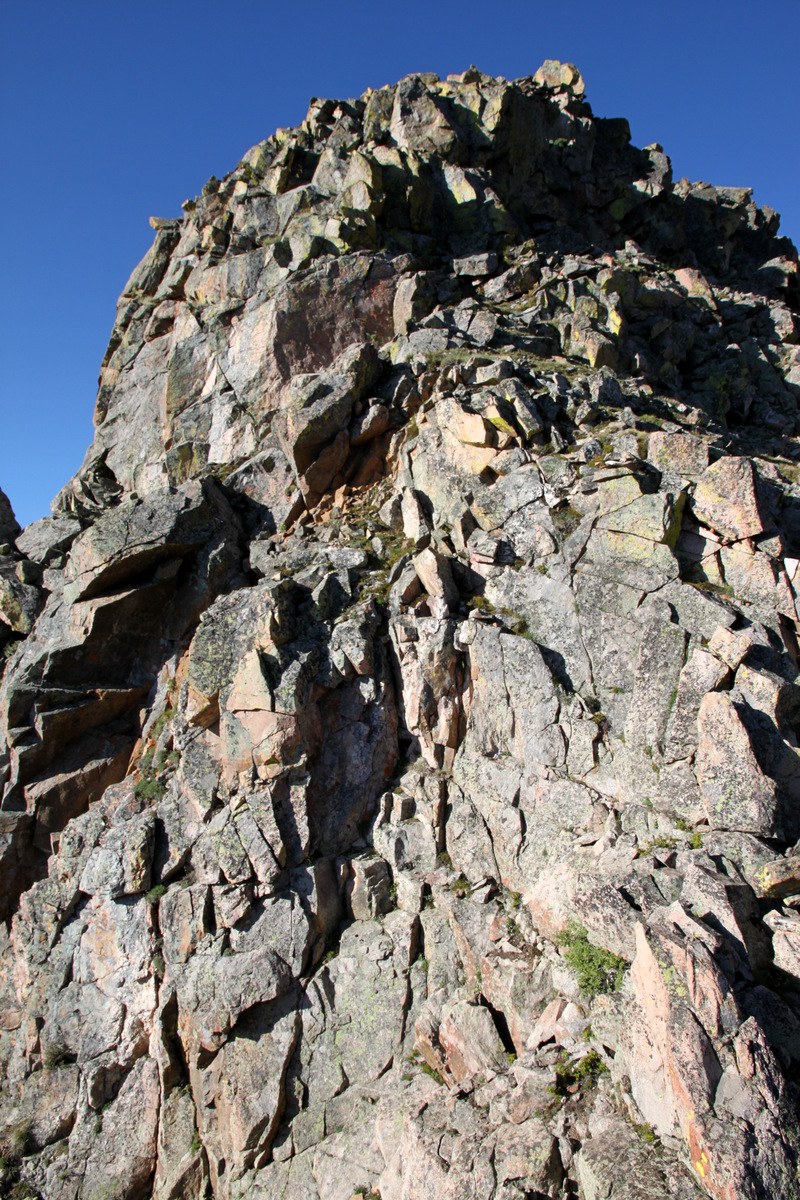
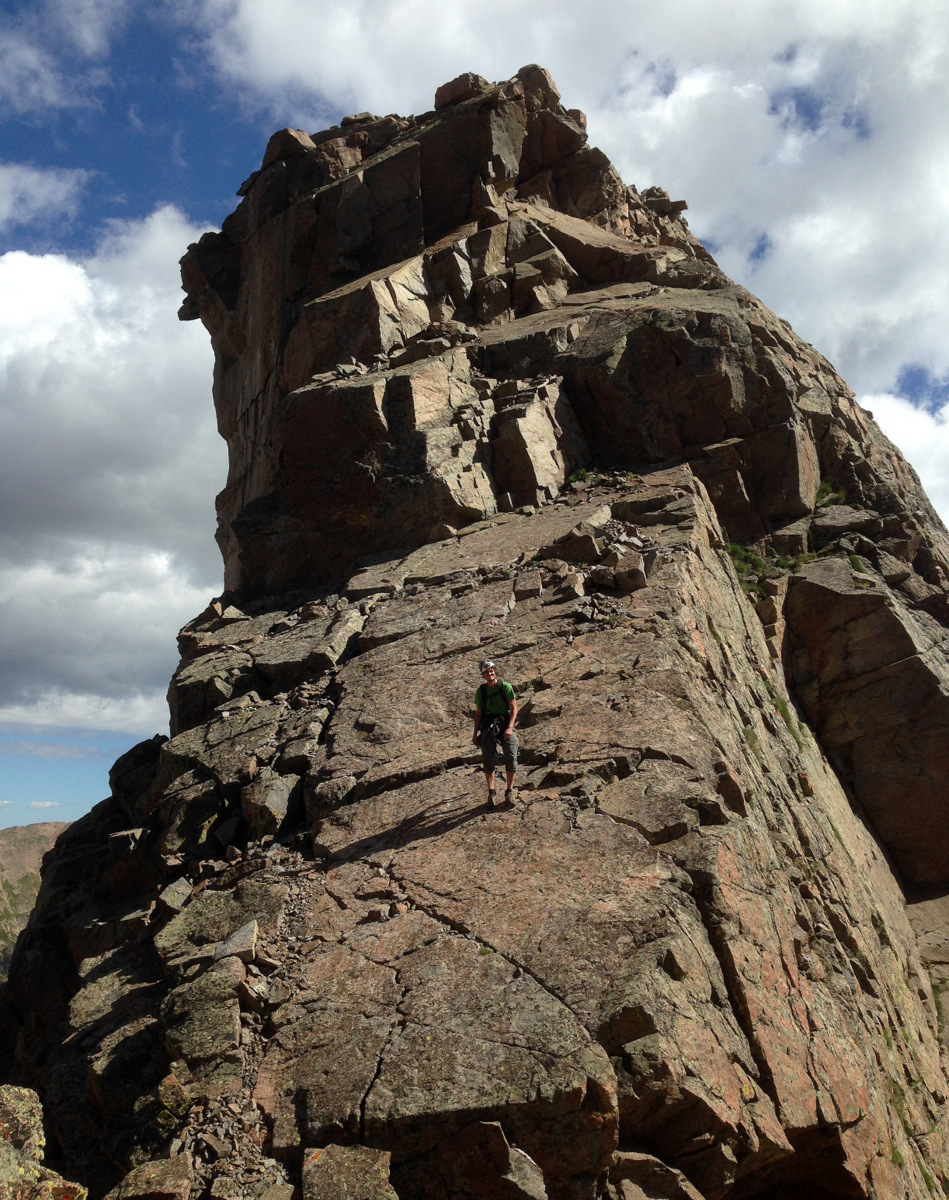
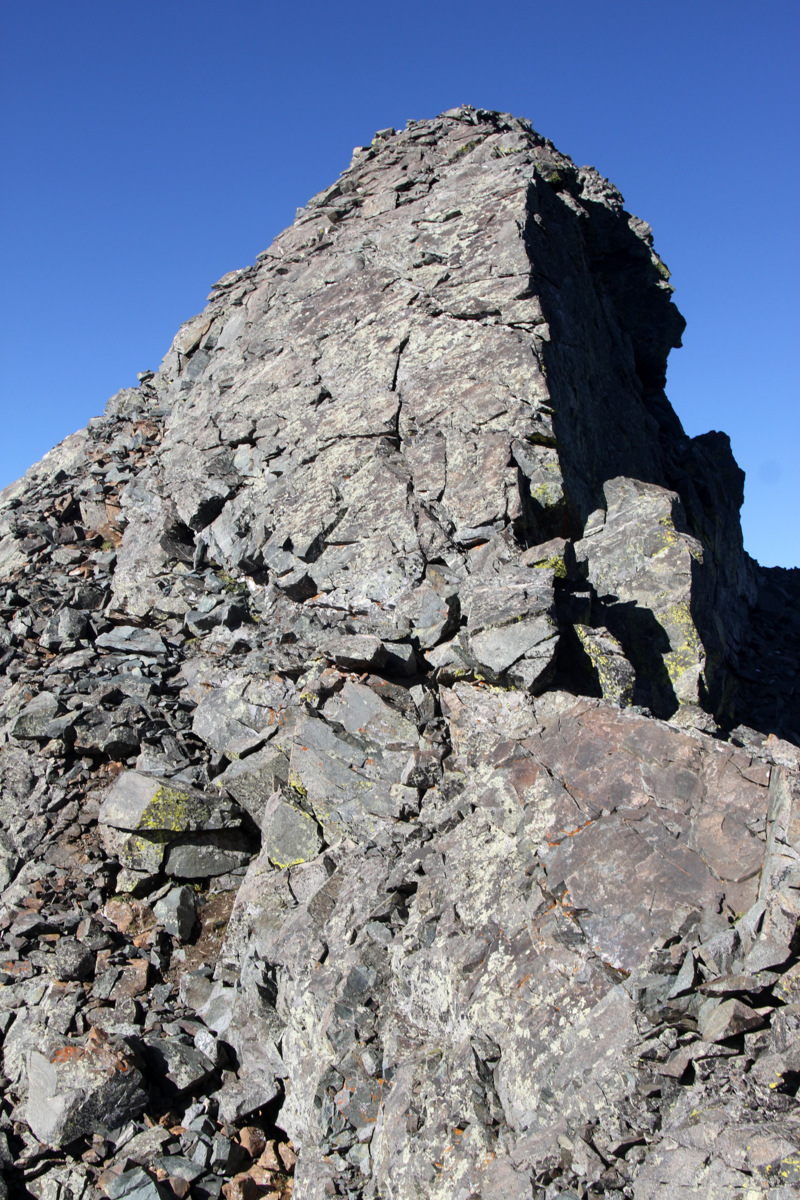
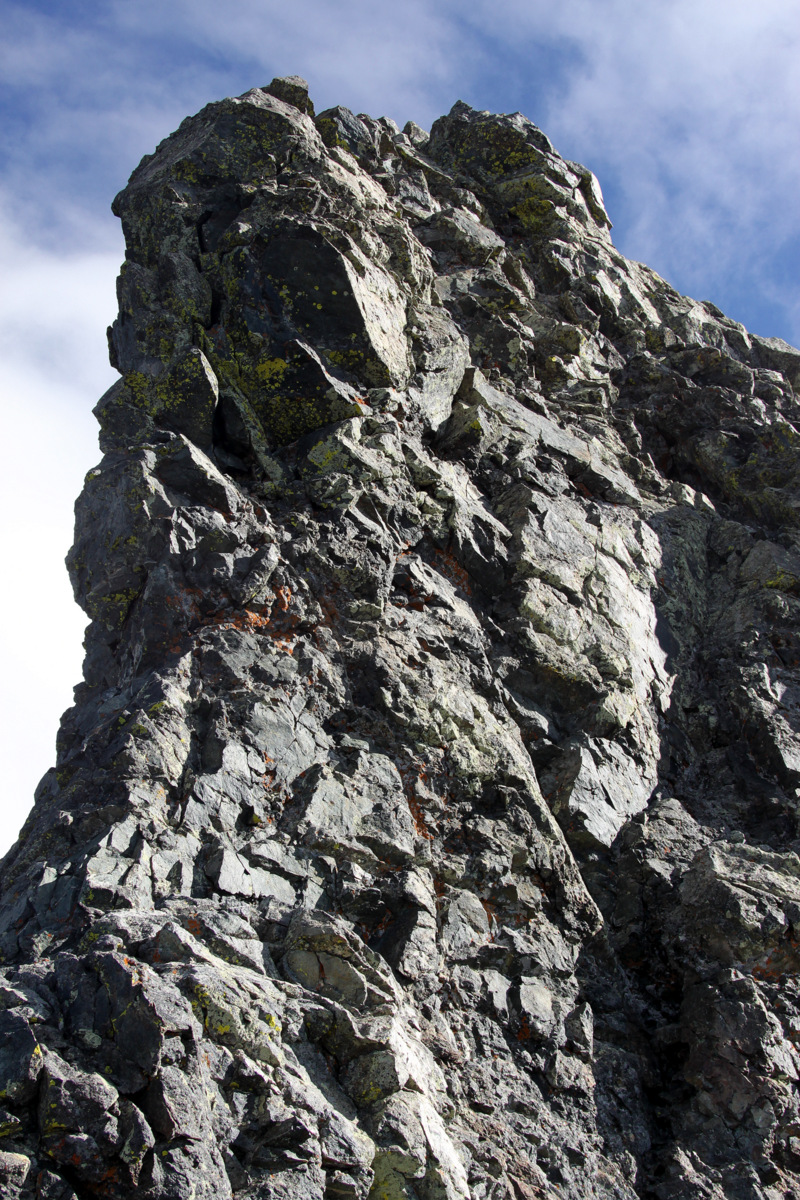
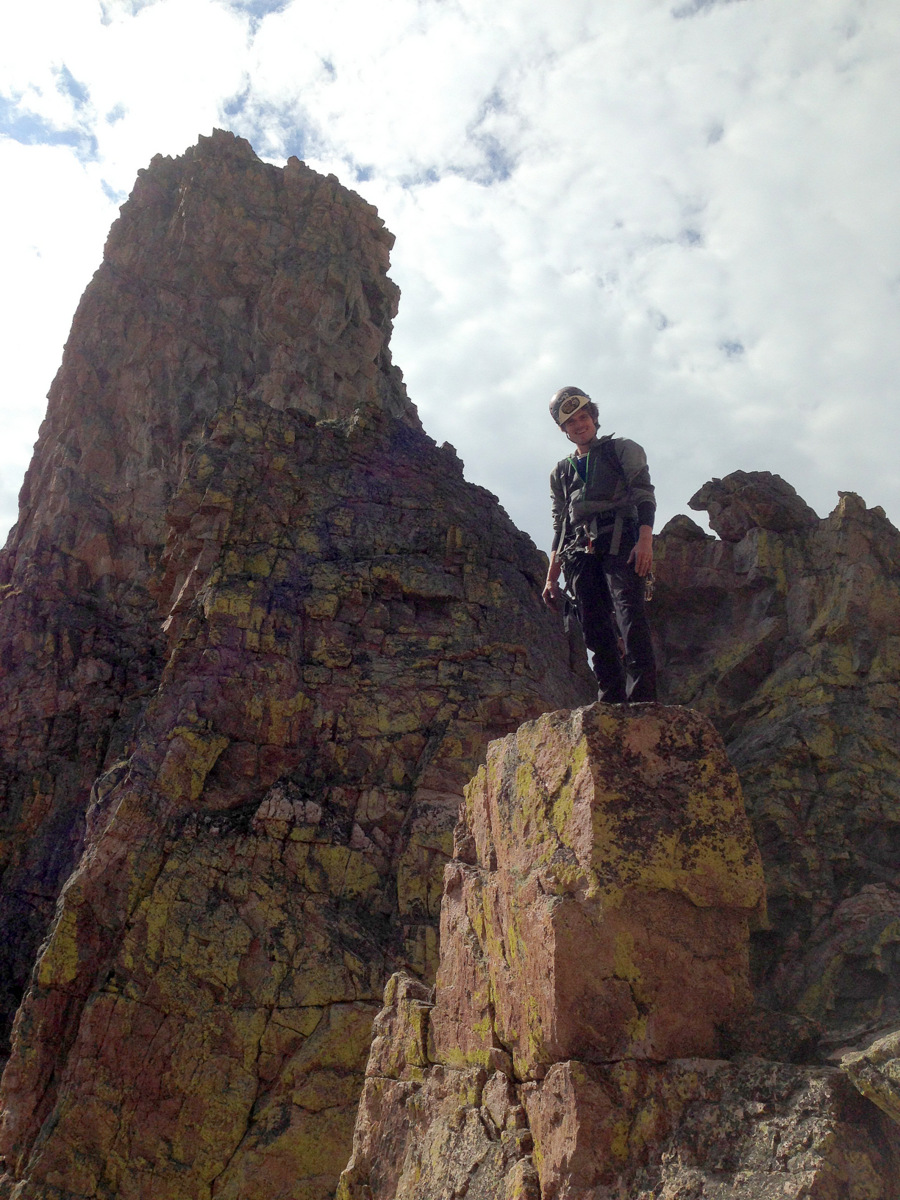
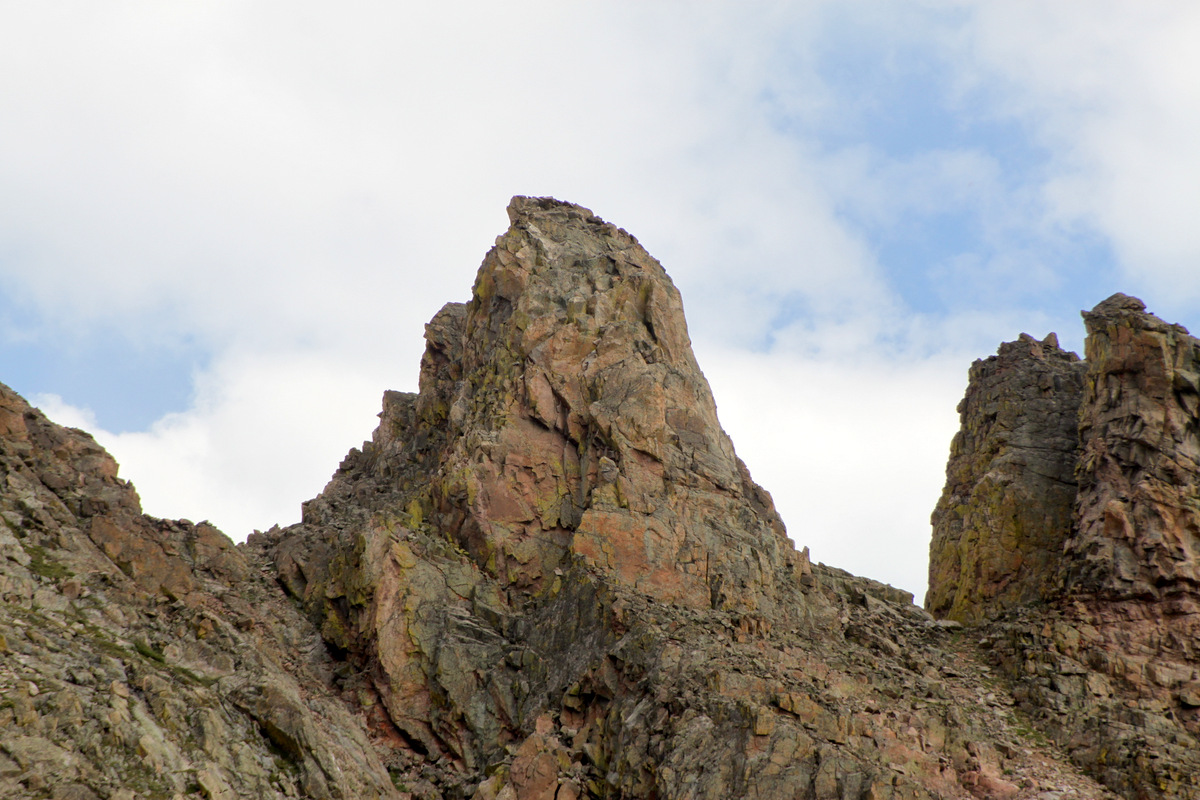
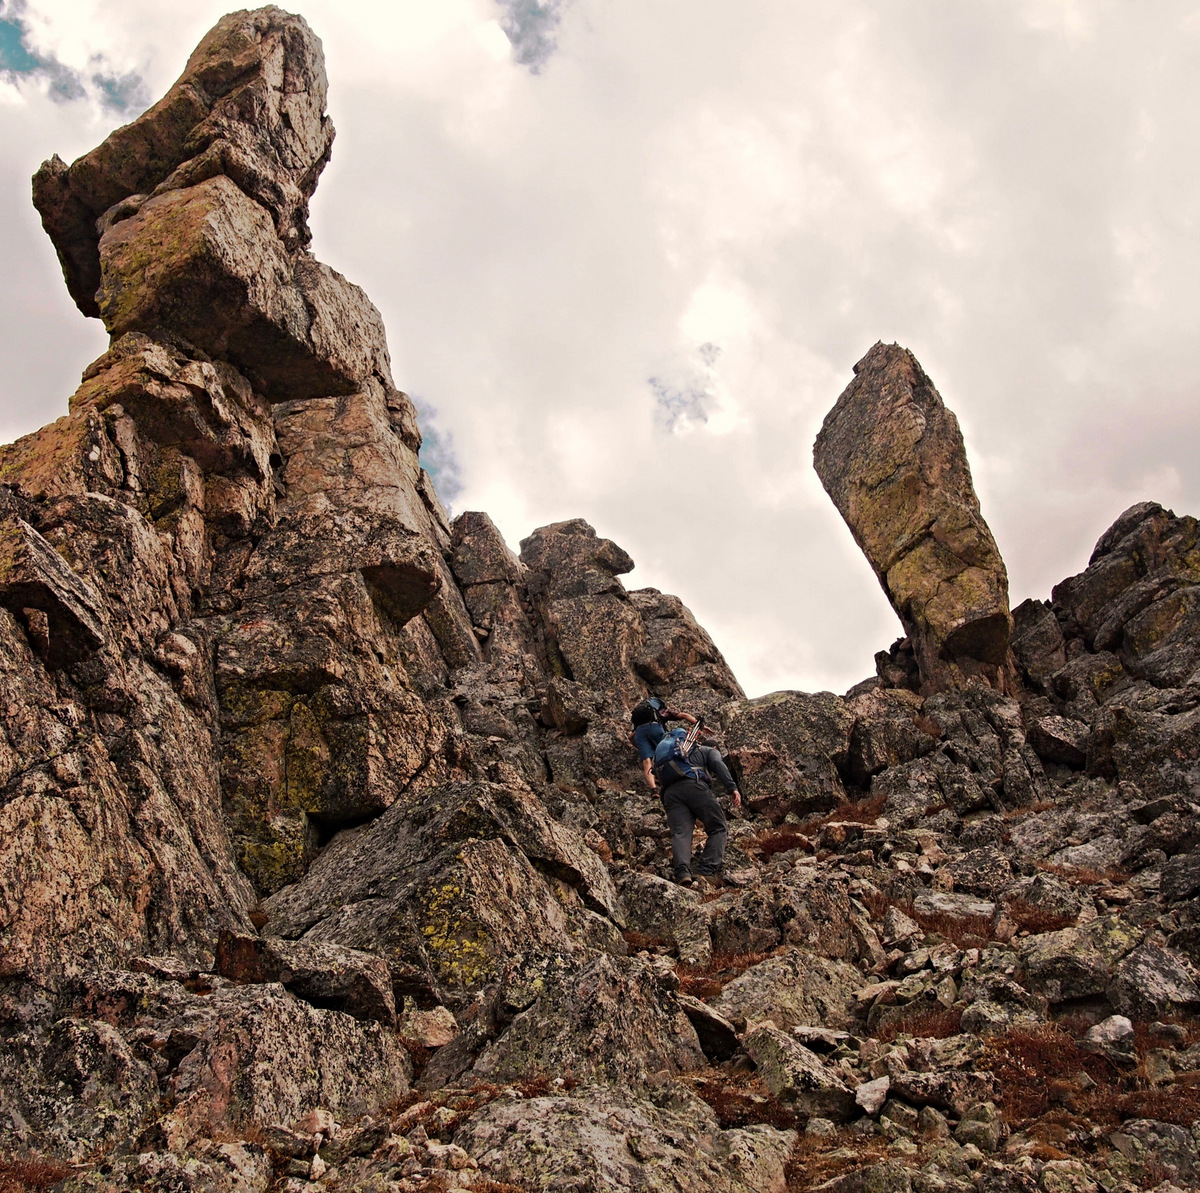
We both topped out and met up with ole Dillon. Was good to meet back up with him. We continued south on Rockinghorse Ridge to The Rocking Horse tower. Some fun scrambling led up to the fairly mellow class 3 north ridge of The Rocking Horse.
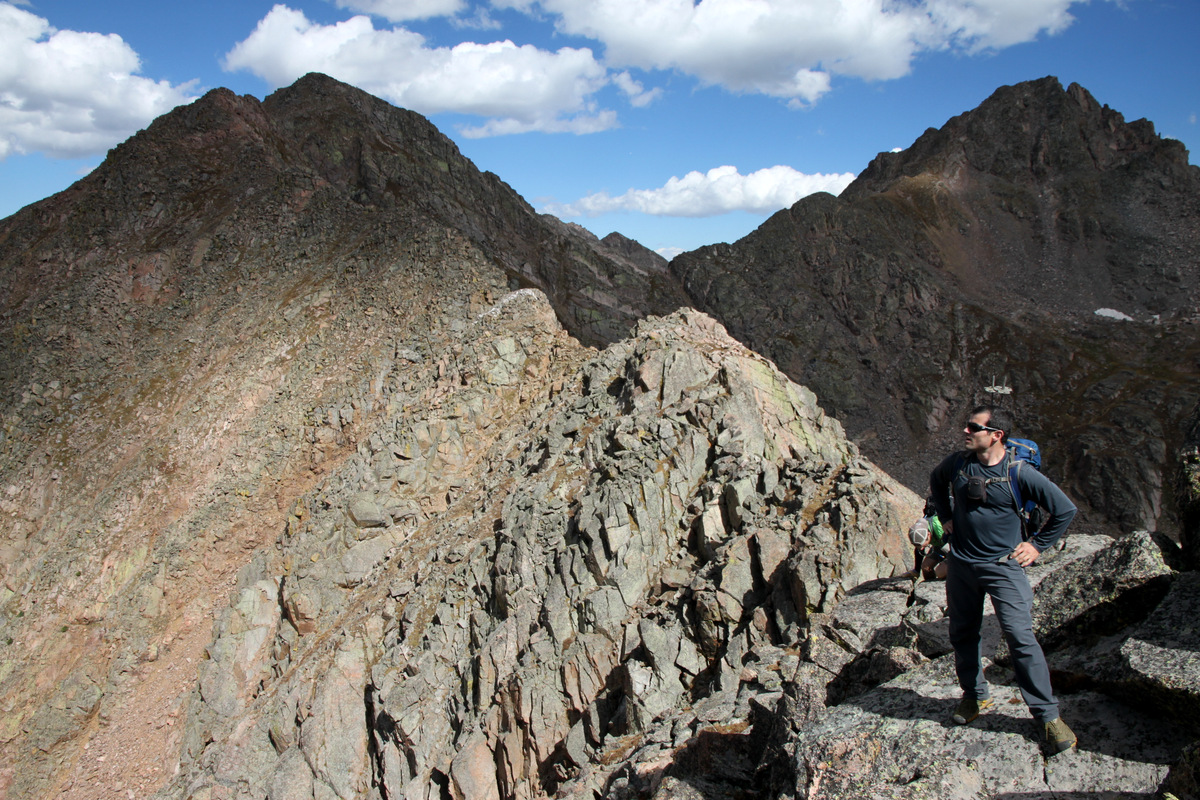
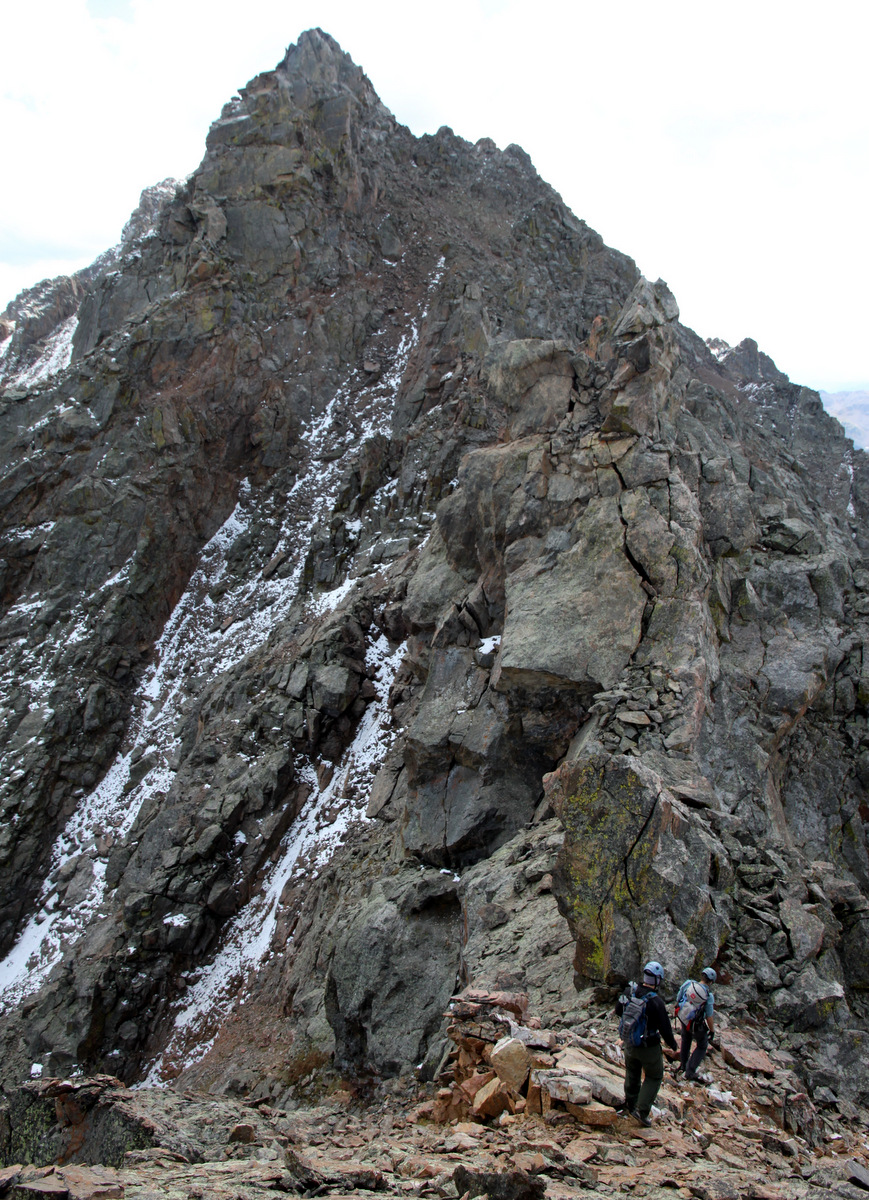
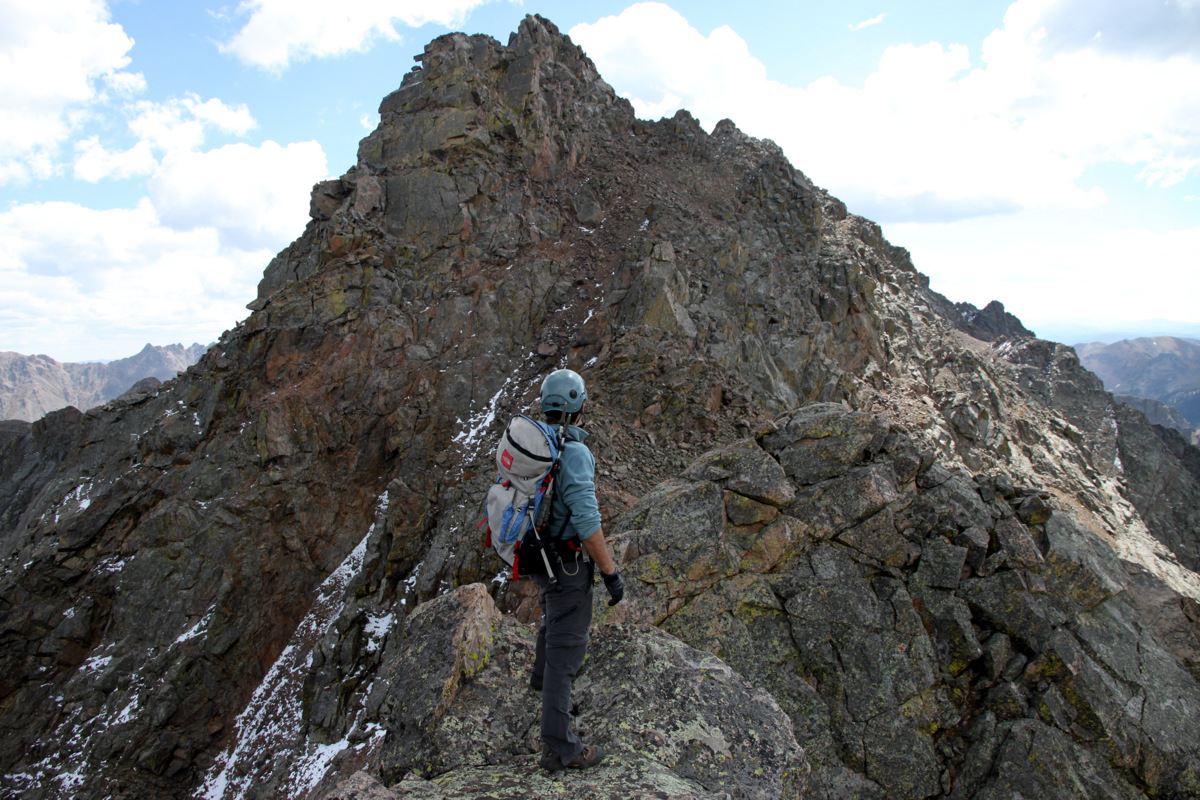
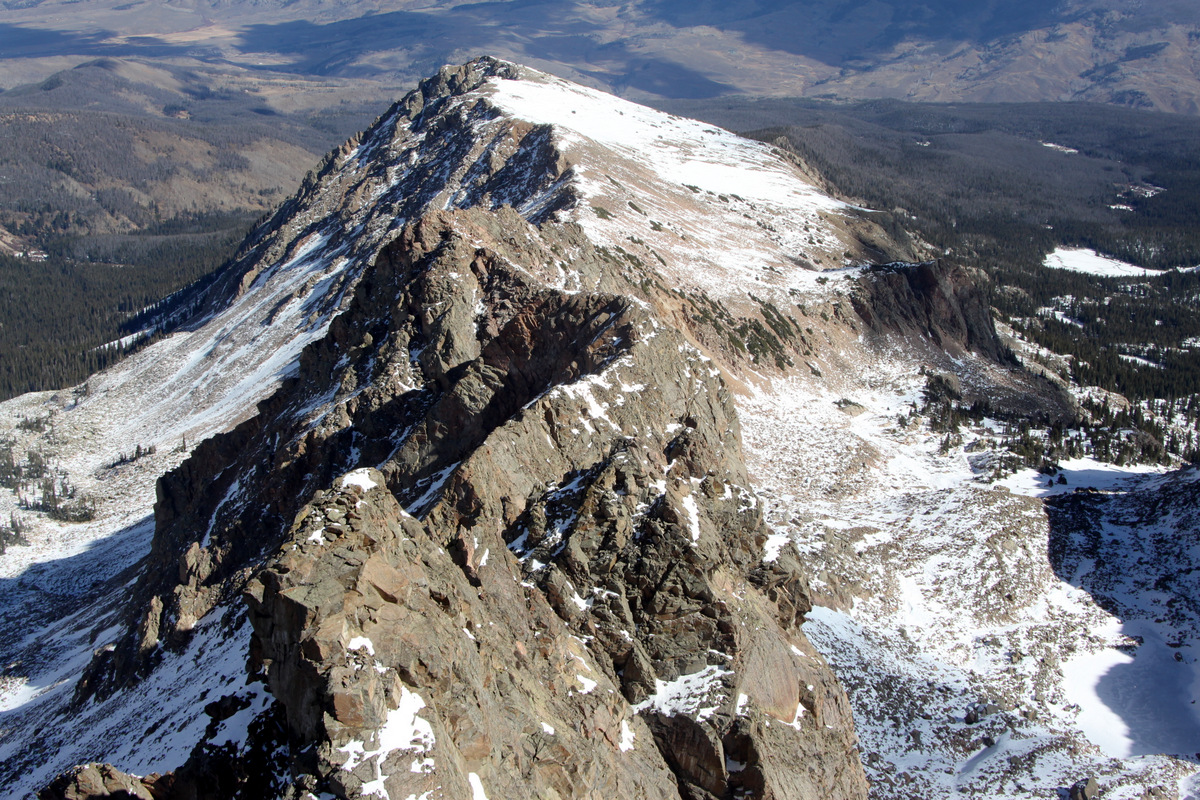
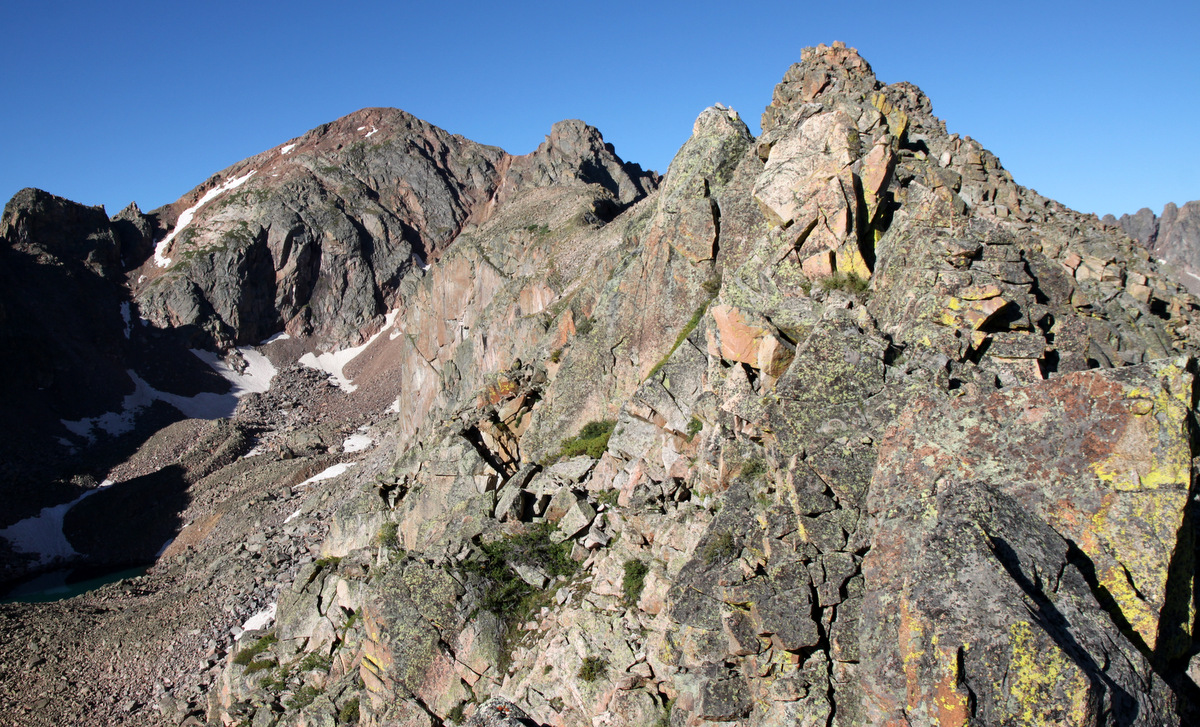
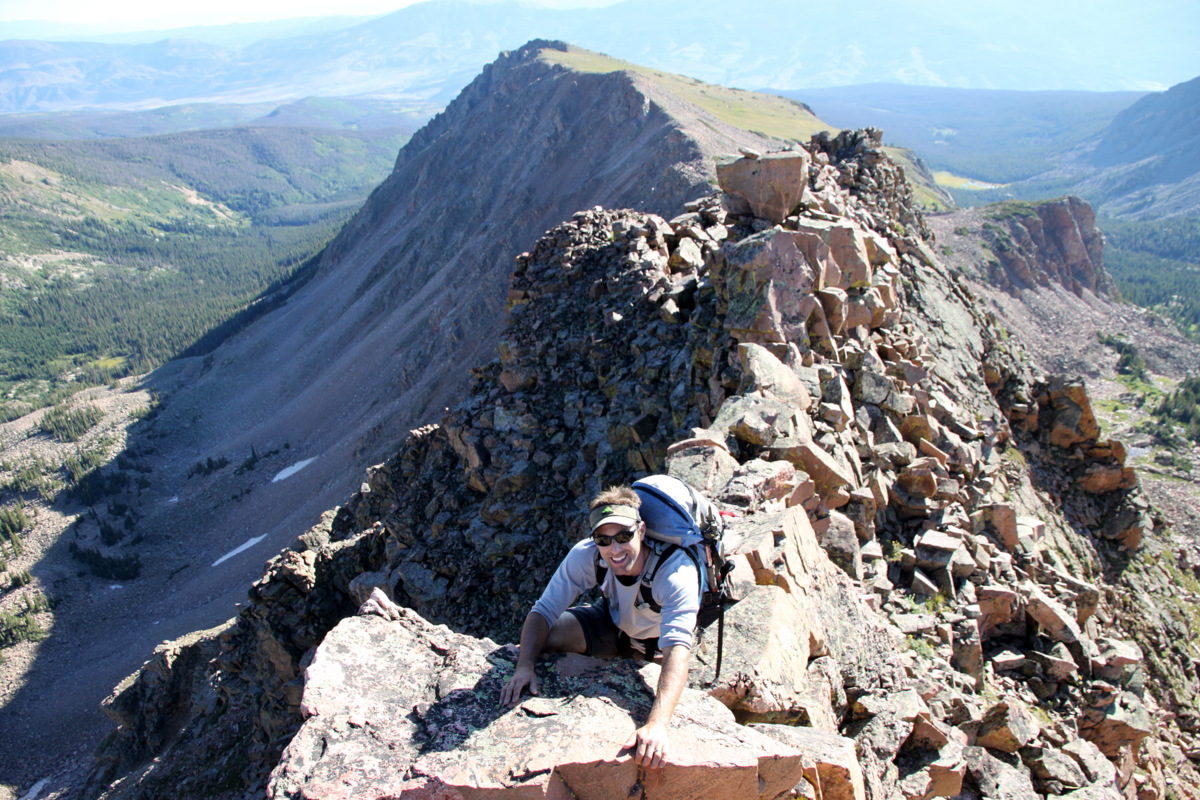
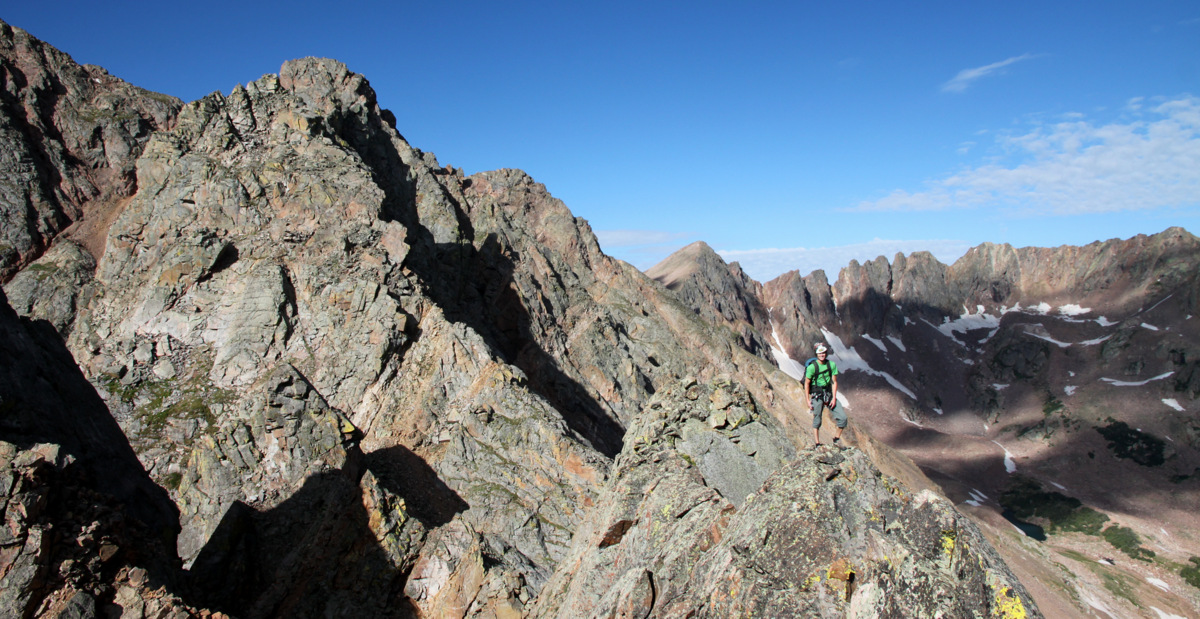
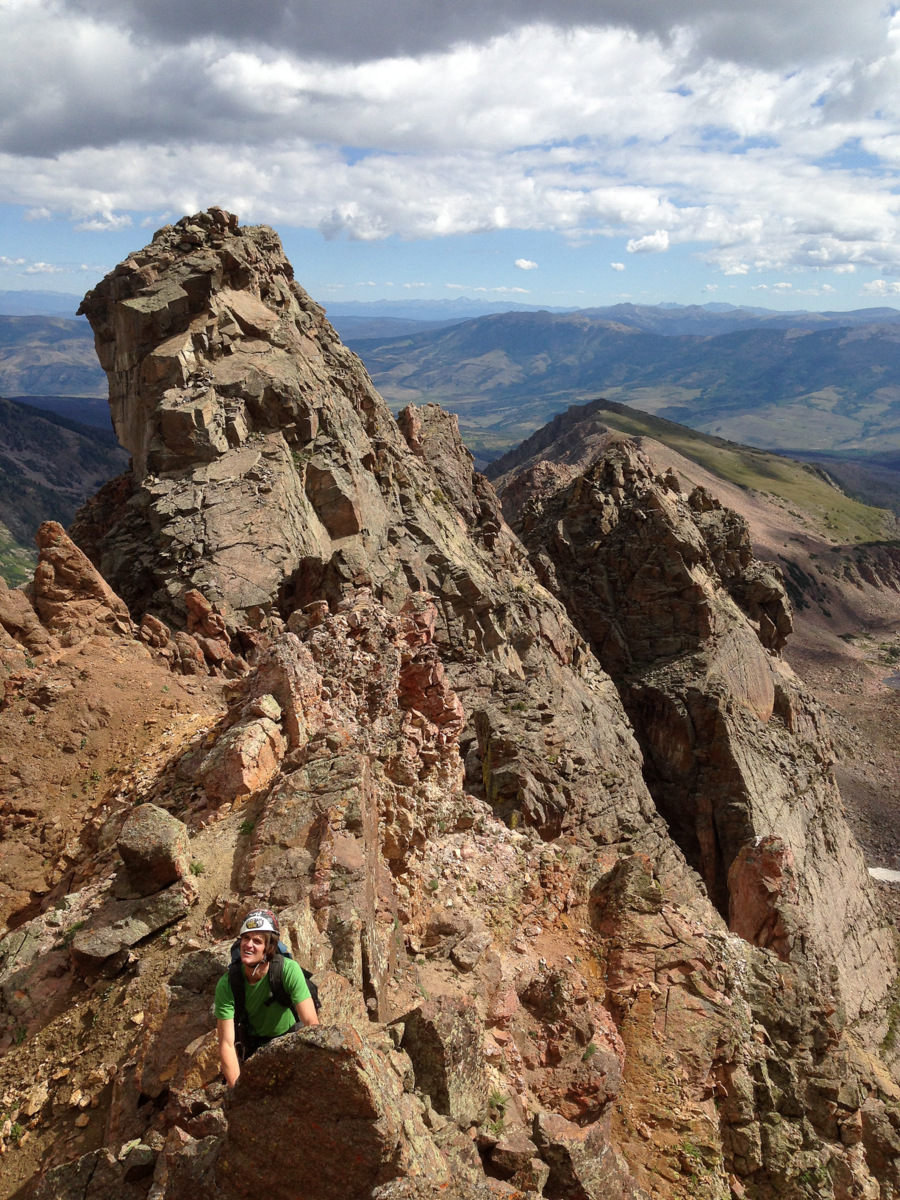
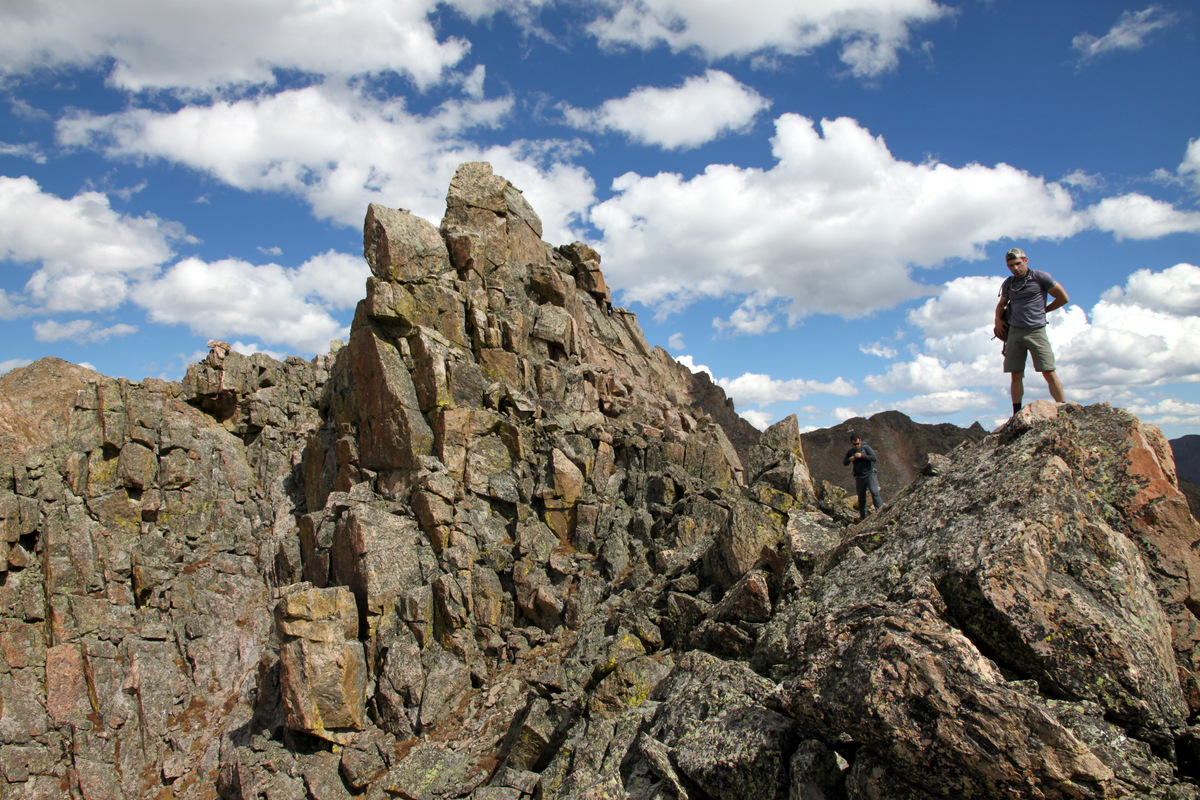
Brian & Rockinghorse Ridge leading up to Peak P behind him

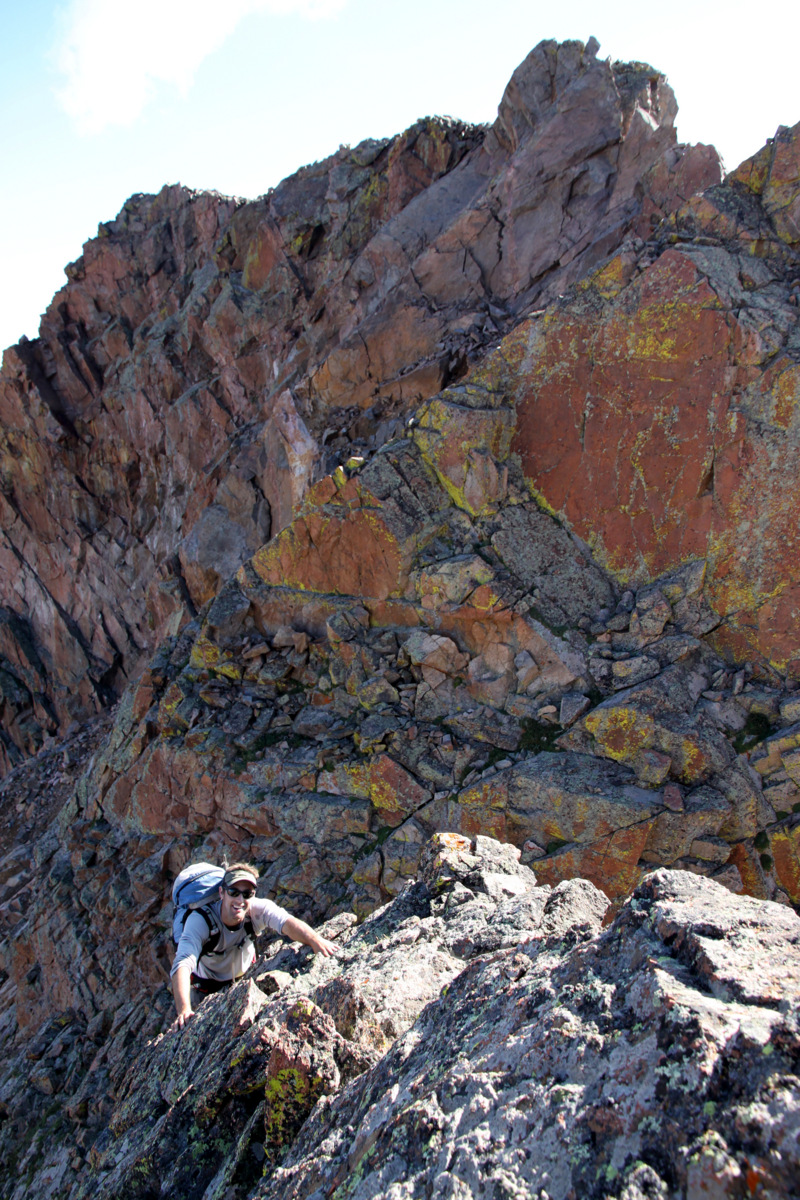
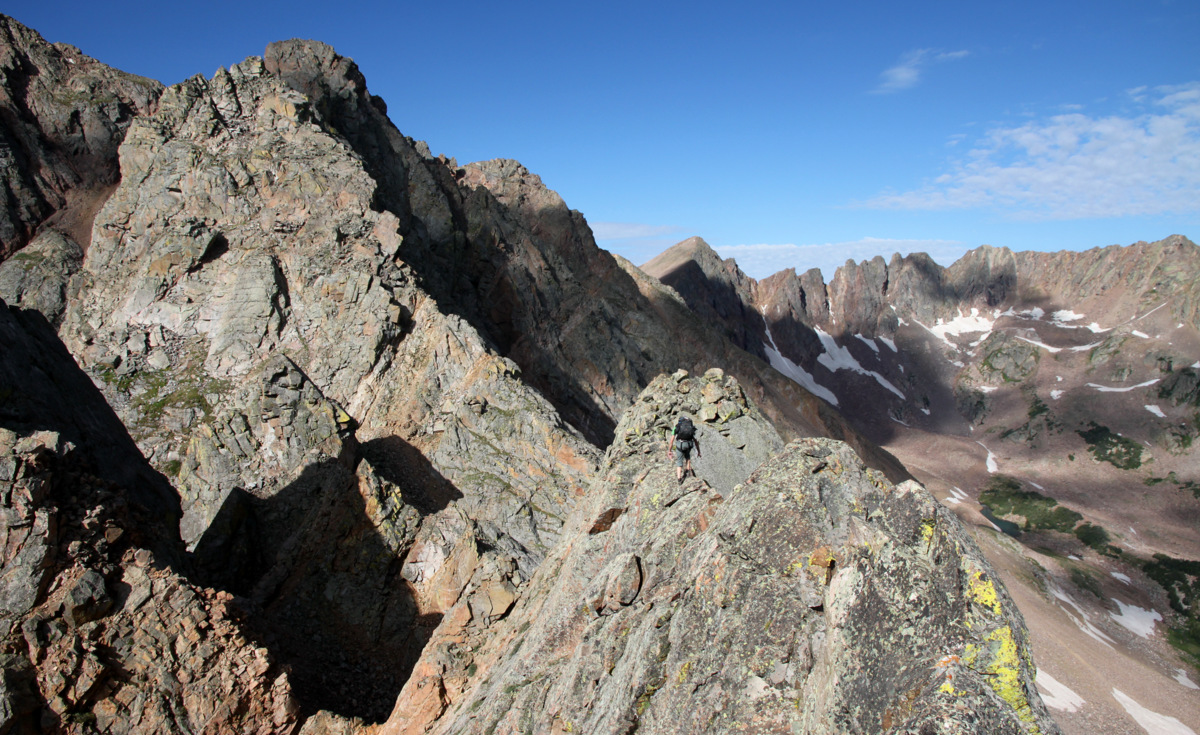
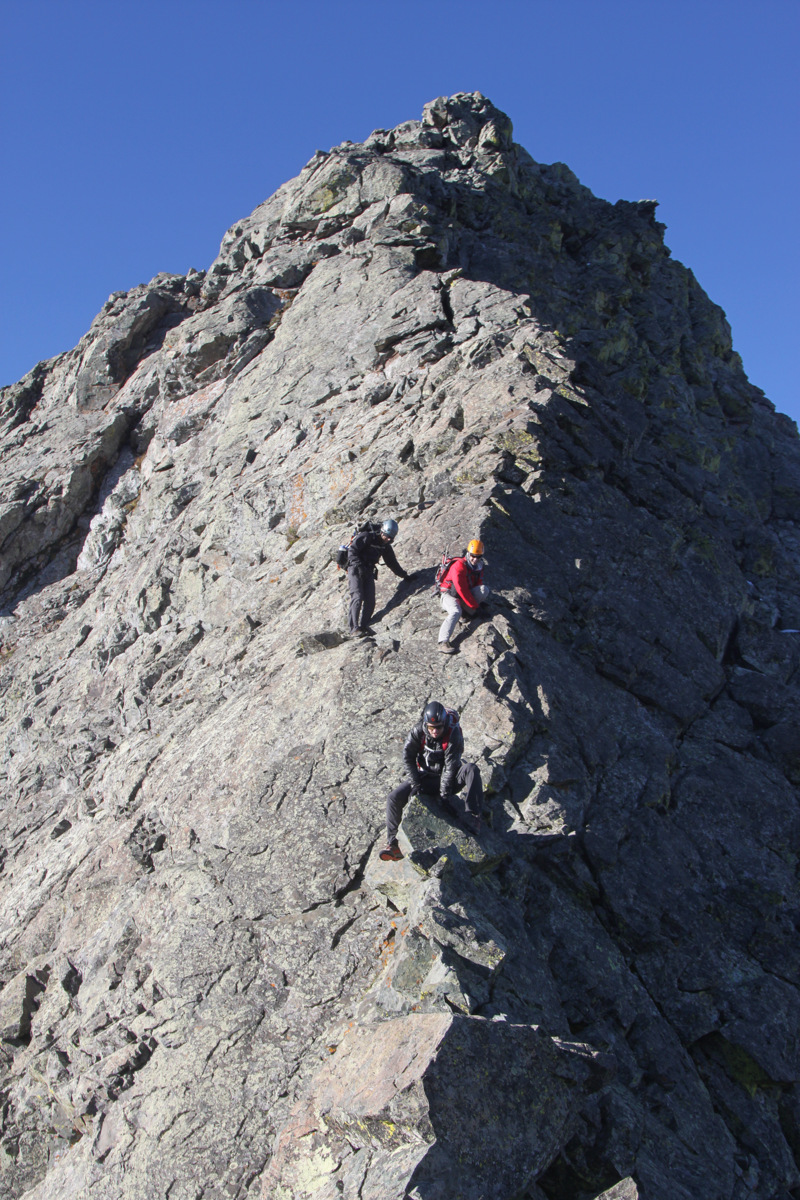
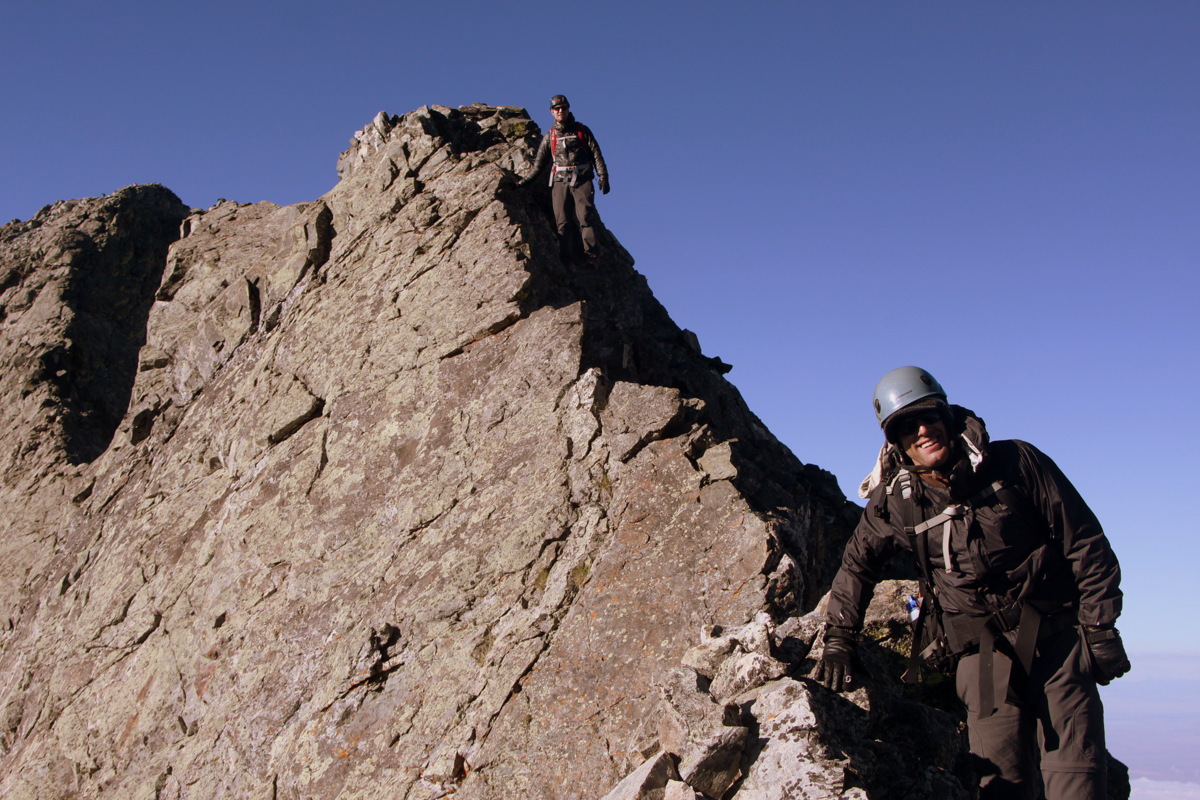
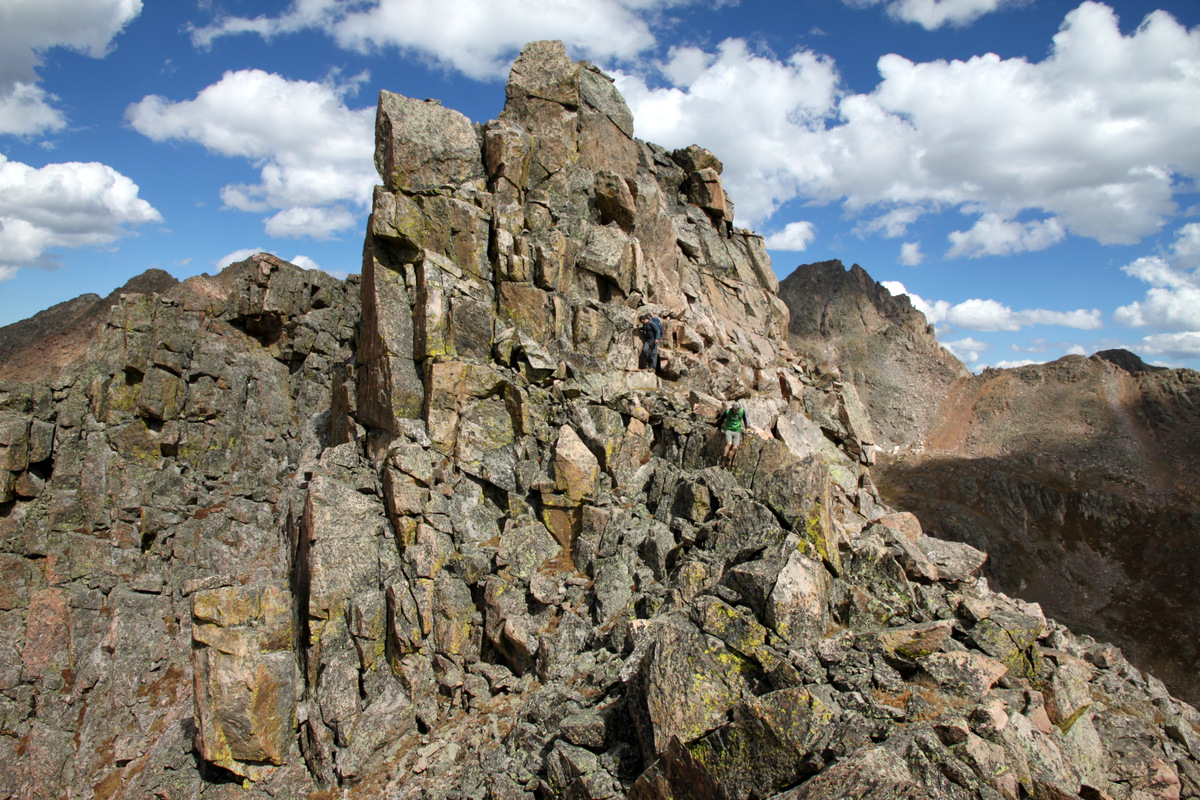
Brian & Dillon scrambling to the north ridge of The Rocking Horse
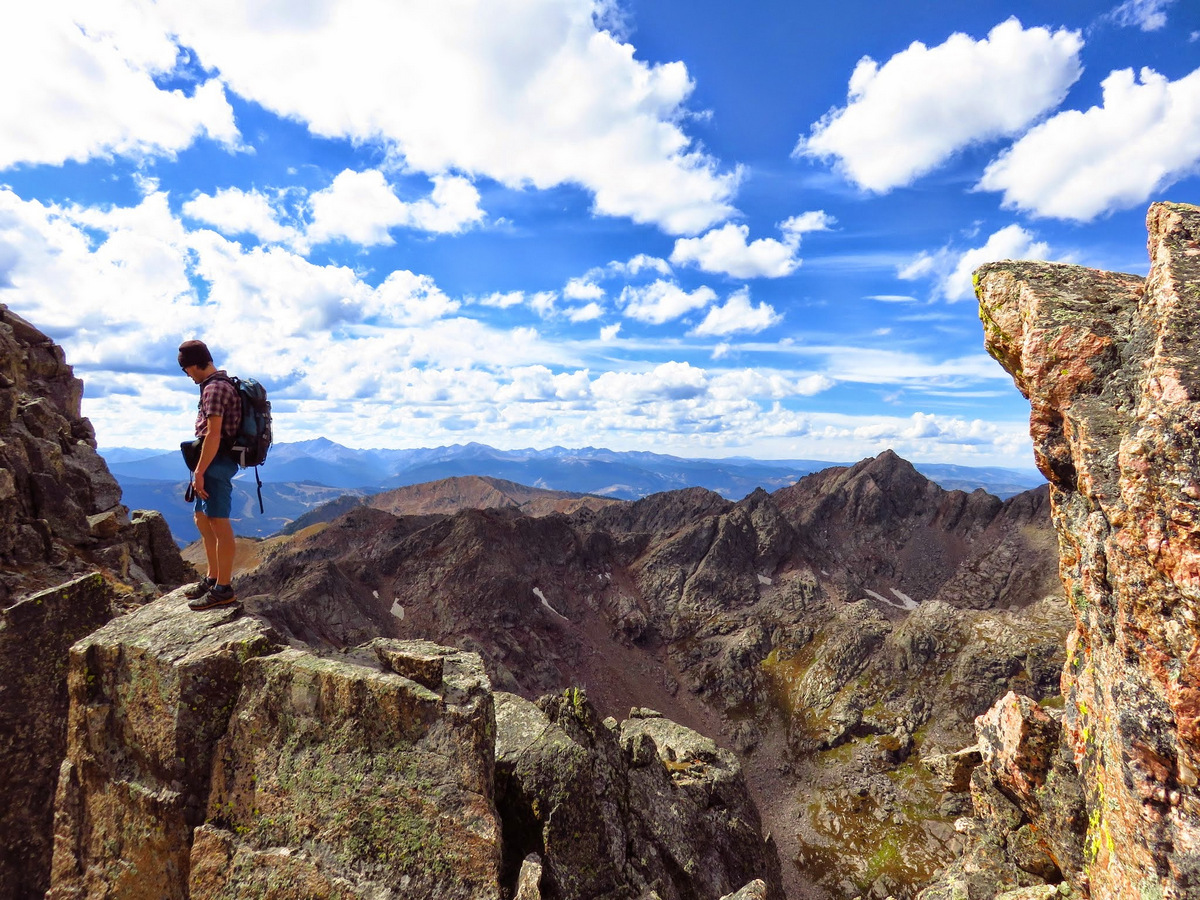
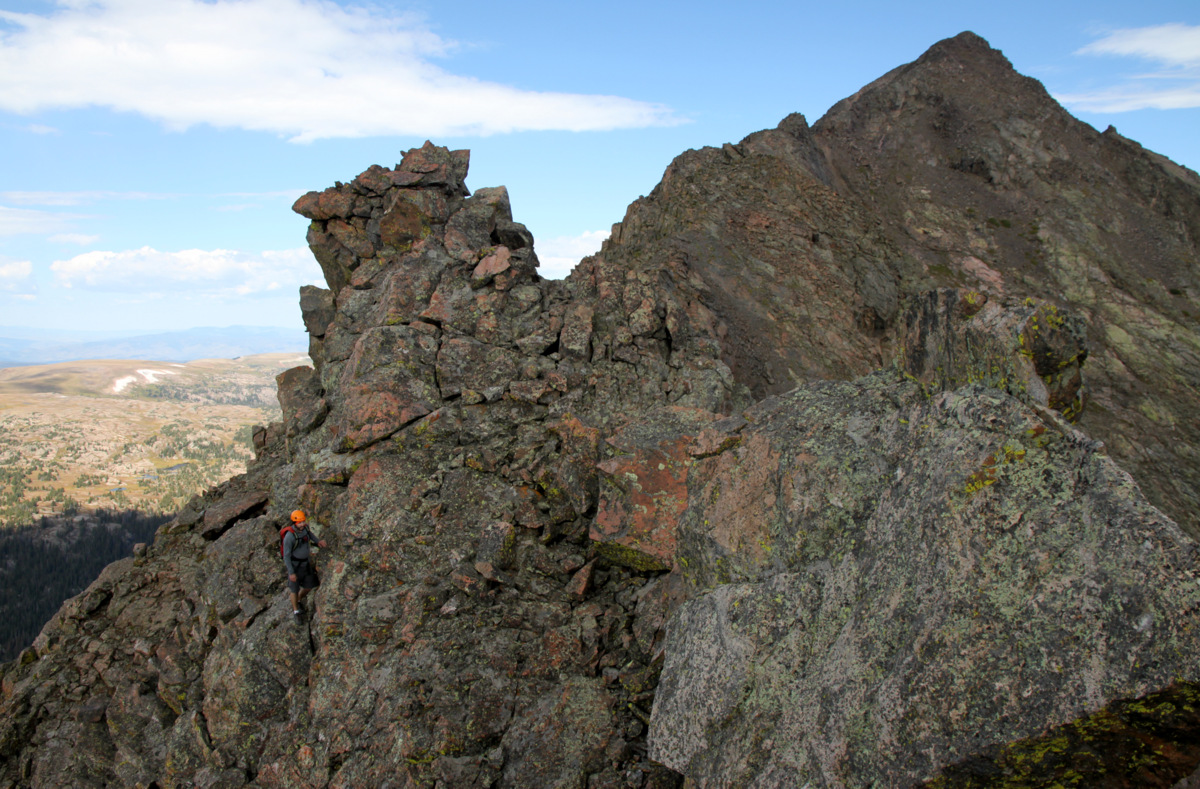
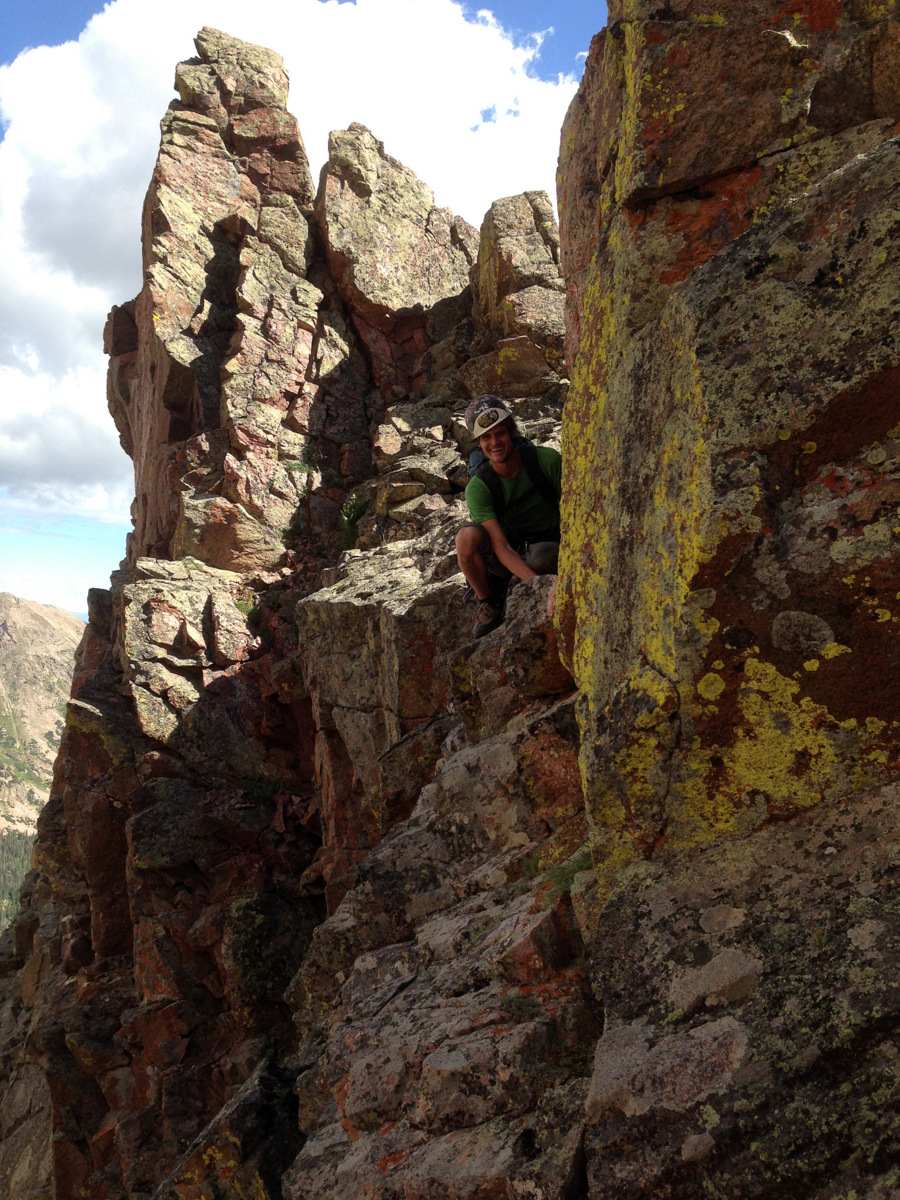
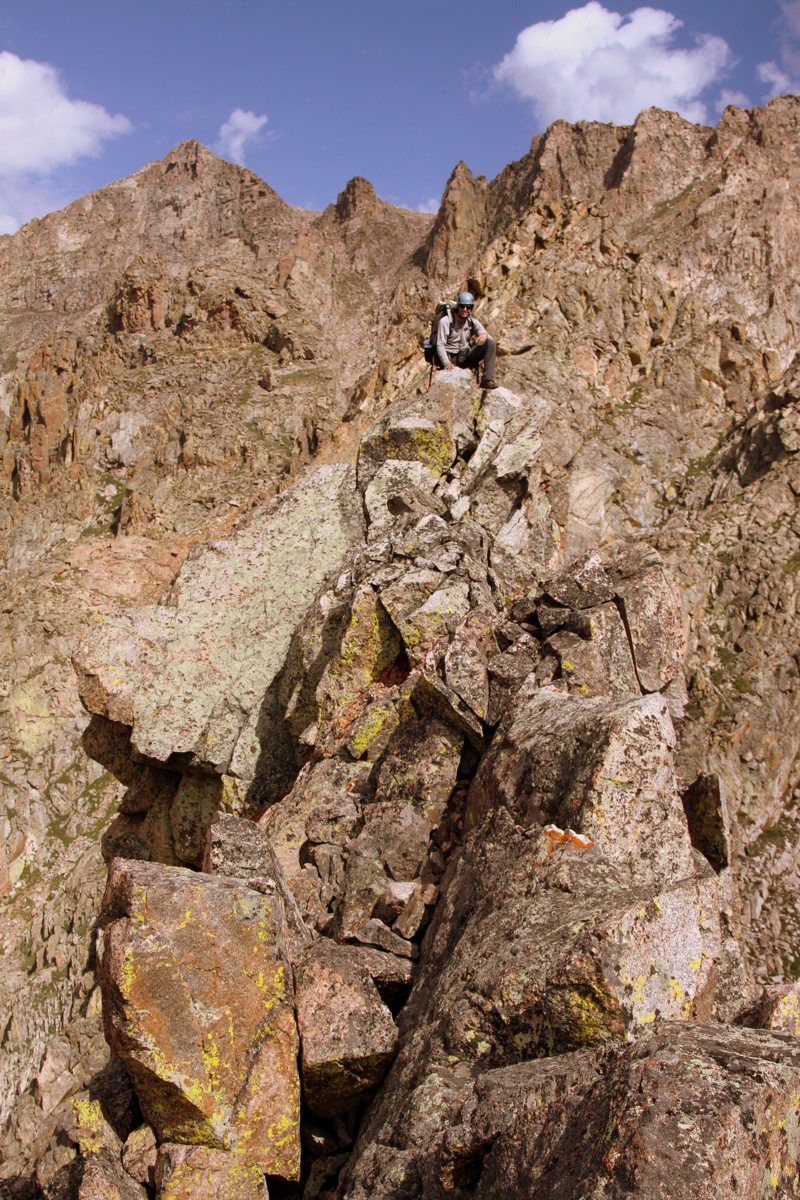
Me on a cool little catwalk leading up to The Rocking Horse. Photo by Brian
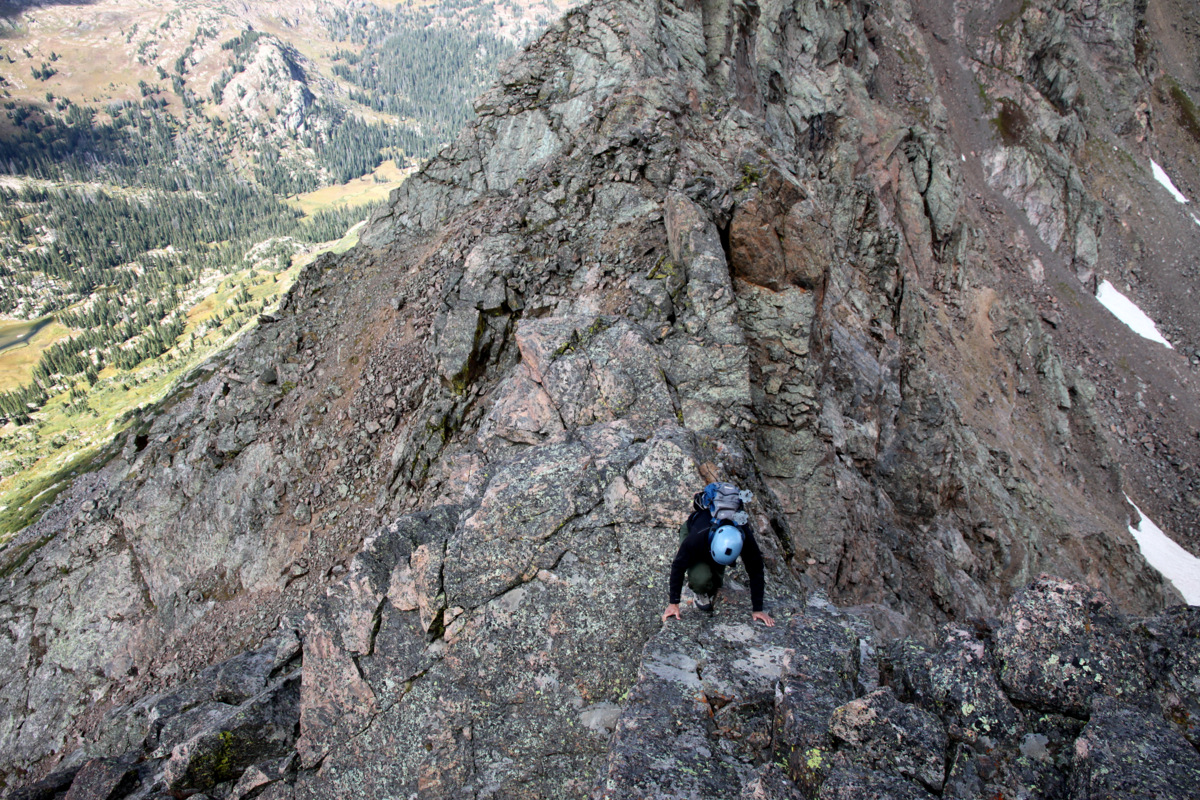
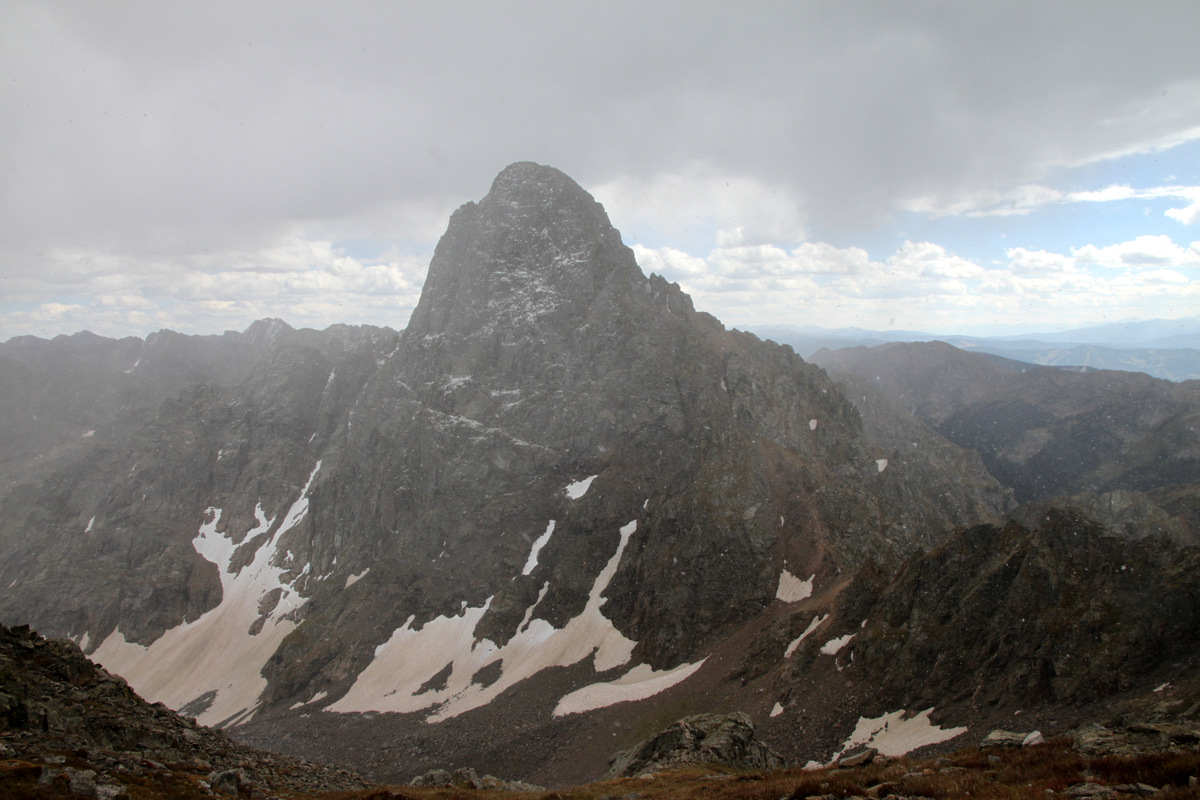
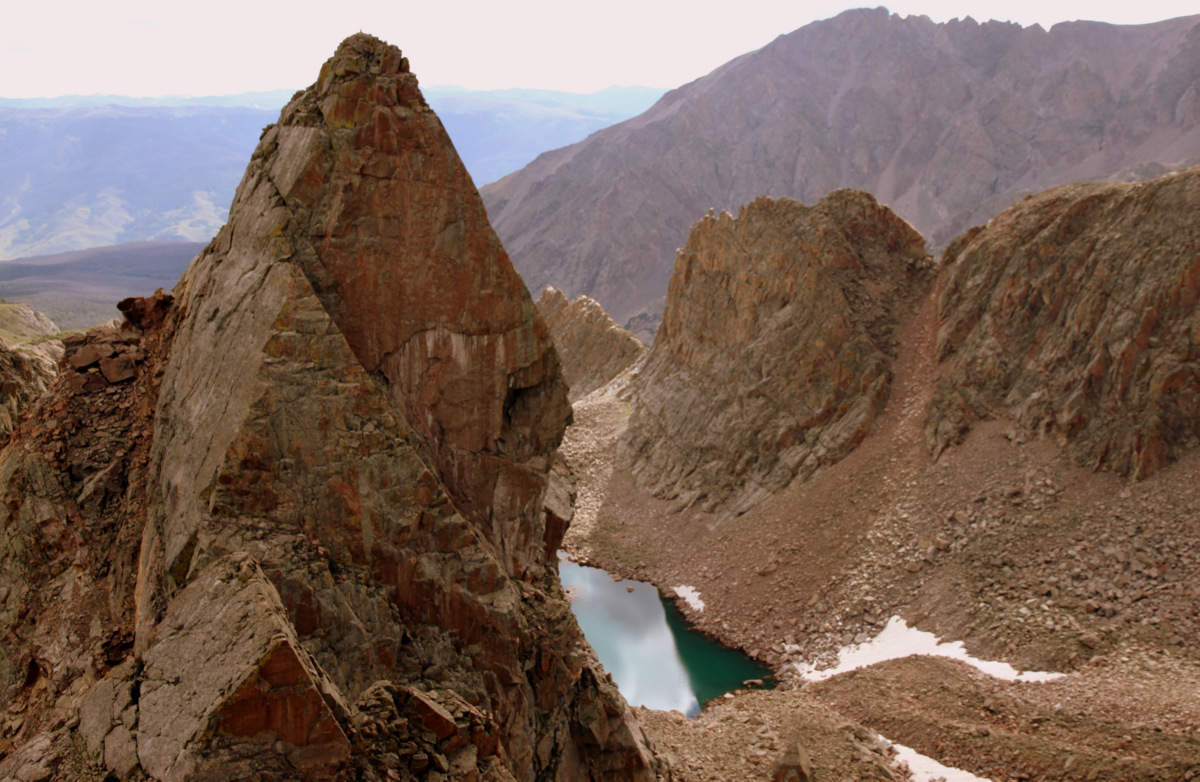
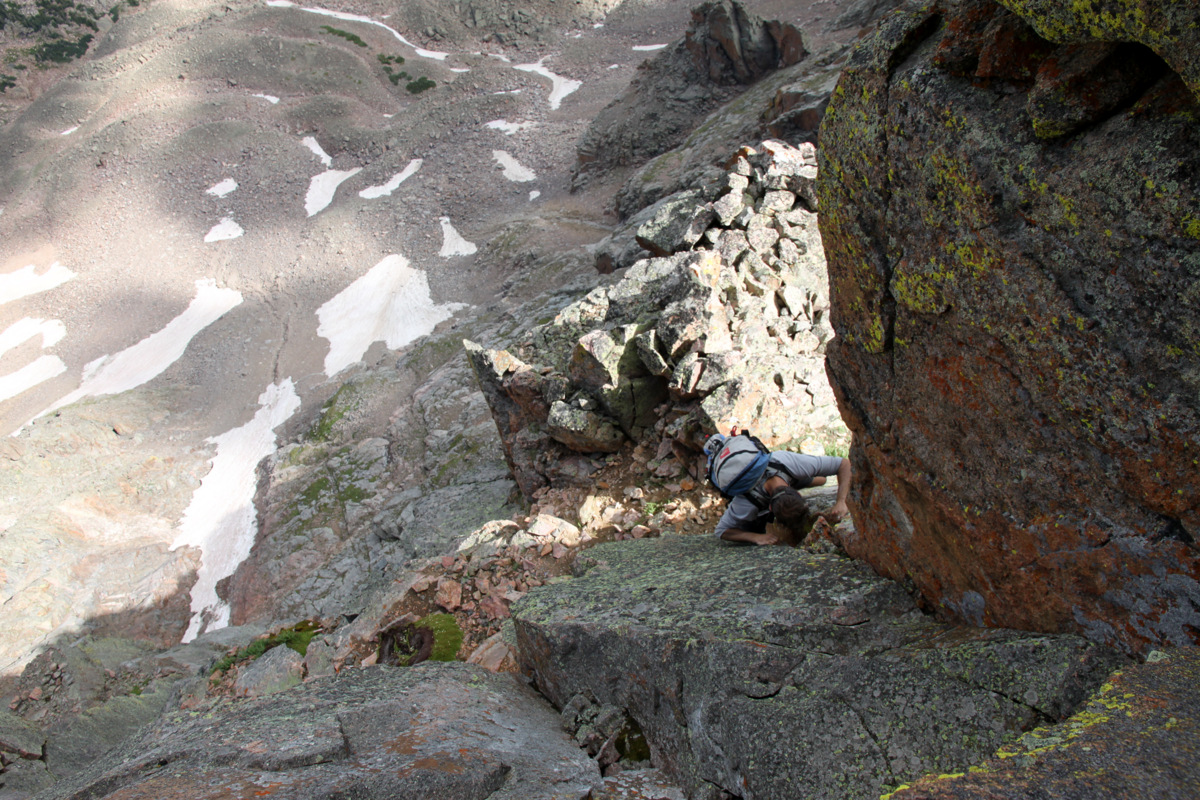
Brian climbing The Rocking Horse with Upper Piney Lake down below
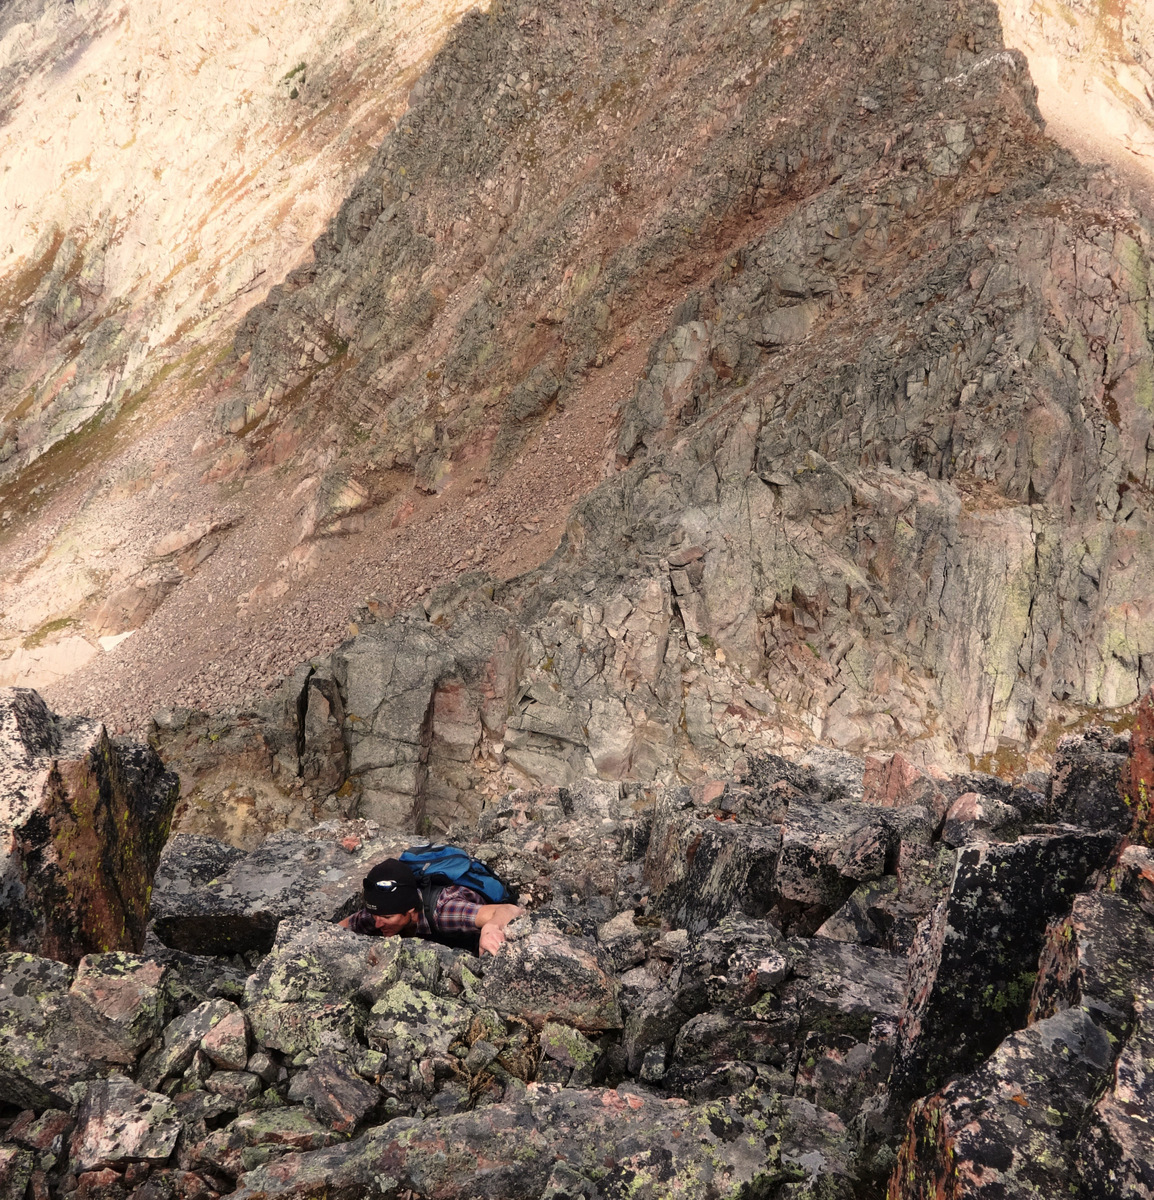
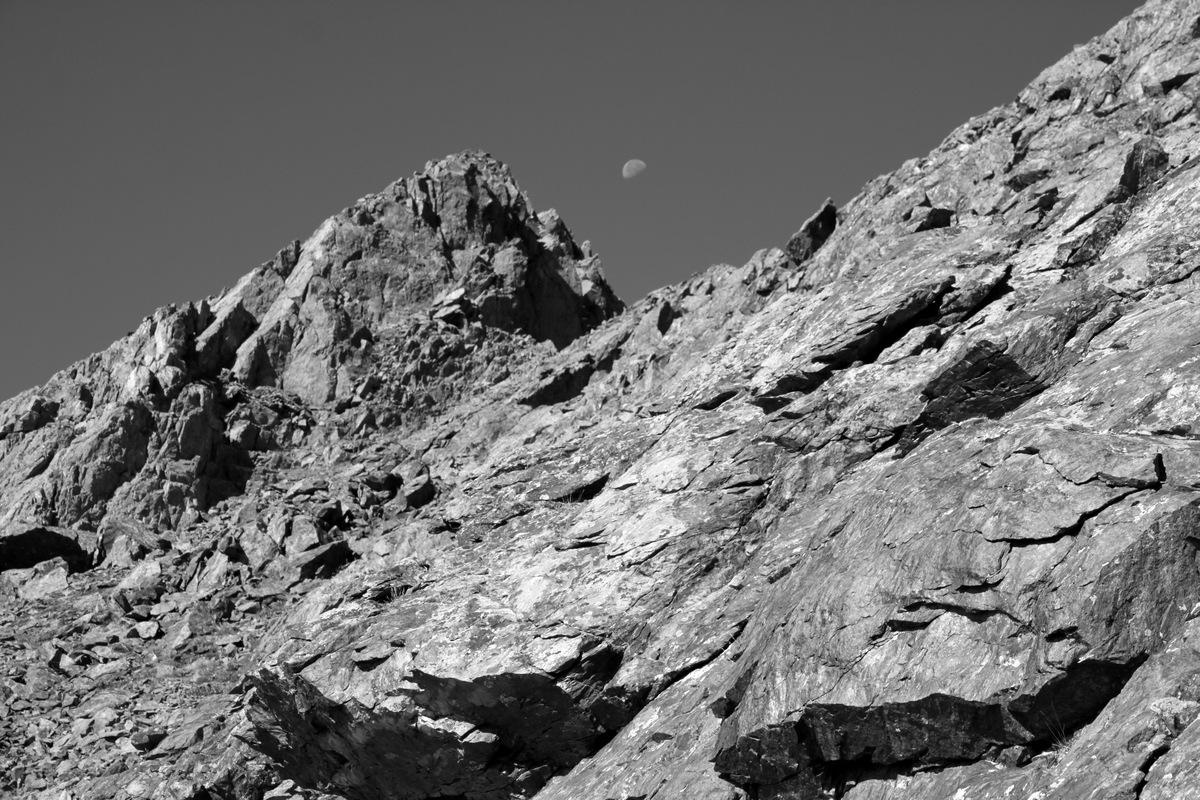
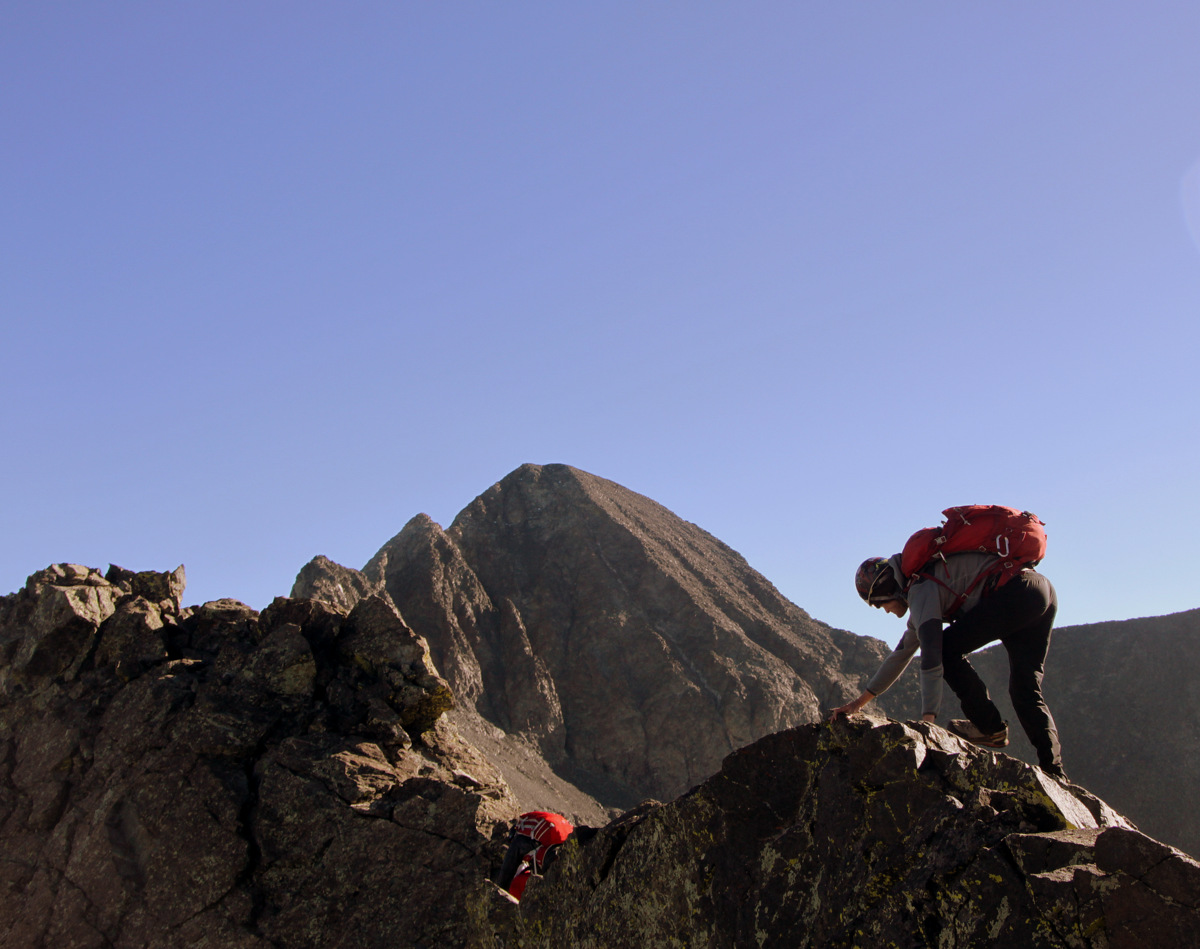
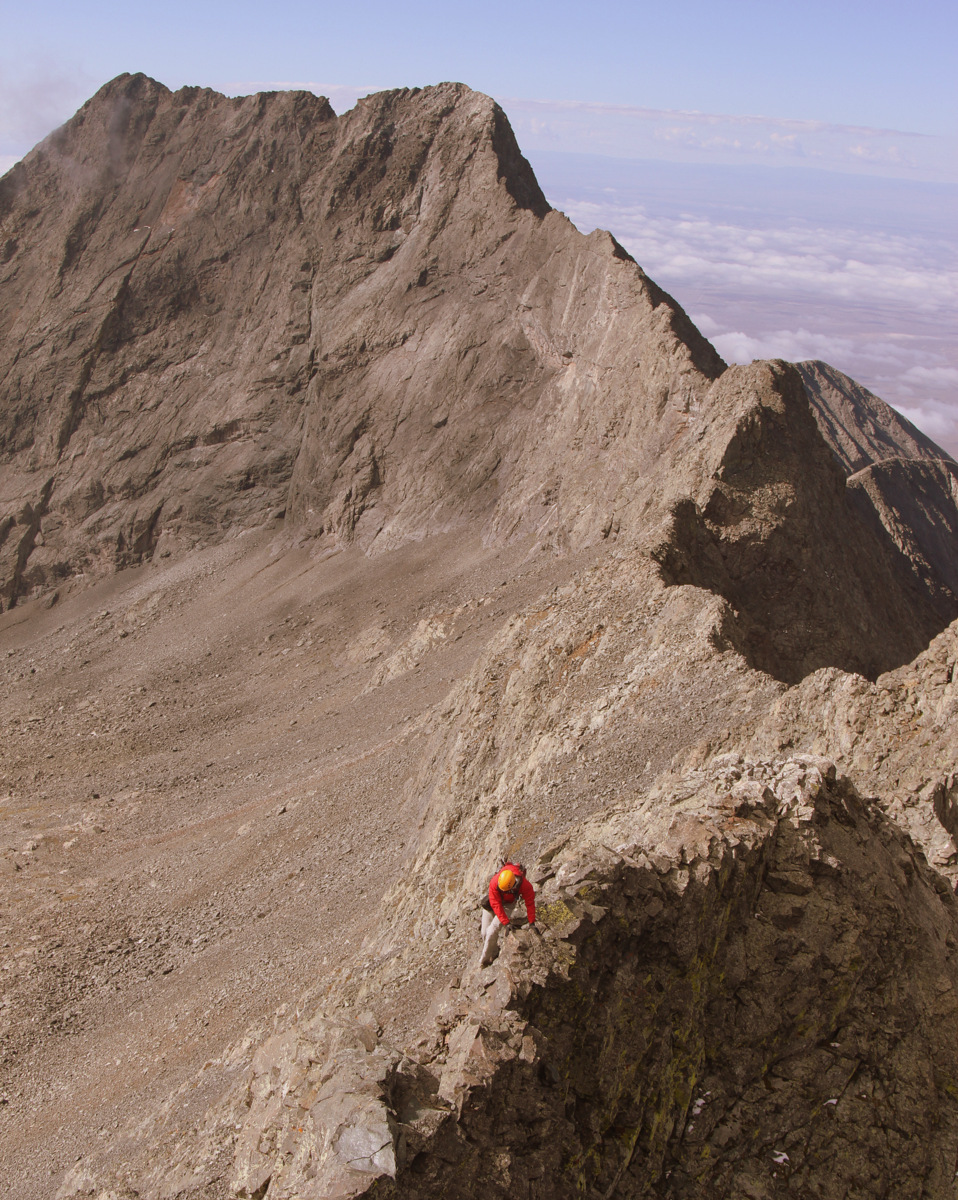
Dillon shot this pic of me scrambling up the north ridge of The Rocking Horse
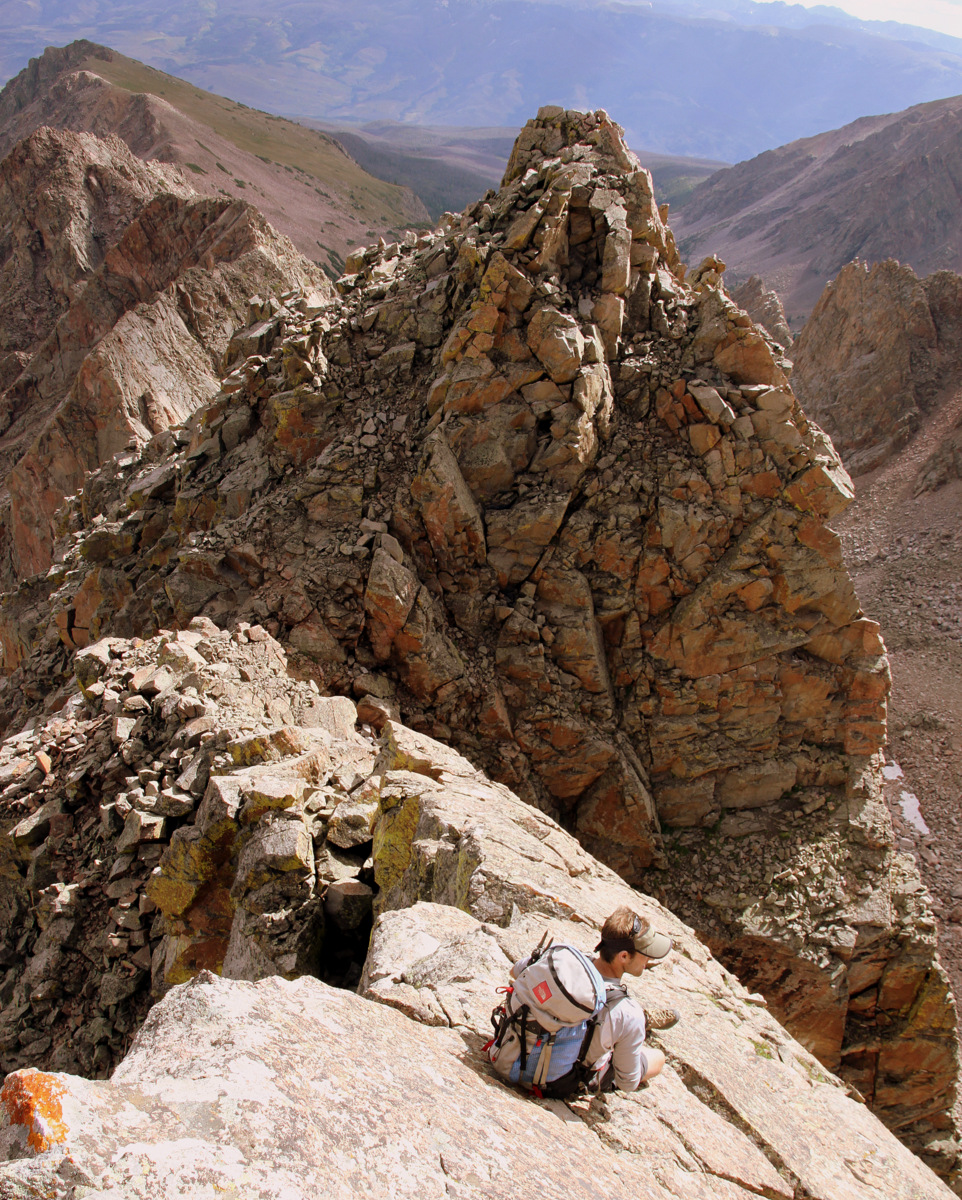
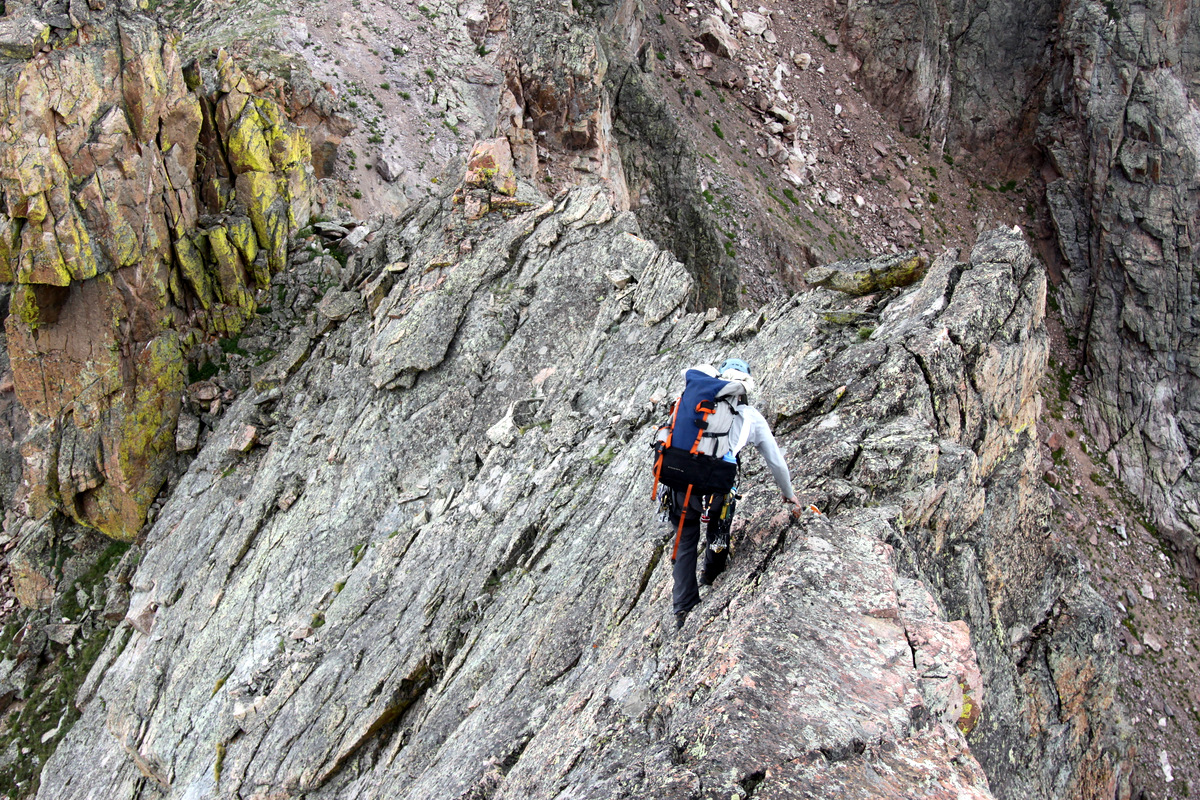
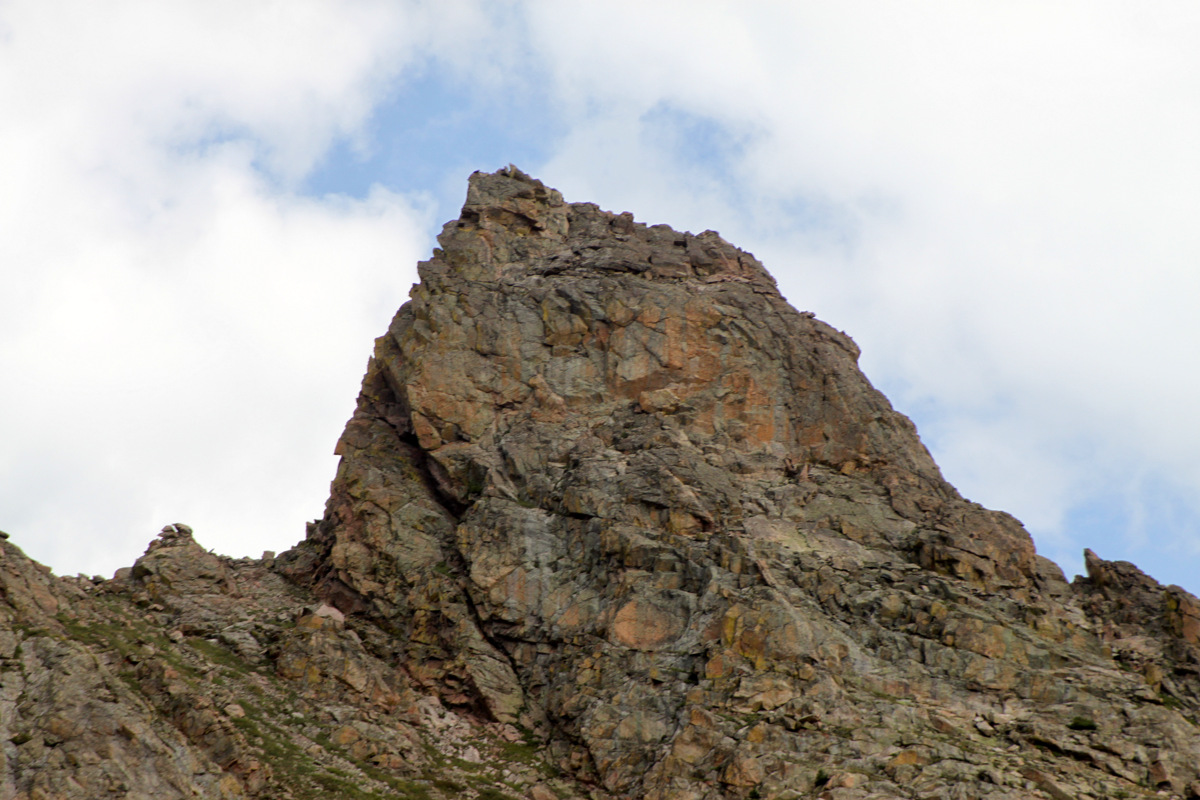
Where the ridge really got exciting was after (south) of The Rocking Horse starting with the downclimb off The Rocking Horse’s south ridge.
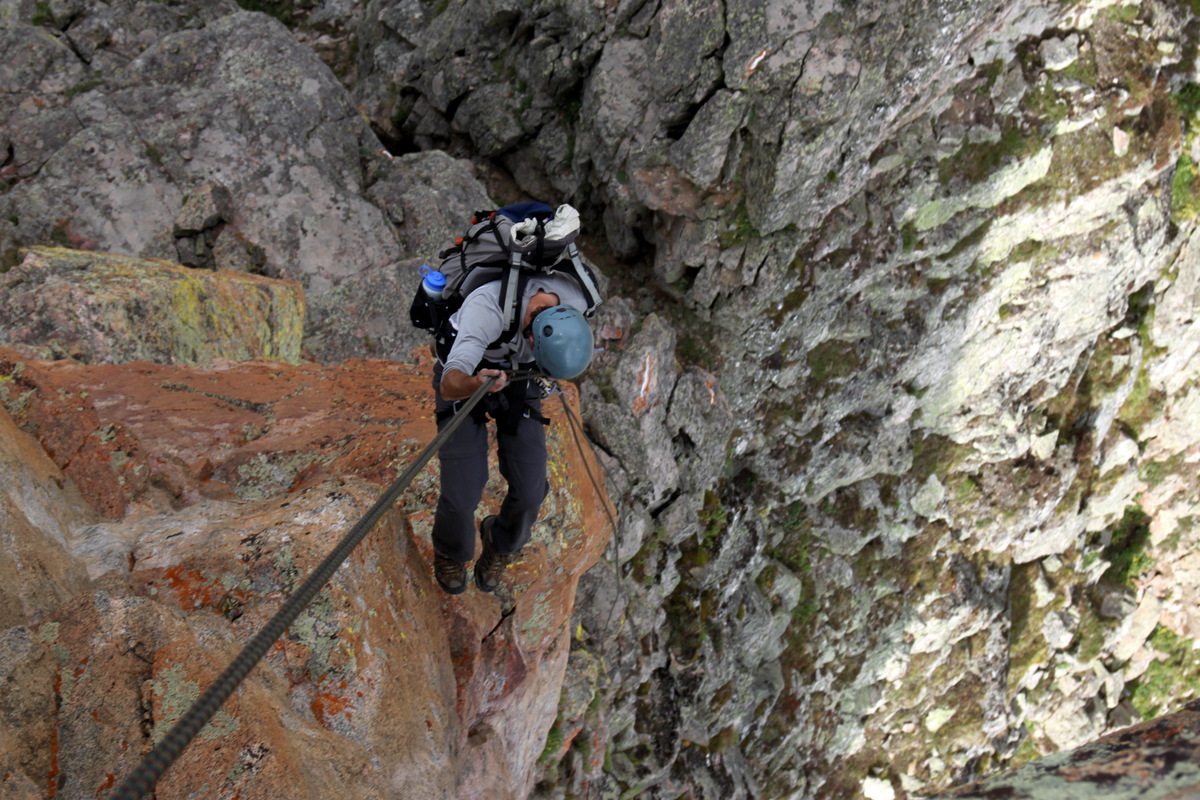
Coming down off The Rocking Horse
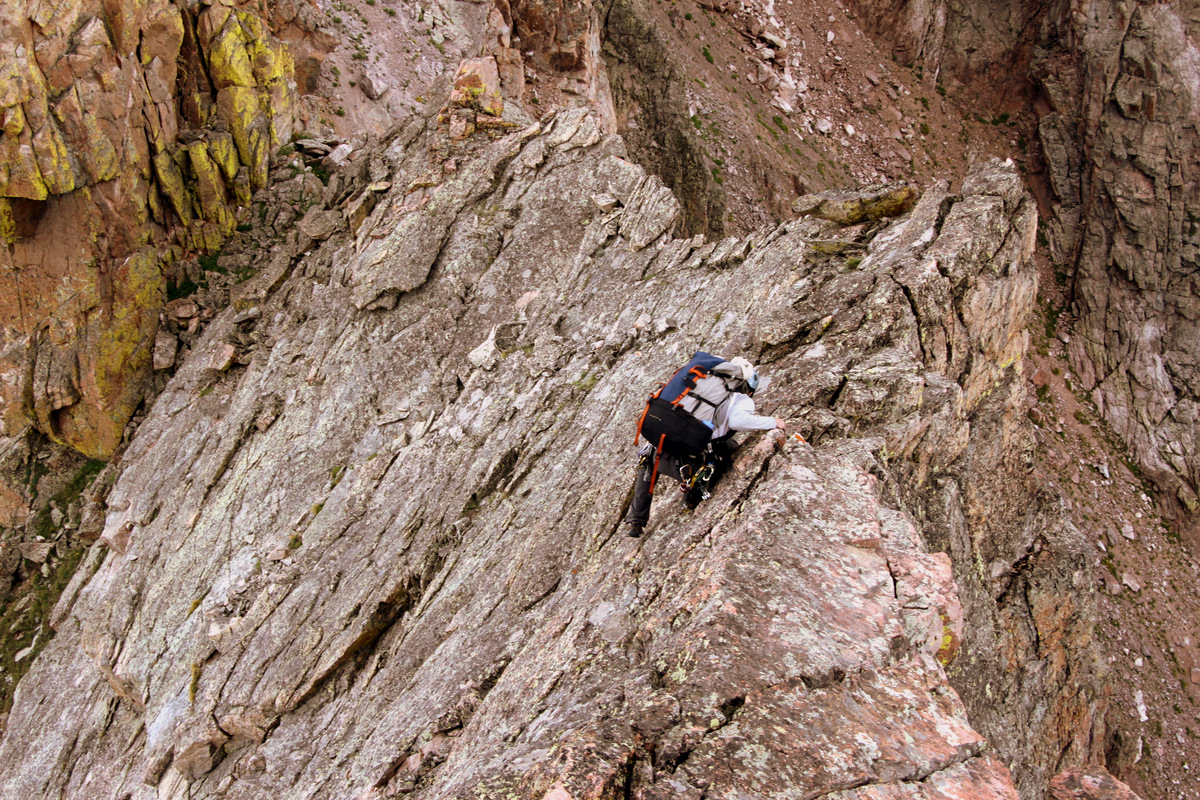
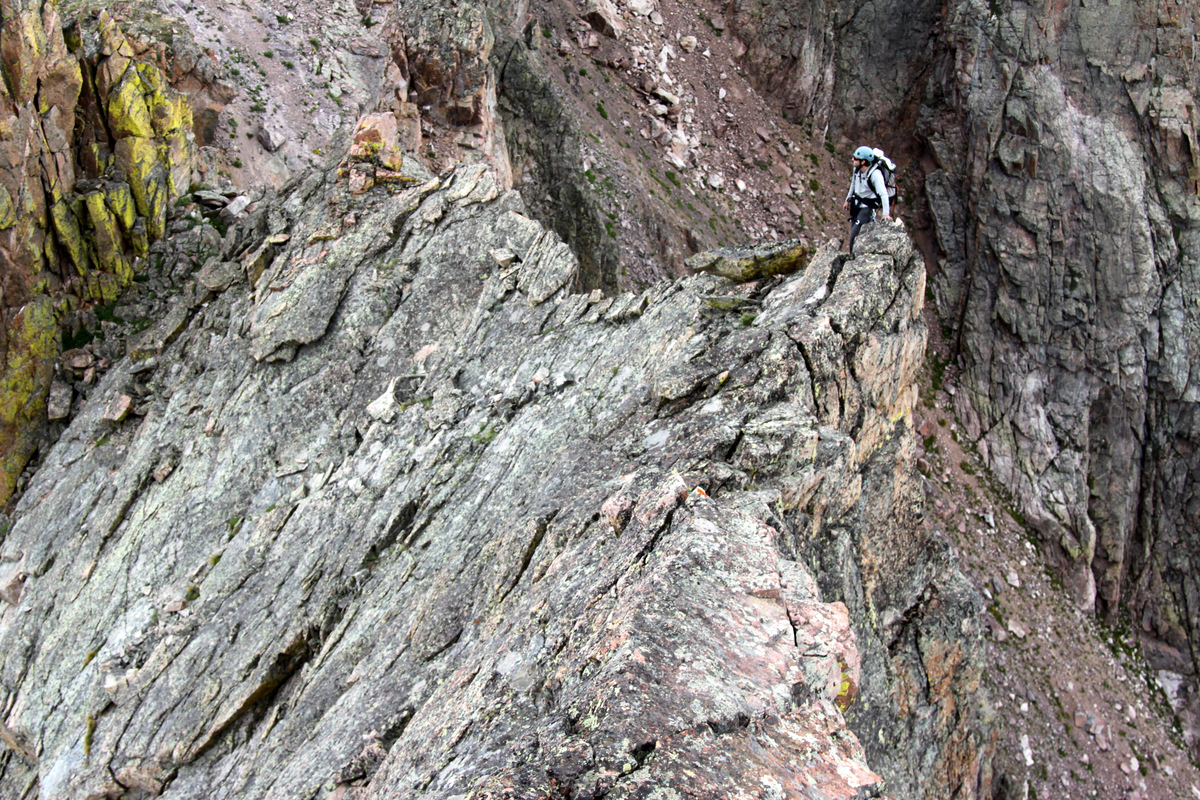
Dillon starting the catwalk
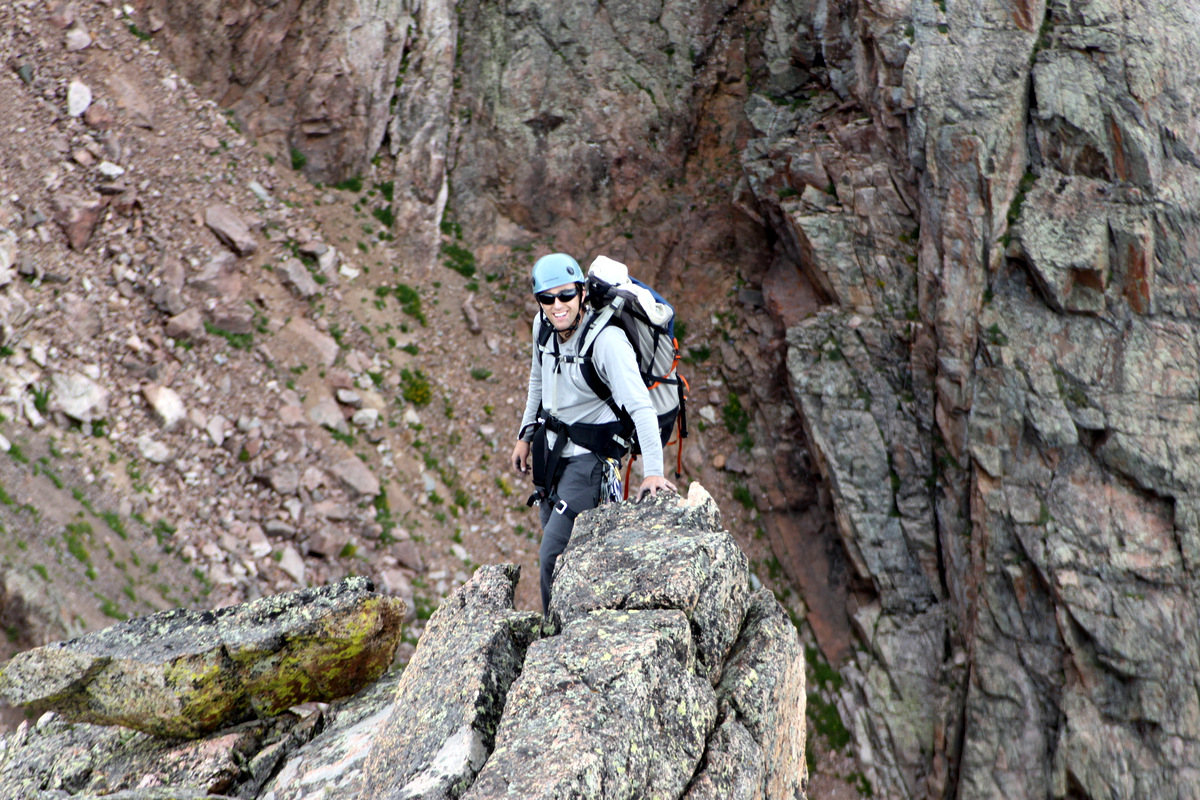
Me on the catwalk. Photo by Dillon
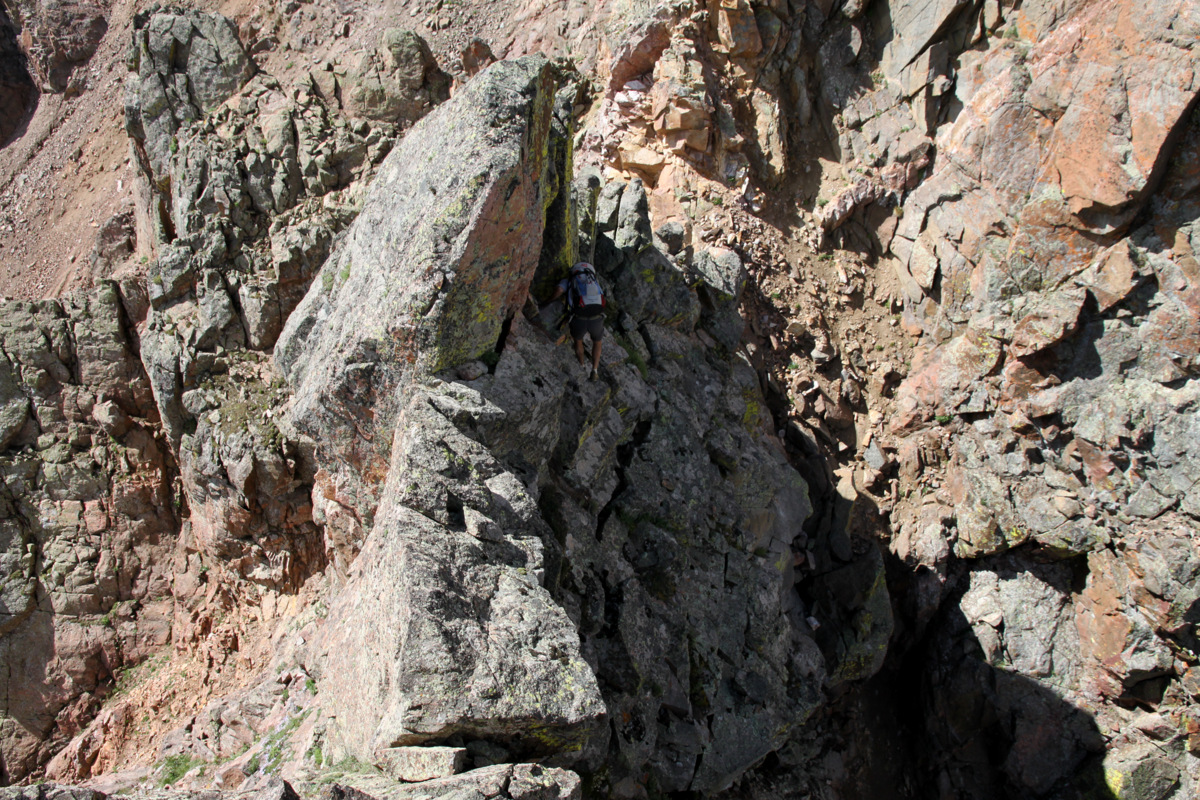
Little did we know that Mad (Dad) Mike was coming down off Peak H at this same time (noonish maybe) and saw us on the catwalk after The Rocking Horse and shot a very zoomed-in picture of Dillon & myself. Thanks, Mike! Mike had traversed Ripsaw Ridge from Peak C to Peak H this same morning.

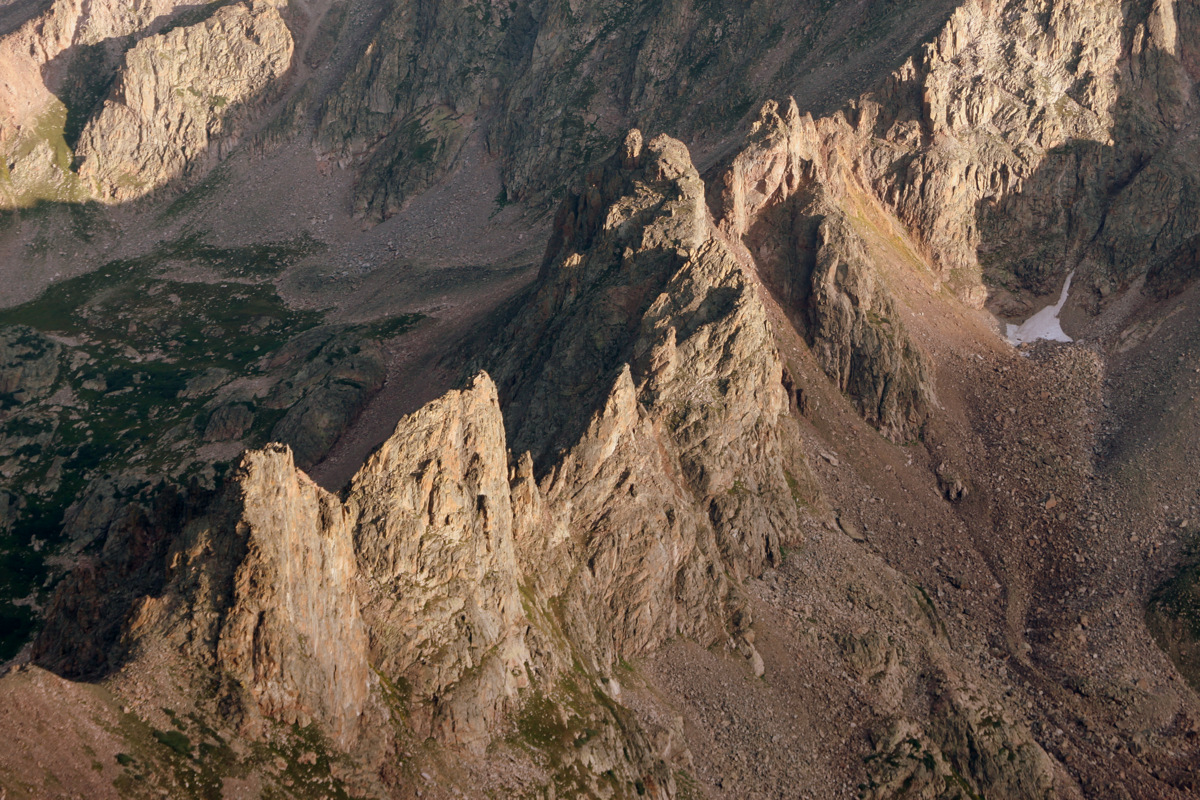
Mike’s zoomed in shot of Dillon & myself from the slopes of Peak H. The Rocking Horse is to our left
We downclimbed off the catwalk and then a few more towers presented themselves. While one could likely skirt most of these complexities with 3rd class scrambling a hundred or more vertical feet lower on the ridge’s west side, we stayed fairly ridge proper and encountered plenty of class 4/low class 5 scrambling.
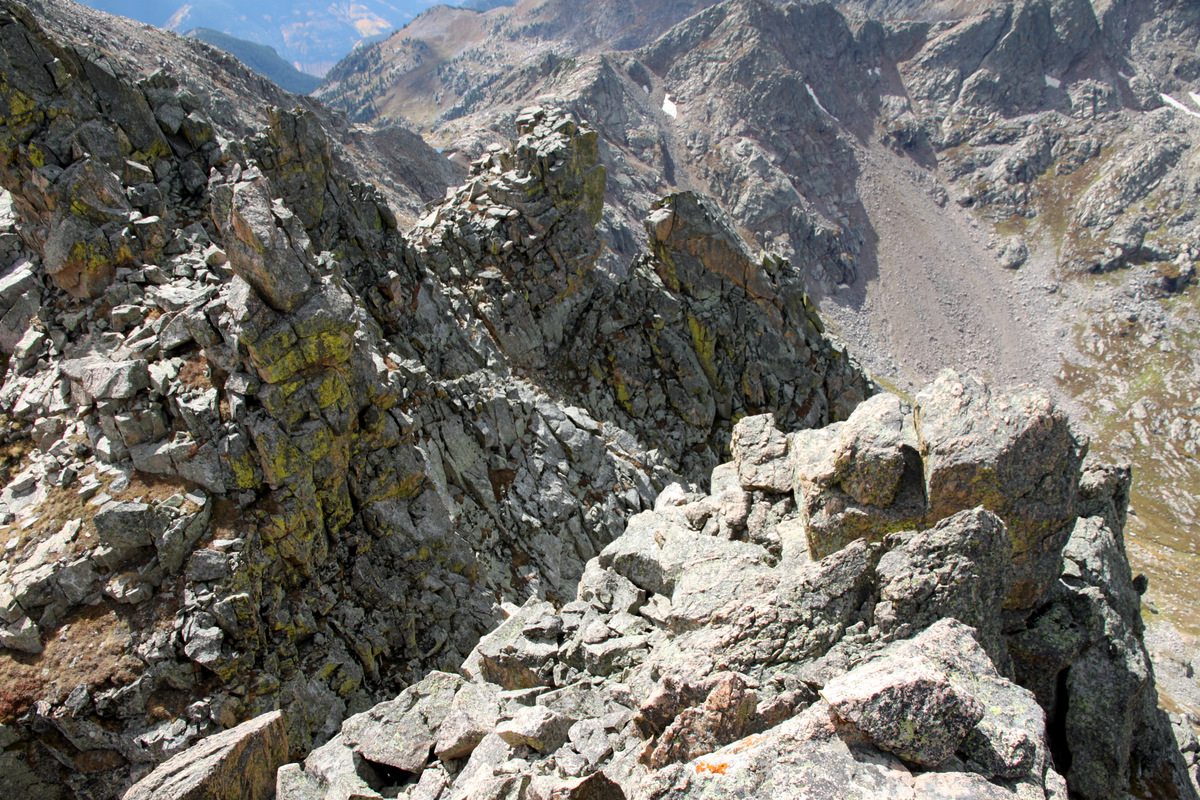
The downclimb after the catwalk and a few more towers to go up and over
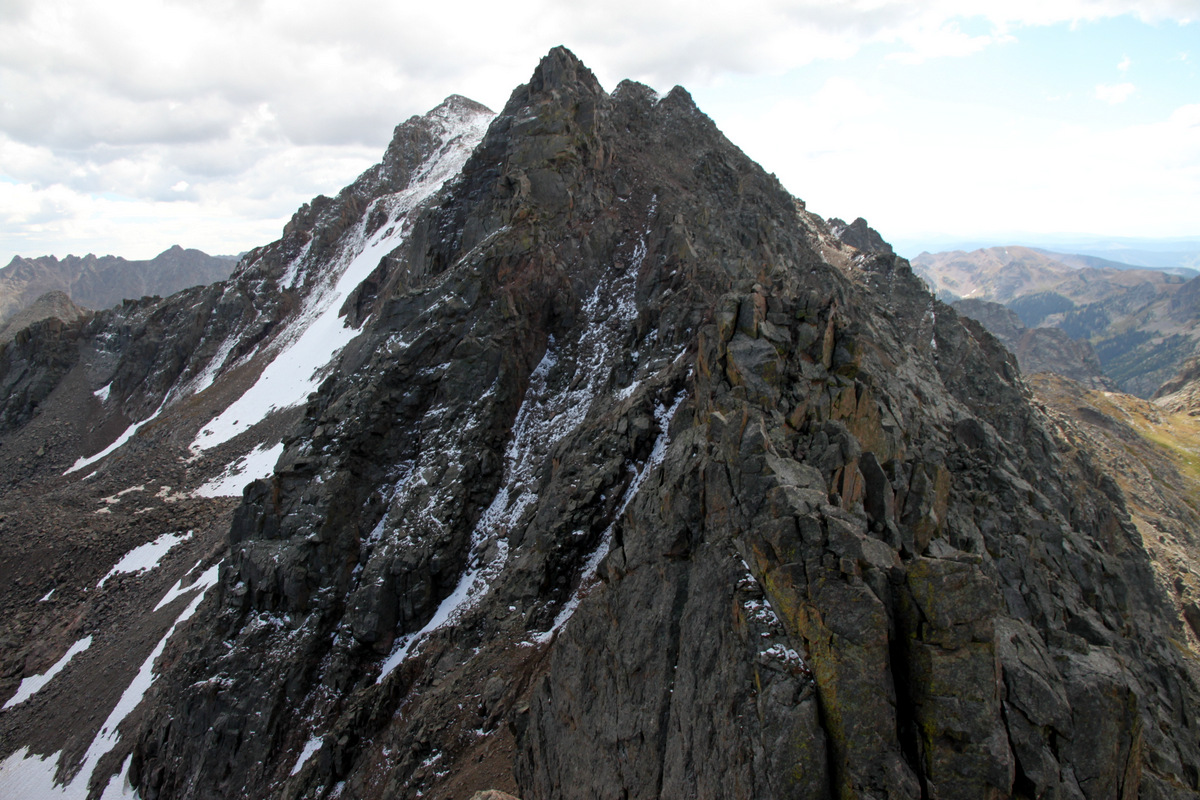
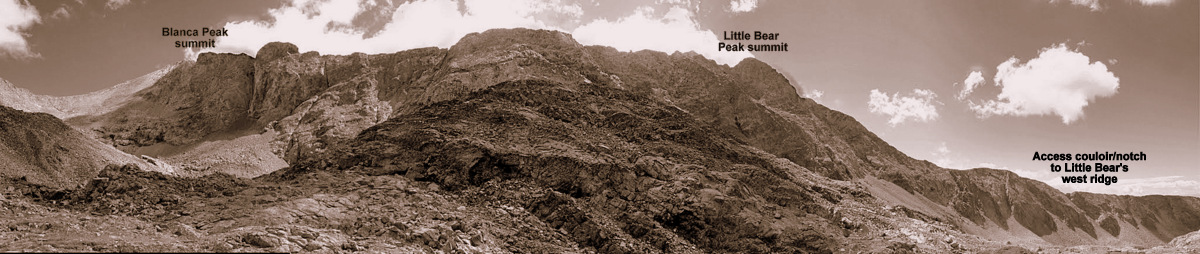
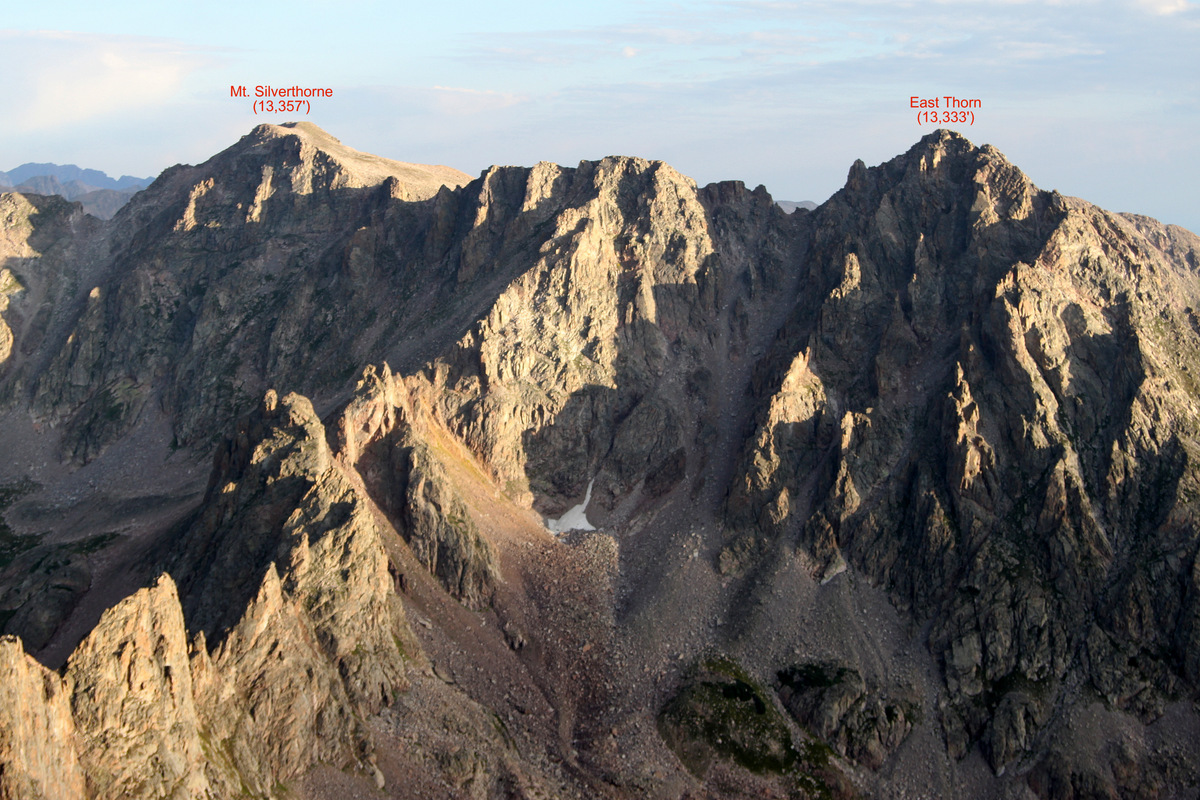
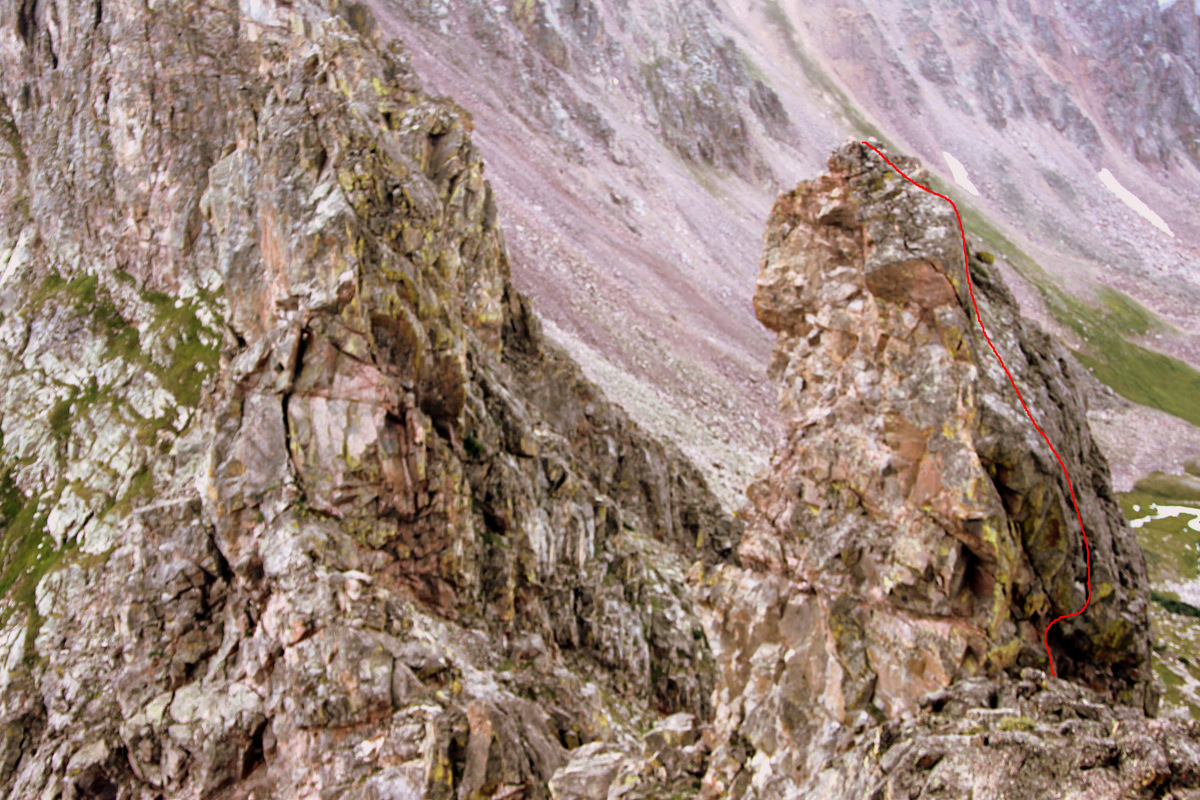
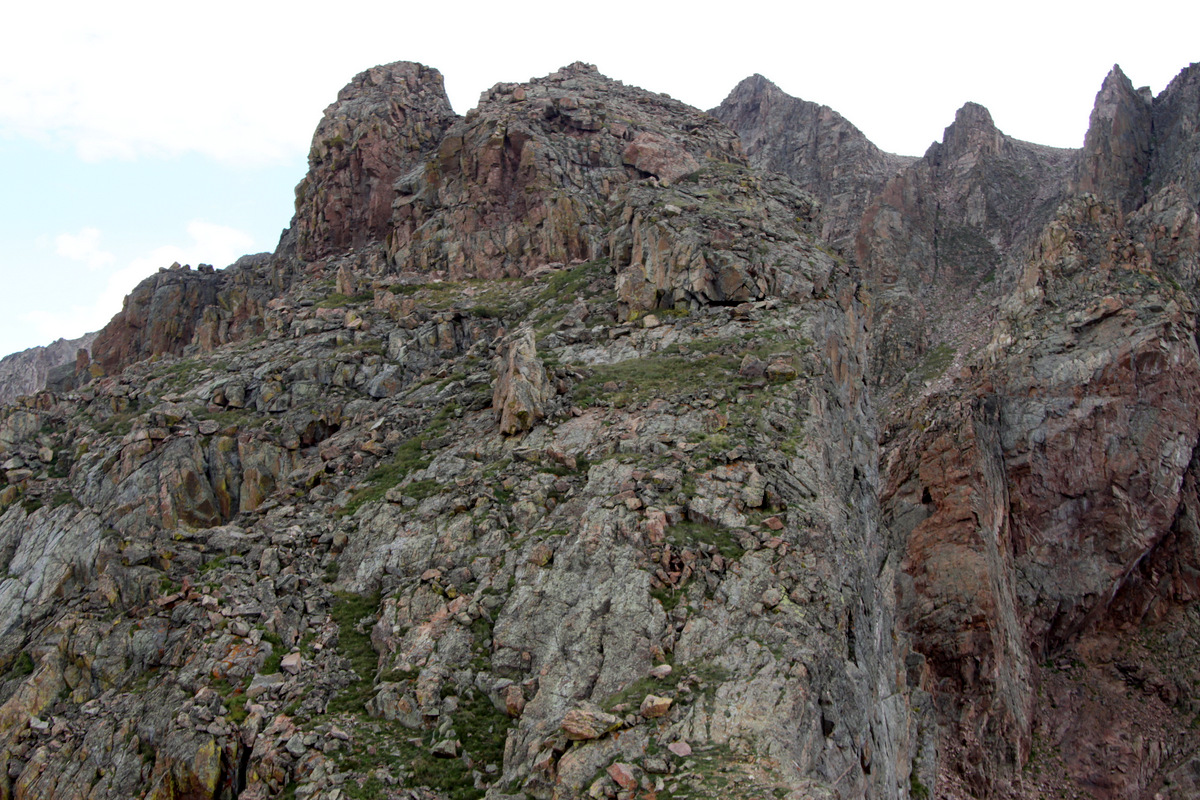
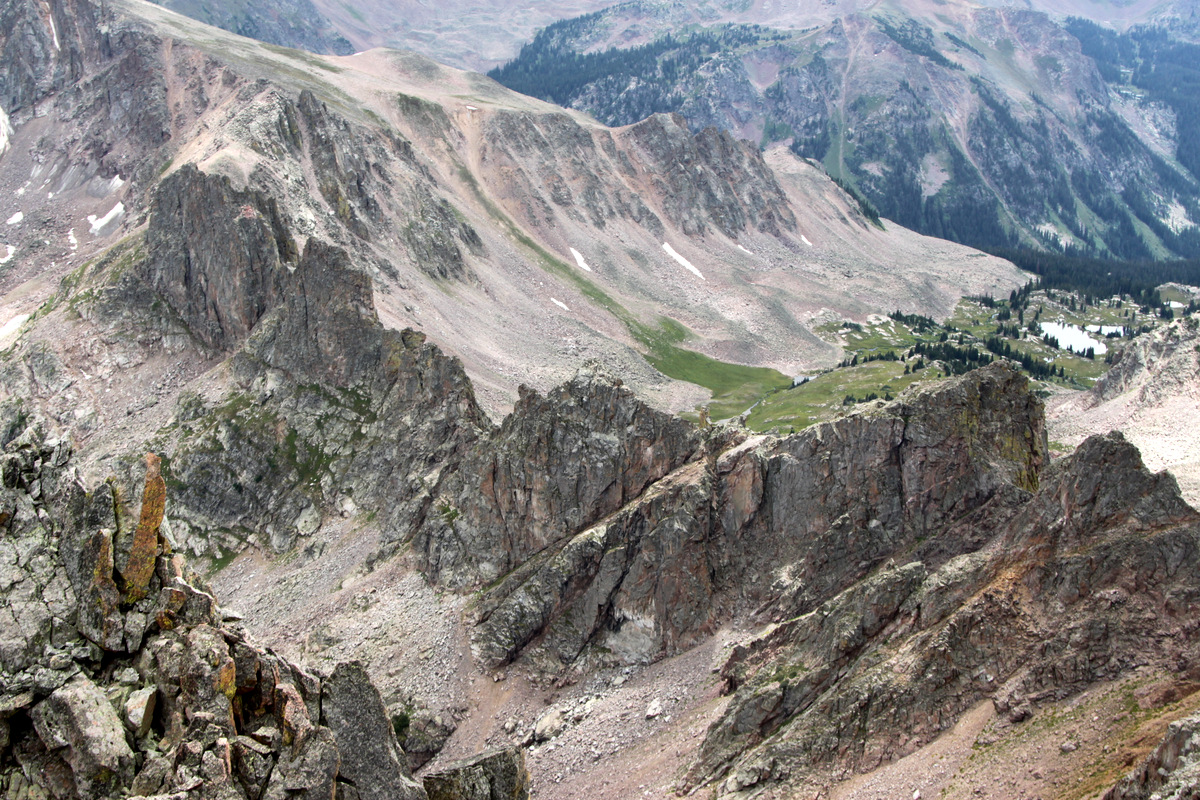
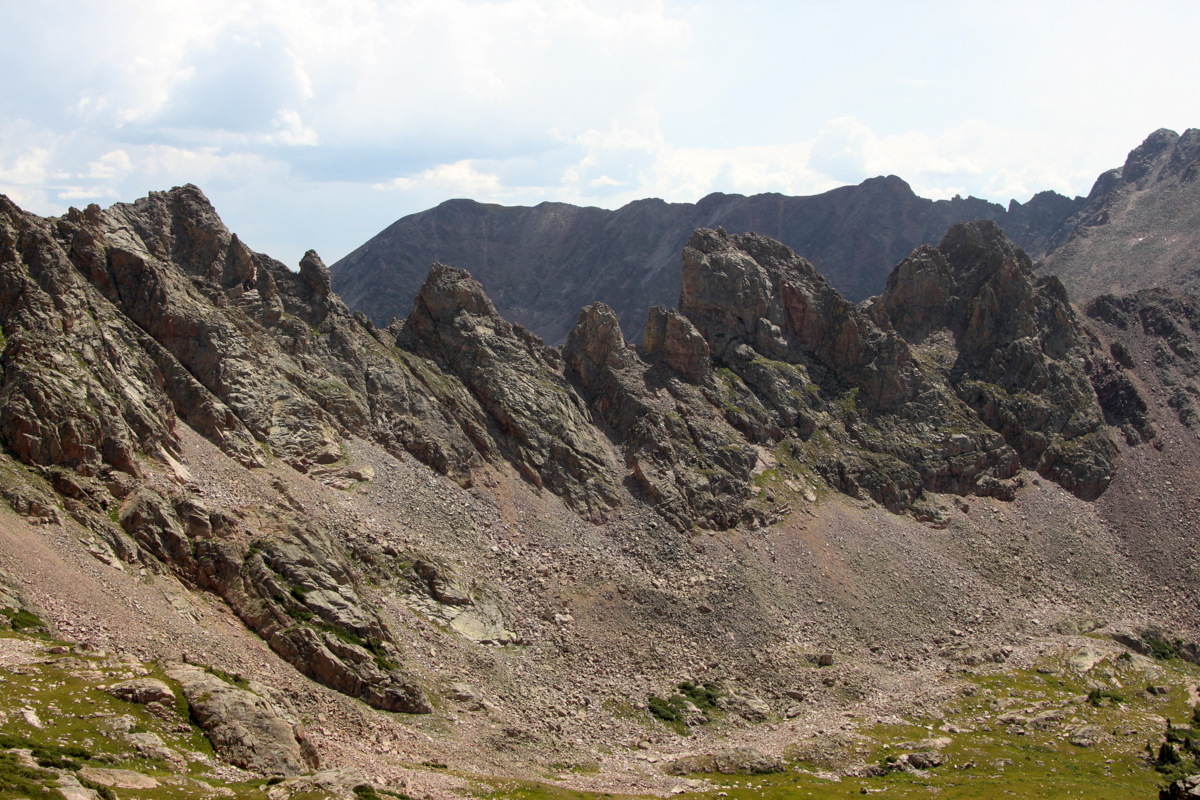
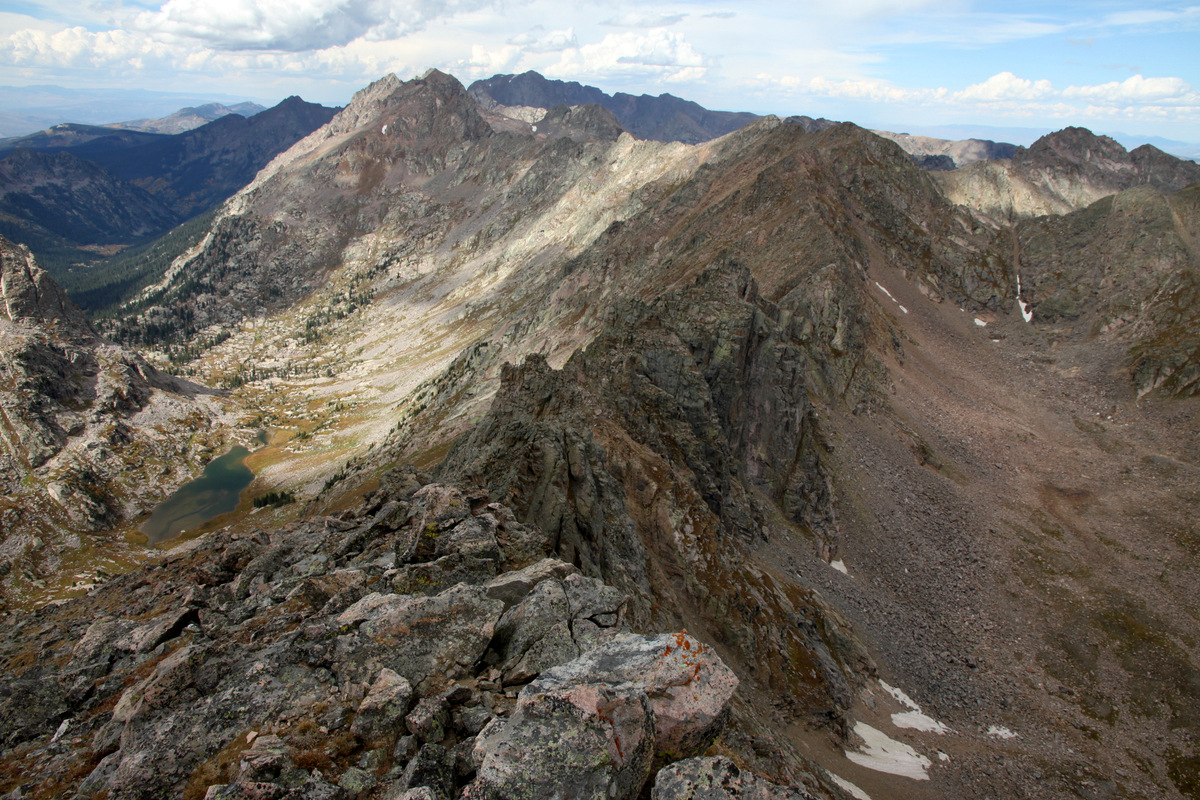
The remaining portion of Rockinghorse Ridge up to West Partner Peak as seen from the catwalk
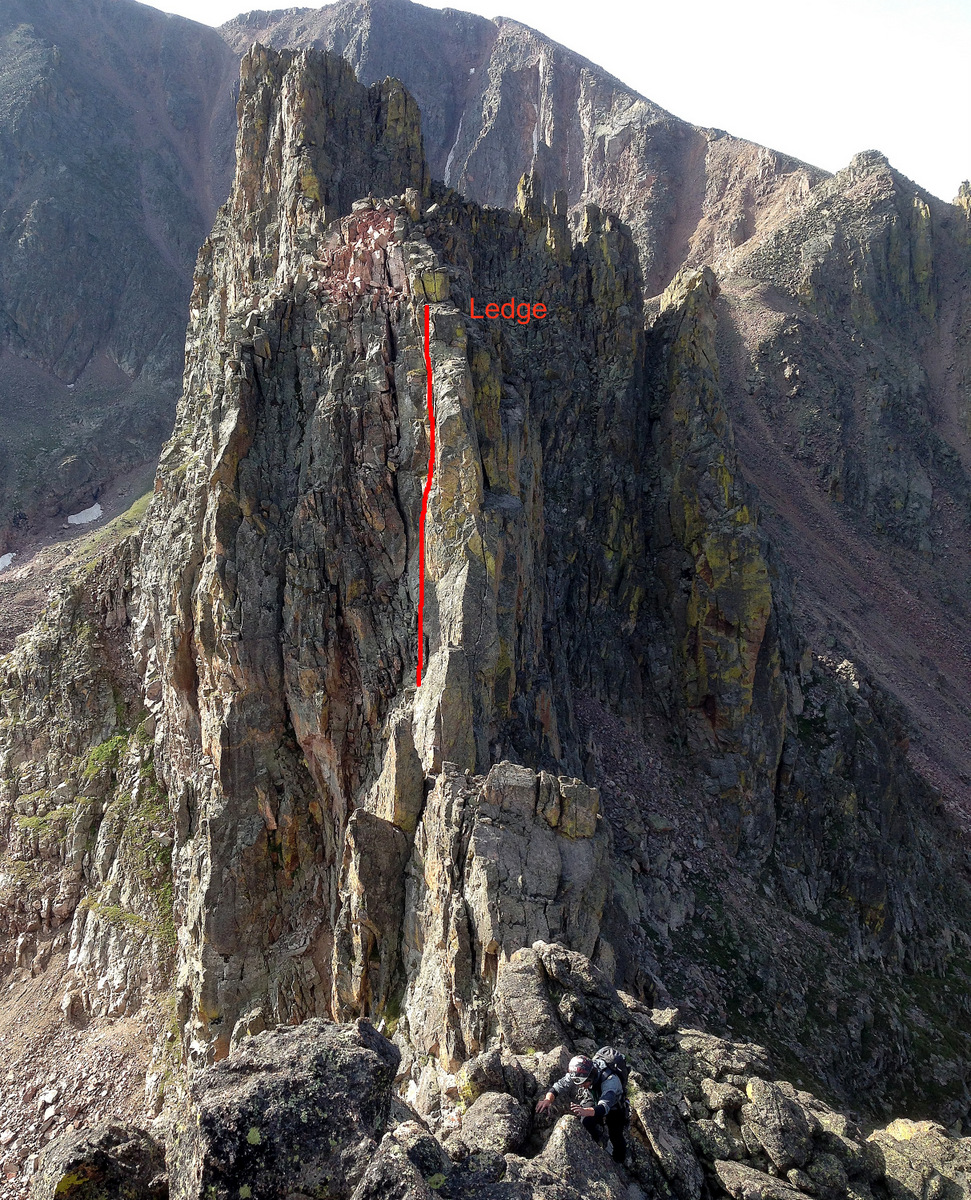
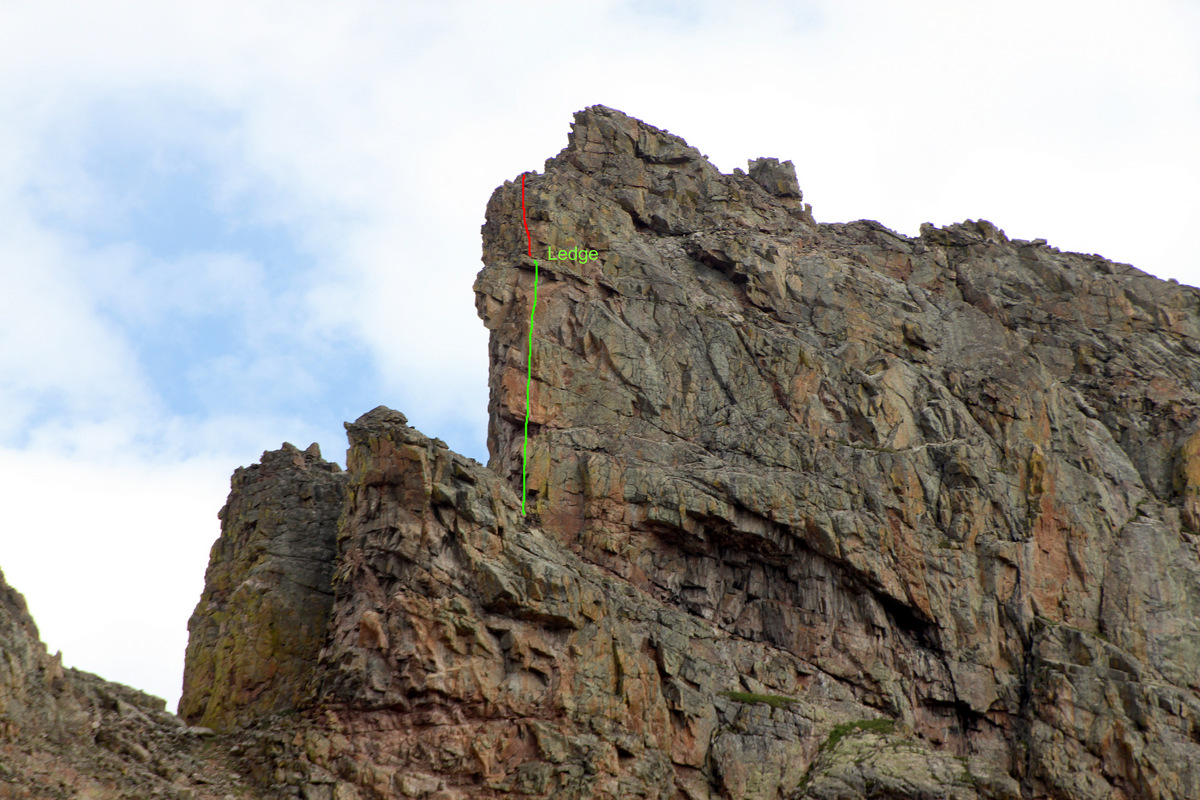
We even found one nice looking crack up one of the towers that I was determined to climb. It looked oh so good. This crux could definitely be skirted to the ridge’s west side via class 3 ledges and join up with this more direct route on top of the tower.

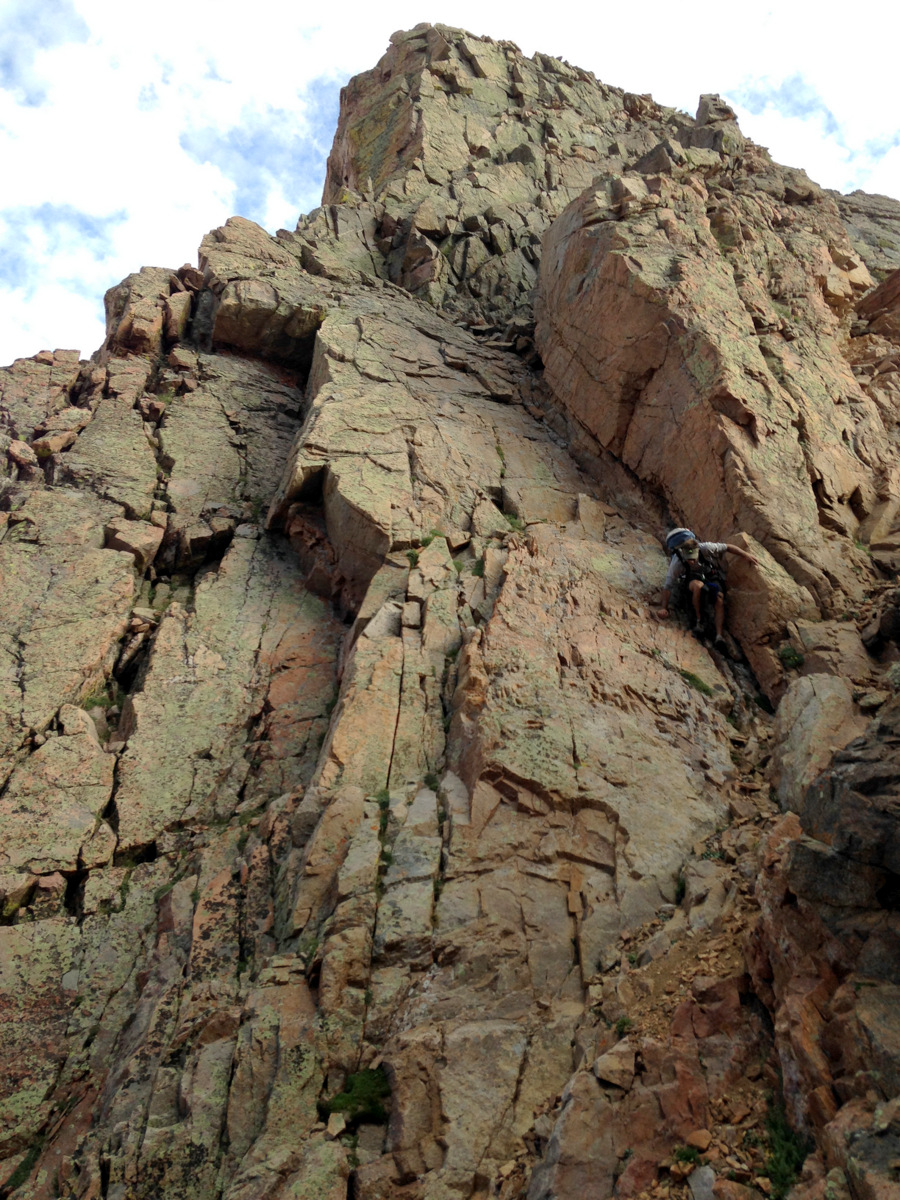
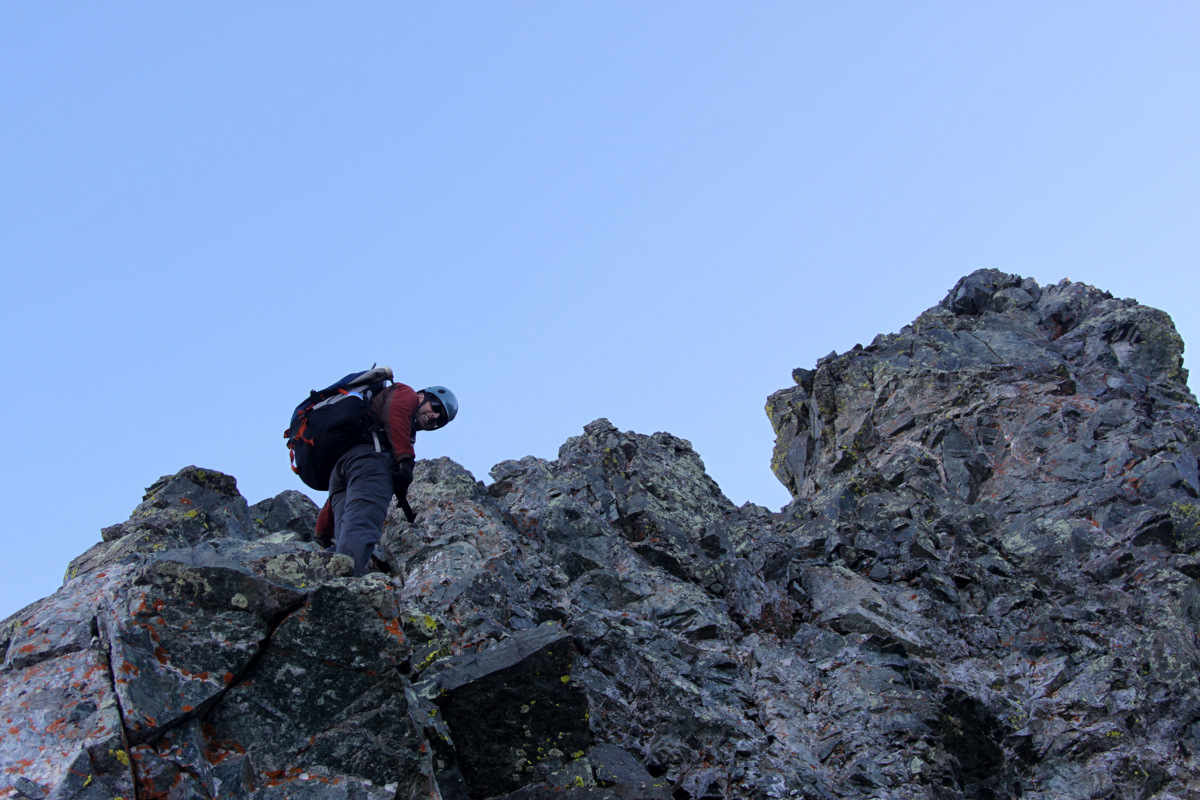
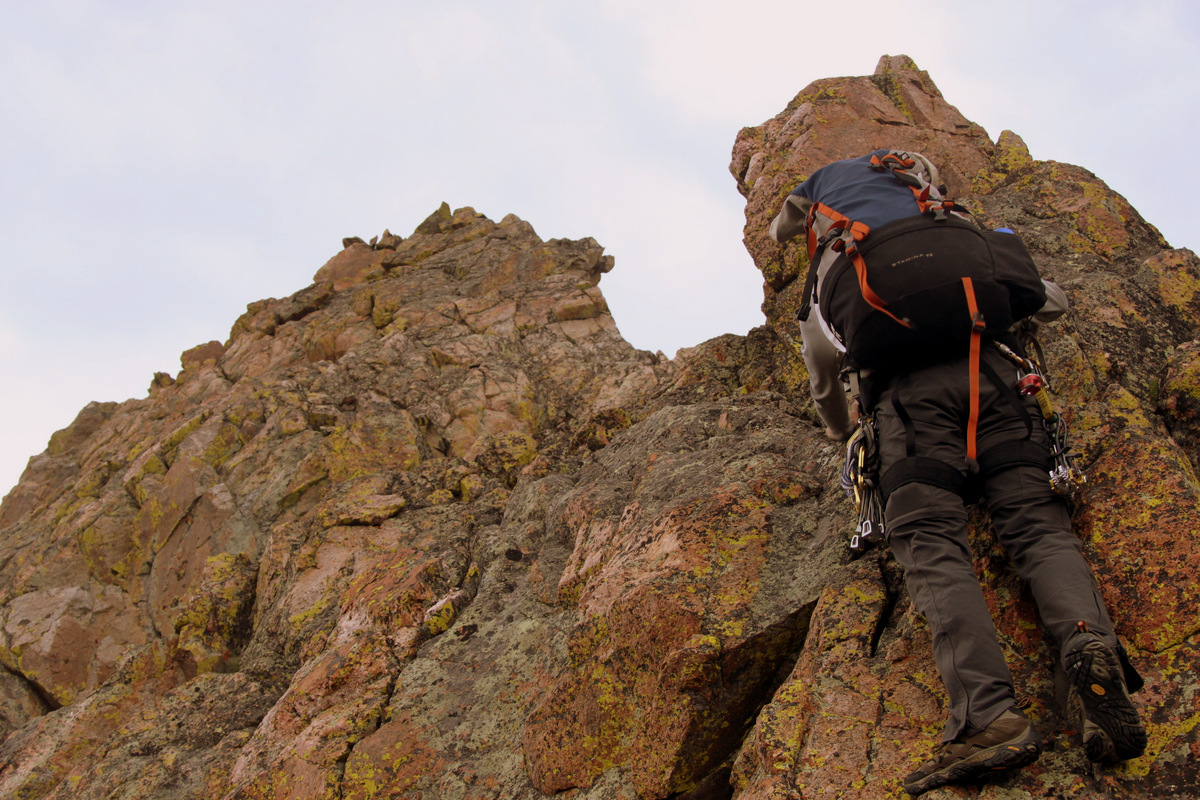
Me heading up the good looking crack. Photo by Brian
Me at the top of the crack. Photo by Brian
It was a tough move with some air below, but as long as you could get a toe in the crack as a foothold and a right hand/arm jam in the crack it was manageable (if 5.4-5.5 is manageable in trail shoes).
Dillon crack sequence pic #1
Dillon crack sequence pic #2
Dillon crack sequence pic #3
The scrambling to the top of this tower didn’t end there as there was an exposed traverse, a small knife-edge, and still some 4th class moves to be had.
Dillon on an exposed traverse above the crux crack
Dillon almost topping out on the tower
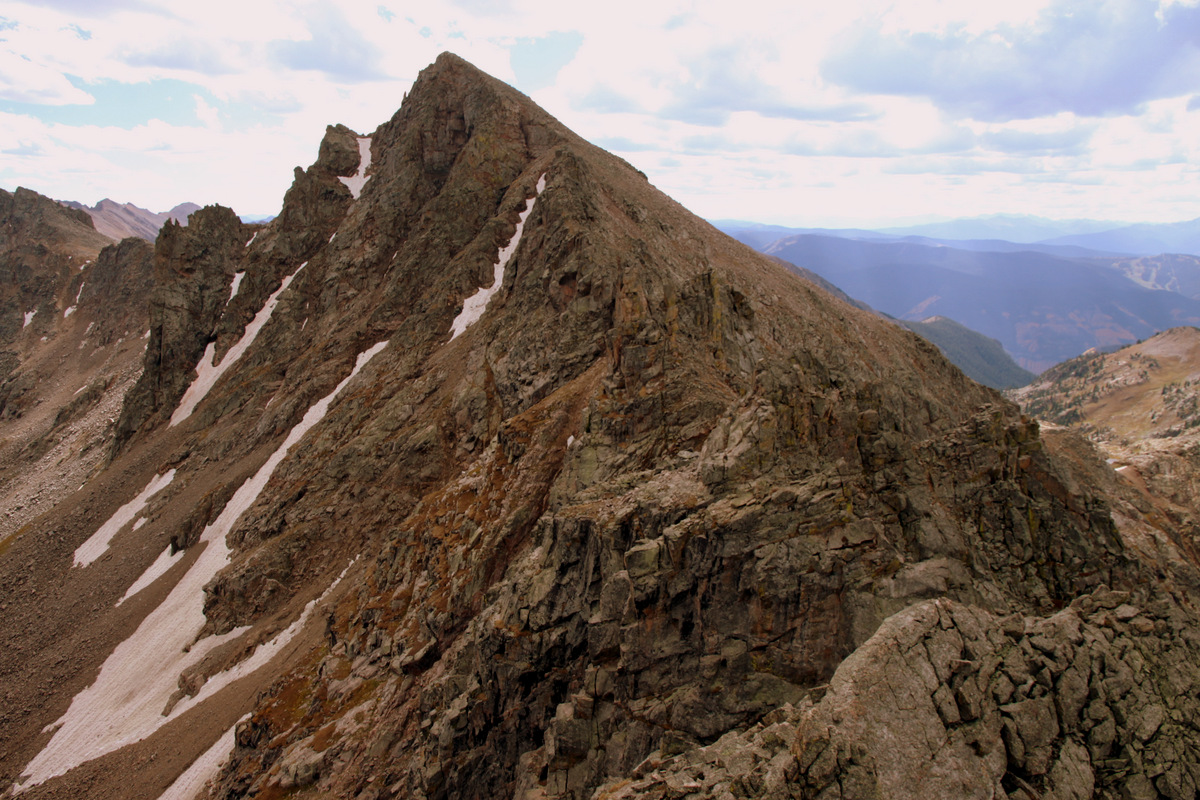
The remaining portion of Rockinghorse Ridge up to West Partner Peak as seen from the top of this tower
It was then a mellower downclimb off to our next set of towers, which mostly could be skirted ever so slightly to the ridge’s east side. Though, one could climb these towers as we did on a few occasions (ya know, for the views).
More awesome towers everywhere you look on Rockinghorse Ridge. Photo by Dillon
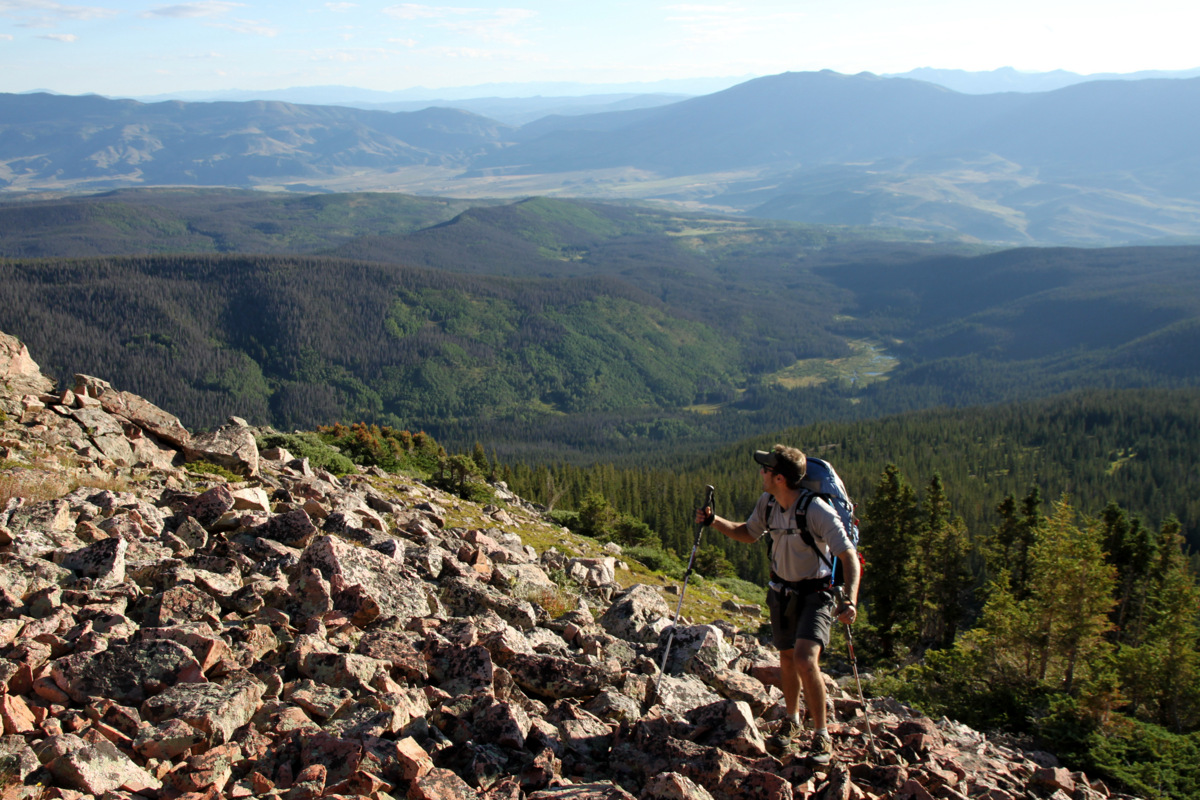
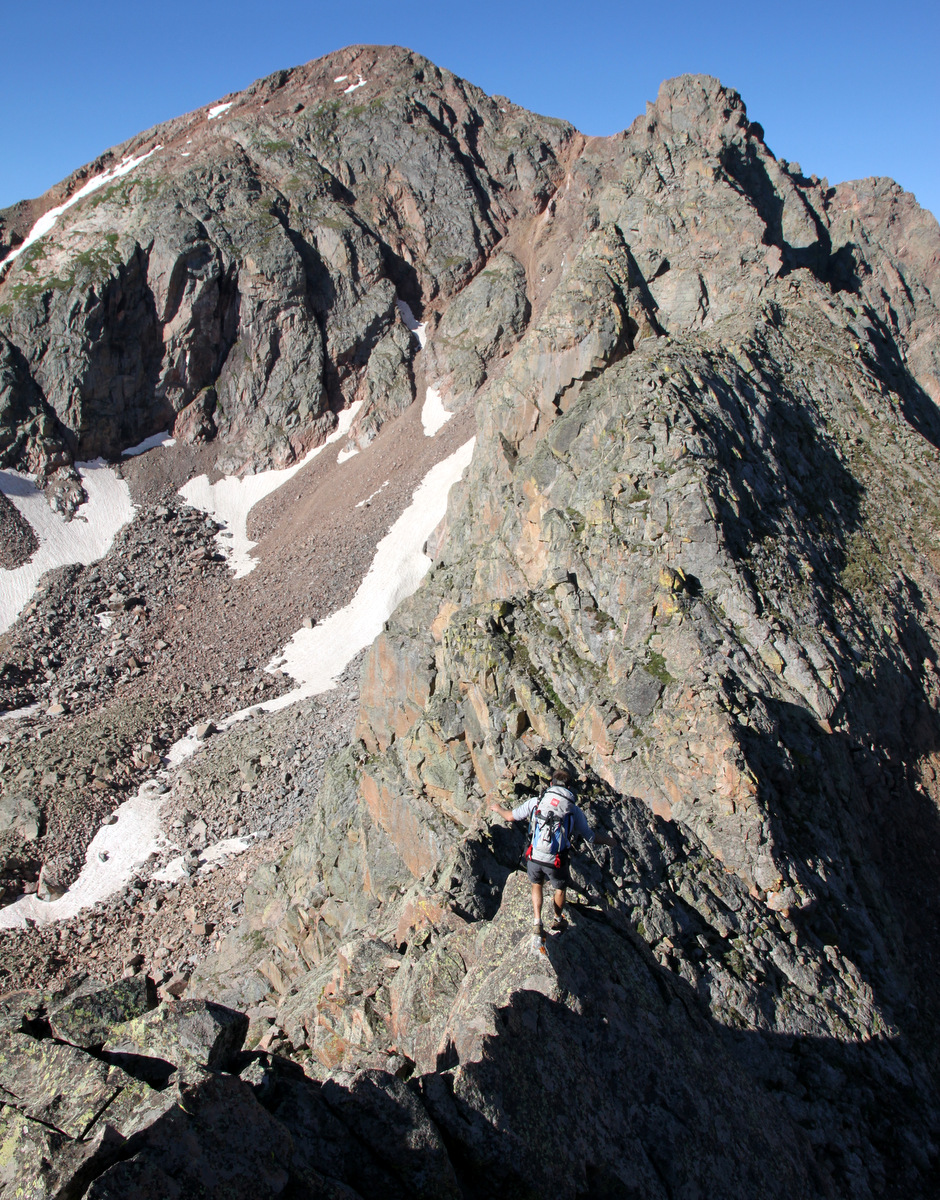
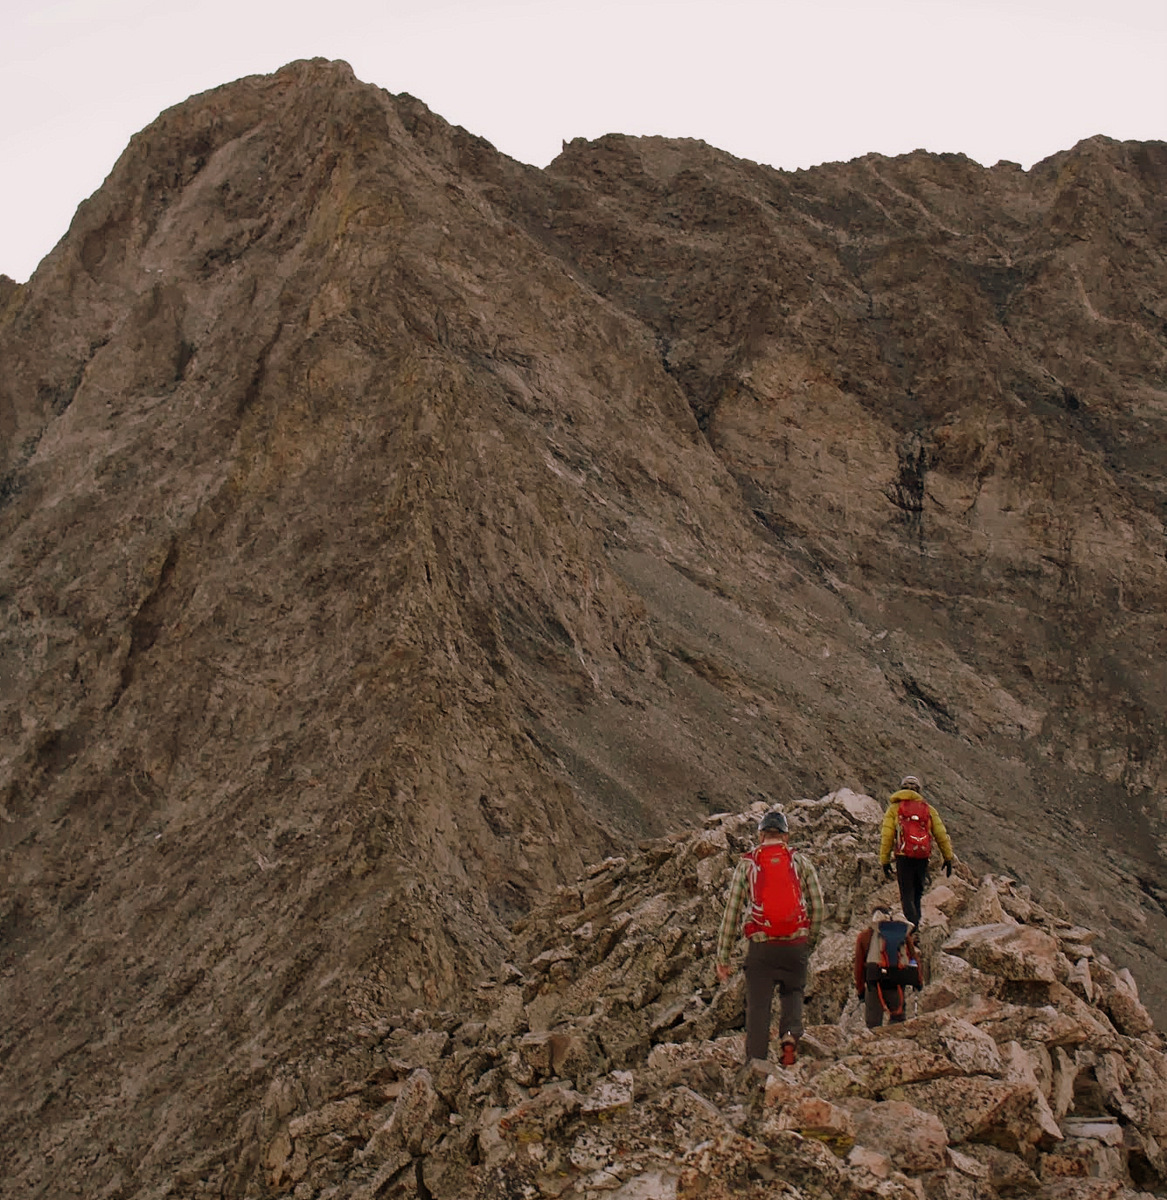
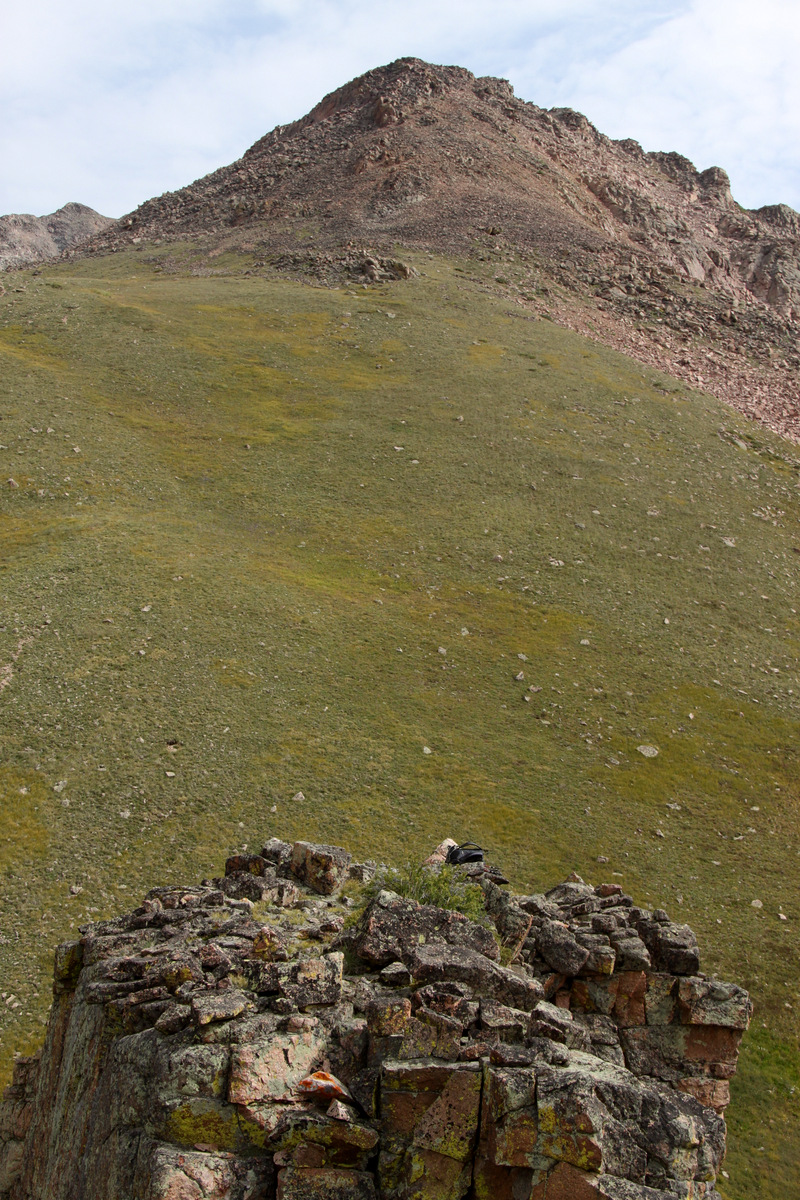
The terrain then eased off into more “hikeable” slopes and we made good time up the remaining north ridge of West Partner Peak to its lofty Gore summit.
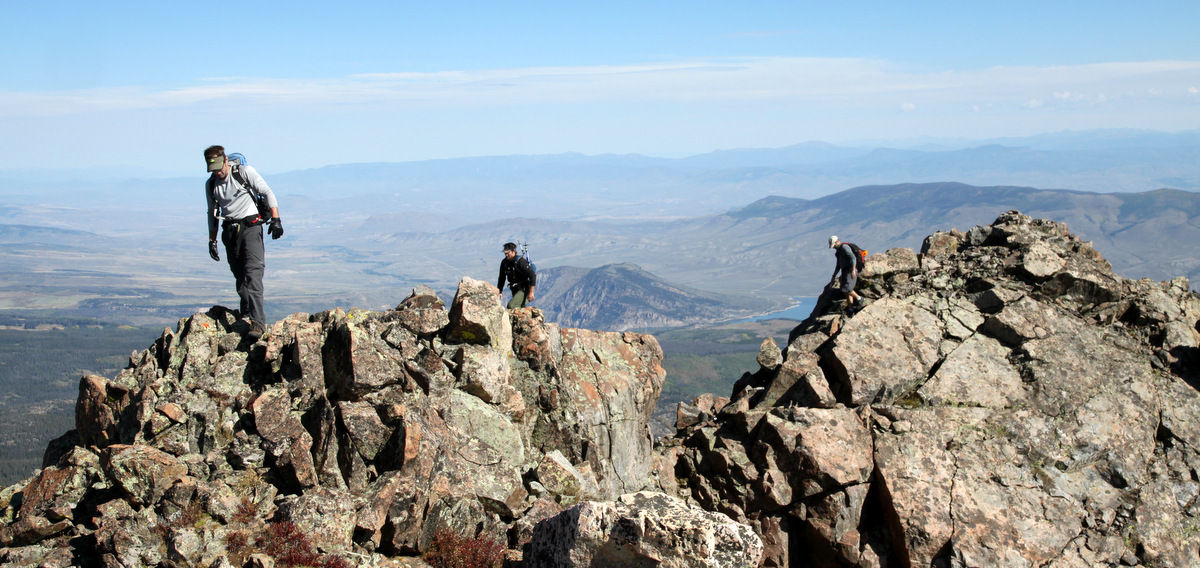
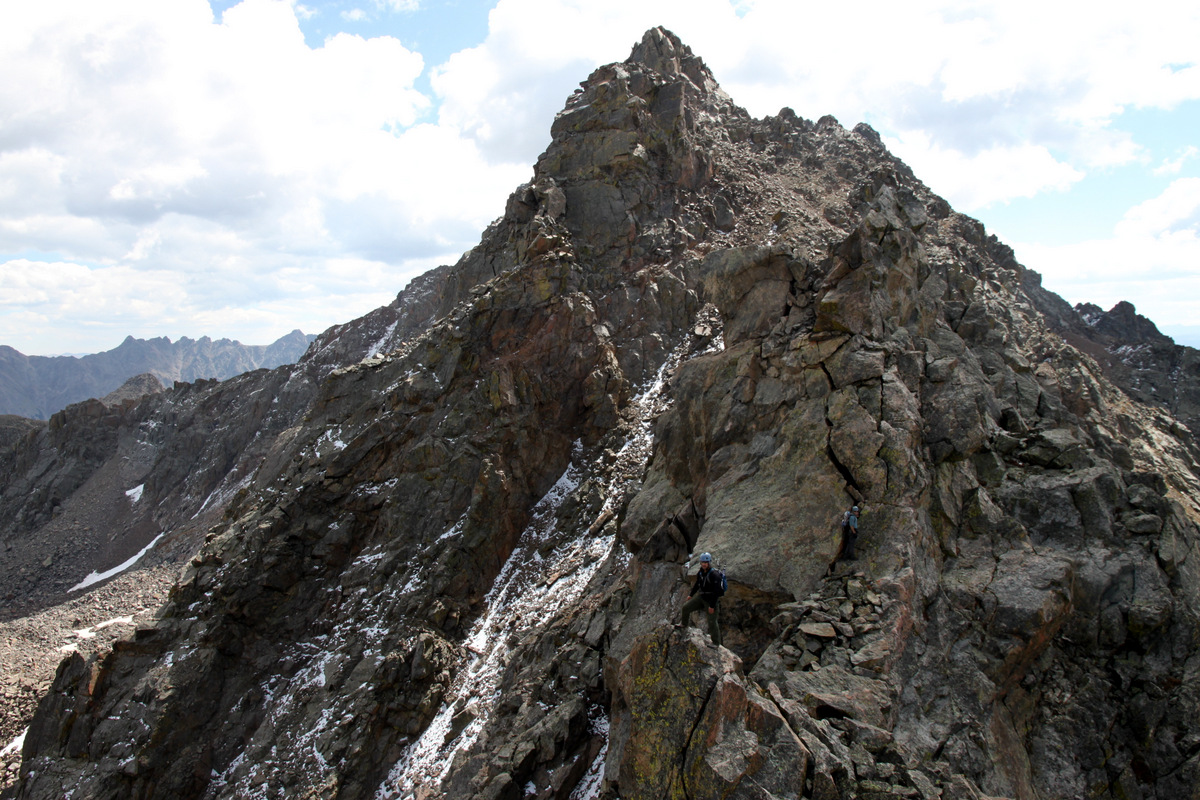
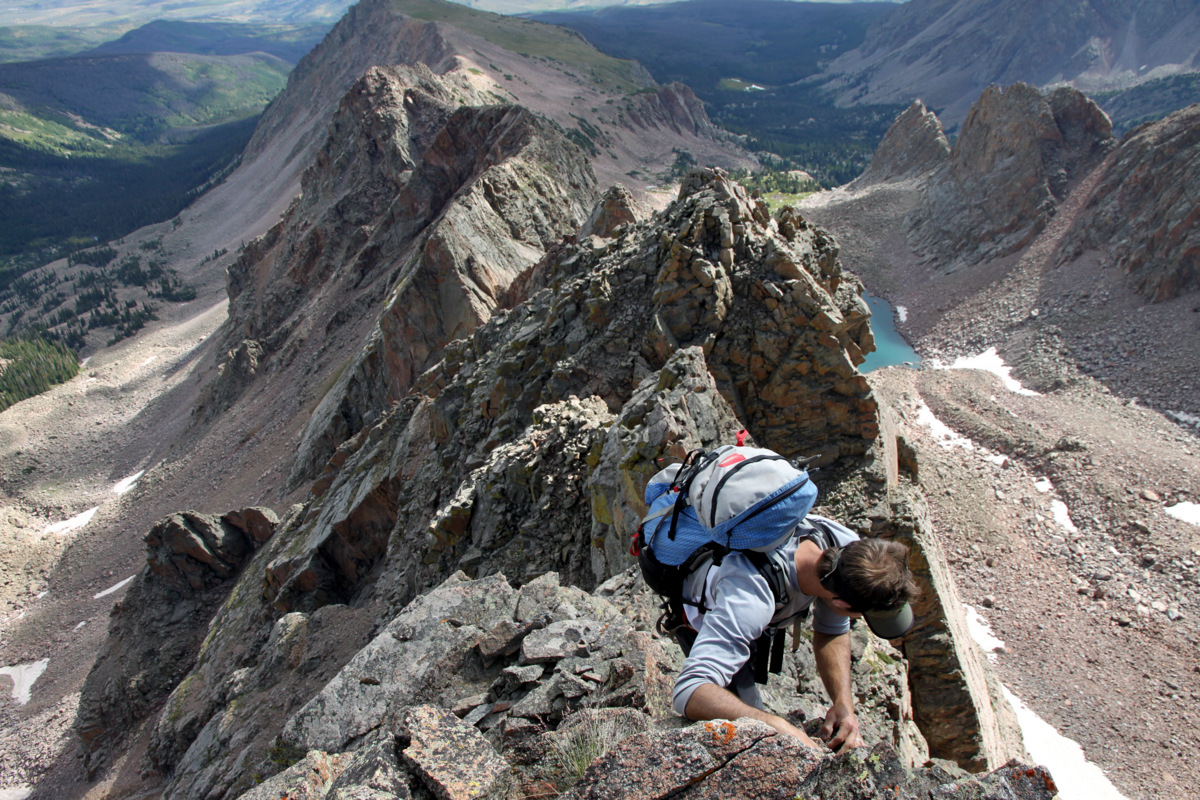
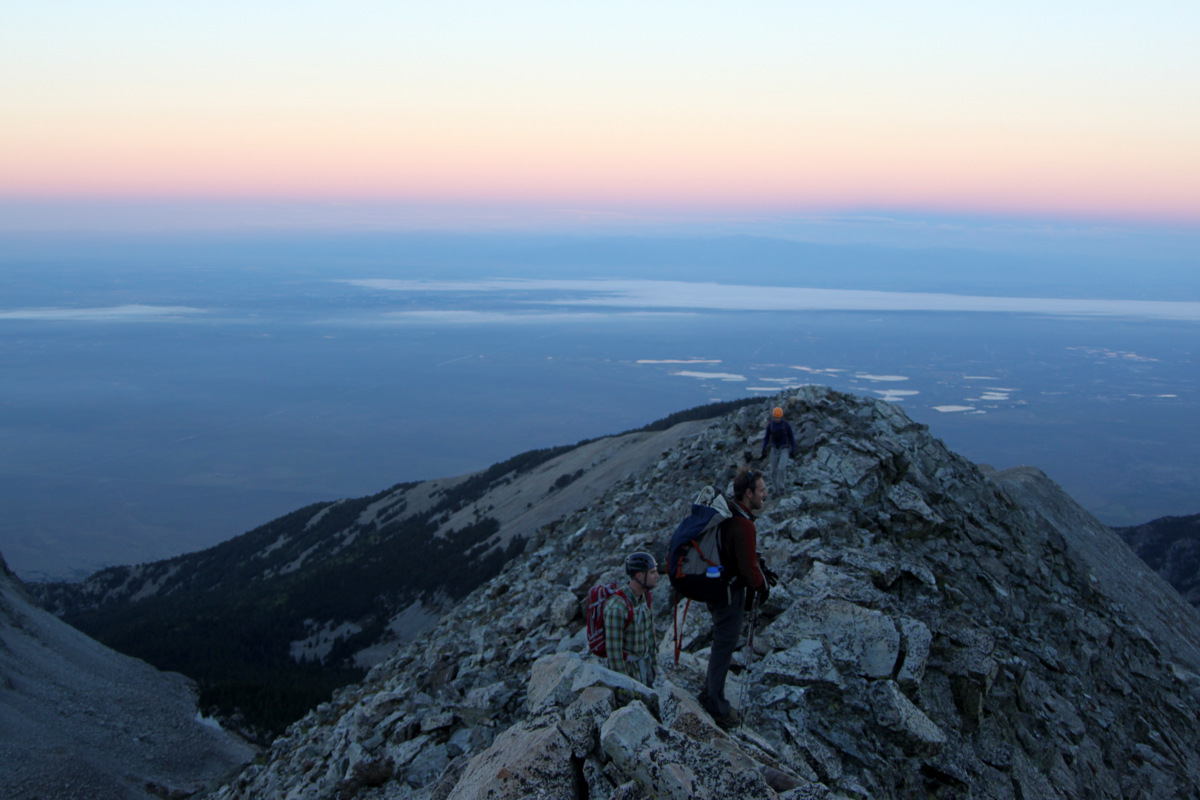
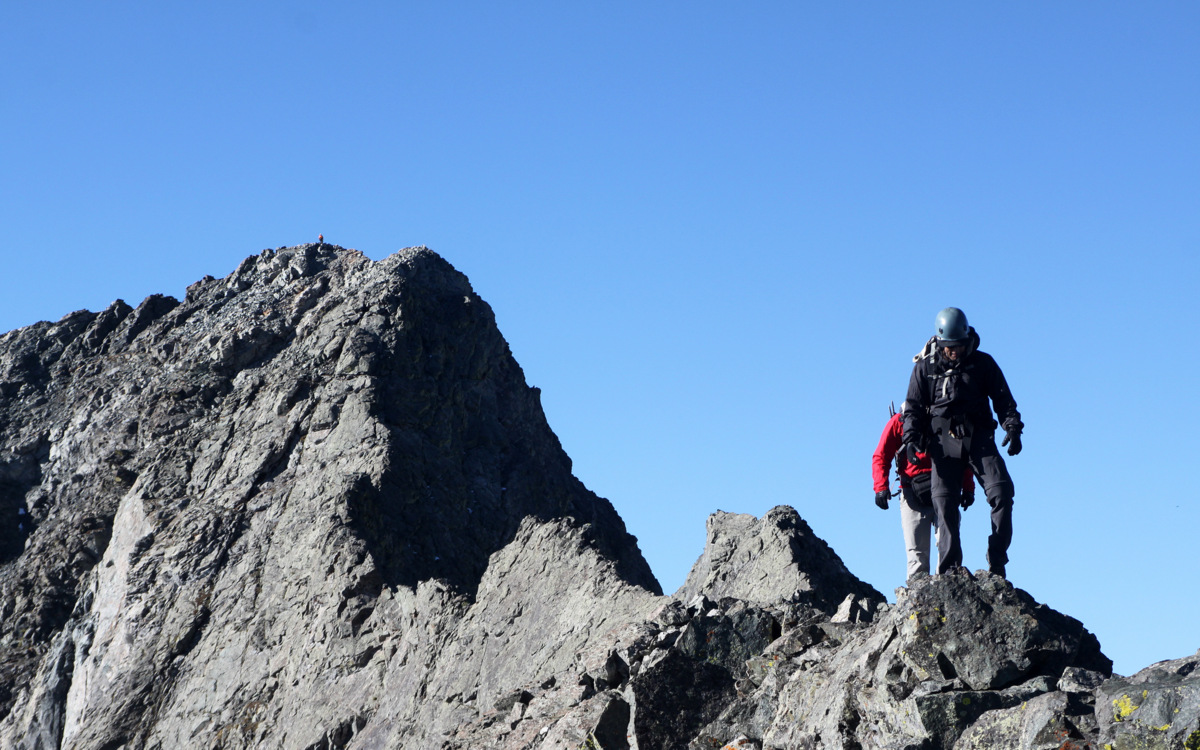
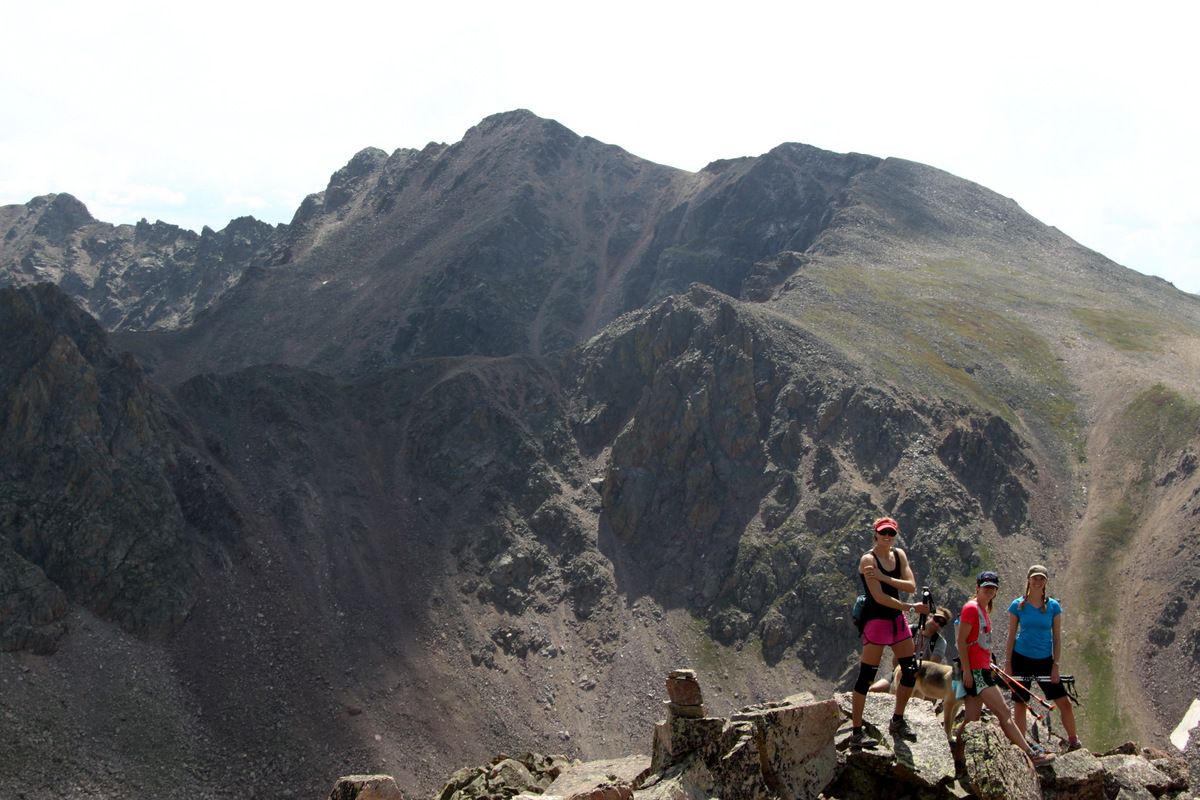
Dillon & Brian making their way up West Partner’s north ridge with the difficulties of Rockinghorse Ridge behind them
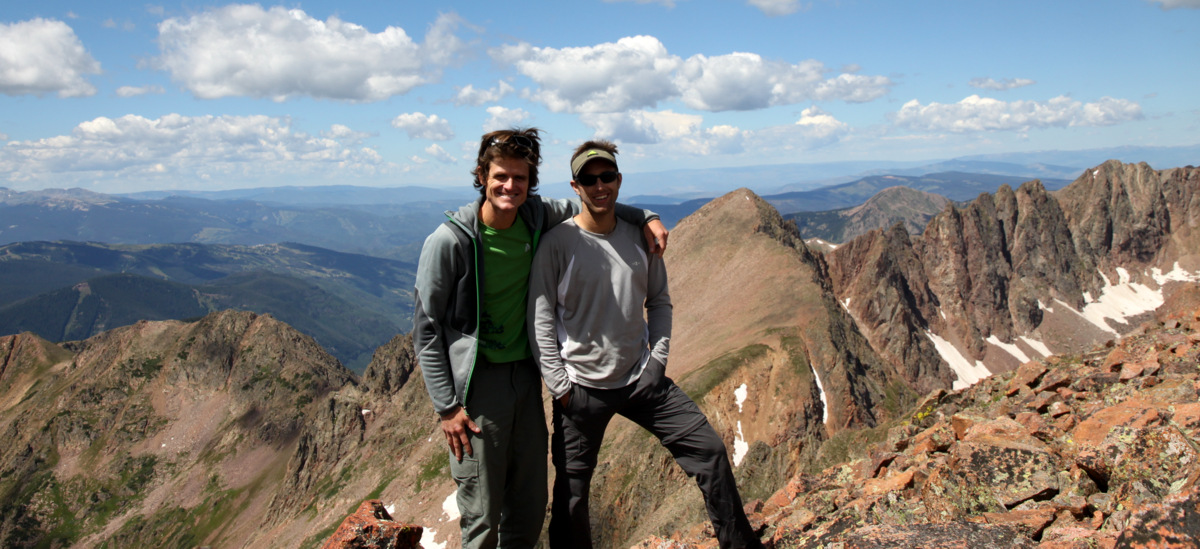
West Partner Peak was a new summit for Mr. Sarnelli. It was familiar ground for Brian & myself, but always good to be back here especially having climbed a different route up this peak other than the class 3 south ridge or 2+ west ridge.
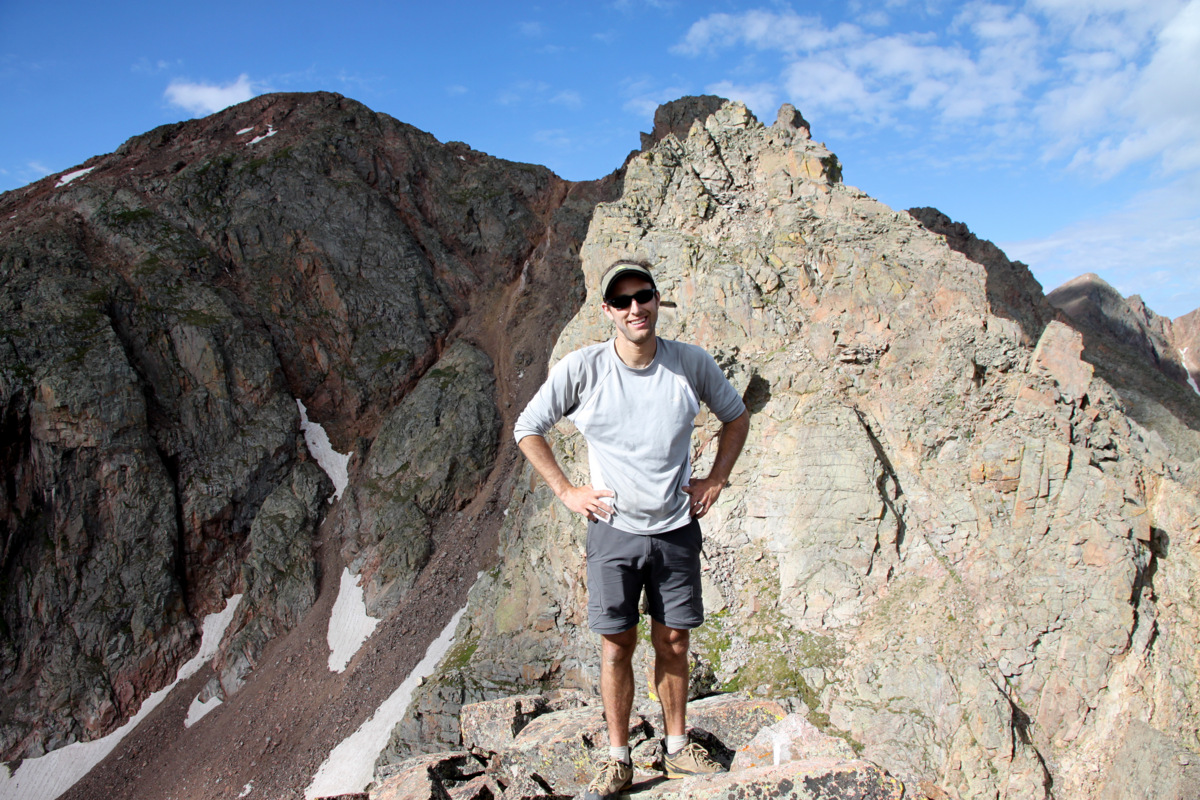
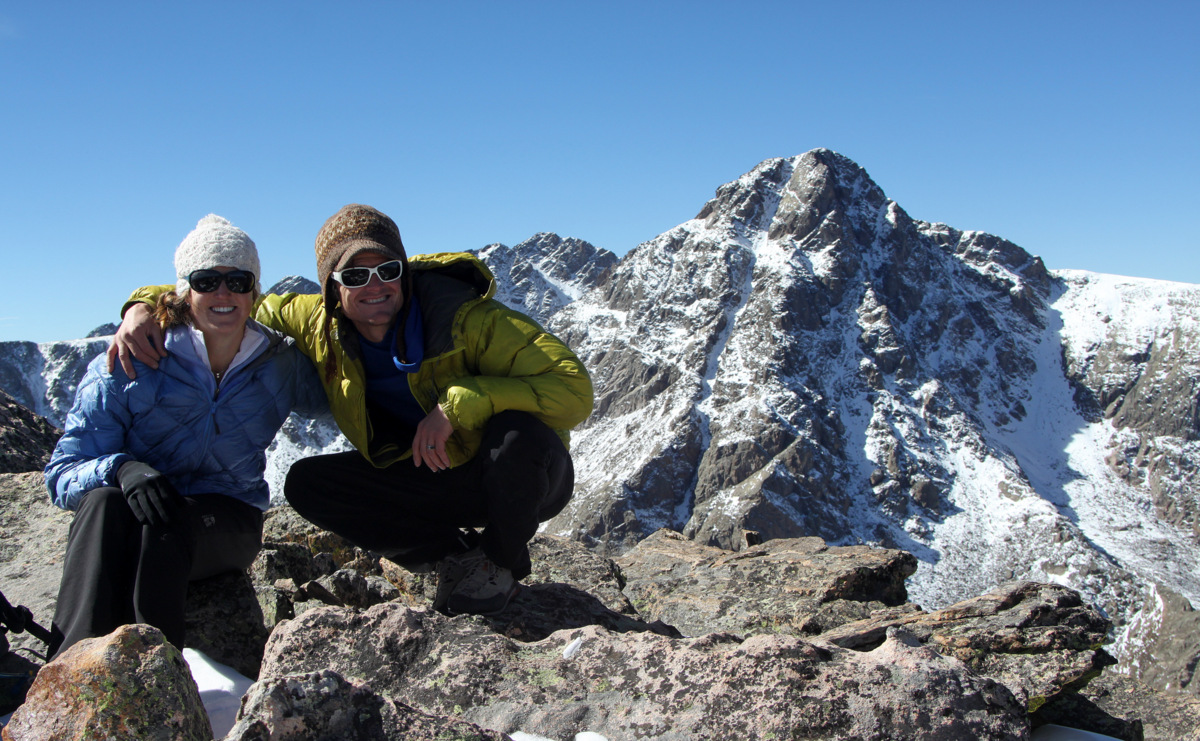
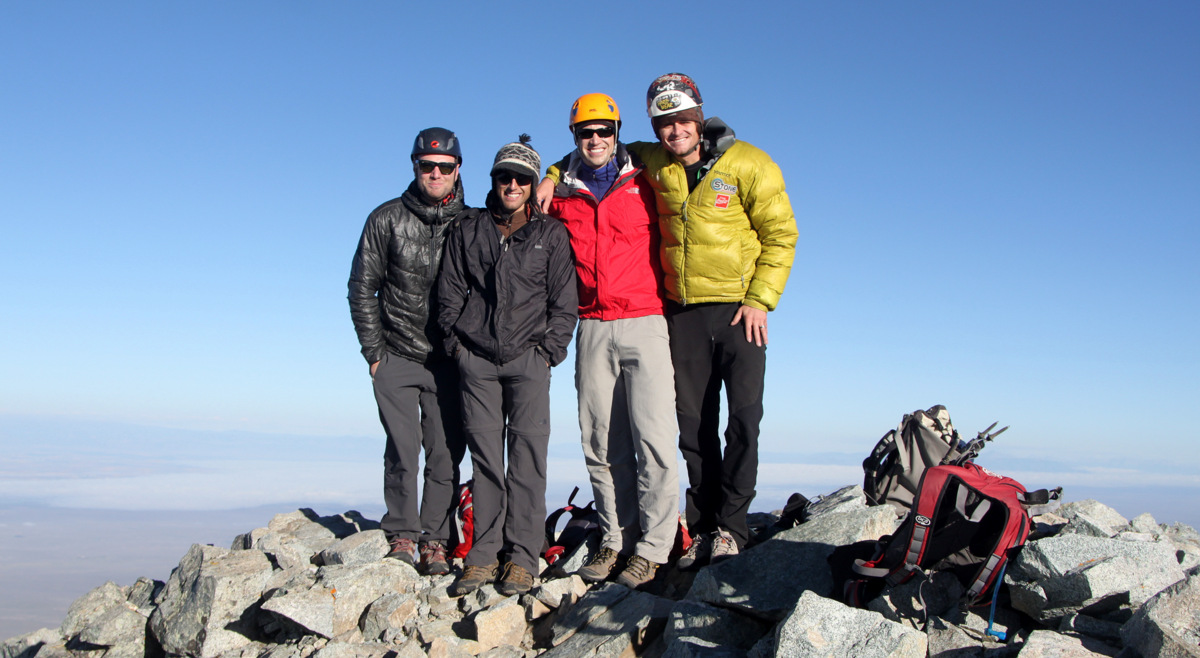
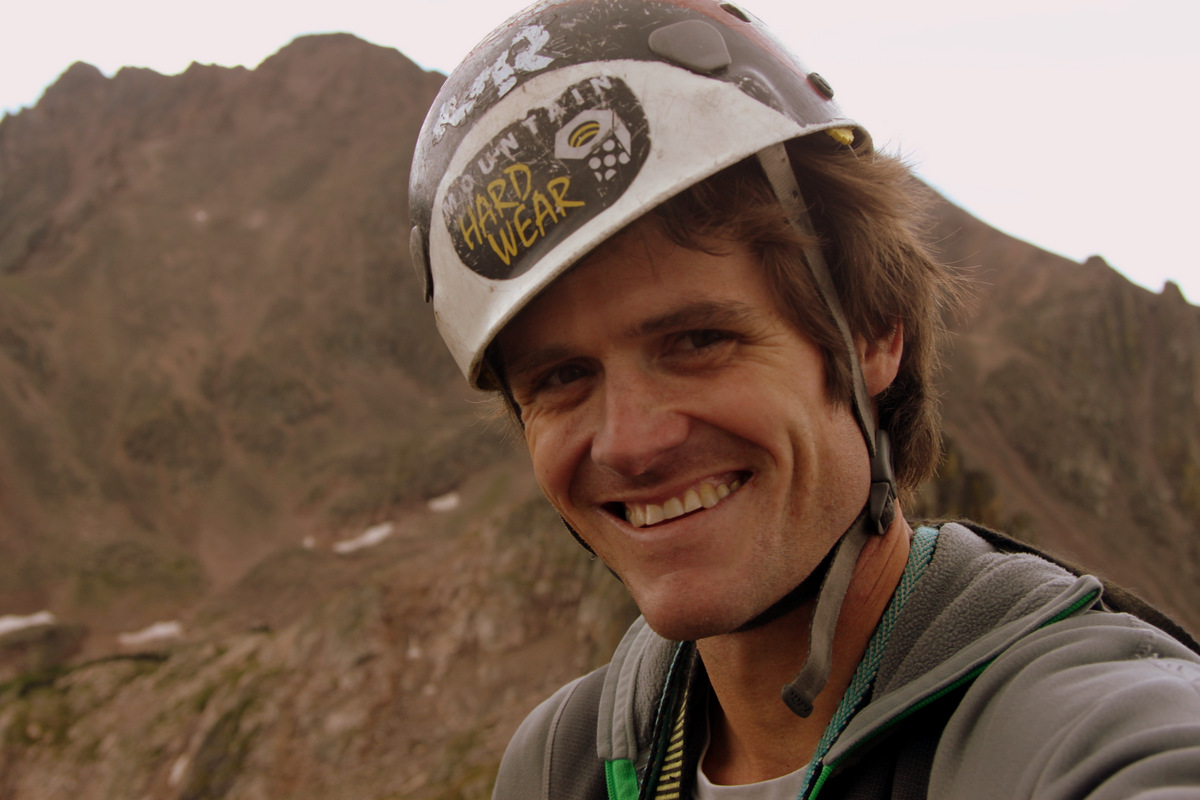
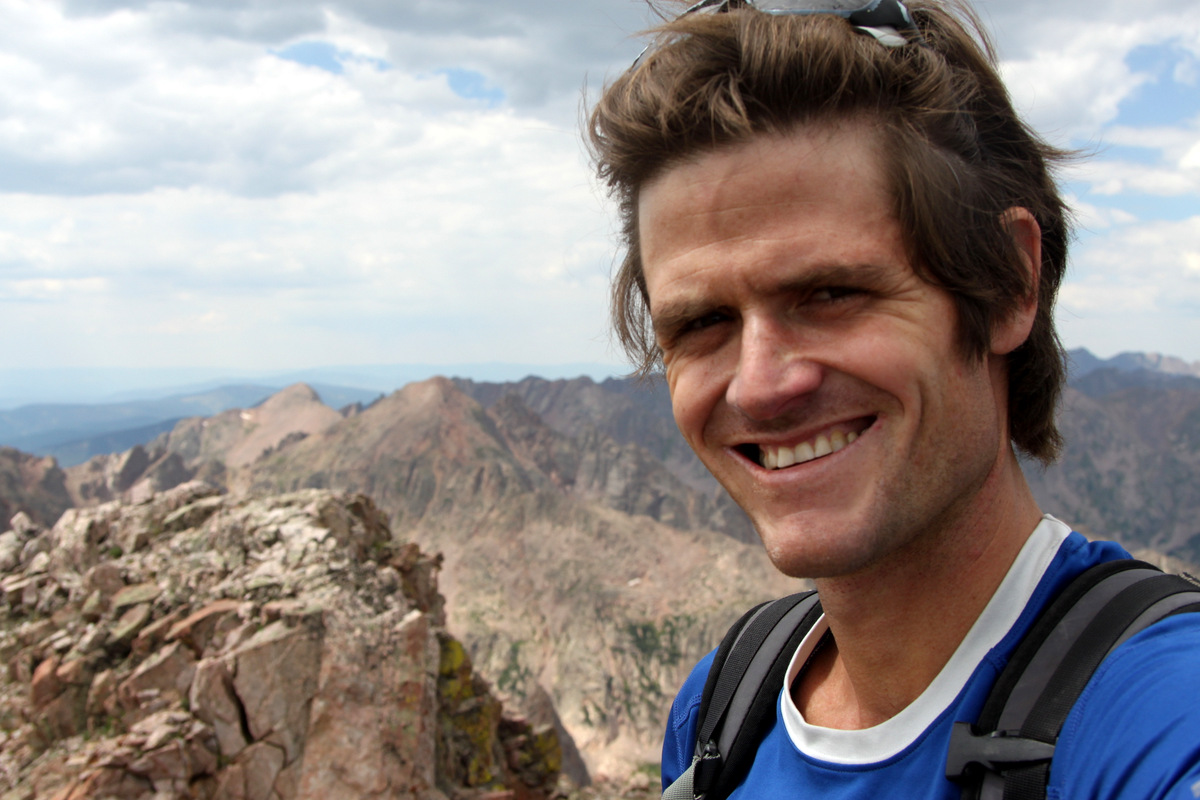
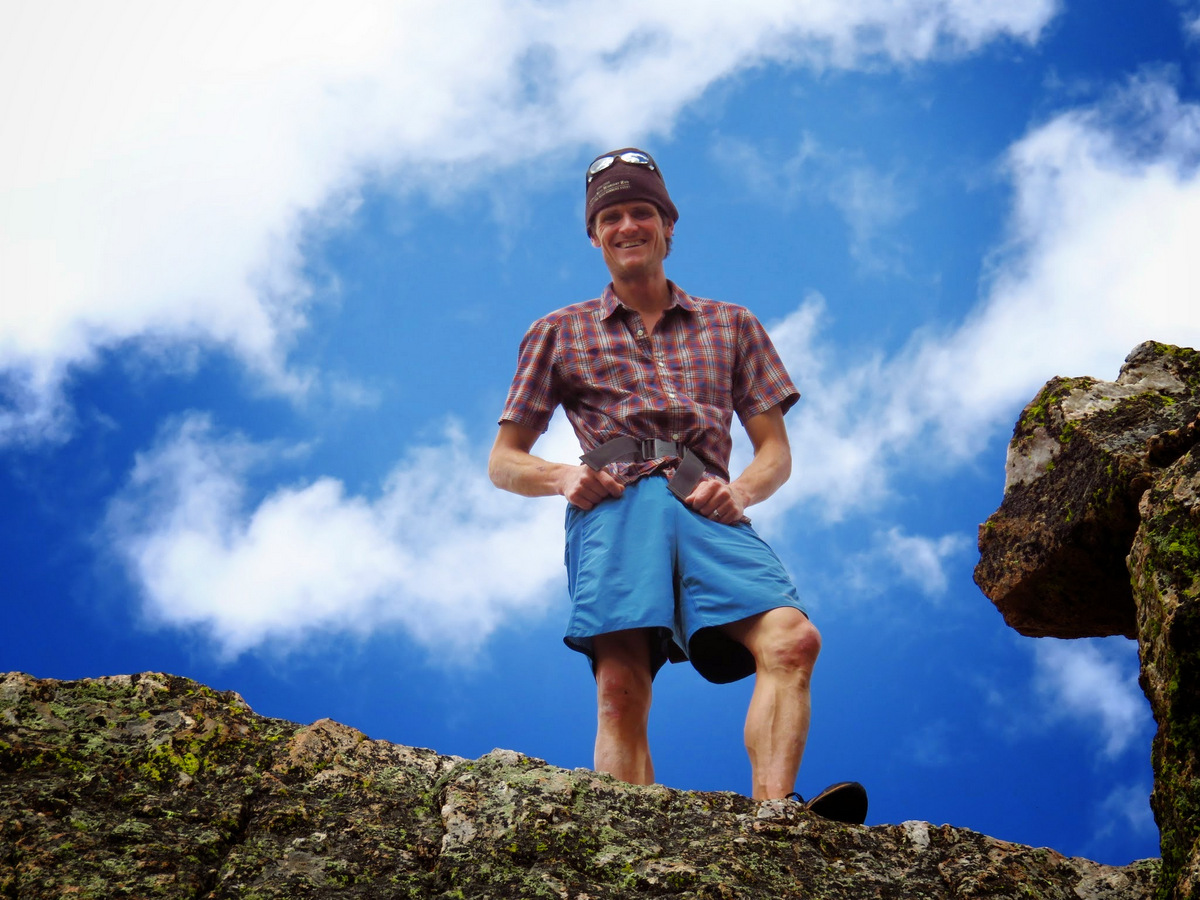
Me on West Partner Peak’s summit. Photo by Brian

West Partner Peak summit (13,041′) with Peak Q behind to our right. Photo by Dillon
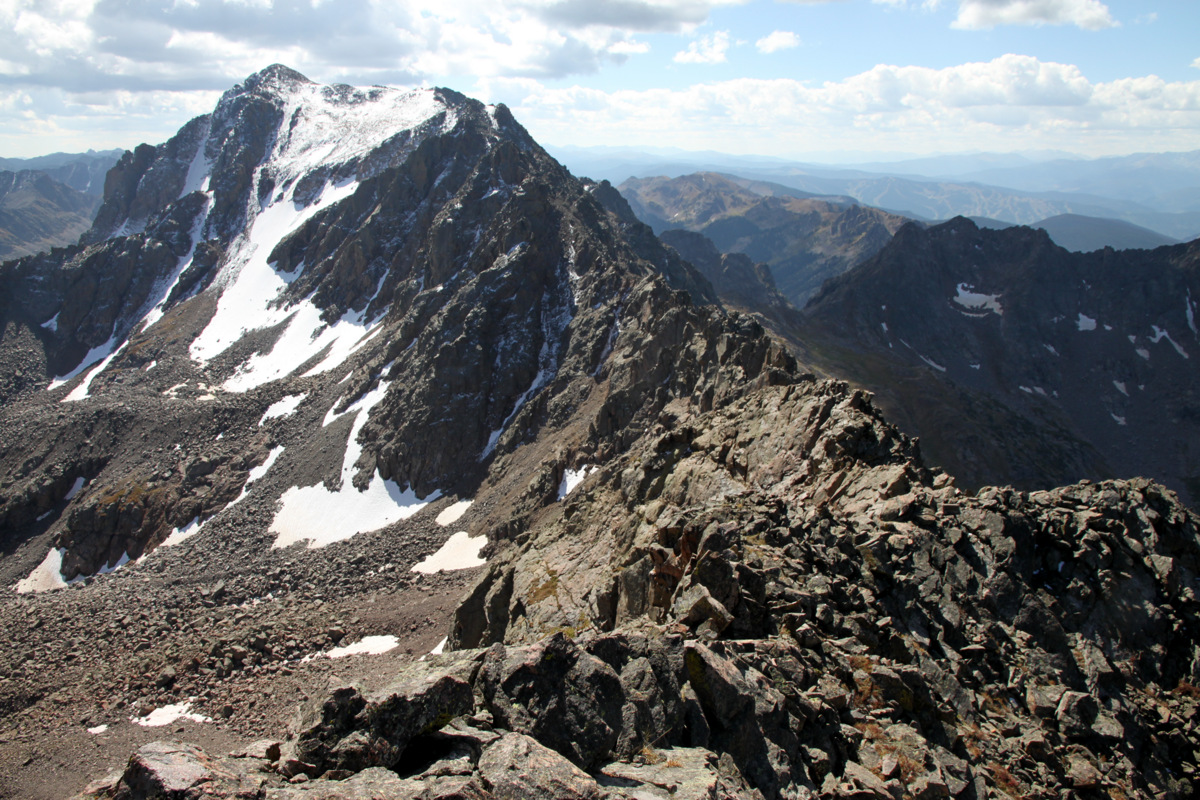
Rockinghorse Ridge to Peak P from the summit of West Partner Peak
Outpost Peak from the summit of West Partner Peak, our next destination
I think it was maybe 1:30pm or so and thunderheads were definitely already starting to build to the west and north. We then descended the class 3 south ridge of West Partner Peak en route to Outpost Peak. This south ridge is a nice scramble in itself and is featured in David Cooper’s book Colorado Scrambles.
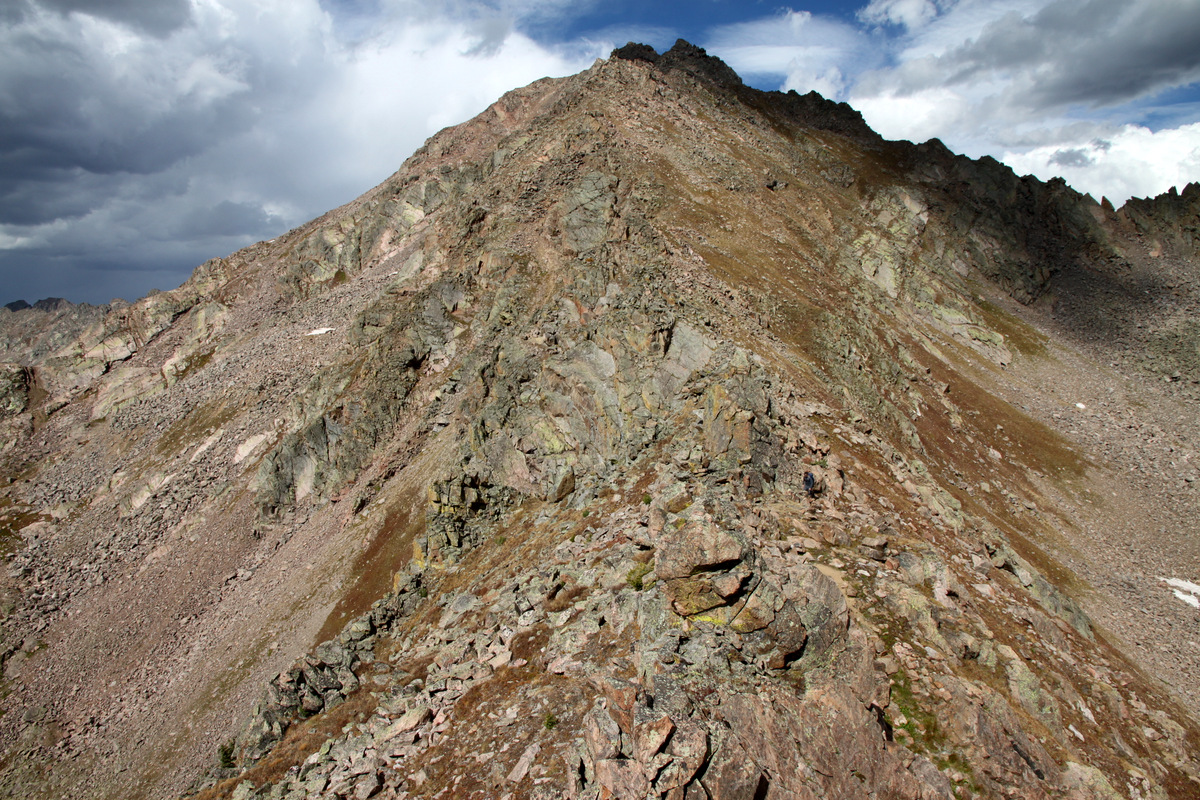
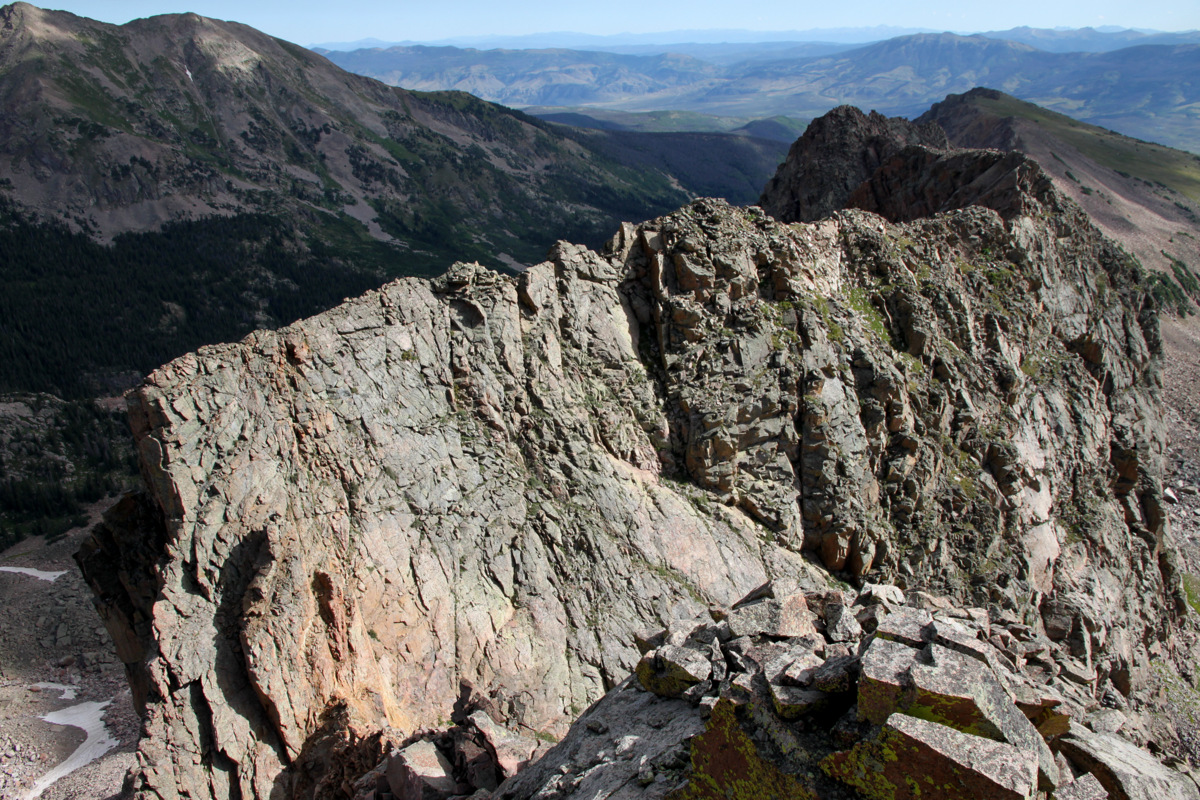
West Partner Peak’s south ridge
I kept looking west at the building storms and then when we had reached maybe the halfway point along the ridge to Outpost, the thunder let loose and it was close. We decided to retreat back down to the Booth drainage via a steep grass gully and save Outpost for another day (hopefully, this spring as a ski-mountaineering outing). I believe the grass gully we used as a descent route is the ascent gully Cooper describes to access West Partner Peak’s south ridge in Colorado Scrambles.
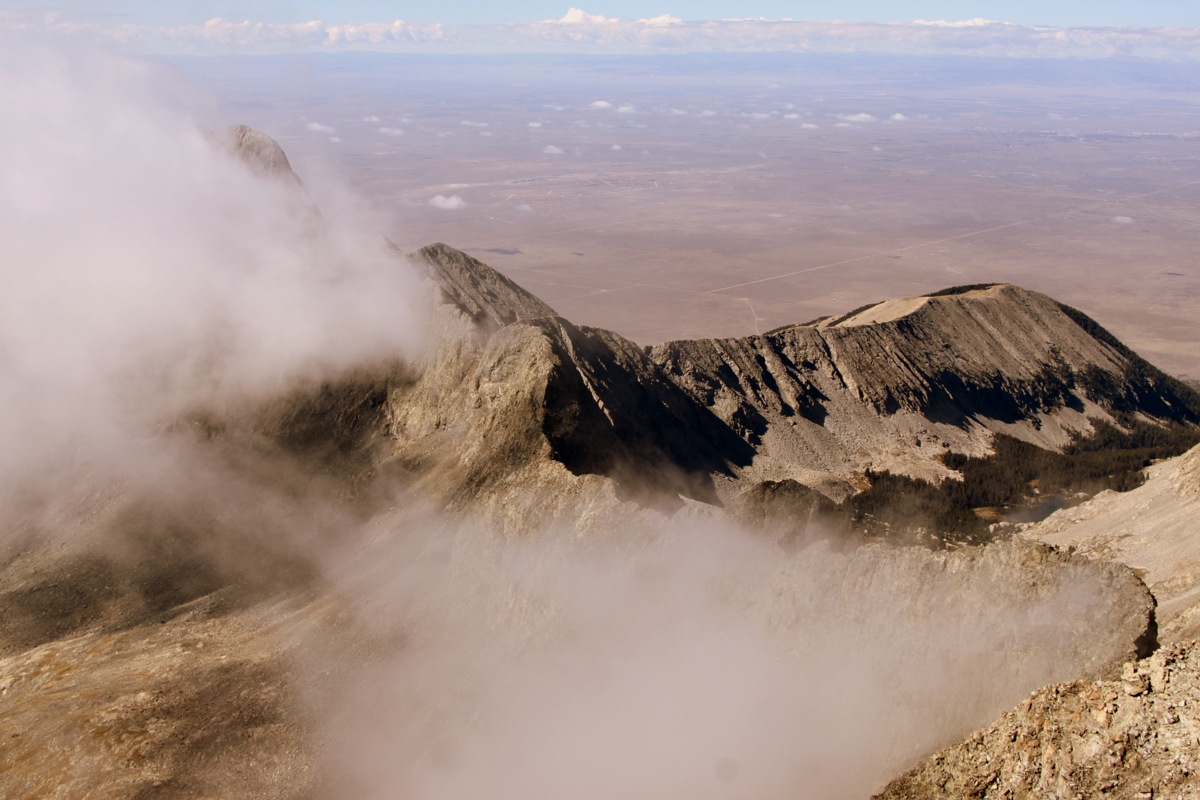
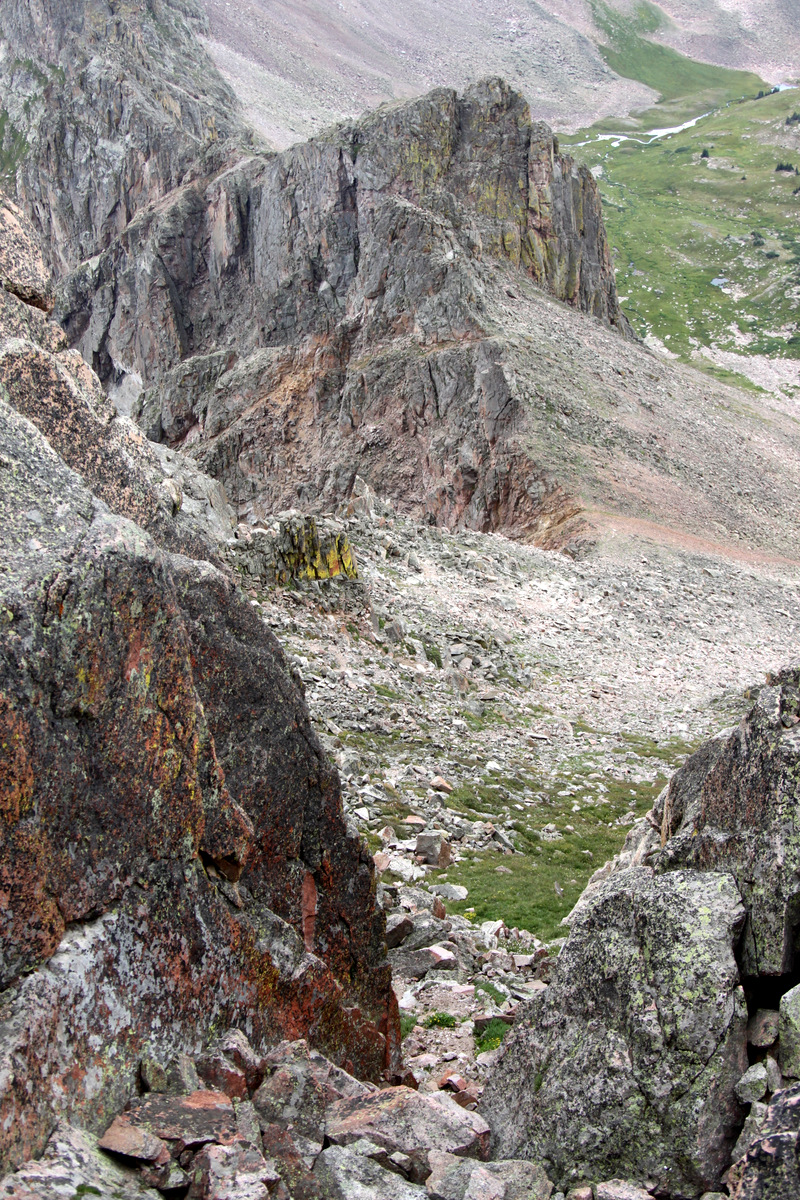
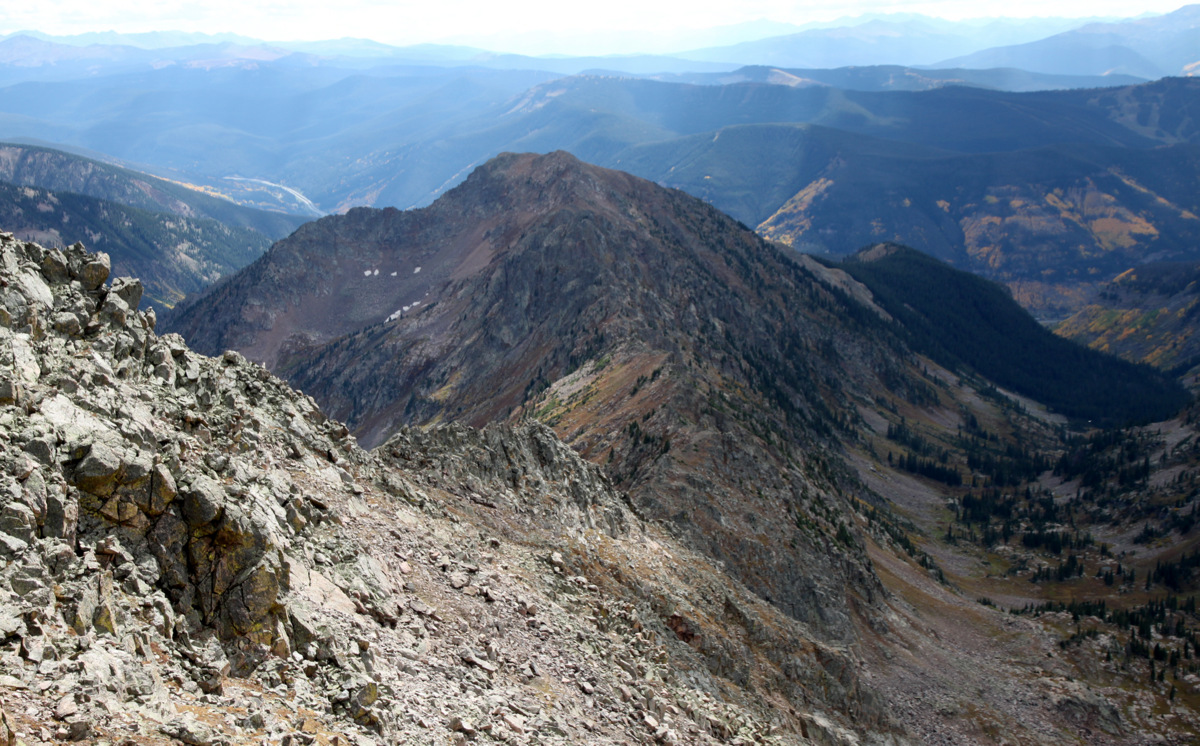
Descent gully into the Booth drainage from the West Partner Peak-Outpost Peak ridge
The views down valley into Vail and of Vail ski mountain with Holy Cross behind were phenomenal.

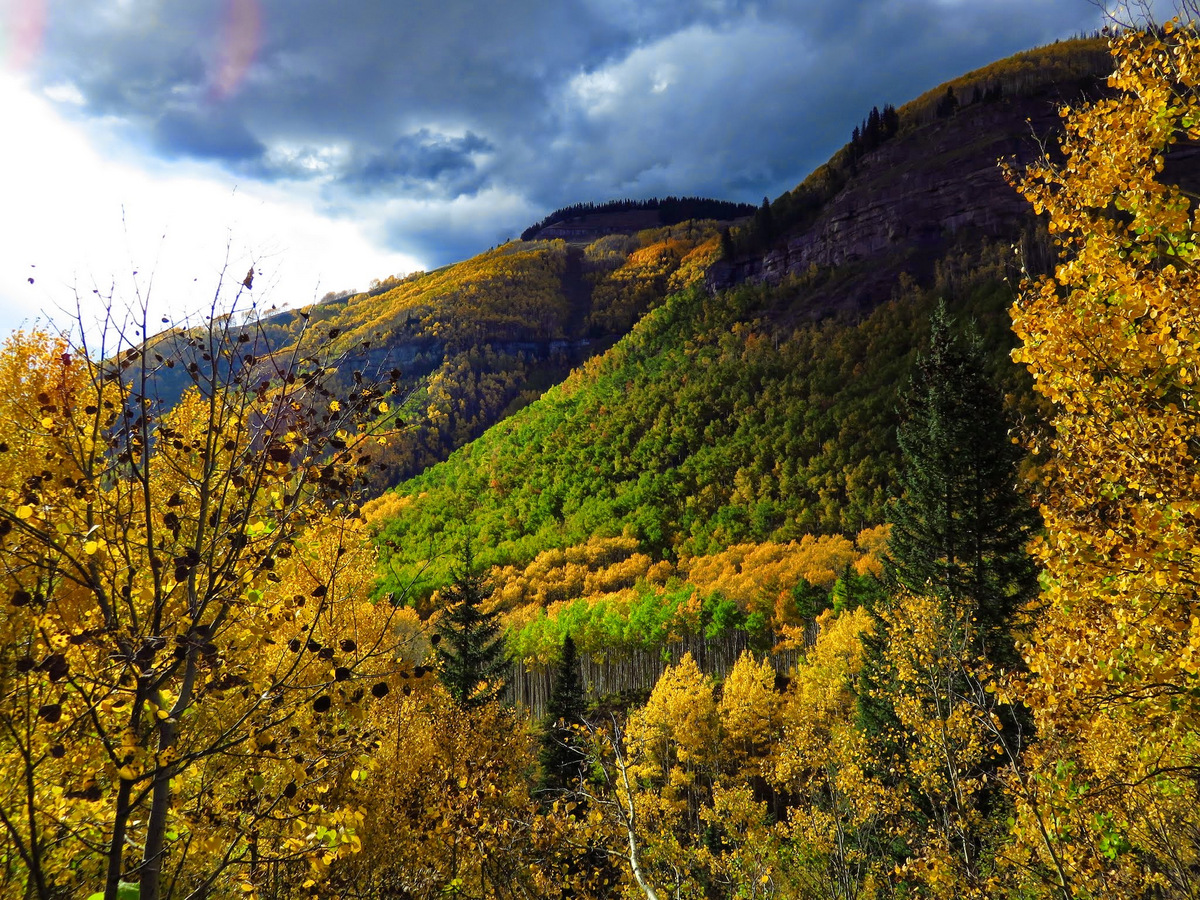
Fall colors down the Booth drainage and into the Vail Valley

Beautiful
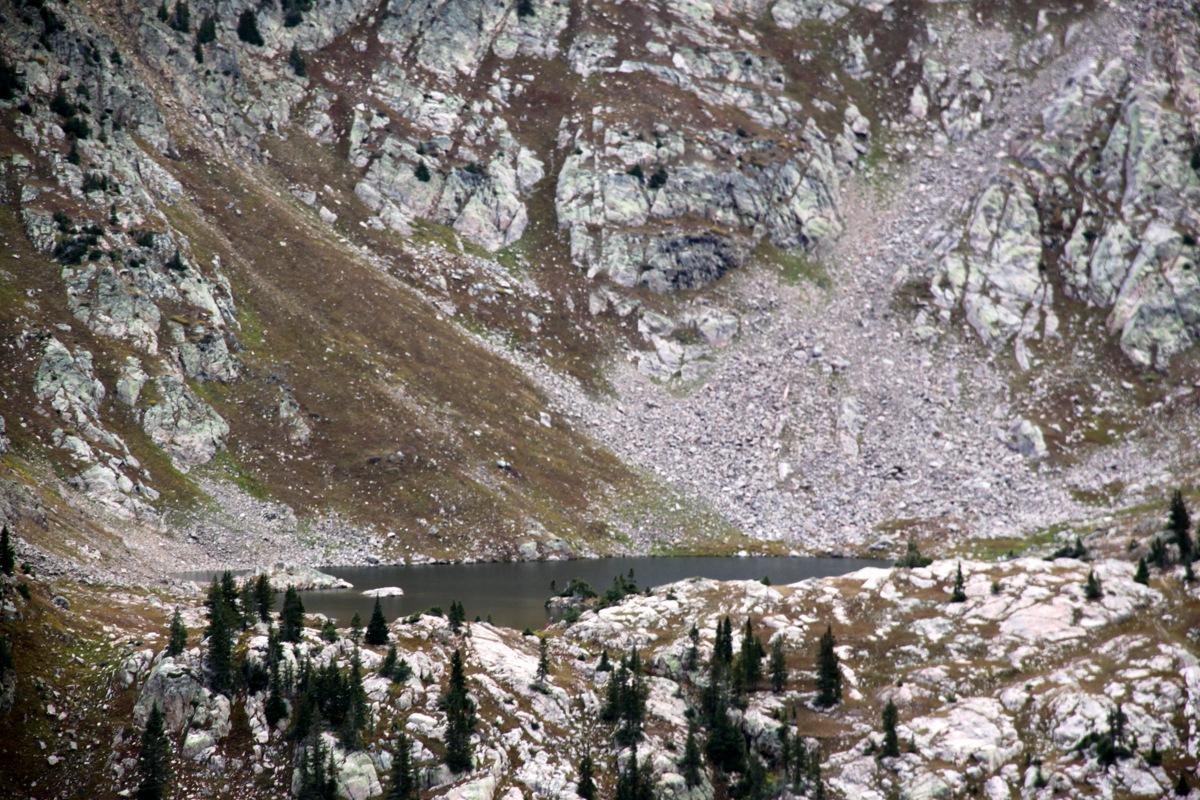
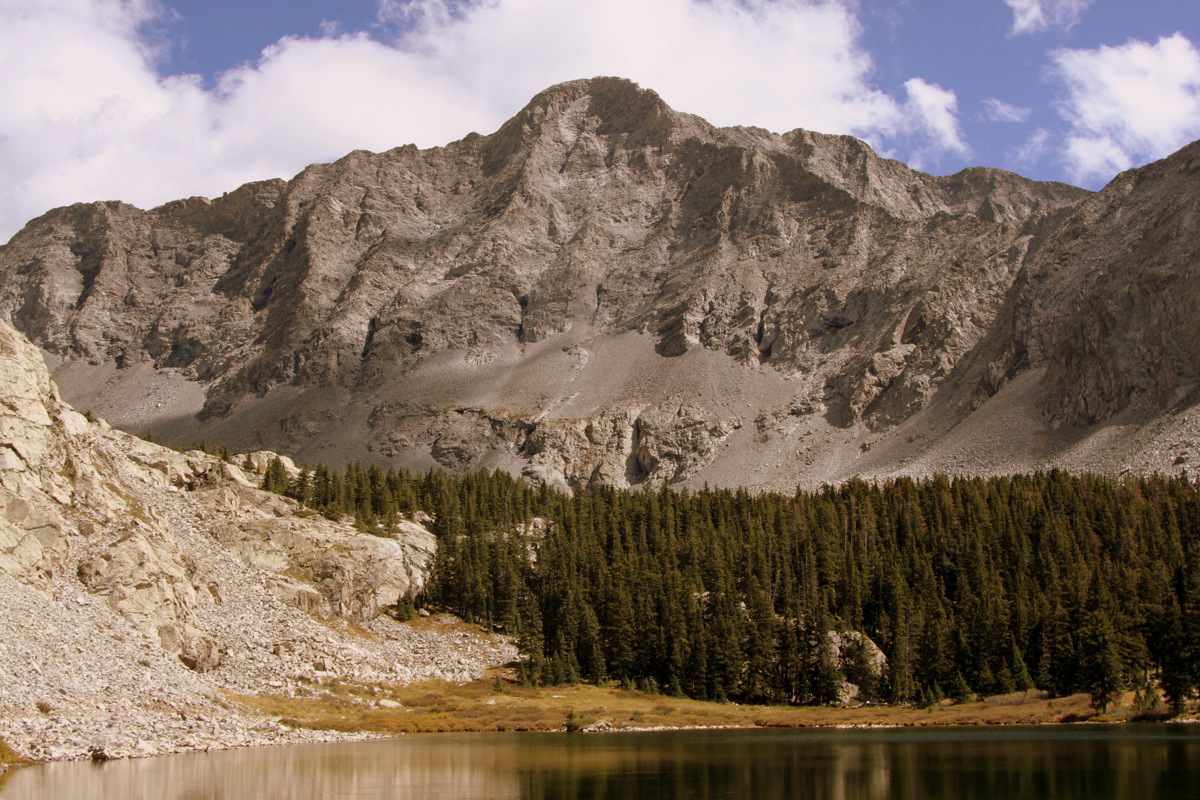
Booth Lake as seen from our descent gully
We soon joined up with the Booth trail and hiked the 4+ miles back out. As we descended into treeline, it sure was hard not to stop and take pictures of the gorgeous fall foilage. Brian & Dillon did a wonderful job at capturing the views.
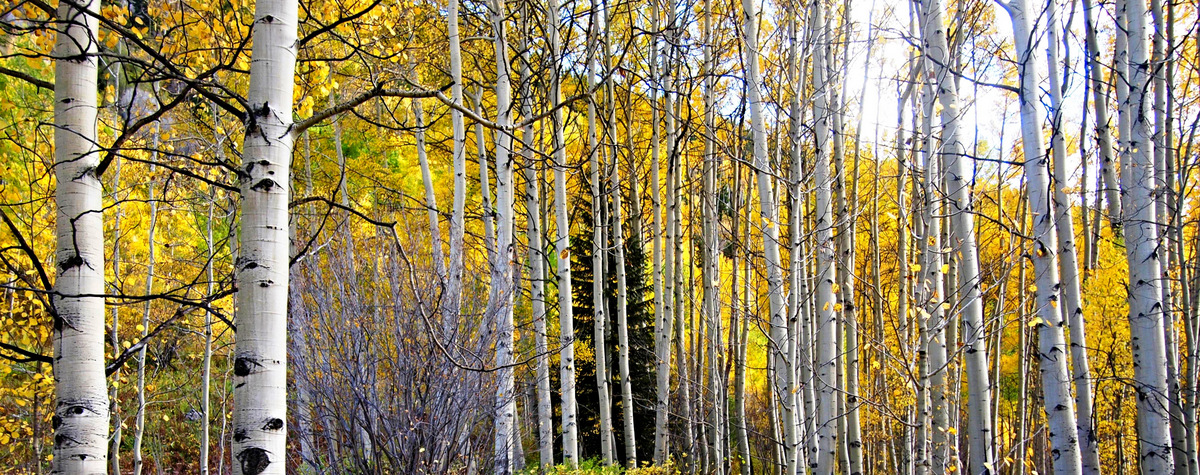
Aspens. Photo by Dillon
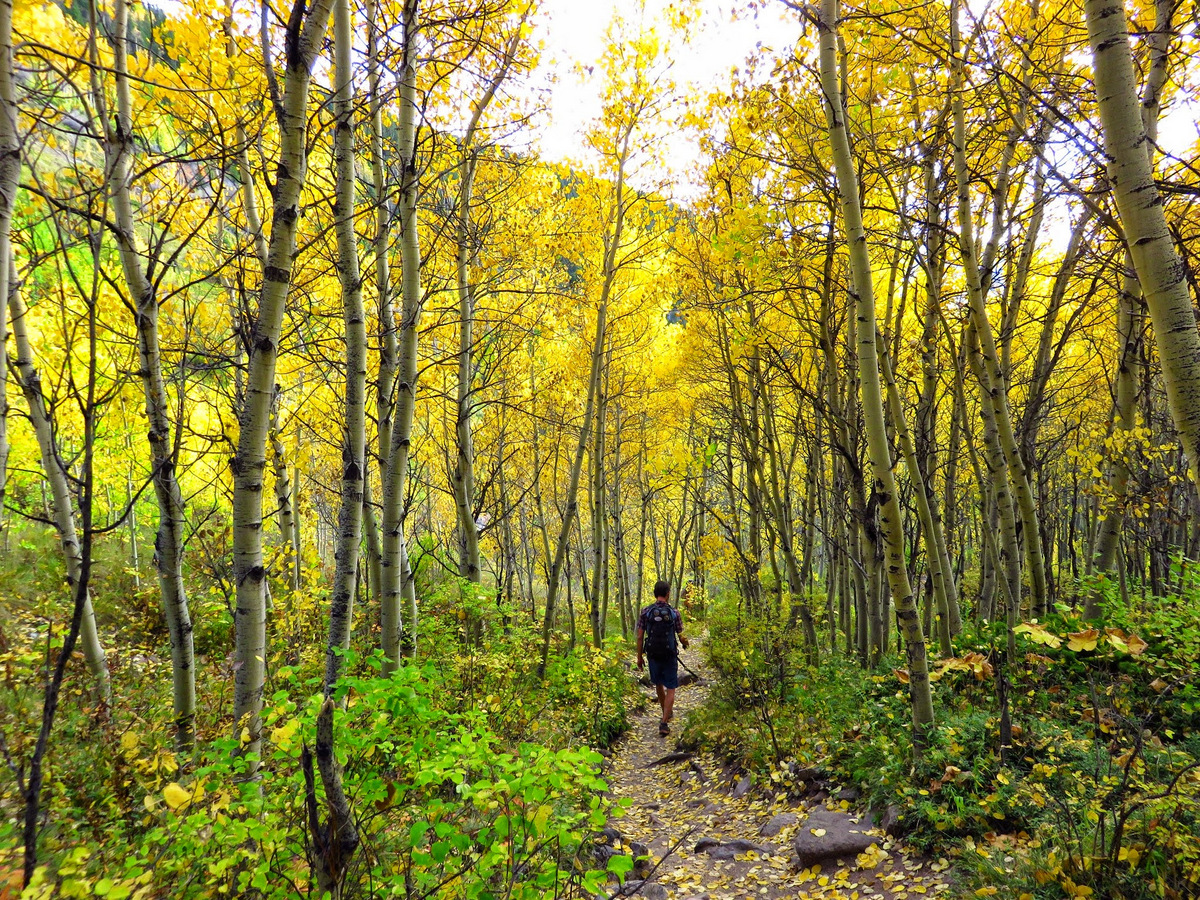
Me on the hike out. Photo by Brian
Booth drainage hillside. Photo by Brian
We met up with Kristine for high-end mexican food at Maya in the Westin and topped off a great day in the Gores with margaritas, IPAs, numerous tacos, and brisket nachos. Solid day, fellas! I’d rather be in the Gores than just about anywhere. I think the same could be said for Brian. Dillon? Well, he’s getting there.
 Follow