The famous Crestone Traverse, one of Colorado’s 4 great fourteener traverses, is truly a celebrated classic scramble. Its even described in David Cooper’s Colorado Scrambles book. This traverse links the two famous and more difficult 14ers, Crestone Needle & Crestone Peak, down in the Sangre de Cristo Range. However, the traverse stays primarily on the west side of the ridge and does not follow the ridge proper for good reason. Following the ridge proper would entail serious class 5 climbing and likely many rappels. And, this traverse is supposed to be a scramble.

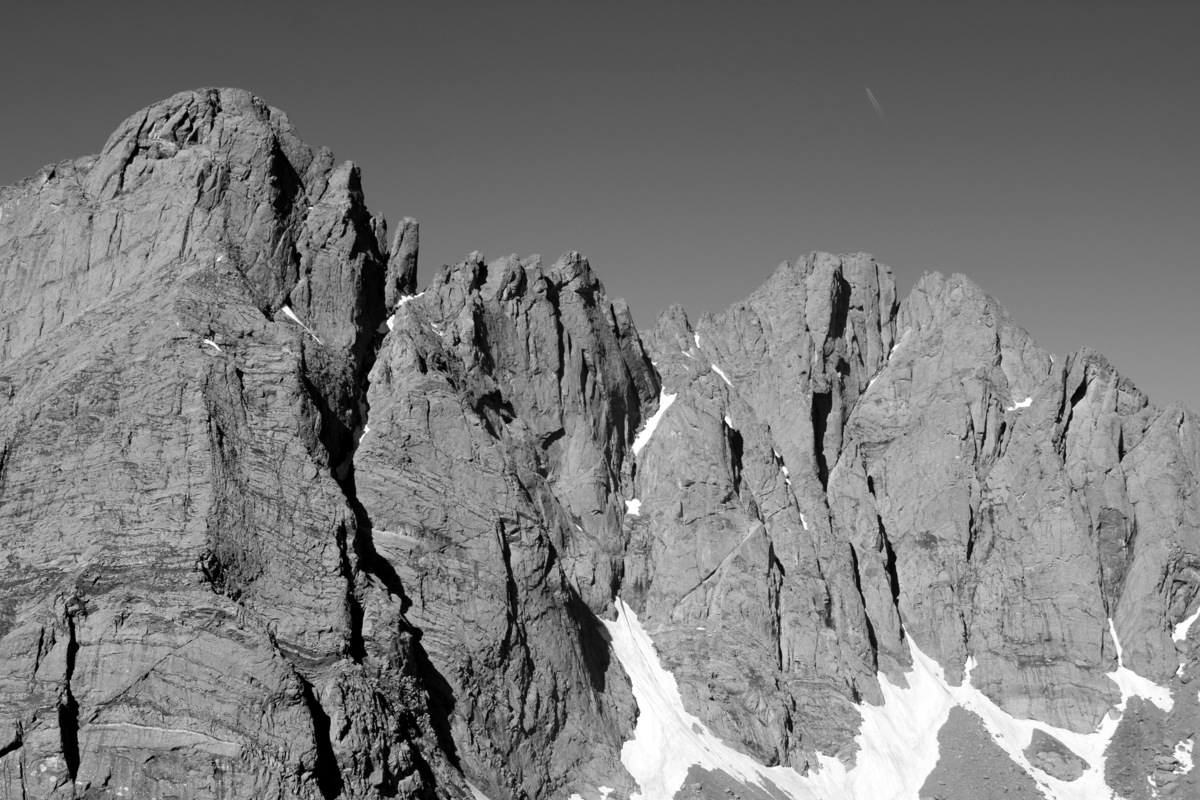
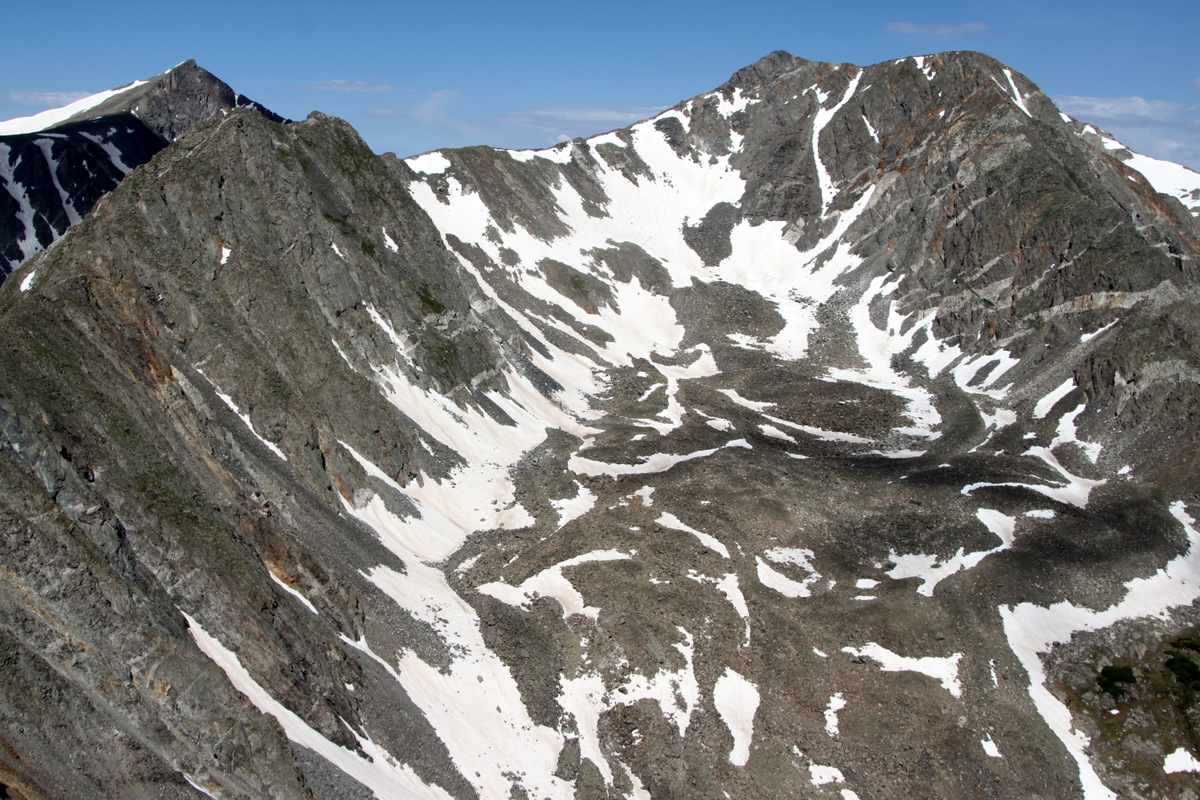
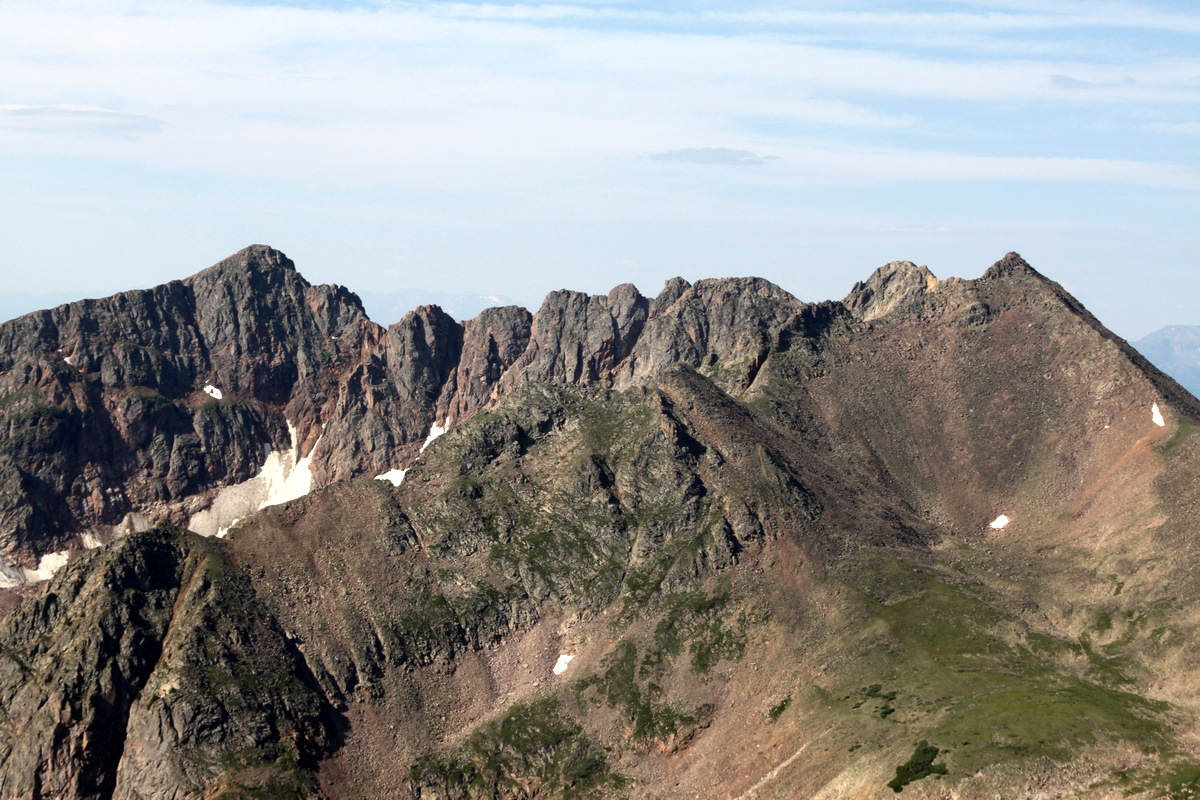
Crestone Needle (left) & Crestone Peak (right) as seen from Humboldt Peak back in 2009
Despite having climbed Crestone Needle & Crestone Peak each twice over the years and attempted the traverse once back in October 2007, I have always wanted to get back and finish it. That cold October day back in 2007 was full of routefinding issues not to mention a high fever I was running thus all contributing to us bailing off the traverse down a rocky couloir to the west.

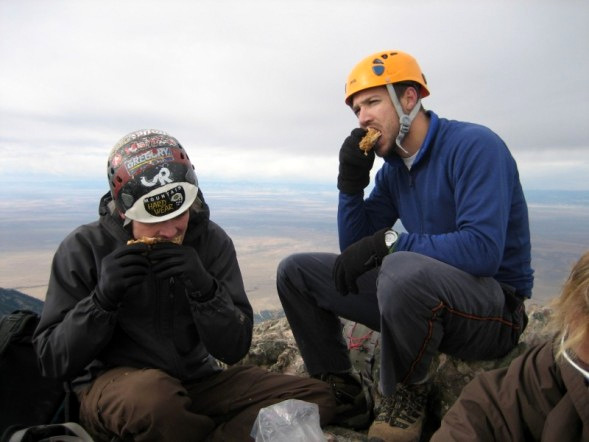
Derek & I on the summit of Crestone Peak eating KFC in late October 2007 before our failed attempt on the traverse
My good friend Reid Jennings had been asking me to go with him down to the Crestones and do the traverse as he had not climbed these peaks. I was definitely in as I wanted to finish the traverse as well as help Reid fulfill his 14er goals. Good friend Derek Drechsel, who was with me on the original traverse attempt and who has since finished climbing all of Colorado’s 14ers, wanted to go back. Lastly, Mike Santoro joined us as he is an avid rock climber with me and wants to really get into the 14er frenzy, especially the more scrambly ones. Mike & I drove down from Vail and met Reid & Derek at the new South Colony Trailhead around 10:45pm Friday night as they were coming from Denver. Since Derek & I were last in the Crestones for Ryan “Baba” Aldrich’s 14er finale on Humboldt Peak in July 2009, the forest service had closed the upper half of the 5 mile long 4wd South Colony Lakes Road and installed a new trailhead and gated the road adding an extra 2.6 miles each way for the climb.

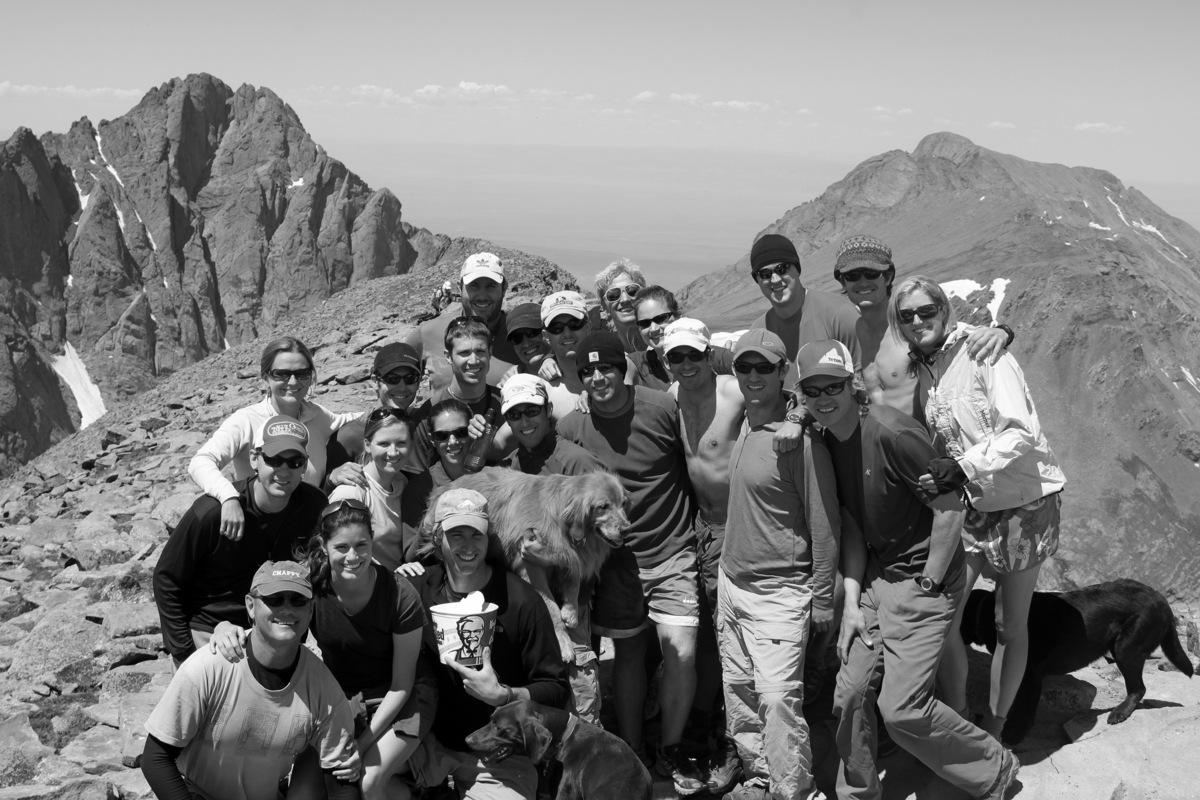
Ryan “Baba” Aldrich’s 14er finale extravaganza on the summit of Humboldt Peak in July 2009
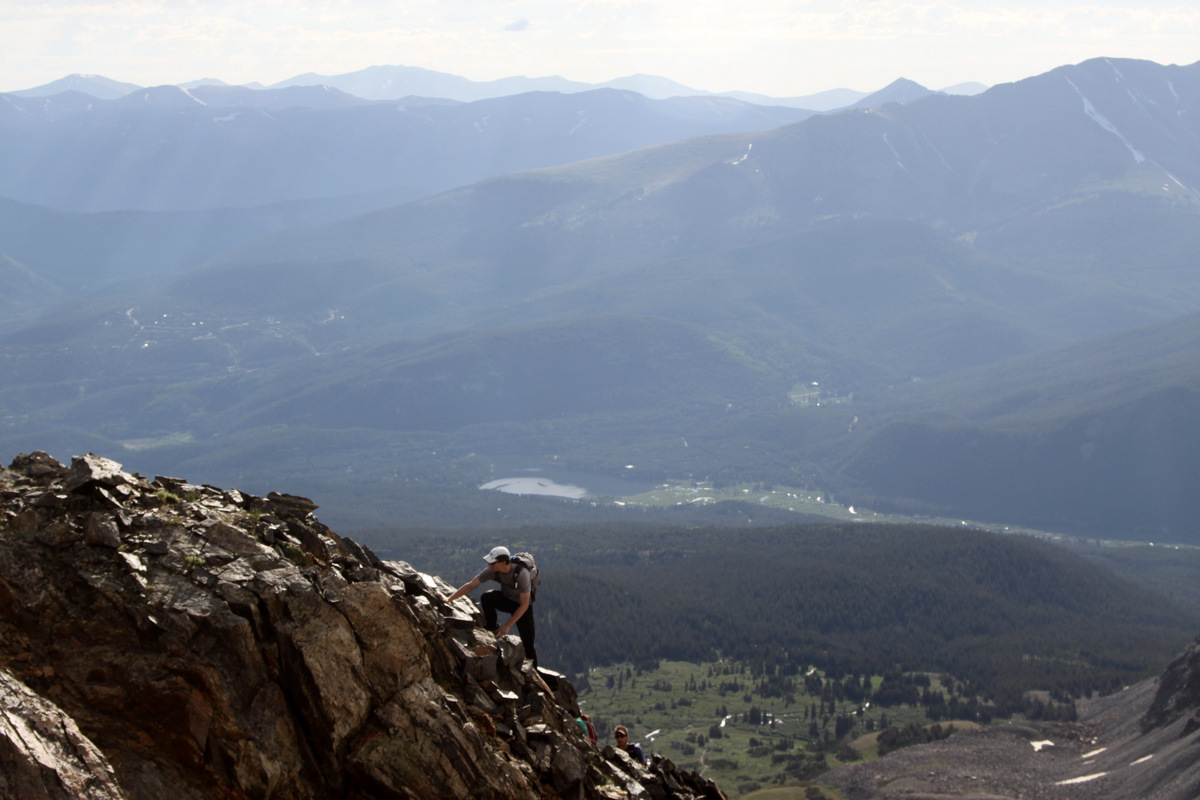
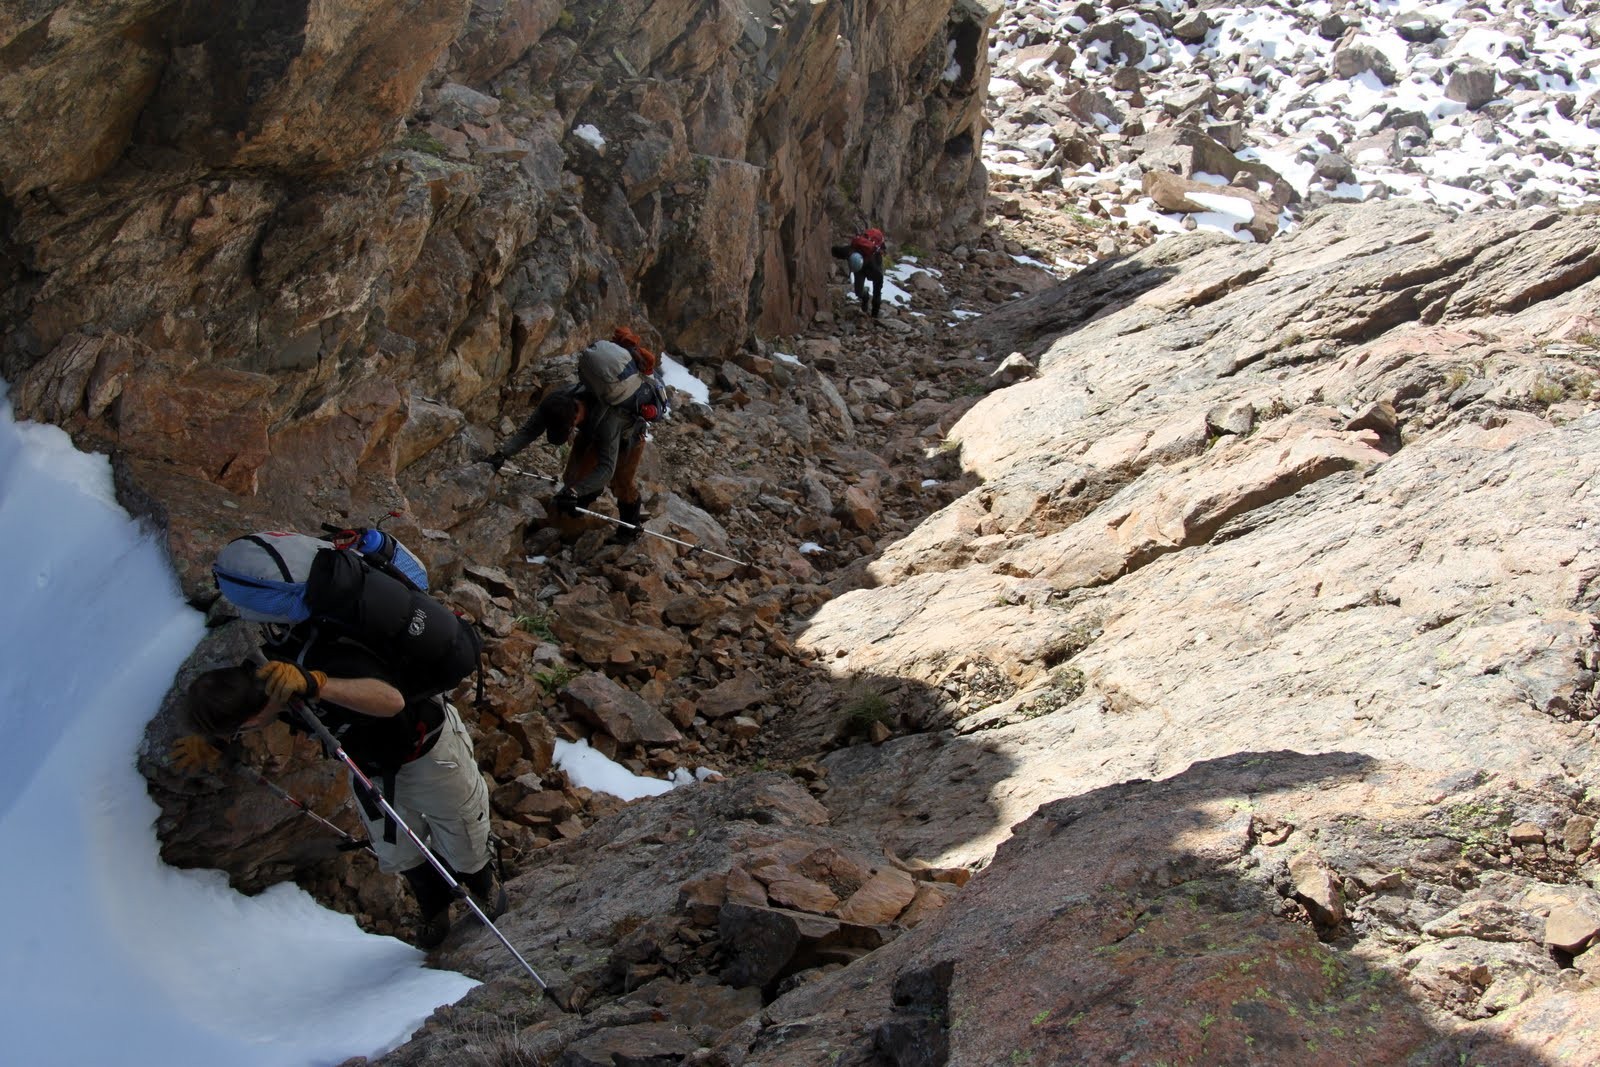
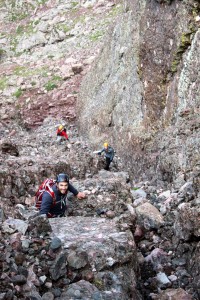
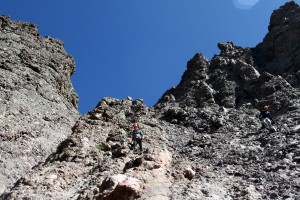
Due to the extra mileage and the strong chance for thunderstorms brewing before noon, I suggested we leave the cars around 2:30am and that’s exactly what we did despite only having gotten an hour or two of solid sleep. We made good time to the upper trailhead where we had parked all those times before covering the 2.6 miles and 1000′ vertical gain in just less than an hour. We made good time in the dark to the vicinity of Lower South Colony Lake and made the turn off for Broken Hand Pass. The moderate class 3 scrambling up to Broken Hand Pass (12,850′) was easy enough in the dark. The issue with going up Broken Hand Pass is that you then have to descend over 500′ down to Cottonwood Lake before starting up the Red Couloir of Crestone Peak. It started getting light enough once we reached Cottonwood Lake to see our ascent route ahead up the fun class 3 Red Couloir.
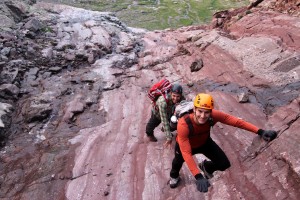
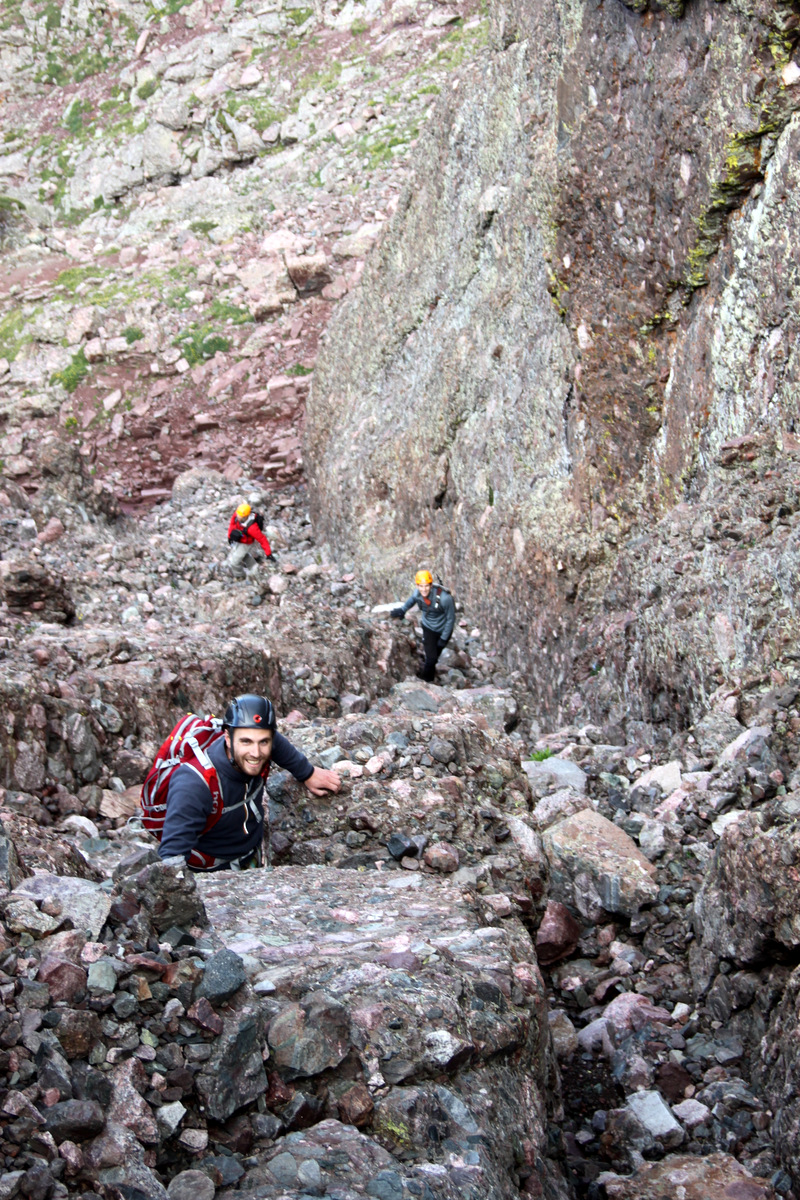
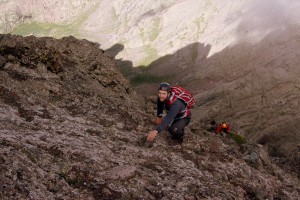
Reid & Mike in good form climbing the Red Couloir on Crestone Peak

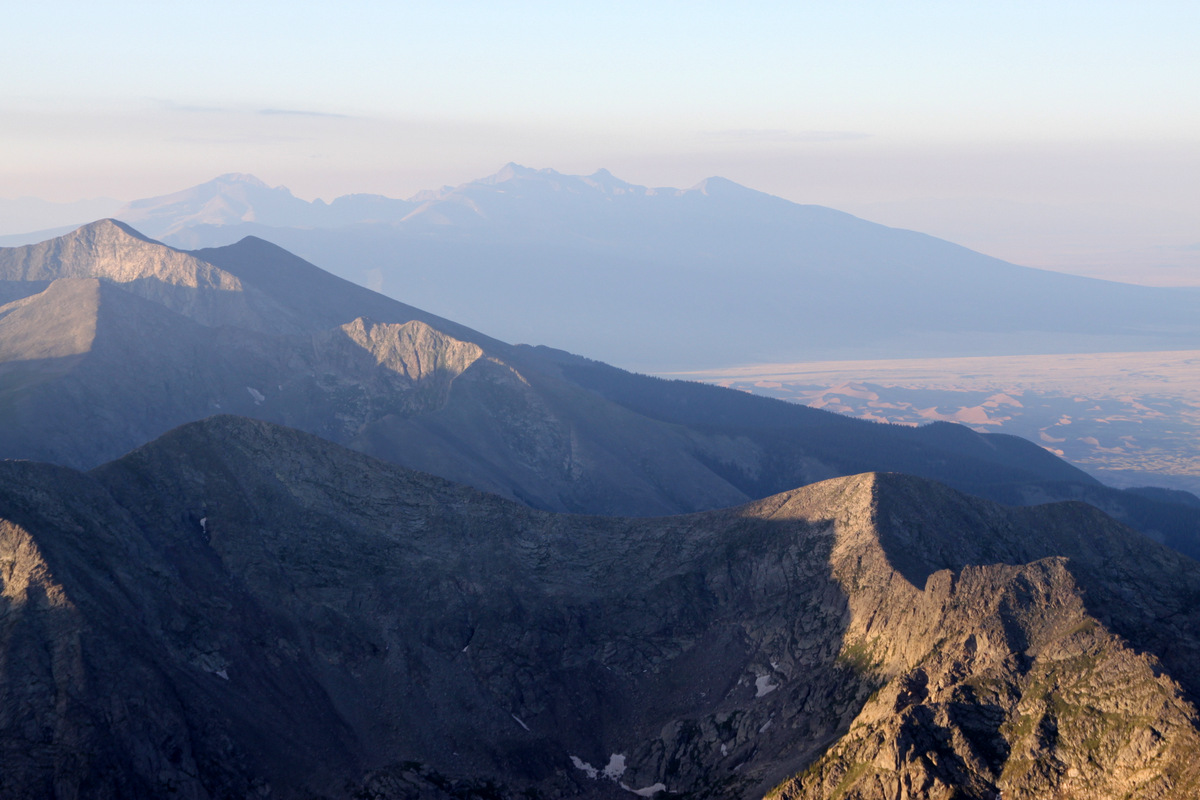
The Blanca Group with the Sand Dunes at lower right
Mikey have a ball in the Red Couloir
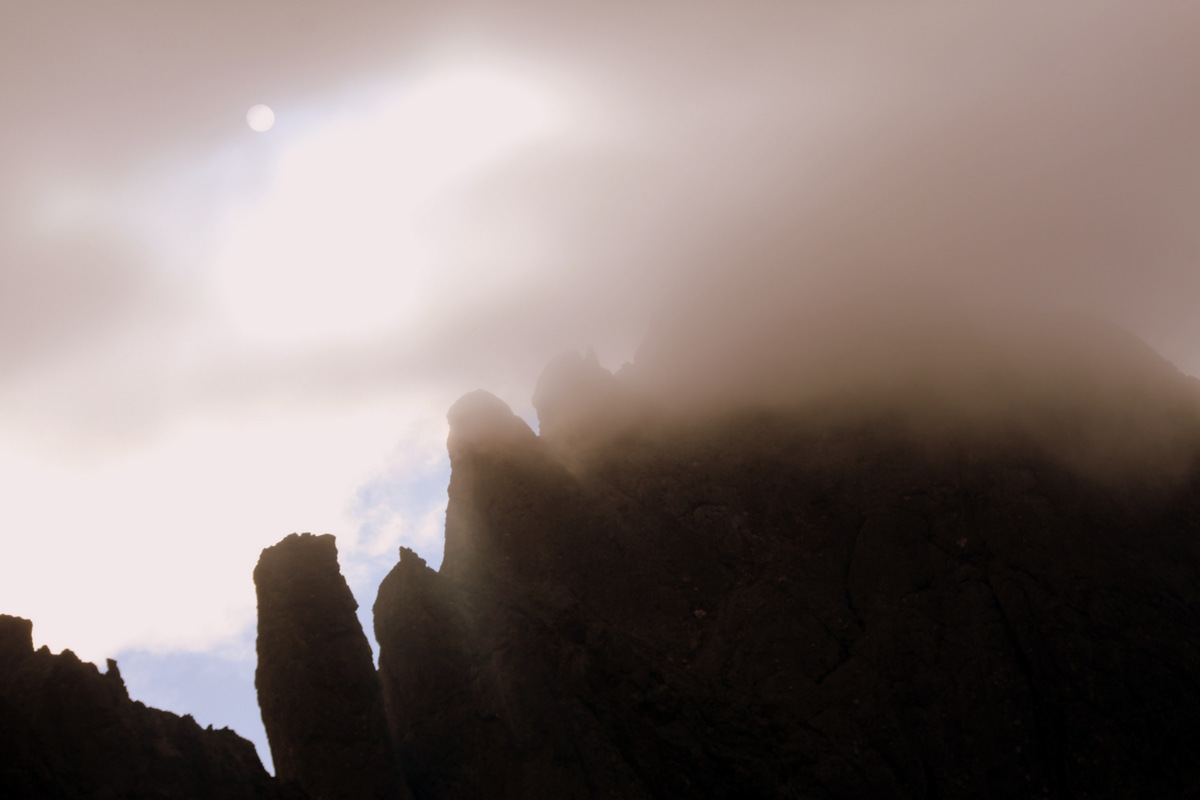
We reached the top of Crestone Peak just after 7am, which I believe was the earliest in the day I have ever stood atop a 14er. The early morning misty clouds engulfed the final few hundred feet of Crestone Peak, which definitely gave an eerie yet magical feel to the summit. Everyone was excited, especially Reid & Mike, for whom this was a new 14er summit.
Crestone Peak summit (14,294′)

The San Luis Valley 6,000′ below
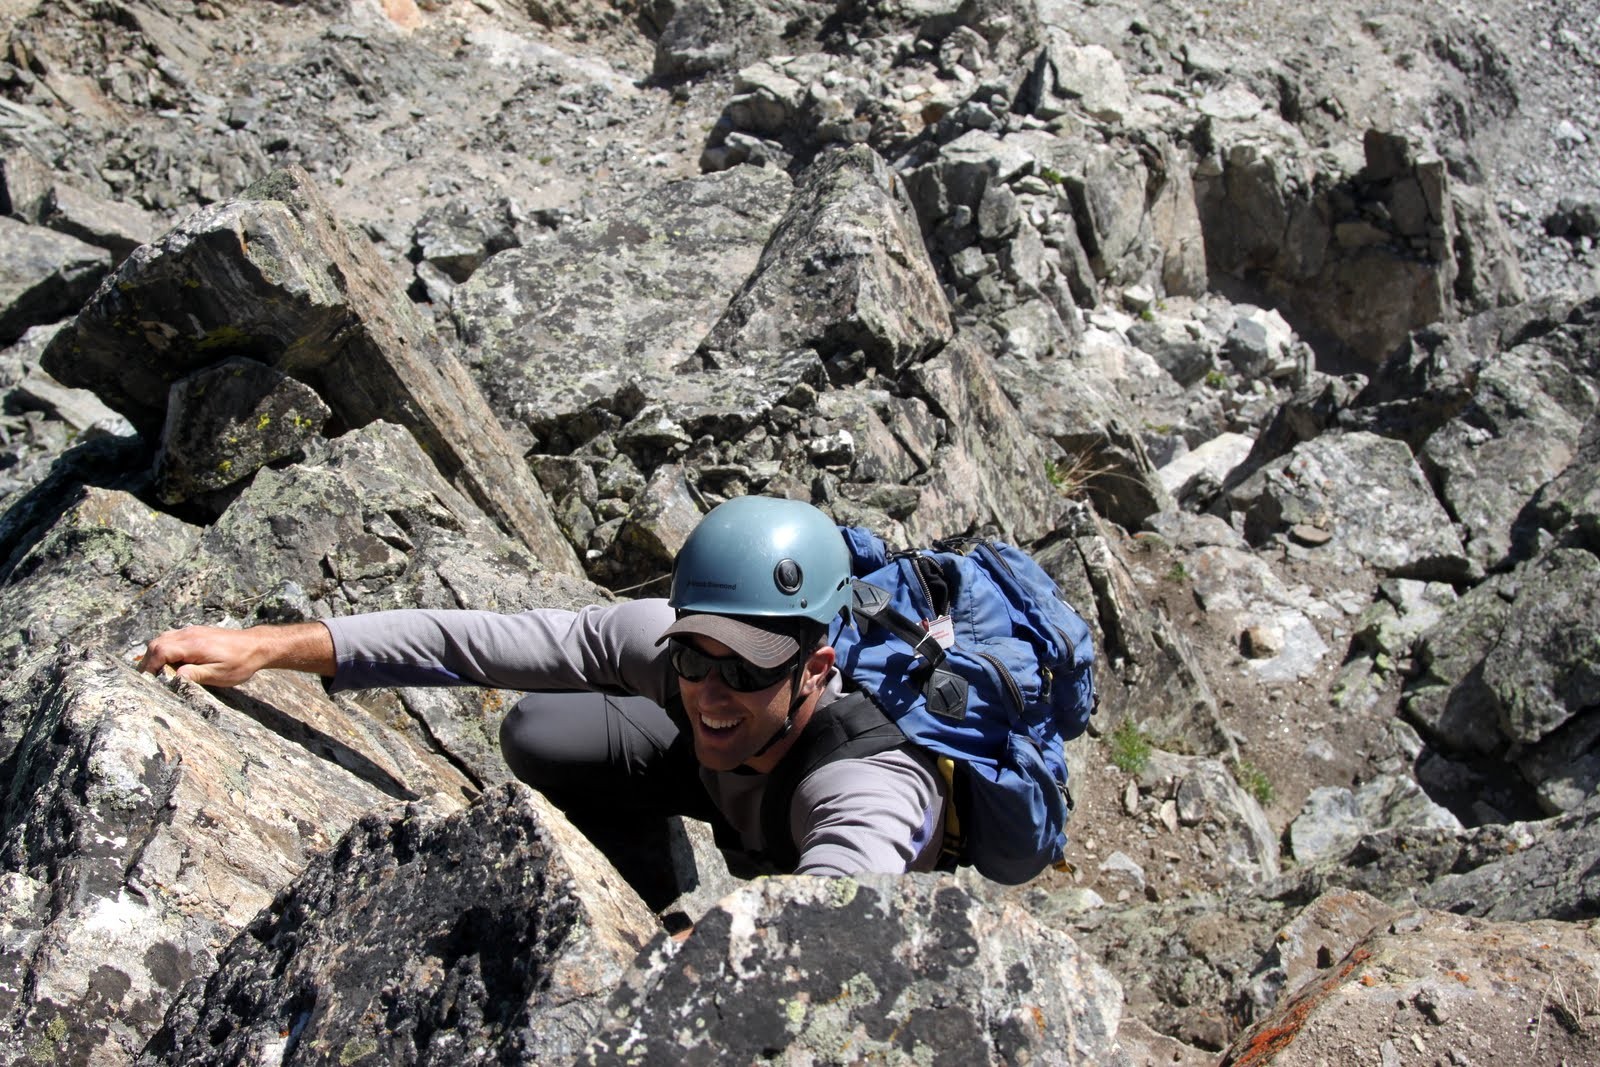
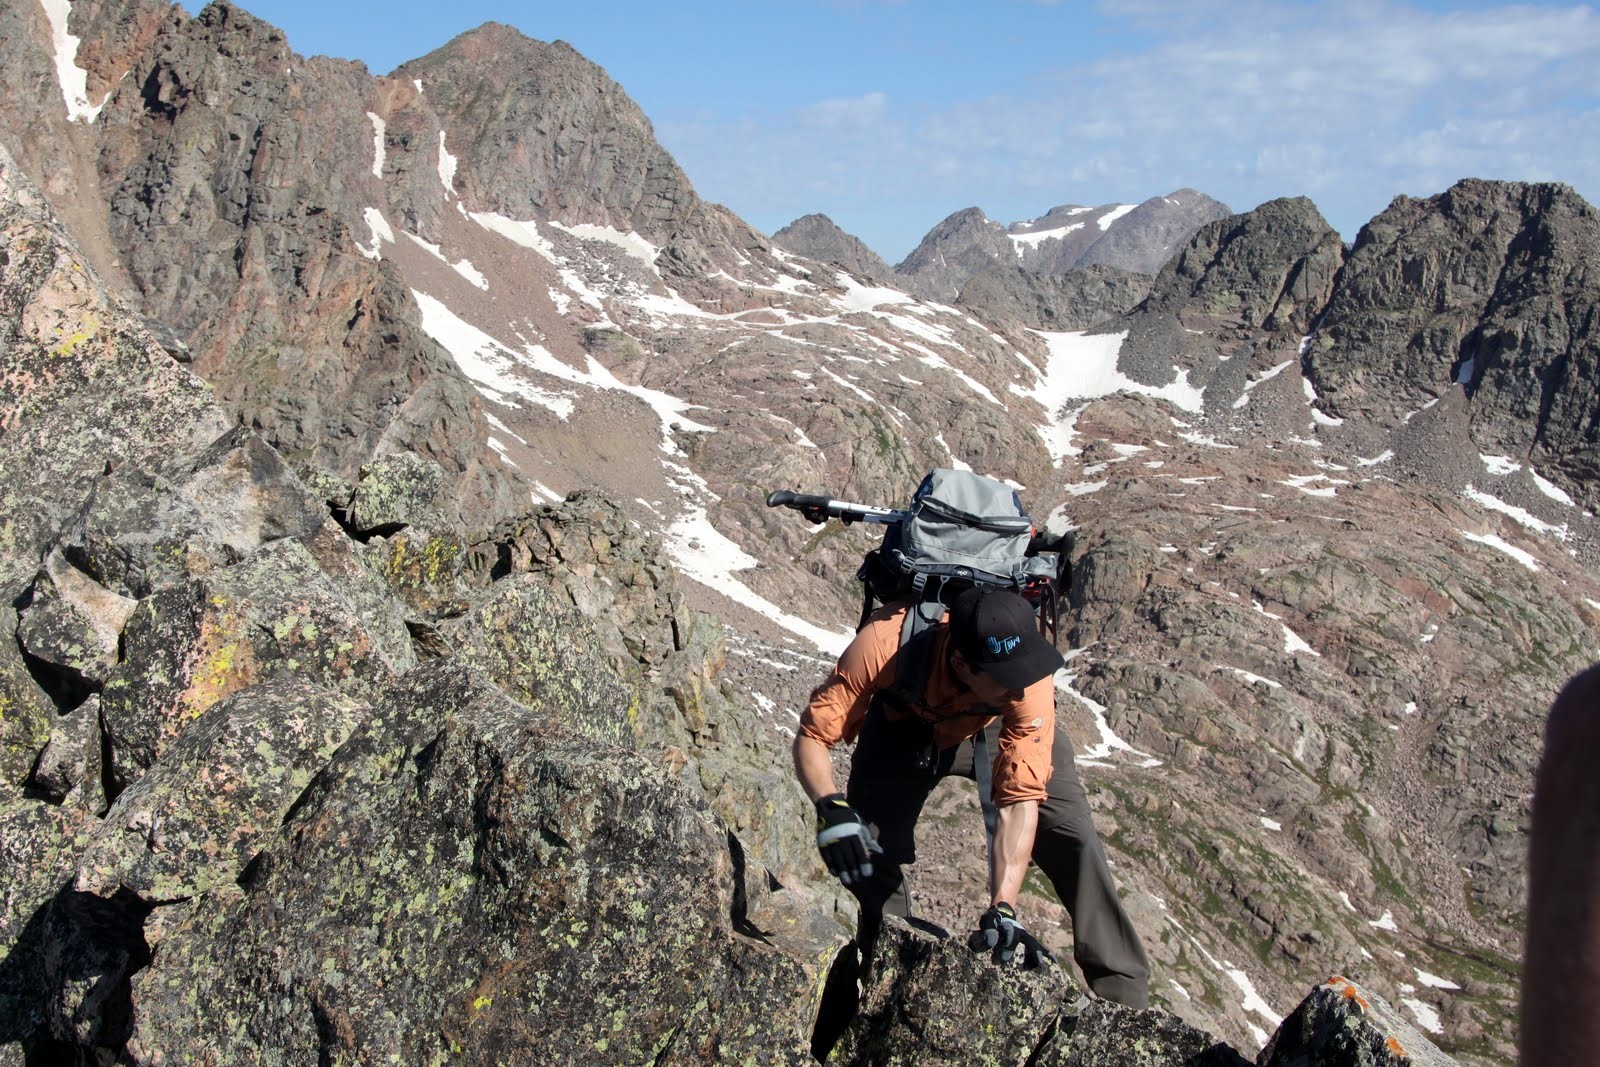
We didn’t dabble too long on the summit as we had to descend back down the Red Couloir a few hundred feet to find the exit for the traverse. Derek & I had spotted the cairned exit on the ascent and so we begin the fun walking on exposed grass ledges interspersed with some scrambling to start the traverse.

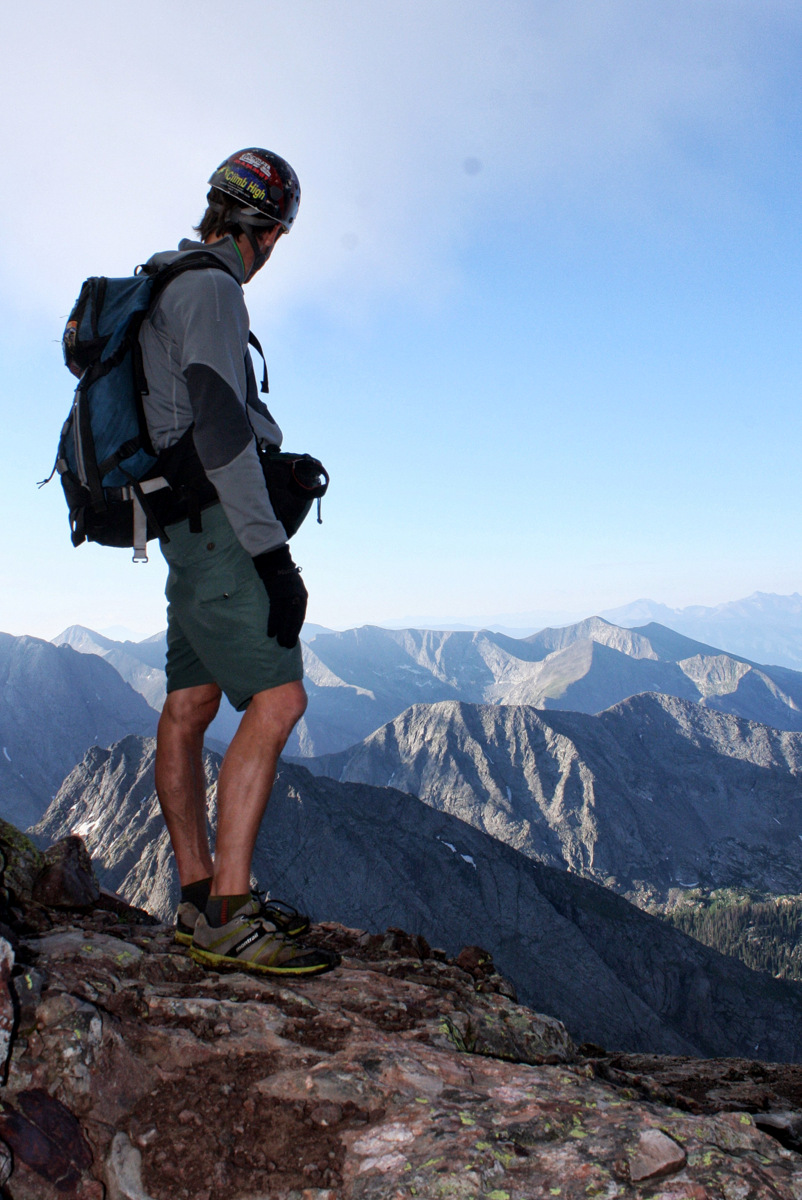
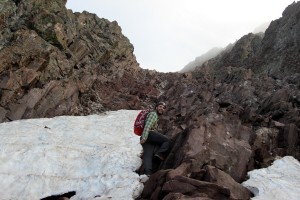
Me checking out the exit in the Red Couloir to start the traverse
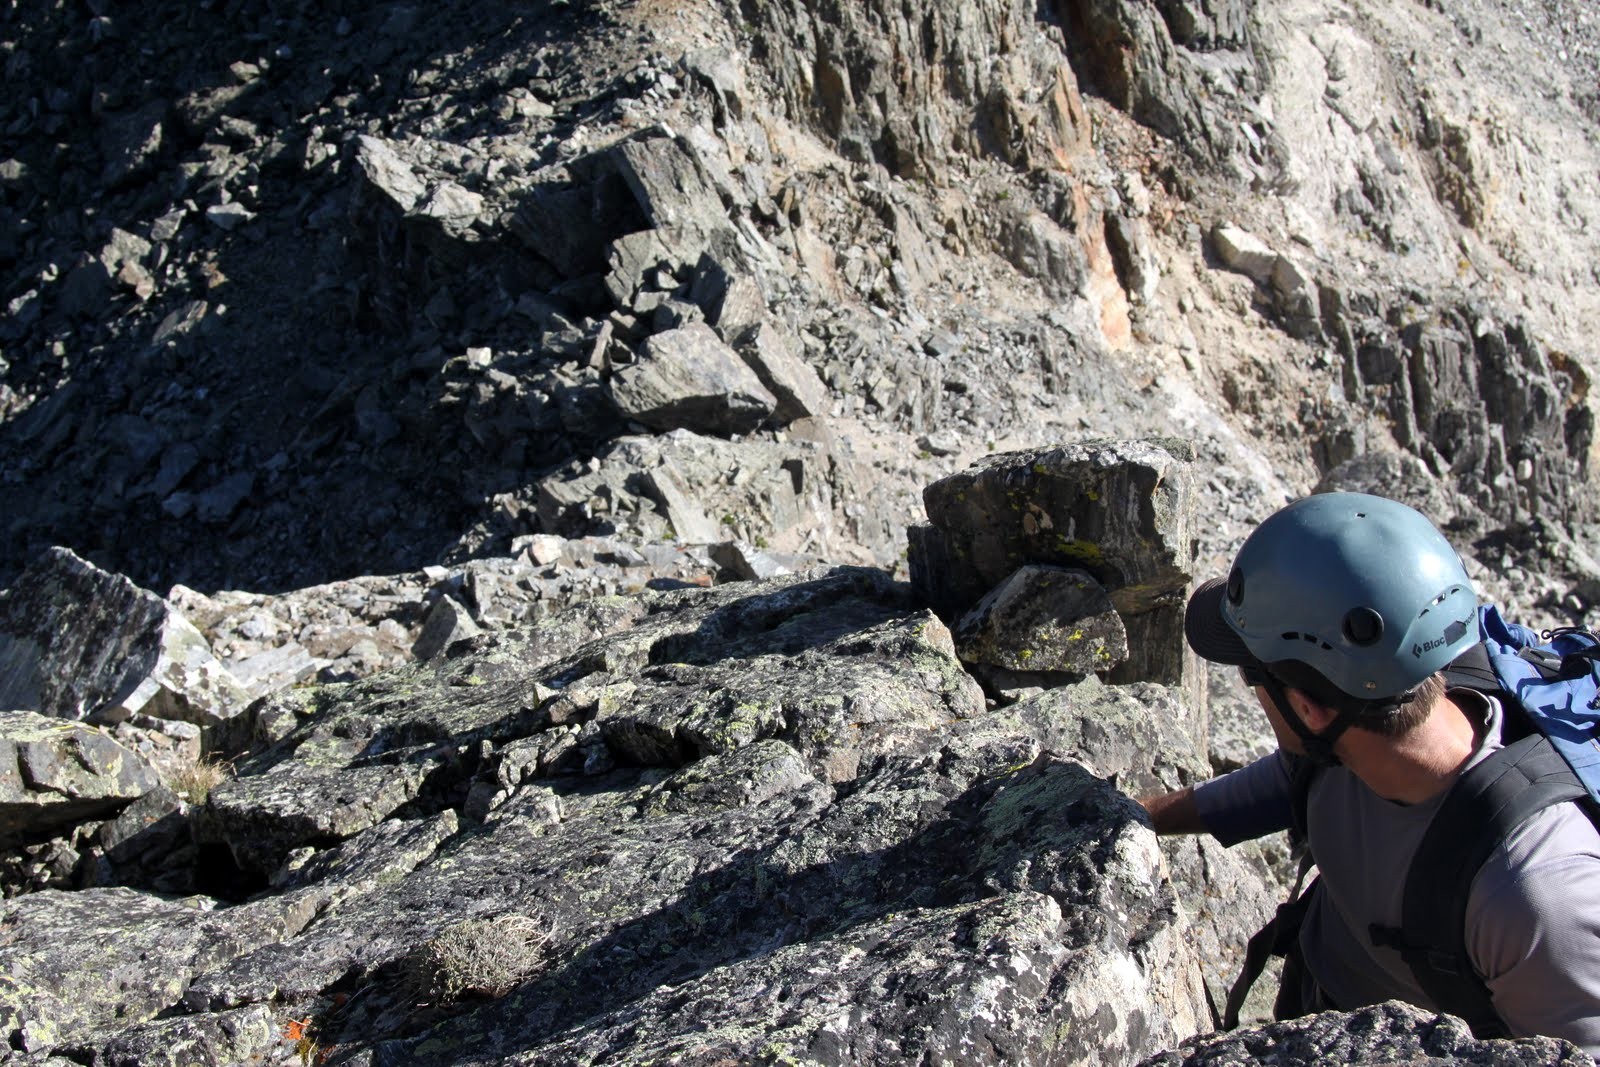
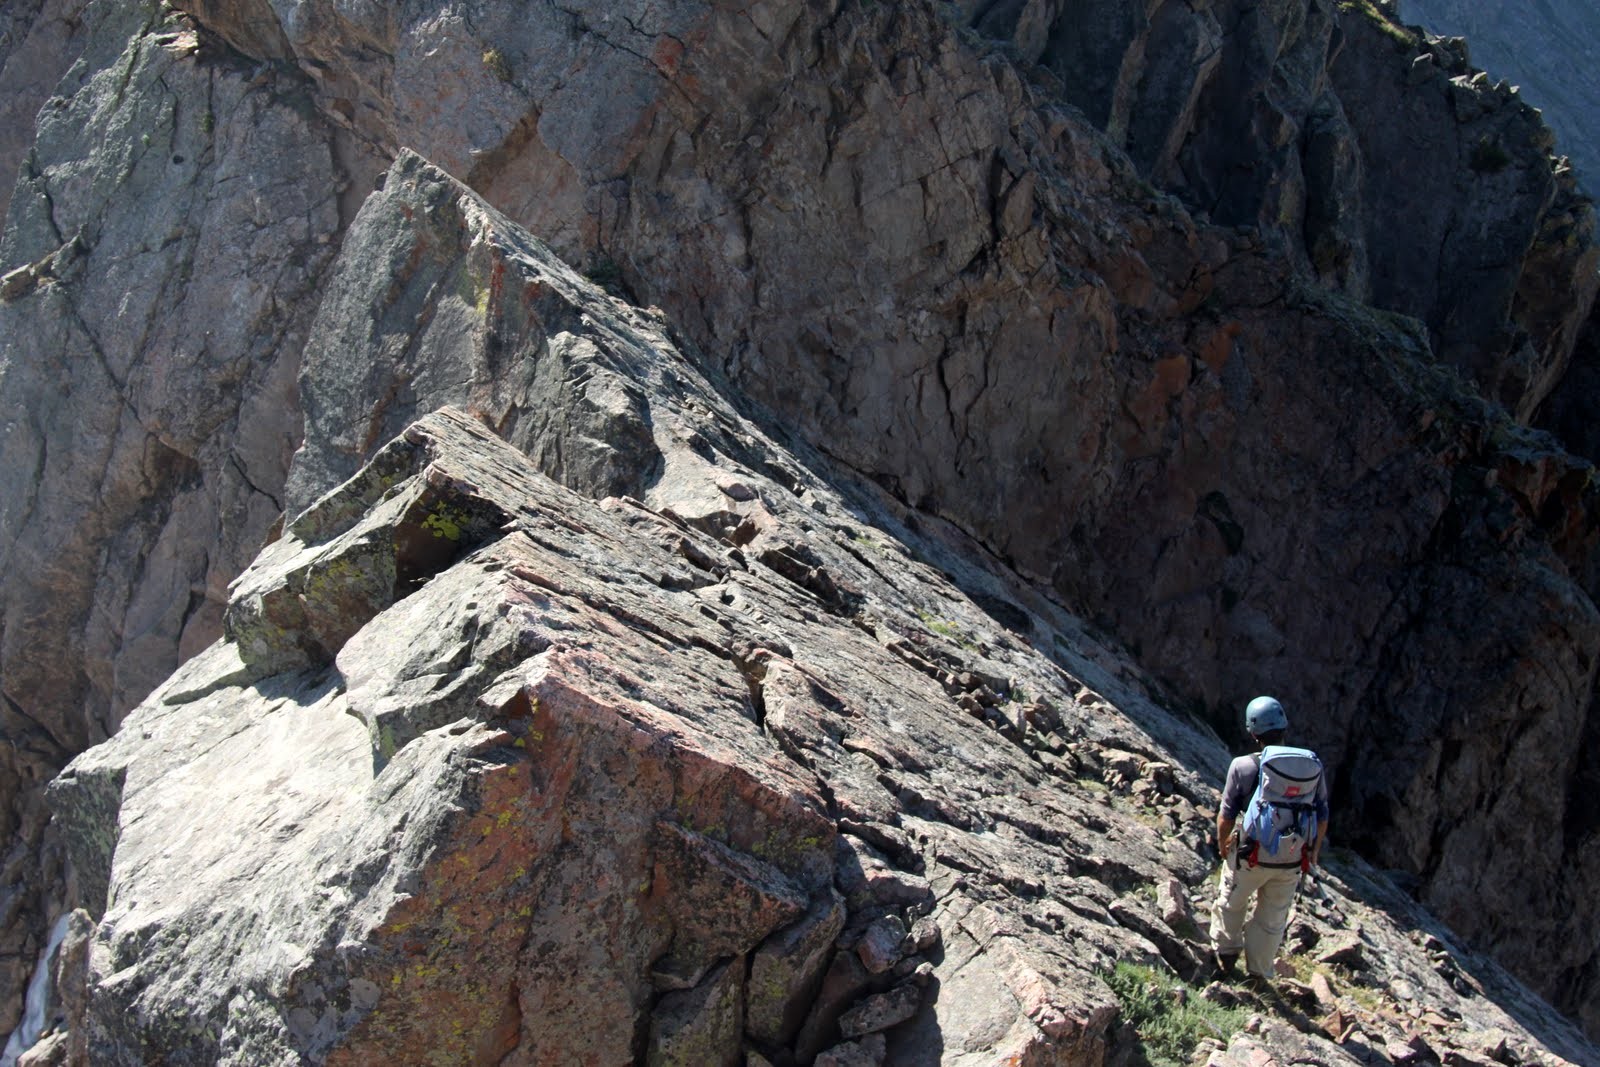
The easy first half of the traverse across grass ledges and short gullies
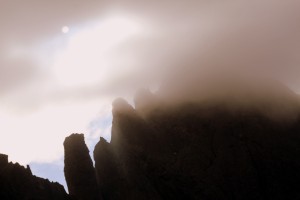
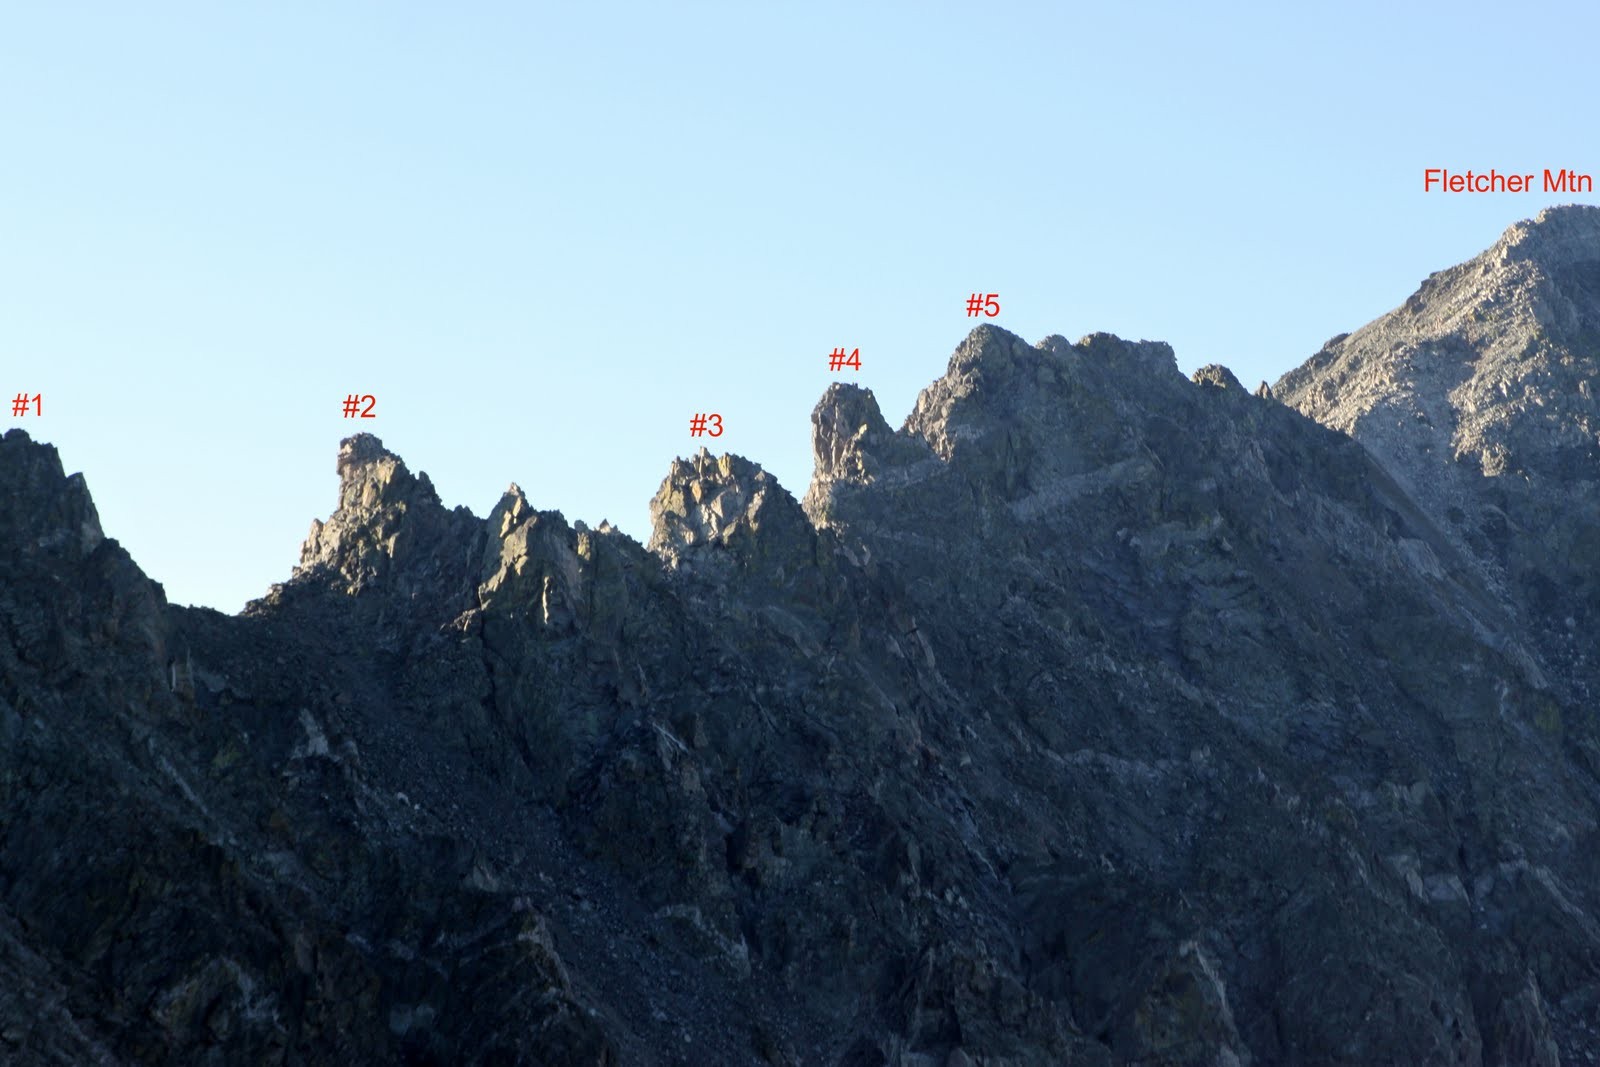
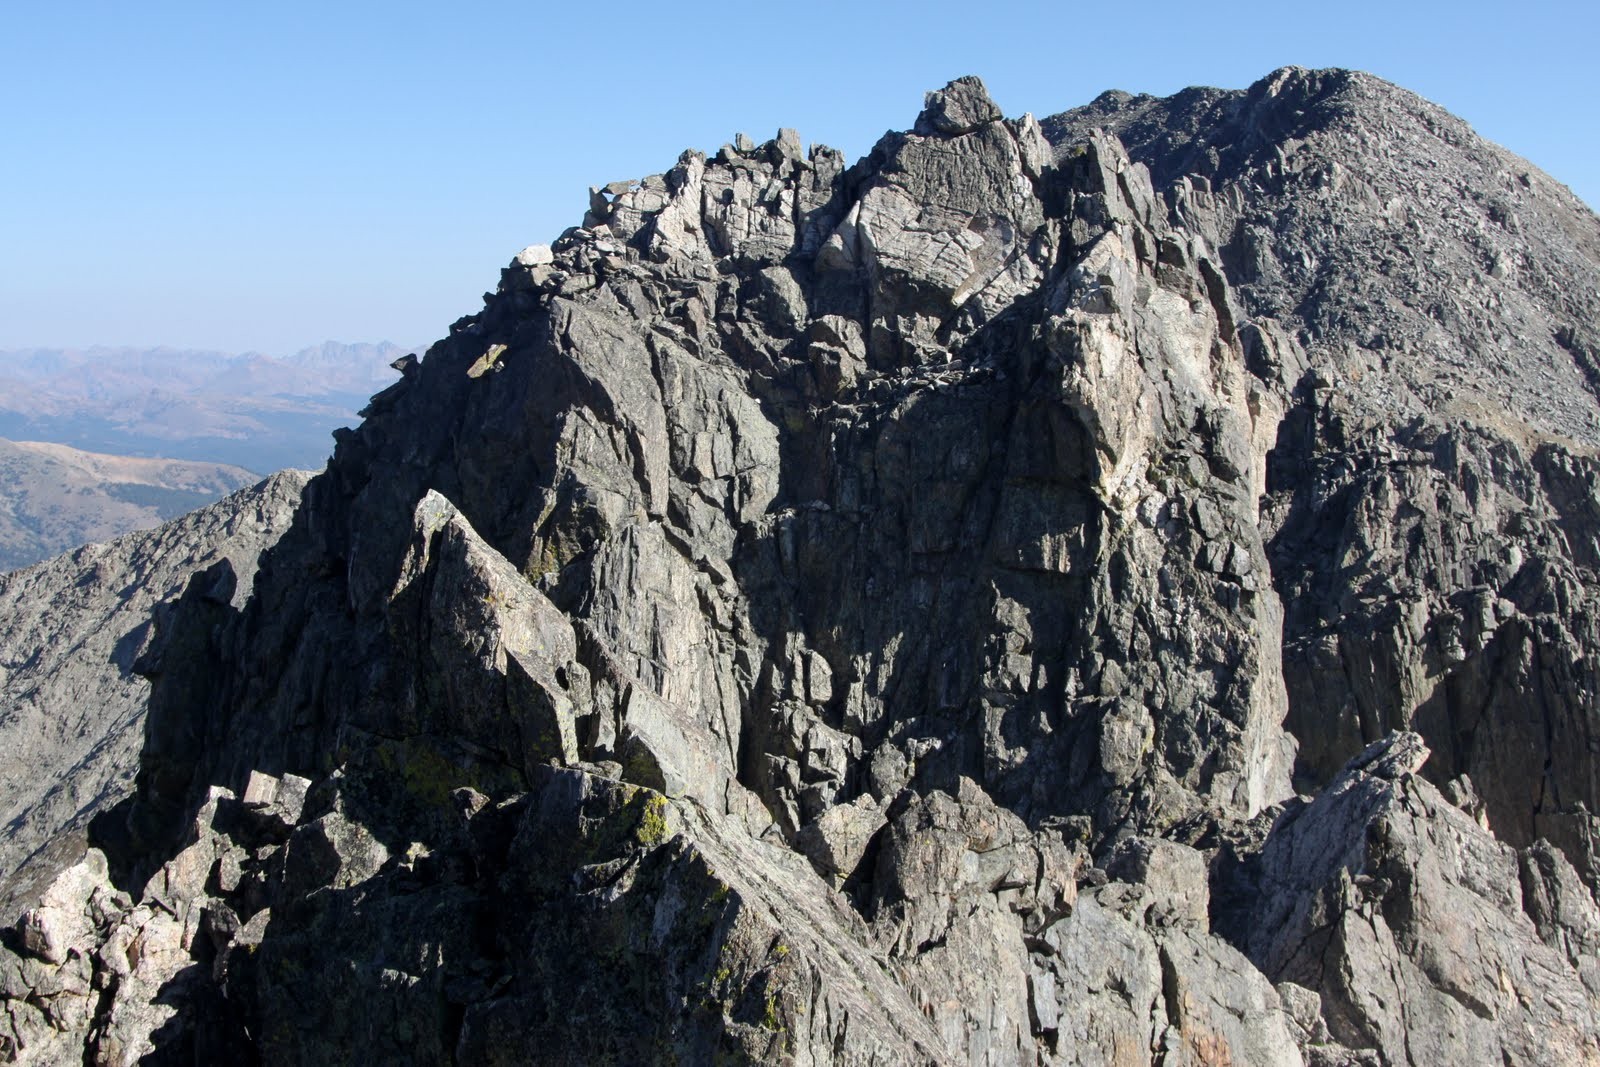
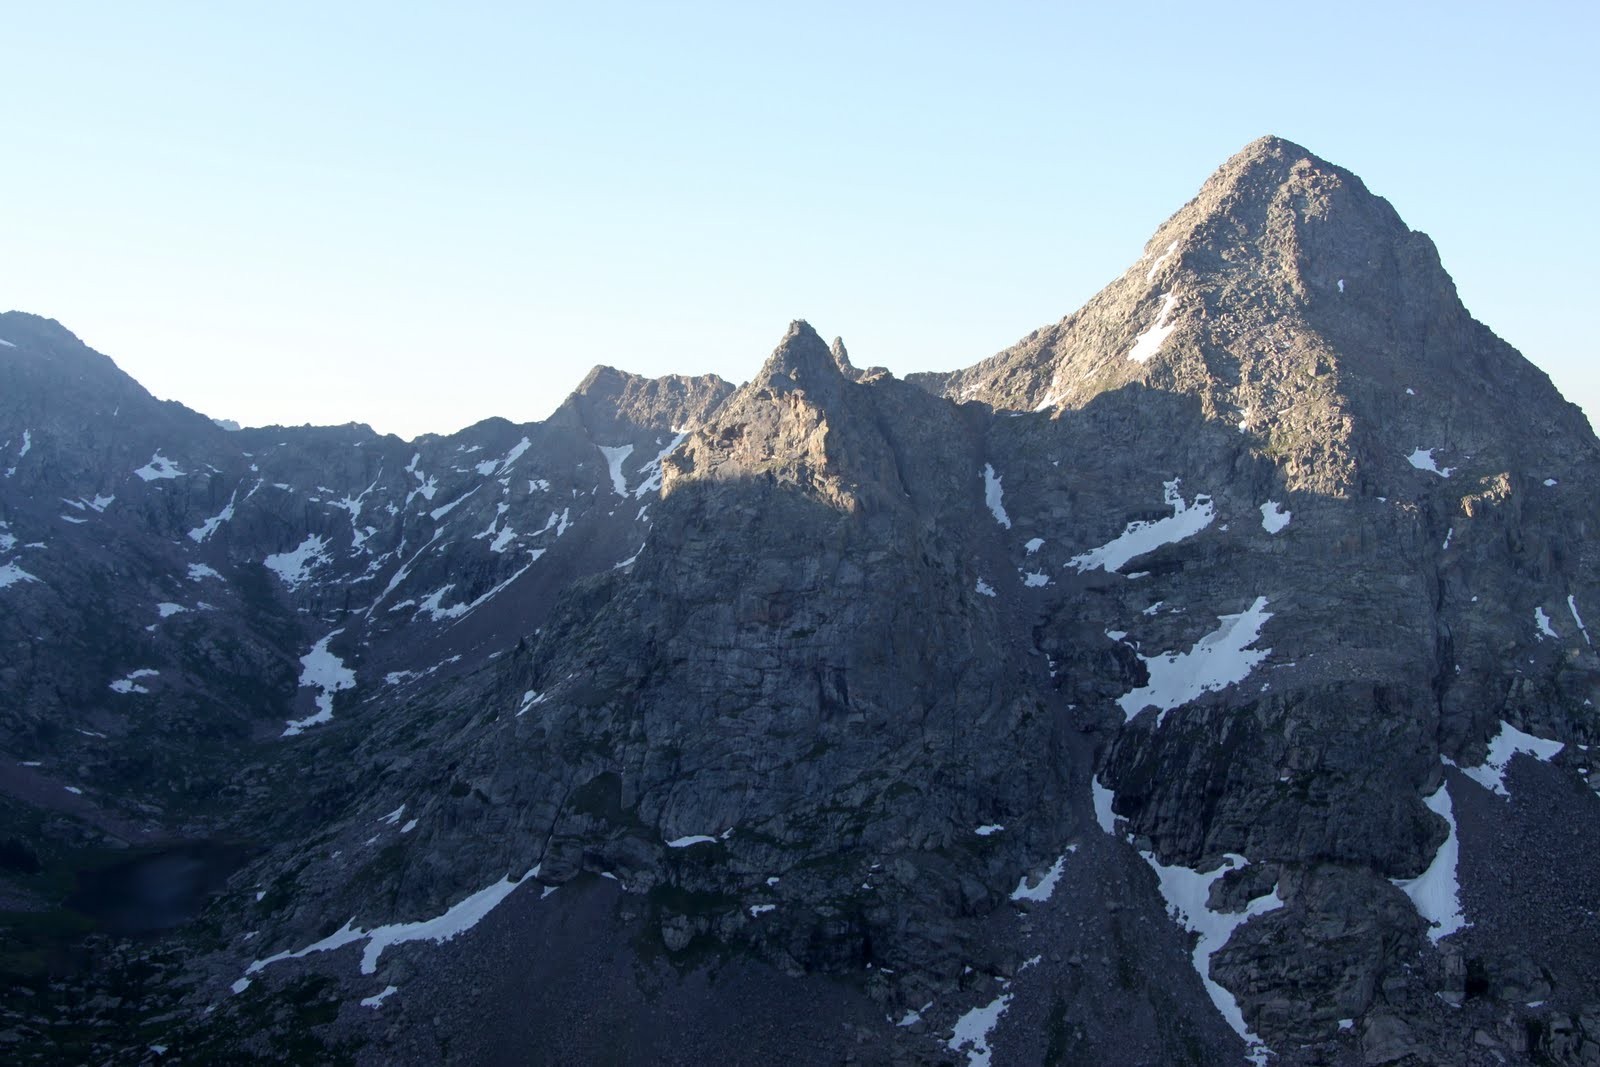
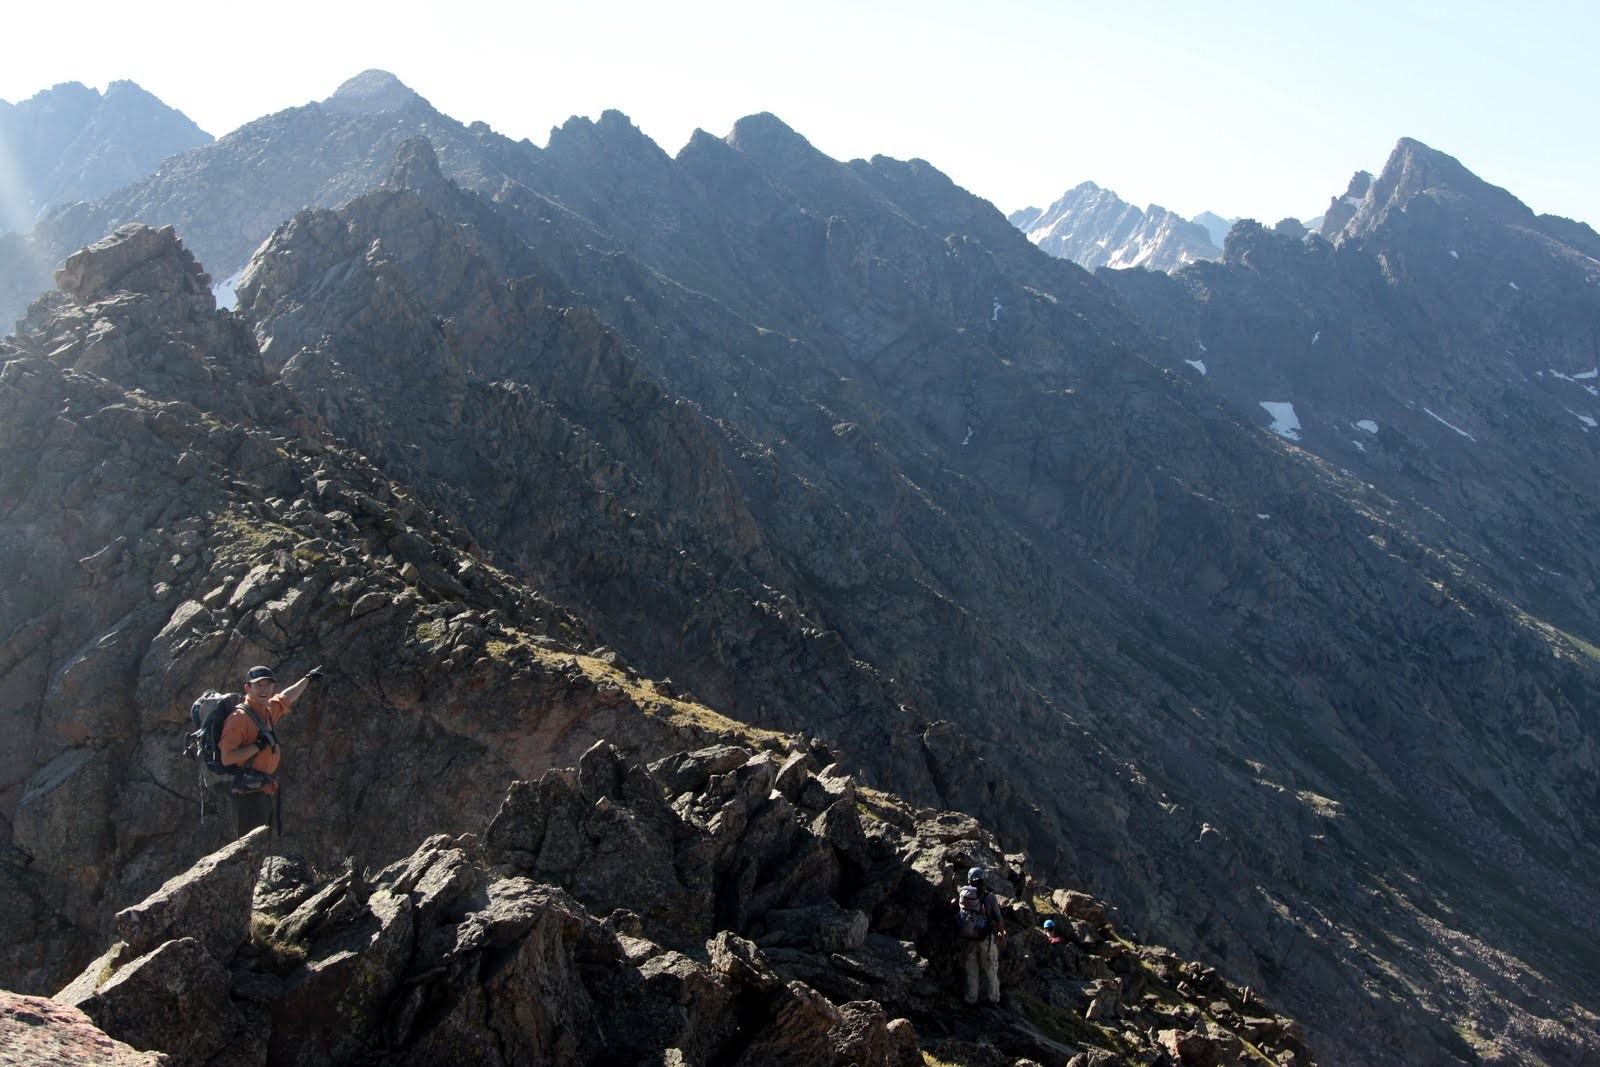
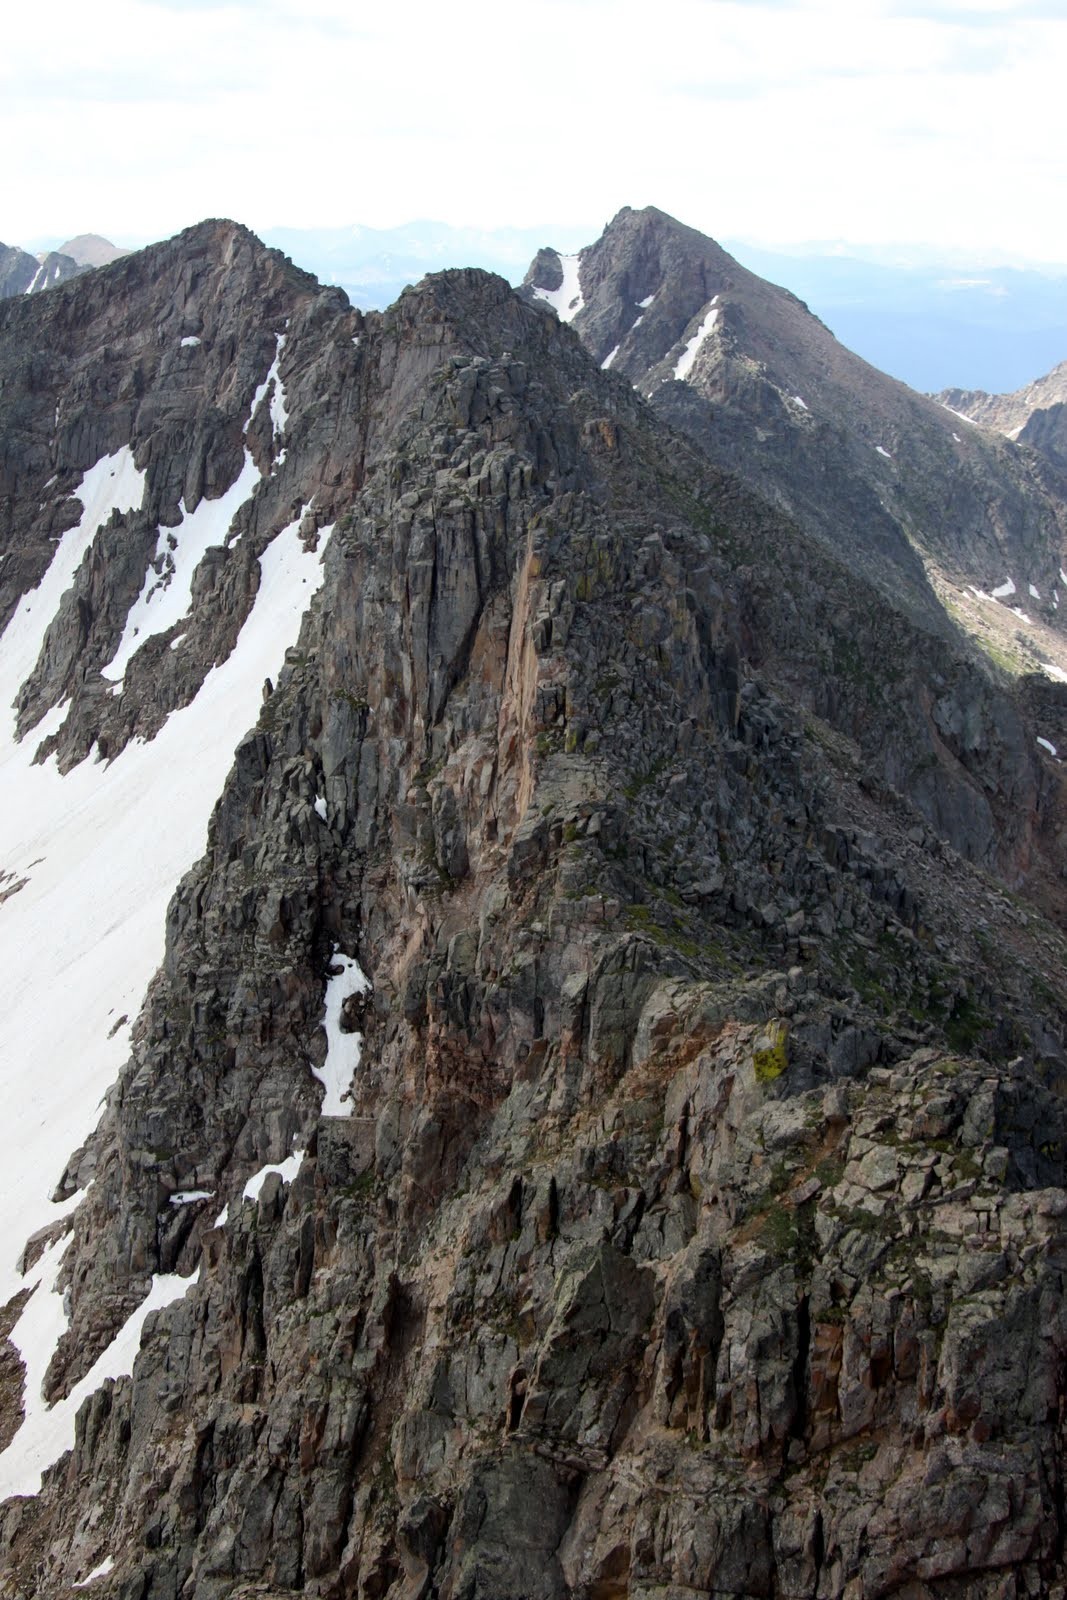
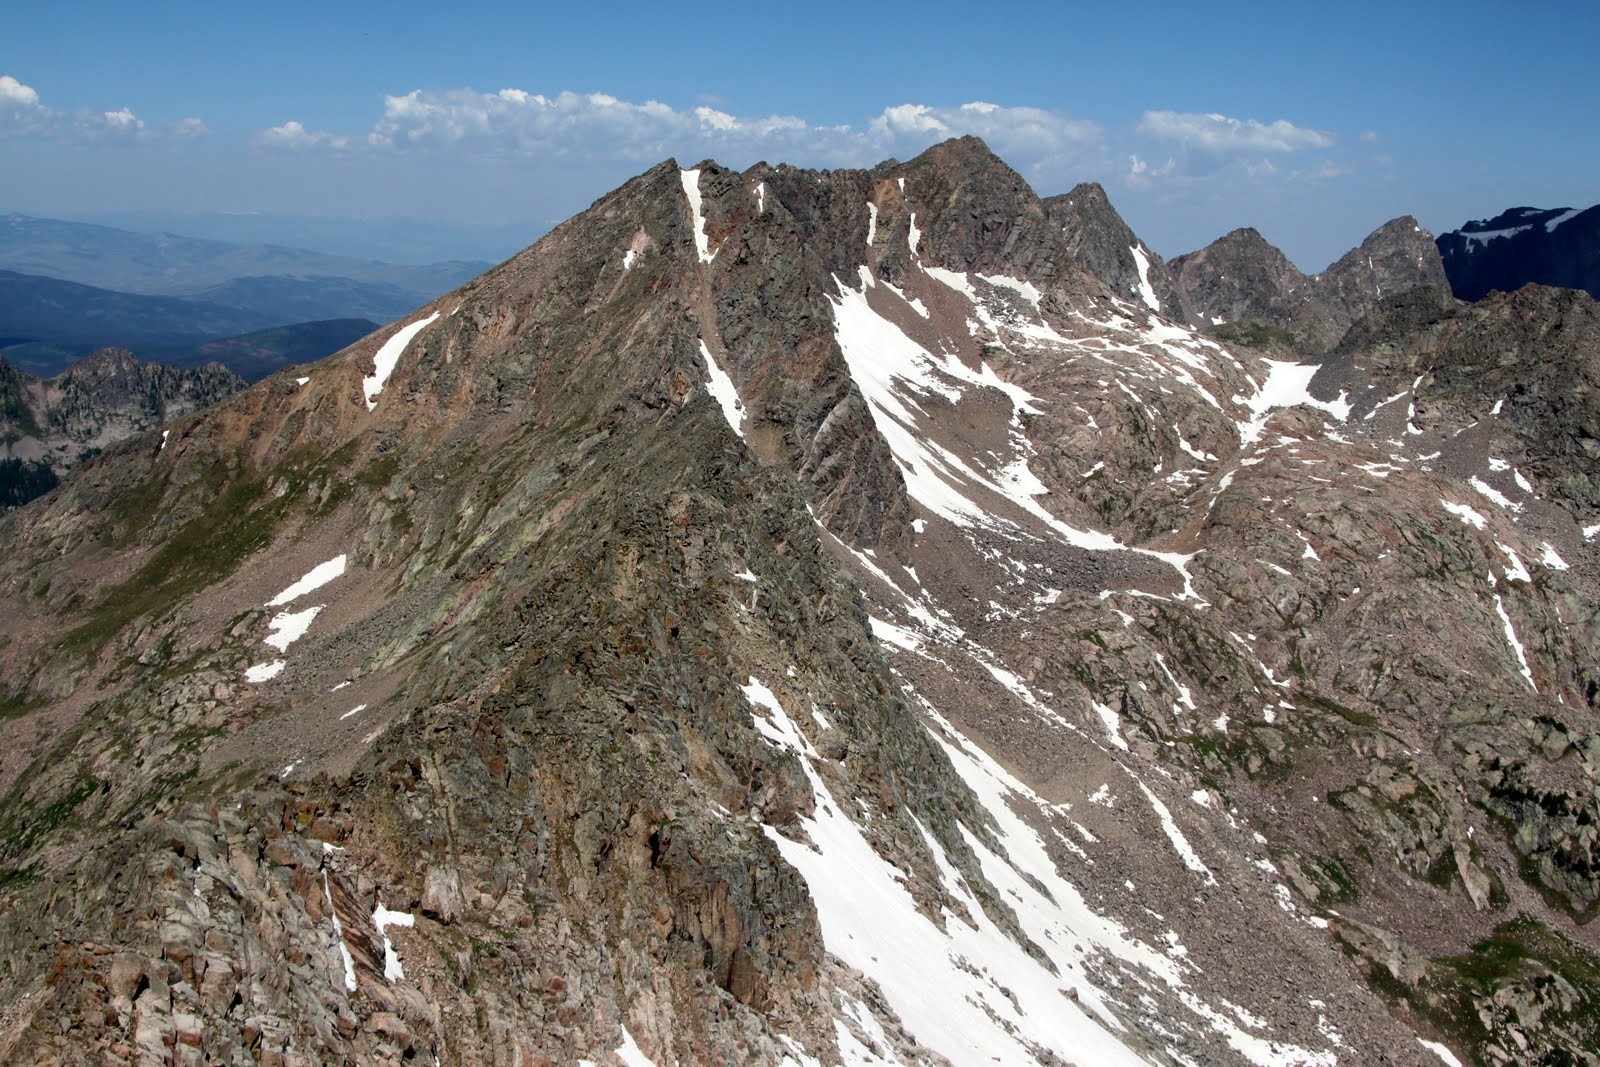
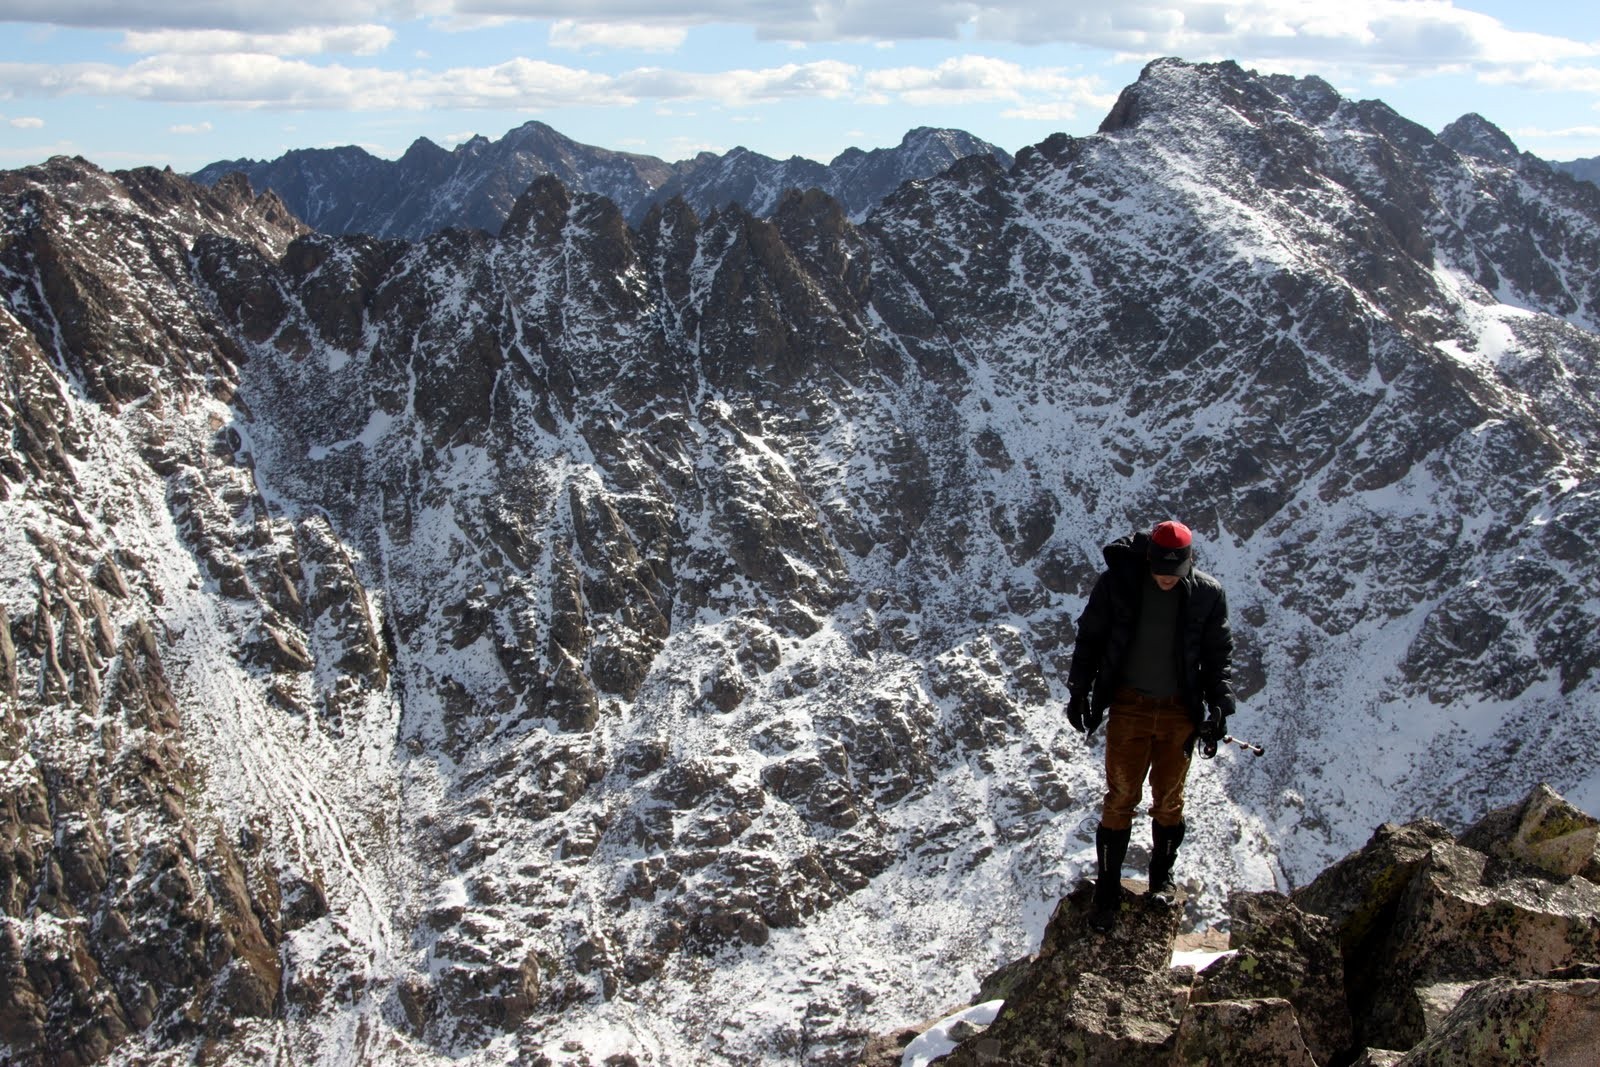
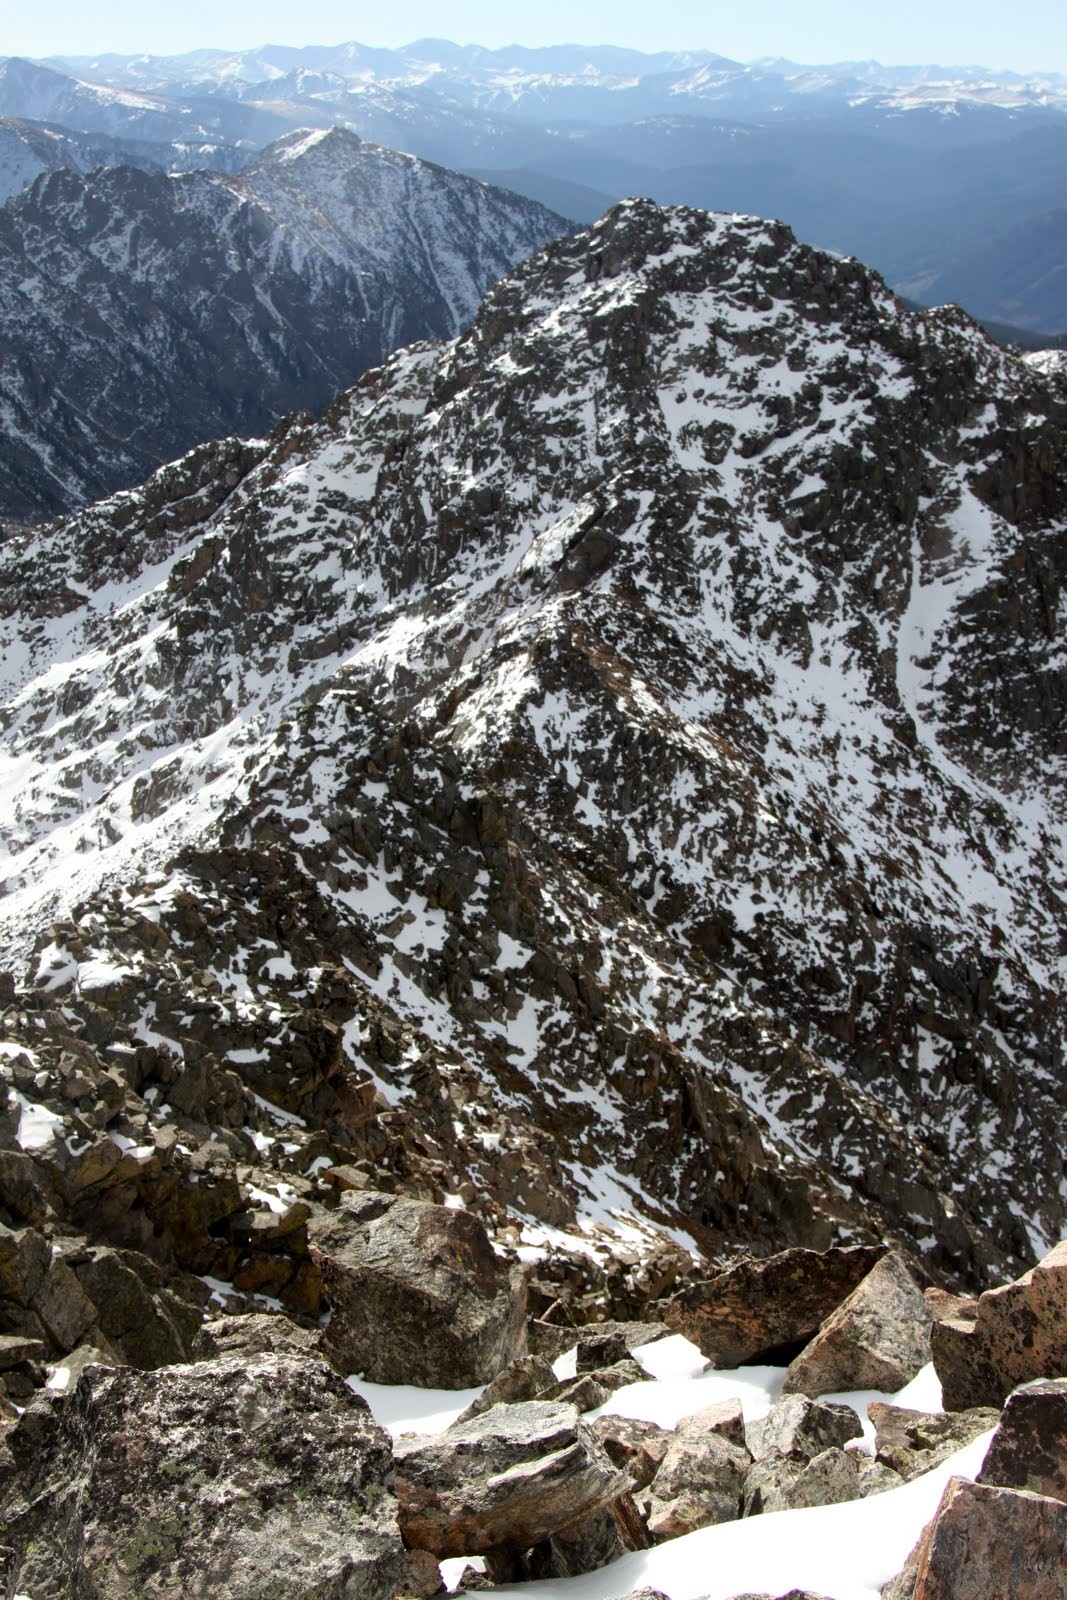
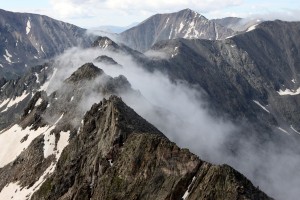
Crestone Needle and its north ridge comprising several gendarmes looking ominous through the clouds
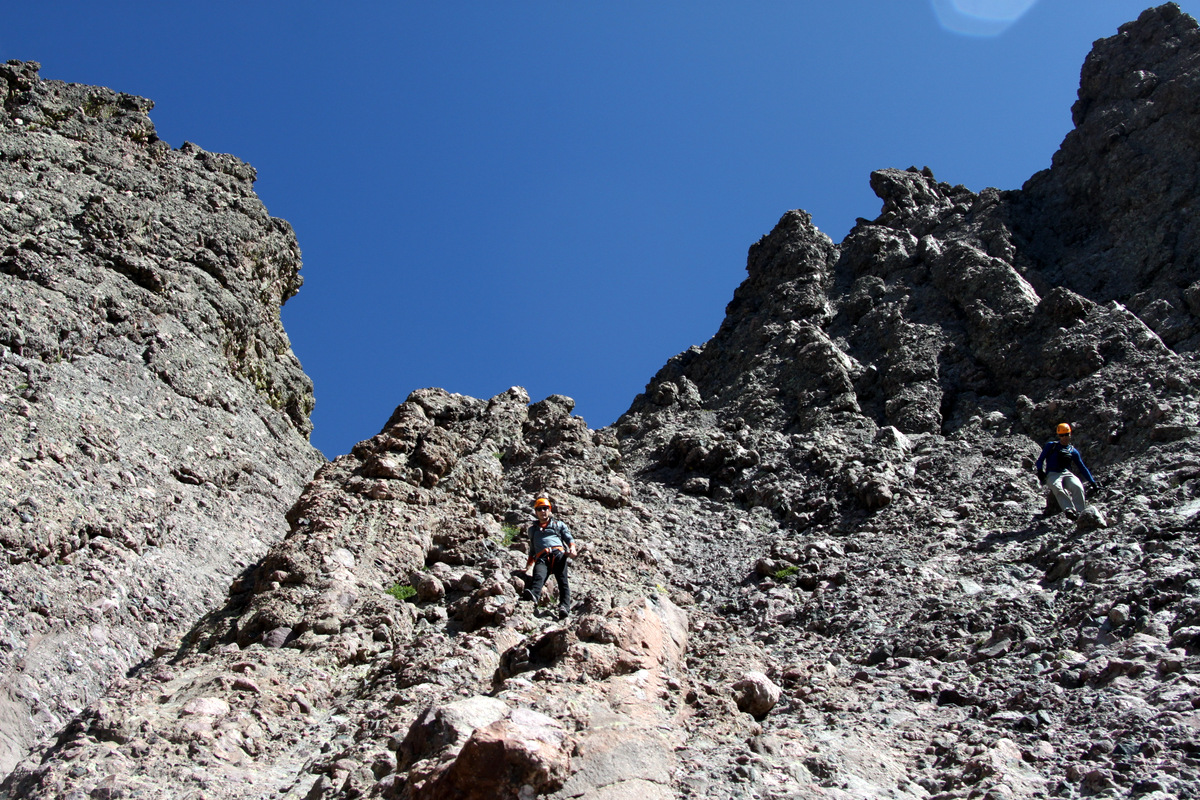
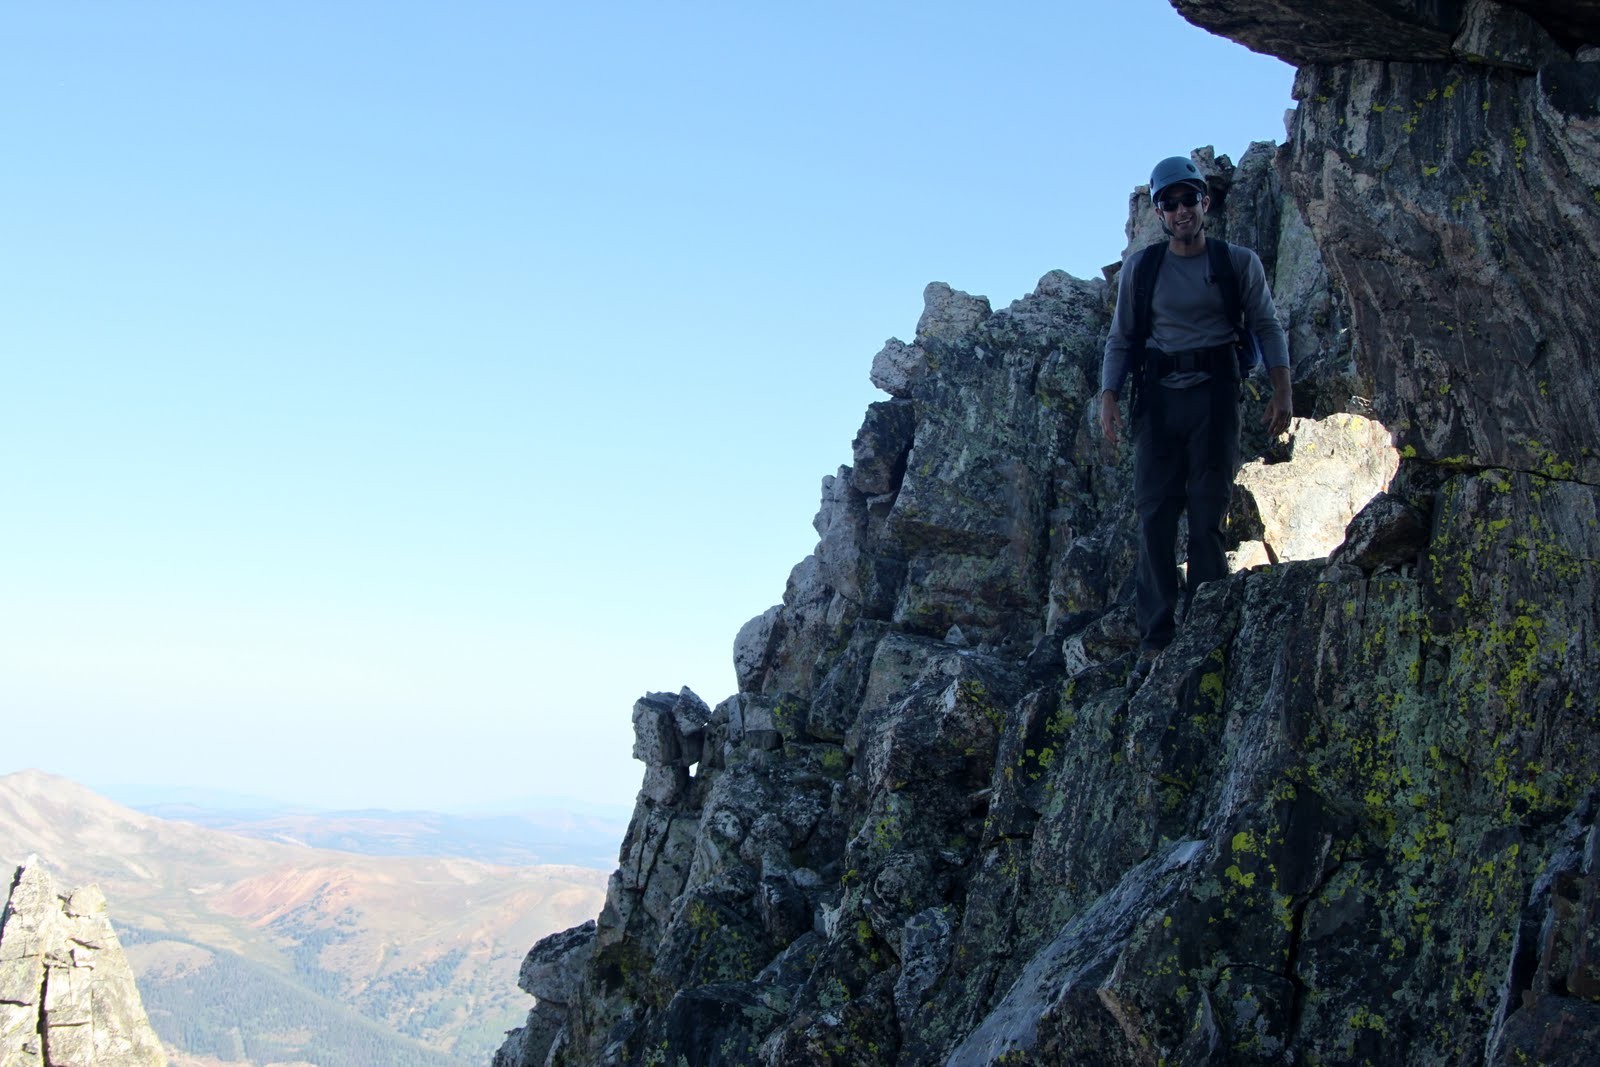
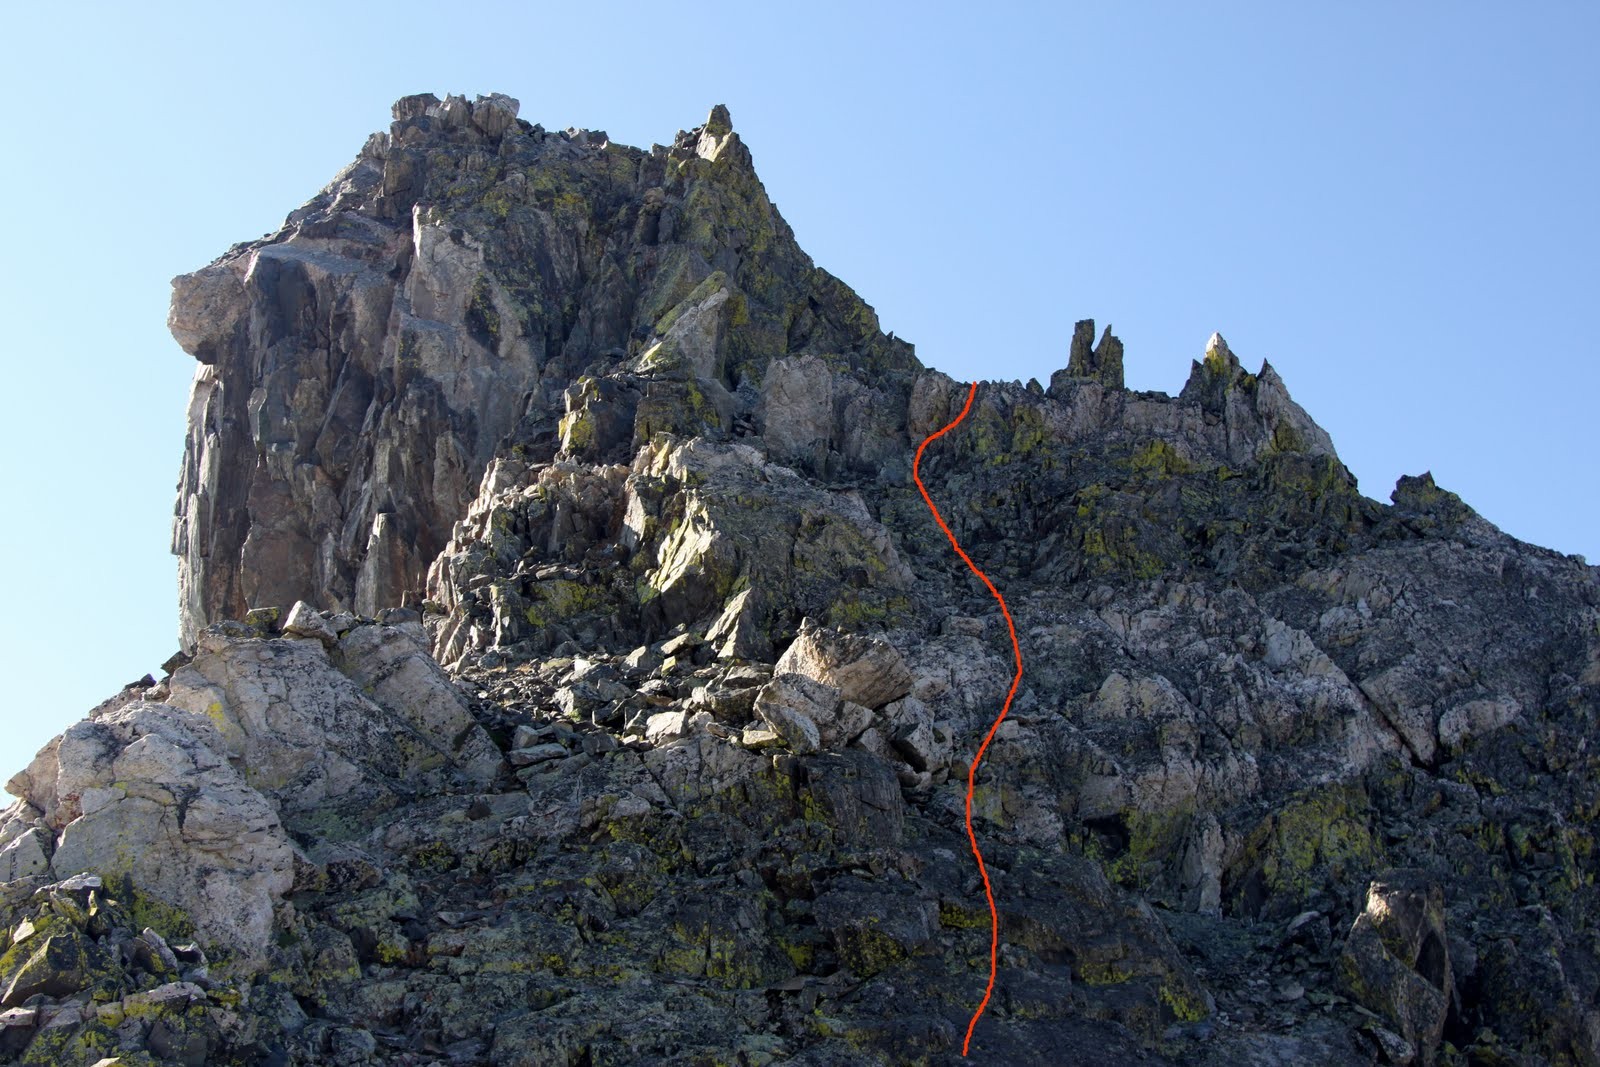
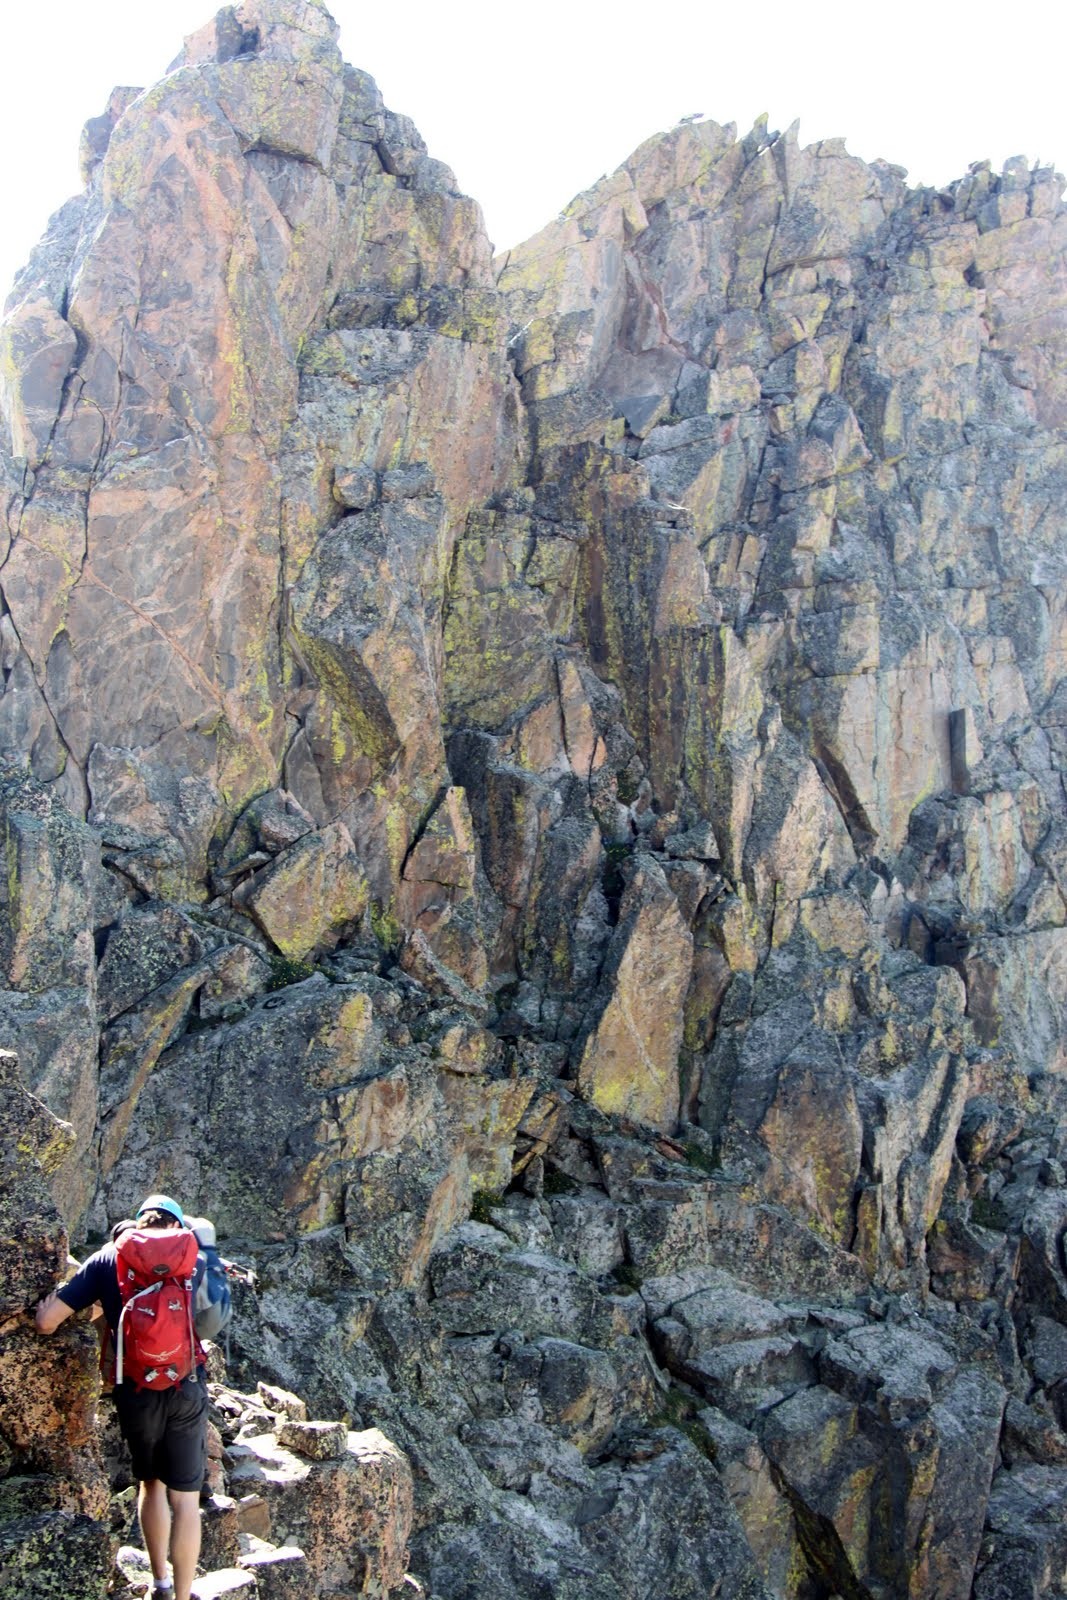
The weather so far was on our side and we made good time up the class 3 rock gully to the mid point of the traverse at the base of the ominous Black Gendarme – a 200’+ tower of crestone rock.
The fun class 3 gully that leads to the base of the monstrous Black Gendarme
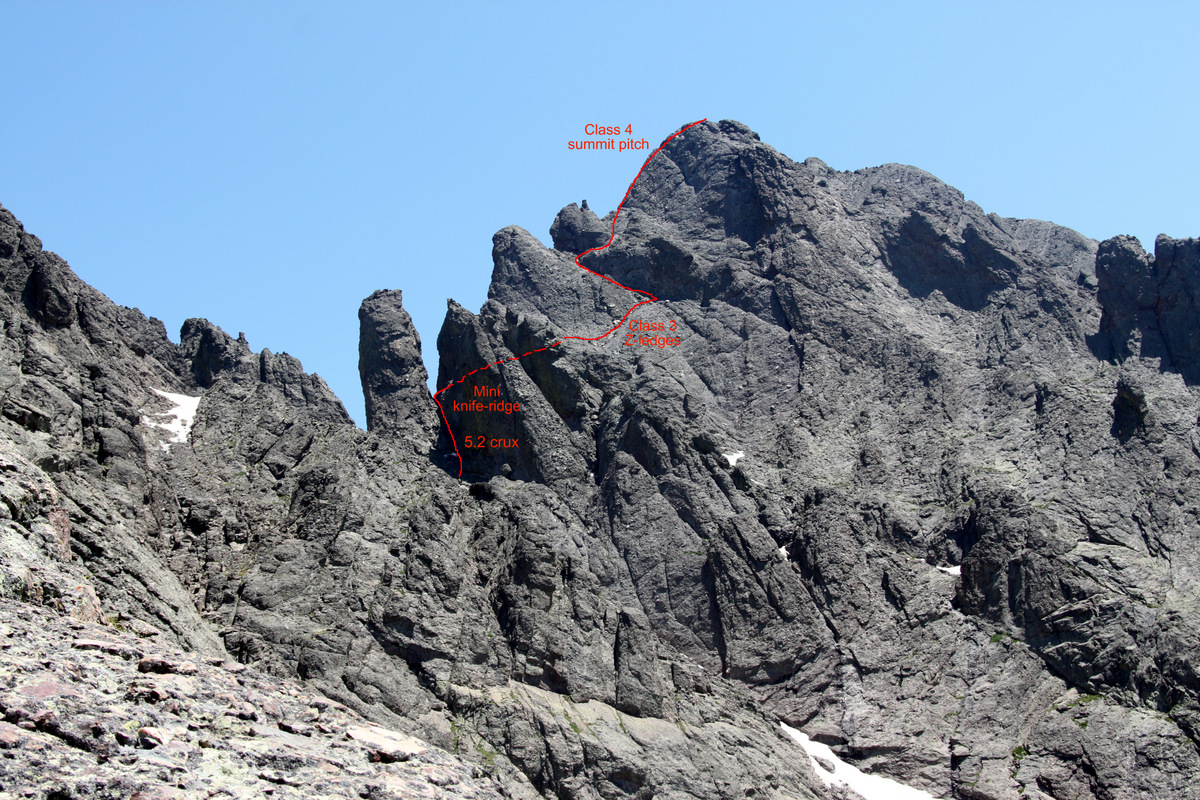
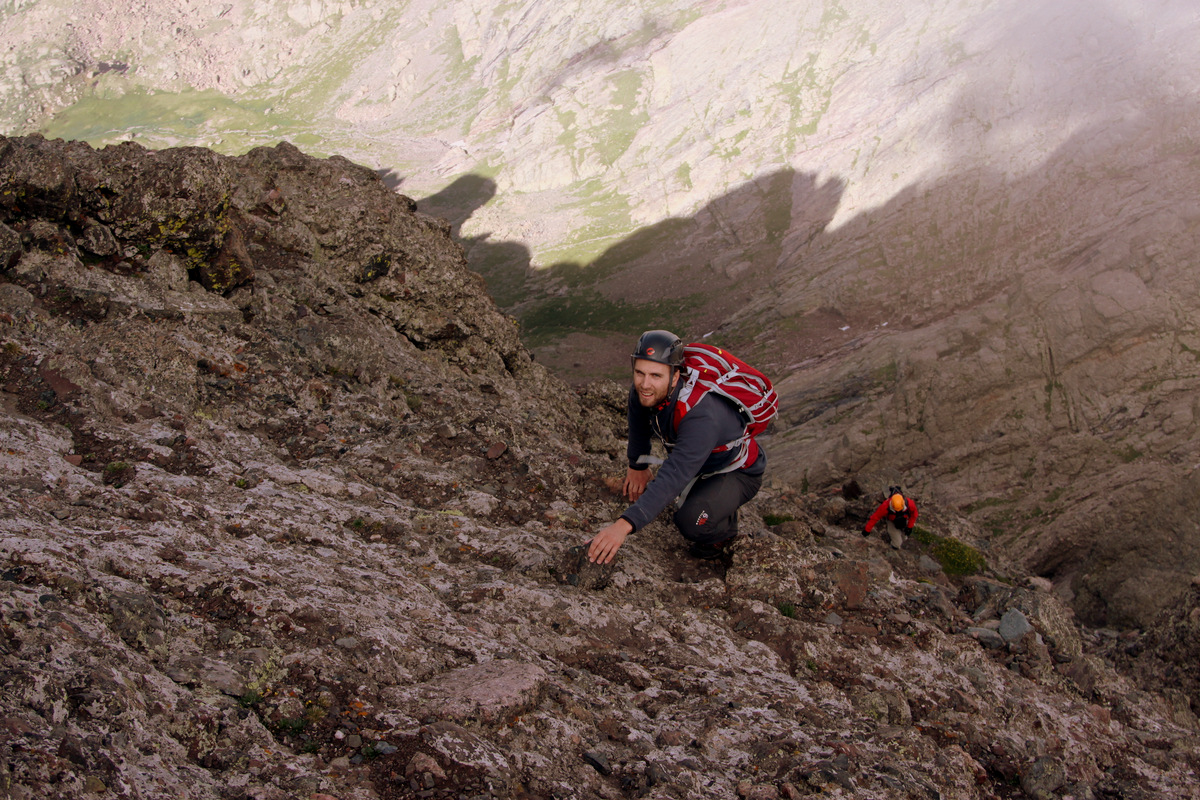
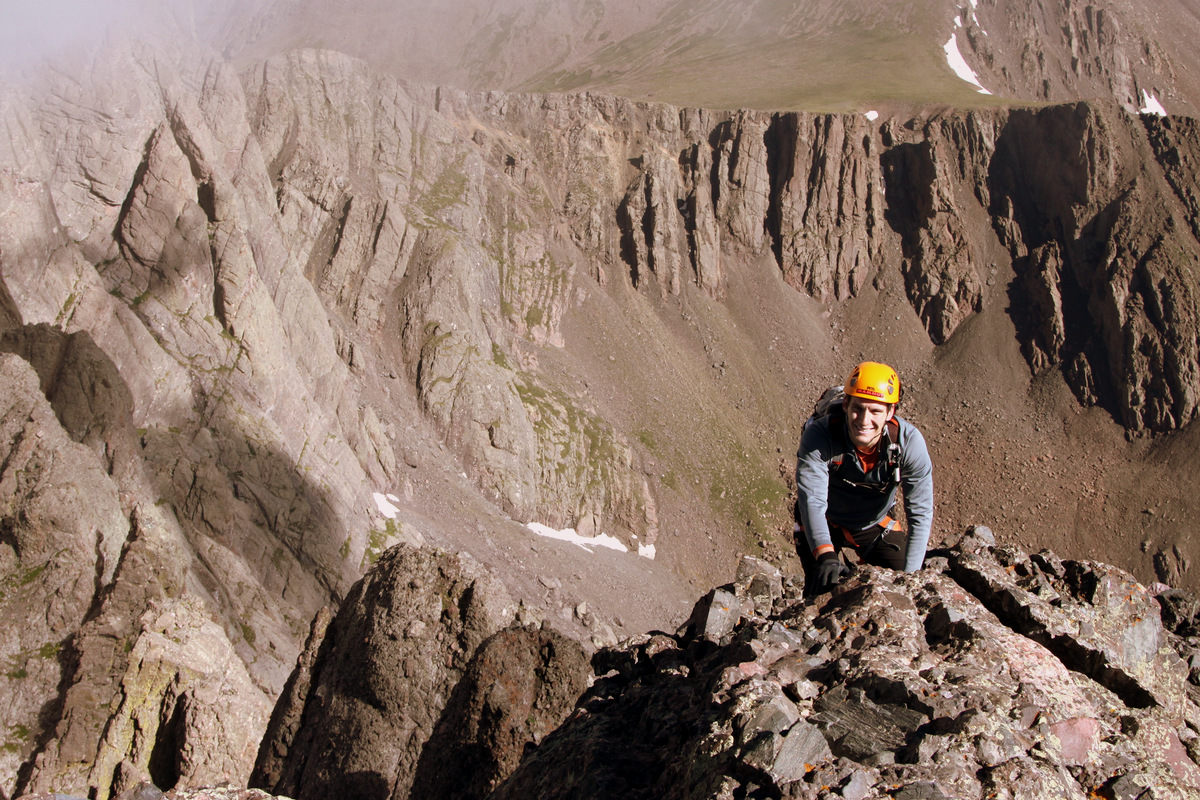
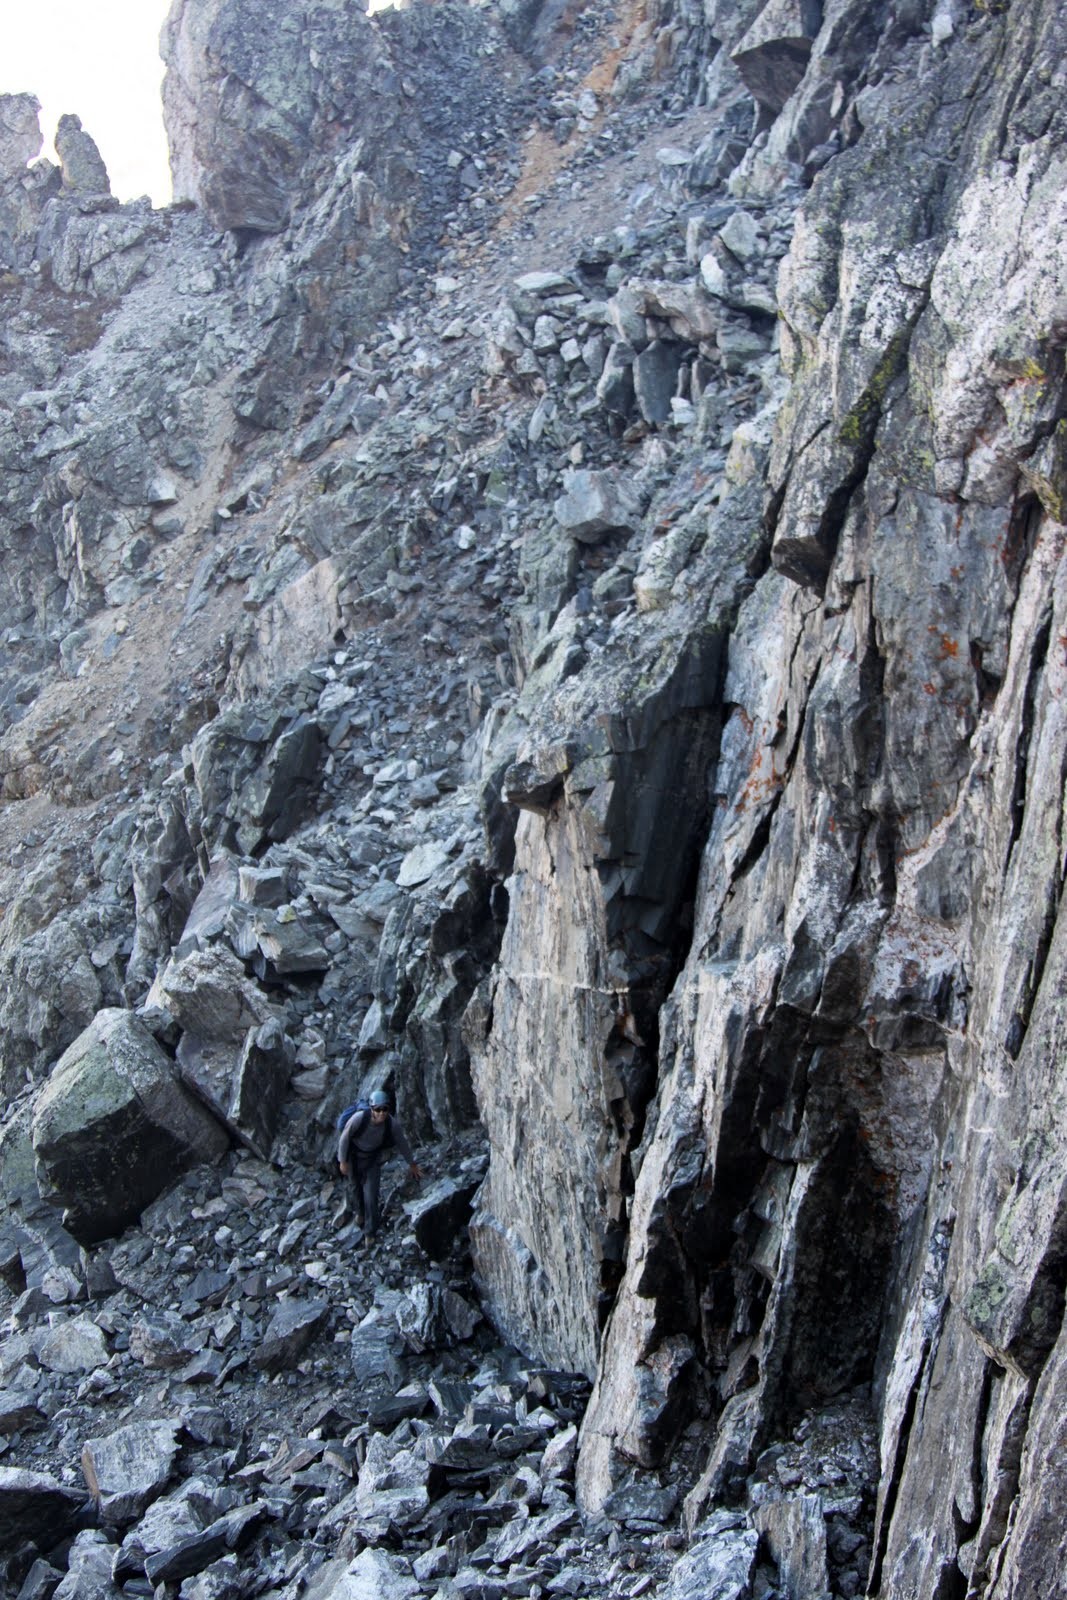
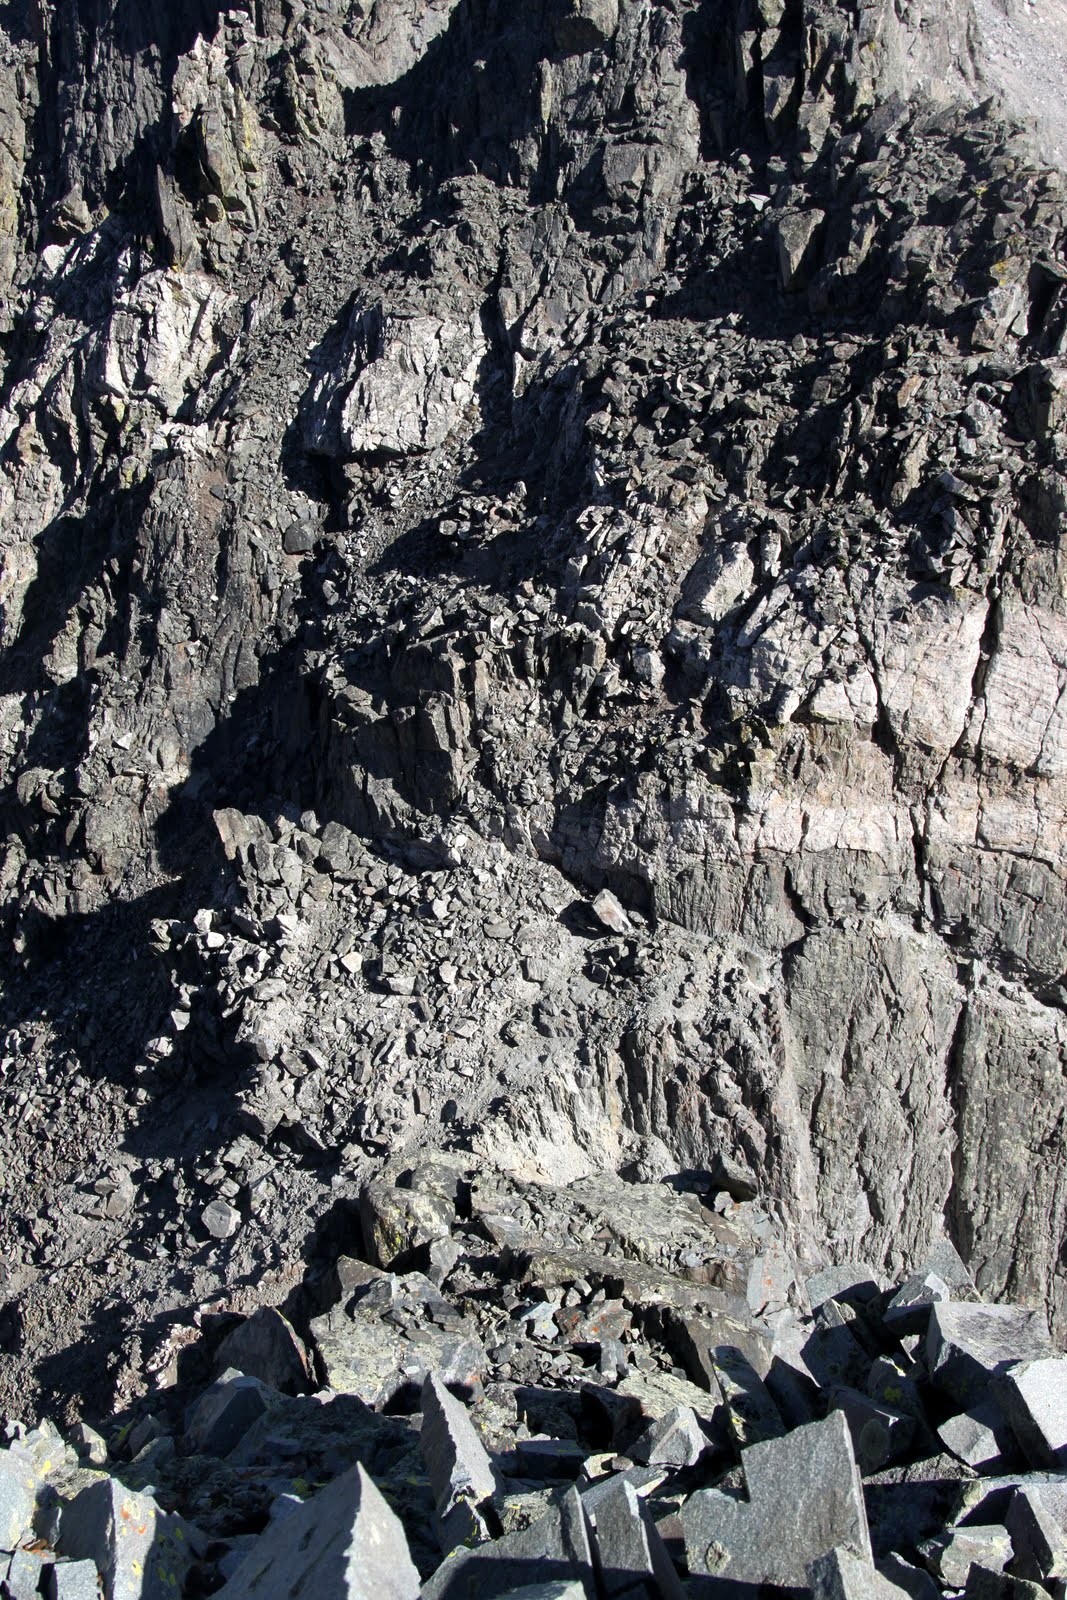
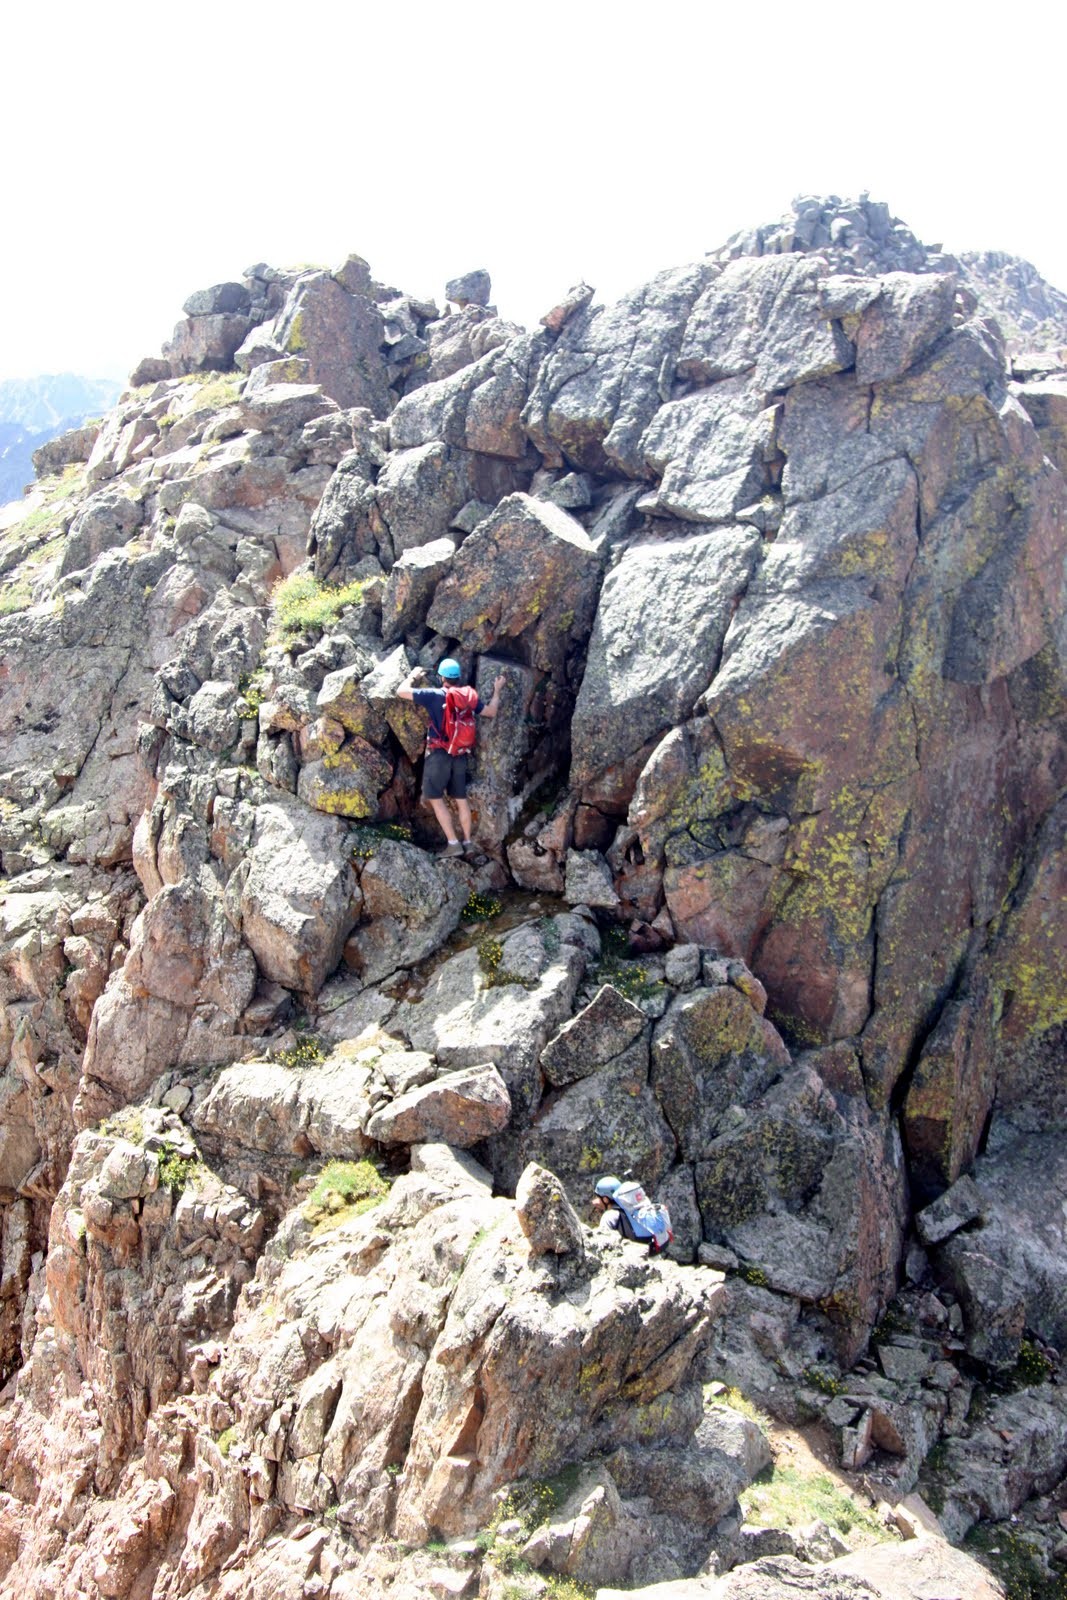
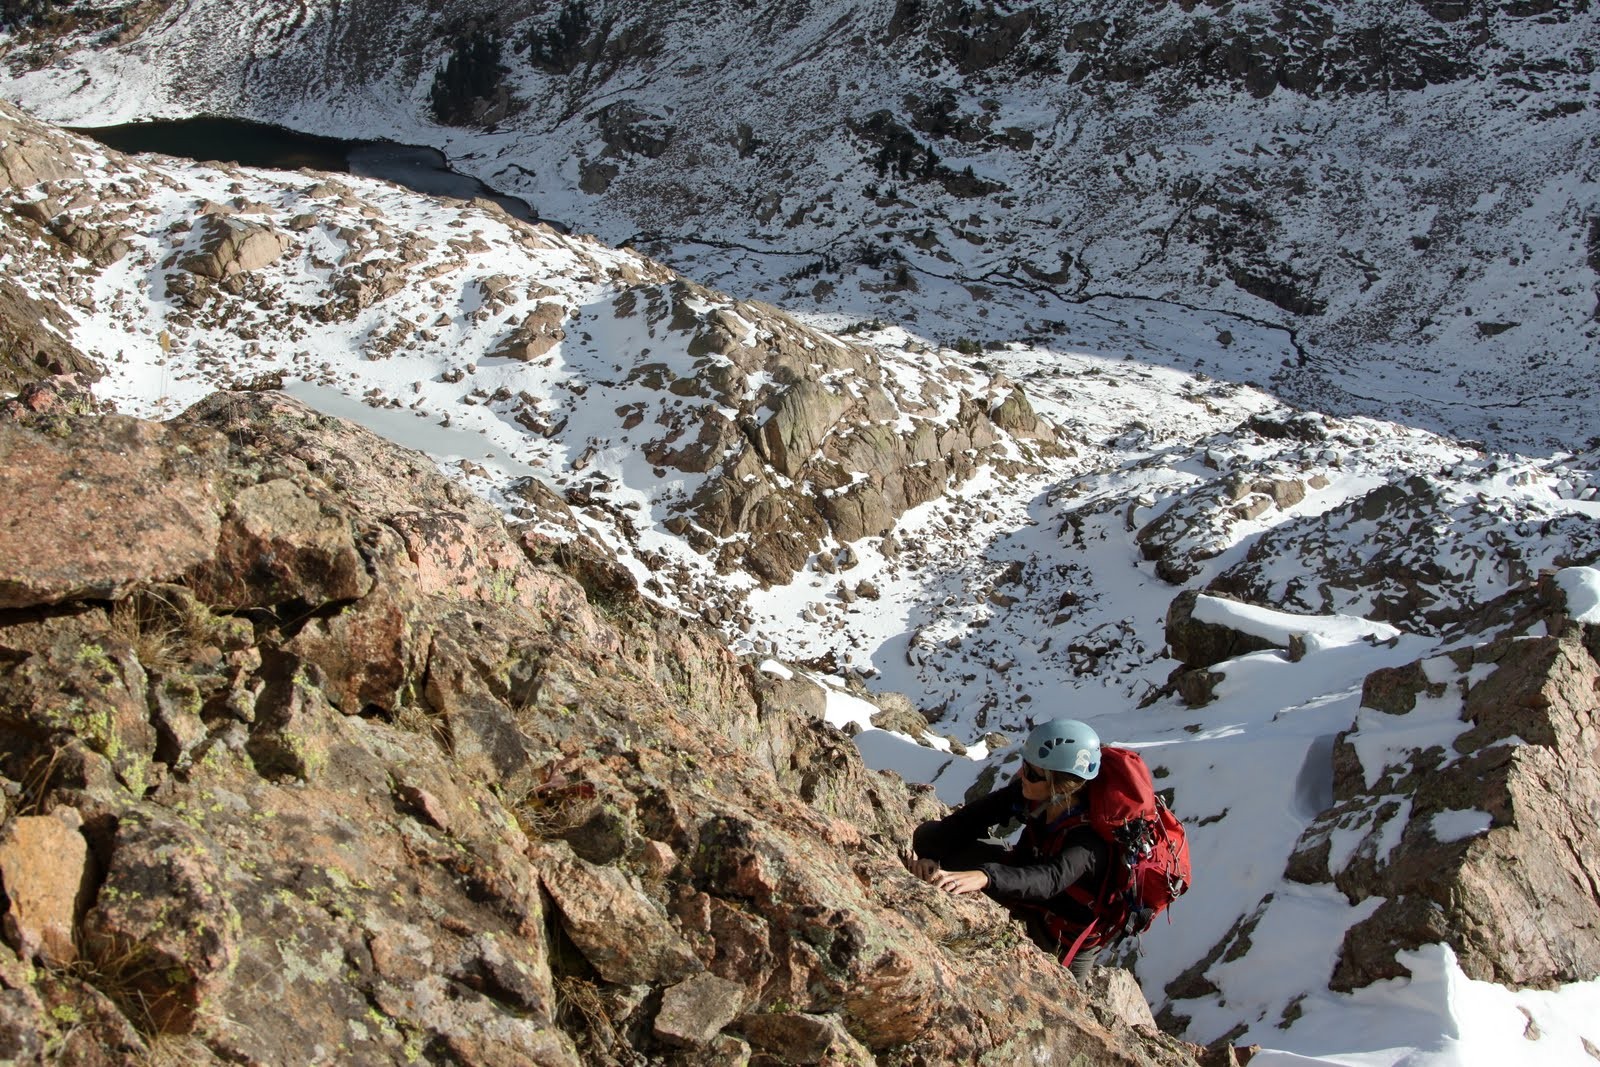
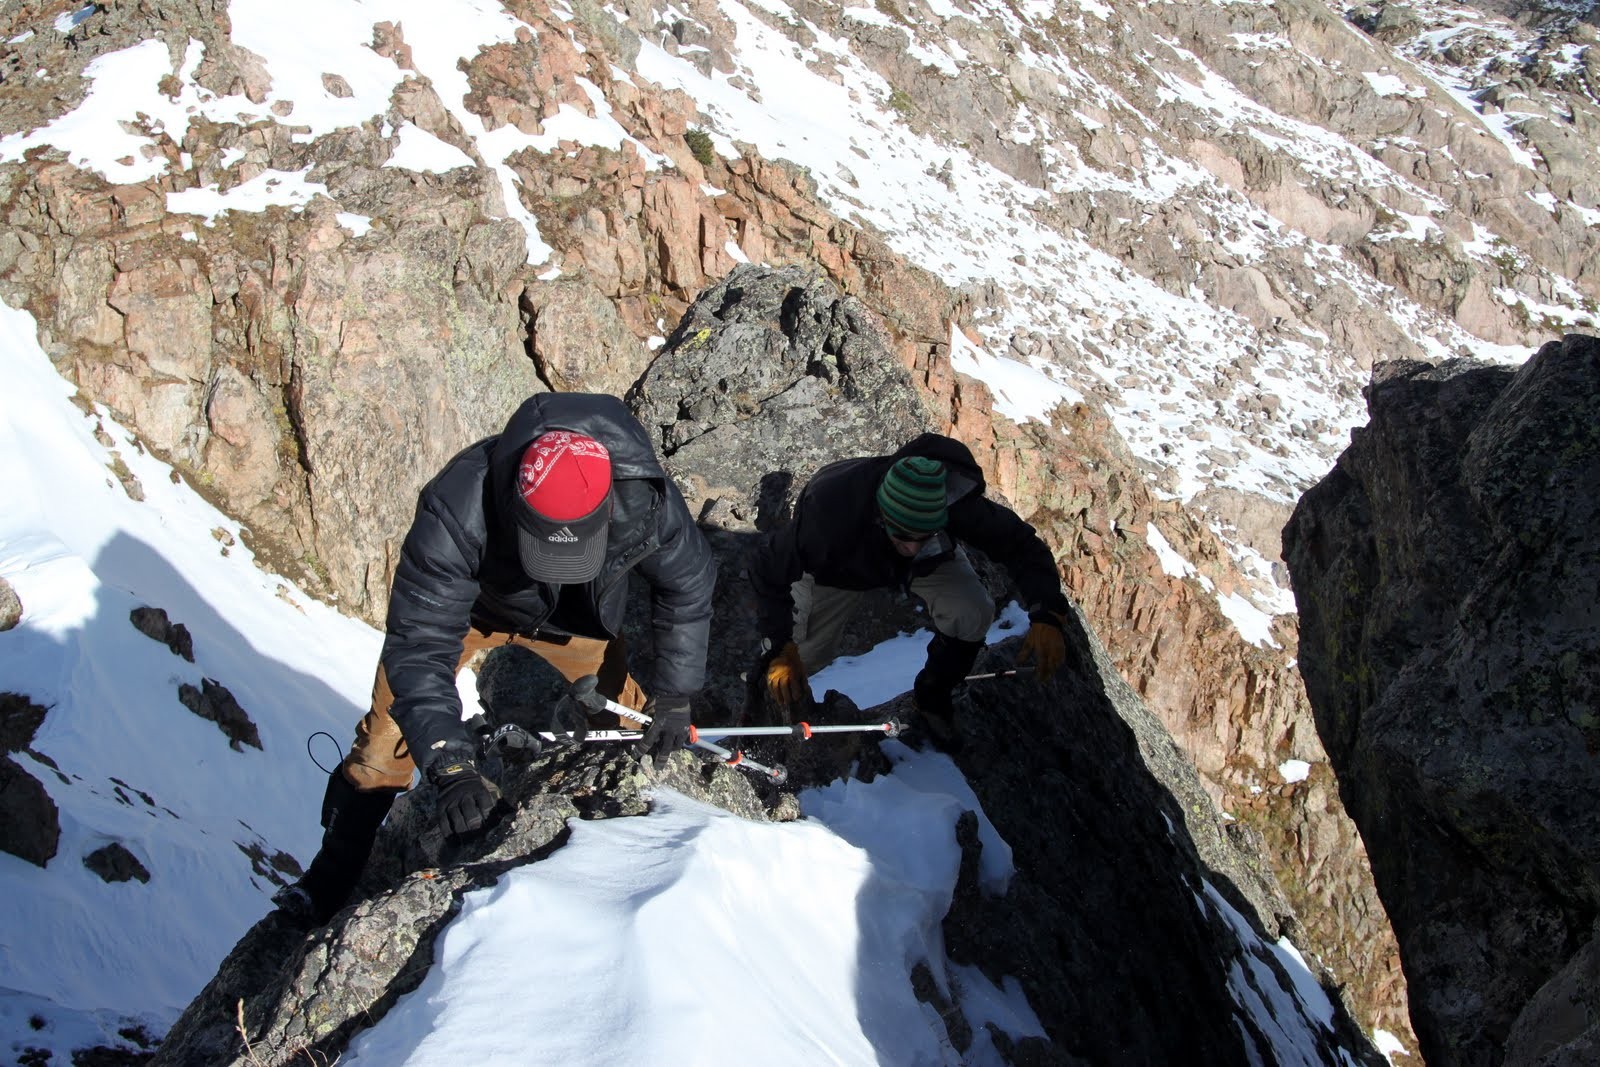
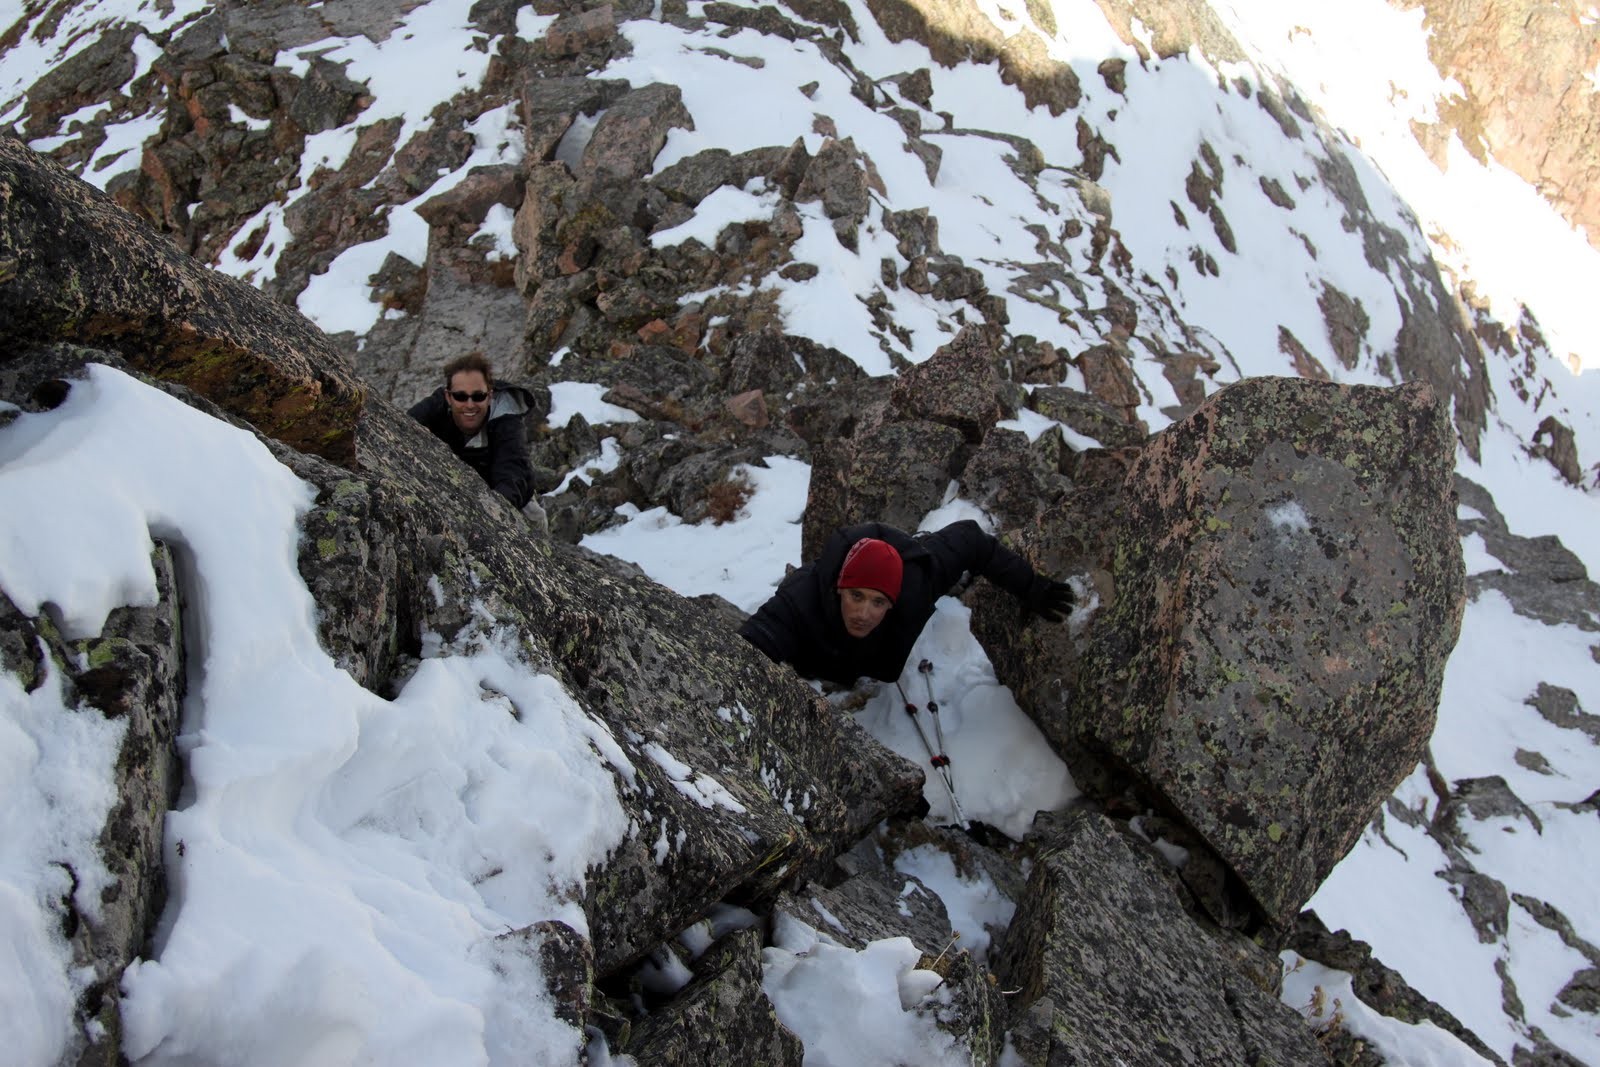
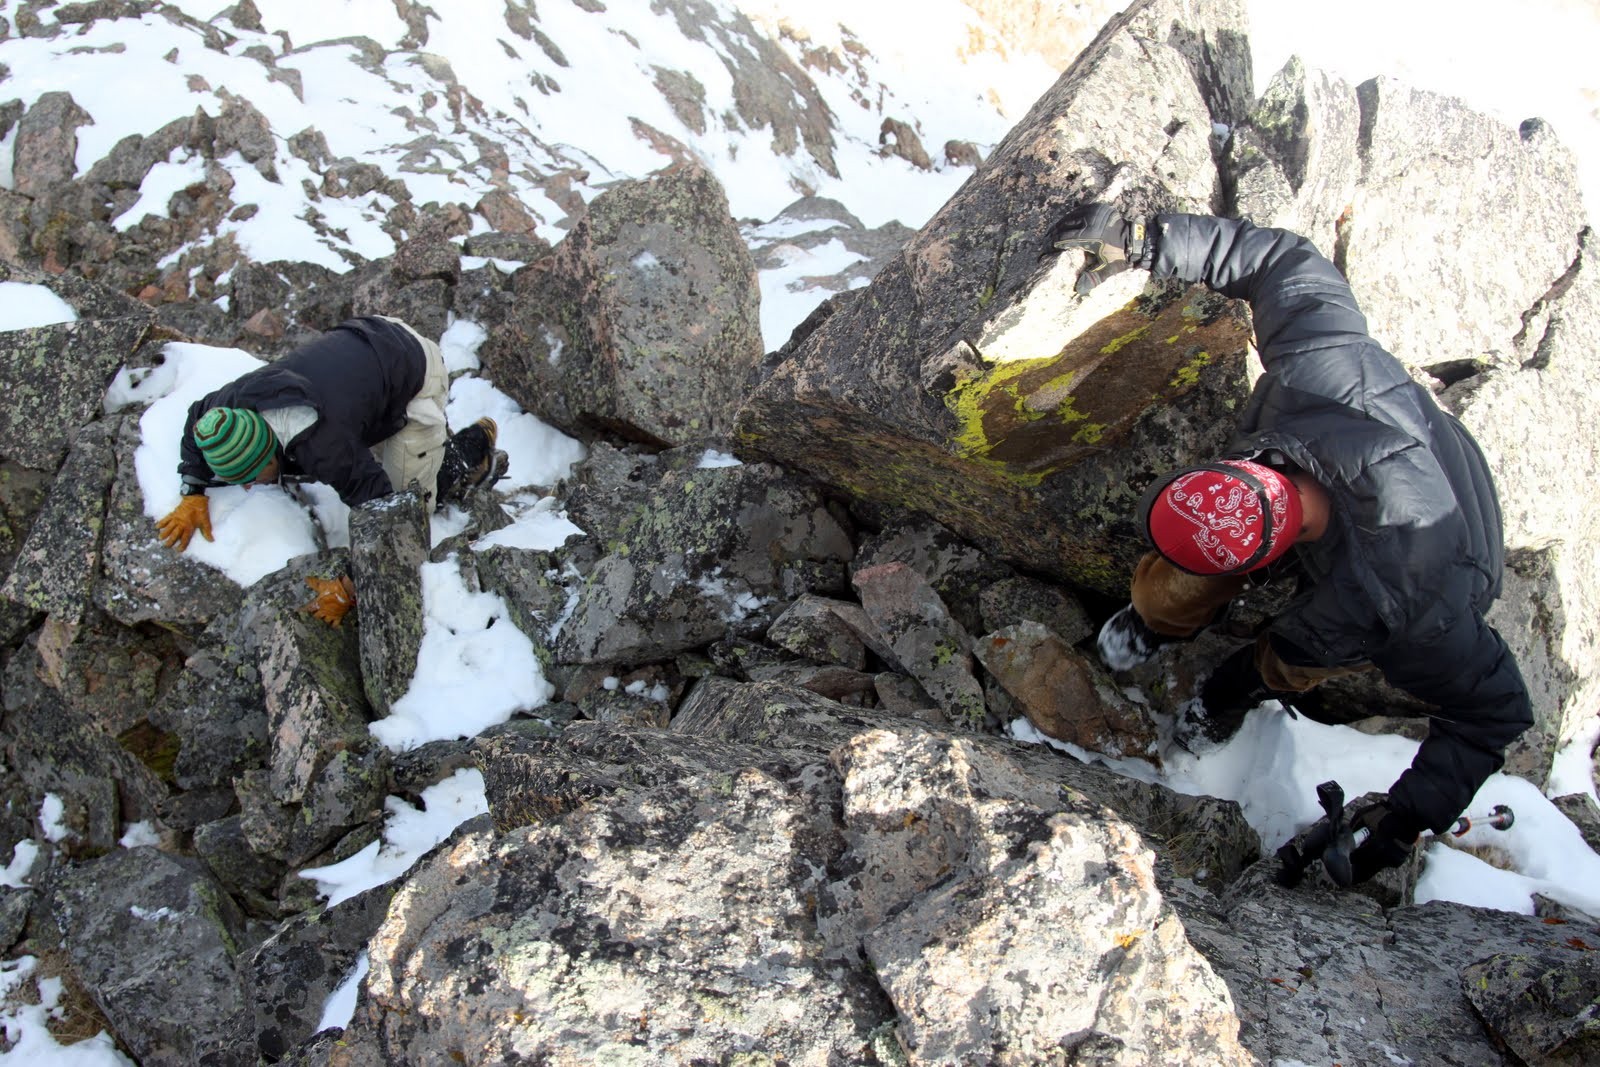
This is where Derek, me, and our crew got all turned around 6 years ago. However, I knew the route now much better and the climbing from here on out went like clockwork. We ascended a short (maybe 10′) 5.2 crux to enter the steep gully immediately to the south of the Black Gendarme. After some class 3 climbing up the gully to the notch where we could peer 2,500′ down to Upper South Colony Lake, we hopped on an exposed but short knife-edge ridge to access the class 3 Z-ledges (named so because of the zig-zag nature) which eventually led up to the final class 4 summit pitch. These ledges consisted of pretty fun scrambling and were definitely much mellower than they appear from down below the Black Gendarme. Everyone was doing extemely well and all making good time.
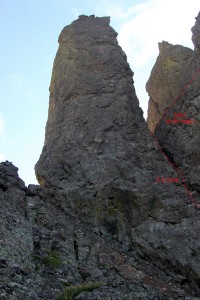
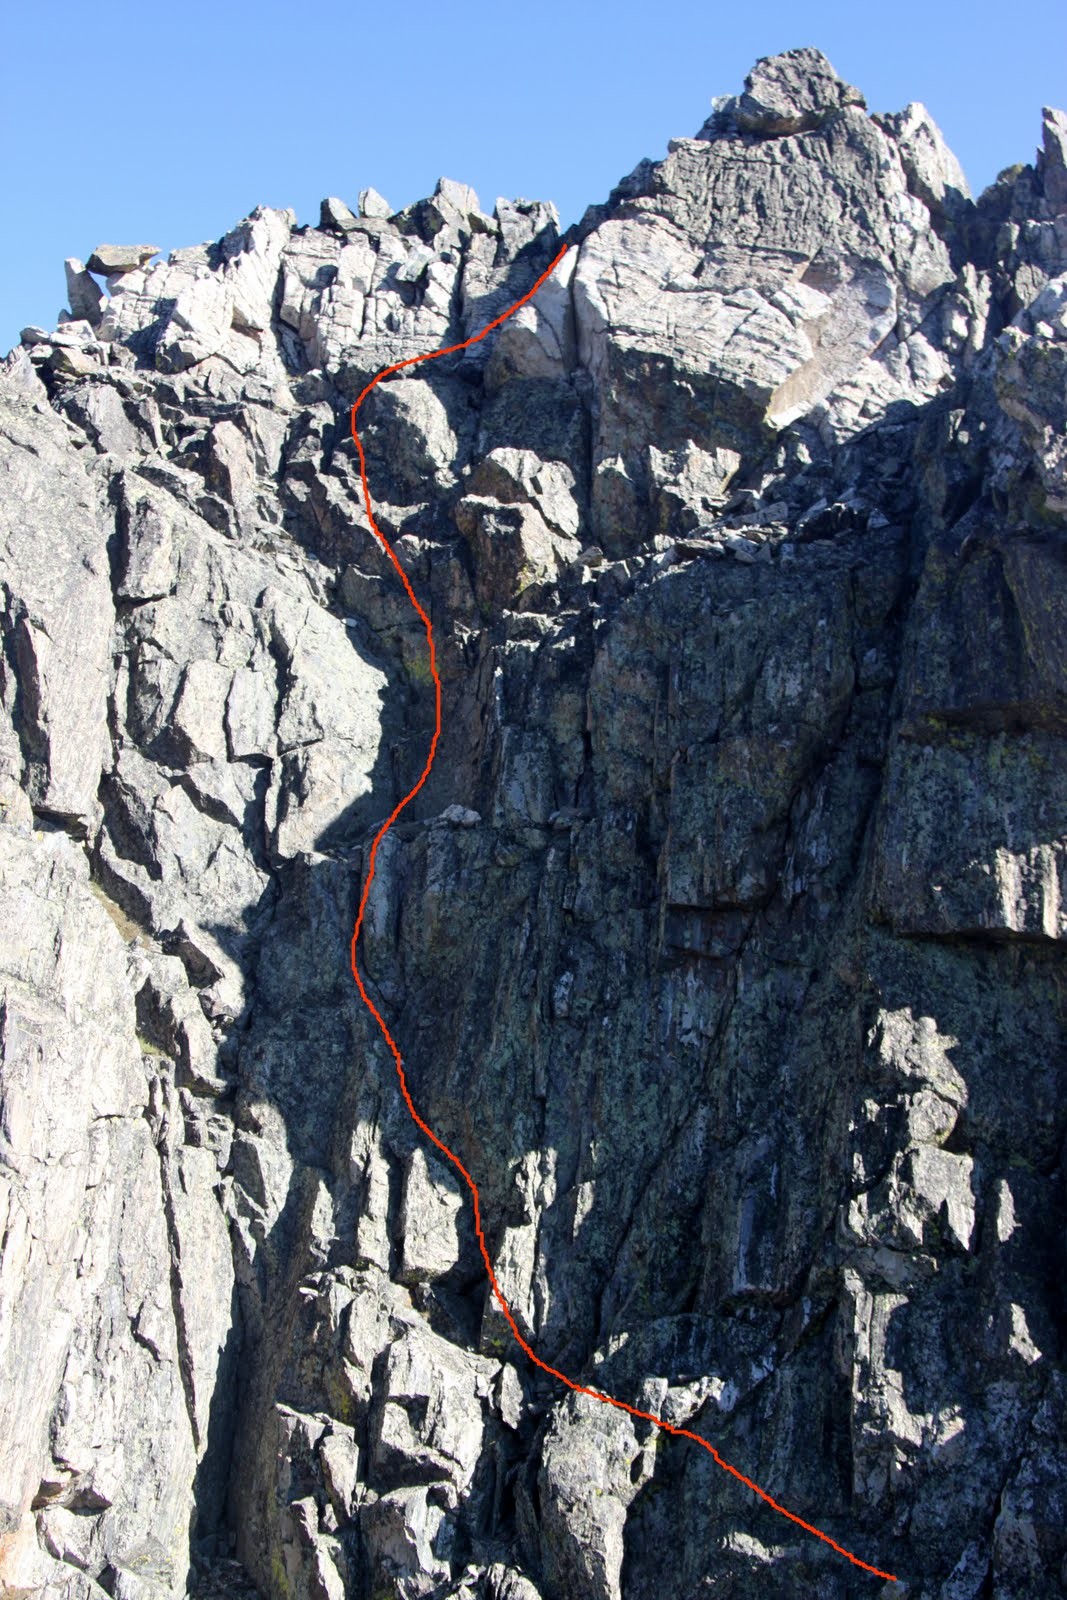
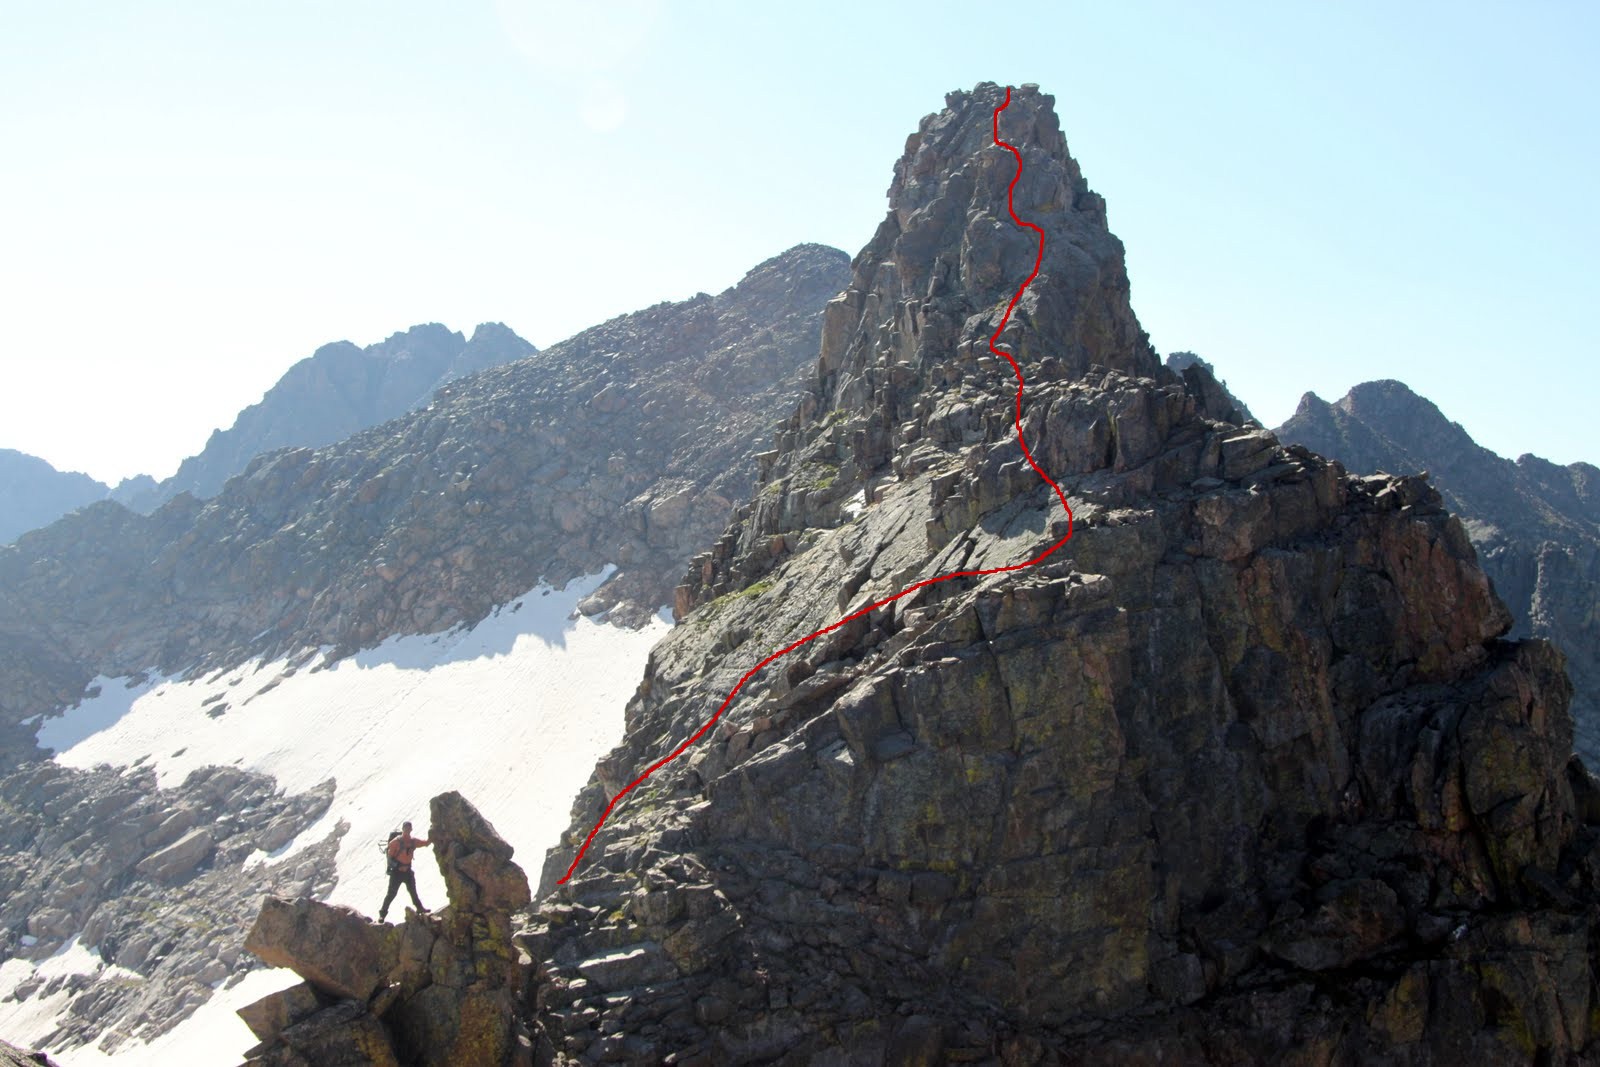
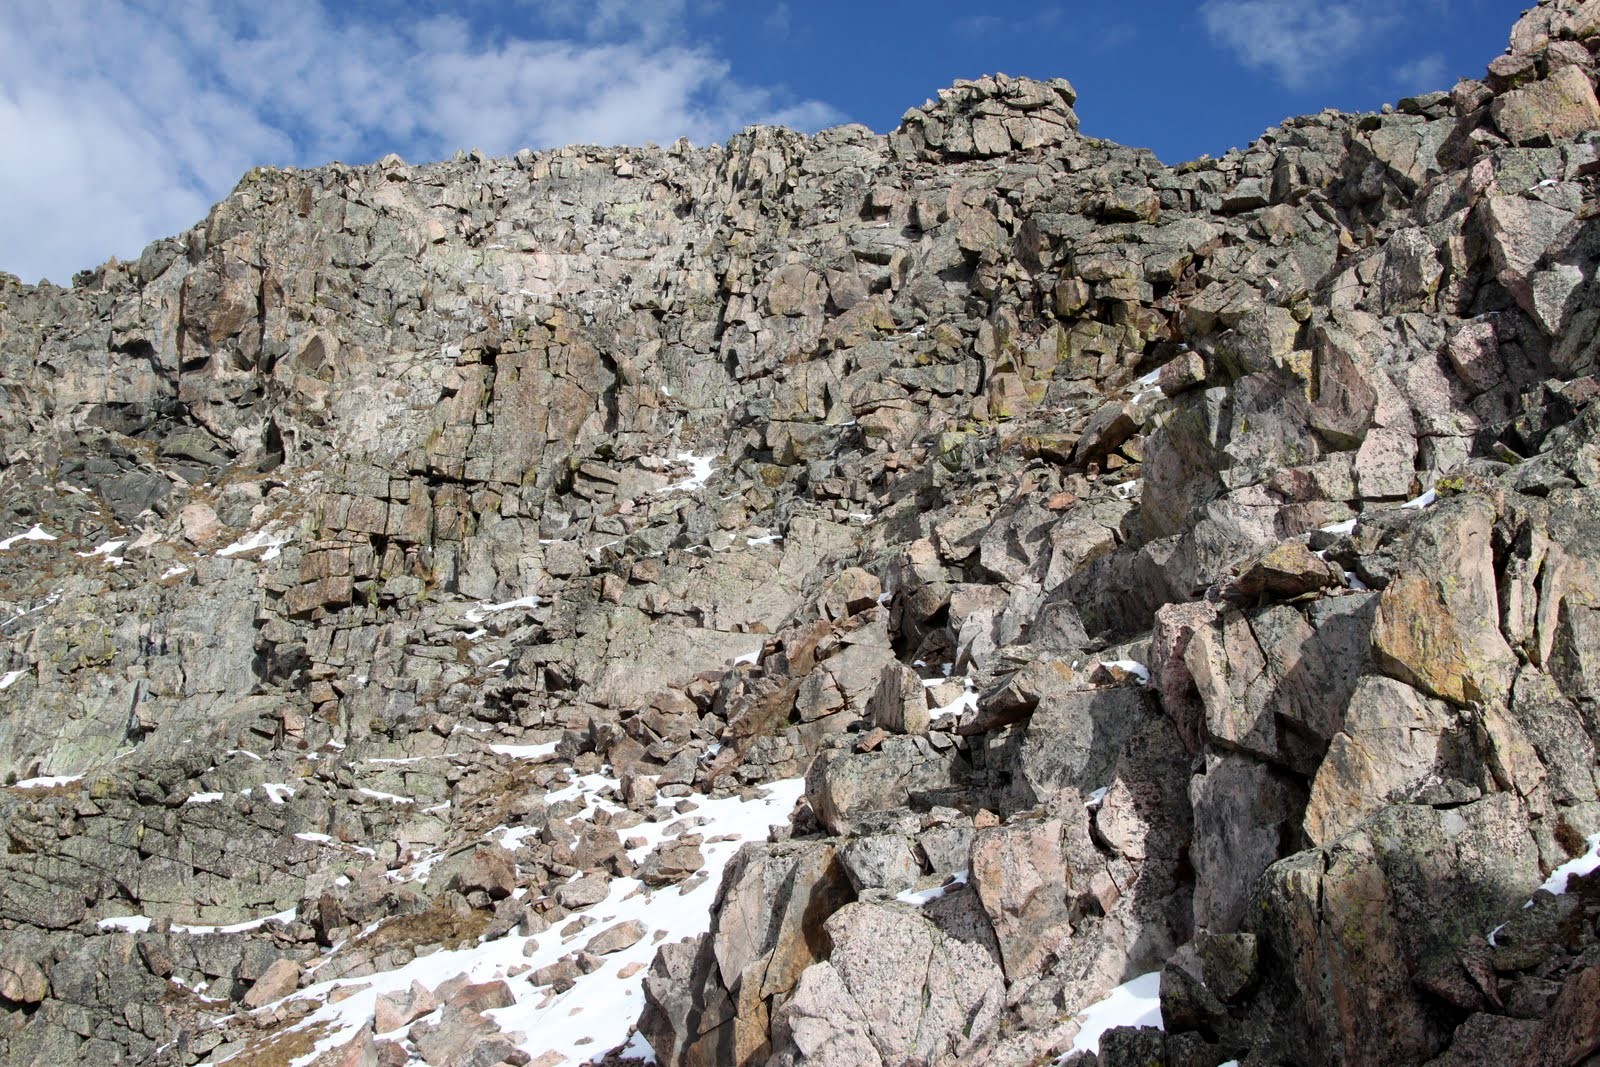
The Black Gendarme which begins Crestone Needle’s north ridge. The 5.2 technical crux is shown to the Black Gendarme’s right (south) followed by a class 3 climb up the gully to a mini knife-ridge
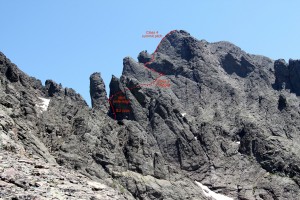
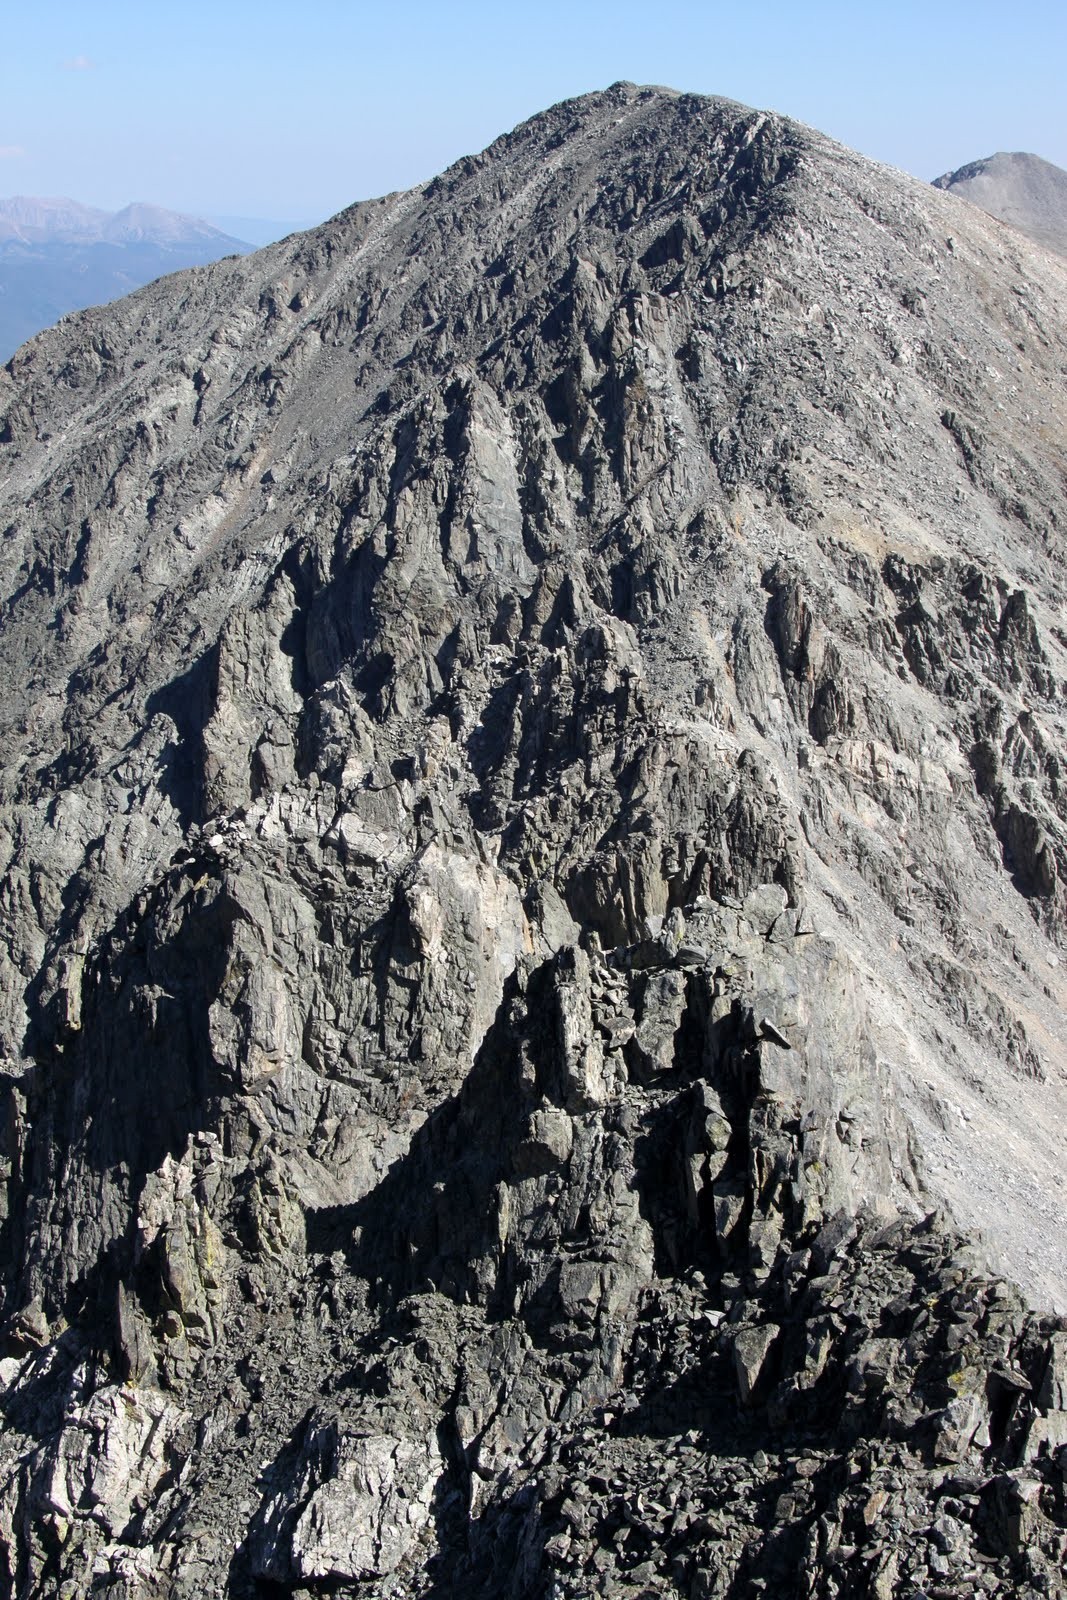
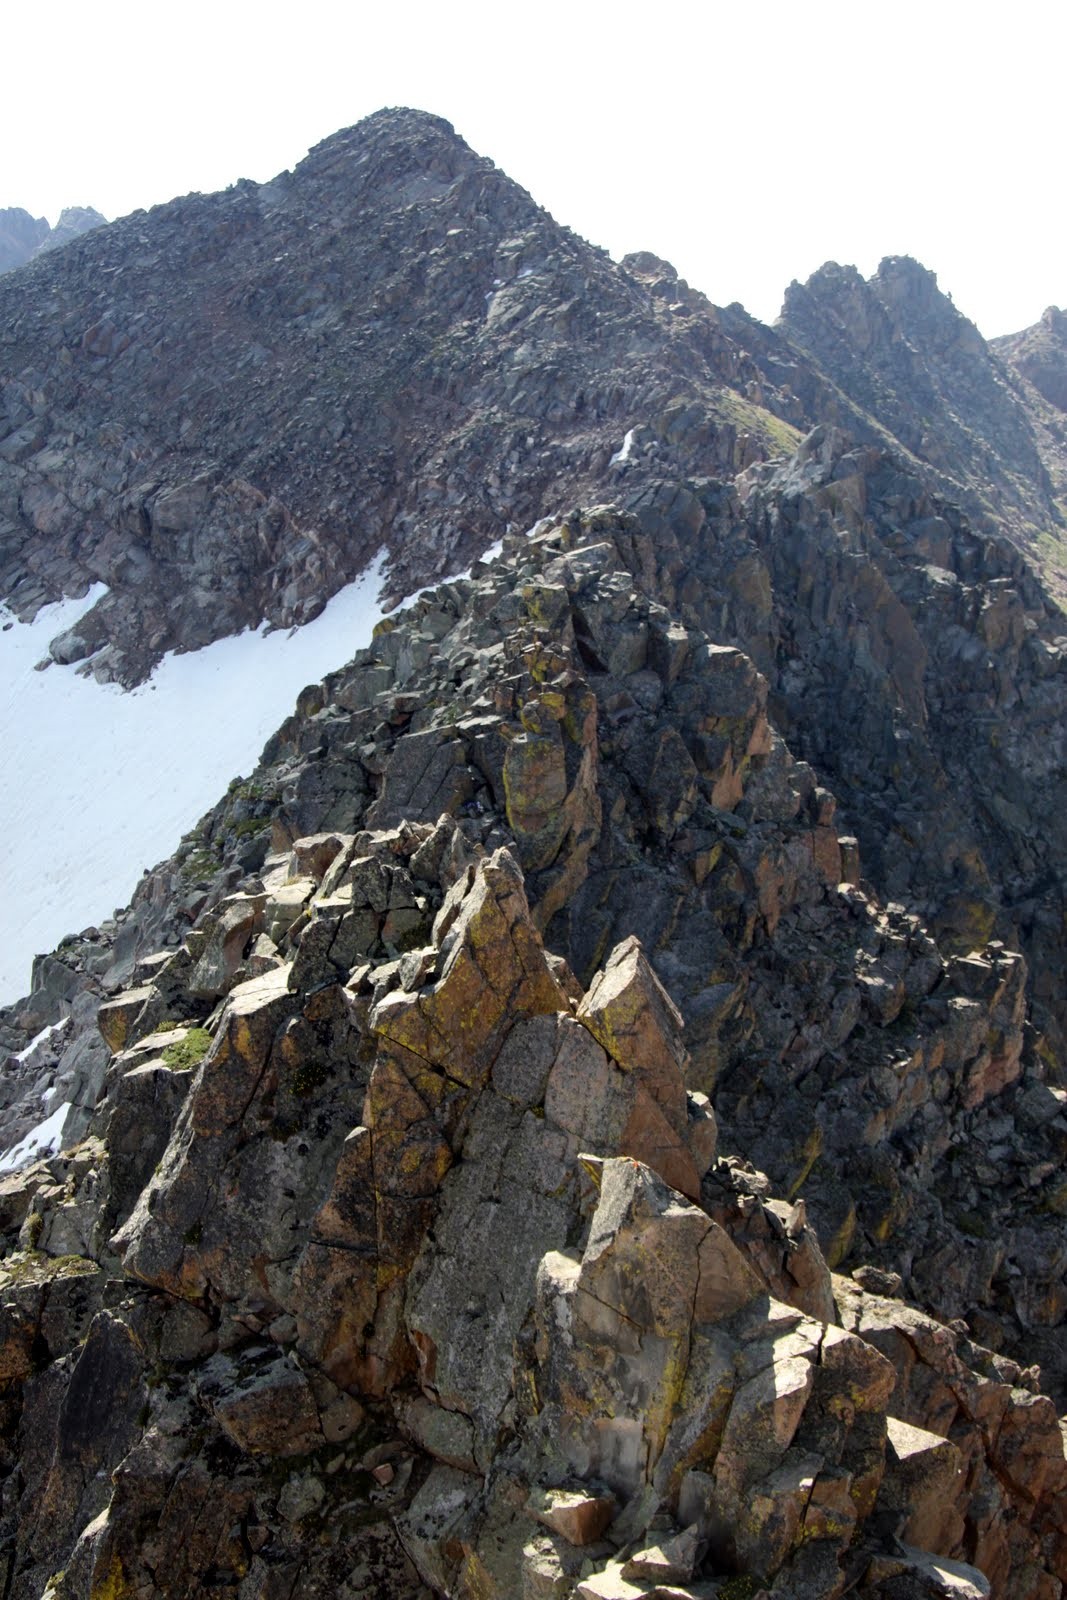
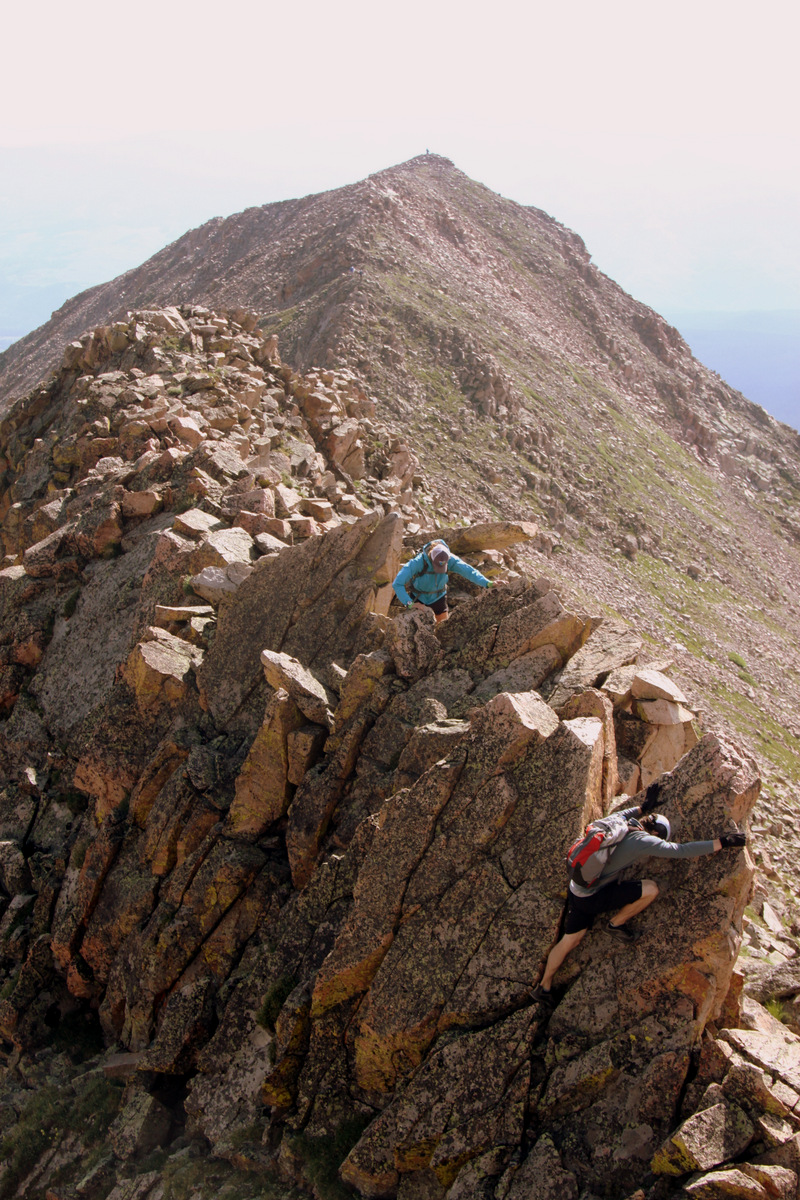
The final 500′ up to Crestone Needle on the Crestone Traverse (picture taken back in July 2009)
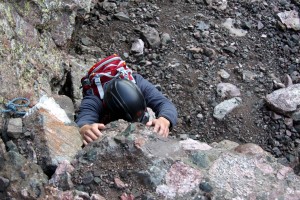
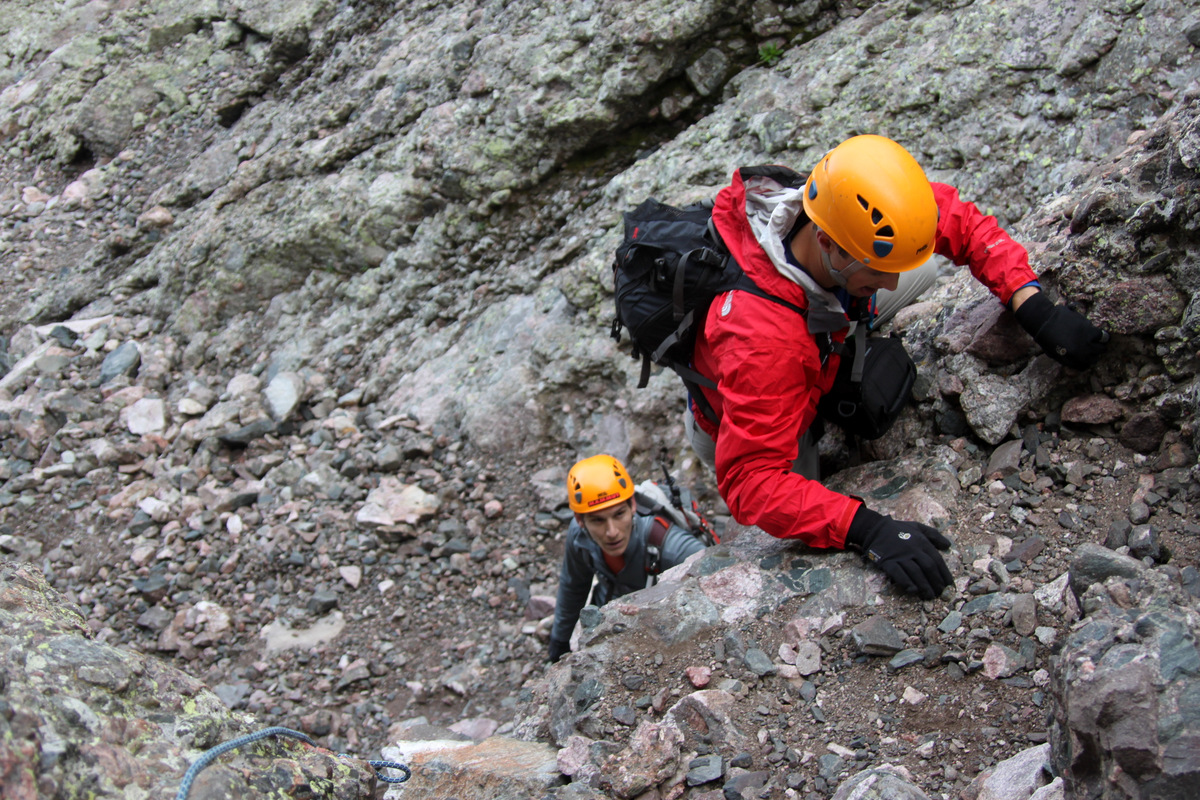
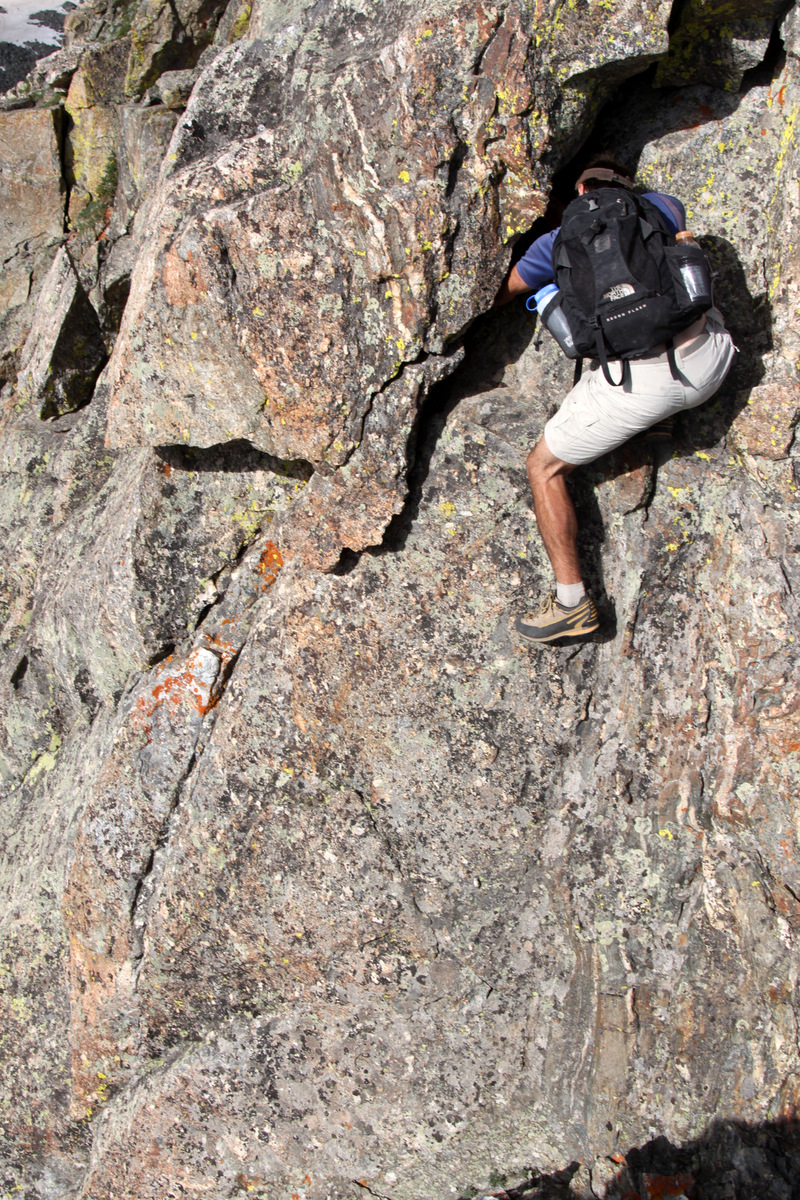
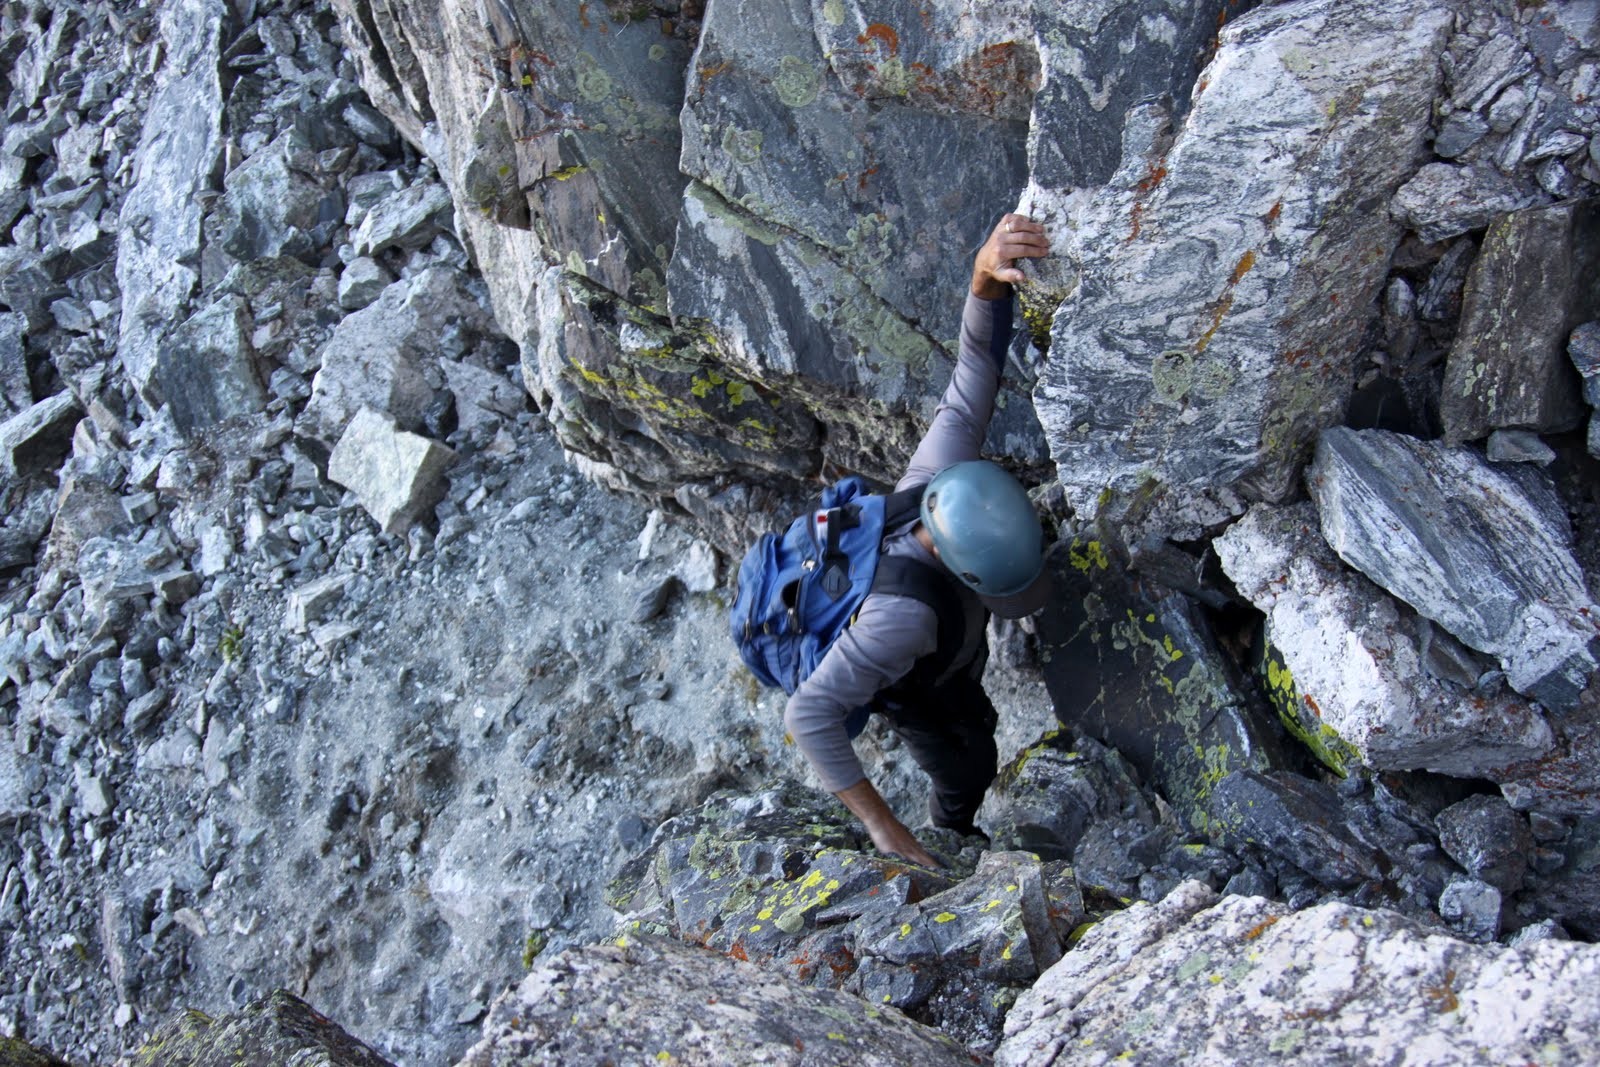
Mike ascending the 5.2 technical crux of the traverse just to the south of the Black Gendarme

Though low 5th class, this crux is only about 10 ft

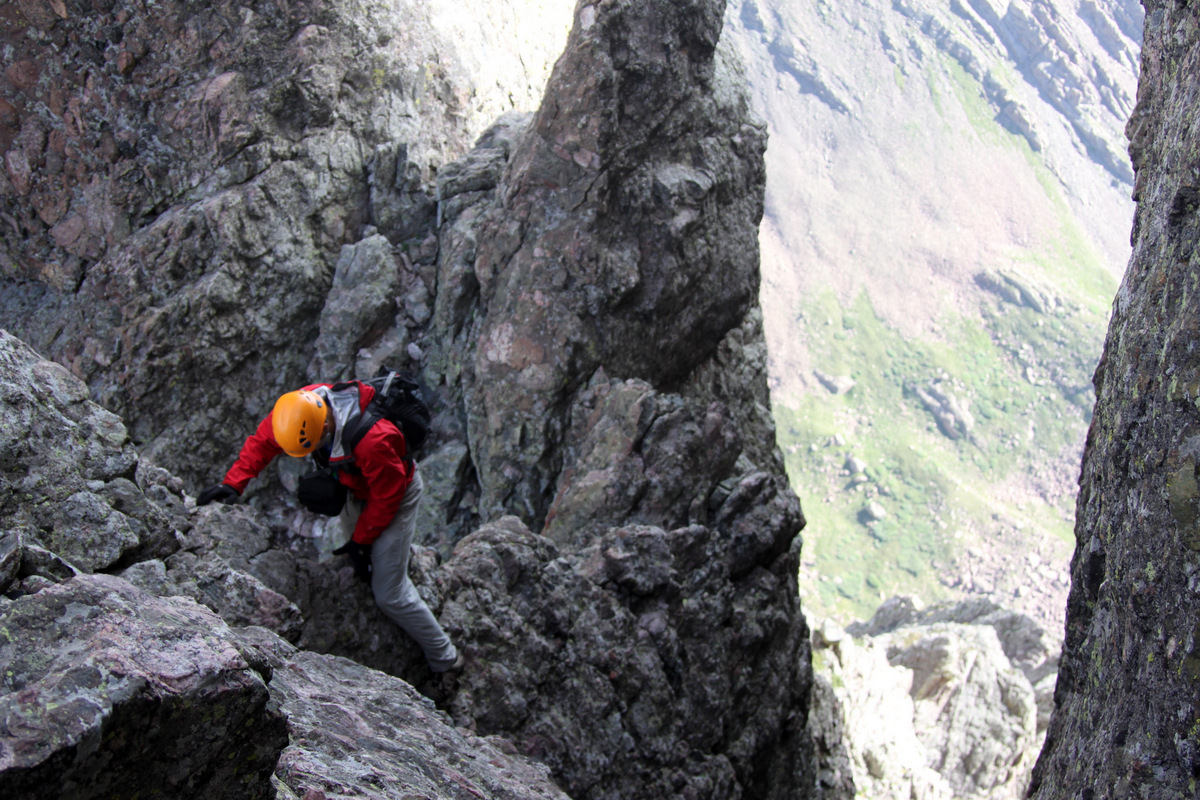
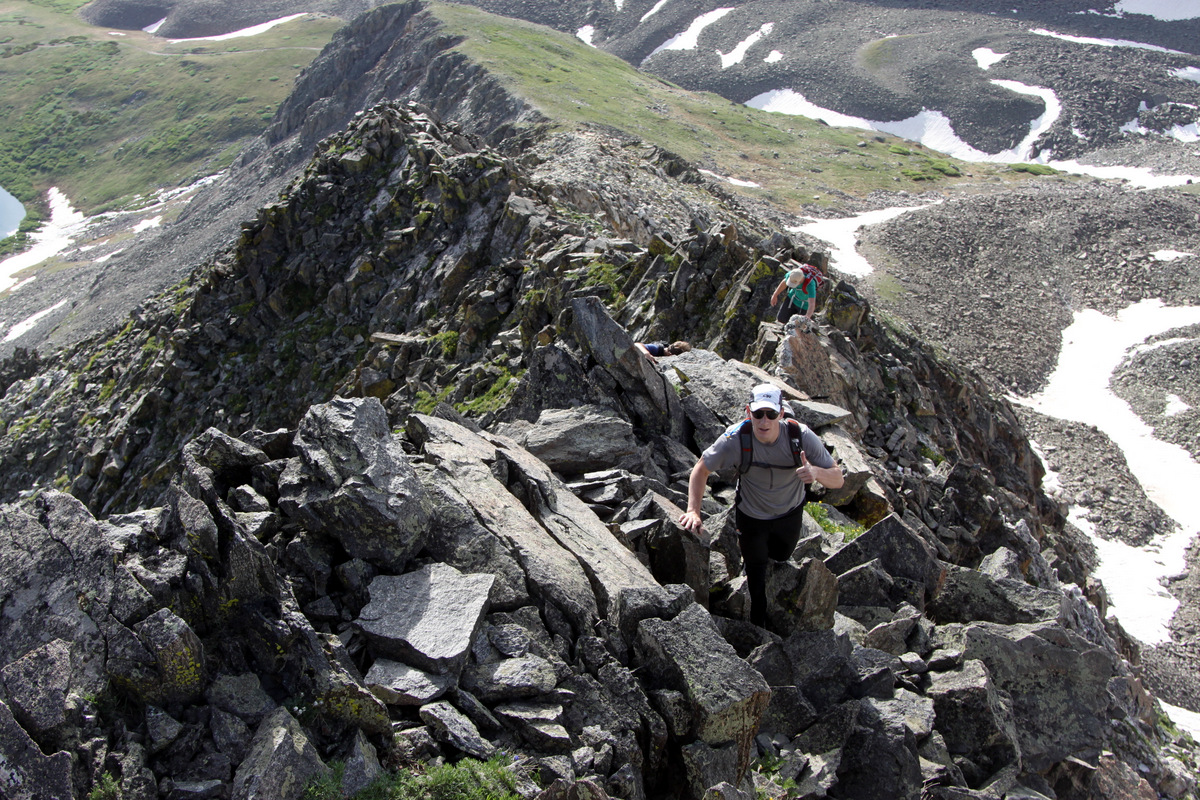
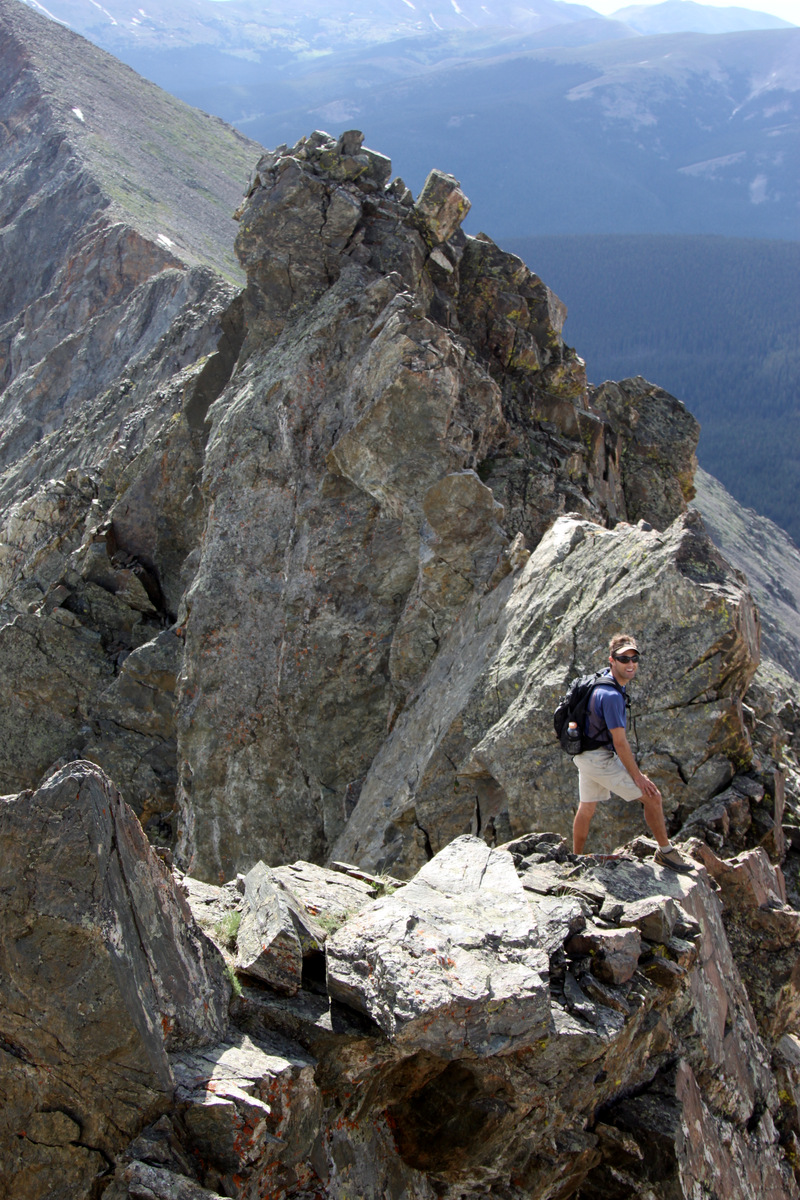
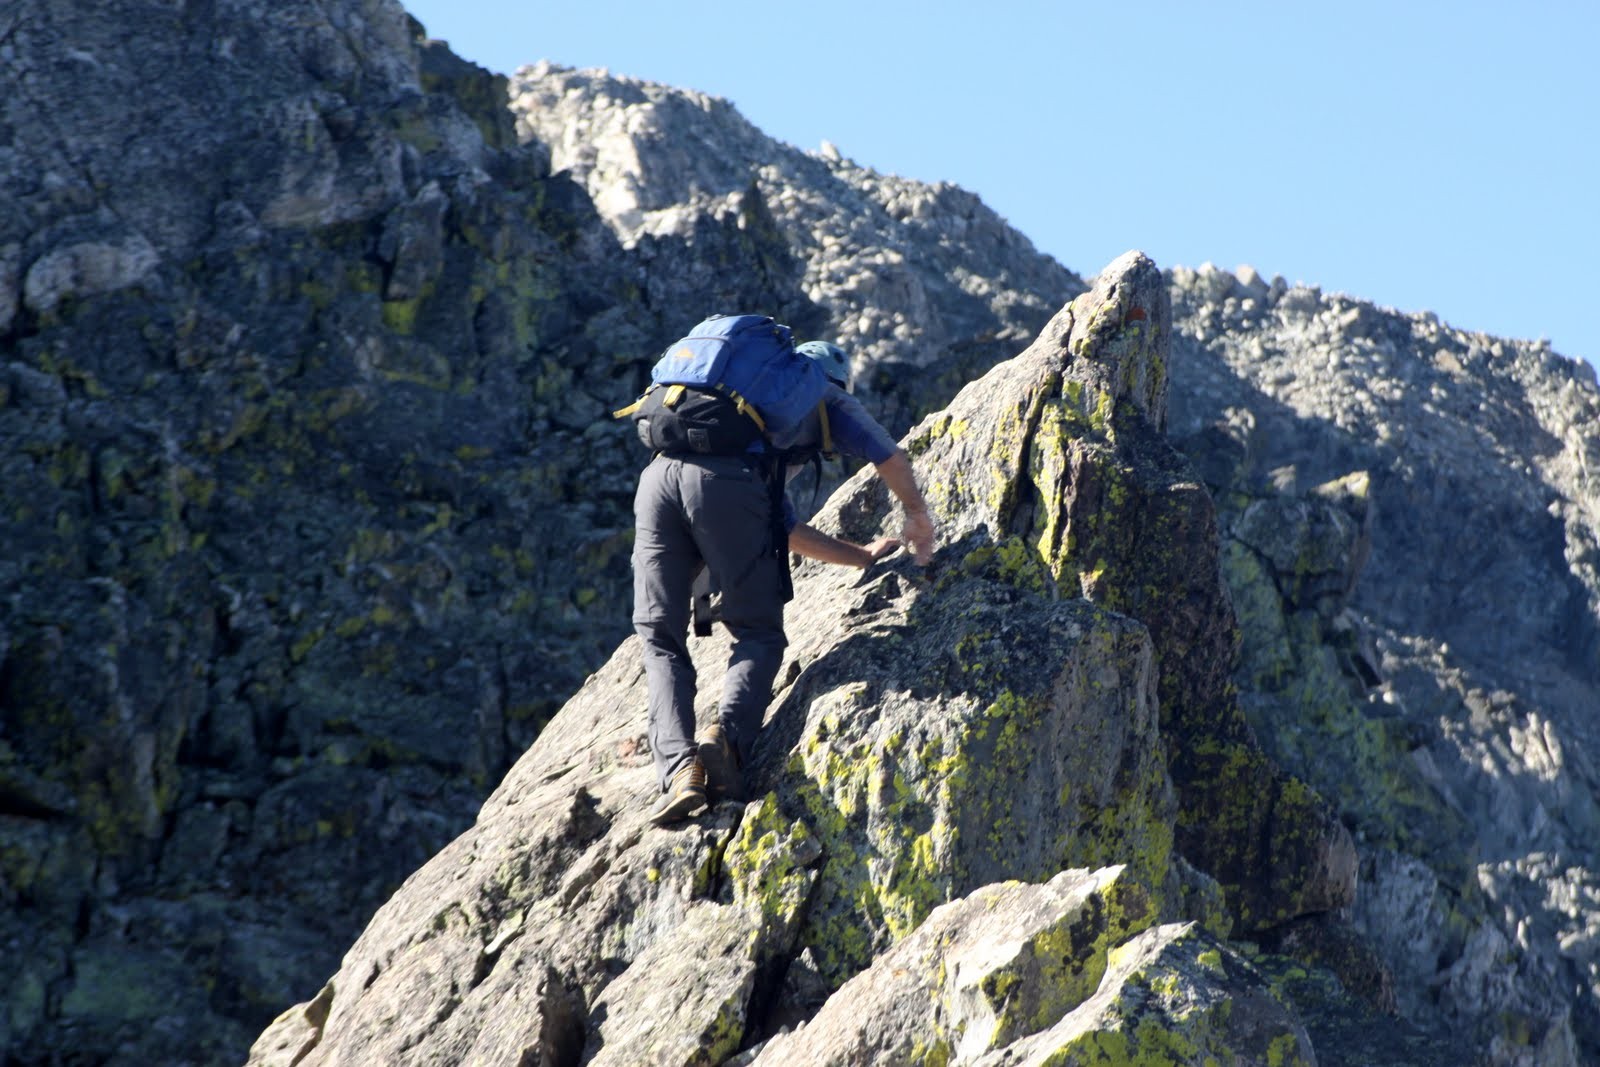
Derek showing us how its done on the mini knife-ridge

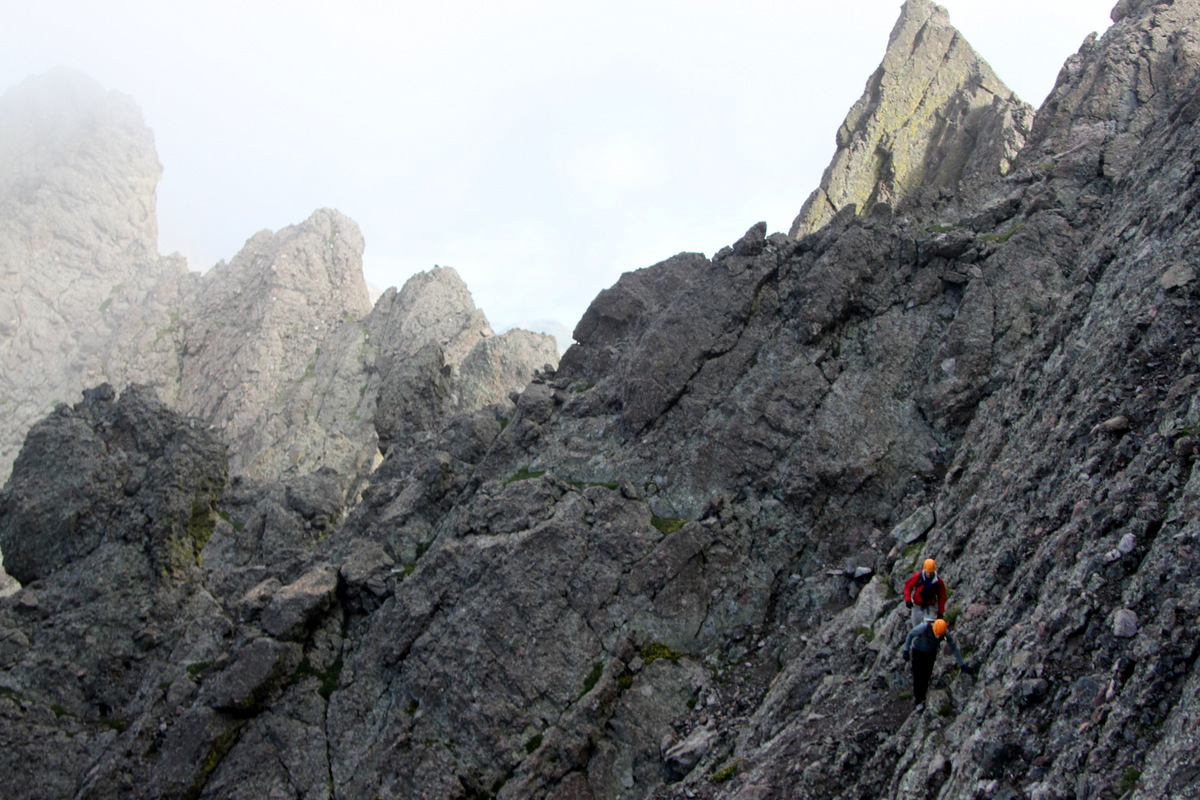
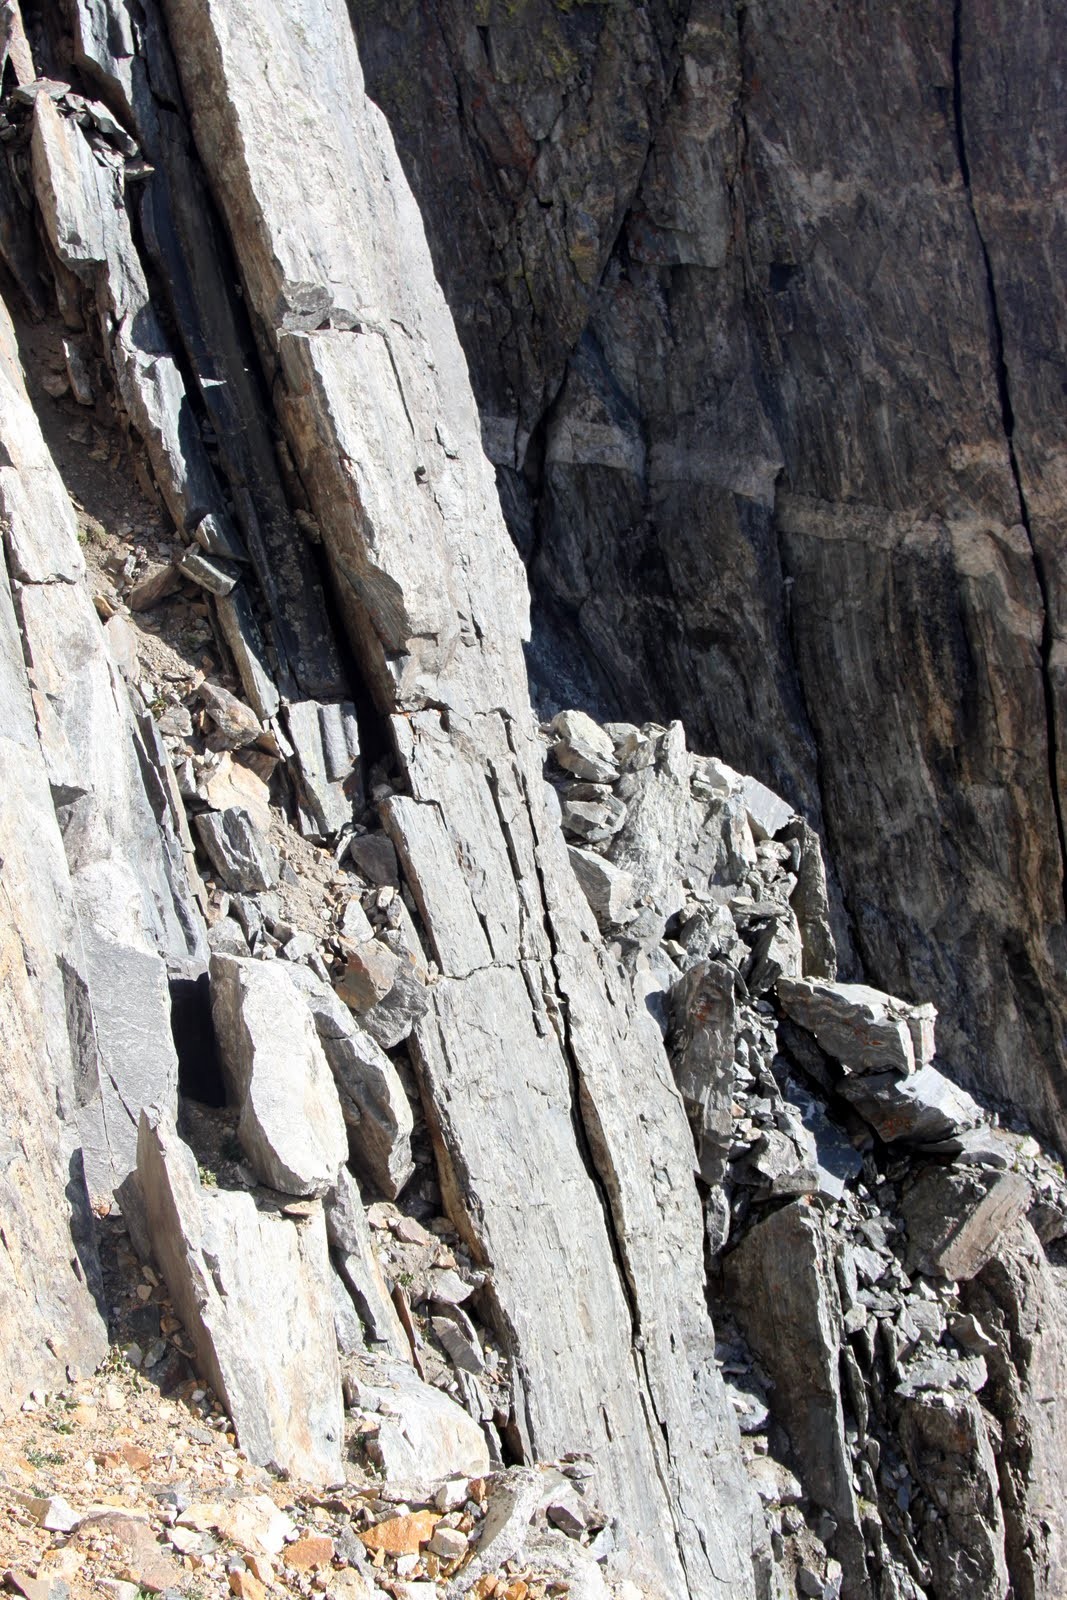
The class 3 Z-ledges
The Z-ledges are really fun class 3 climbing which spit you out at the base of the final class 4 headwall up to Crestone Needle’s summit via the north ridge
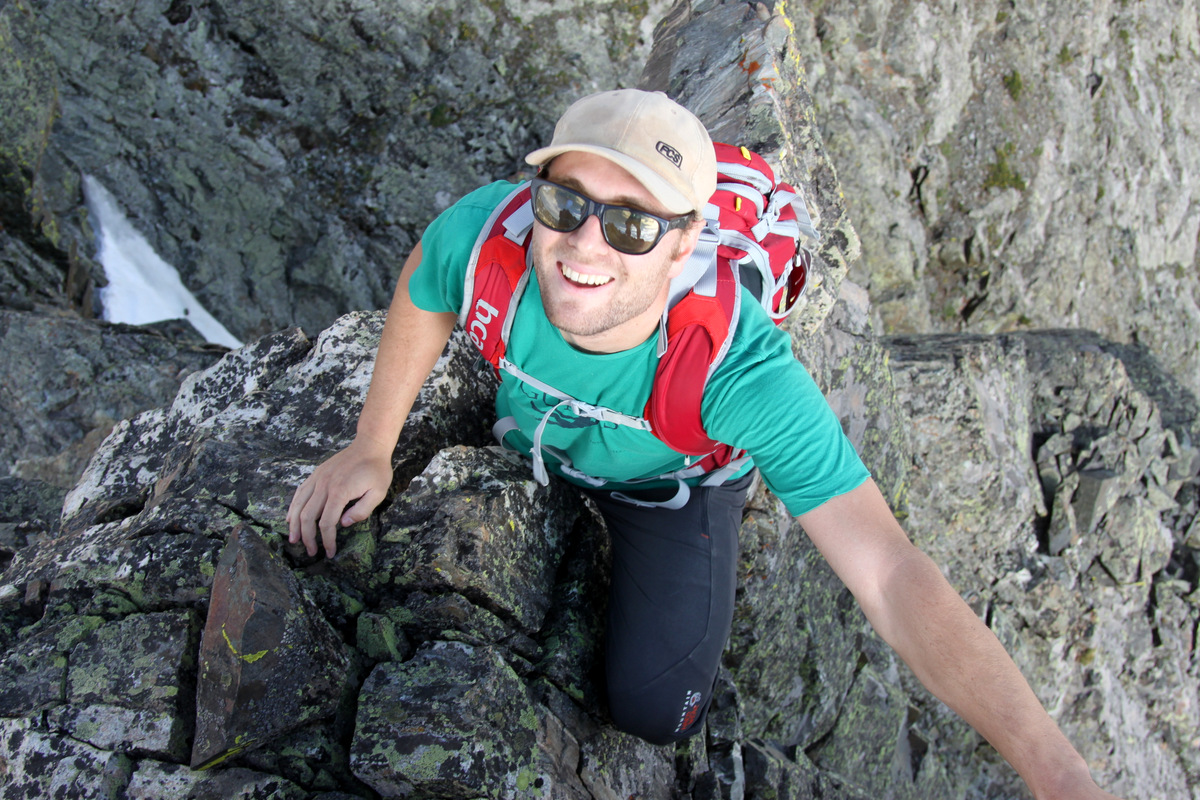
Mike loving the crestone conglomerate holds
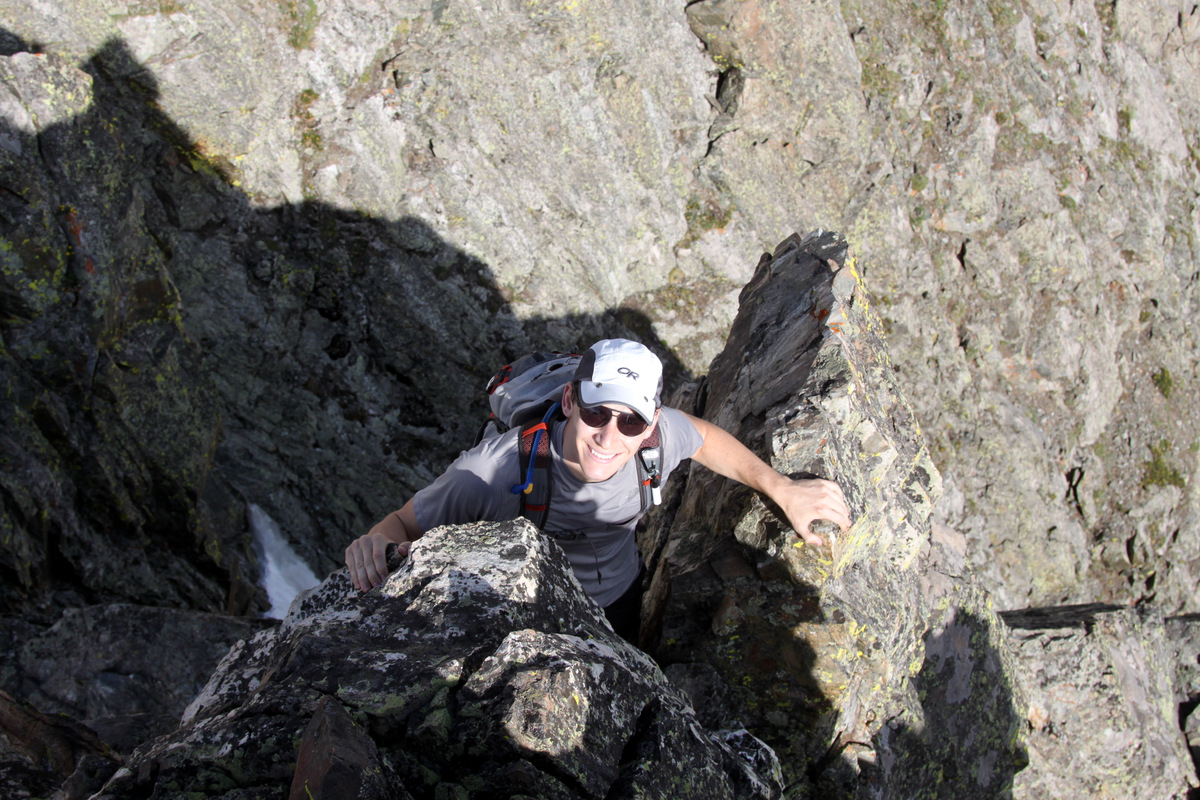
Derek enjoying the scrambling
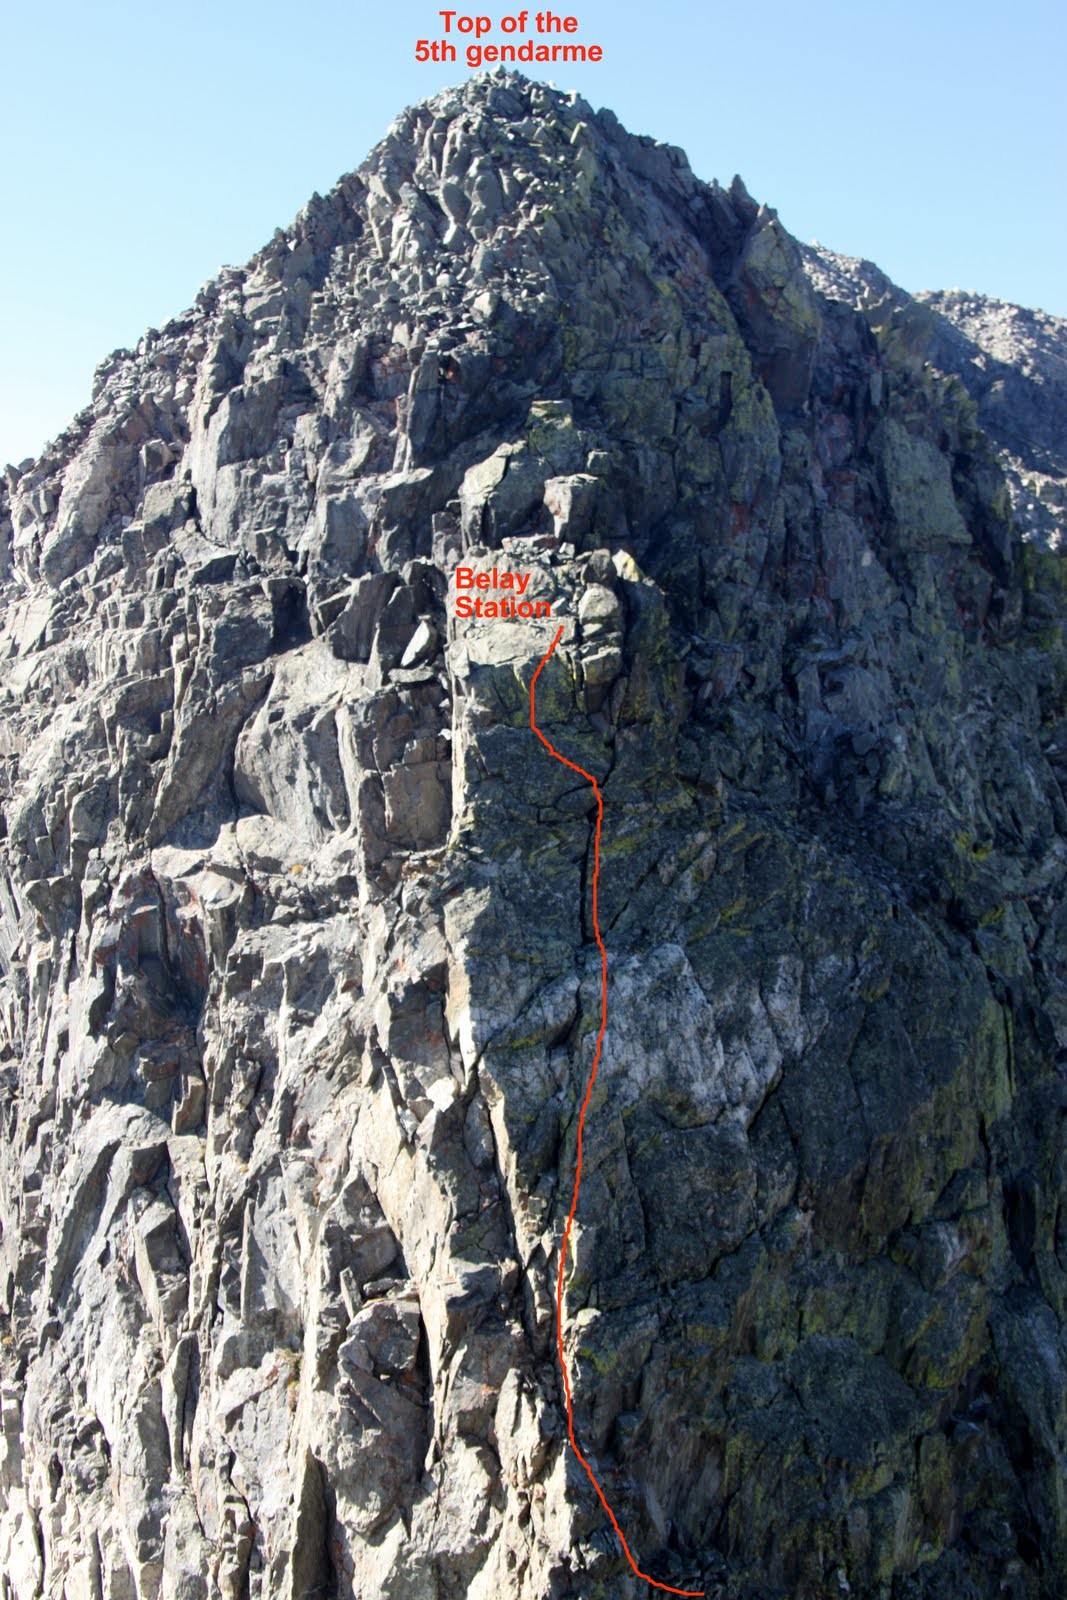
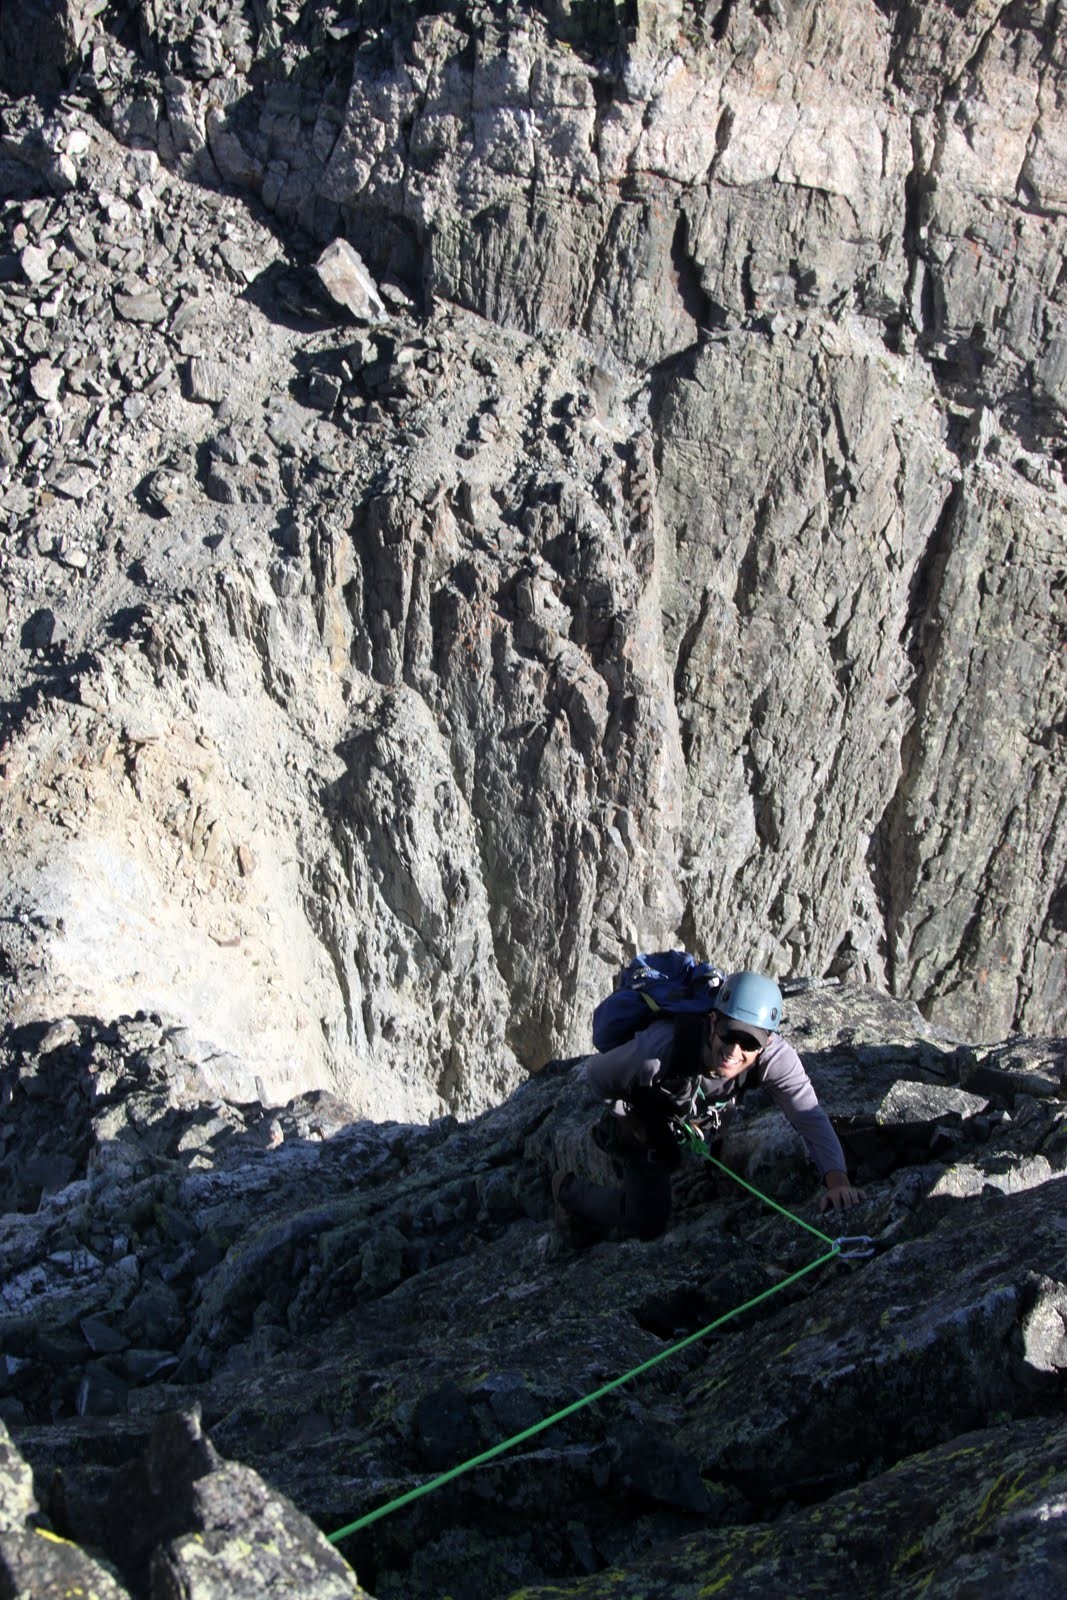
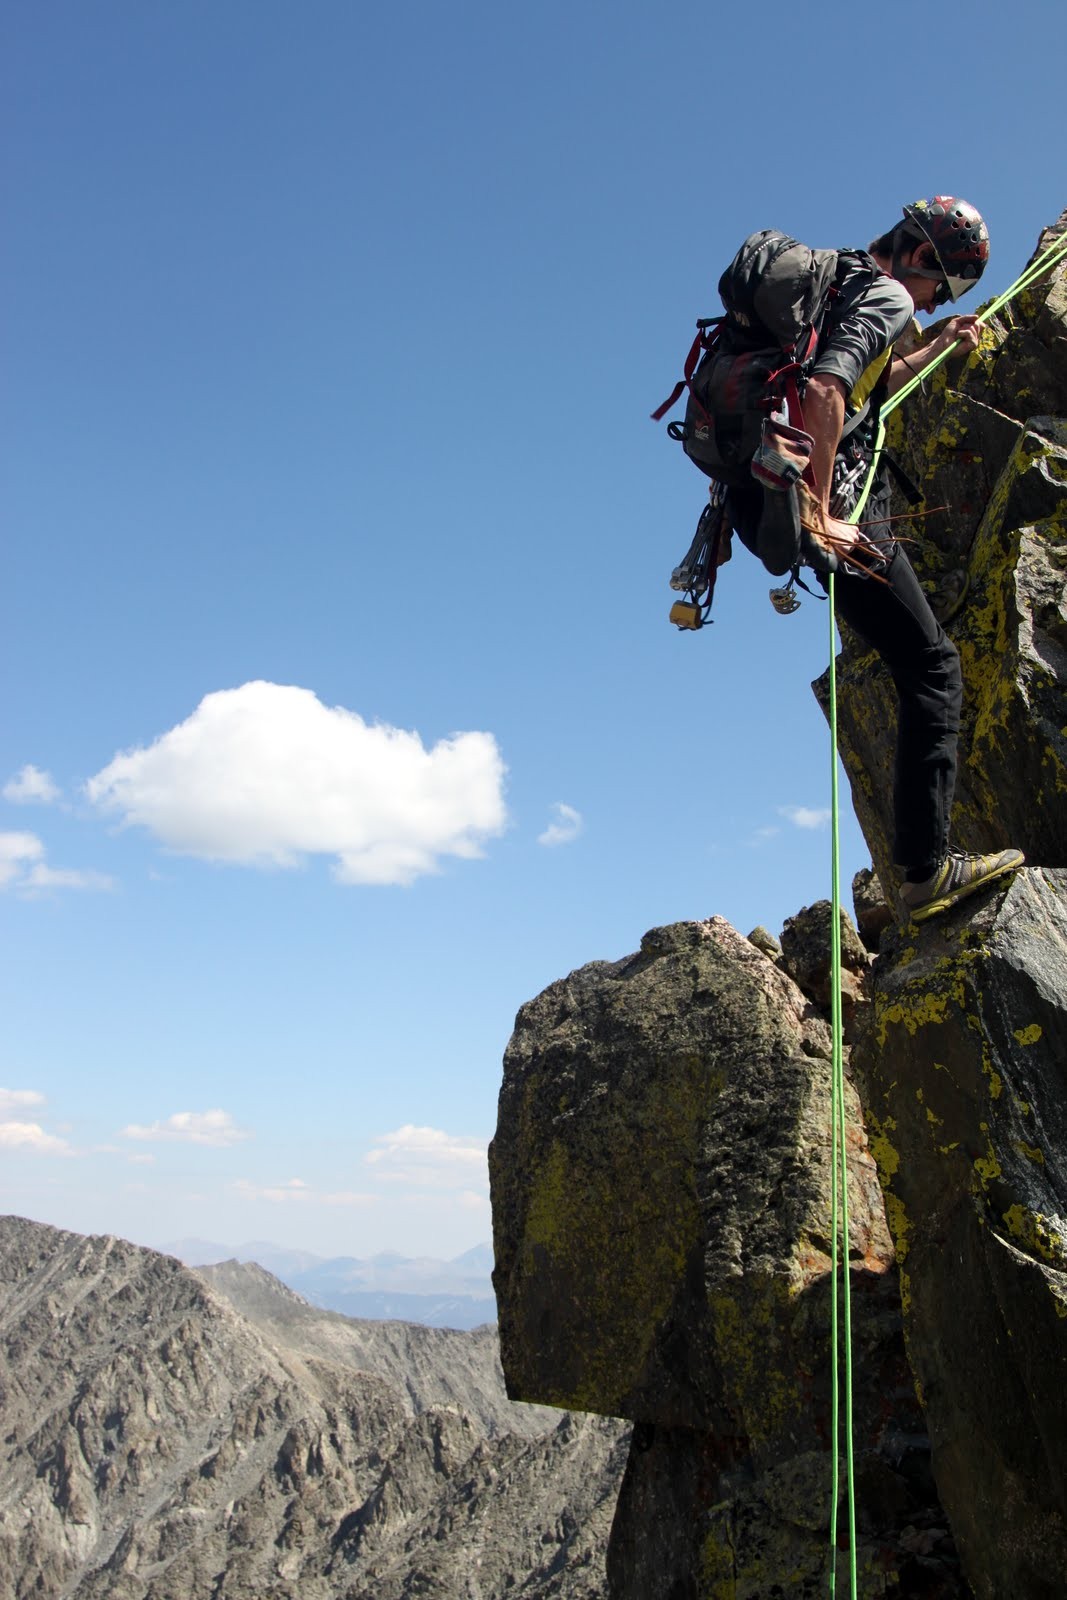
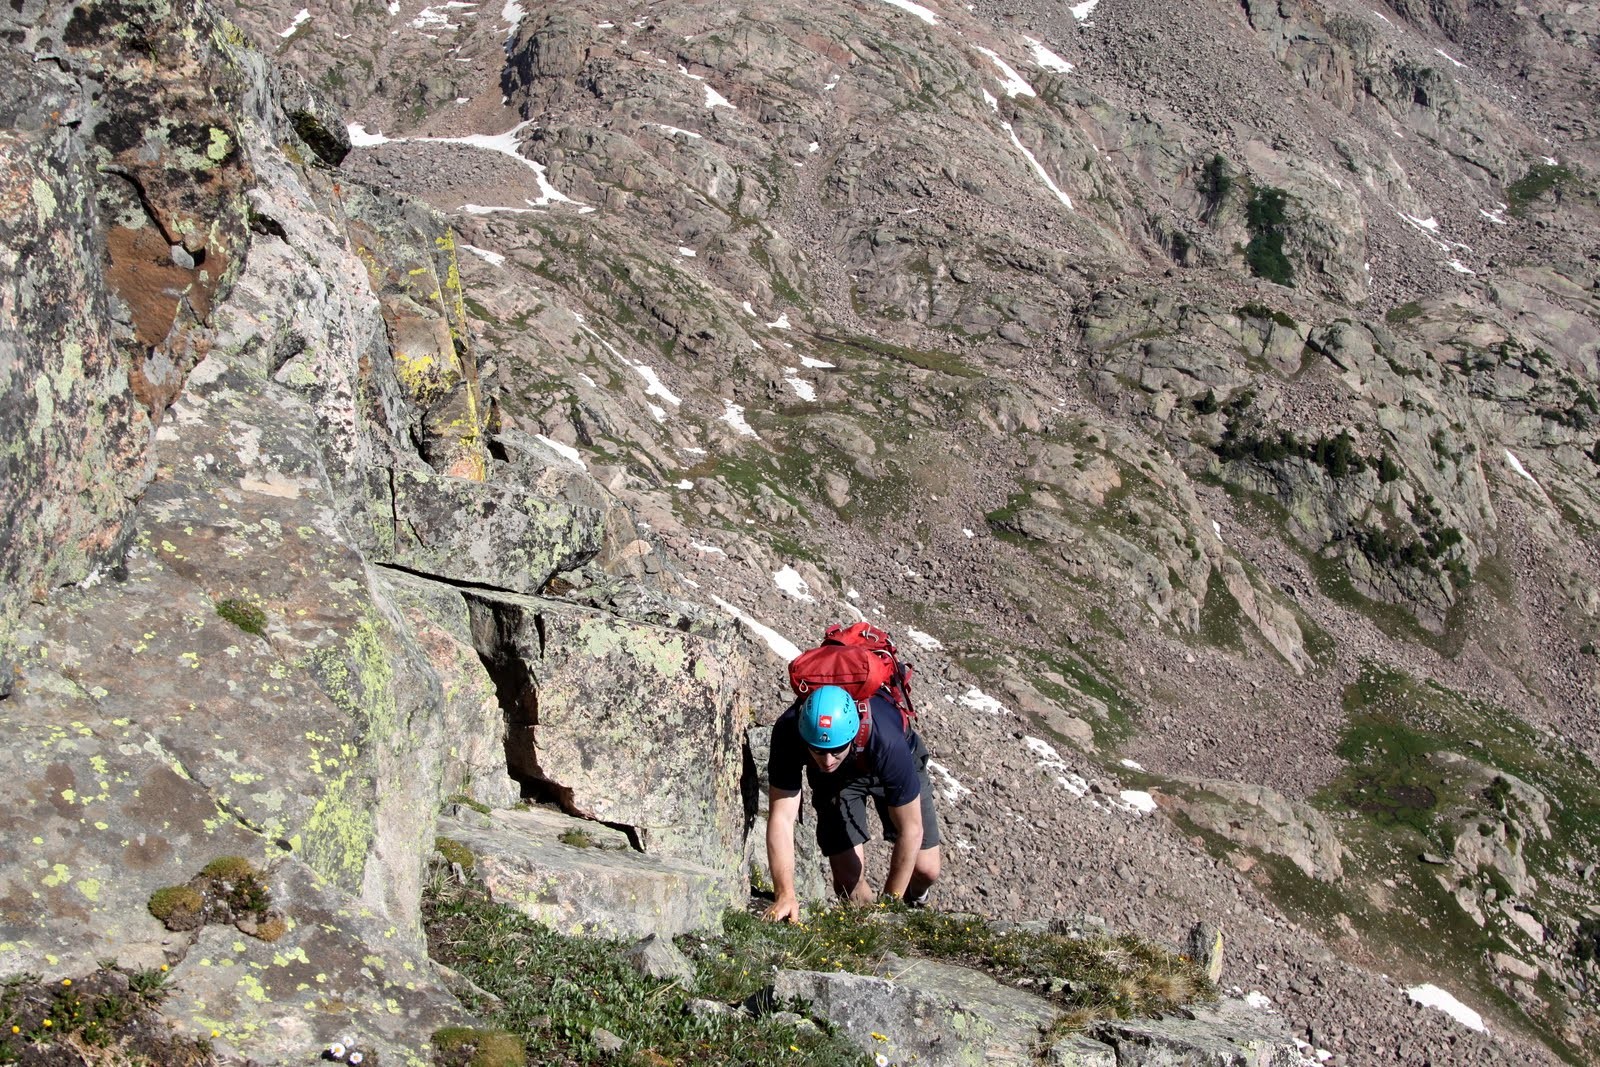
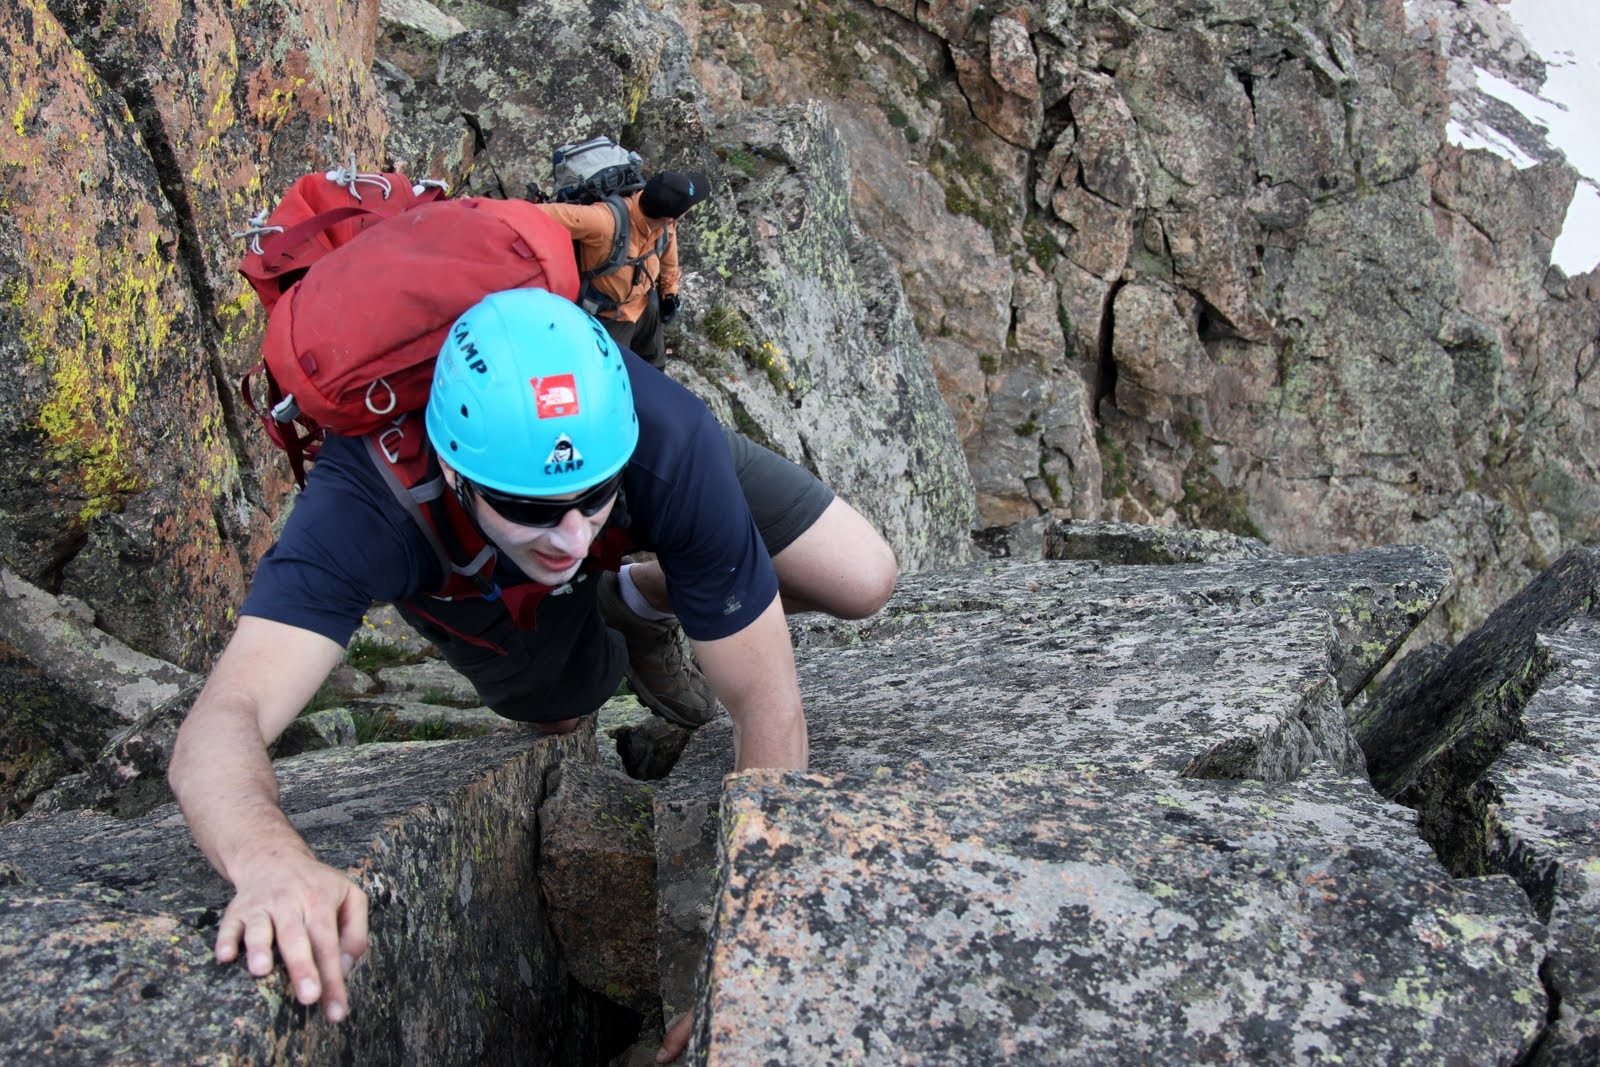
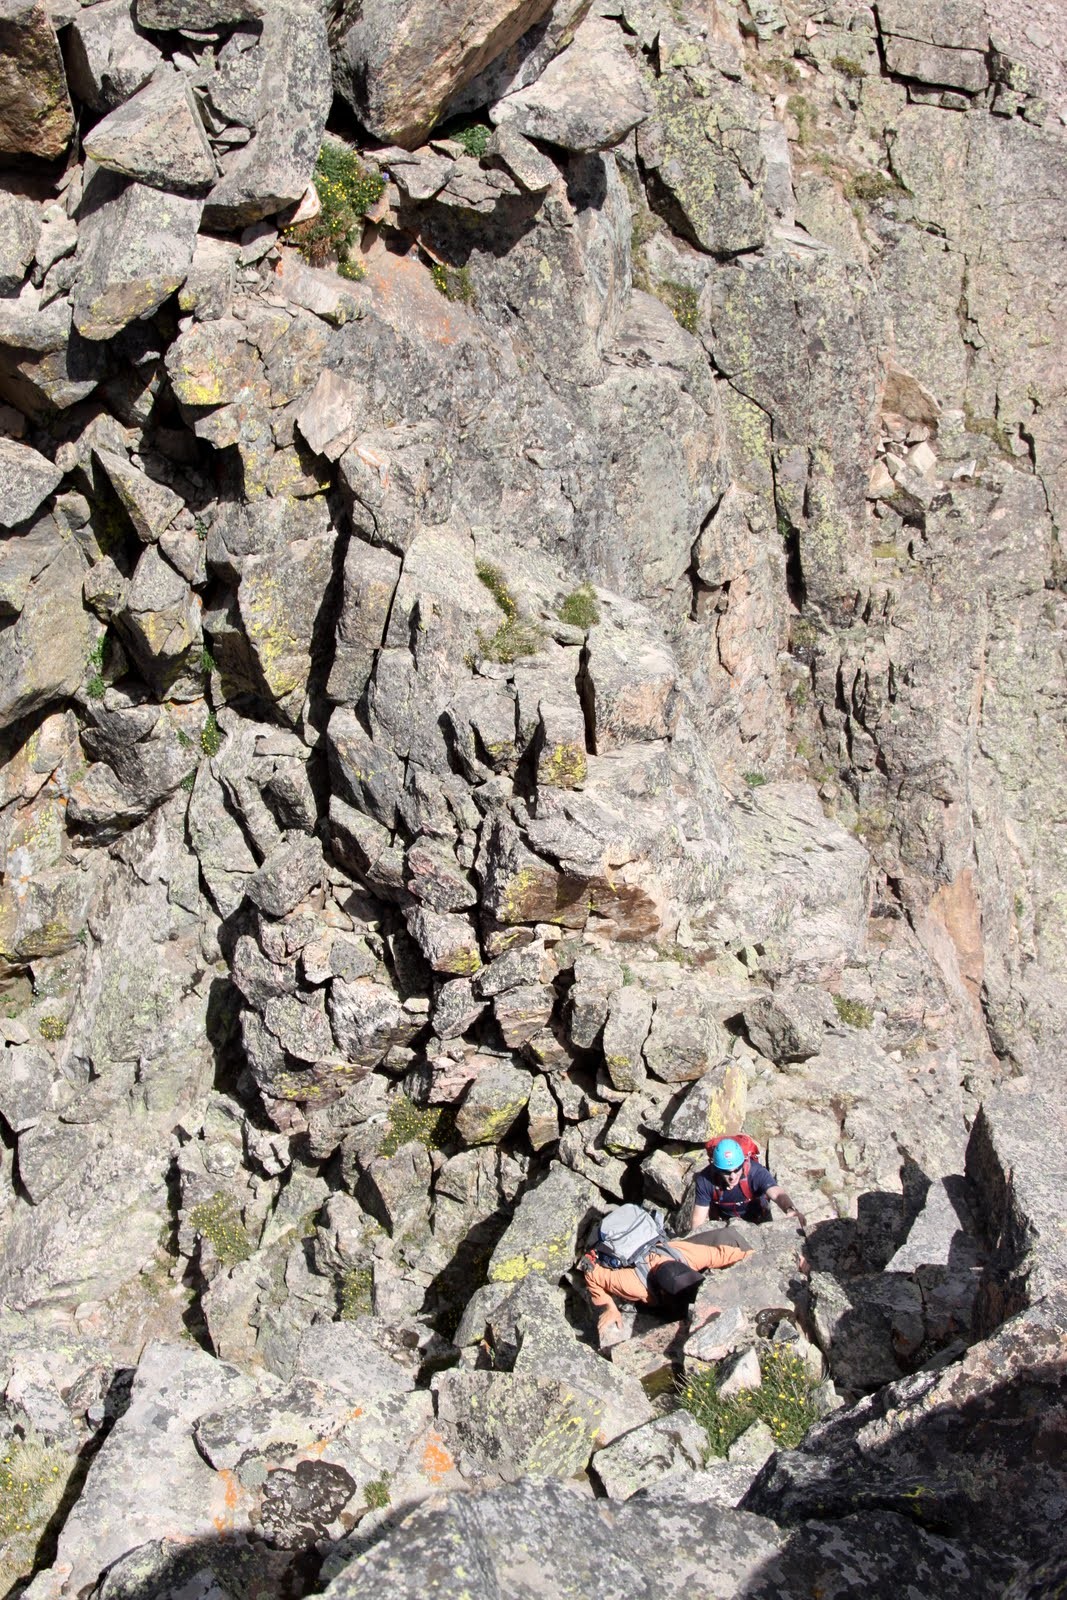
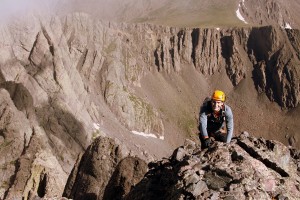
The final class 4 summit pitch up Crestone Needle’s north ridge is what this traverse is all about. Good climbing on solid crestone conglomerate rock up a steep 100′ pitch with some awesome exposure and alot of air under your feet all help to make this a memorable scramble. The airy position of this summit pitch definitely adds to the intensity and excitement. I said for Mikey to start up first as he reached my position at the base of the summit pitch shortly followed by Derek.
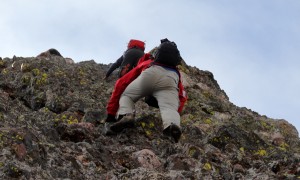
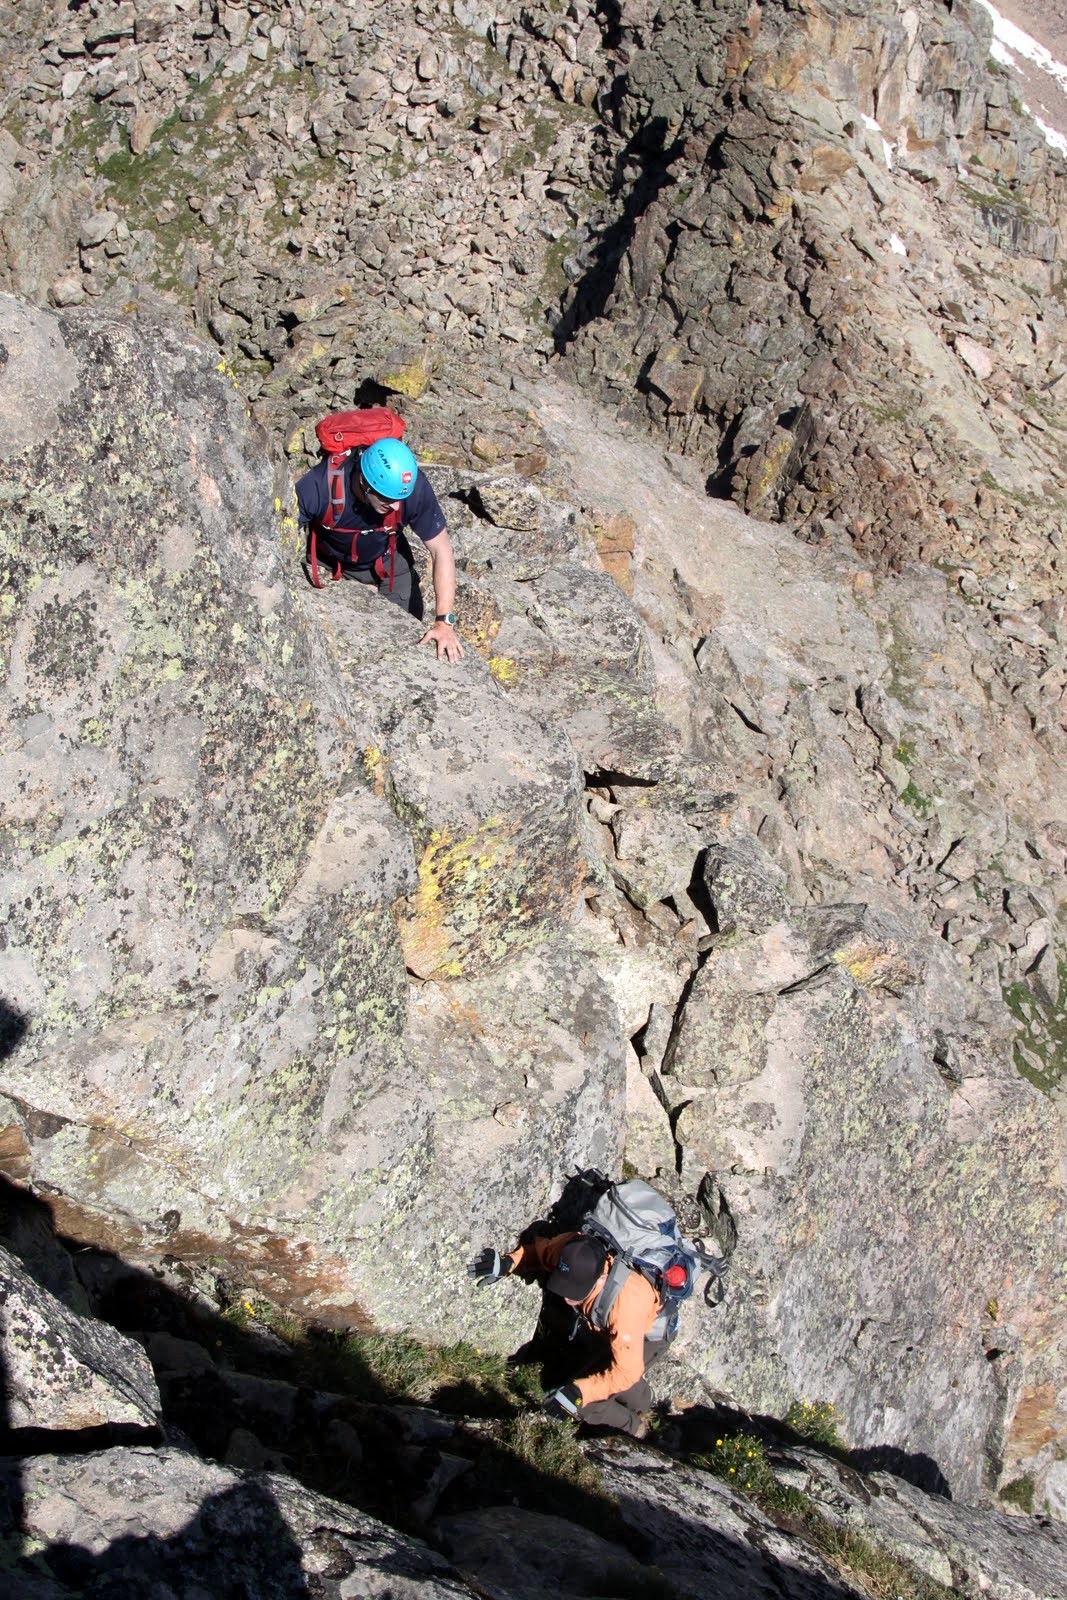
Derek & Mike climbing the class 4 summit pitch up to Crestone Needle
I knew Reid and/or others may want to be belayed on this pitch, so I brought my 30m/8mm rope, harness, a selection of cams and slings just in case, which I am always more than happy to do. I want my buddies to feel comfortable climbing these pitches and if it helps ease their minds so they can climb well, I am all for that. I knew Reid may want a belay for this pitch as it is very exposed. He definitely agreed and so we harnessed up and I climbed the pitch with one end of the rope tied to my harness.

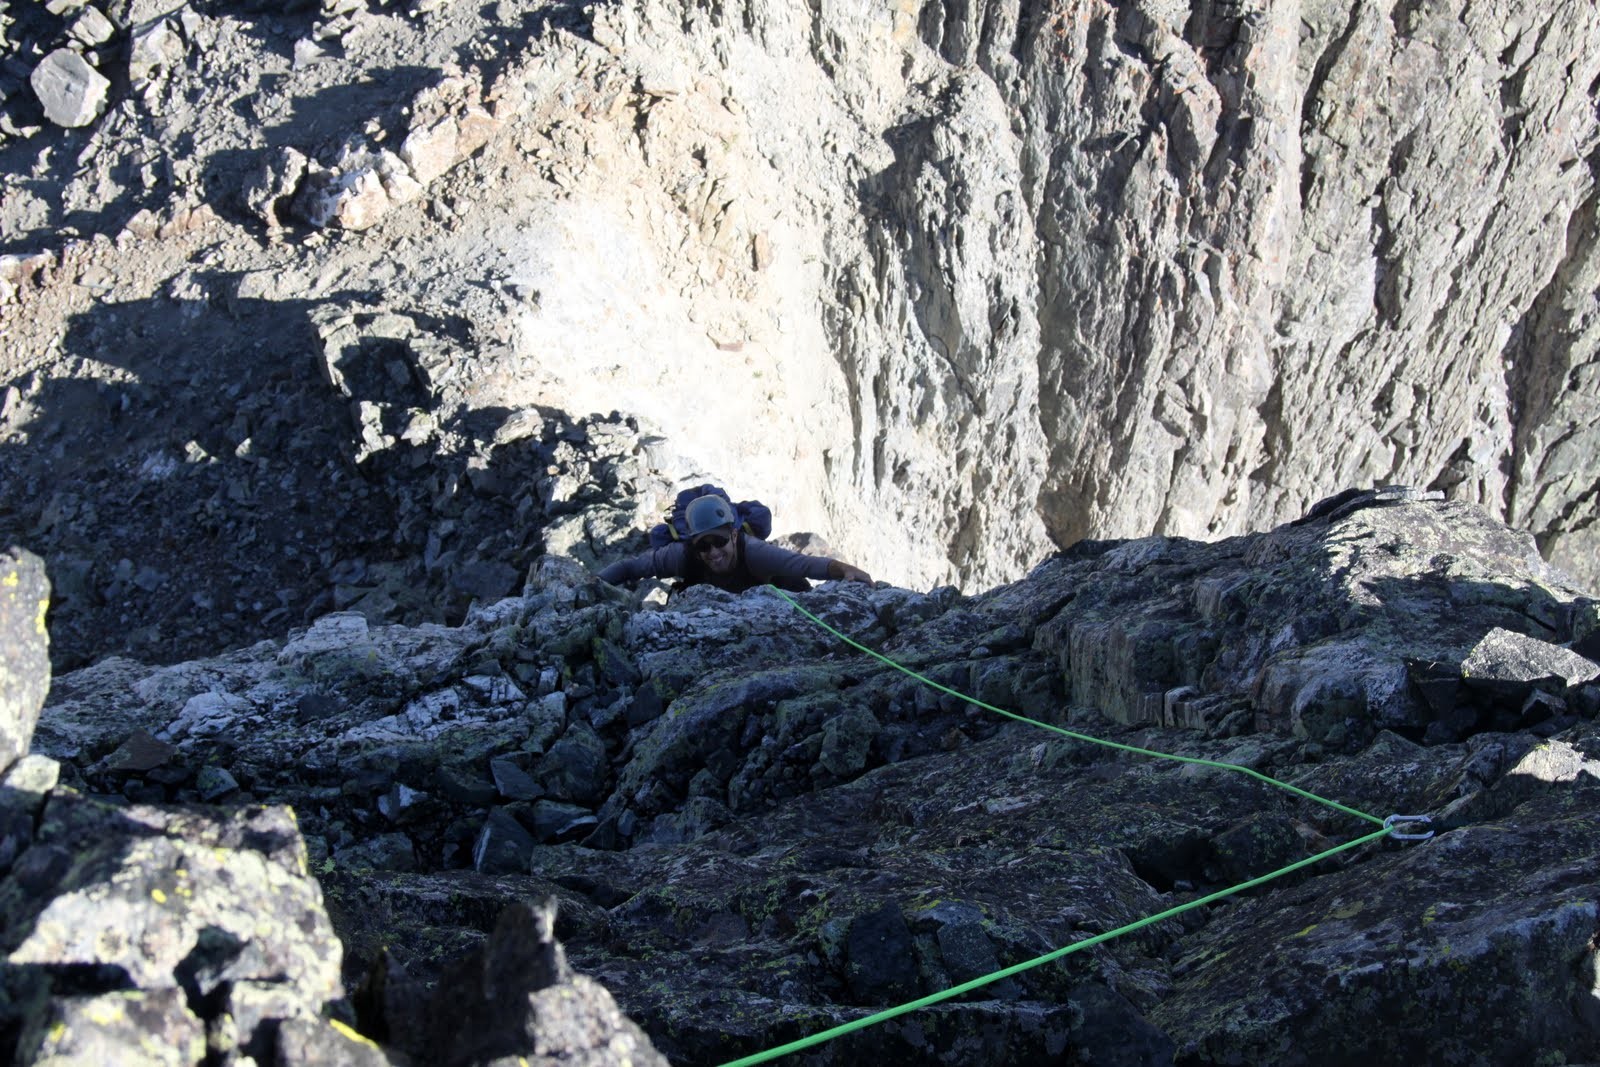
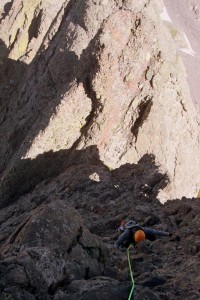
Me almost to the fixed webbing atop the class 4 summit pitch on Crestone Needle
I anchored myself into the webbing which was in place slung around a rock and belayed Reid up the pitch. It was fun for me watching him climb up the class 4 rock with the incredible air beneath his feet.

Reid climbing the class 4 summit pitch
This pitch is so awesome. Classic crestone conglomerate climbing in a very airy position
I was getting pretty cold with the wind and 14,000′ air temperature with just my shorts on (not all that smart, I know), but Reid topped out in no time and I took him off belay. We then stowed the gear in our packs and scrambled up the final easy ridge to the summit where we joined Mike & Derek.
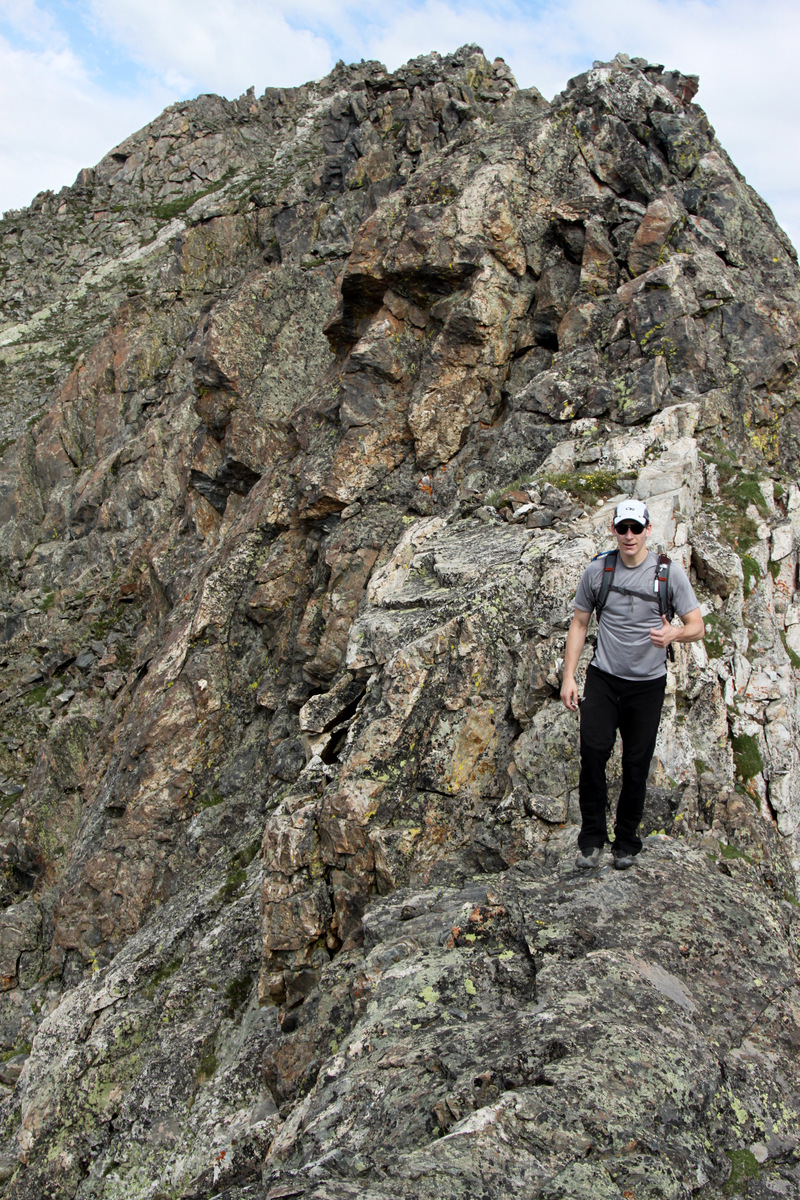
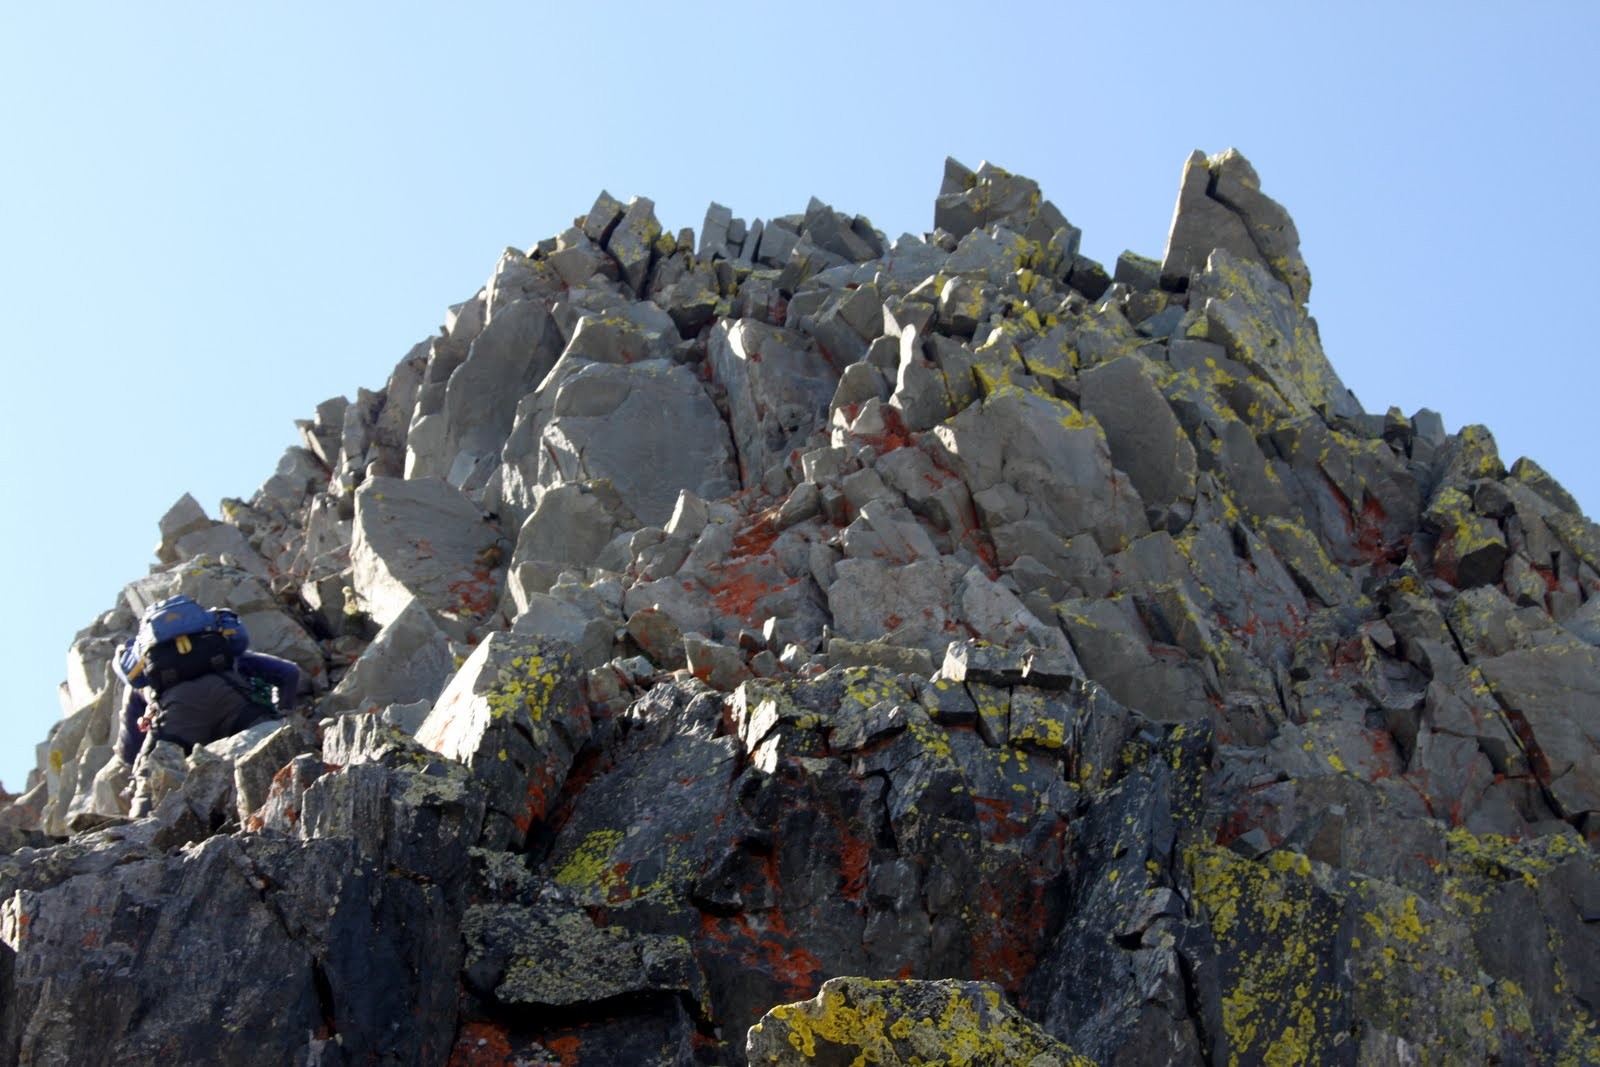
Reid on the short scramble to the summit of Crestone Needle
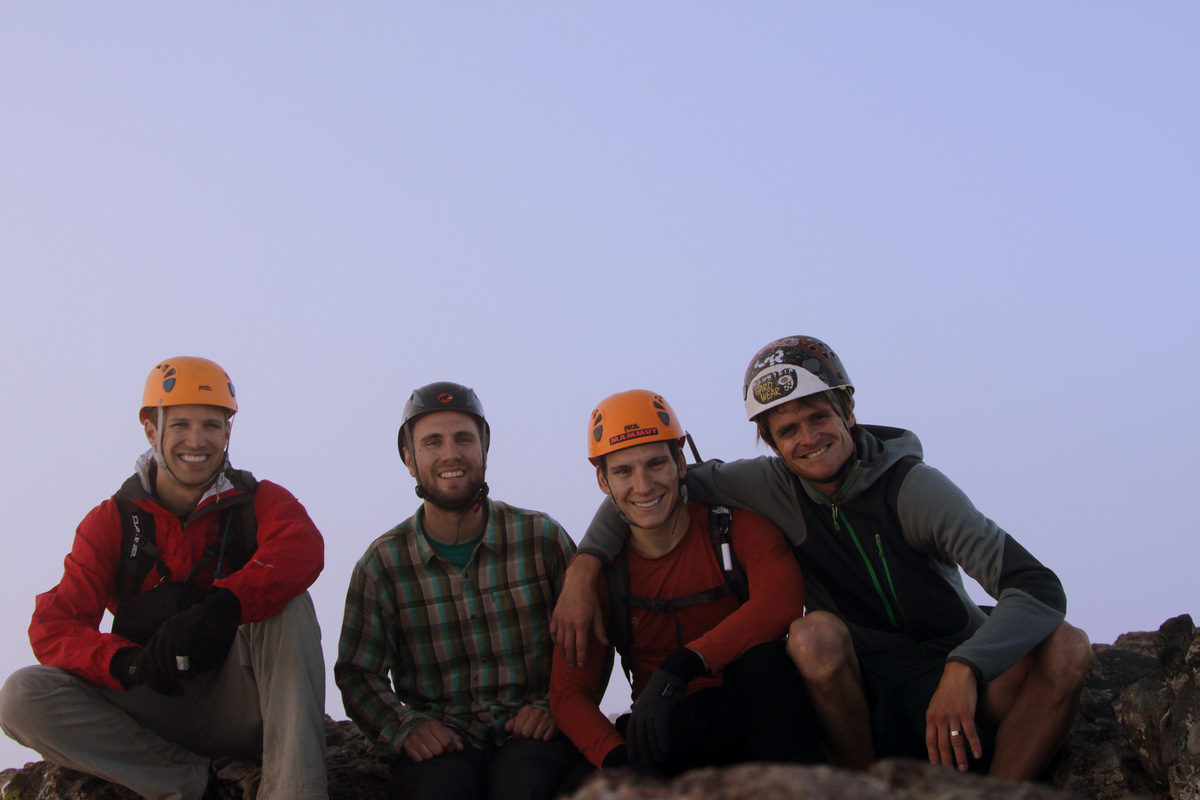
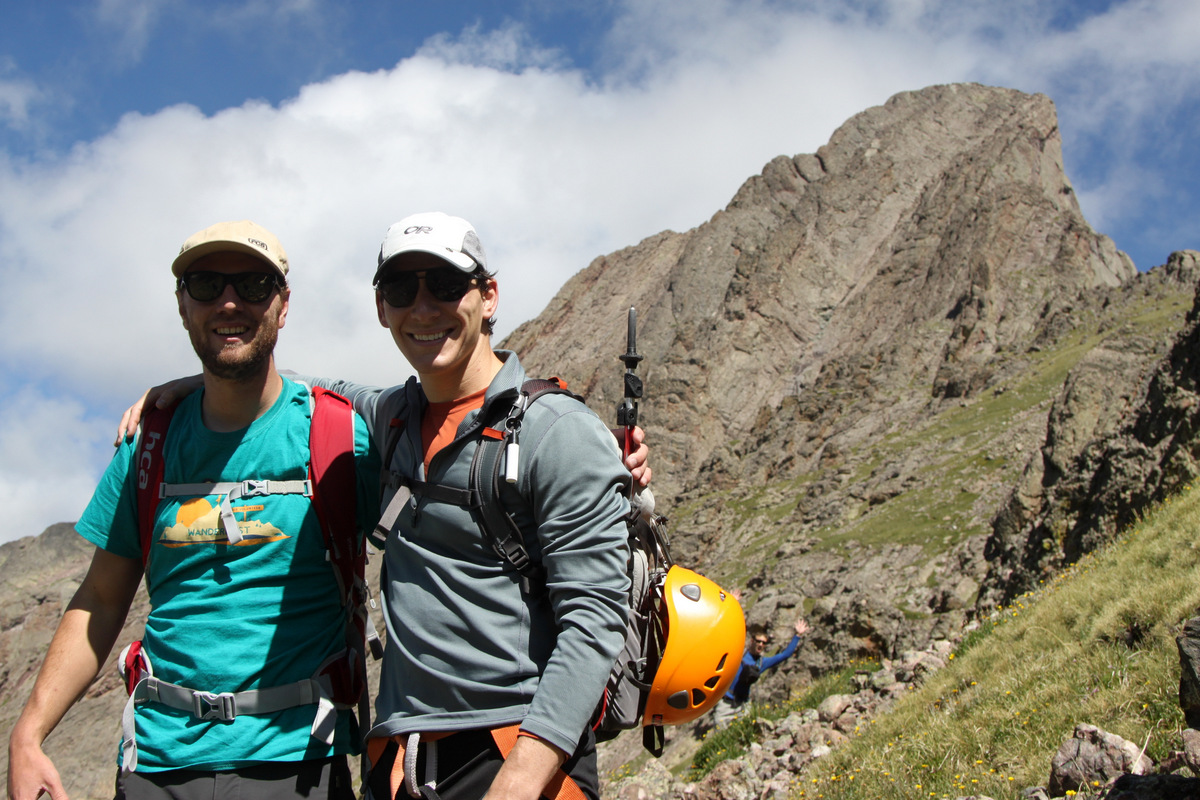
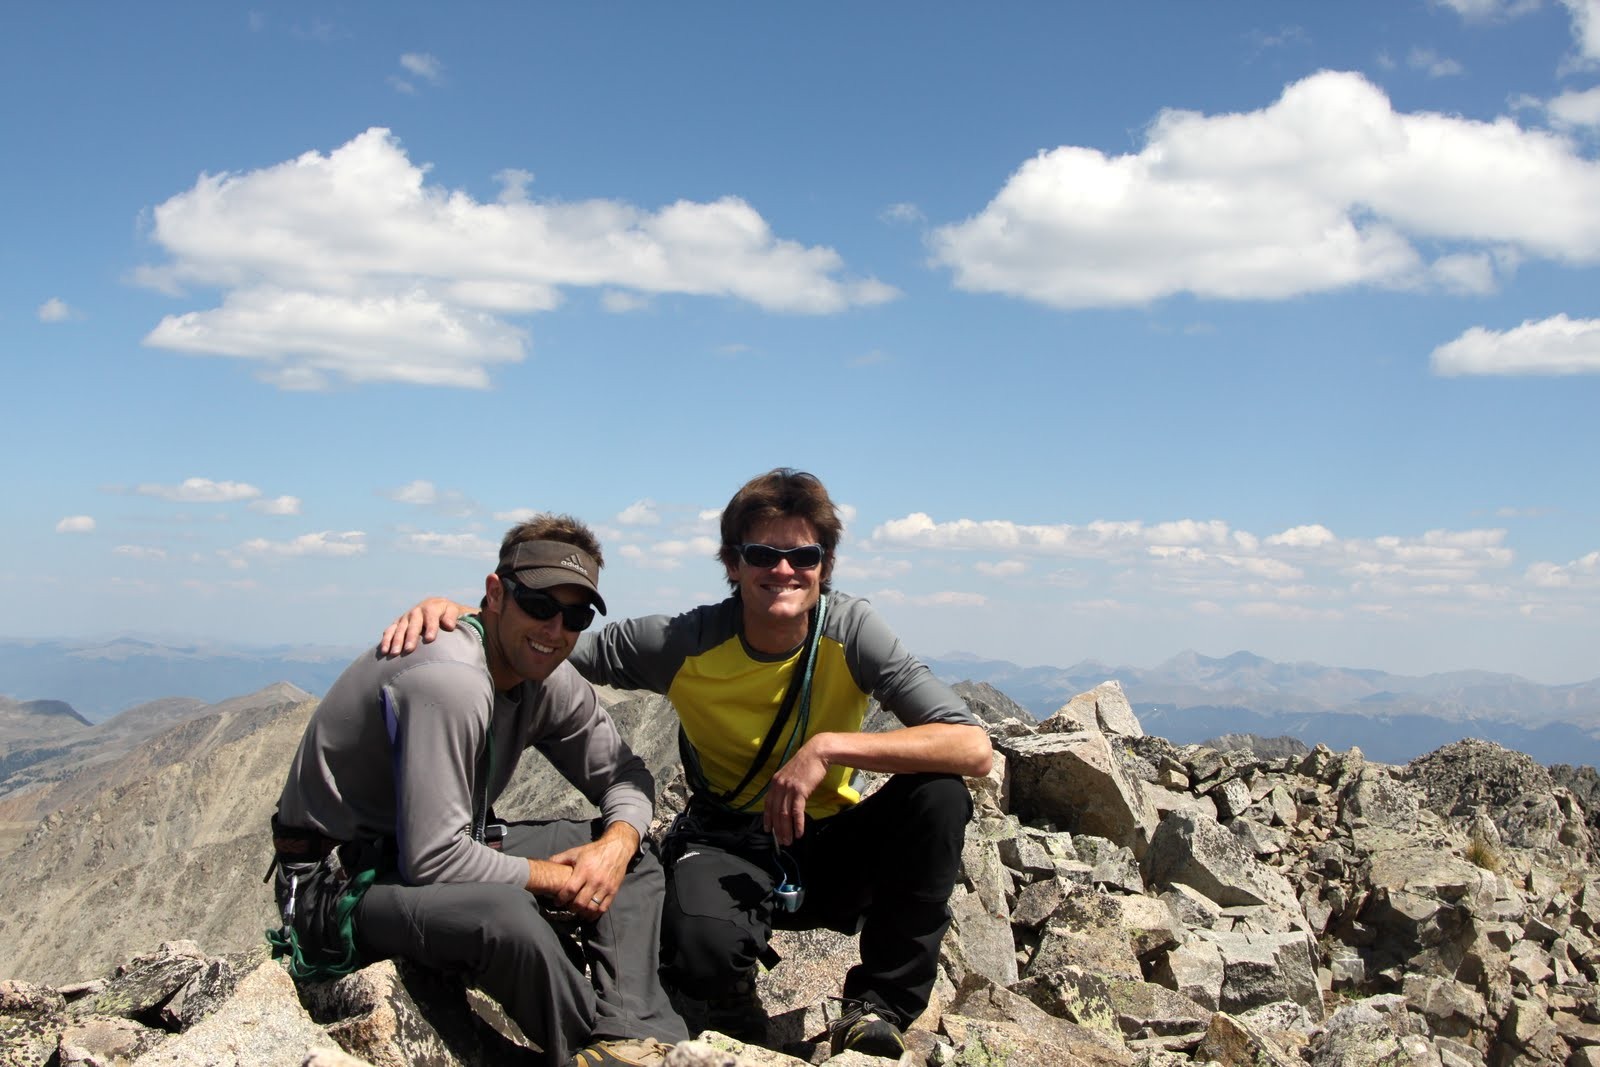
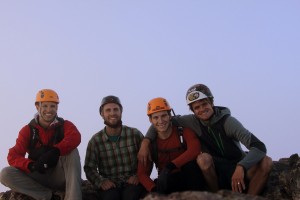
It was a celebratory summit for all, but we didn’t stay too long because of the wind and cold. The Crestone Traverse had taken us about 2 hrs summit to summit.
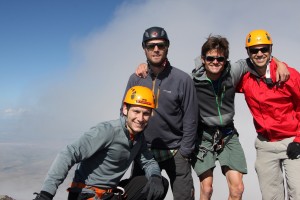
Crestone Needle summit (14,197′)
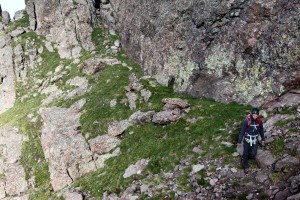
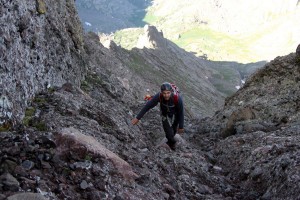
We then descended the class 3/4 east gully on Crestone Needle’s south face the entire way down to the trail leading back to Broken Hand Pass to complete the full loop. I had forgotten how fun this Crestone Needle east gully climbing really was – even going down.
Descending the east gully of Crestone Needle on its south face

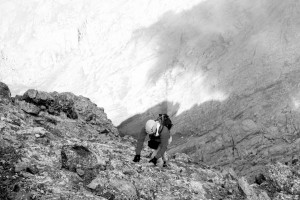
Mike & Reid almost back to Broken Hand Pass with Crestone Needle’s east gully behind
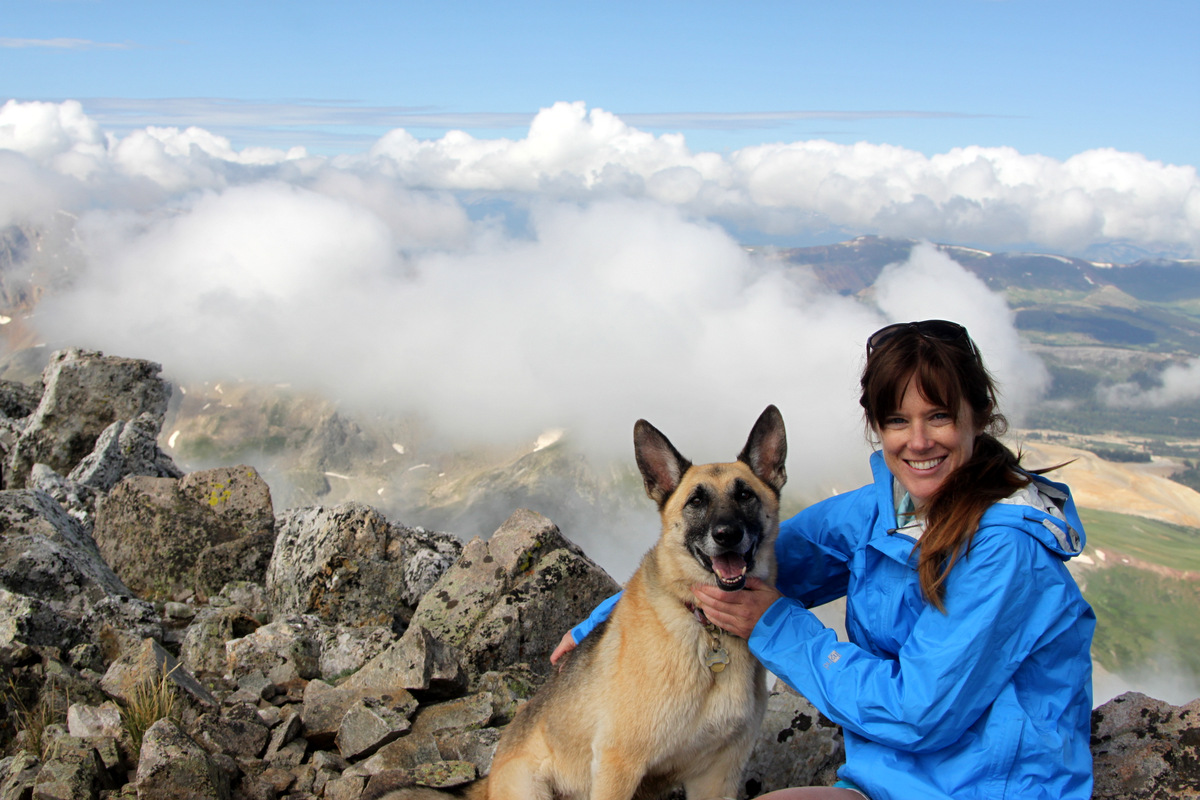
We all eventually made it back to Lower South Colony Lake around 11am and soaked our feet for half an hour. We arrived back at the cars around 1:30pm for an approximate 13 mile roundtrip day with 6,000′ of vertical gain. After an awesome deli sandwich in Westcliffe, we said our goodbyes and congrats and went on our respective ways back to Vail & Denver. The next day Kristine was planning a hike with our good friend Lauren McKeone and all the dogs up the familiar Villa Ridge on the high 13er Drift Peak (13,900′), so I joined them on the fun hike. We started hiking around 8am or so and returned to the car around 12:30pm for a wonderful half day hike with all the ladies – 2 humans and 4 dogs. I am a lucky guy. It was all of their first summit of Drift Peak which made it extra special.

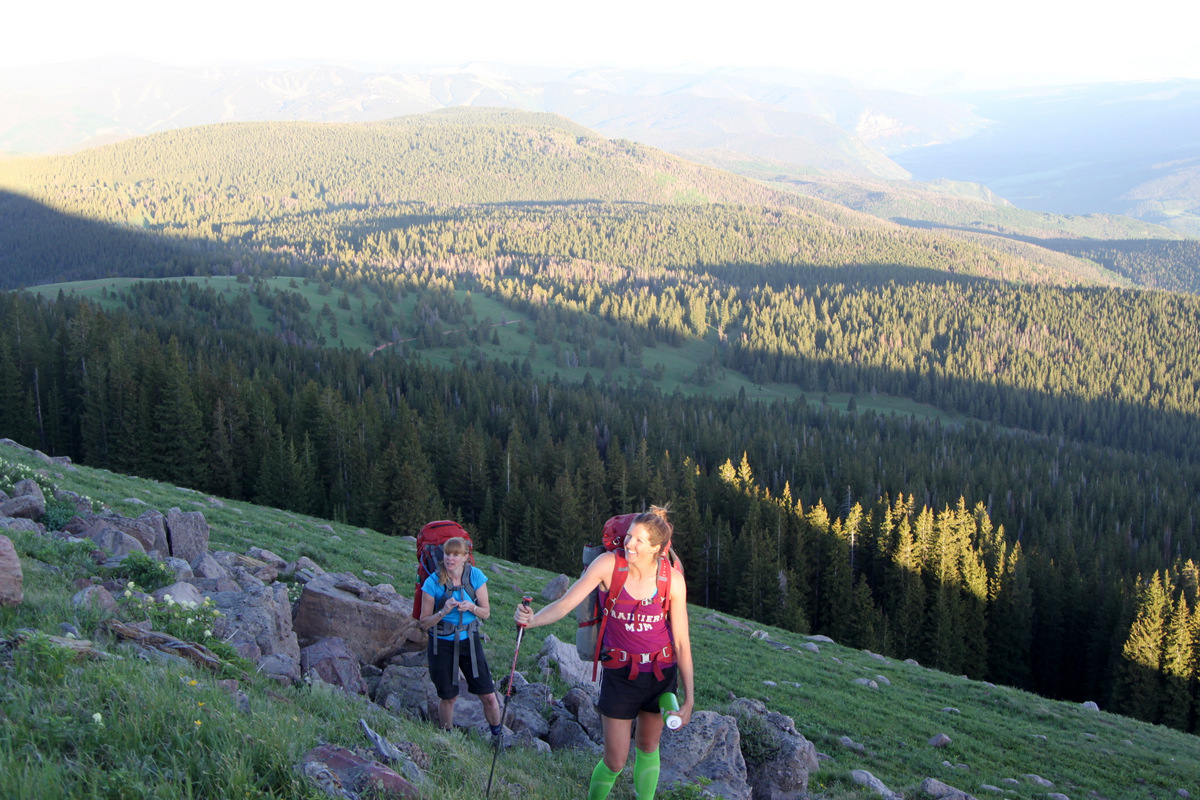
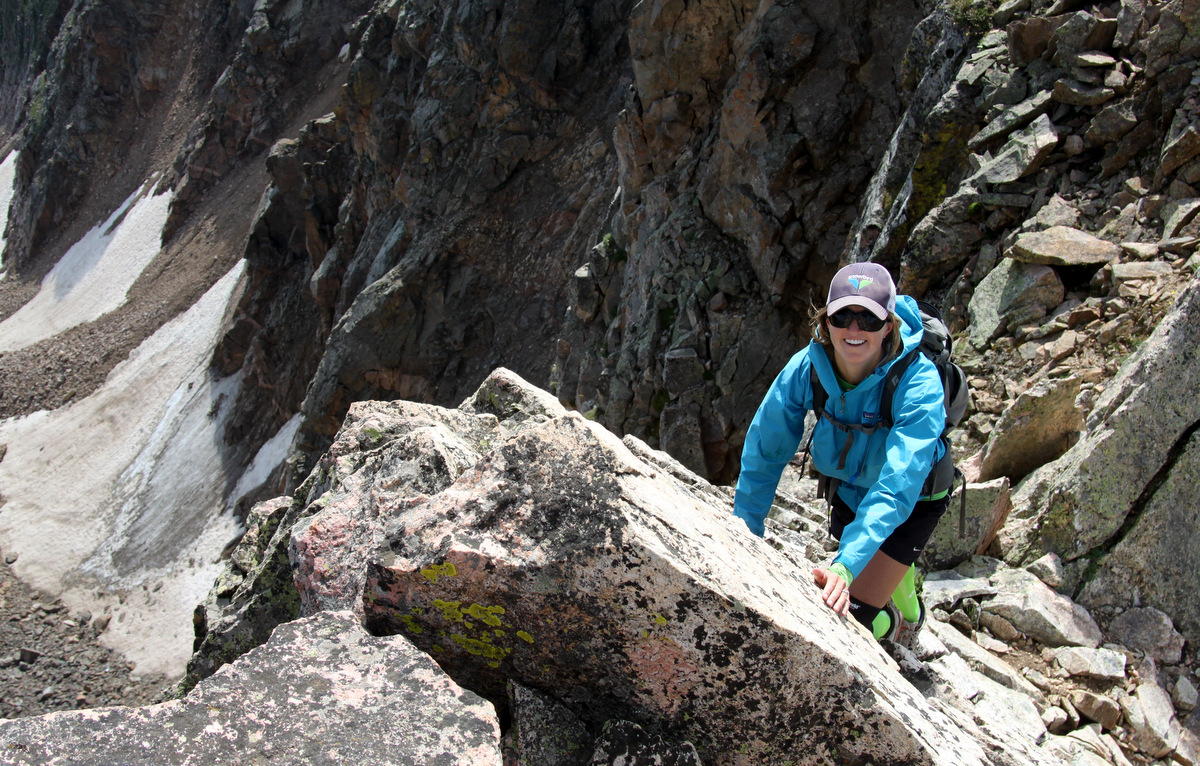
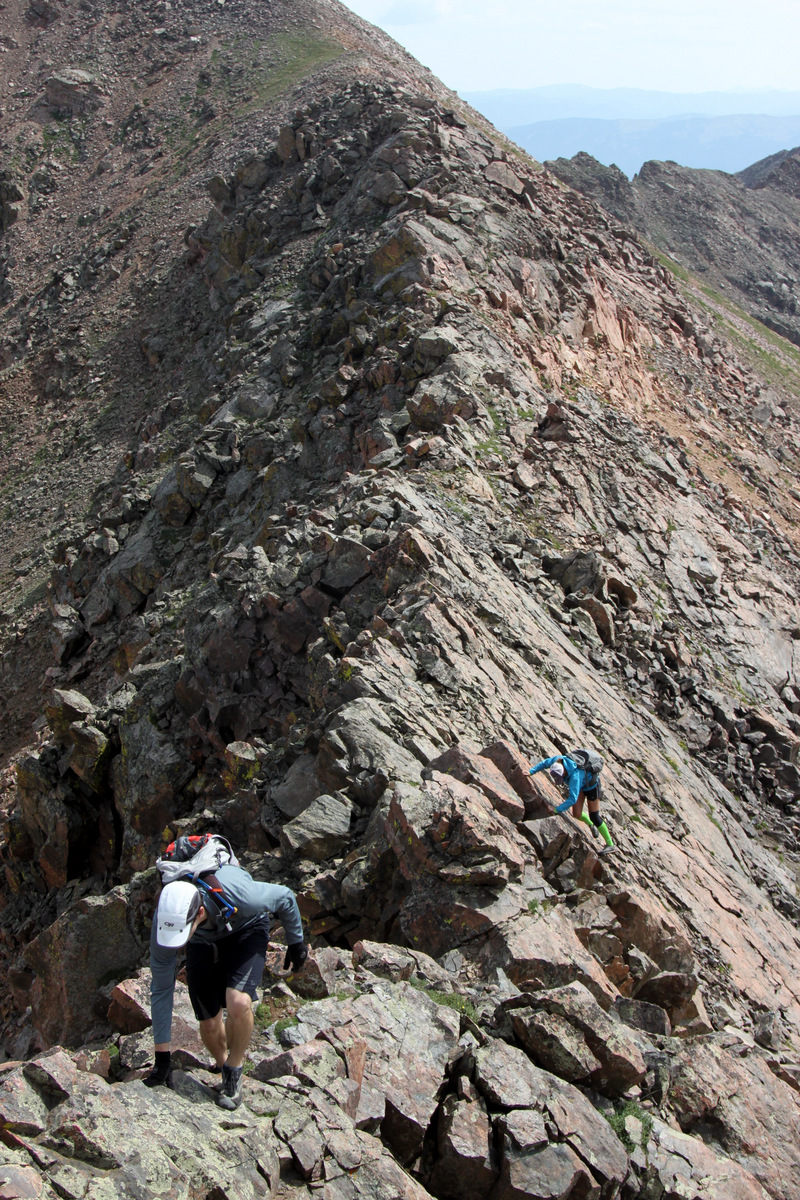
Kristine & Lauren climbing above the clouds on Drift Peak’s Villa Ridge
The clouds seeping through the notches in the Drift Peak-Wheeler Mtn ridge

Scout & Lauren on the summit of Drift Peak (13,900′)

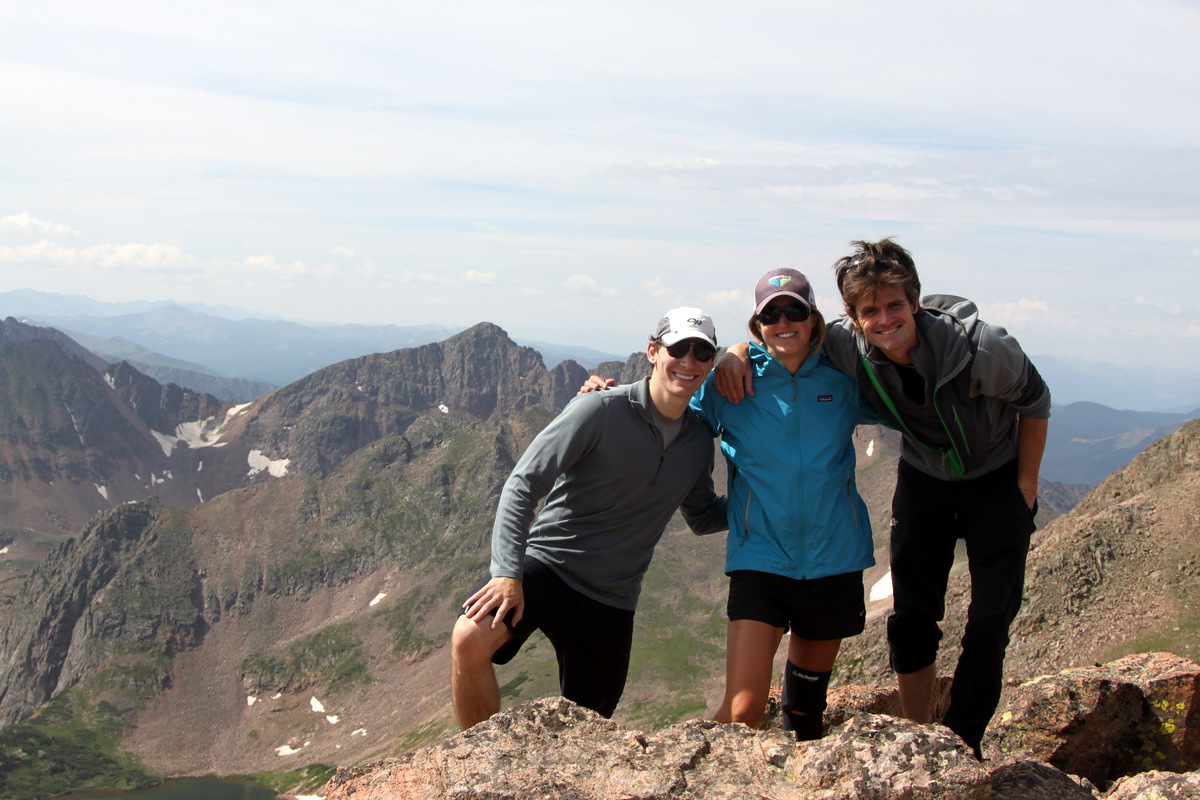
The Chalks on the summit of Drift Peak (13,900′)


 Follow