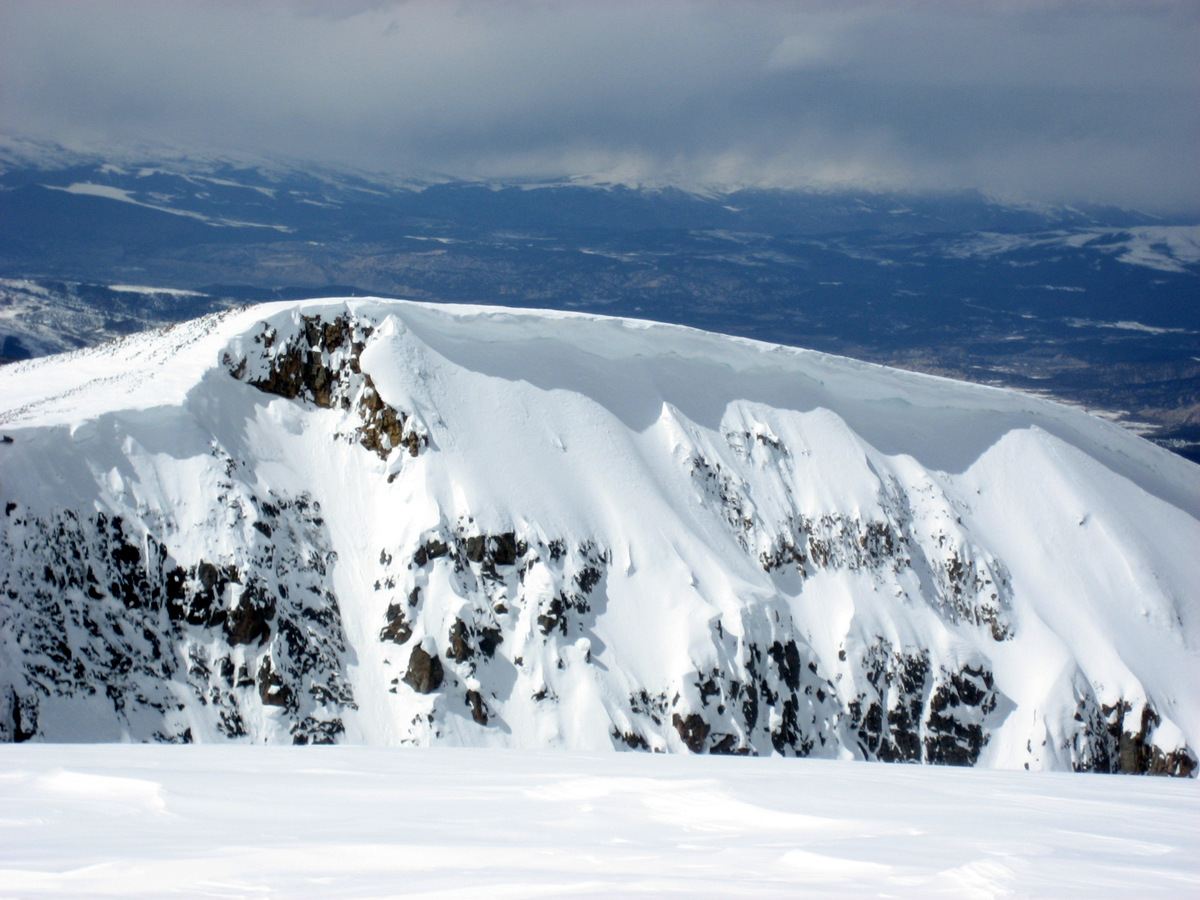
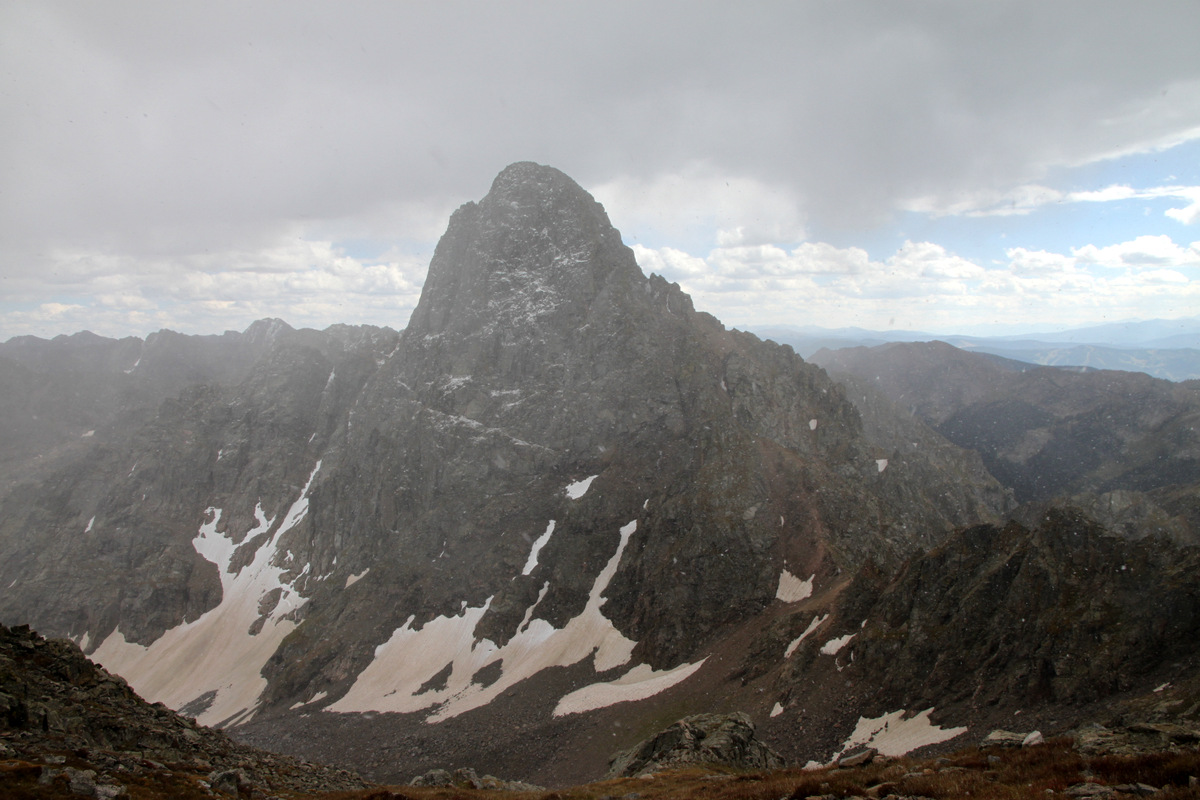
Over the years, the initially intimidating Peak C in the Gore Range has become like an old friend. I seem to know it pretty well by now and thus feel comfortable on and around its flanks. Its one of those peaks many folks see from the first time from Piney Lake and let out a “whoa, is this what the Gore Range is about?” Well, in a word “yes”.
Peak C from Piney Lake. Photo by Caleb Wray in September 2011
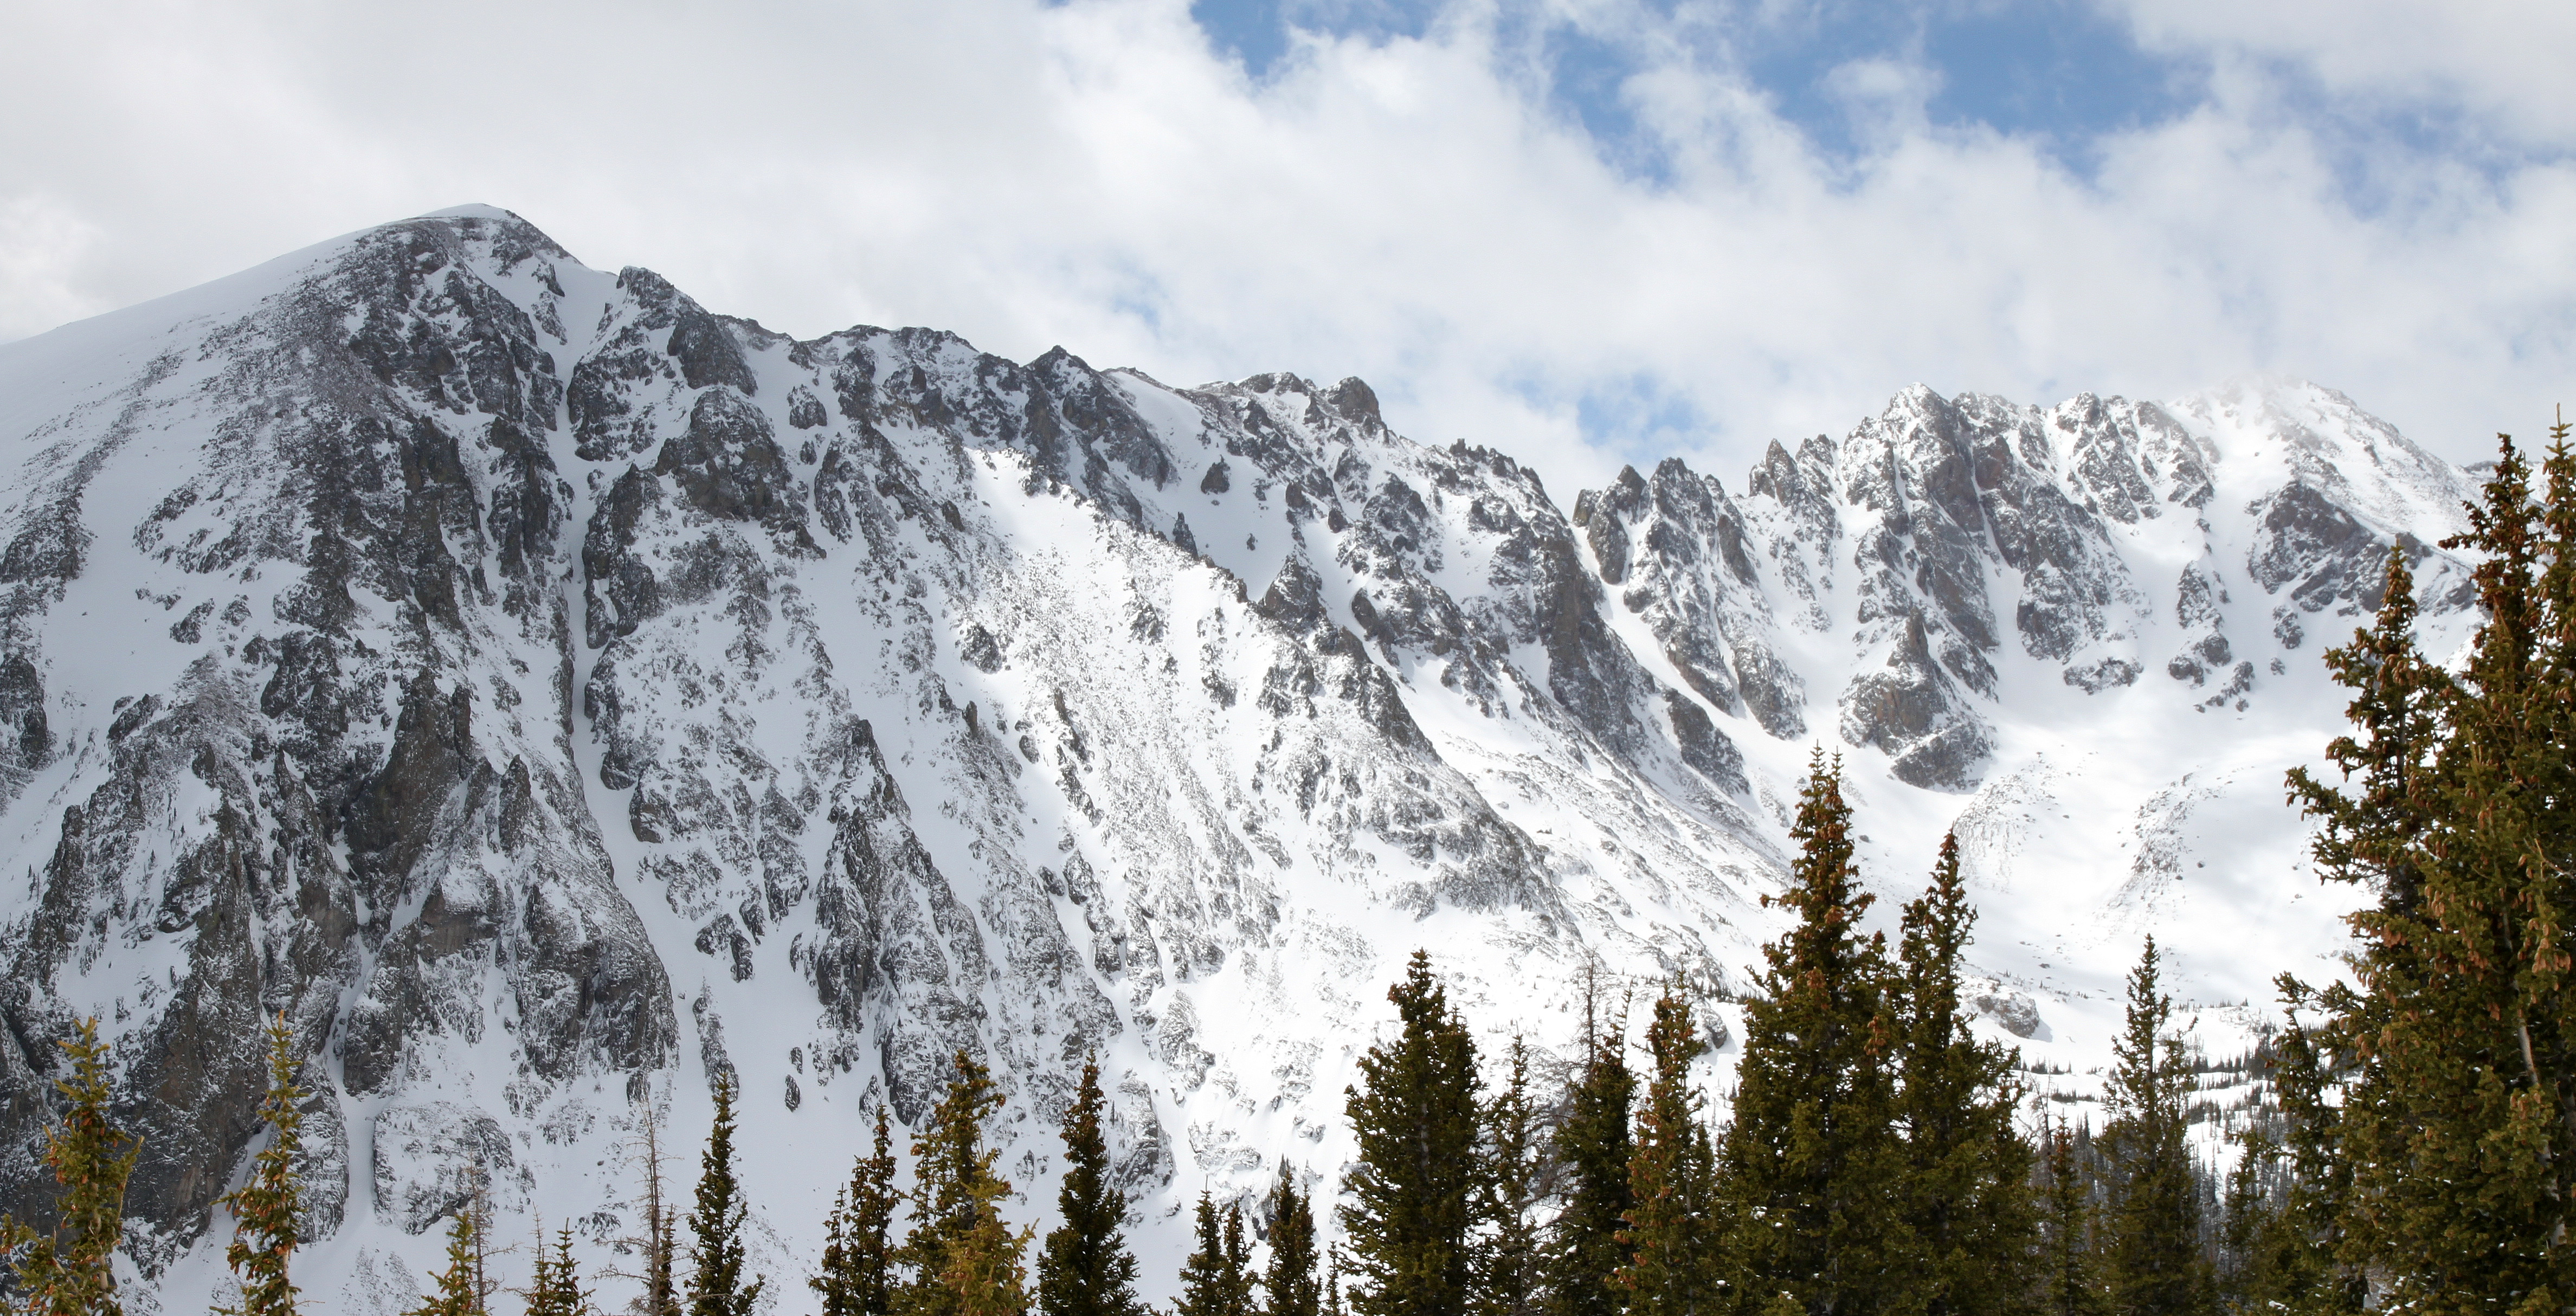
Peak C is special. It has steep snow climbing routes, a solid couloir for a ski descent, scrambling routes, and technical alpine routes. It has it all. Peak C really can be viewed from anywhere in Eagle County, but is especially visible from Vail Mountain with its prominent southwest couloir. The view of its technical north face and northwest ridge from Mt. Powell are always awe-inspiring. Its not easily discernible from other Gore summits to the south.
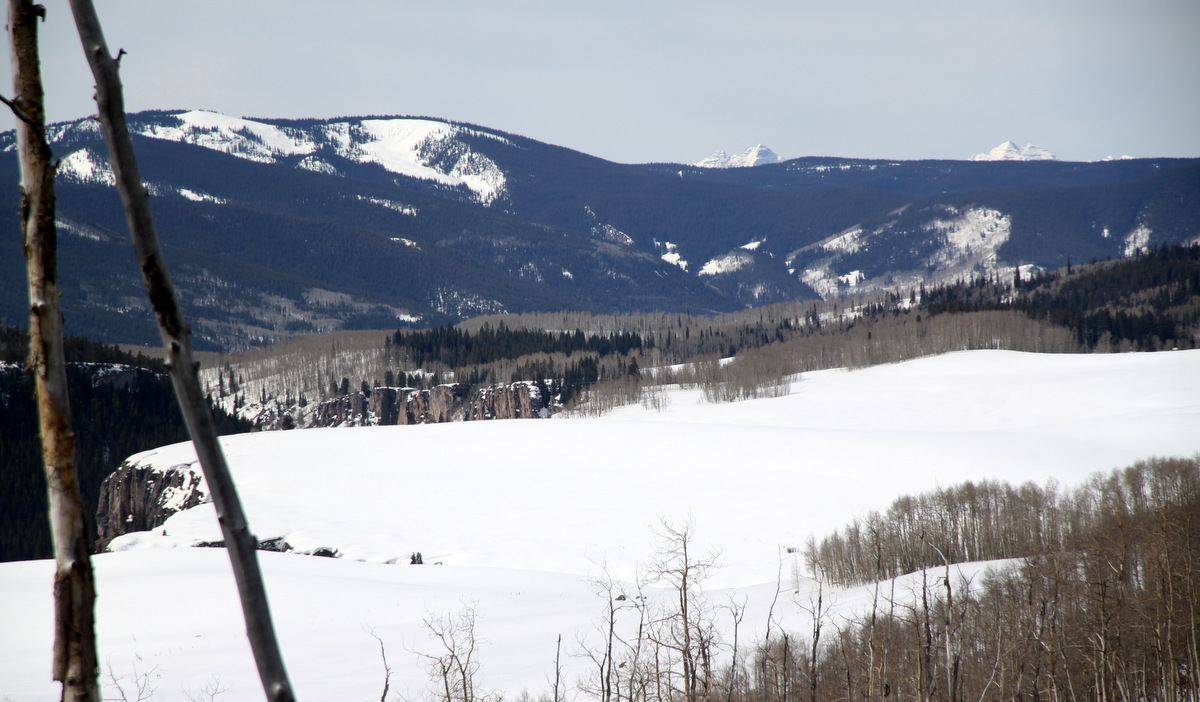
Rainier and Peak C (center of picture) from the summit of Red & White Mountain one February many years ago

Peak C’s north face and northwest ridge (right skyline) as seen from Mt. Powell’s south slopes after completing the Eagle’s Nest to Powell traverse in September 2014
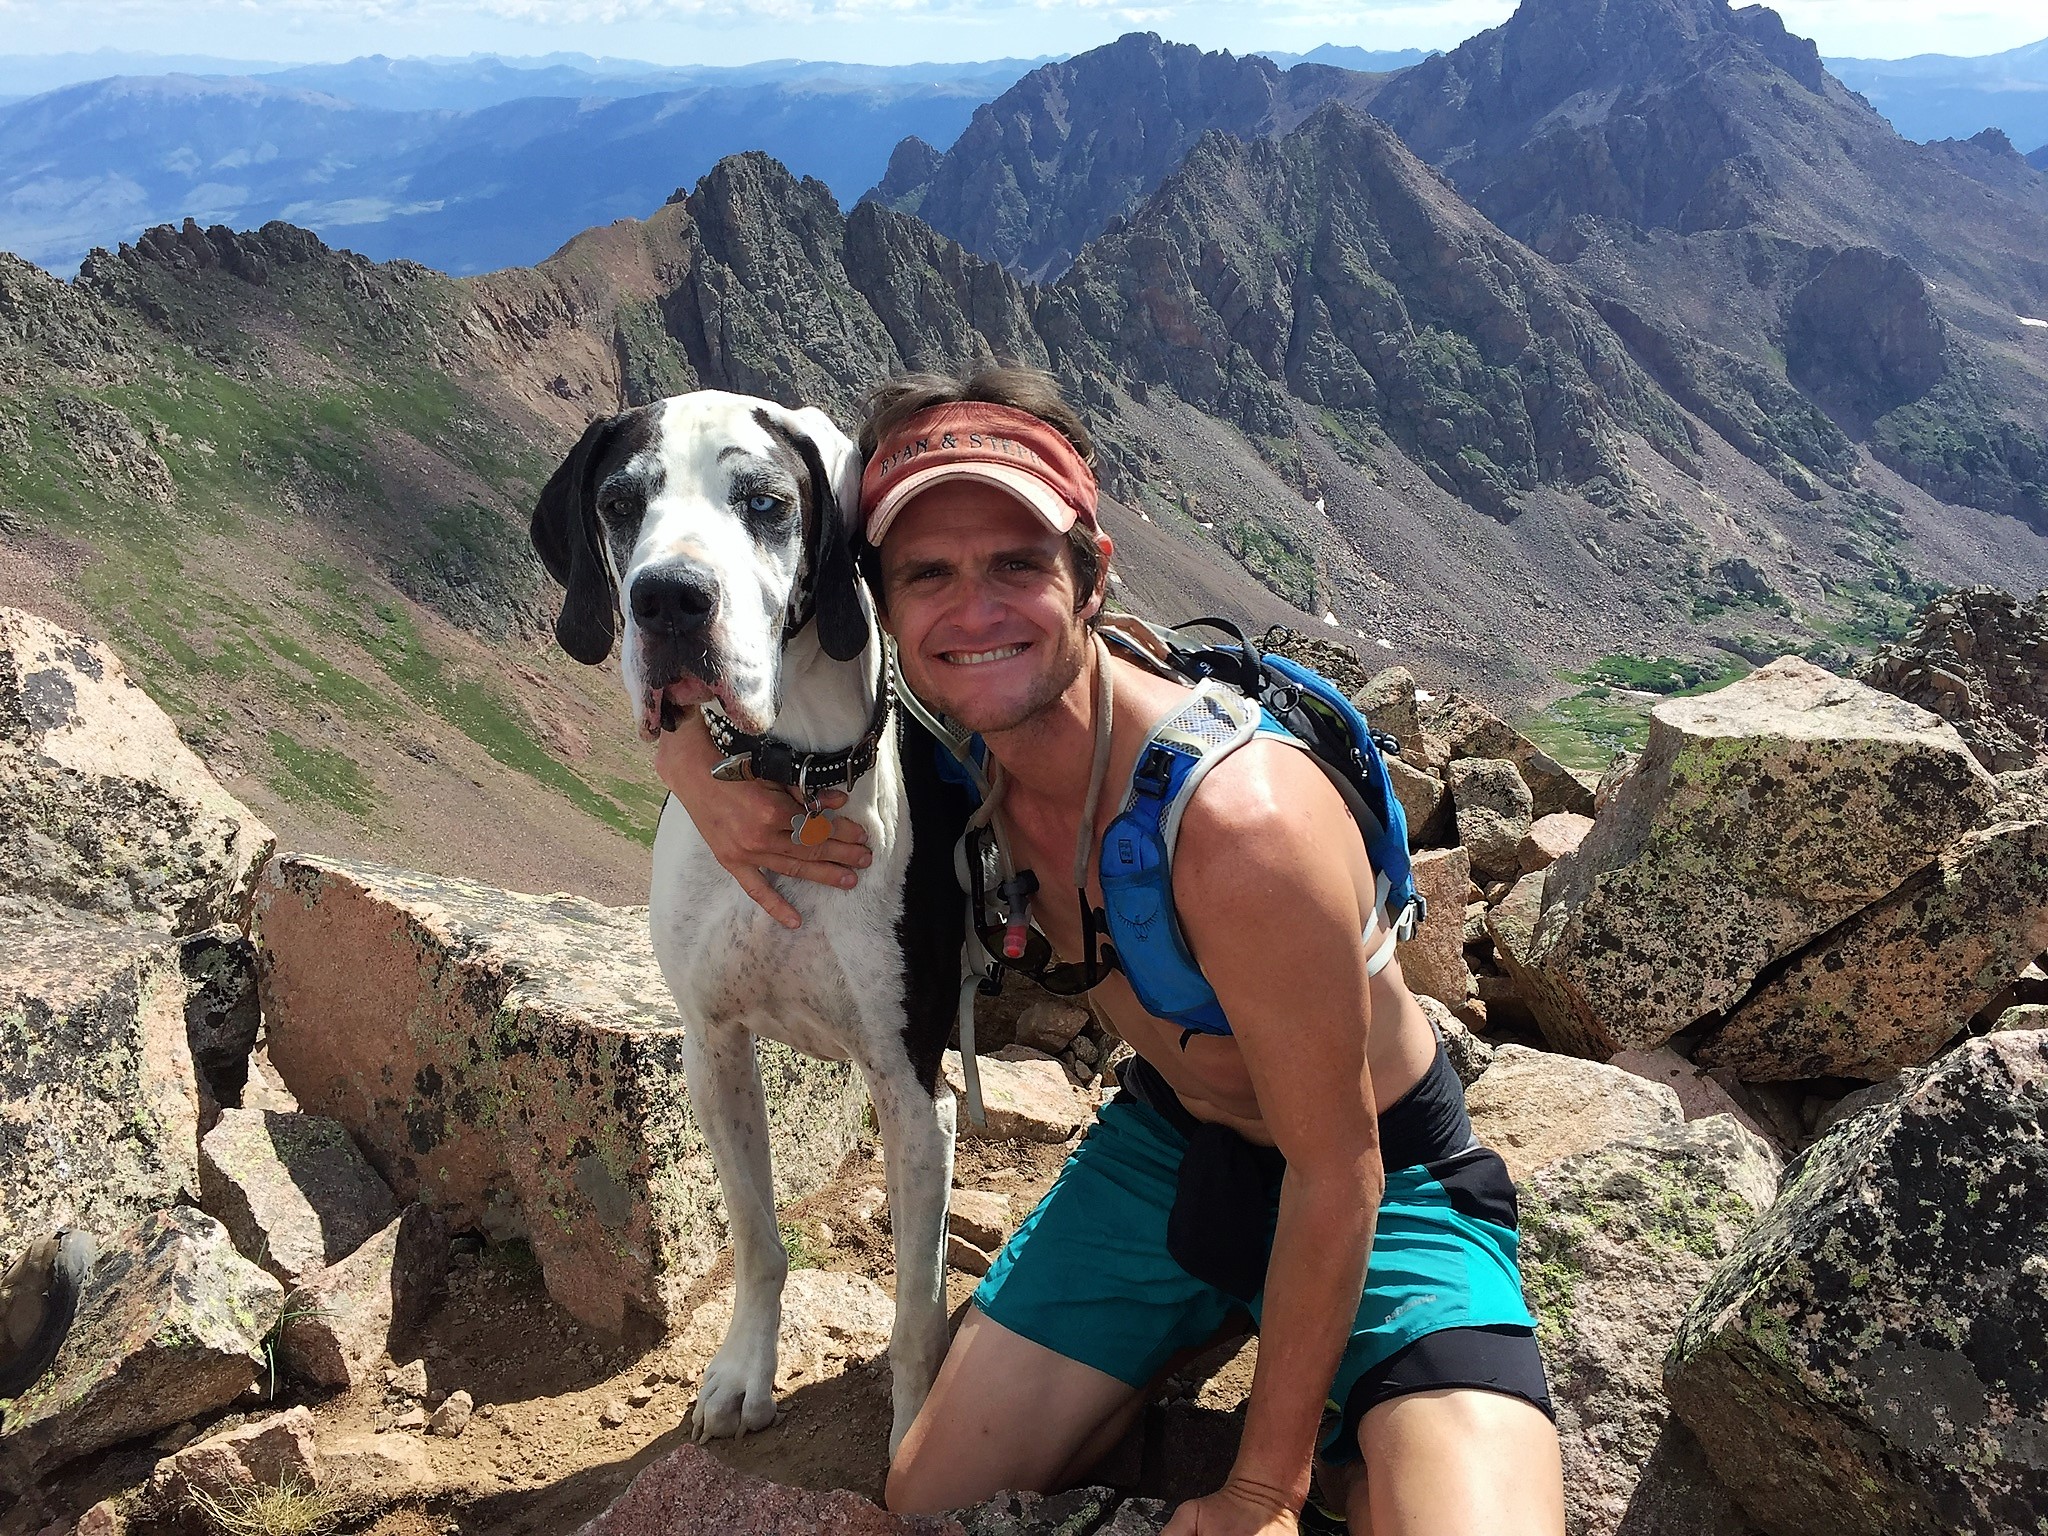
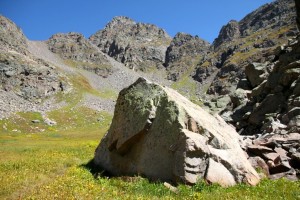
My first climb up Peak C was via its southwest couloir in November of 2007 with Rainier, Ryan Aldrich, & Mikey Johnson. It was a great snow climb and had some great ridge scrambling including a class 4 headwall right out of the notch between Peak C and Peak C-Prime to start its south ridge.
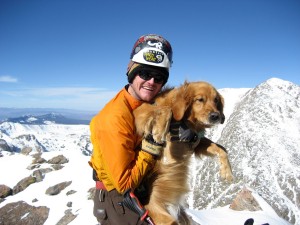
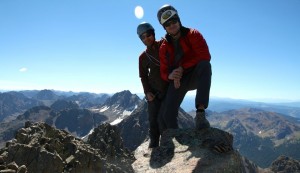
Me & Rainier on the summit of Peak C on November 3, 2007 with Mt. Powell behind

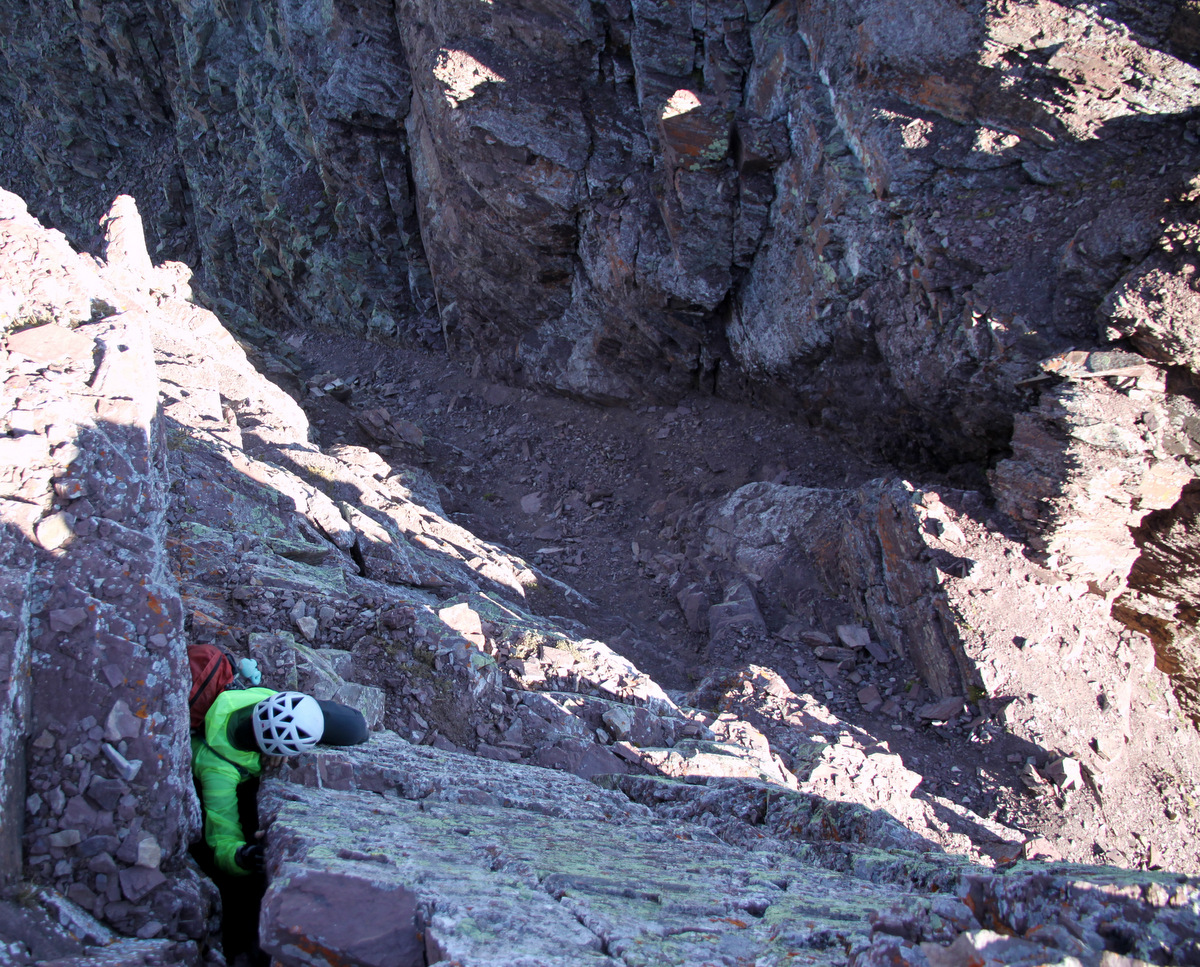
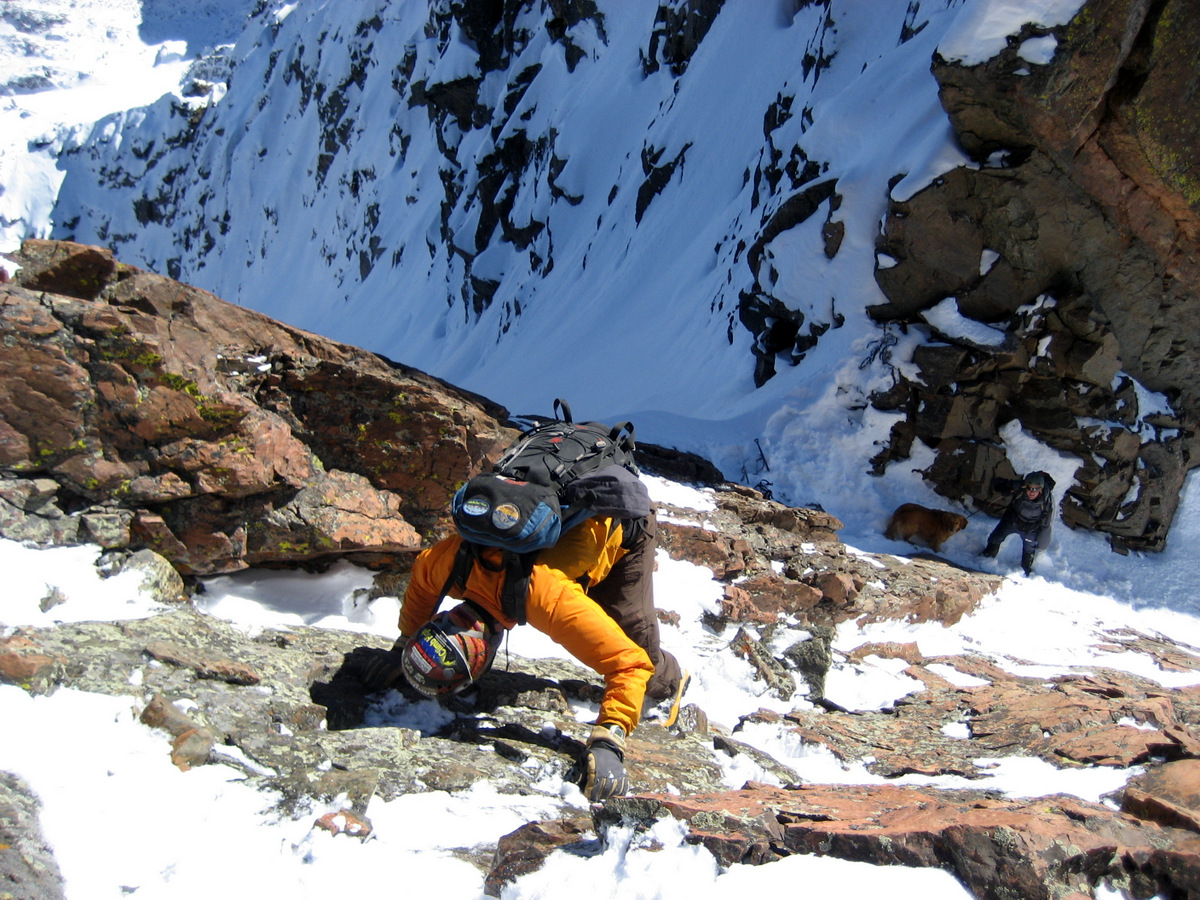
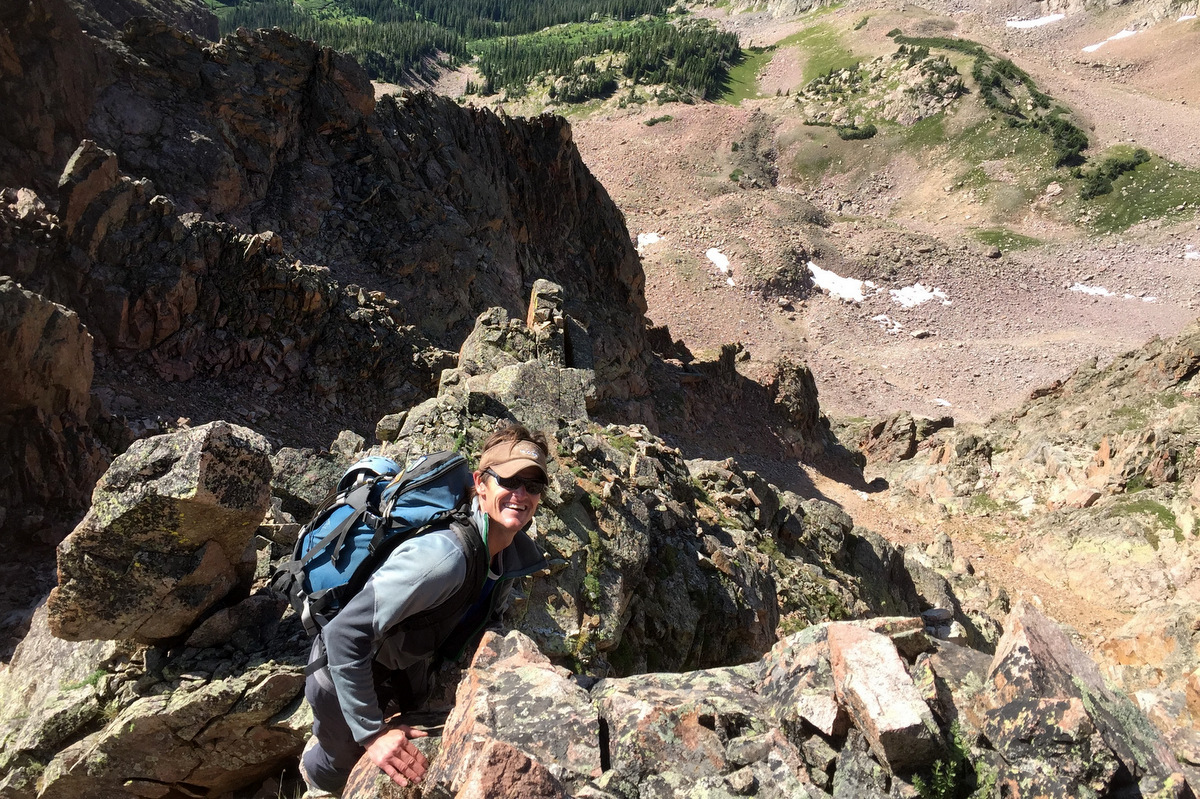
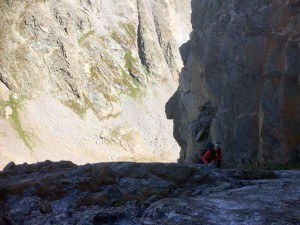
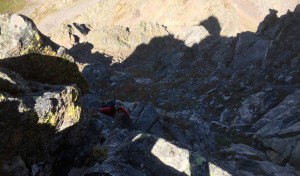
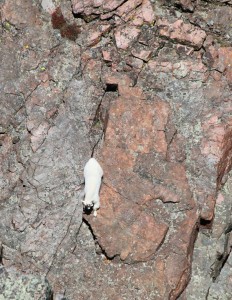
Me downclimbing the class 4 headwall to the notch below where Mikey & Rainier wait
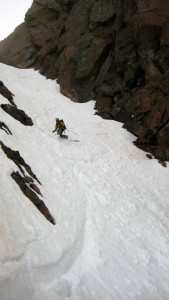
Fast forward 2 years and Kristine, myself, J, Chris Carlsen, Rainier, & Kona climbed and skied the southwest couloir in May of 2009. Despite being sloppy heavy mashed potatoes in which Rainier set off a wet slide herself and ended up riding it down the couloir into the apron below chasing snow balls (think very slow moving) and an ominous thunderstorm forcing us to speed up our climb and ski descent, it was a great day.
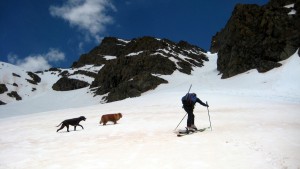
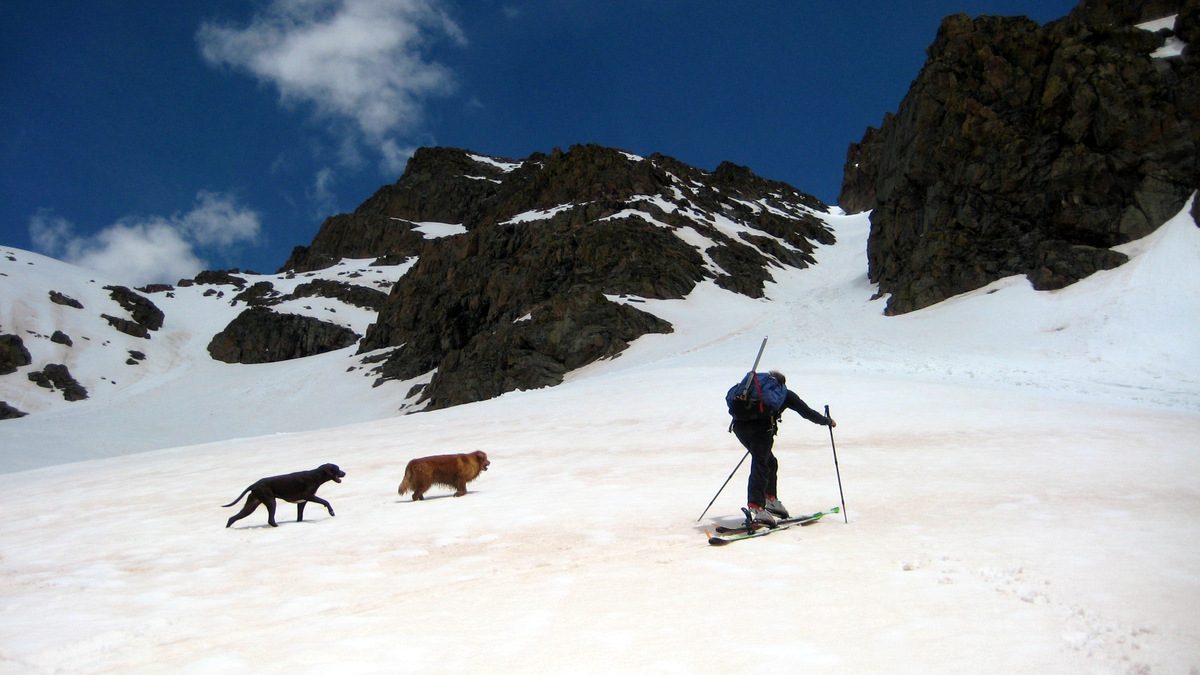
J, Rainier, & Kona approaching the southwest couloir of Peak C in May 2009
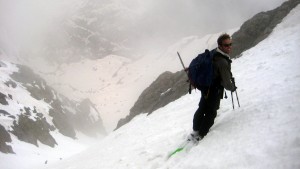
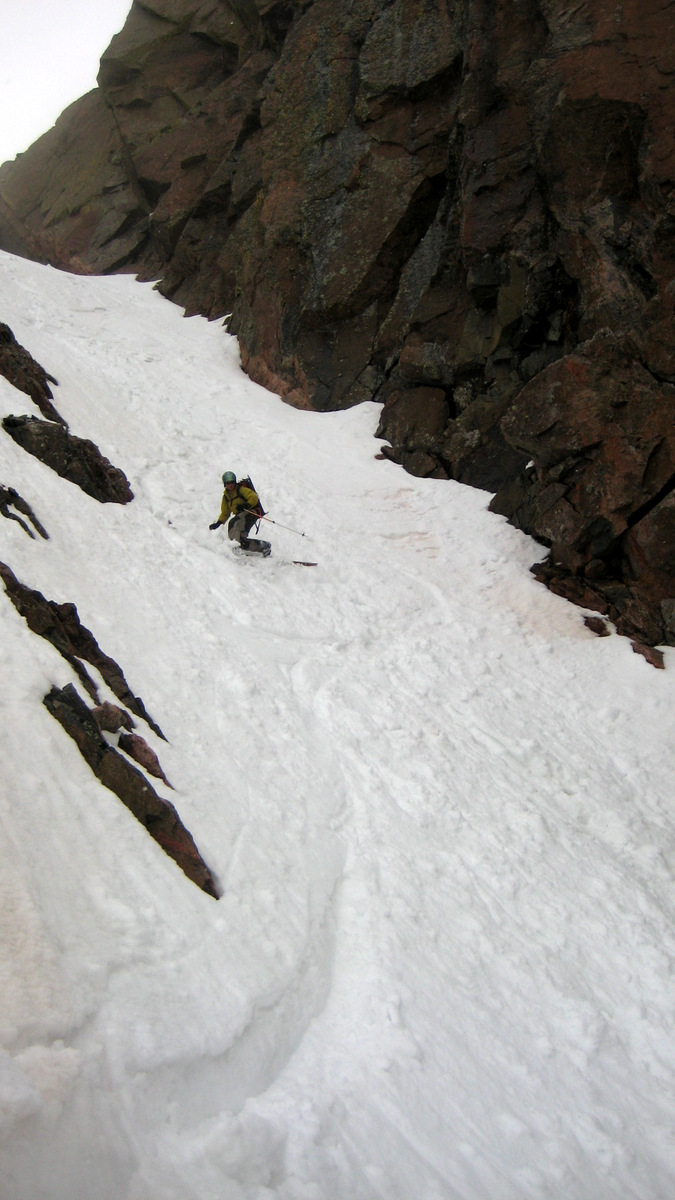
J beginning the descent down the southwest couloir as a storm engulfed us
Chris in great form dropping the knee
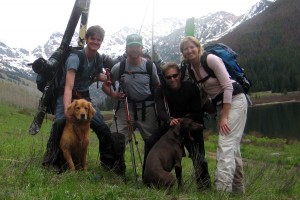
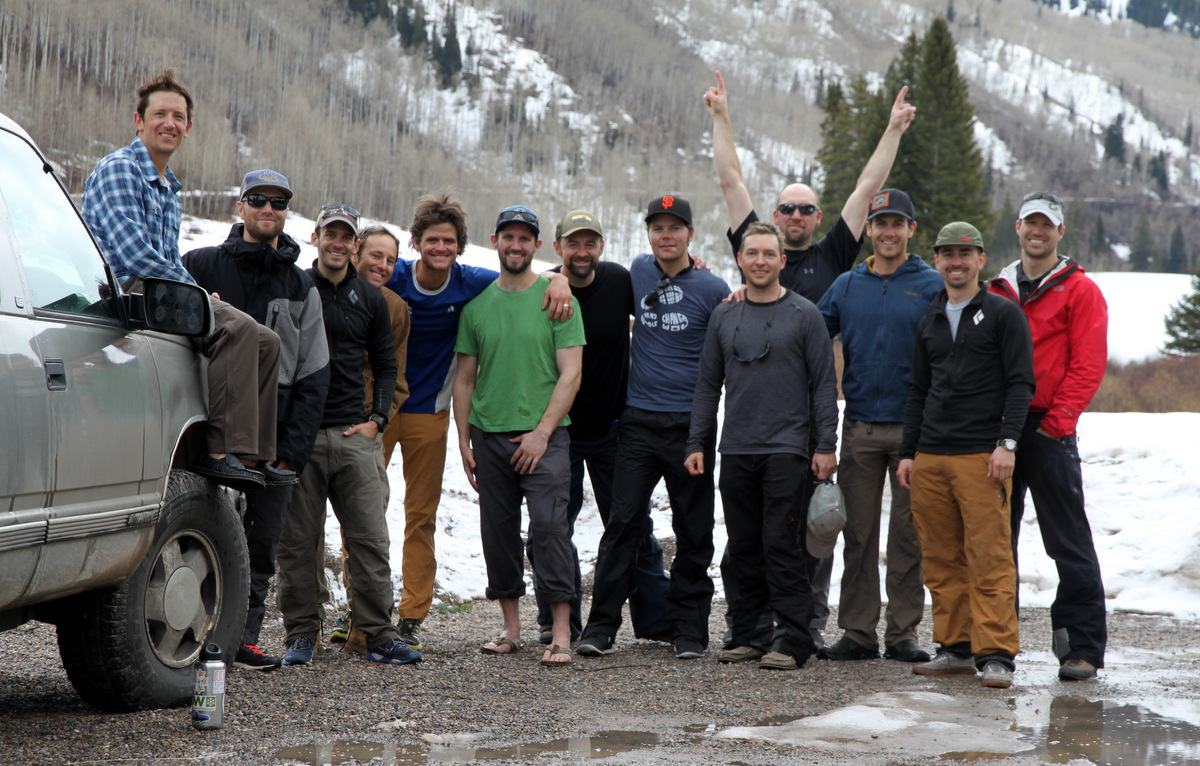
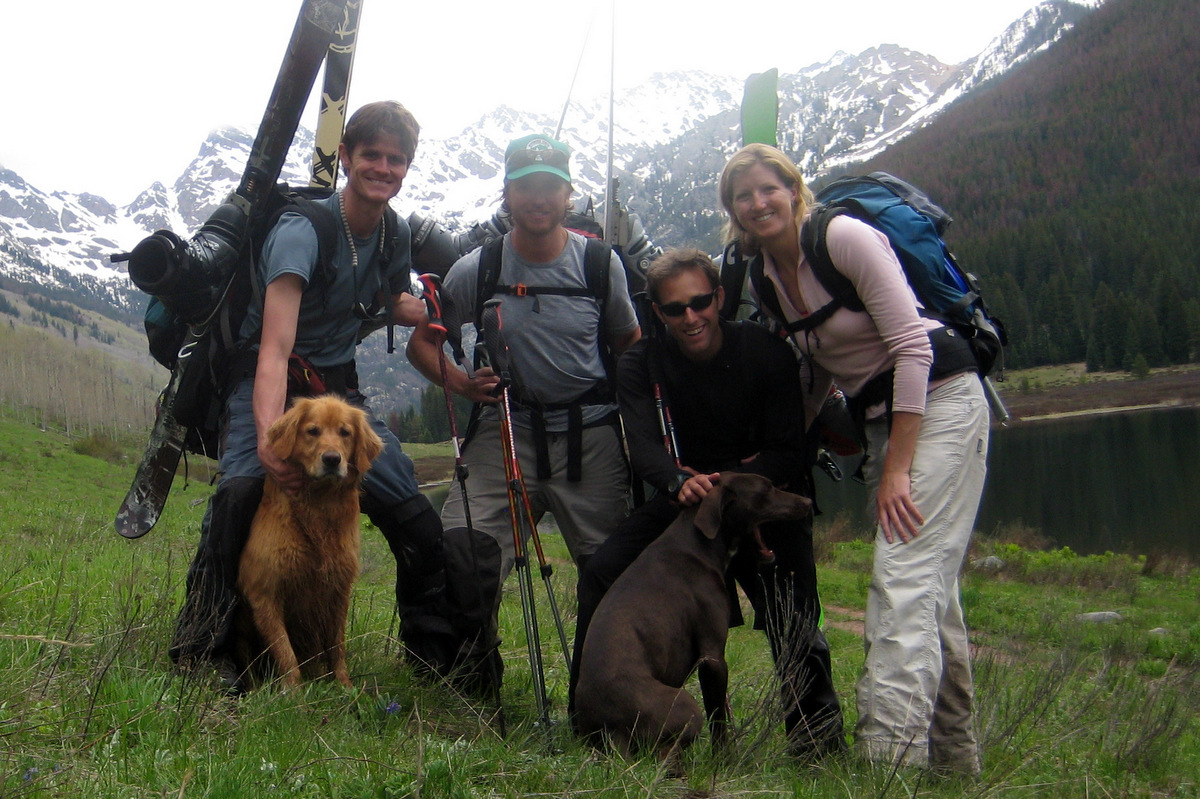
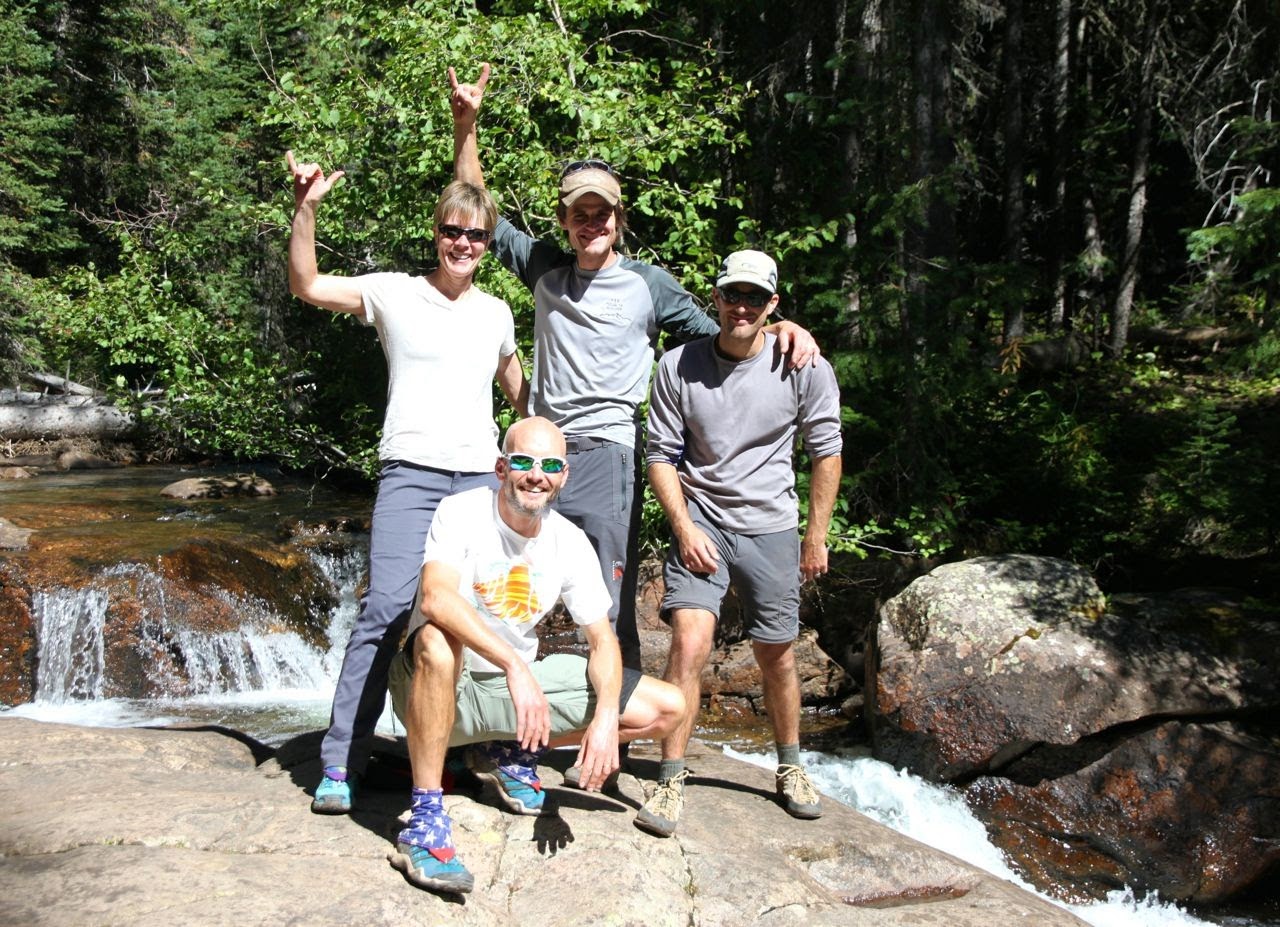
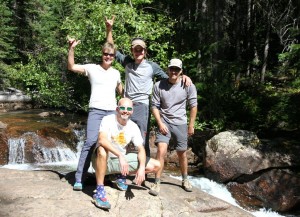
Our crew back at Piney Lake
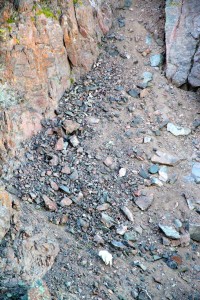
Again, fast forward 2 more years to September 2011 and you have me, J, and Caleb Wray scrambling the Ripsaw Ridge traverse from Peak C to Peak G. This was the first time I had climbed the southwest couloir without snow and it is a bit tedious and dangerous with rockfall. However, once on the ridge proper, it was a solid day out with those boys.

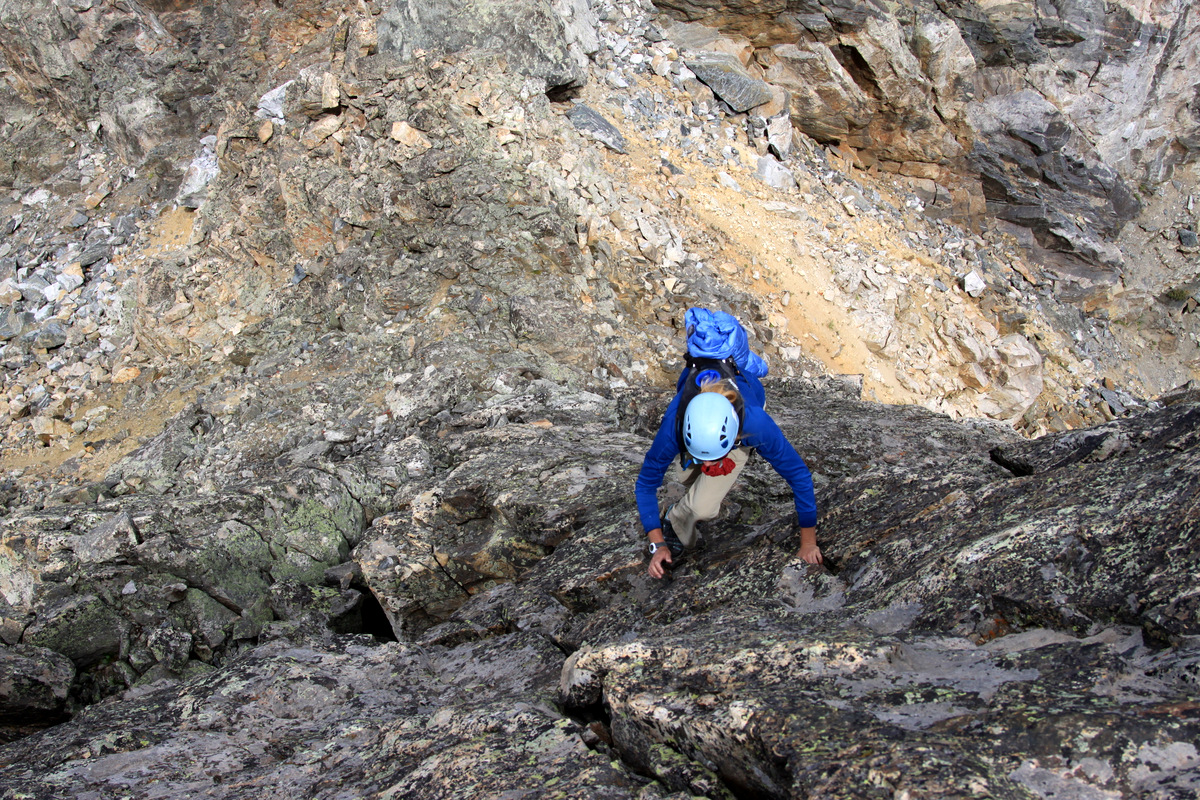
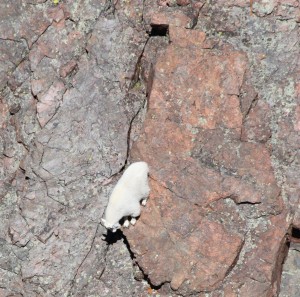
J and myself climbing the class 4 headwall up Peak C’s south ridge. Photo by Caleb Wray
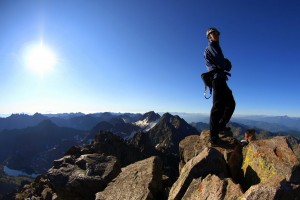
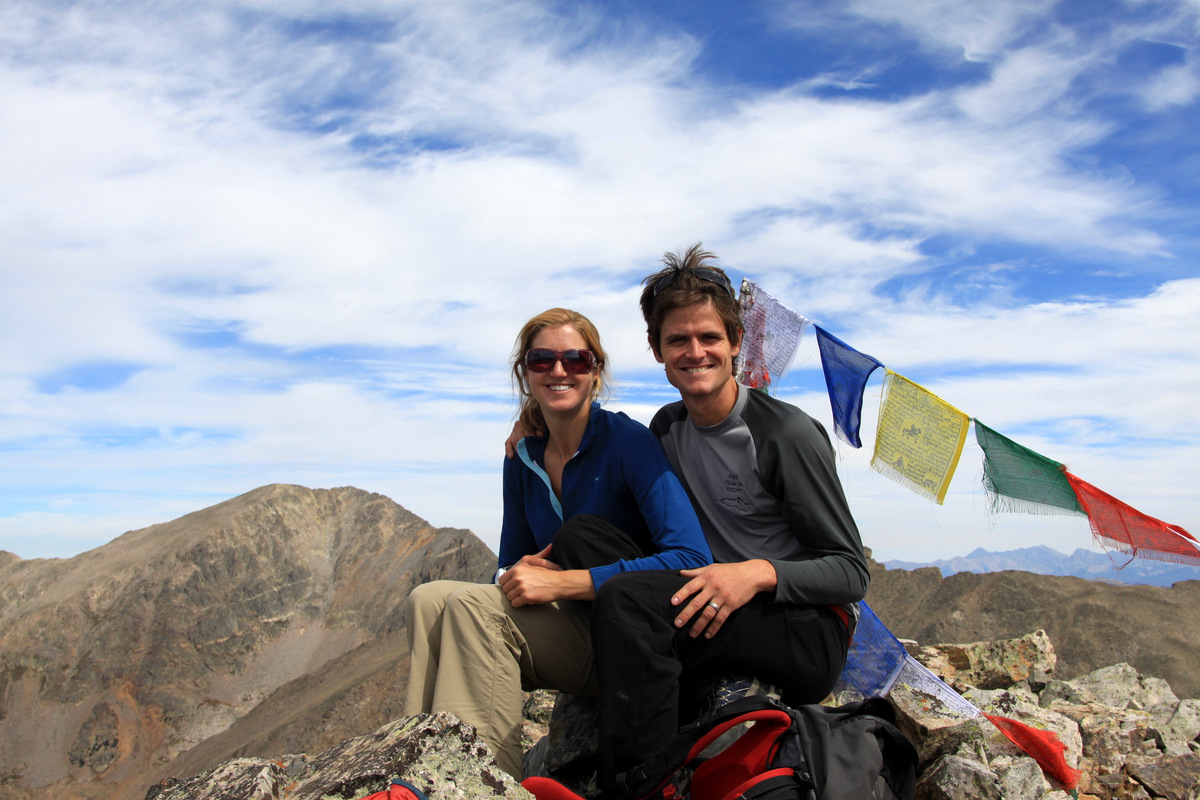
Me on the summit of Peak C before traversing Ripsaw Ridge. Photo by Caleb Wray
I had looked at the northwest ridge of Peak C for years wondering if there was a way up it. Then, that wonderment sort of faded away with all of the other adventures we had going on between 2007 and 2014 until my buddy Ryan Marsters and his partner Derek climbed the northwest ridge as an exciting start to their day of traversing Ripsaw Ridge. I remember reading their report and seeing the topo of the route and my interest was piqued once again.
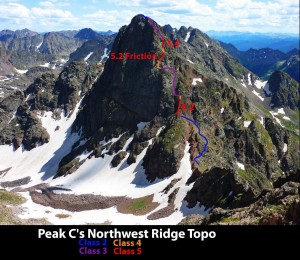
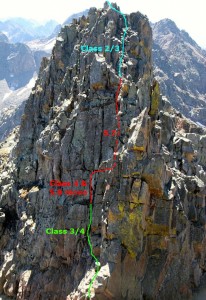
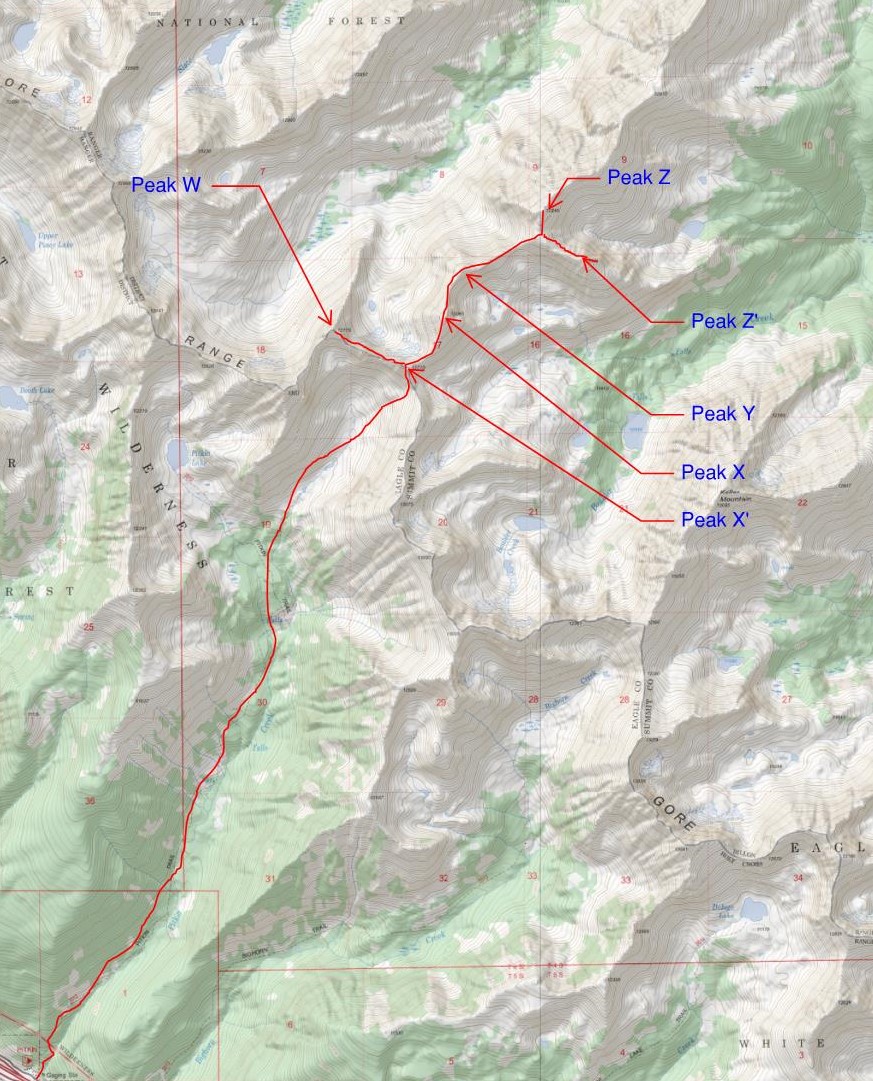
Peak C northwest ridge route courtesy of Ryan & Derek. Click to enlarge
I thought it would be a great moderate alpine climb for Kristine & myself as it had been awhile since the two of us got out all day together. Fortunately, our friend Sabrina was willing to come over at 5am to start watching Sawyer. That’s the problem with what we like to do and having a baby. Rarely do babysitters like to come over during the wee hours of the morning. It was just so nice of her. Anyway, I had planned this for a week or two thinking the Sunday was going to be this bluebird sunny day of weather per the forecast. Well, it couldn’t have been more wrong. Let’s just say I was a bit frustrated with the weather gods. My good buddy Brian Miller calls NOAA “No Obligation to Anything Accurate”. He couldn’t be more right in that statement. I think its more frustrating for obvious reasons when you really can’t do this stuff together like in the good ole days anytime we please. And, when things don’t go according to plan, the frustration is amplified because you know we can’t just come out again the next day together because of our responsibilities at home.
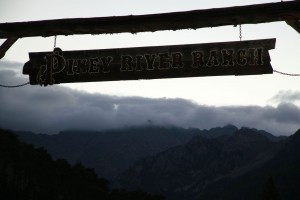
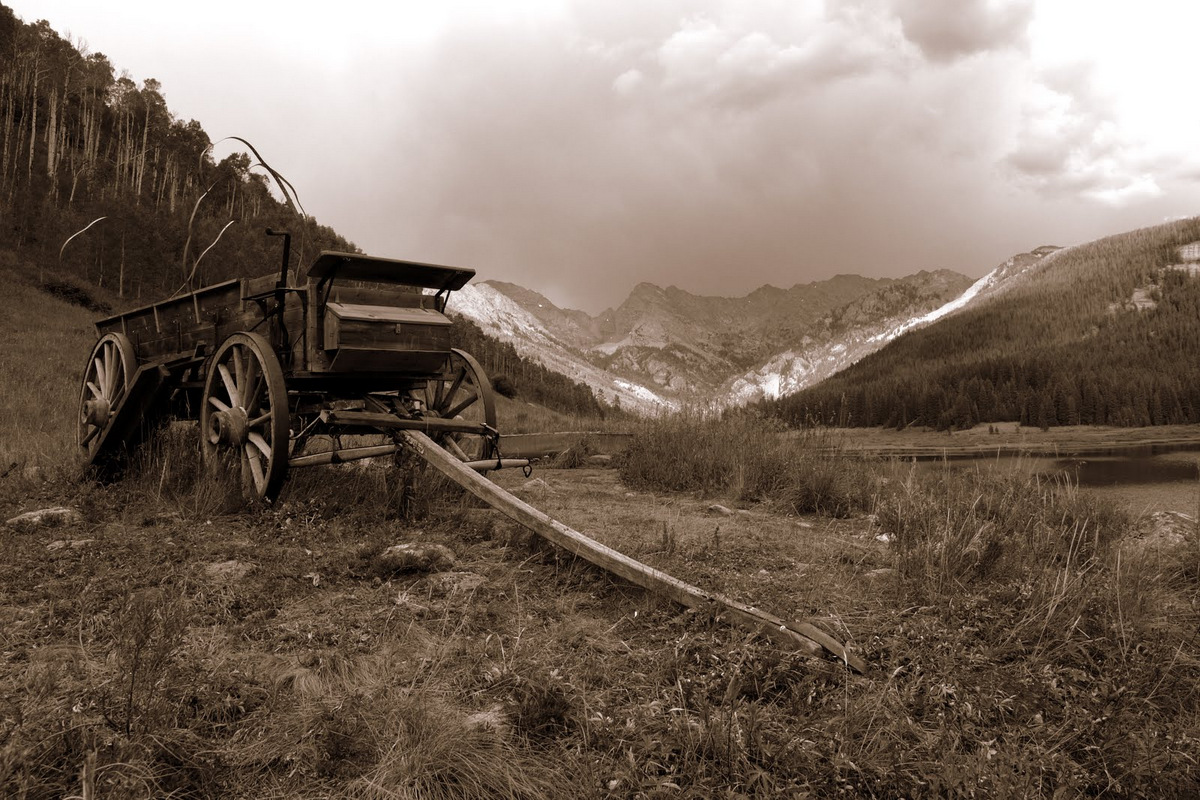
A friend, John Danese, said this would make a good intro for the movie “Rocky Horror Picture Show at Piney Ranch”
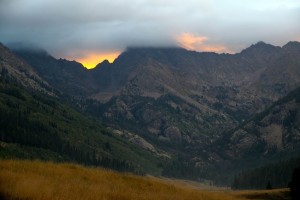
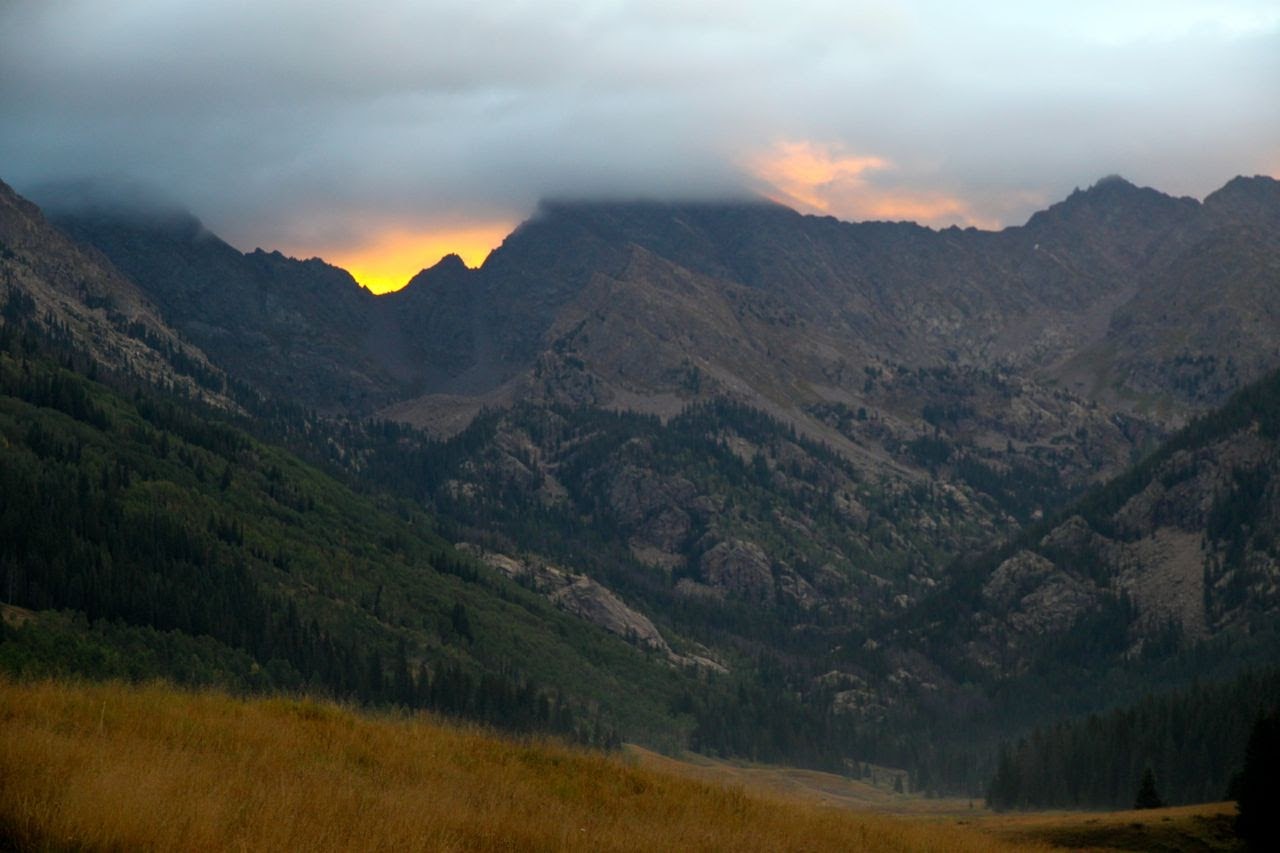
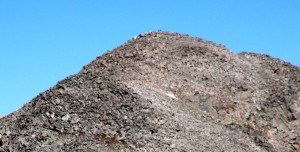
Peak C from Piney Lake engulfed in clouds at sunrise

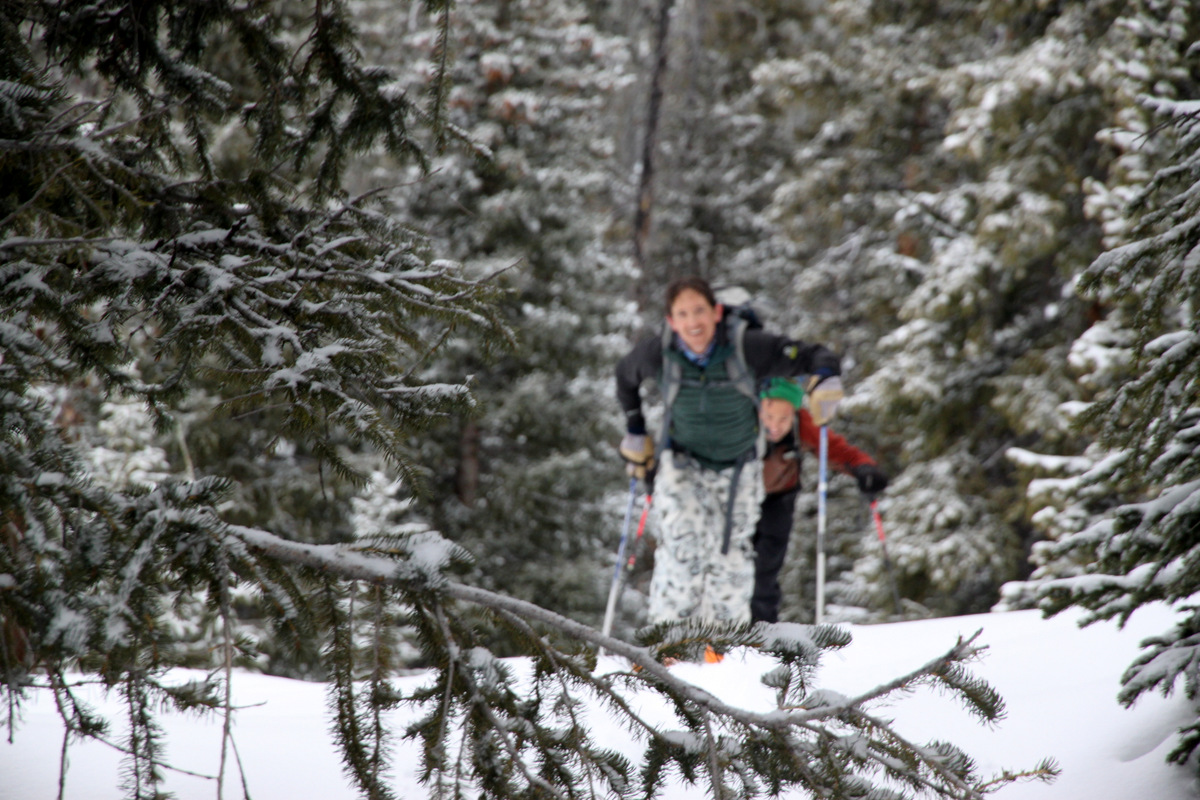
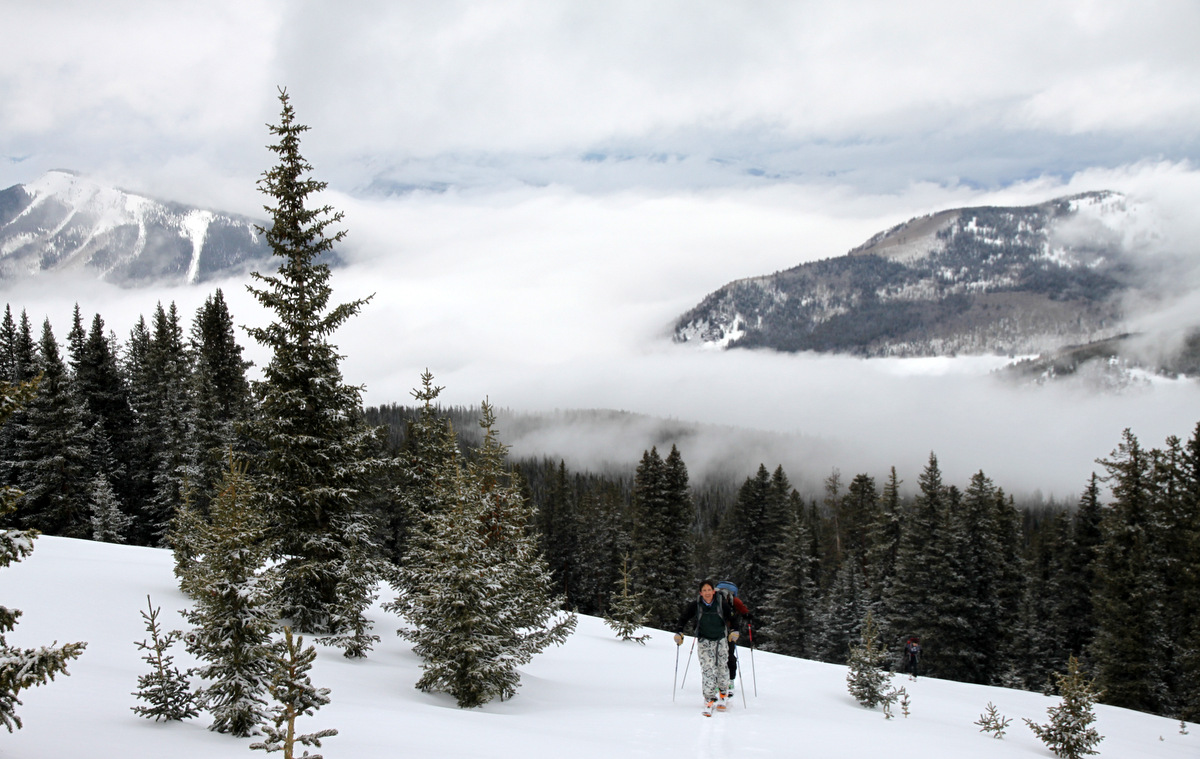
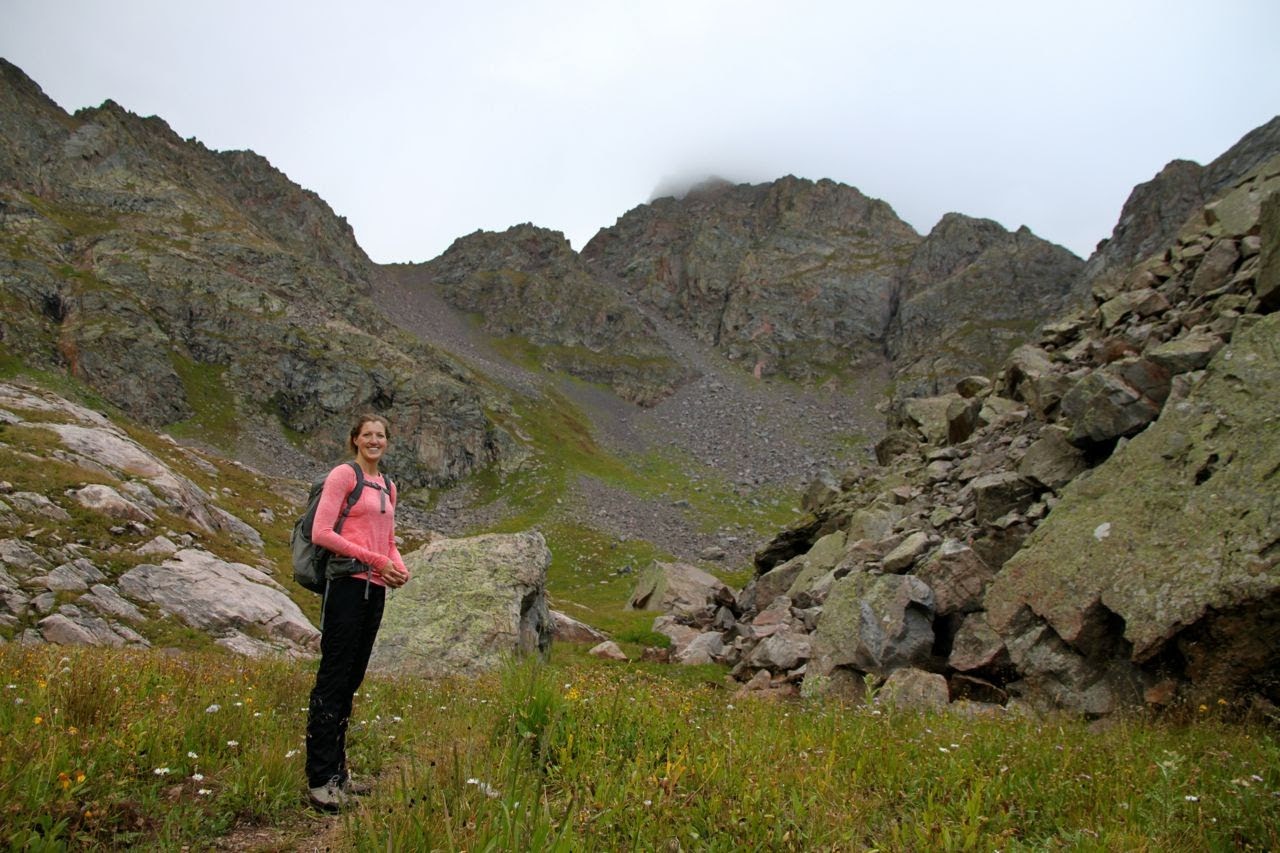
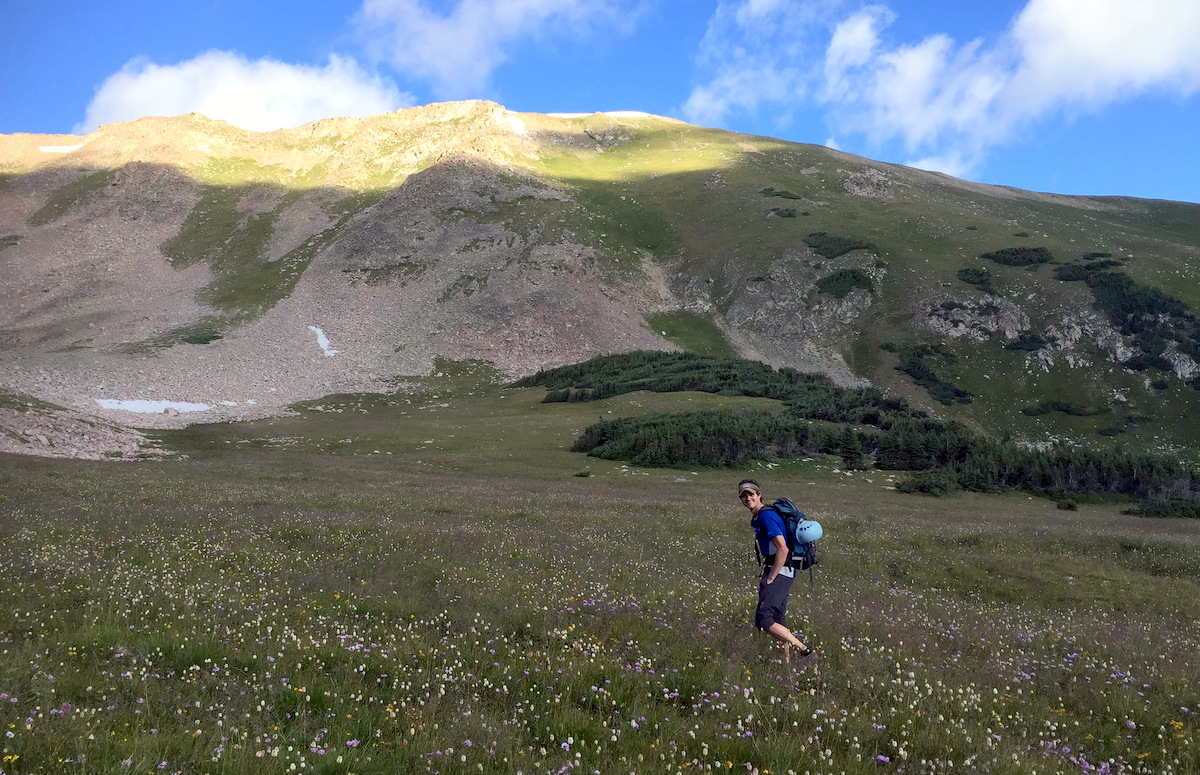
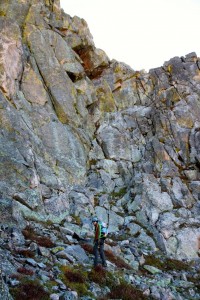
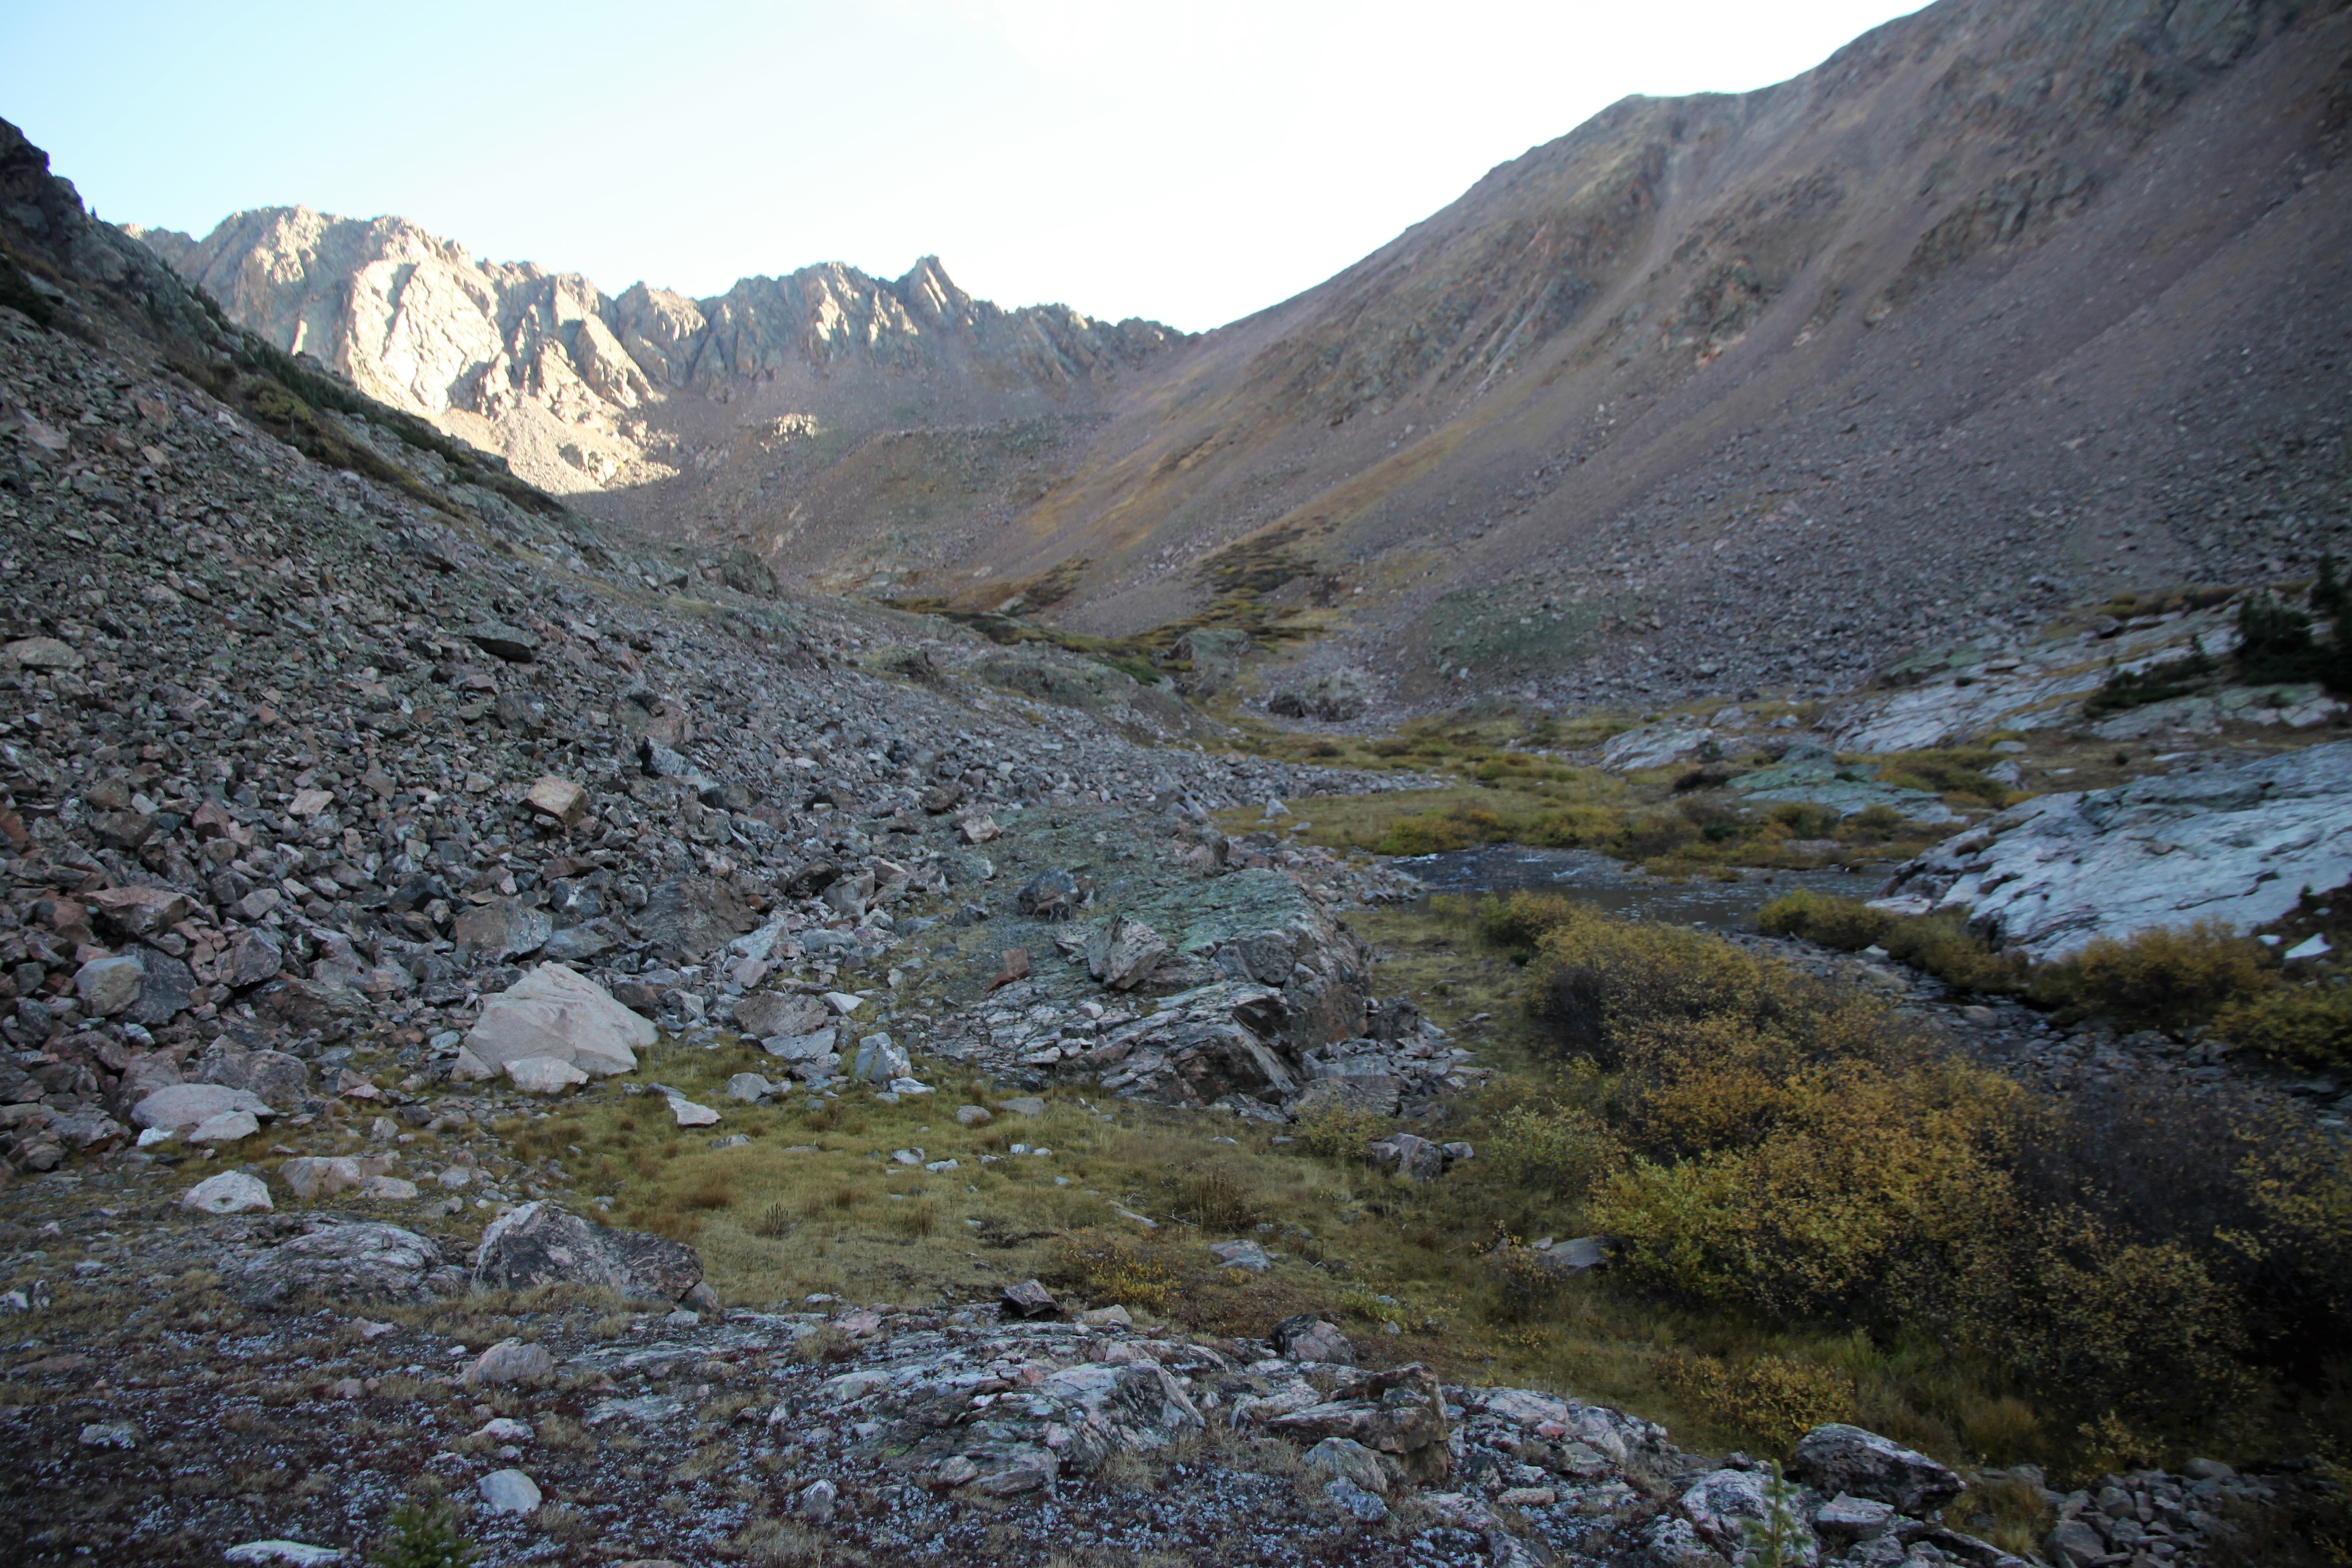
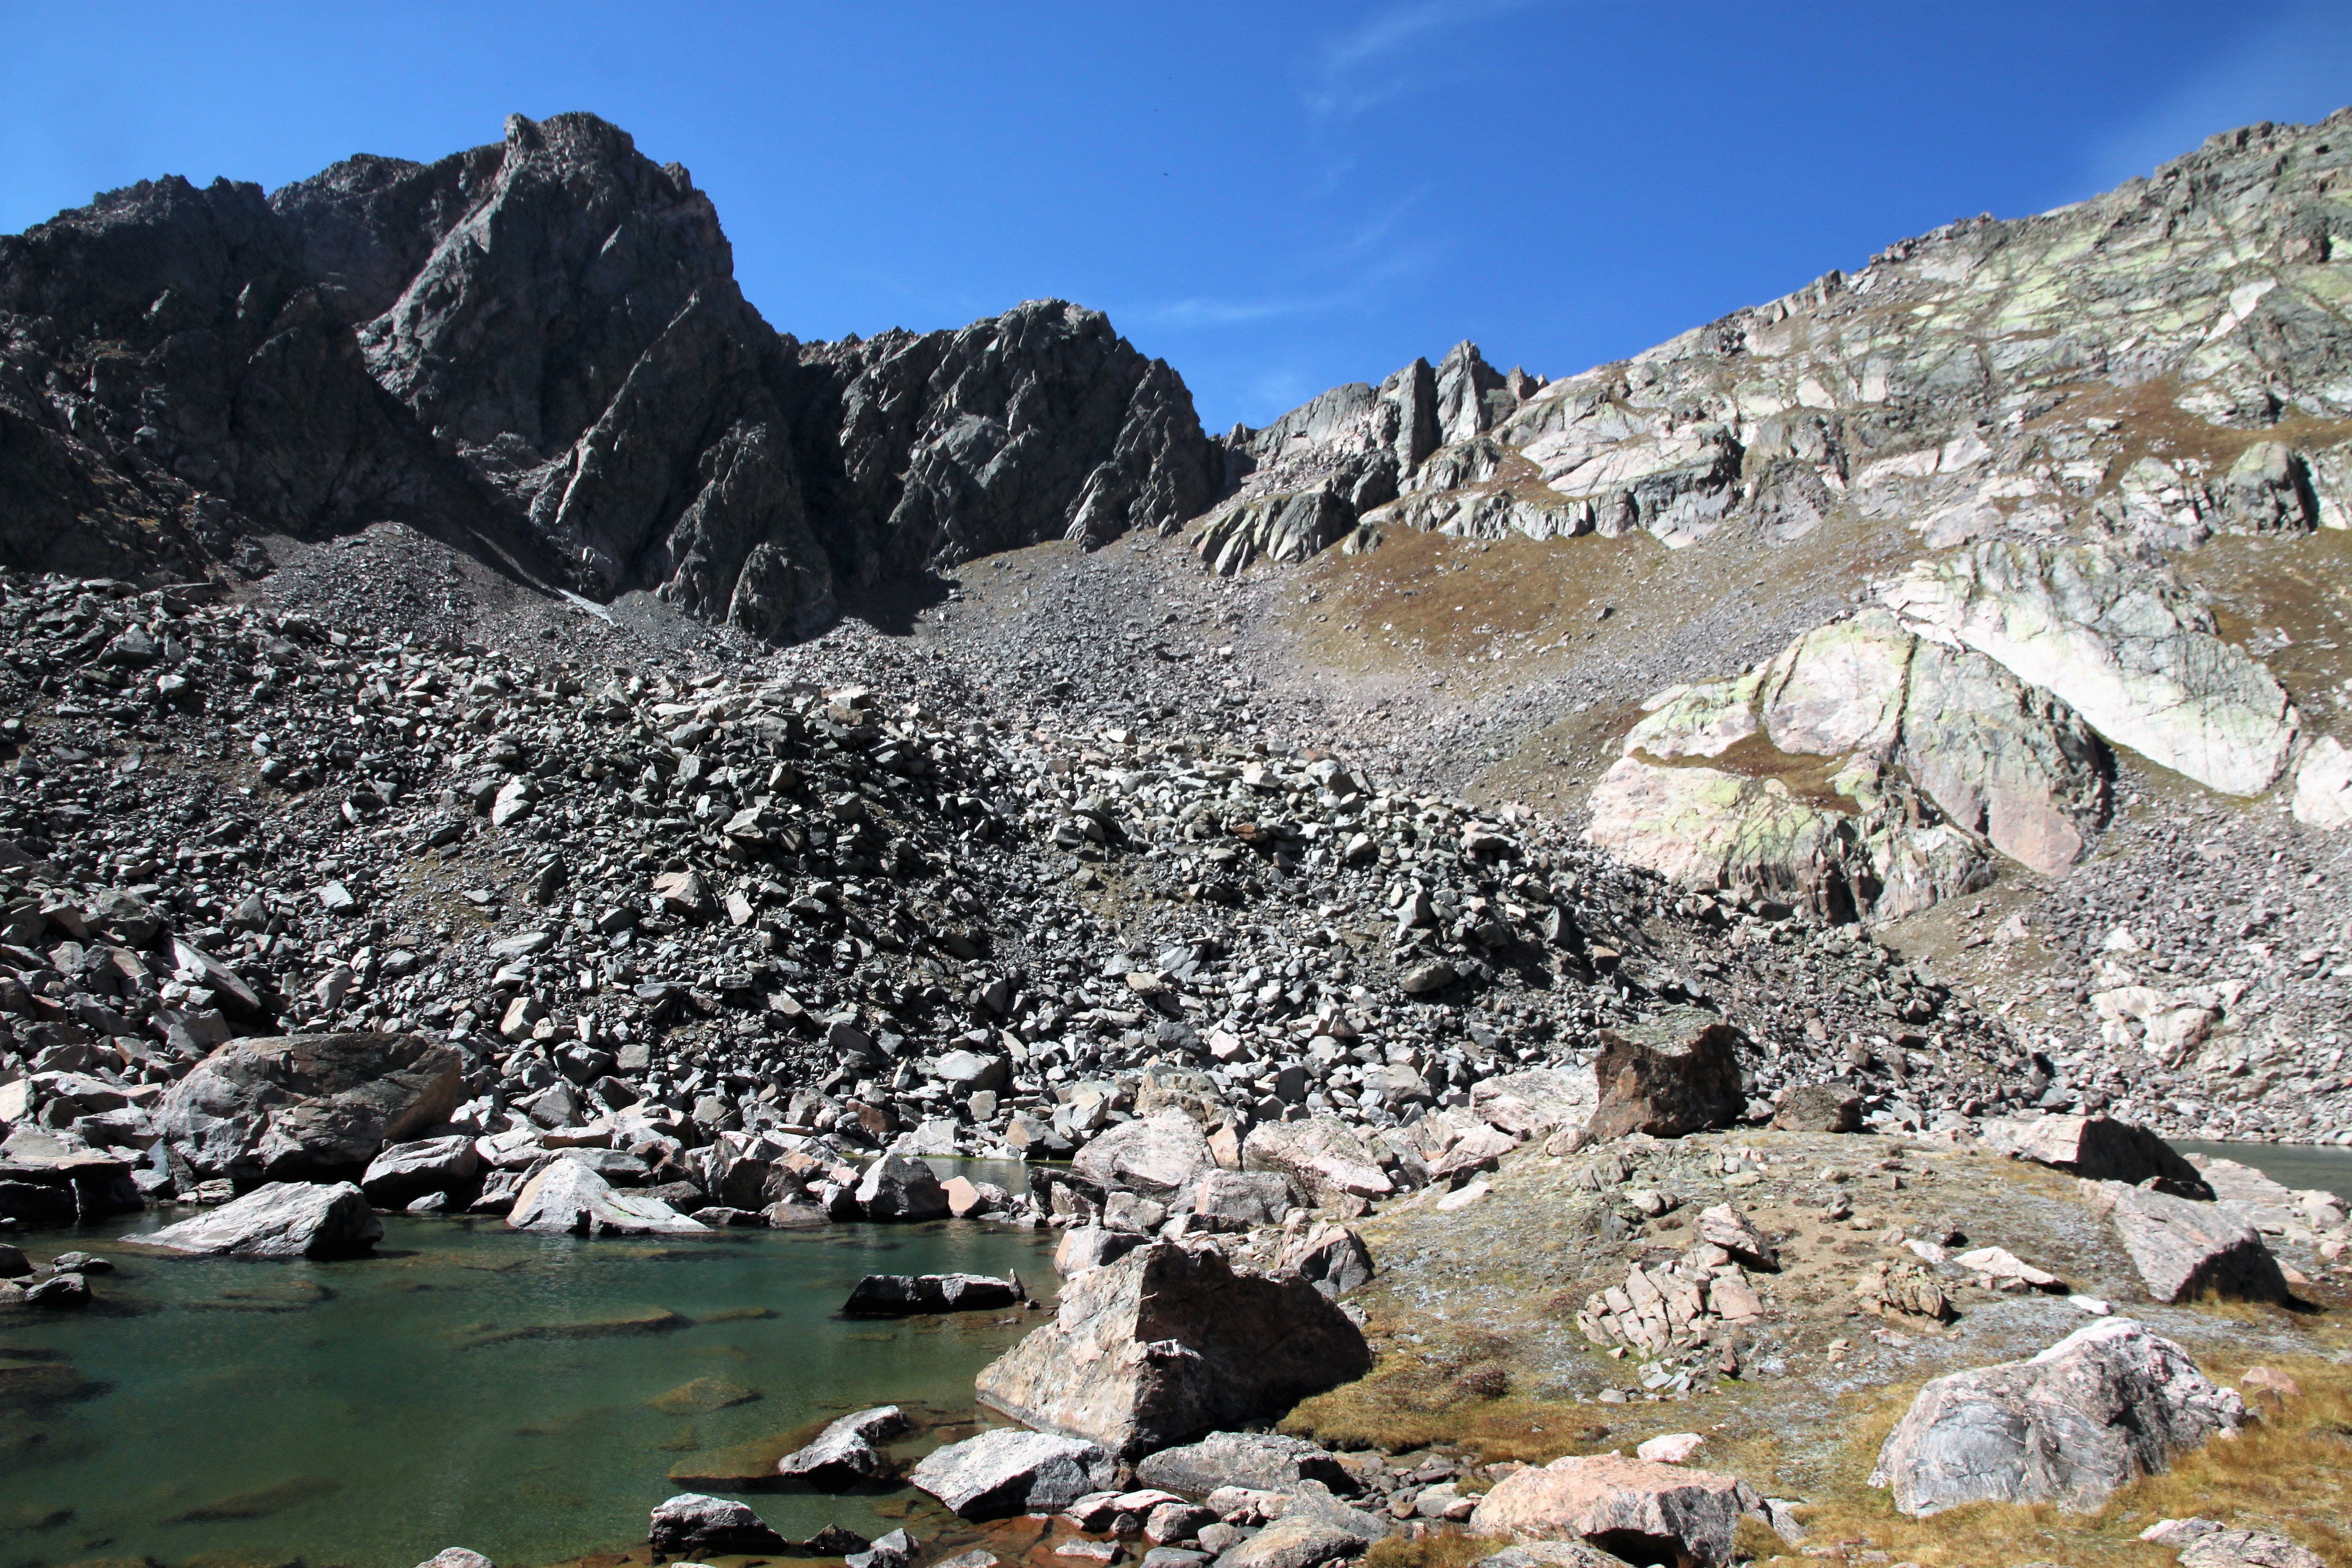
Kristine in Kneeknocker Basin below Peak C (in clouds) and Kneeknocker Pass (above her head in the picture)
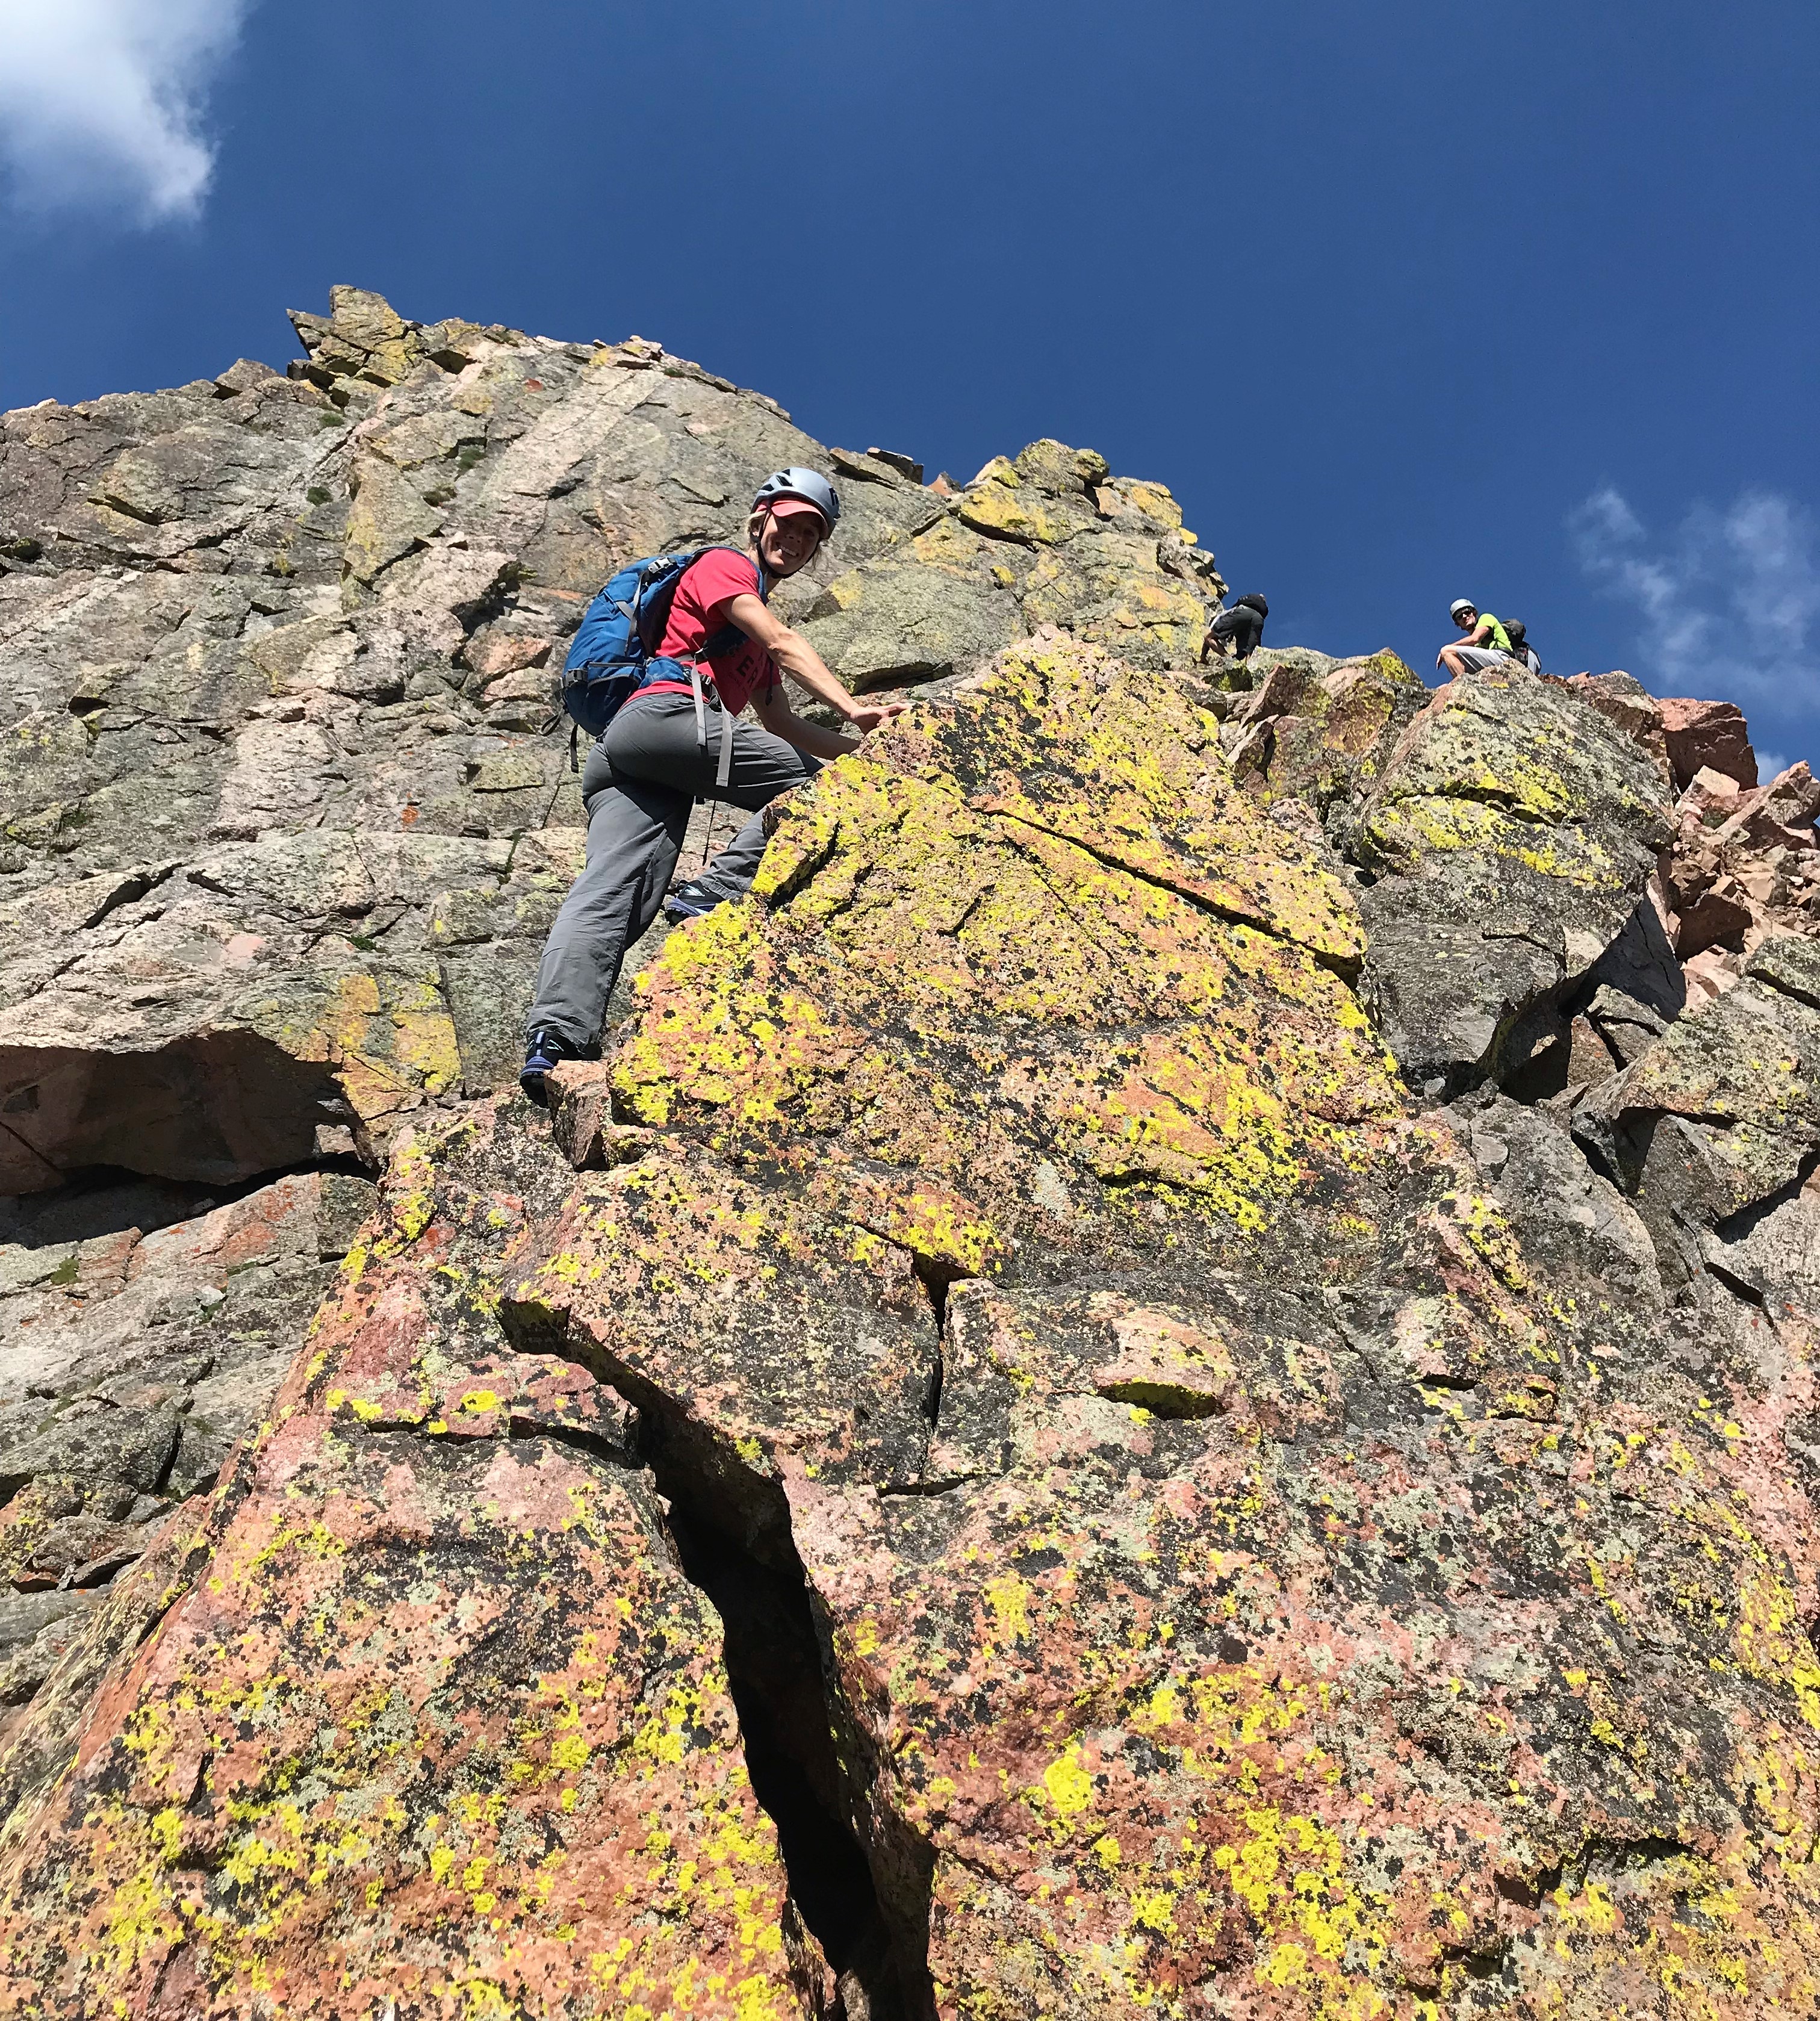
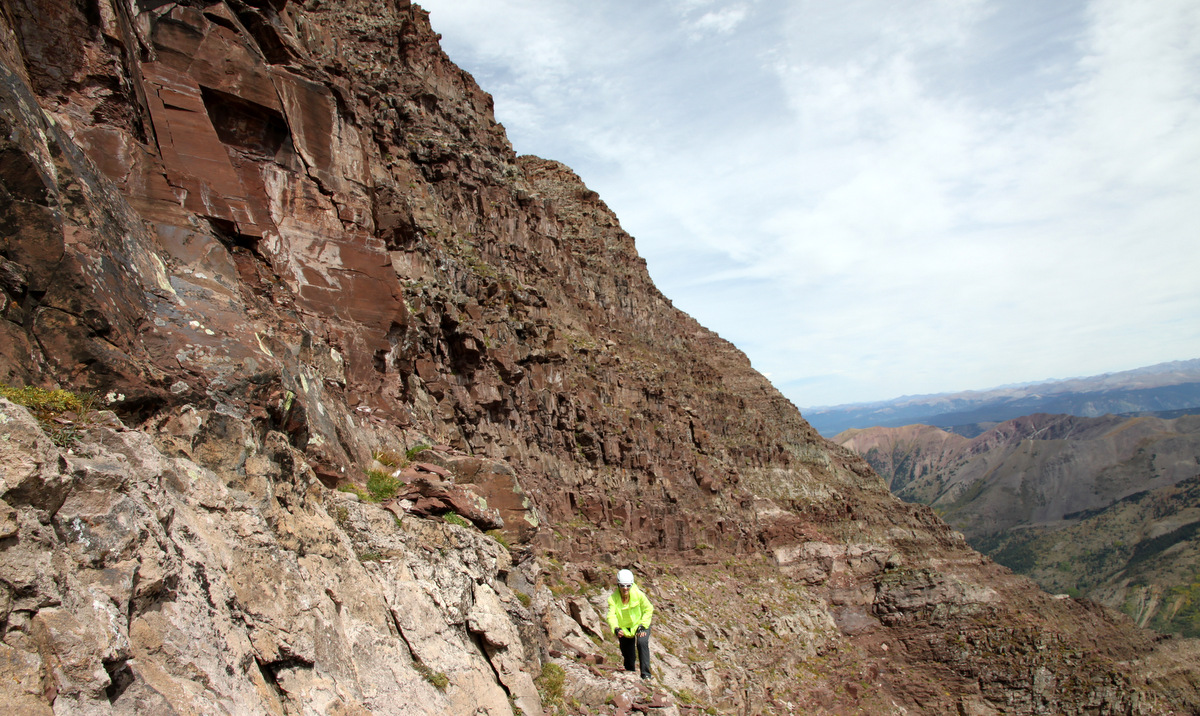
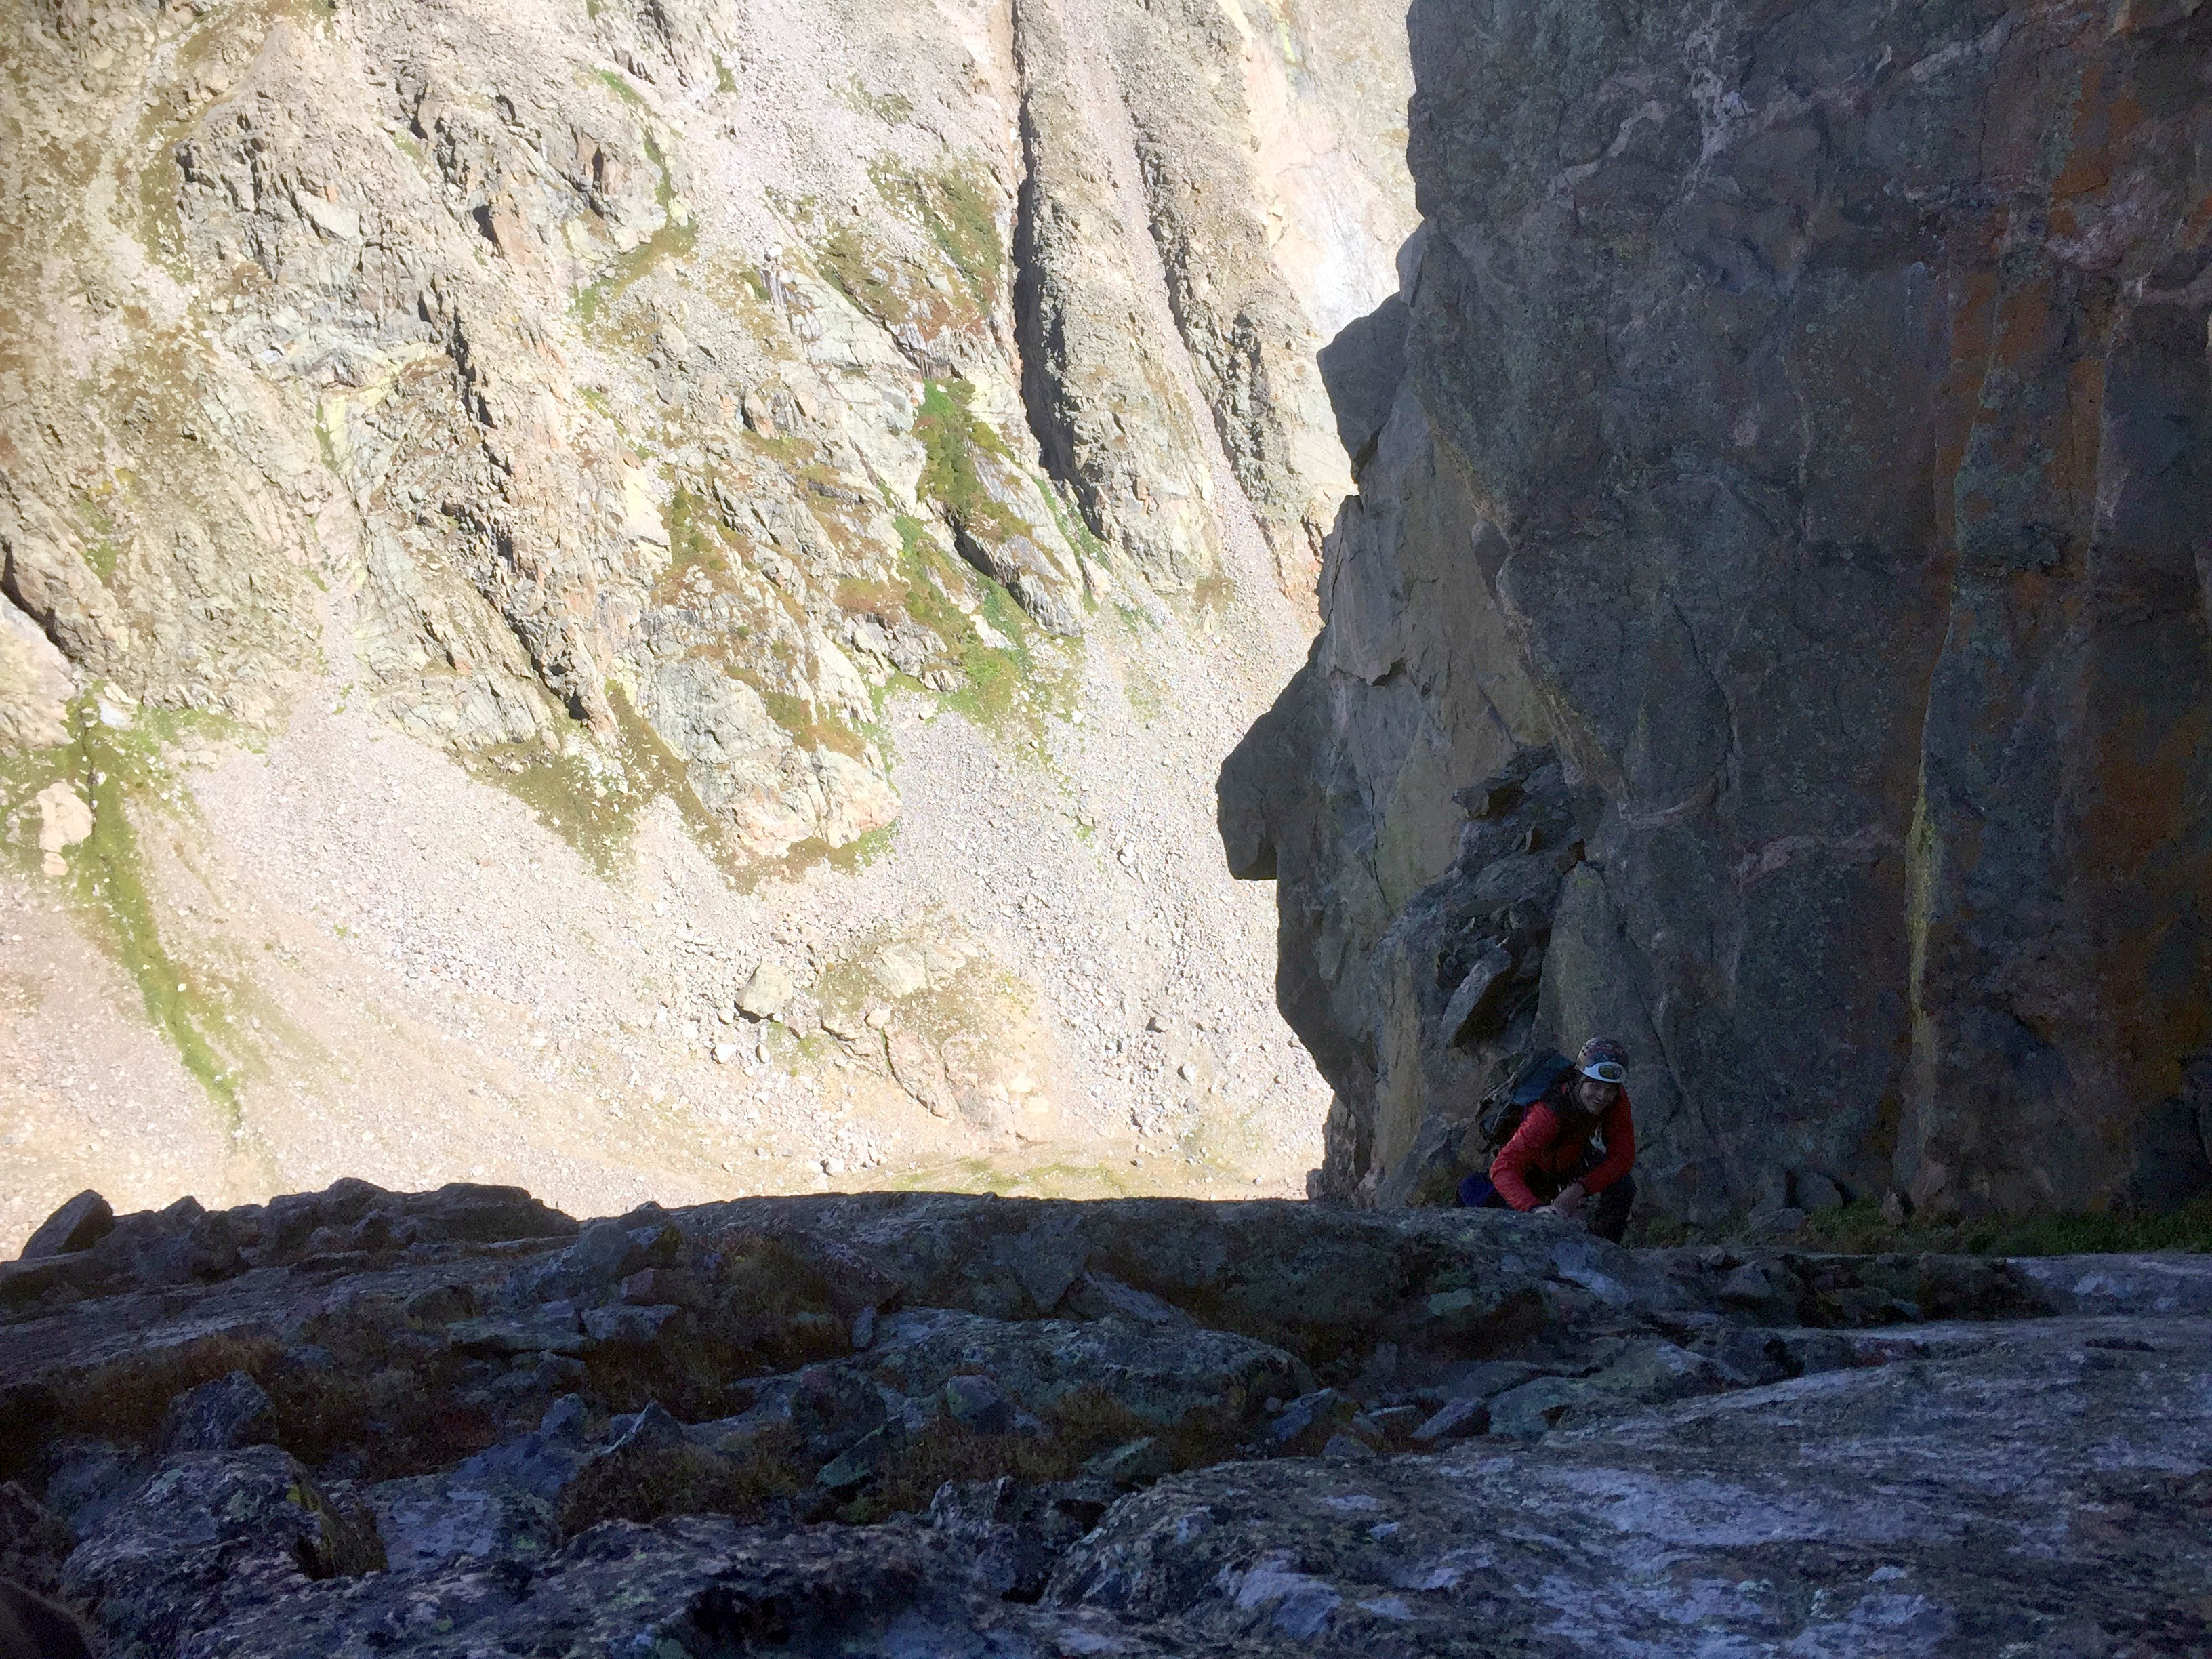
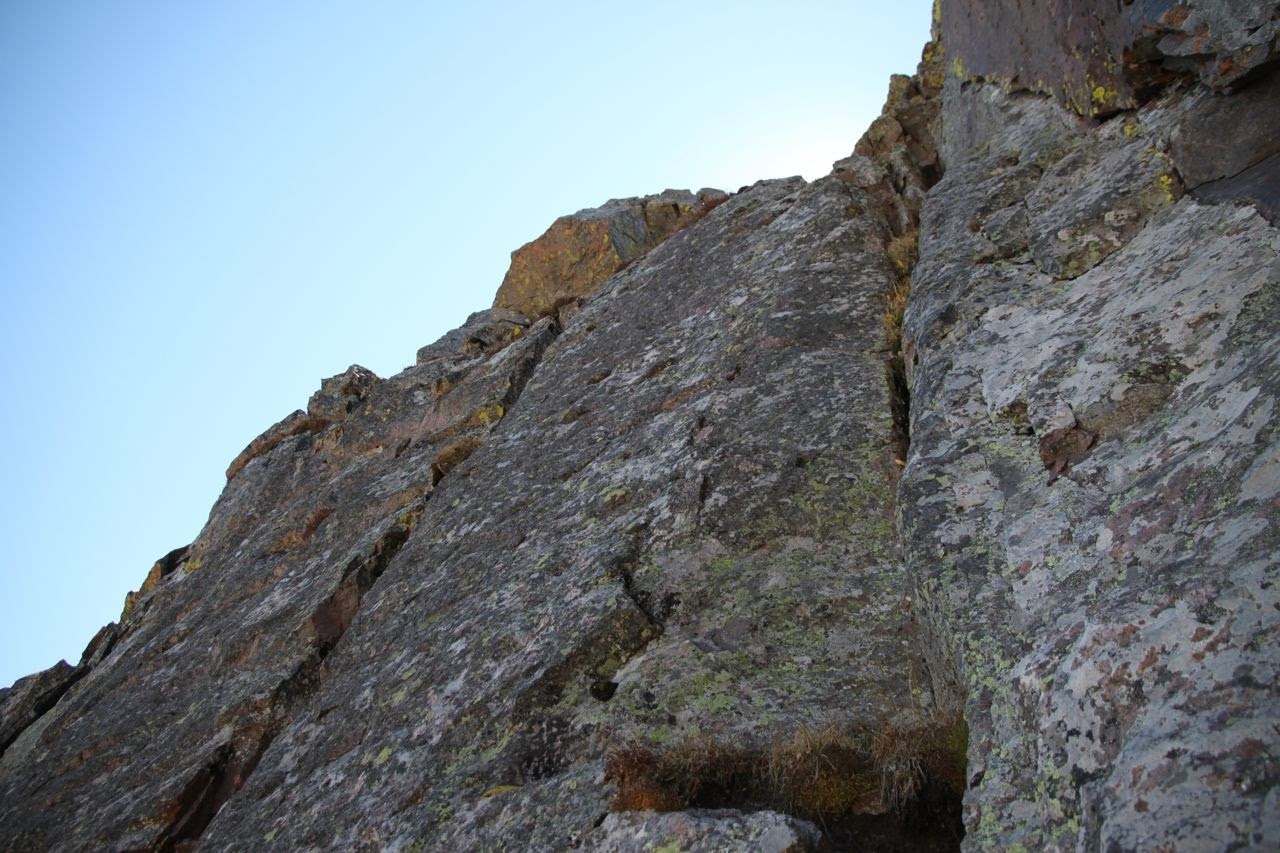
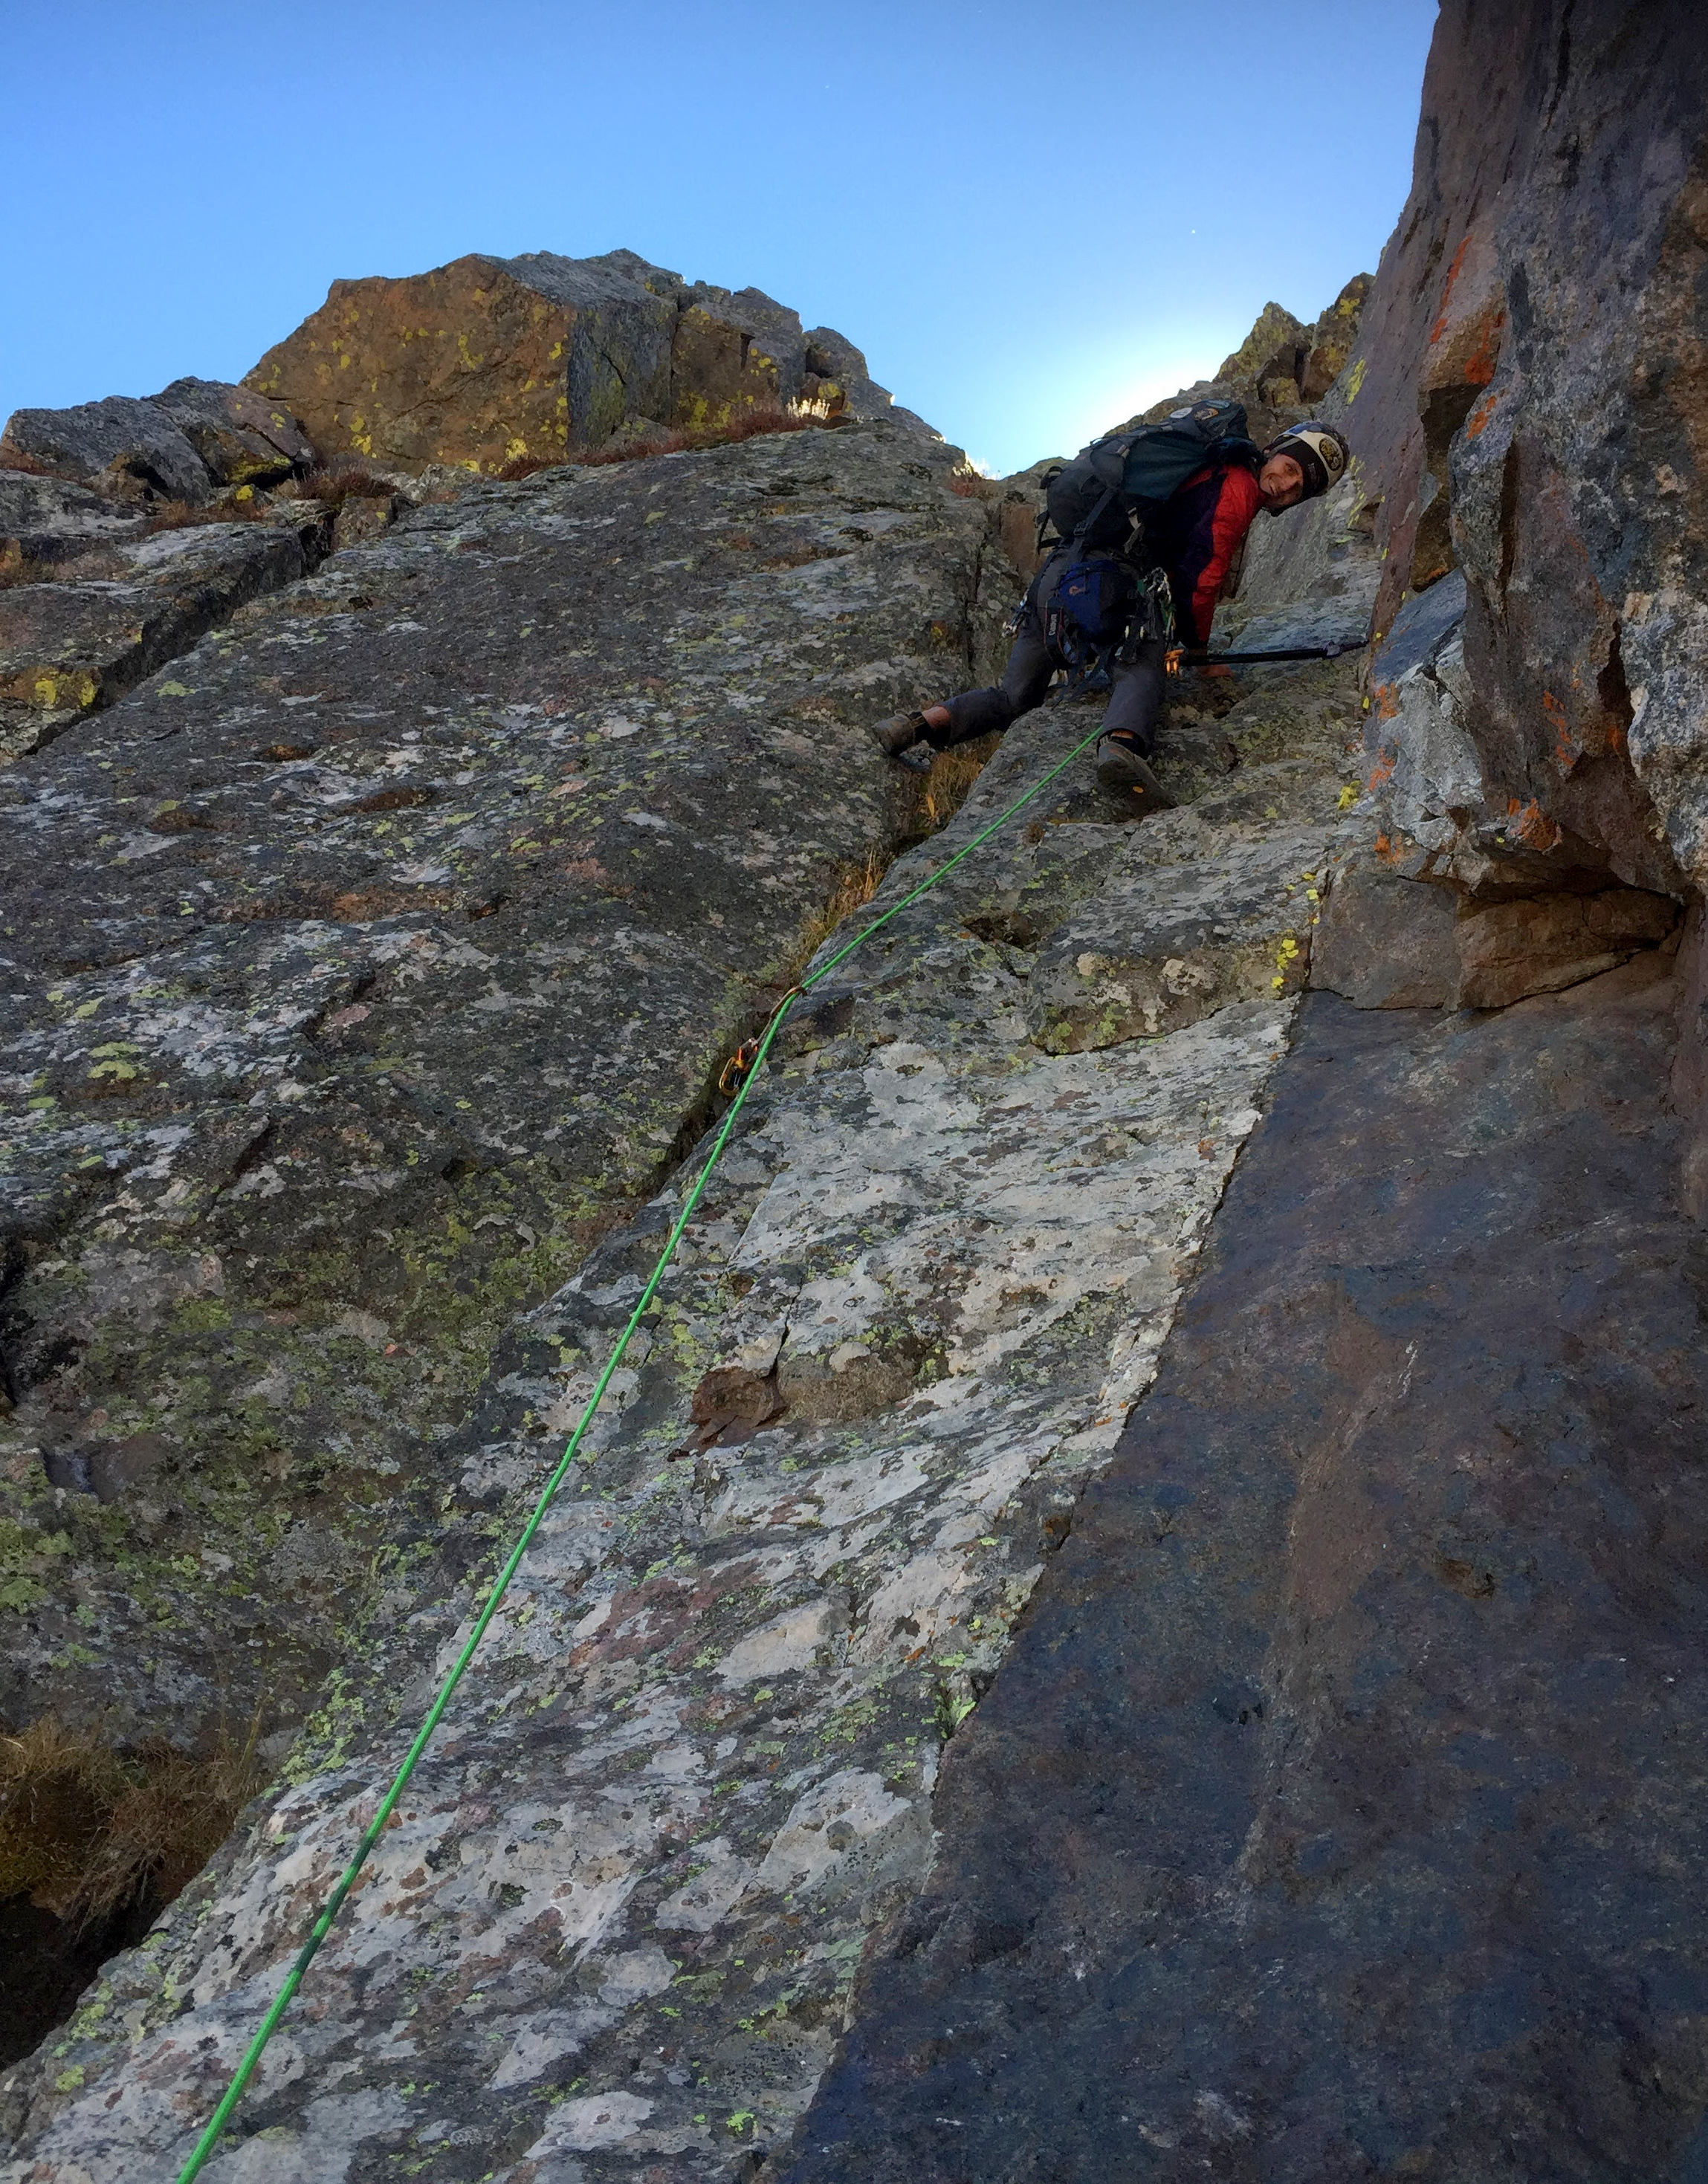
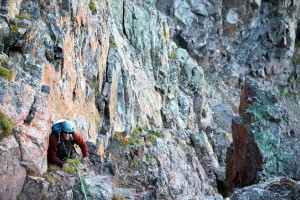
We got on the Upper Piney Lake trail by 6:30am and were at Kneeknocker Pass (almost 5 miles later and 3,000′ of vertical gain) at 9am. I was hoofing it just to keep up with Kristine. It was a fine pace we had going. Peak C had been engulfed in clouds all morning and the wind was whipping at the pass and it was fairly frigid. Based on the forecast, we really only had a lightweight layer each under our mini-down jackets. This was not nearly enough. We had one pair of gloves between us. We found some boulders at the pass to take shelter from the west wind, which helped a lot. However, we were both still shivering. Kristine was shivering quite a bit and so cold. I felt like when the forecast calls for sun and blue sky this stuff usually burns off. So, we waited for 30 minutes and then traversed south over the small hump to the upper saddle and found the base of the route and the 5.2 chimney pitch, which was fortunately on the eastern (leeward) side of the ridge proper. We still couldn’t see the upper portion of Peak C as it was still engulfed in clouds and the wind was whipping, but we had to give it a go. We broke out our alpine rack, harnesses, helmets, and my 30m/8mm rope and I began my lead up the pitch. After placing two cams at the small 5.2 crux sections, I set up a belay when Kristine called out that I had 5 ft of rope remaining. I then belayed Kristine up.
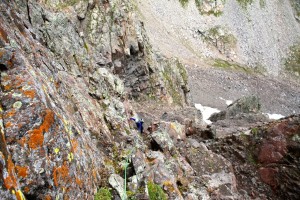
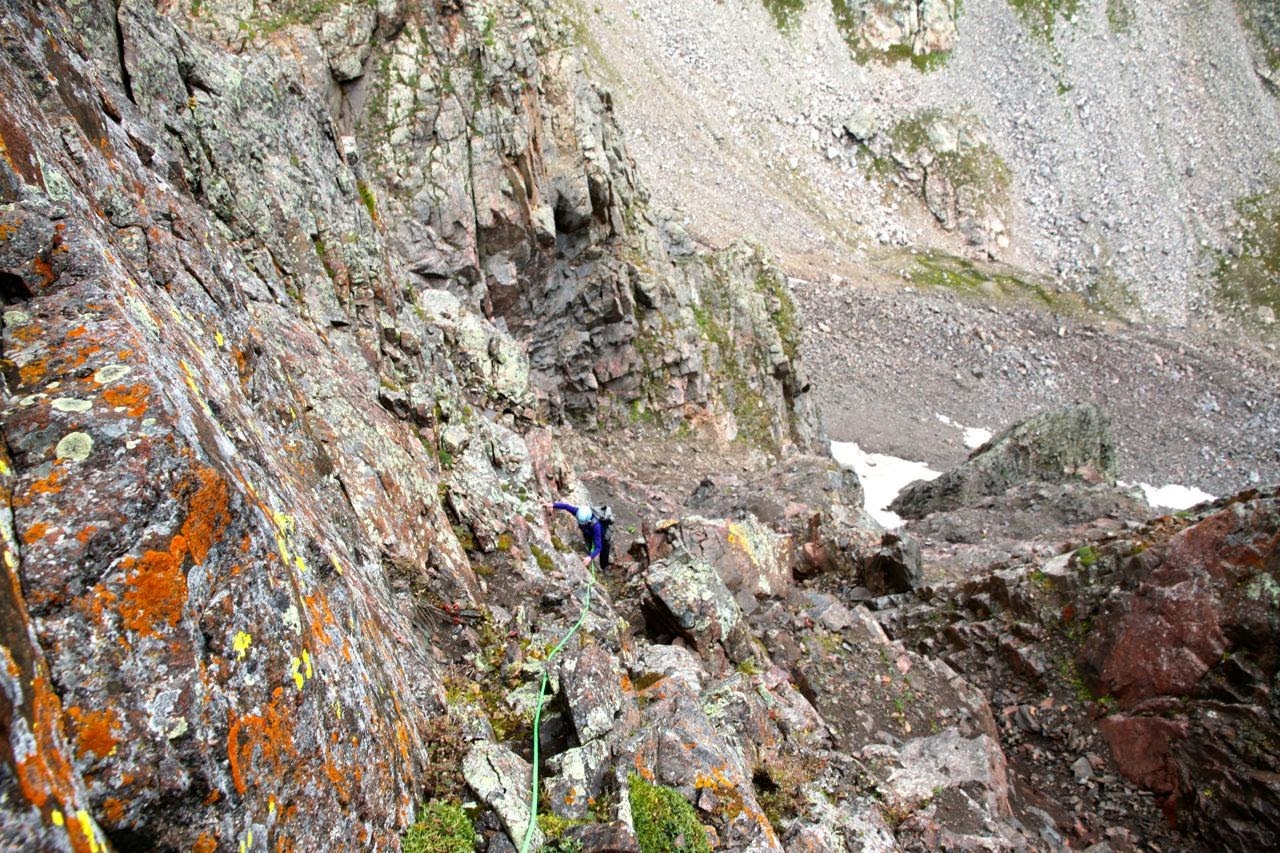
Kristine climbing the 1st 5.2 pitch on Peak C’s northwest ridge
She was still shivering uncontrollably and we both think the cold was sapping some of her mental strength and drive not to mention her physical strength. She belayed me up to the ledge another 40′ up placing one cam along the way and I looked around, but decided not to belay her up as we agreed it was time to turn around. Conditions were not good and neither of us wanted Kristine scrambling on 4th class terrain shivering and not being totally focused. As hard as it was to turn back, it was the right thing to do. I downclimbed back to Kristine, lowered her down from the belay, and then I downclimbed/rappelled back to the base of the route. As defeated as we were for a bit, we soon realized we were lucky to get out together for 9 hours alone and enjoy each other and the Gore Range whether we tagged a summit or not.
Happy us back at Kneeknocker Pass with Peak C’s northwest ridge rising behind us
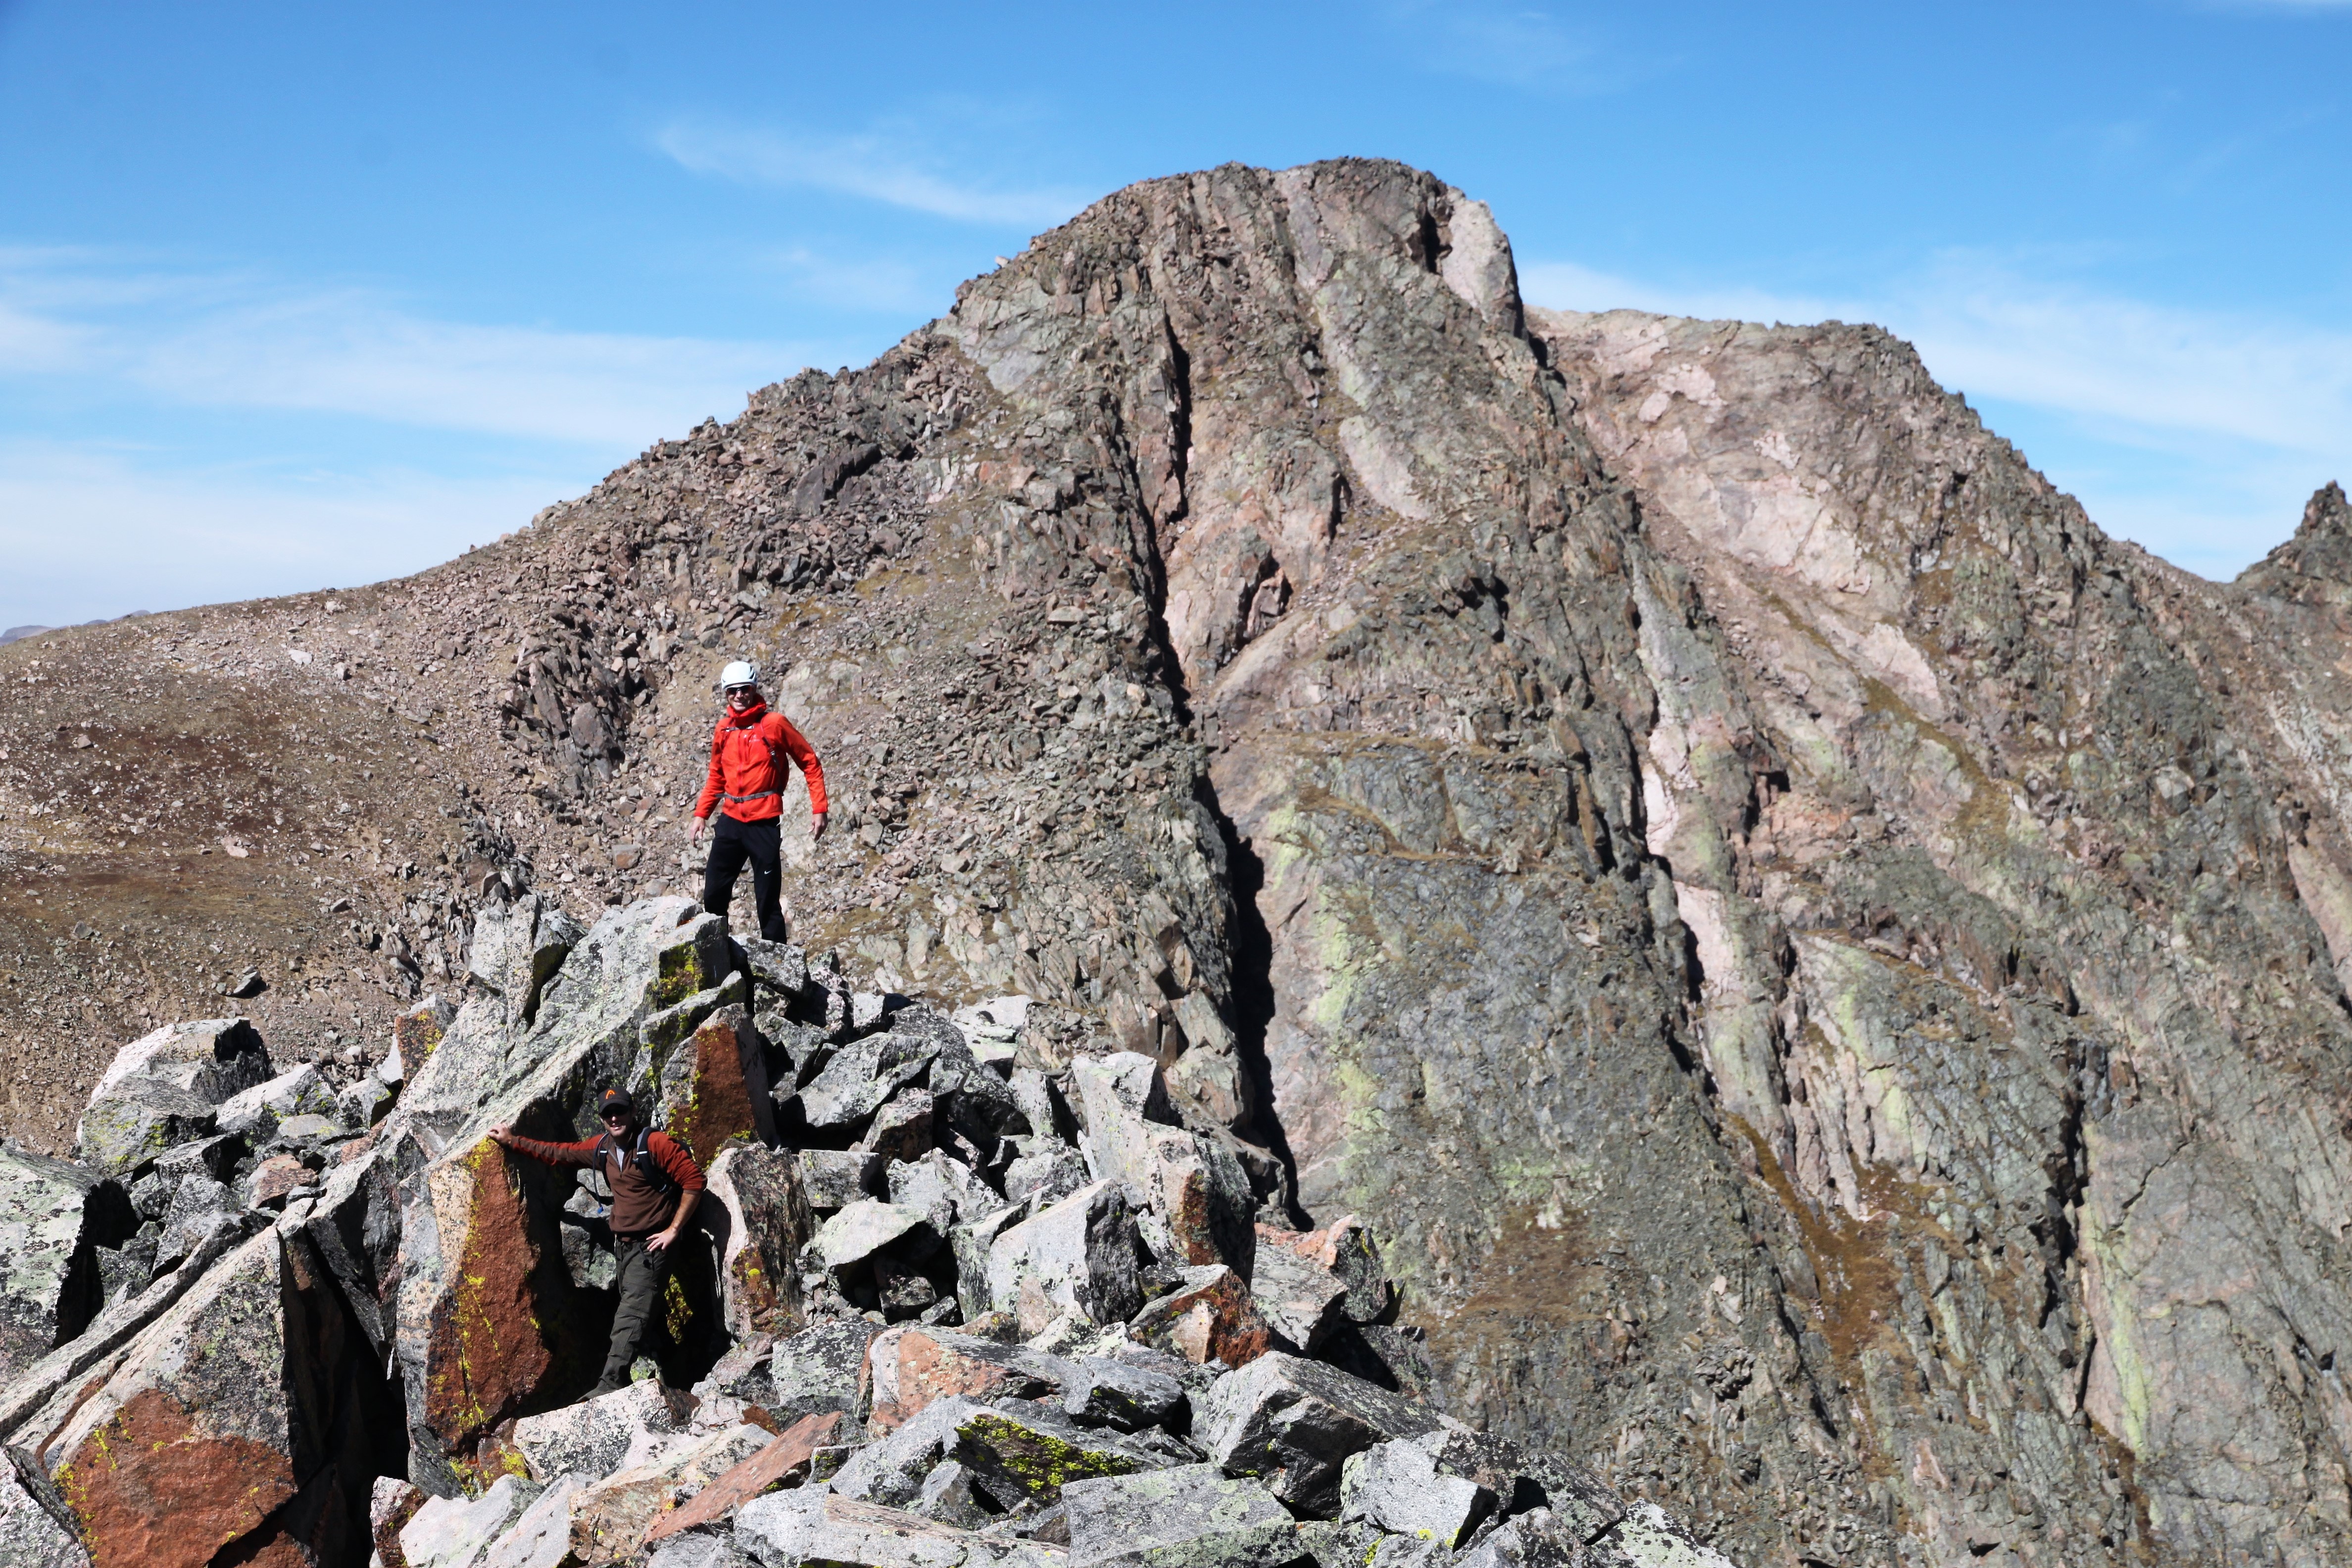
Kristine, being the wonderful and loving wife that she is, wanted me to go back for this route. J and I were contemplating going back for Capitol’s northwest buttress the following weekend, but Peak C was fresh in my mind so I convinced J to come with me. Plus, I wanted to check out a route up the north face of Peak C-Prime (the next summit south of Peak C along Ripsaw Ridge). The weather forecast again looked stellar. Fortunately, NOAA got it right this day. Just bluebird skies and sun all day long. Fall weather had certainly arrived. I picked J up at 6am and we were hiking along the Upper Piney Trail by 6:45am. I wish fall weather like last Saturday would last a few months – its the best. We cruised up to Kneeknocker Pass in about 2-1/2 hours as Kristine and I had done 5 days prior. The weather was a complete 180 from what it had been with Kristine the past Sunday. We ran into John & Jennifer Danese of Silverthorne right on top of the pass. We had never met, but had corresponded quite a bit and we both knew each other would be on the trail that day as they were gunning for Mt. Powell. They had inquired with me a year or two ago about “the next big thing to do” with regards to their hiking and mountaineering outside of Colorado. So, I connected them with my great friend Rob Casserley who runs Trek8848 for Everest basecamp treks and trekking peaks and they went with Rob last fall and had the time of their lives summitting both Lobuche East and Island Peak (20,000’+ peaks in the Khumbu Valley). It was great to finally meet them. So, after 30 minutes of chit-chat, J and I traversed south over to the start of the northwest ridge of Peak C and the Daneses went for Mt. Powell.
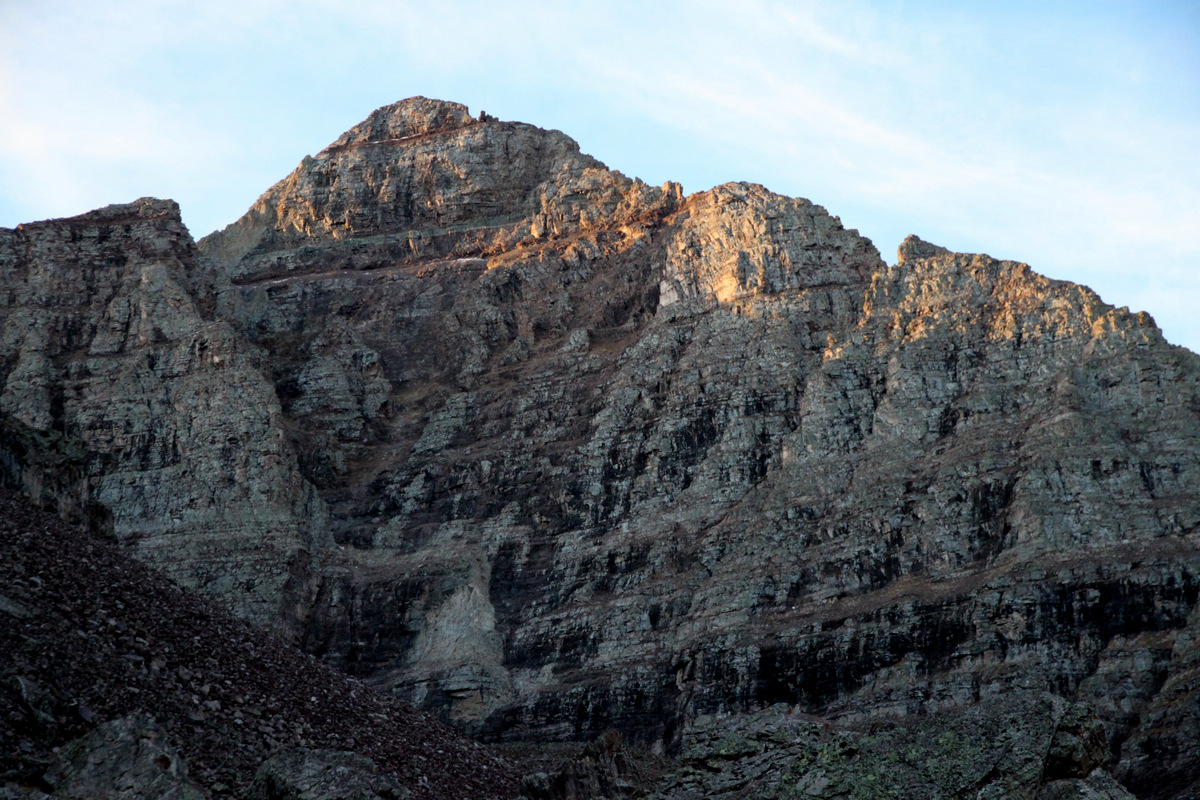
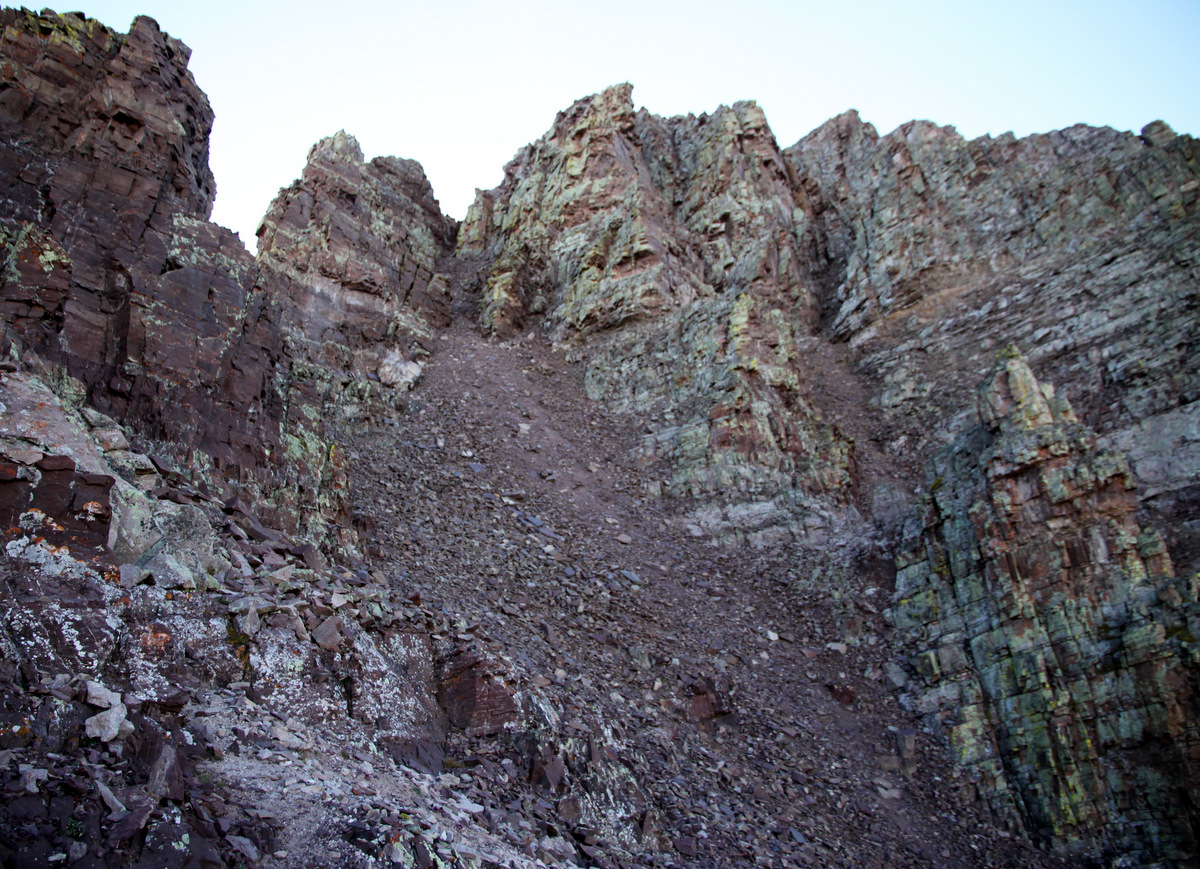
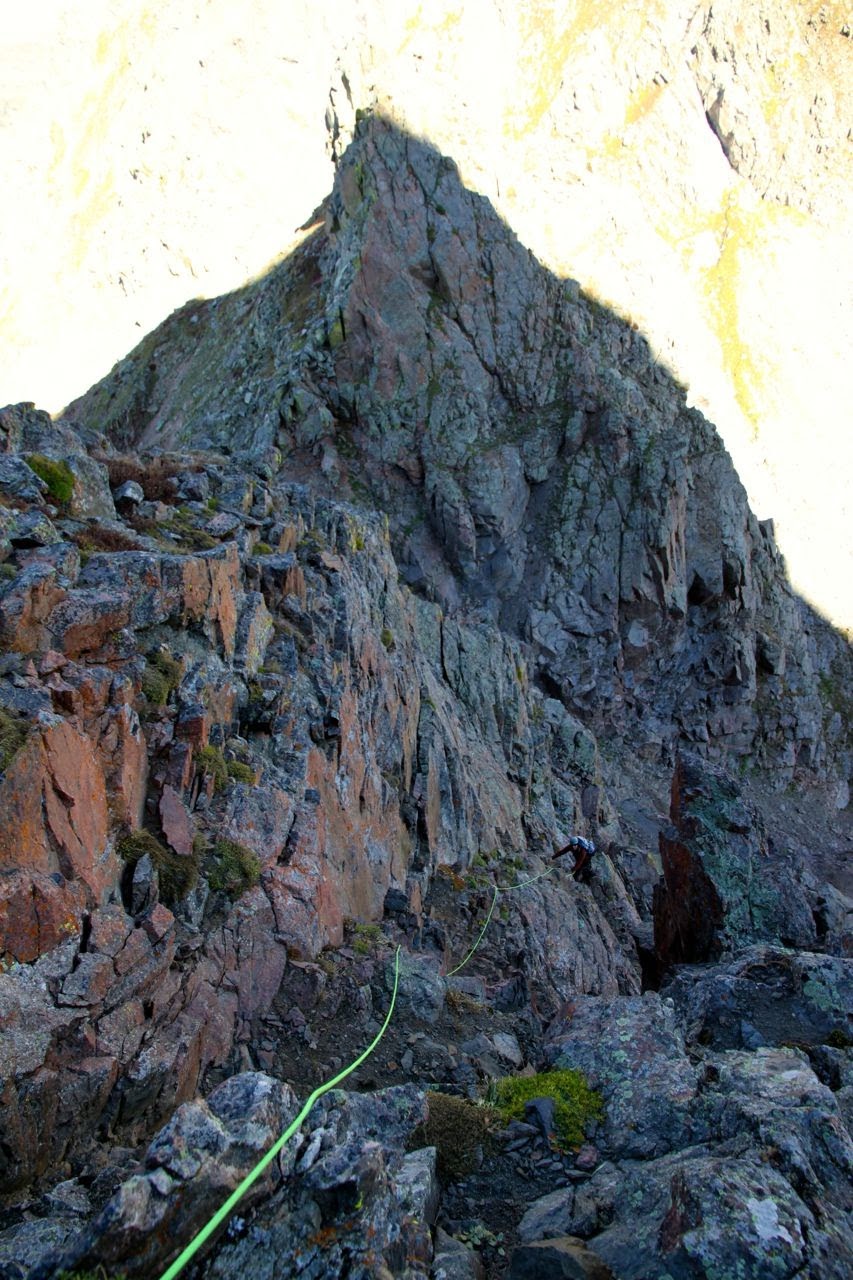
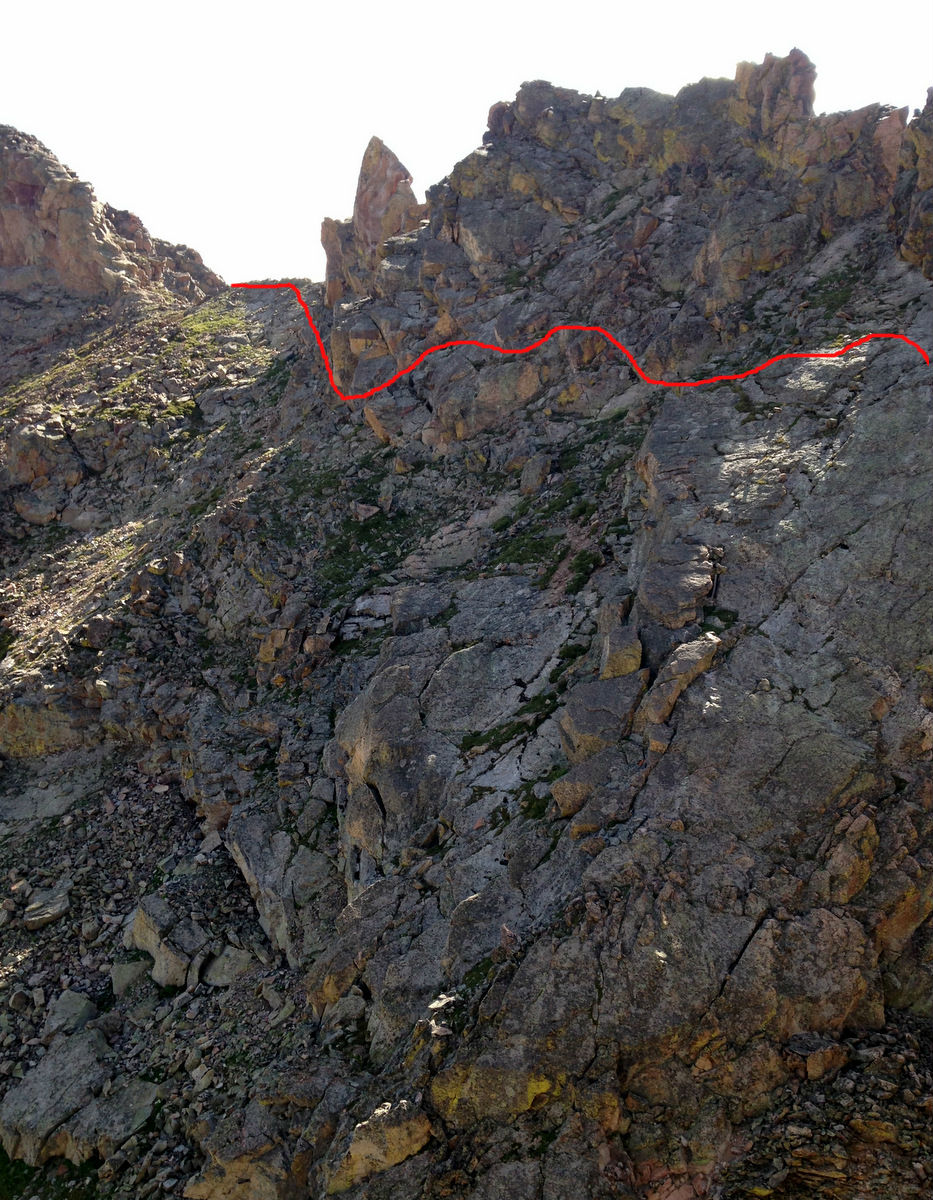
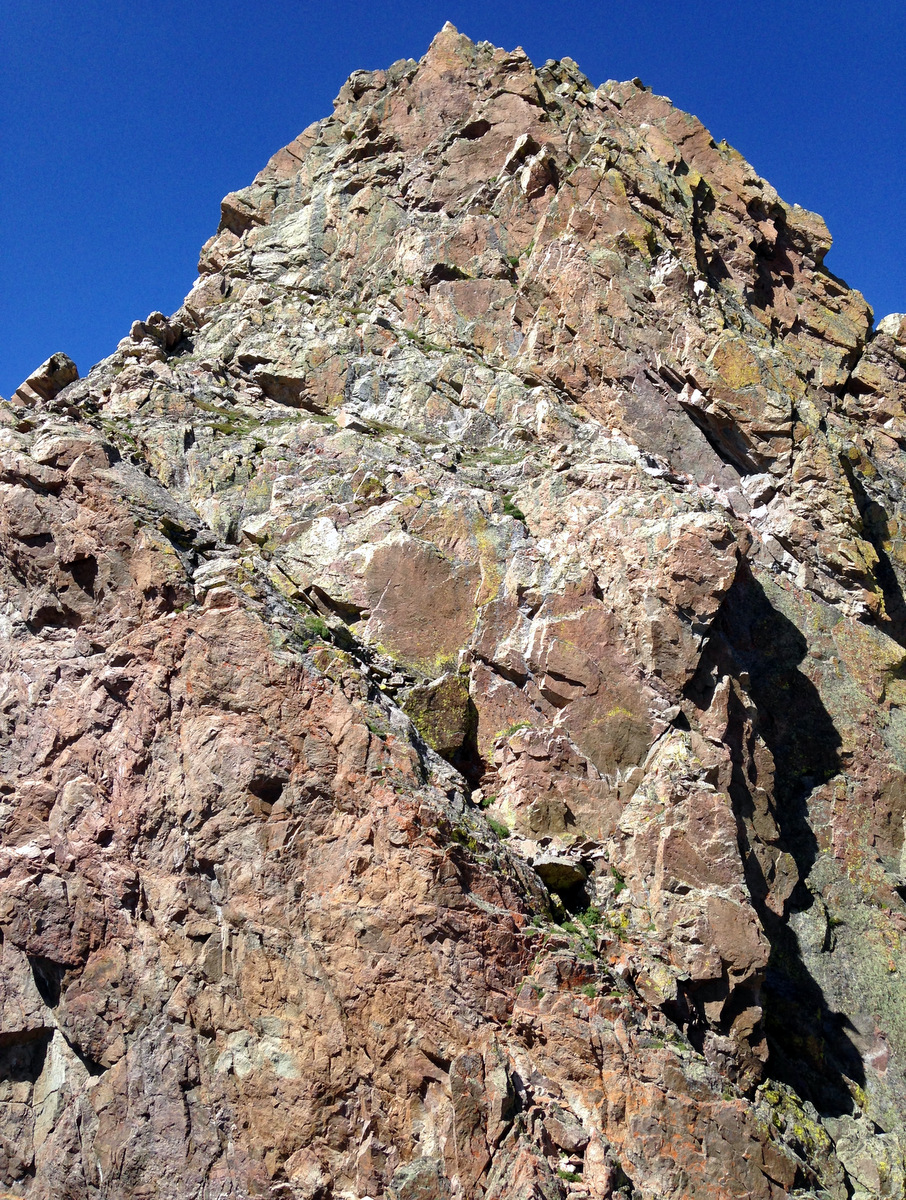
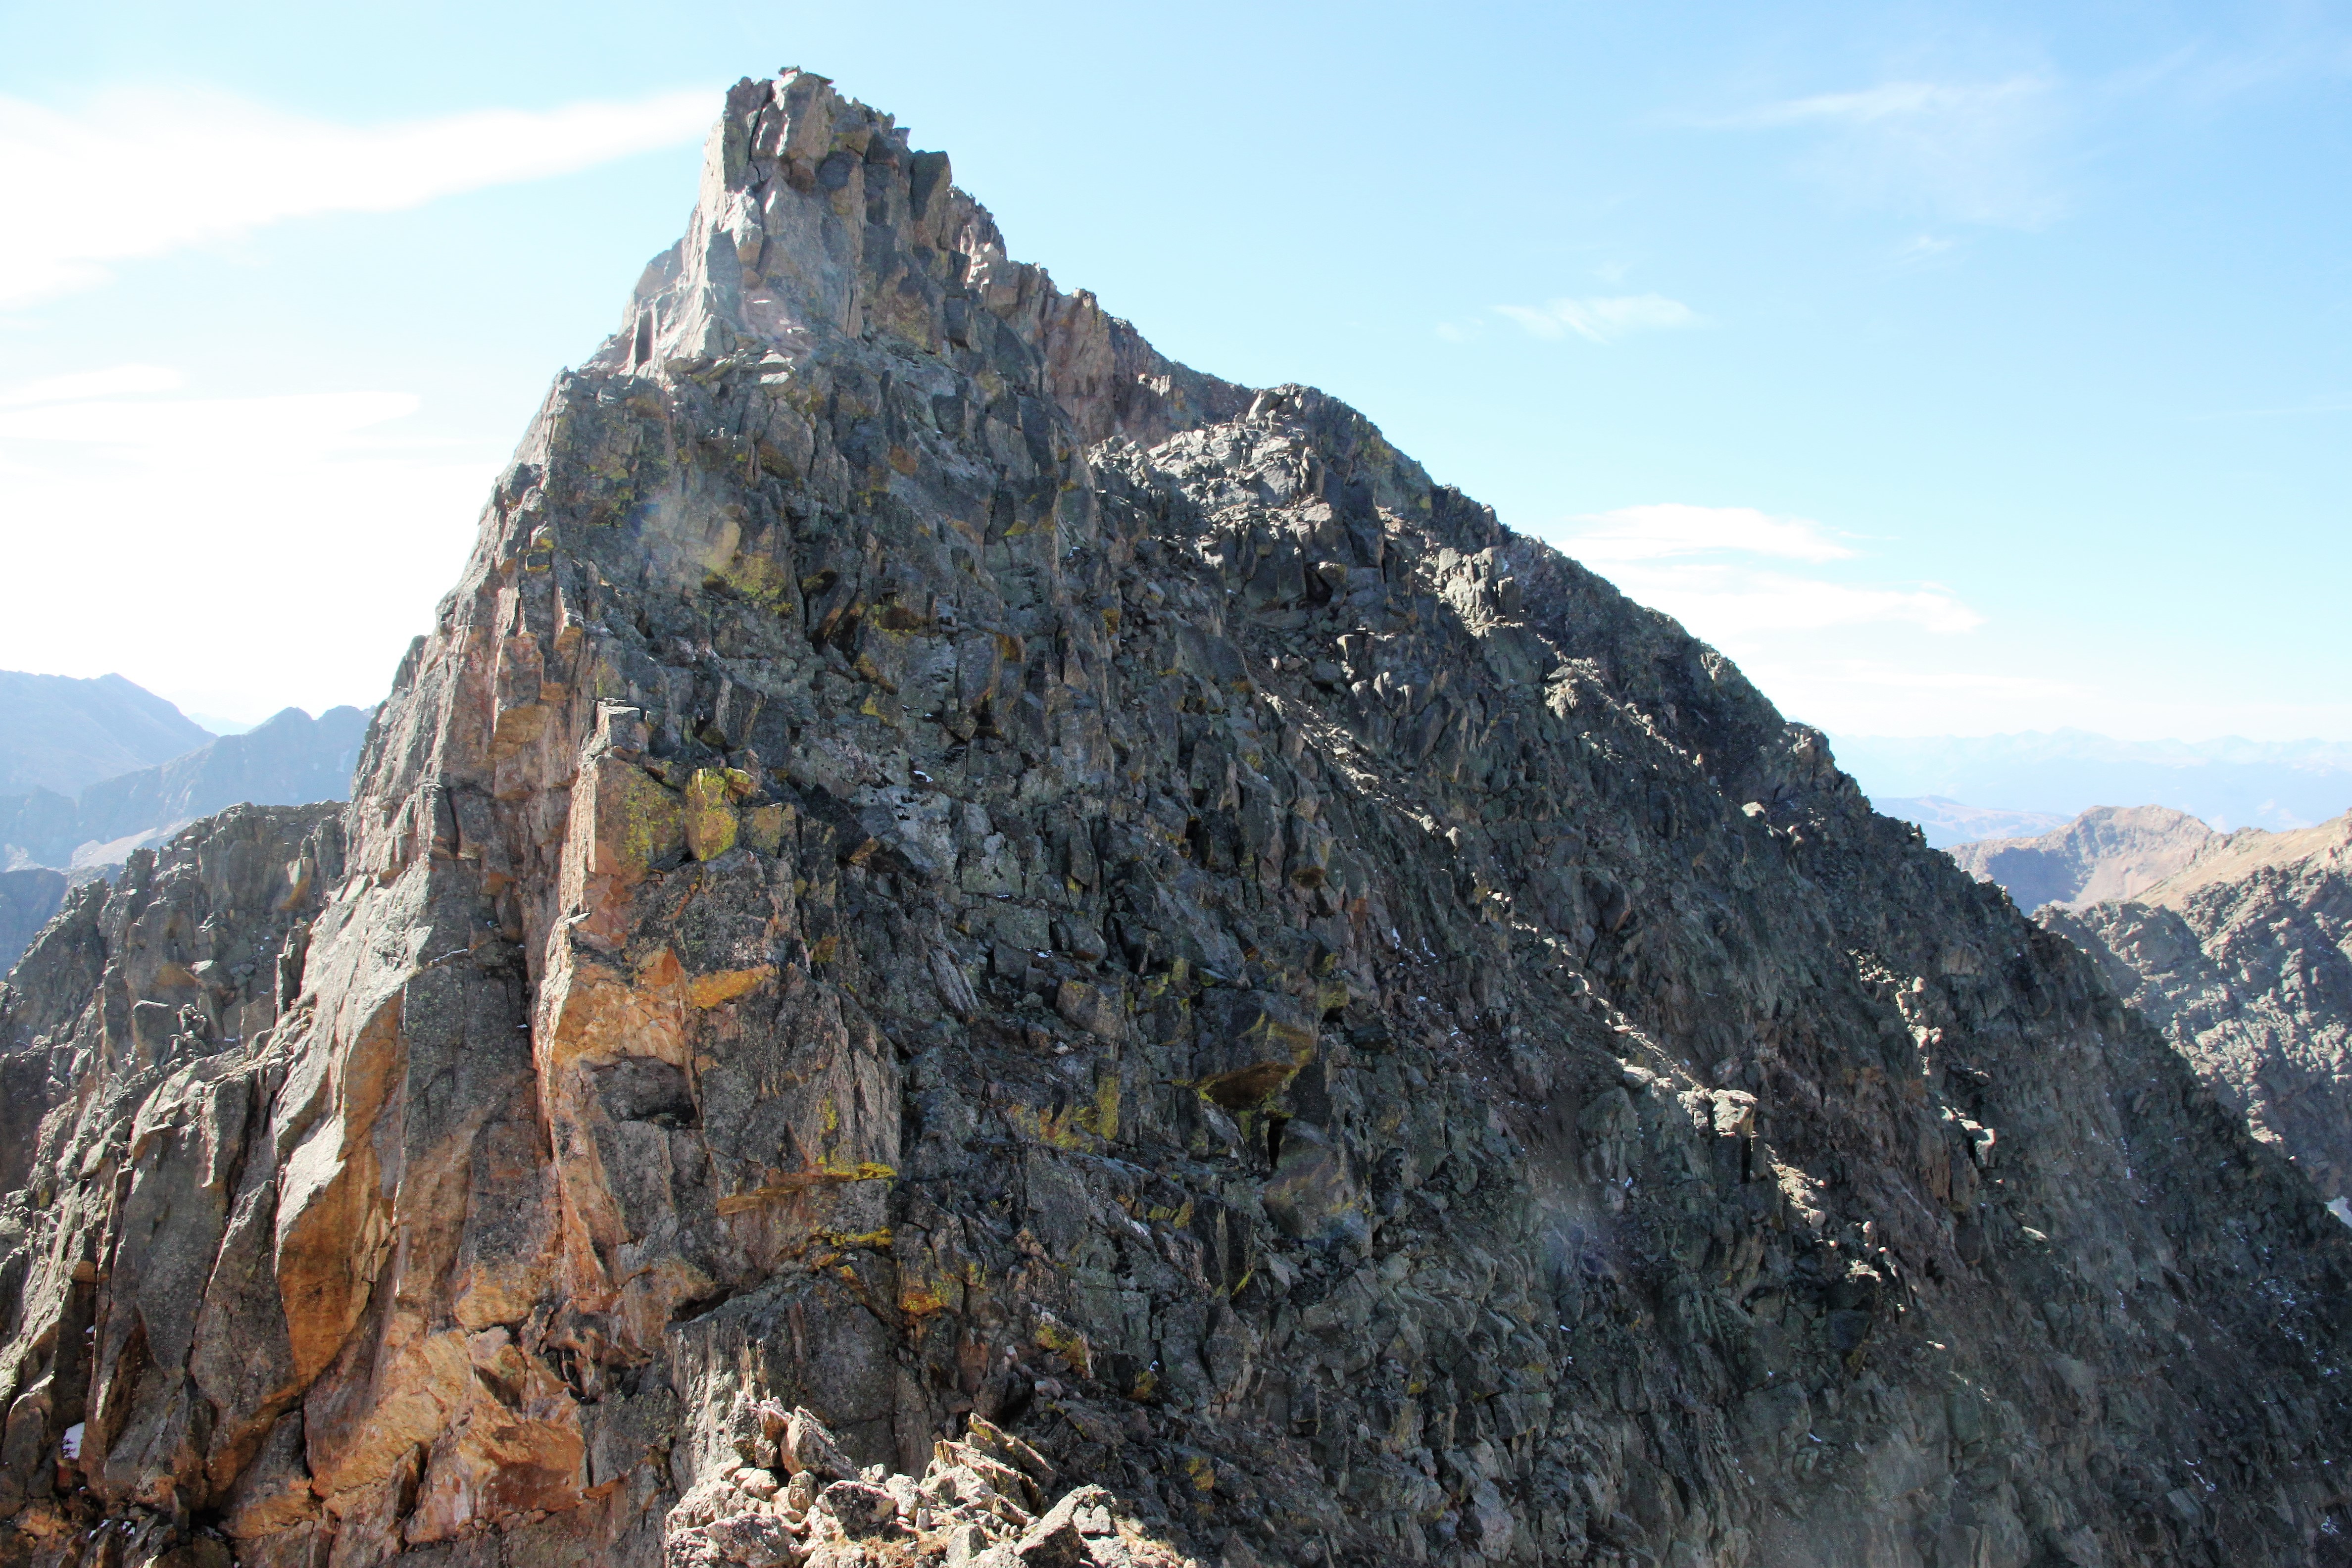
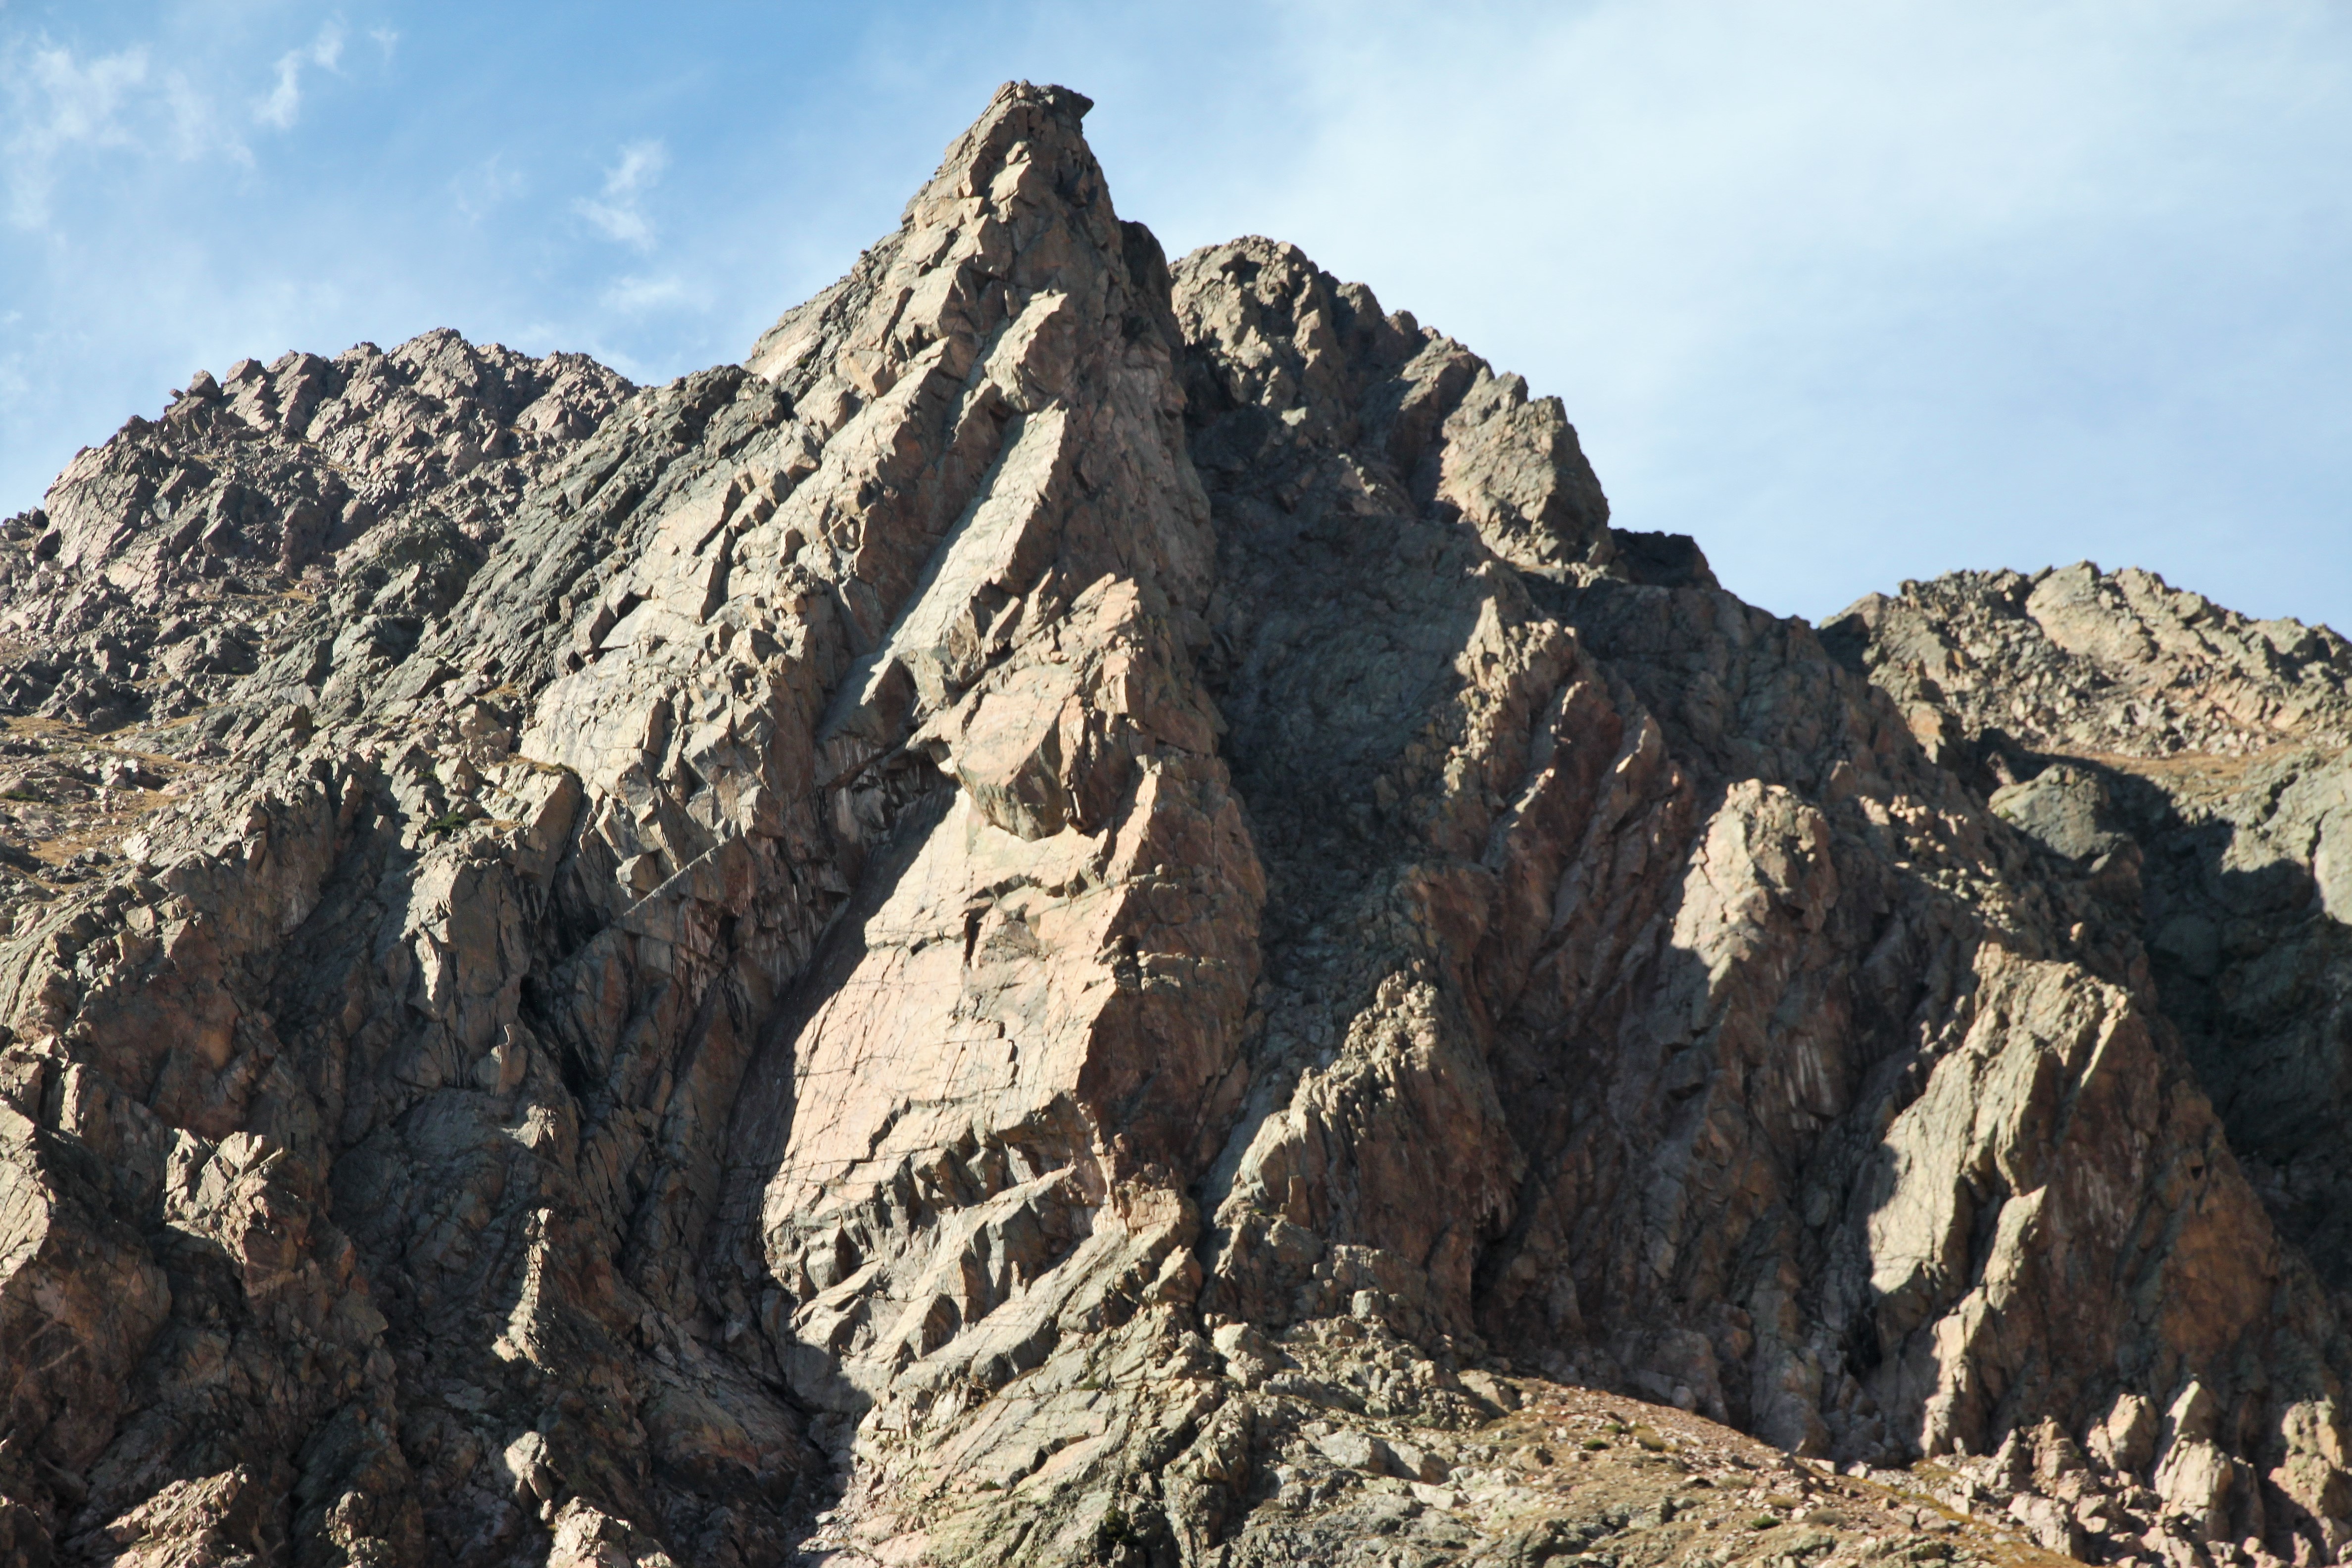
Profile of the northwest ridge up Peak C
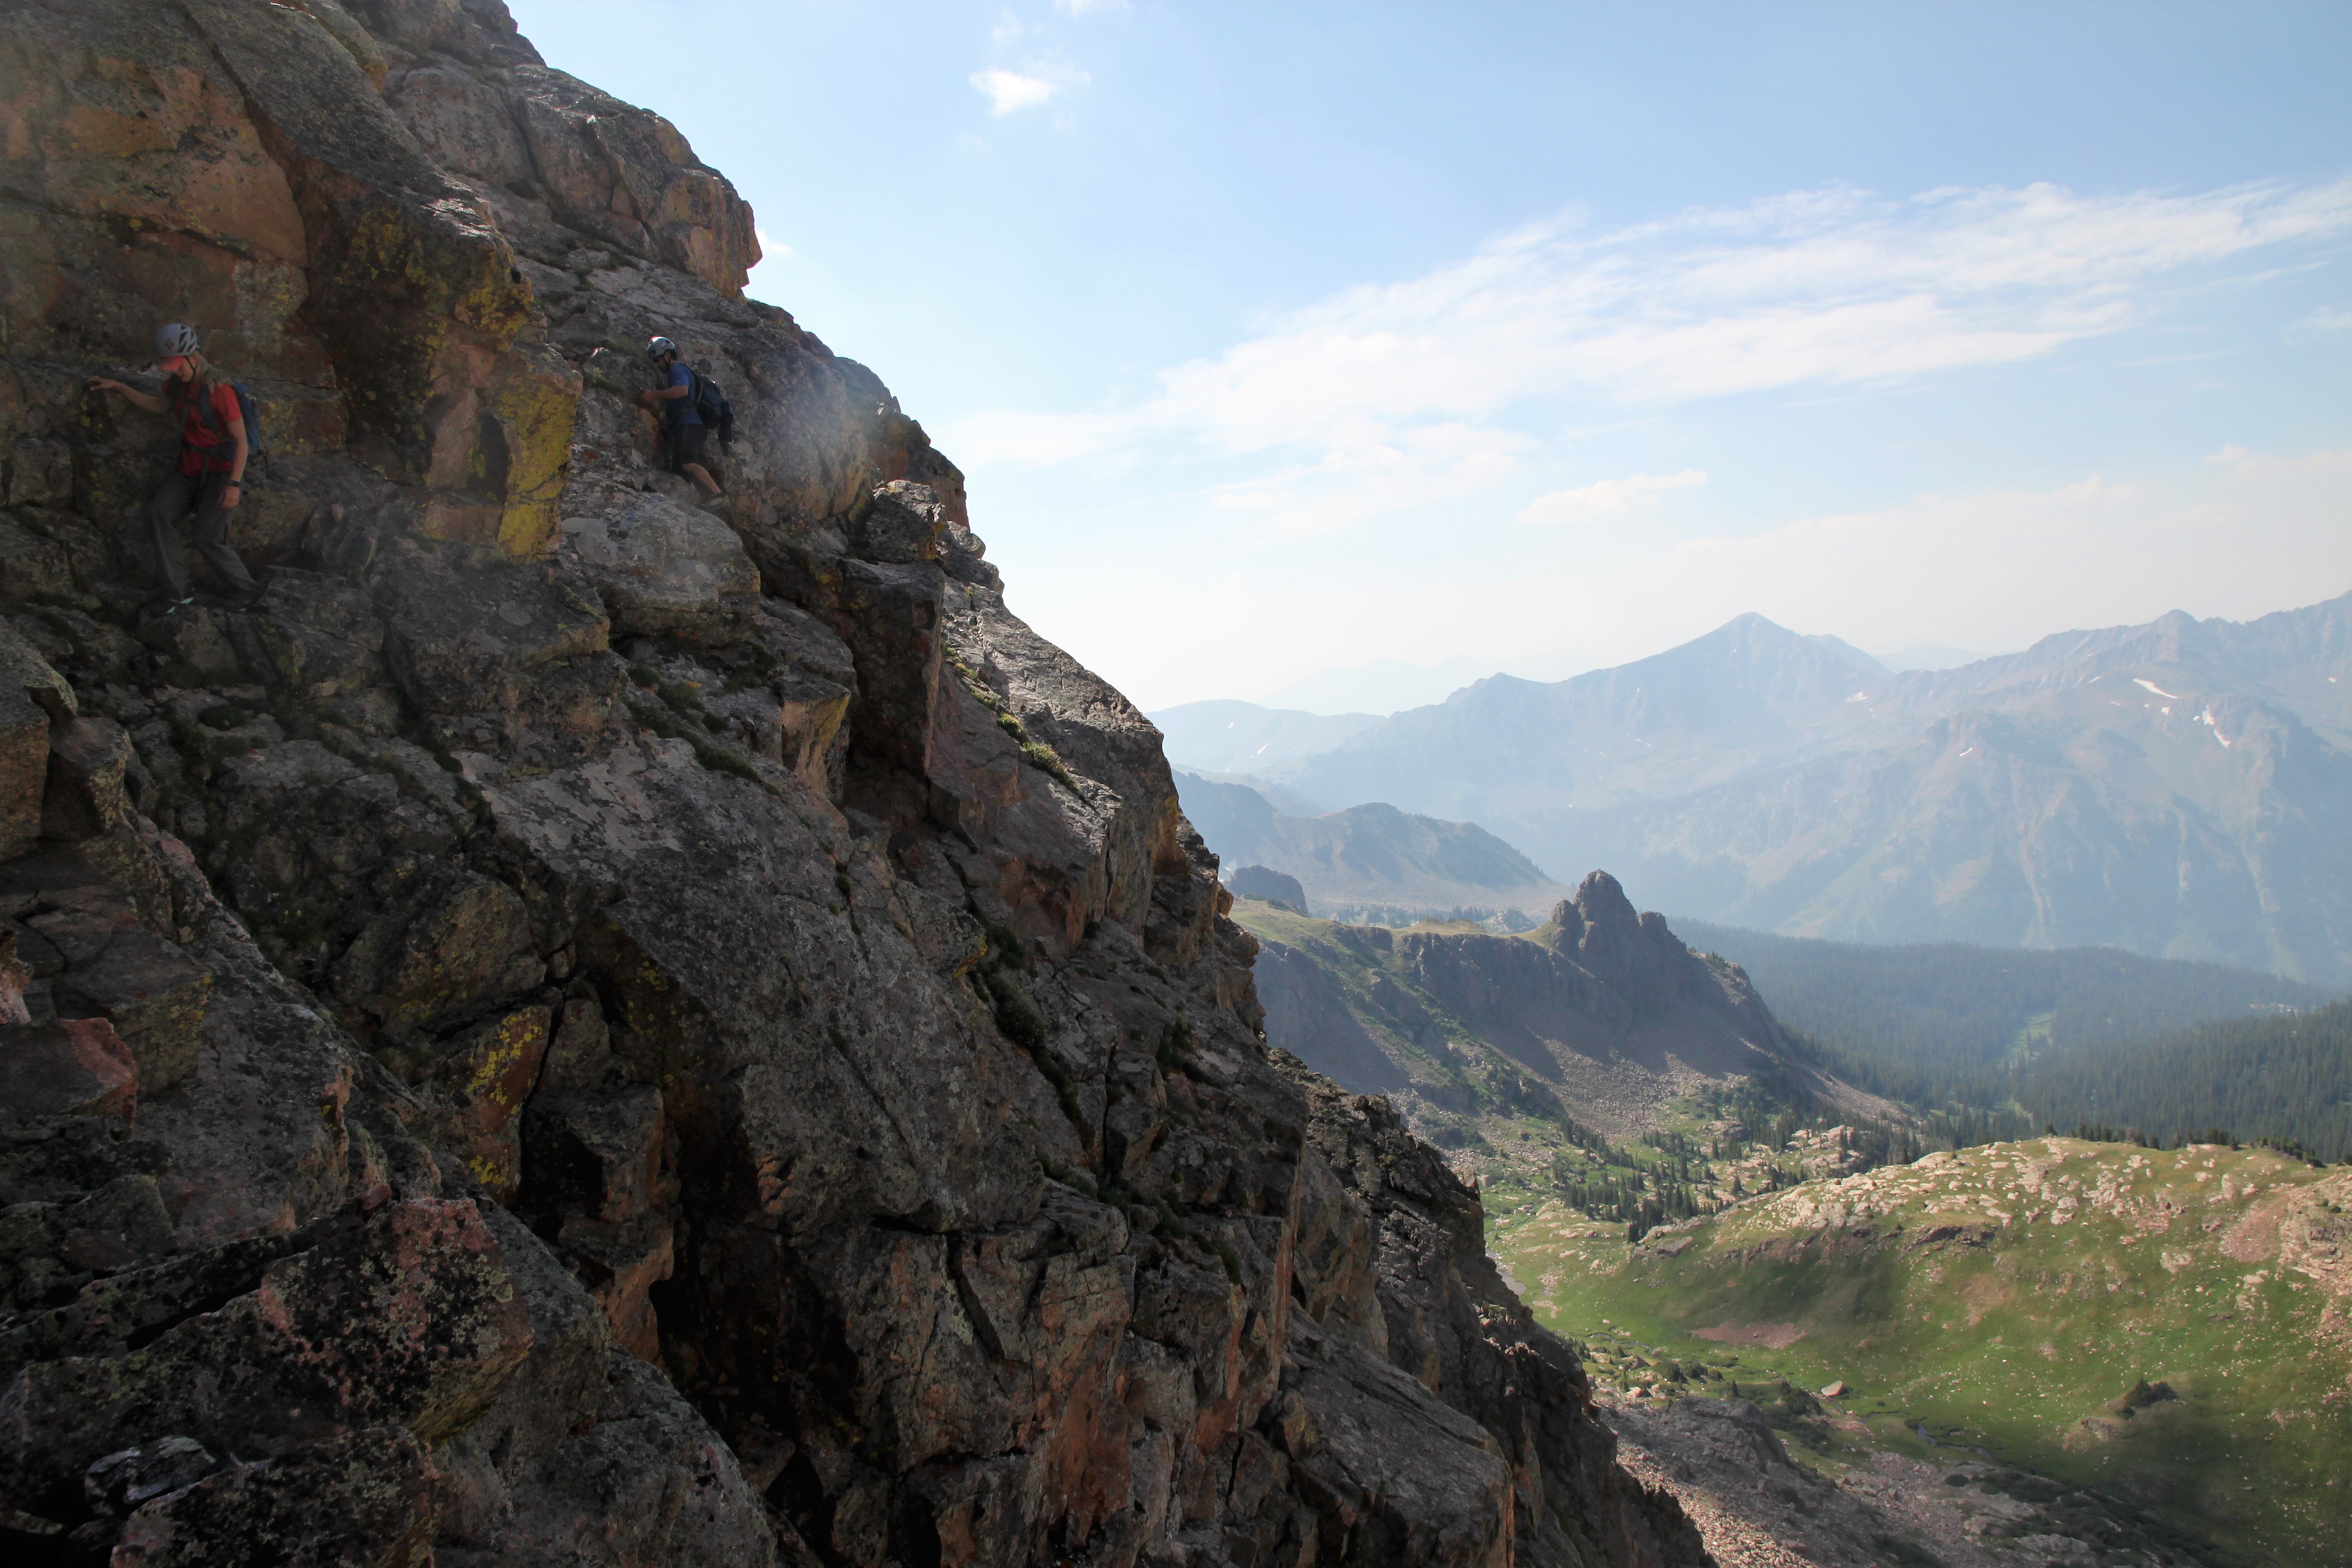
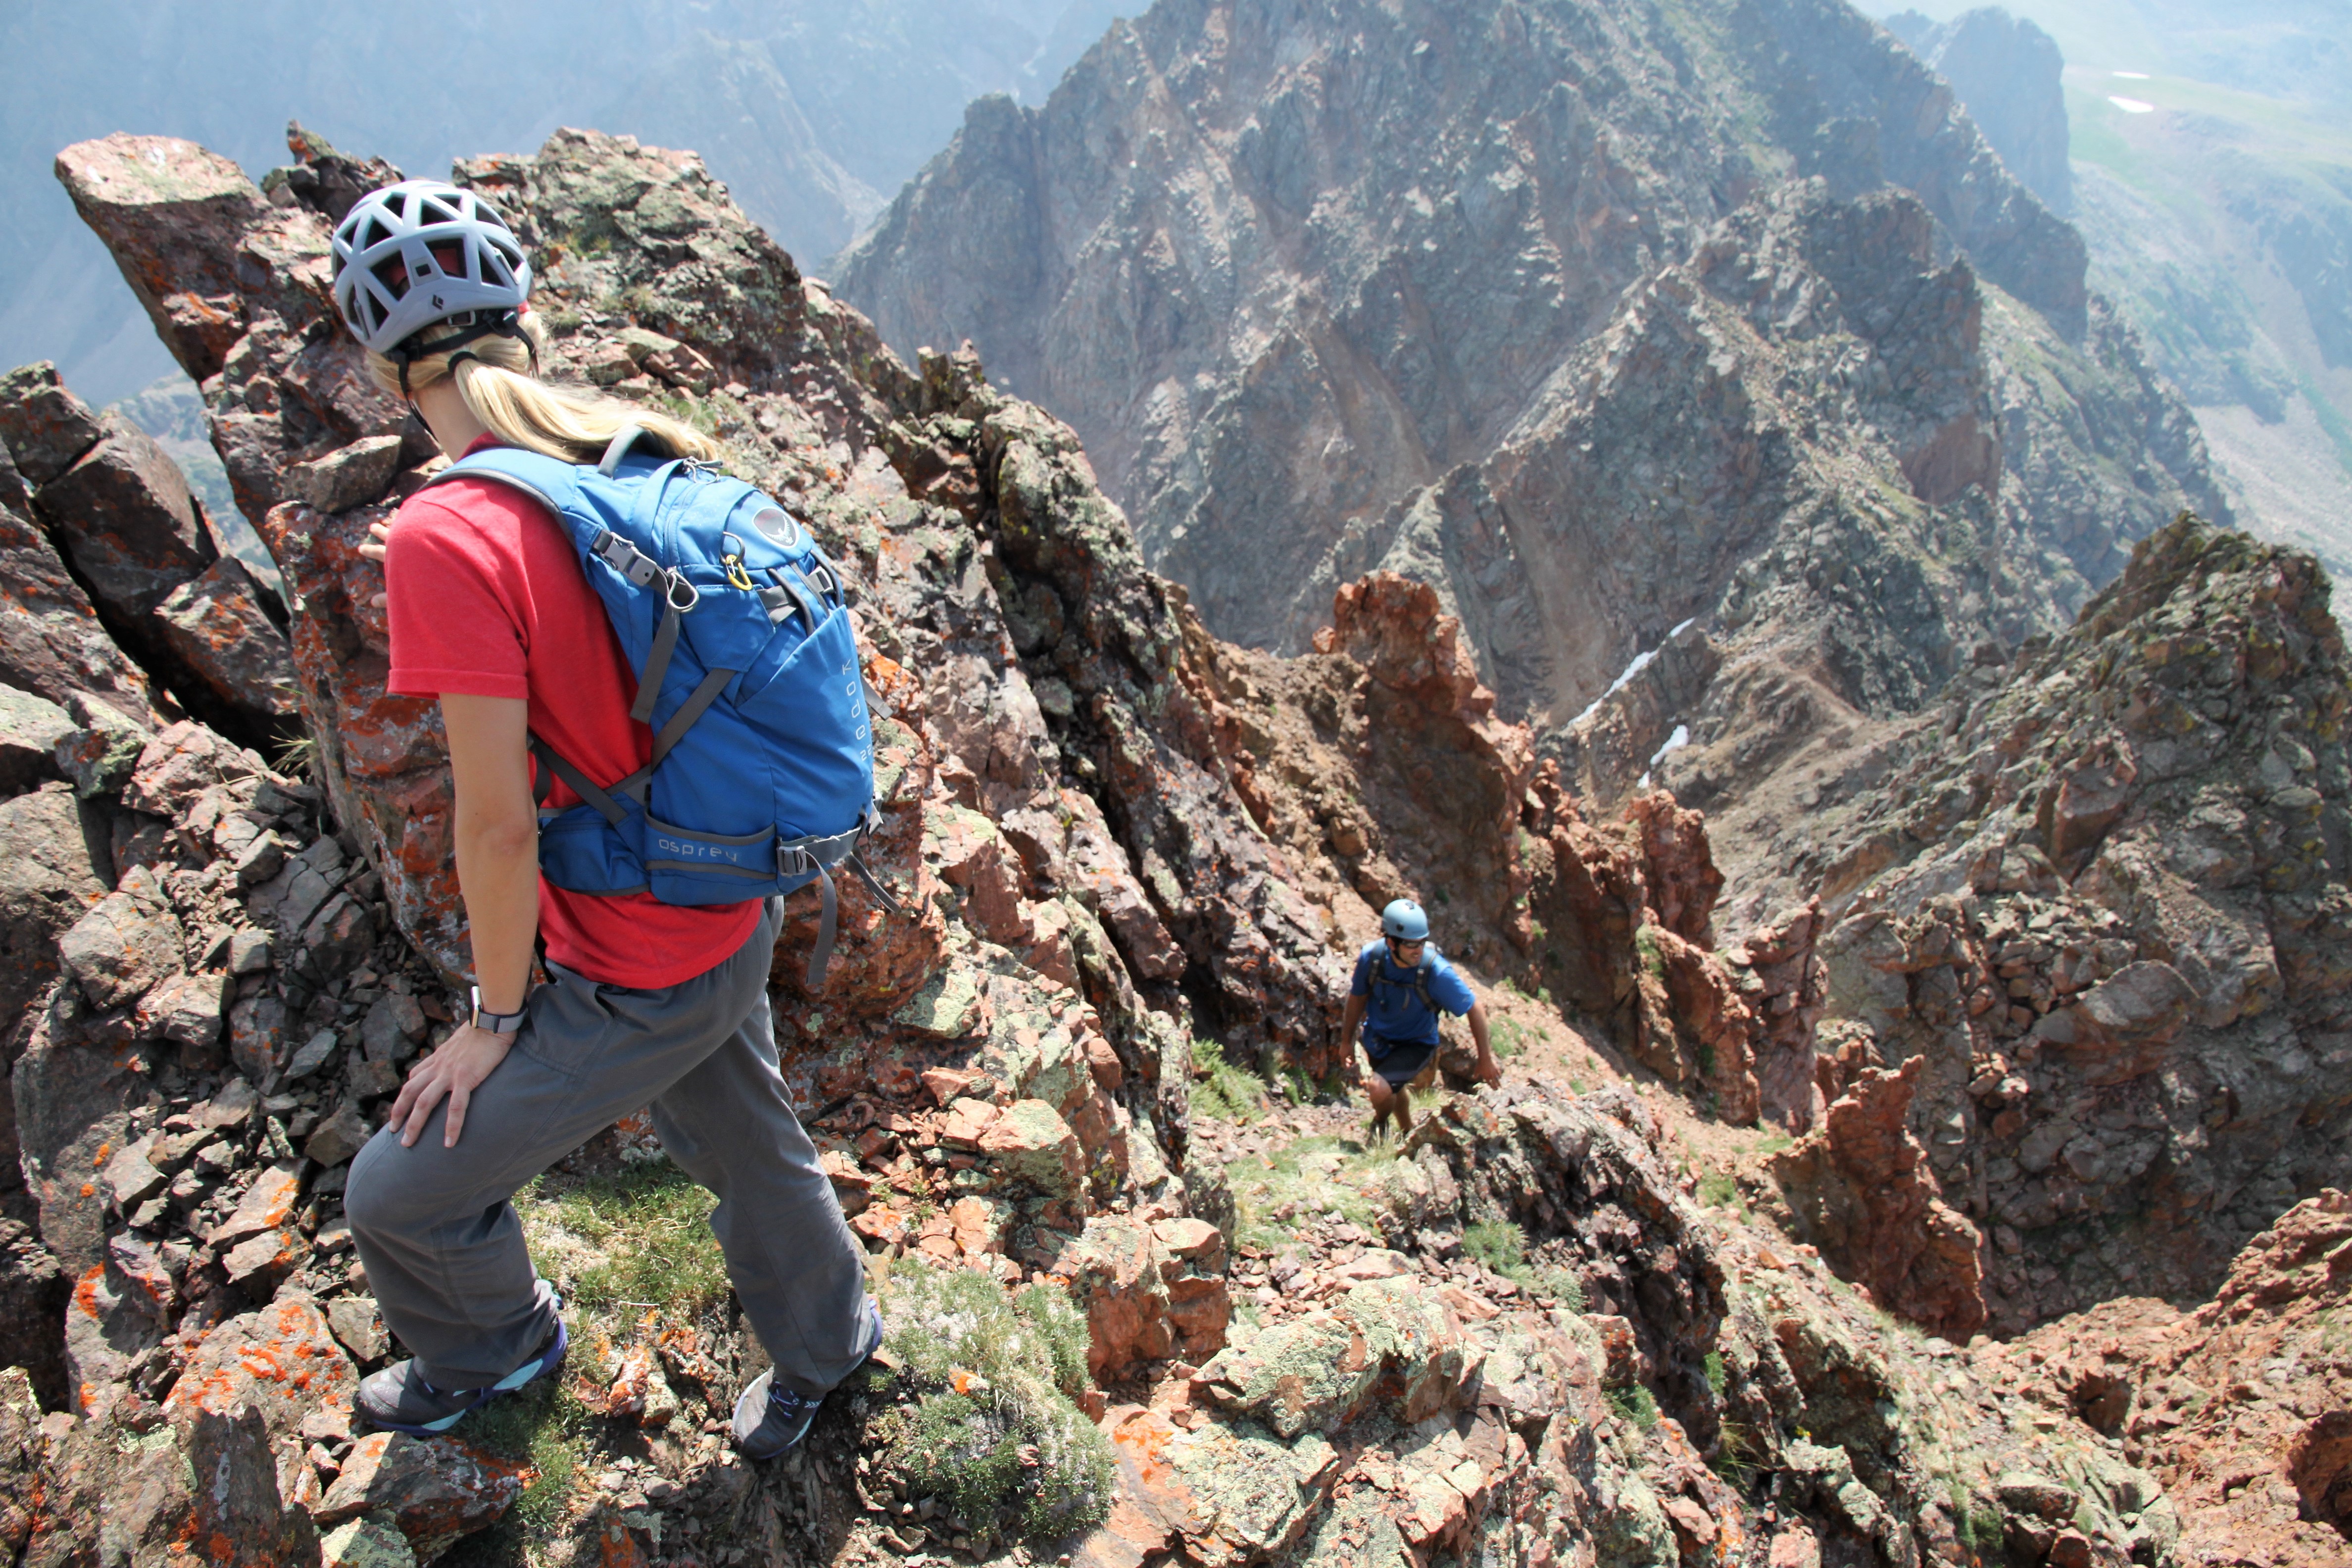
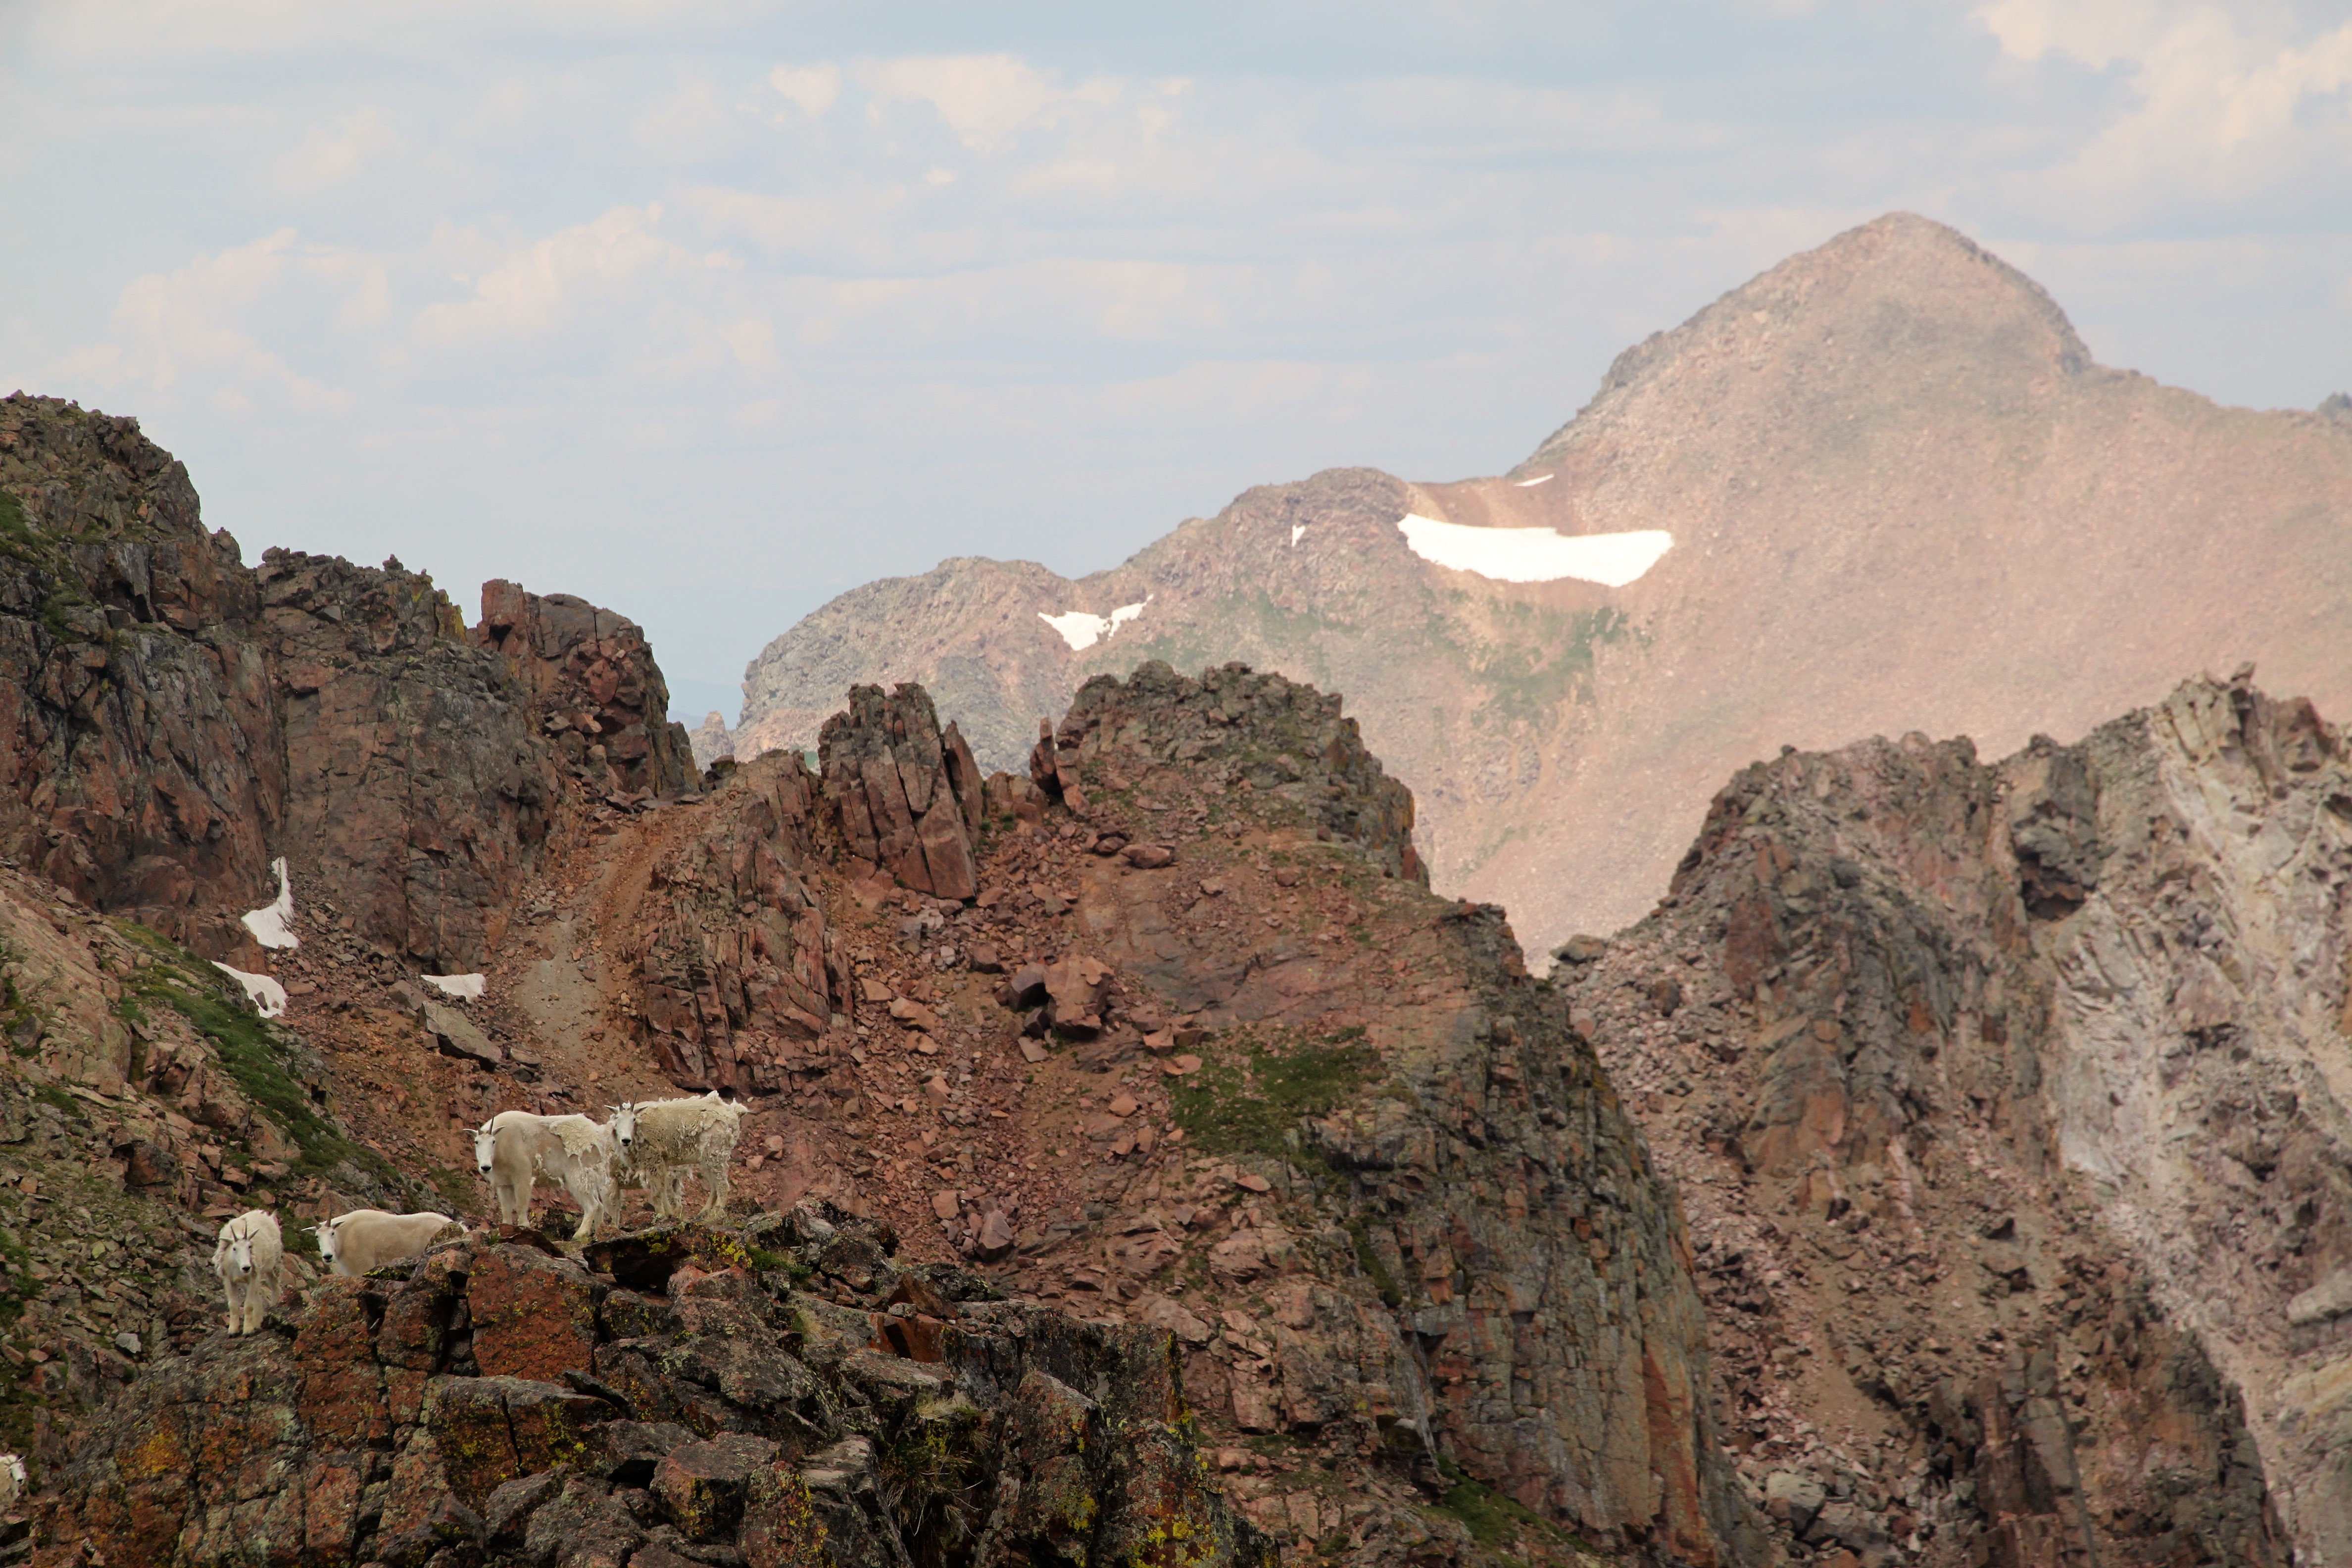
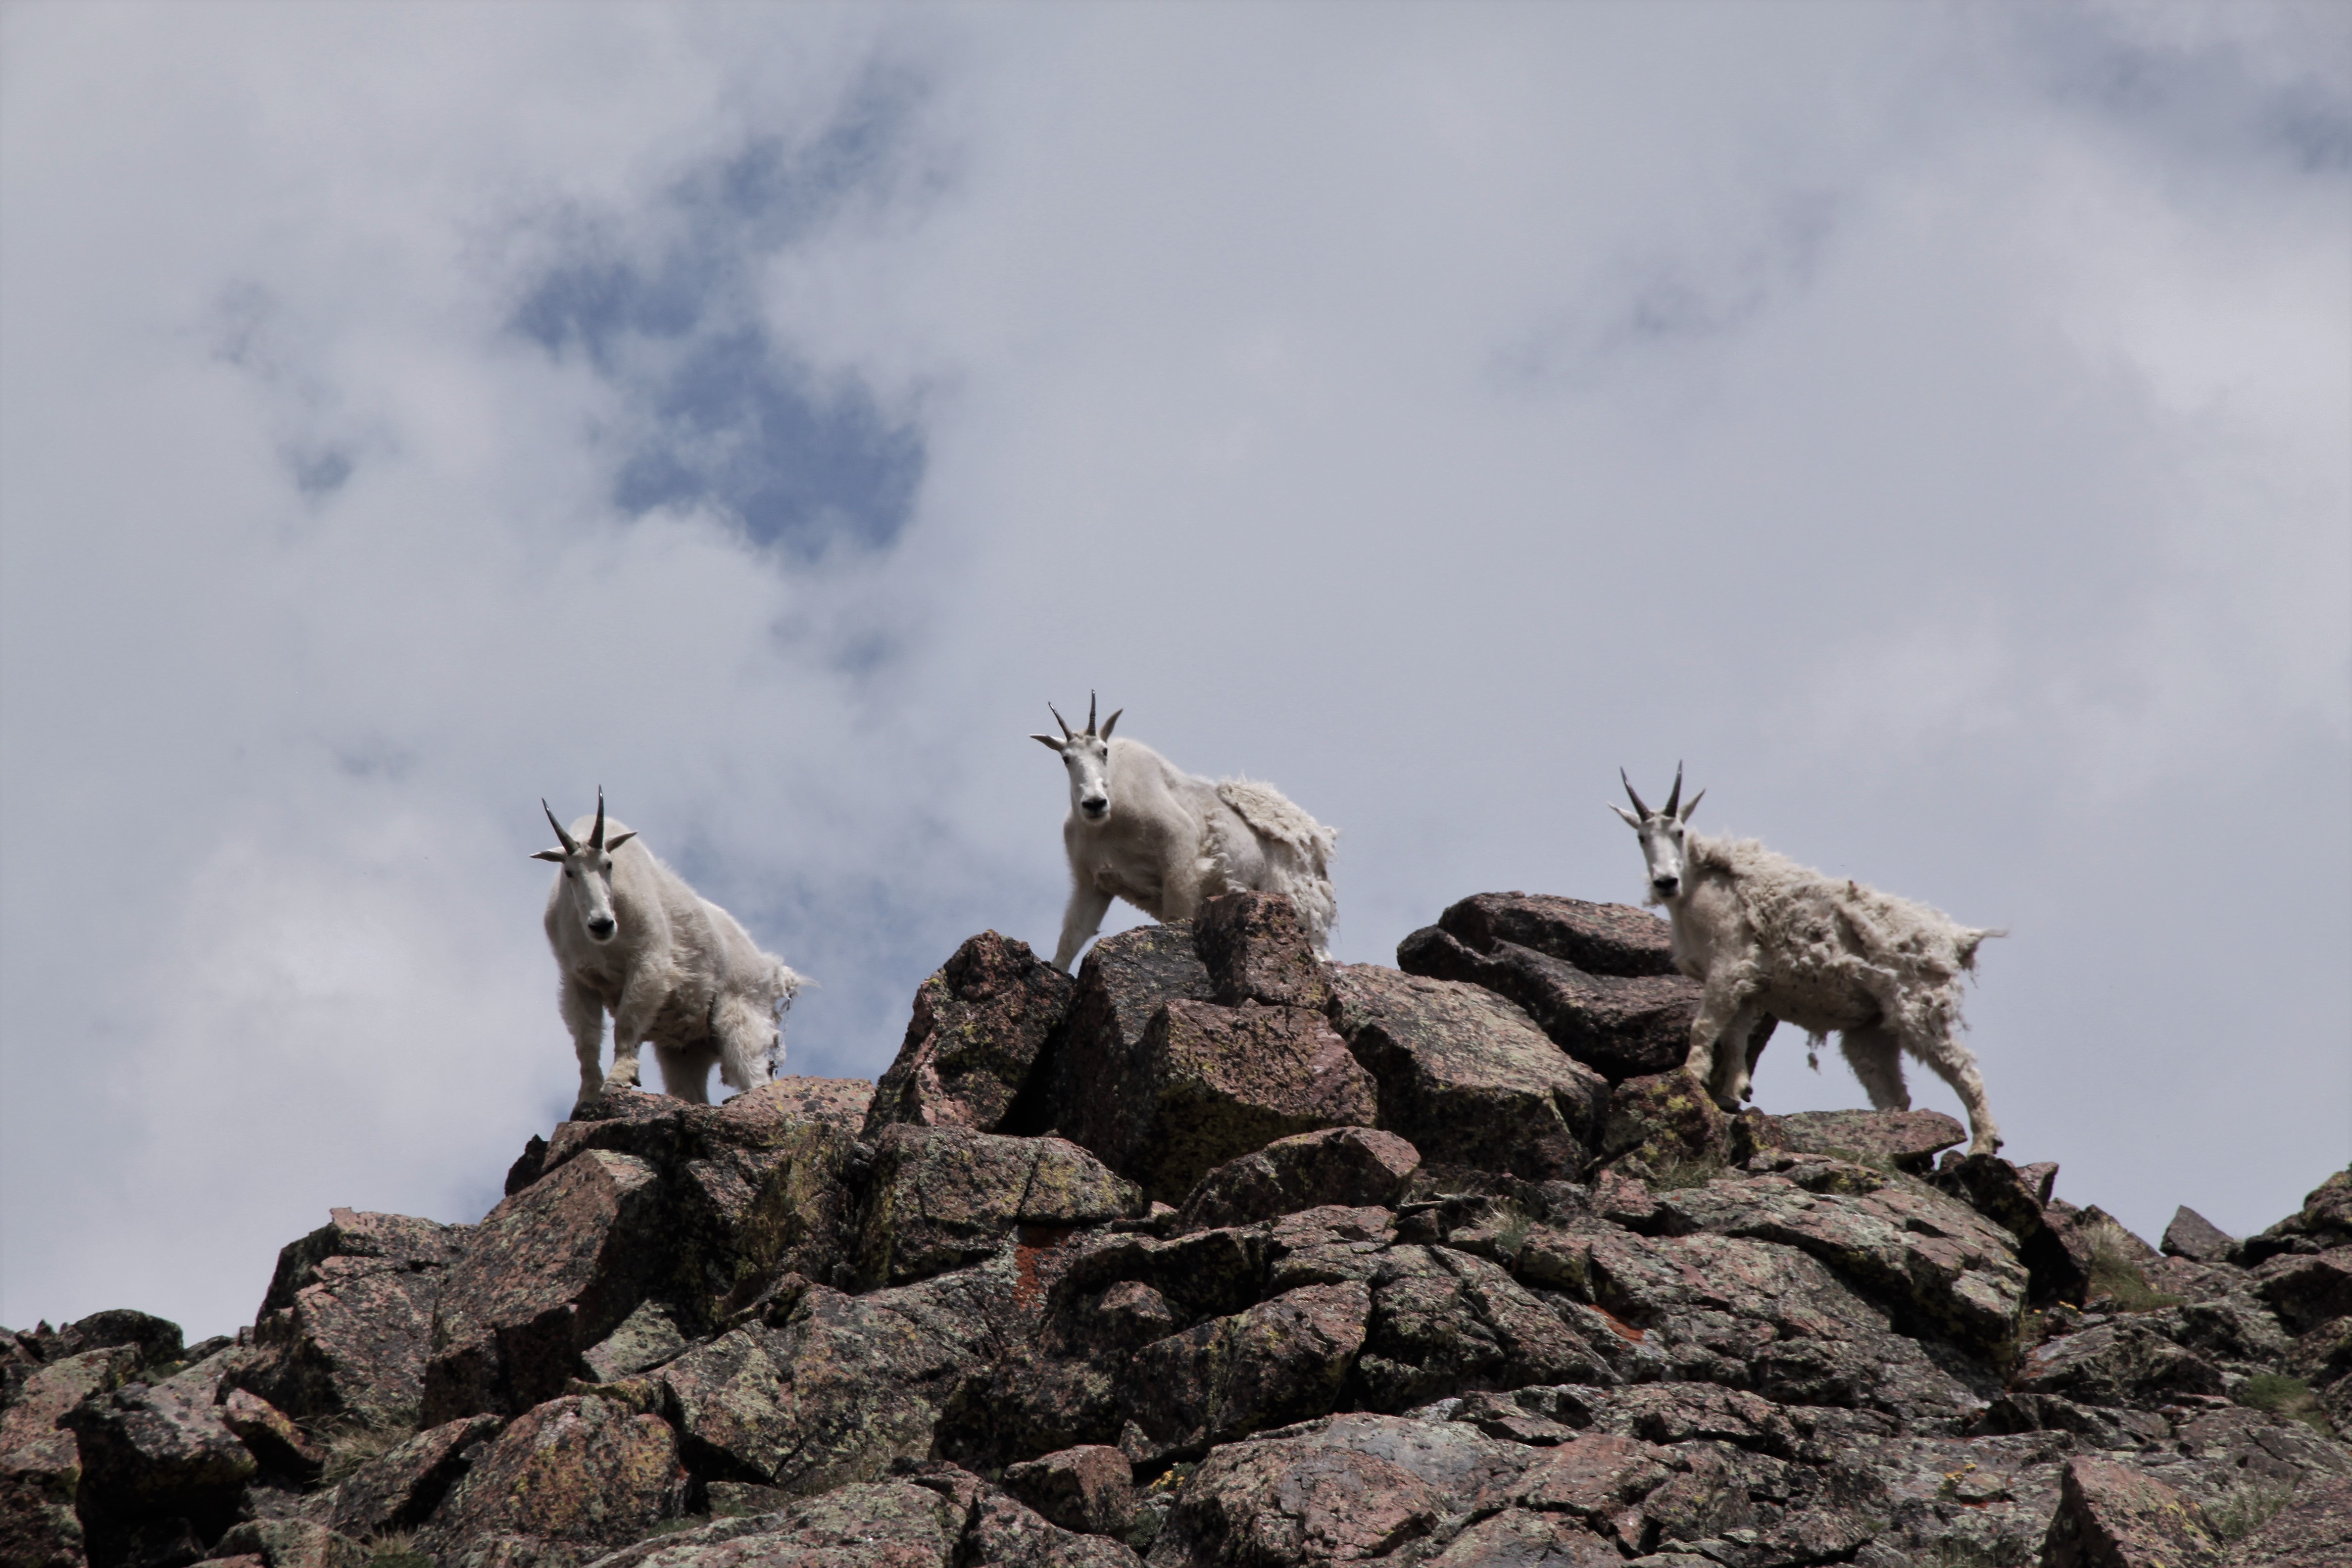
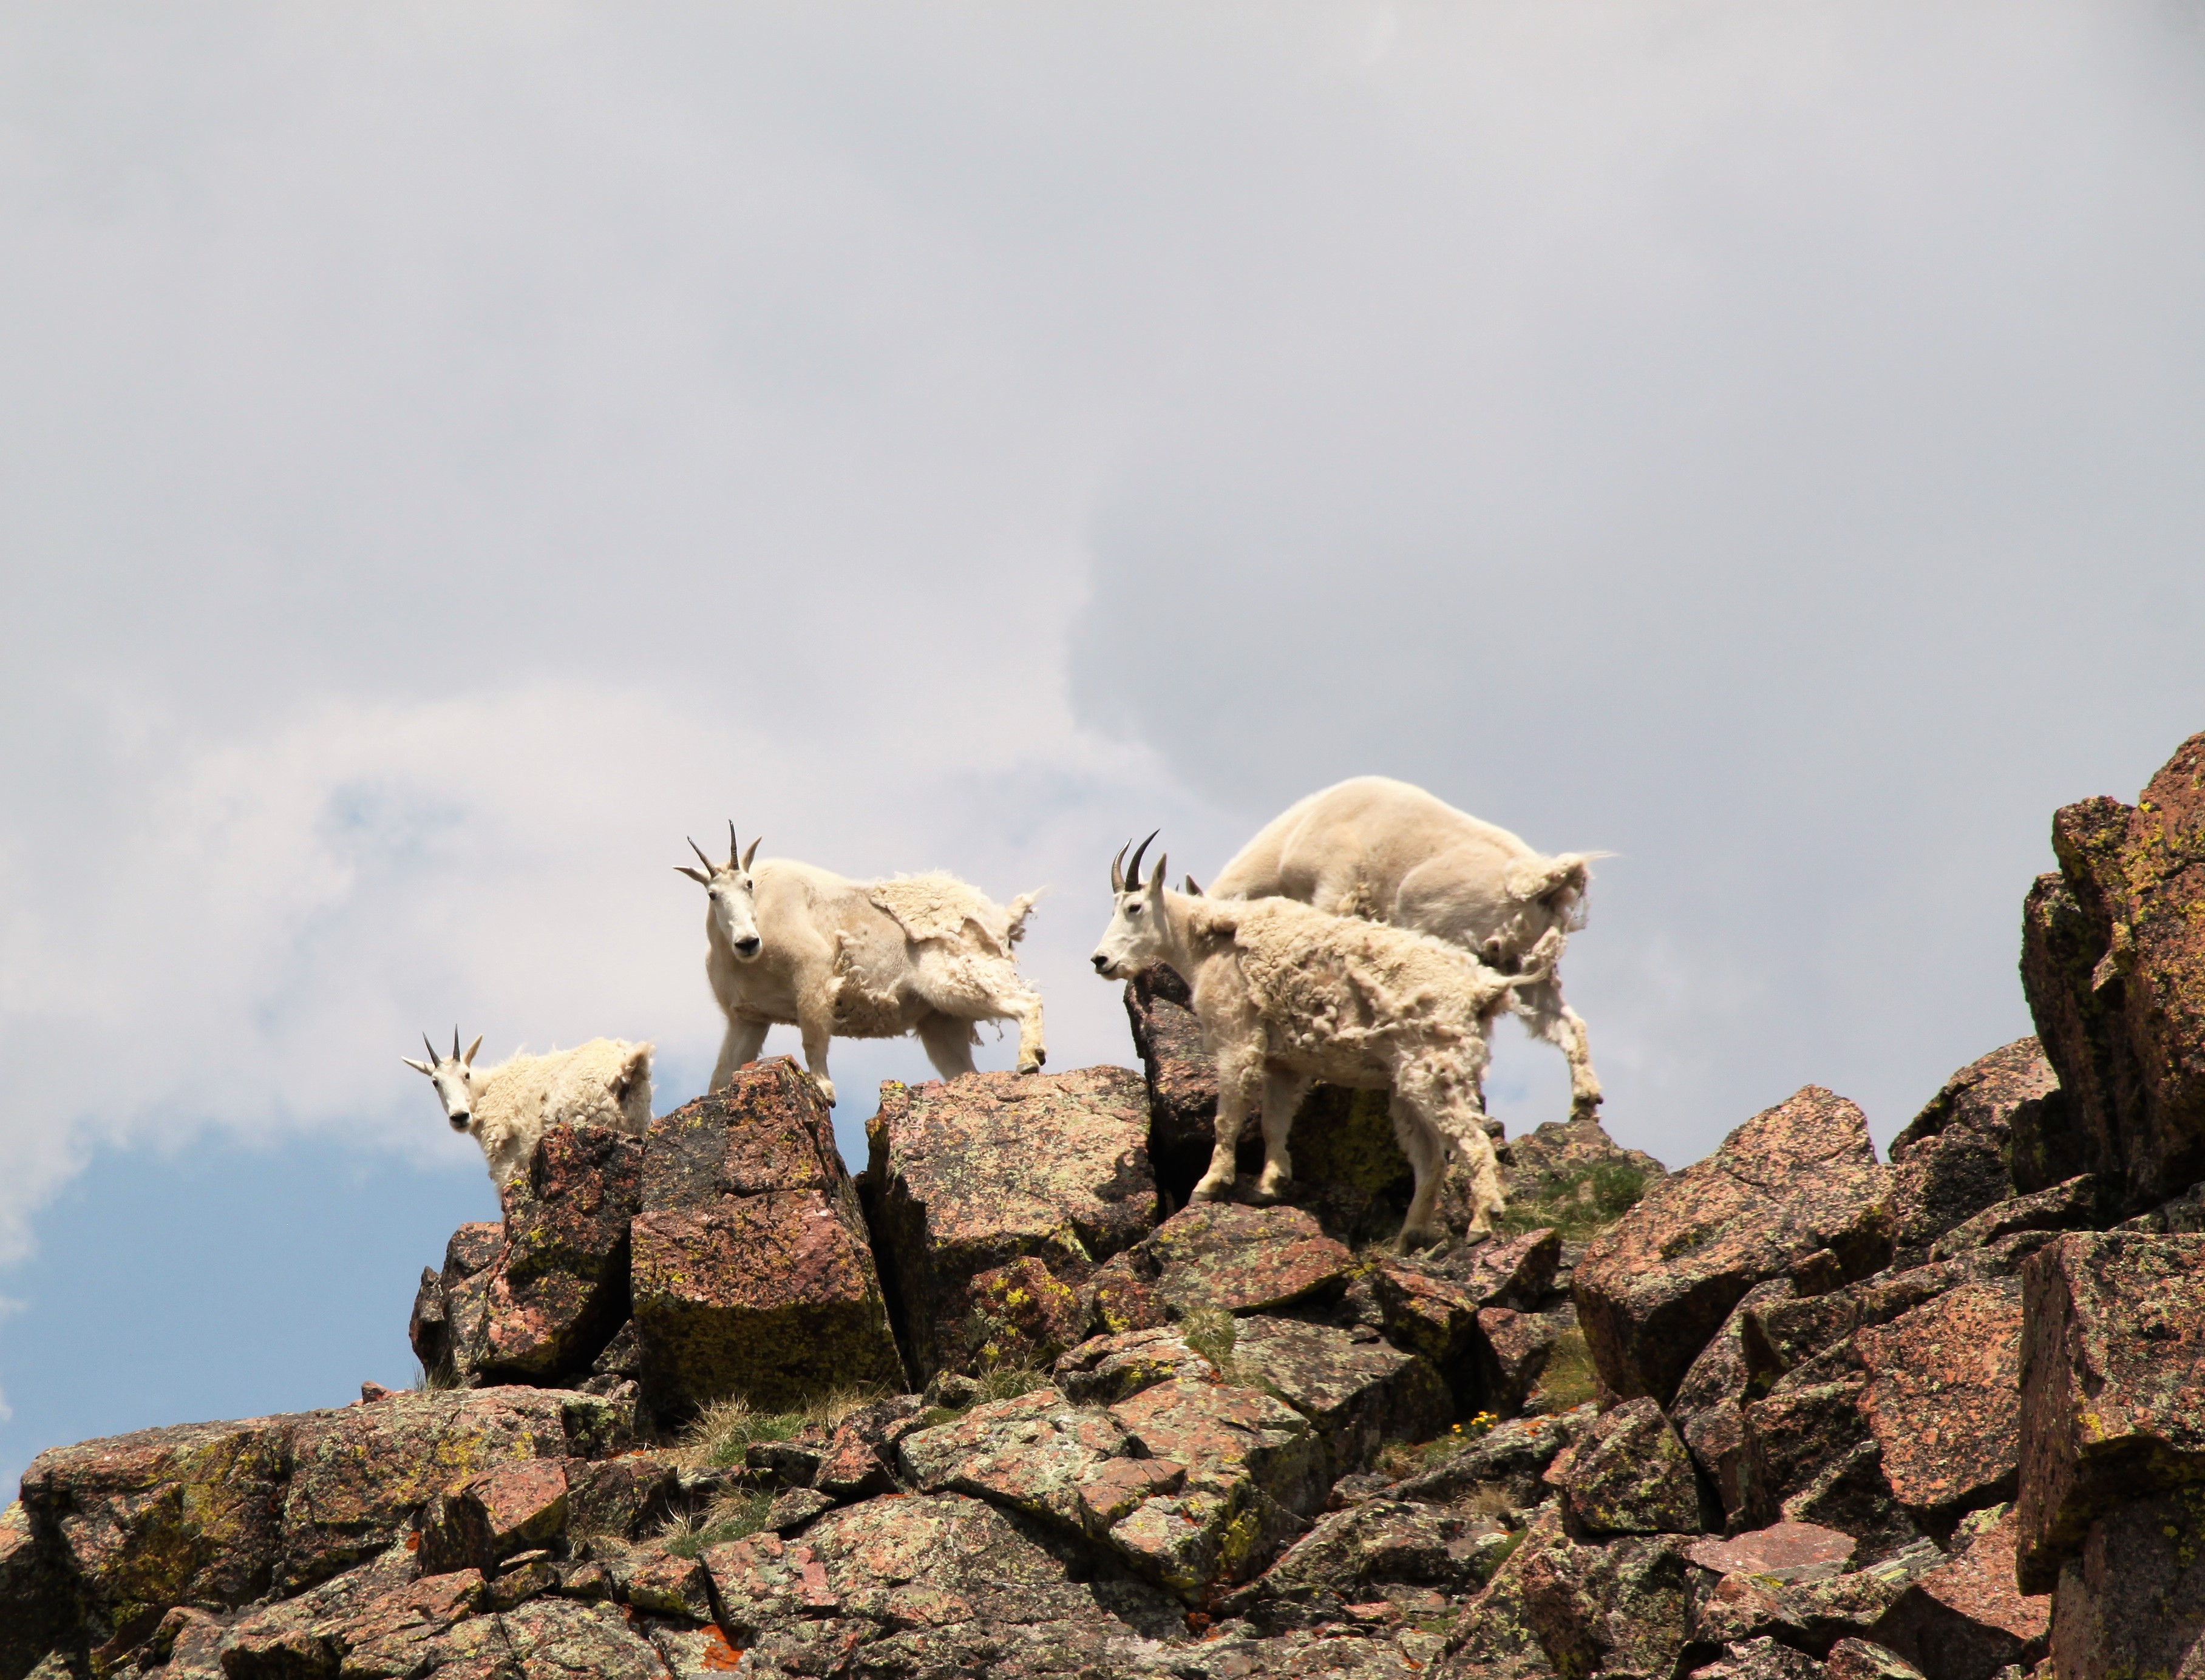
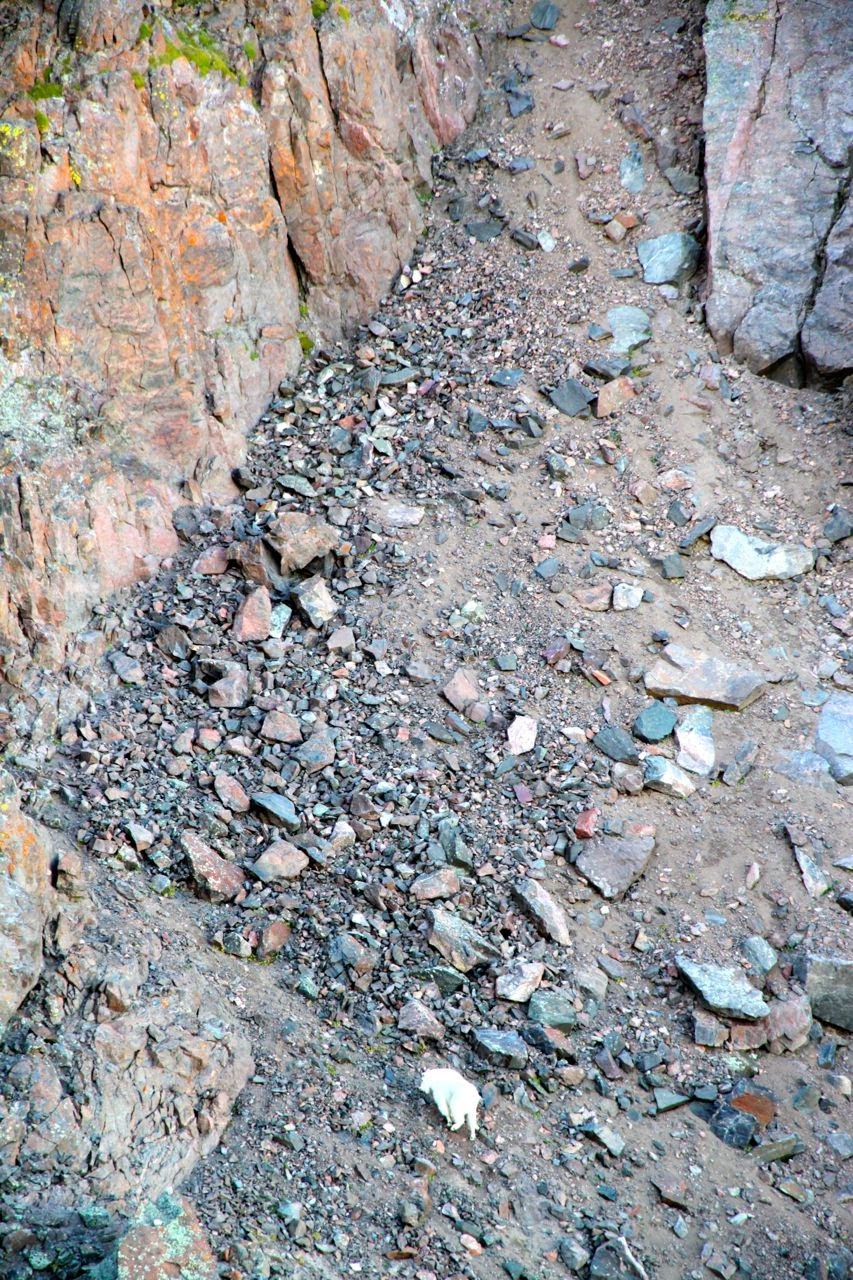
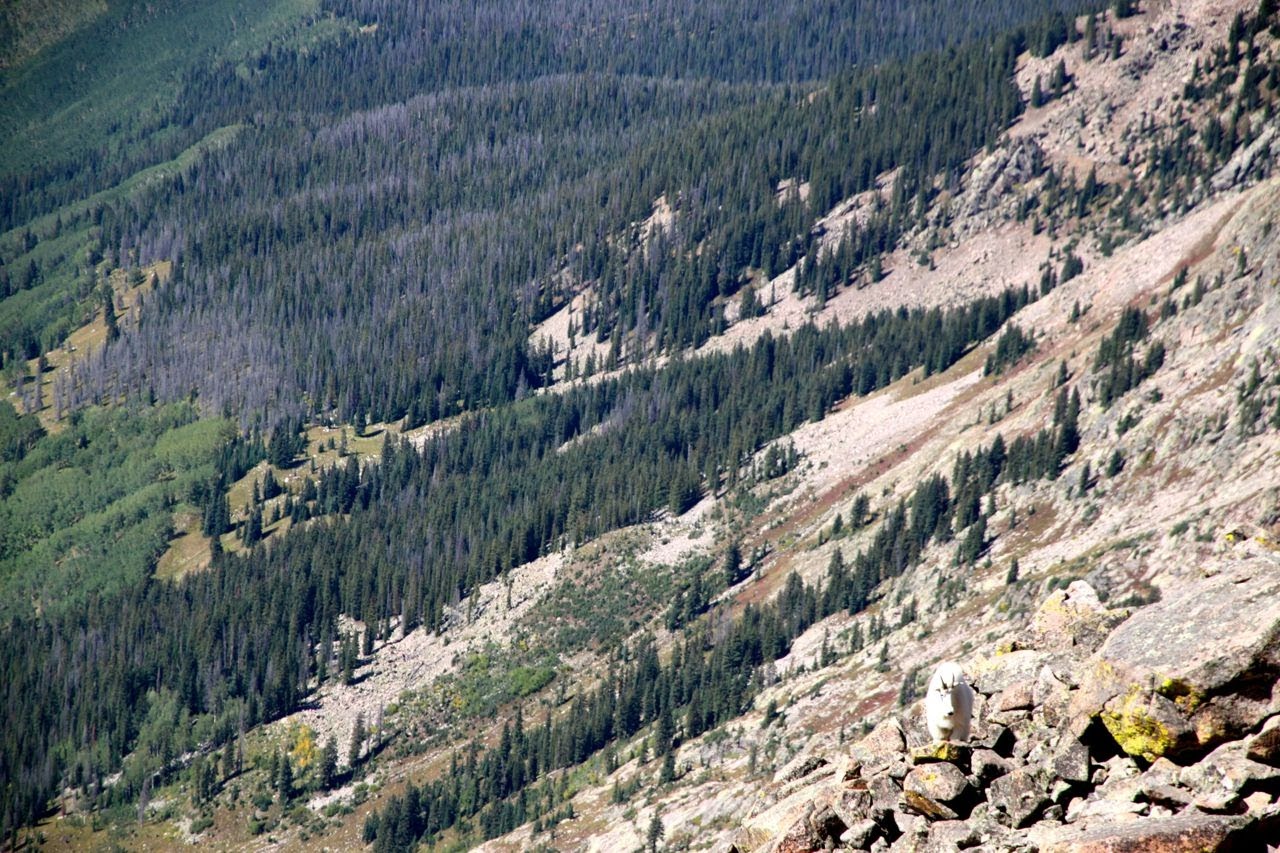
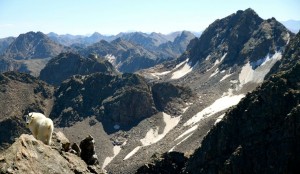
Most of our climb was in the shade and was quite chilly. Fortunately, there wasn’t a cold stiff wind like there was with Kristine. On the traverse to the start of the route we noticed a good looking Rocky Mountain Goat eyeing us intently as if saying “hey, why are you guys coming onto my mountain?” Little did we know he would follow us the entire climb and over to Peak C-Prime.
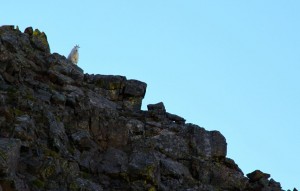
Mr. Goat
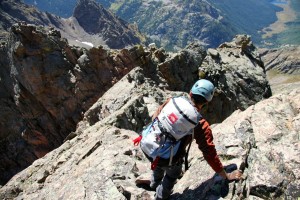
I won’t go into the route description here as Ryan & Derek do an excellent job with that on their climb here. J took the 1st 5.2 pitch, placed a cam, set up an anchor, and belayed me up. Normally, on solid rock, J and I would have no problem free-soloing this pitch, but the loose rock really makes this a scary proposition. The rope and a few pieces of protection are good insurance. Plus, we’re both dads now 🙂
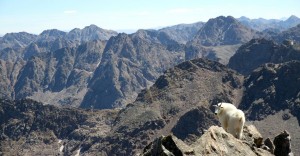
Mr. Goat (take 2) near the base of the route
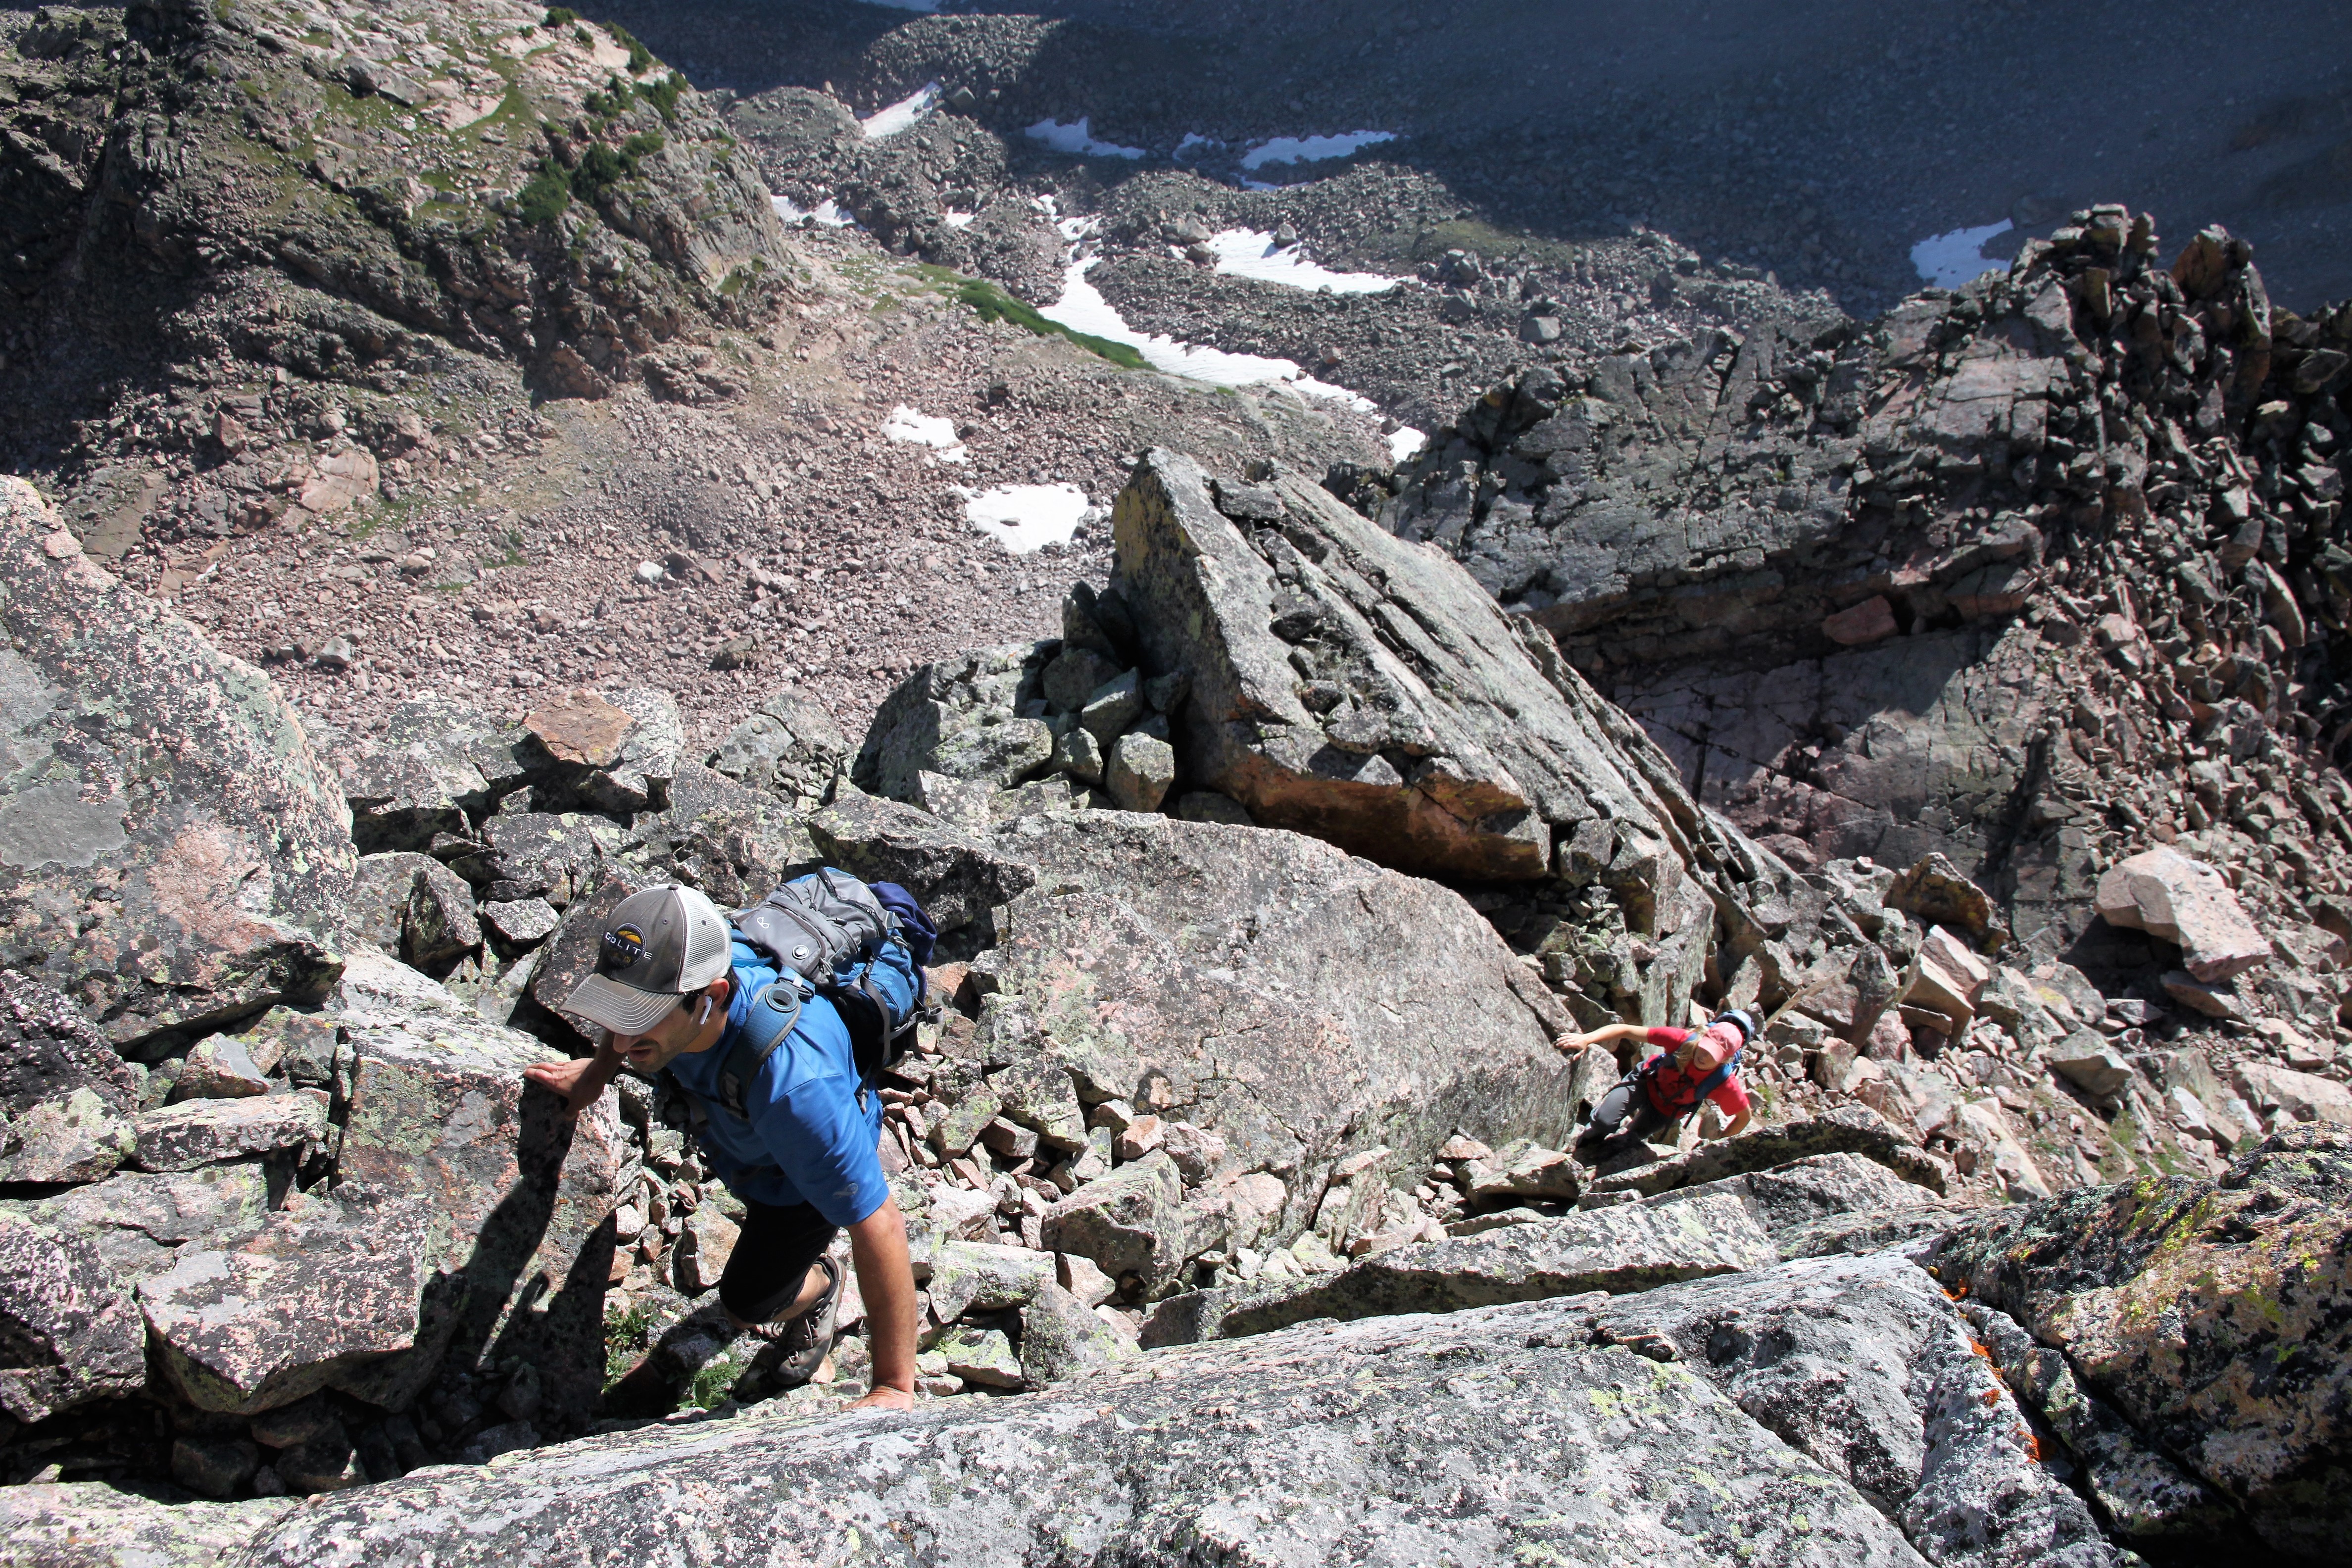
We then swapped leads, I placed another cam on a sling and then set up an anchor on a ledge to belay J up to me. We only had a 30m rope, but with a 60m rope, you could do this entire pitch in one fell swoop.

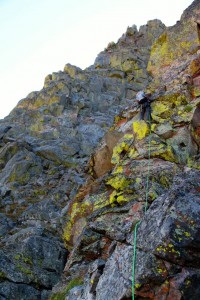
J climbing the 2nd half of the 1st 5.2 pitch
J in action
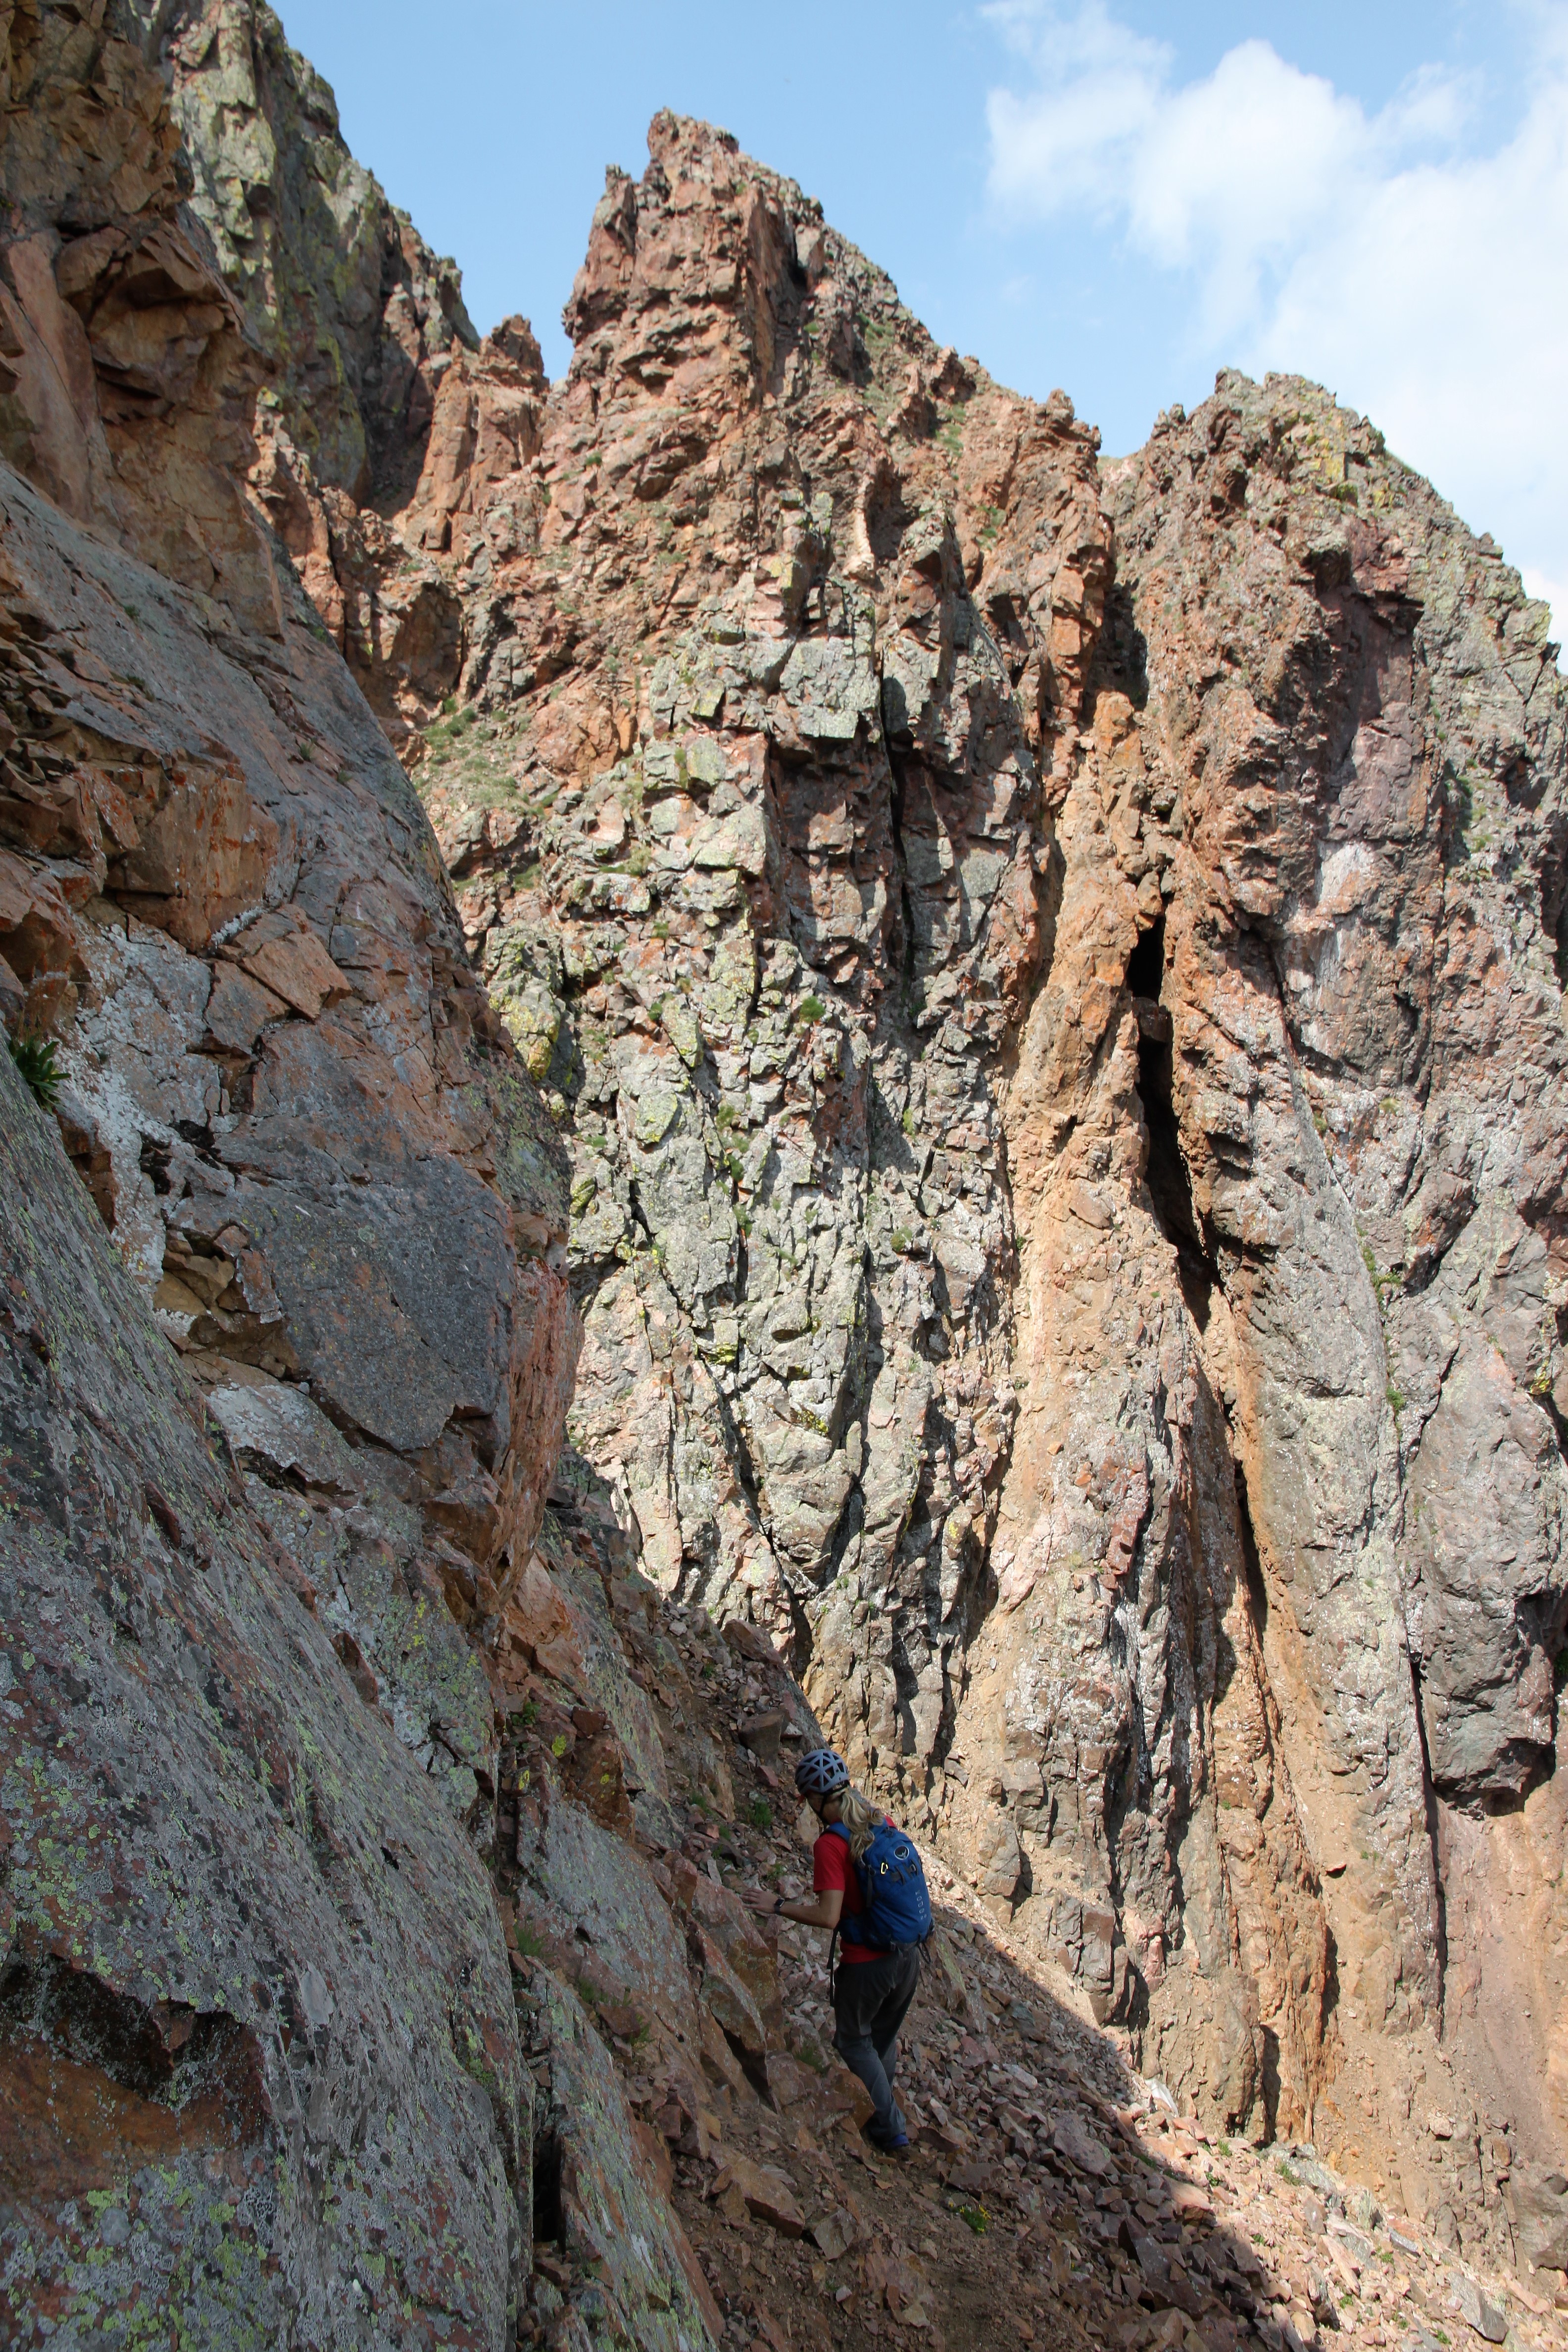
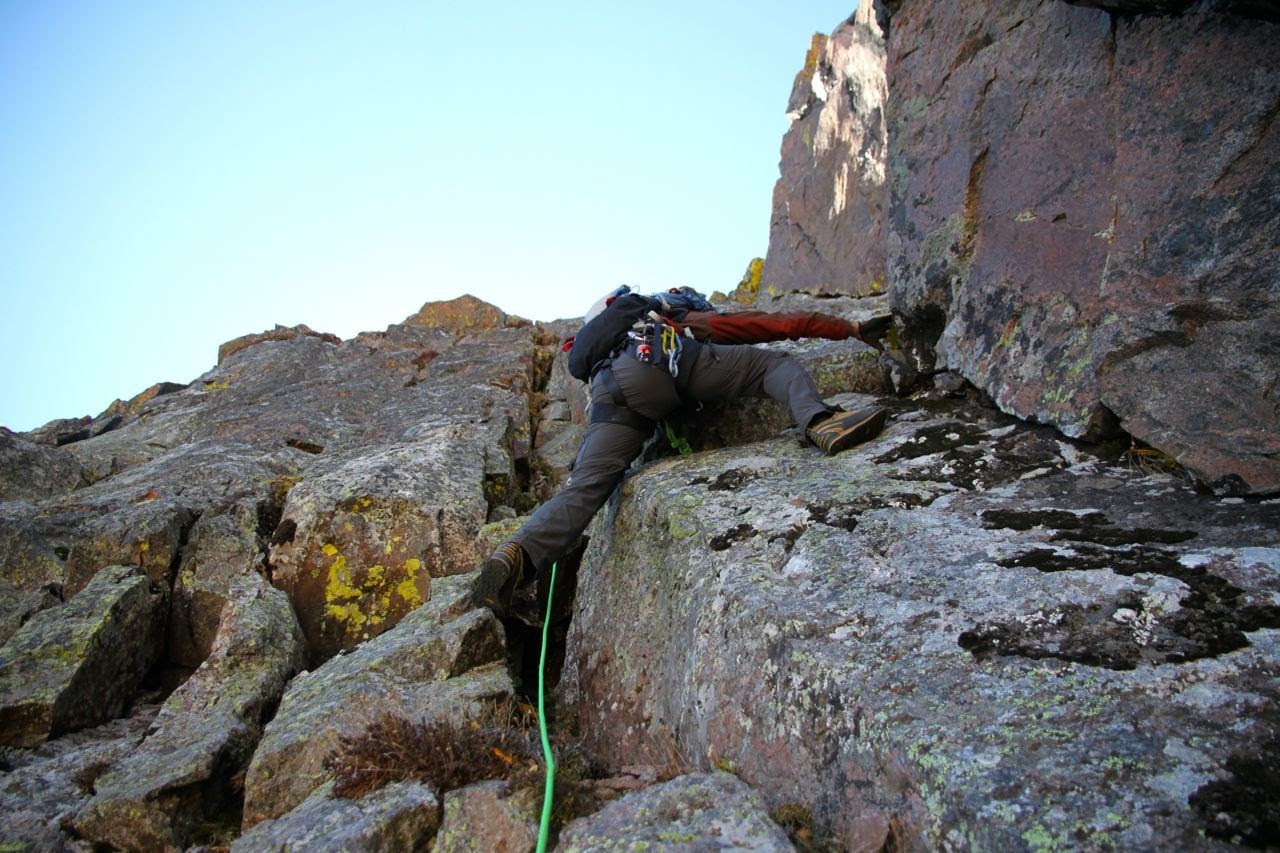
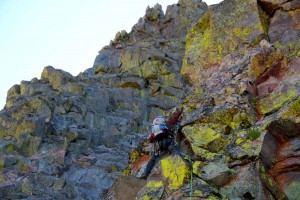
We needed to get left into the class 3 gully somehow. We decided to stay roped up and swapped leads again and J took the headwall straight on placing a cam on a sling at the crux. There may be an easier way to get in the gully, but this was a fun little move. J belayed me up and we coiled the rope and climbed the easy gully for a few hundred feet before finding the grass ledge to the left which took us out into this really cool low-angled dihedral below a vertical headwall.
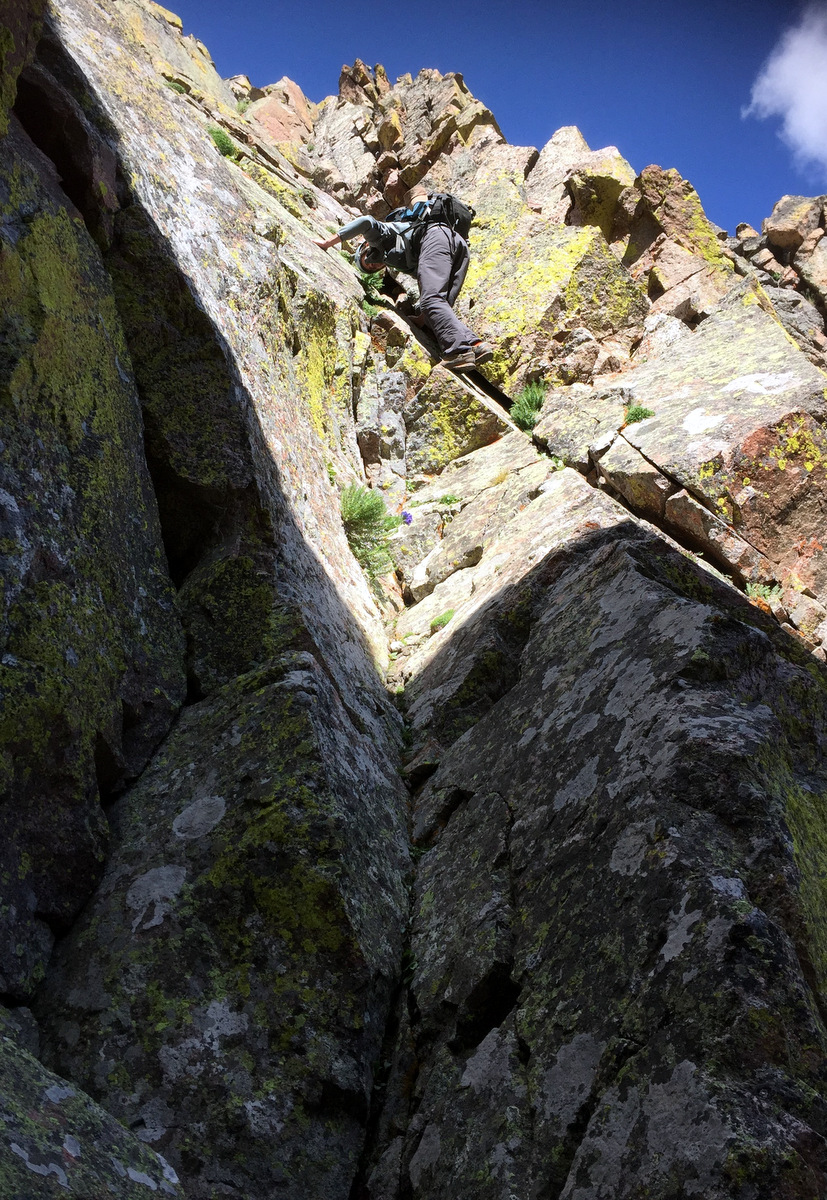
J leading into the gully
Maybe a low 5th move here
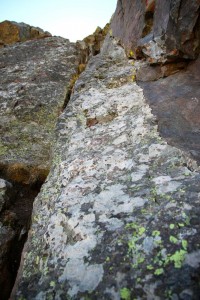
The low-angled dihedral
Instead of getting into the corner of the dihedral, we found the solid 4th class slabs just to the corner’s right side super fun. So, we didn’t break out the rope and just cruised these slabs for a hundred or two-hundred feet up to another ledge.

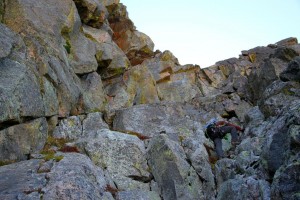
J climbing the 4th class slabs

Fun scrambling here

J on the slabs. The corner dihedral Ryan & Derek describe can be seen on the left
Me on the slabs. Photo by J
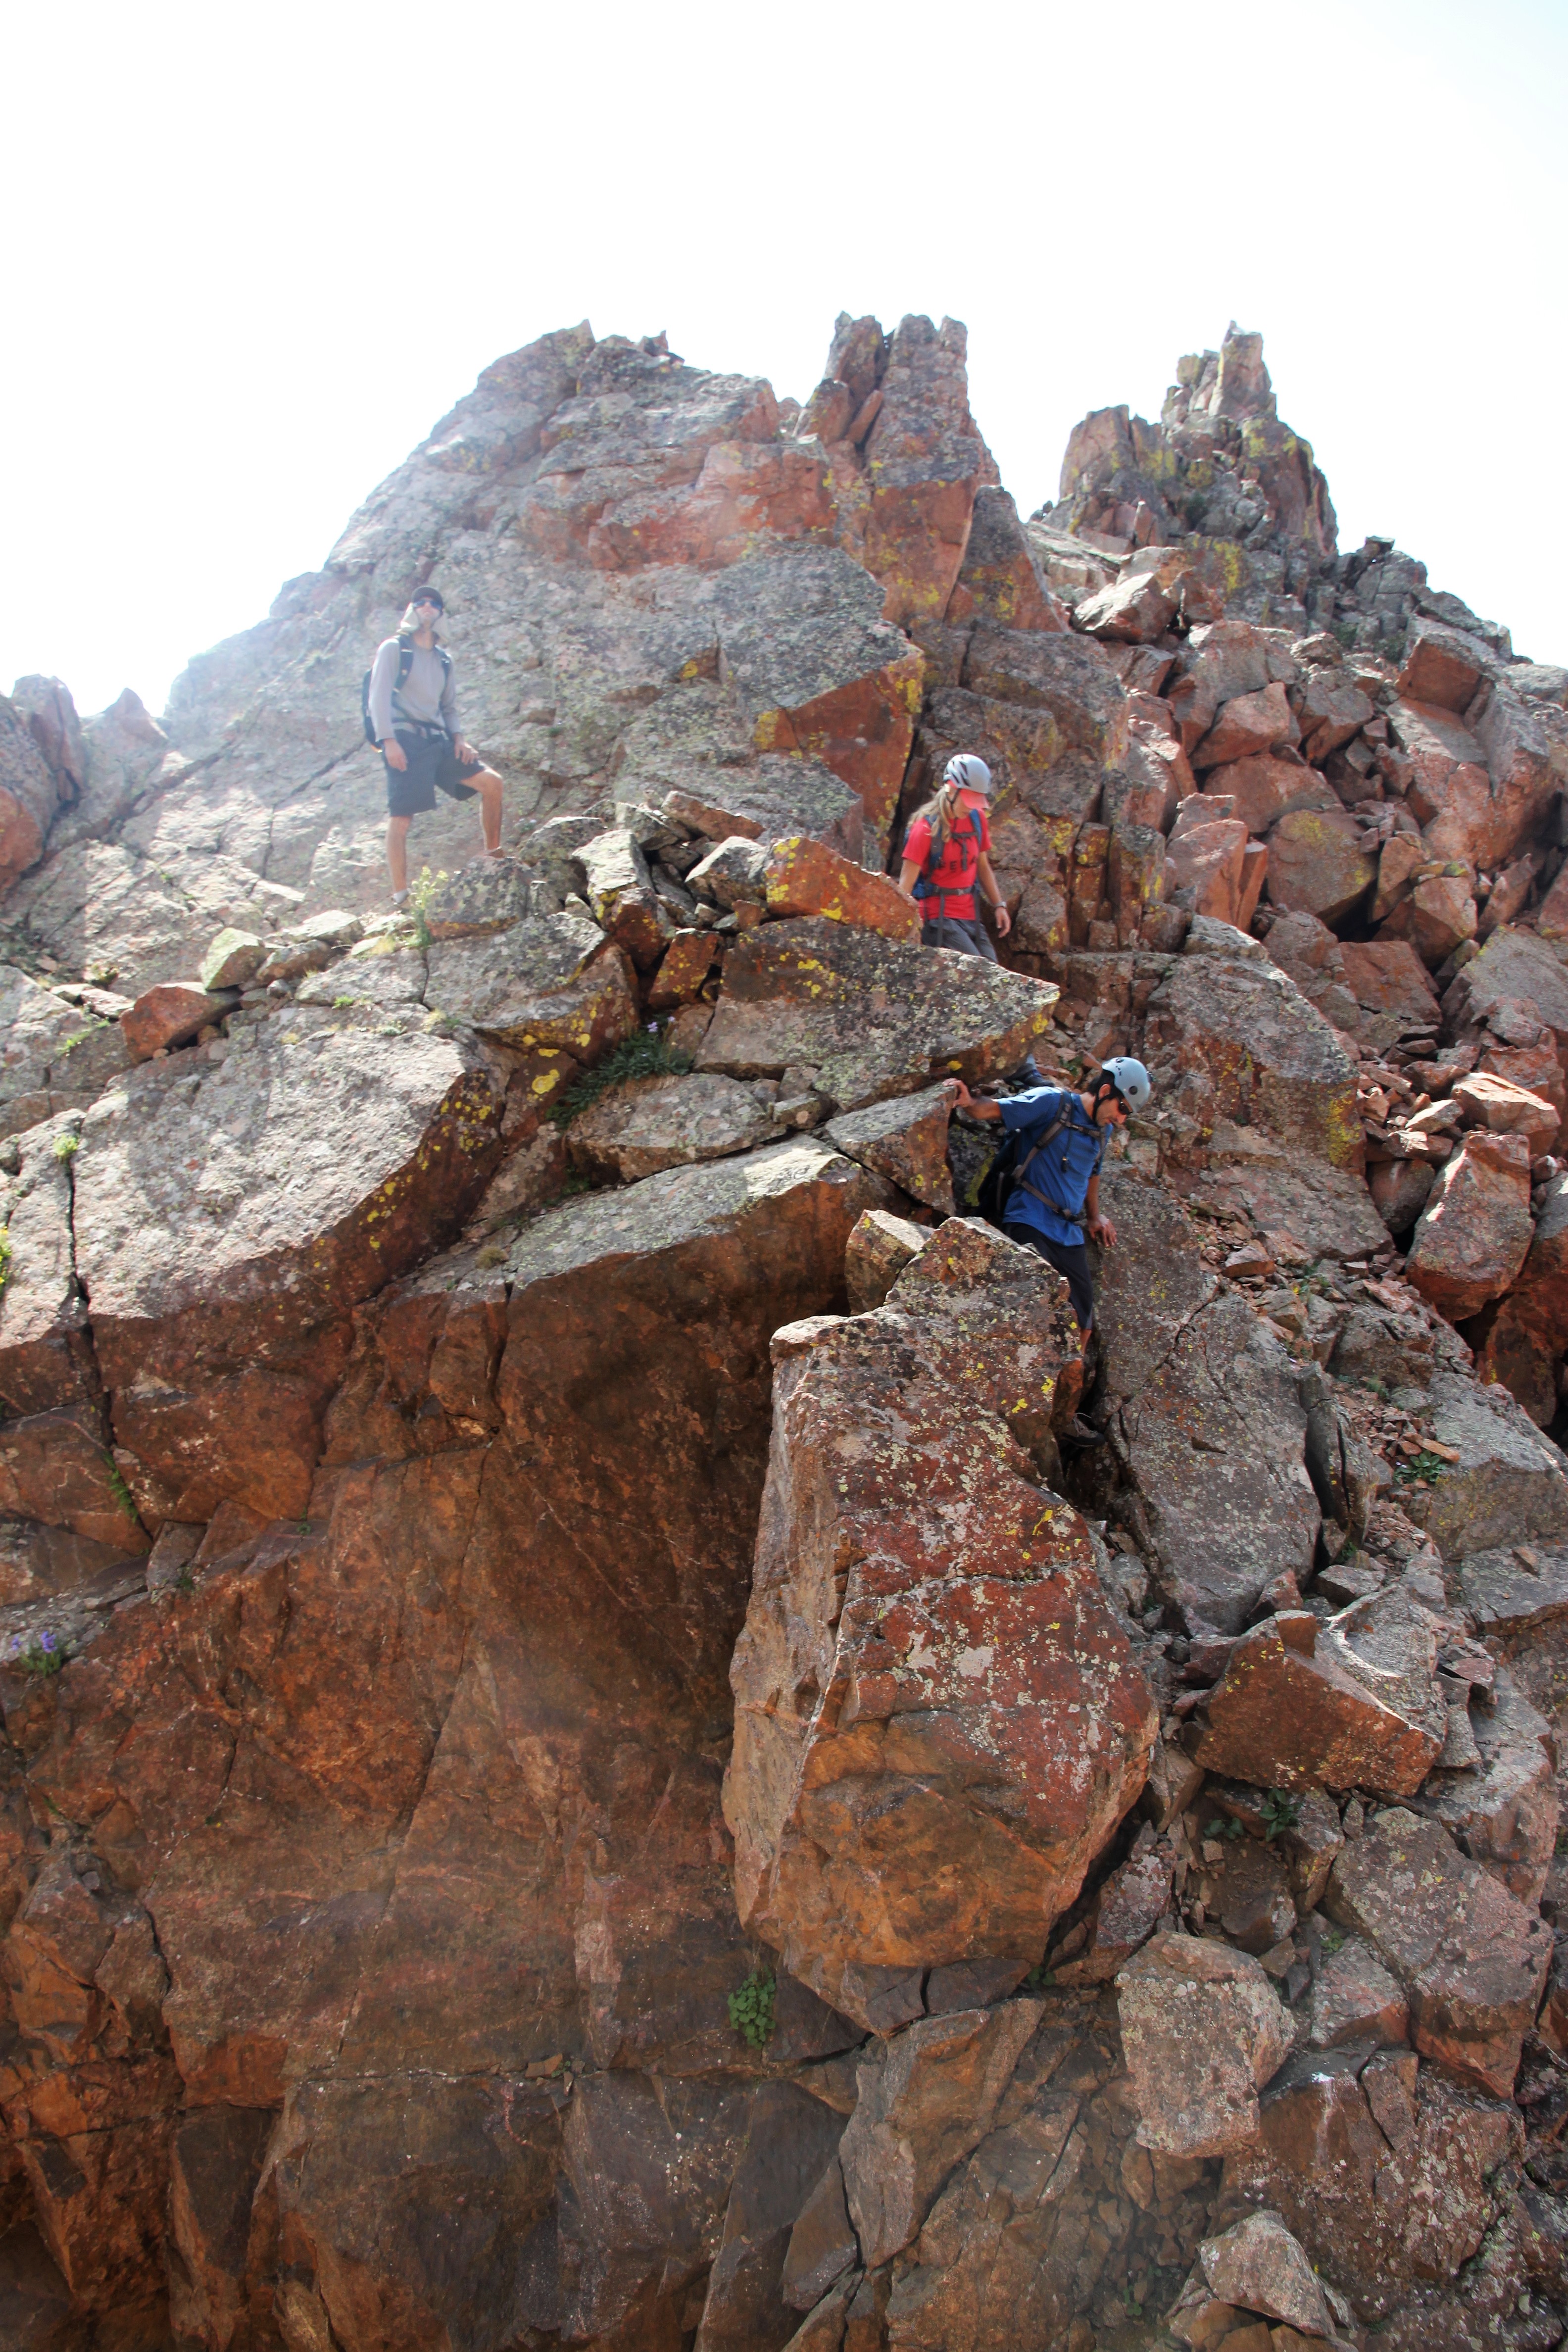
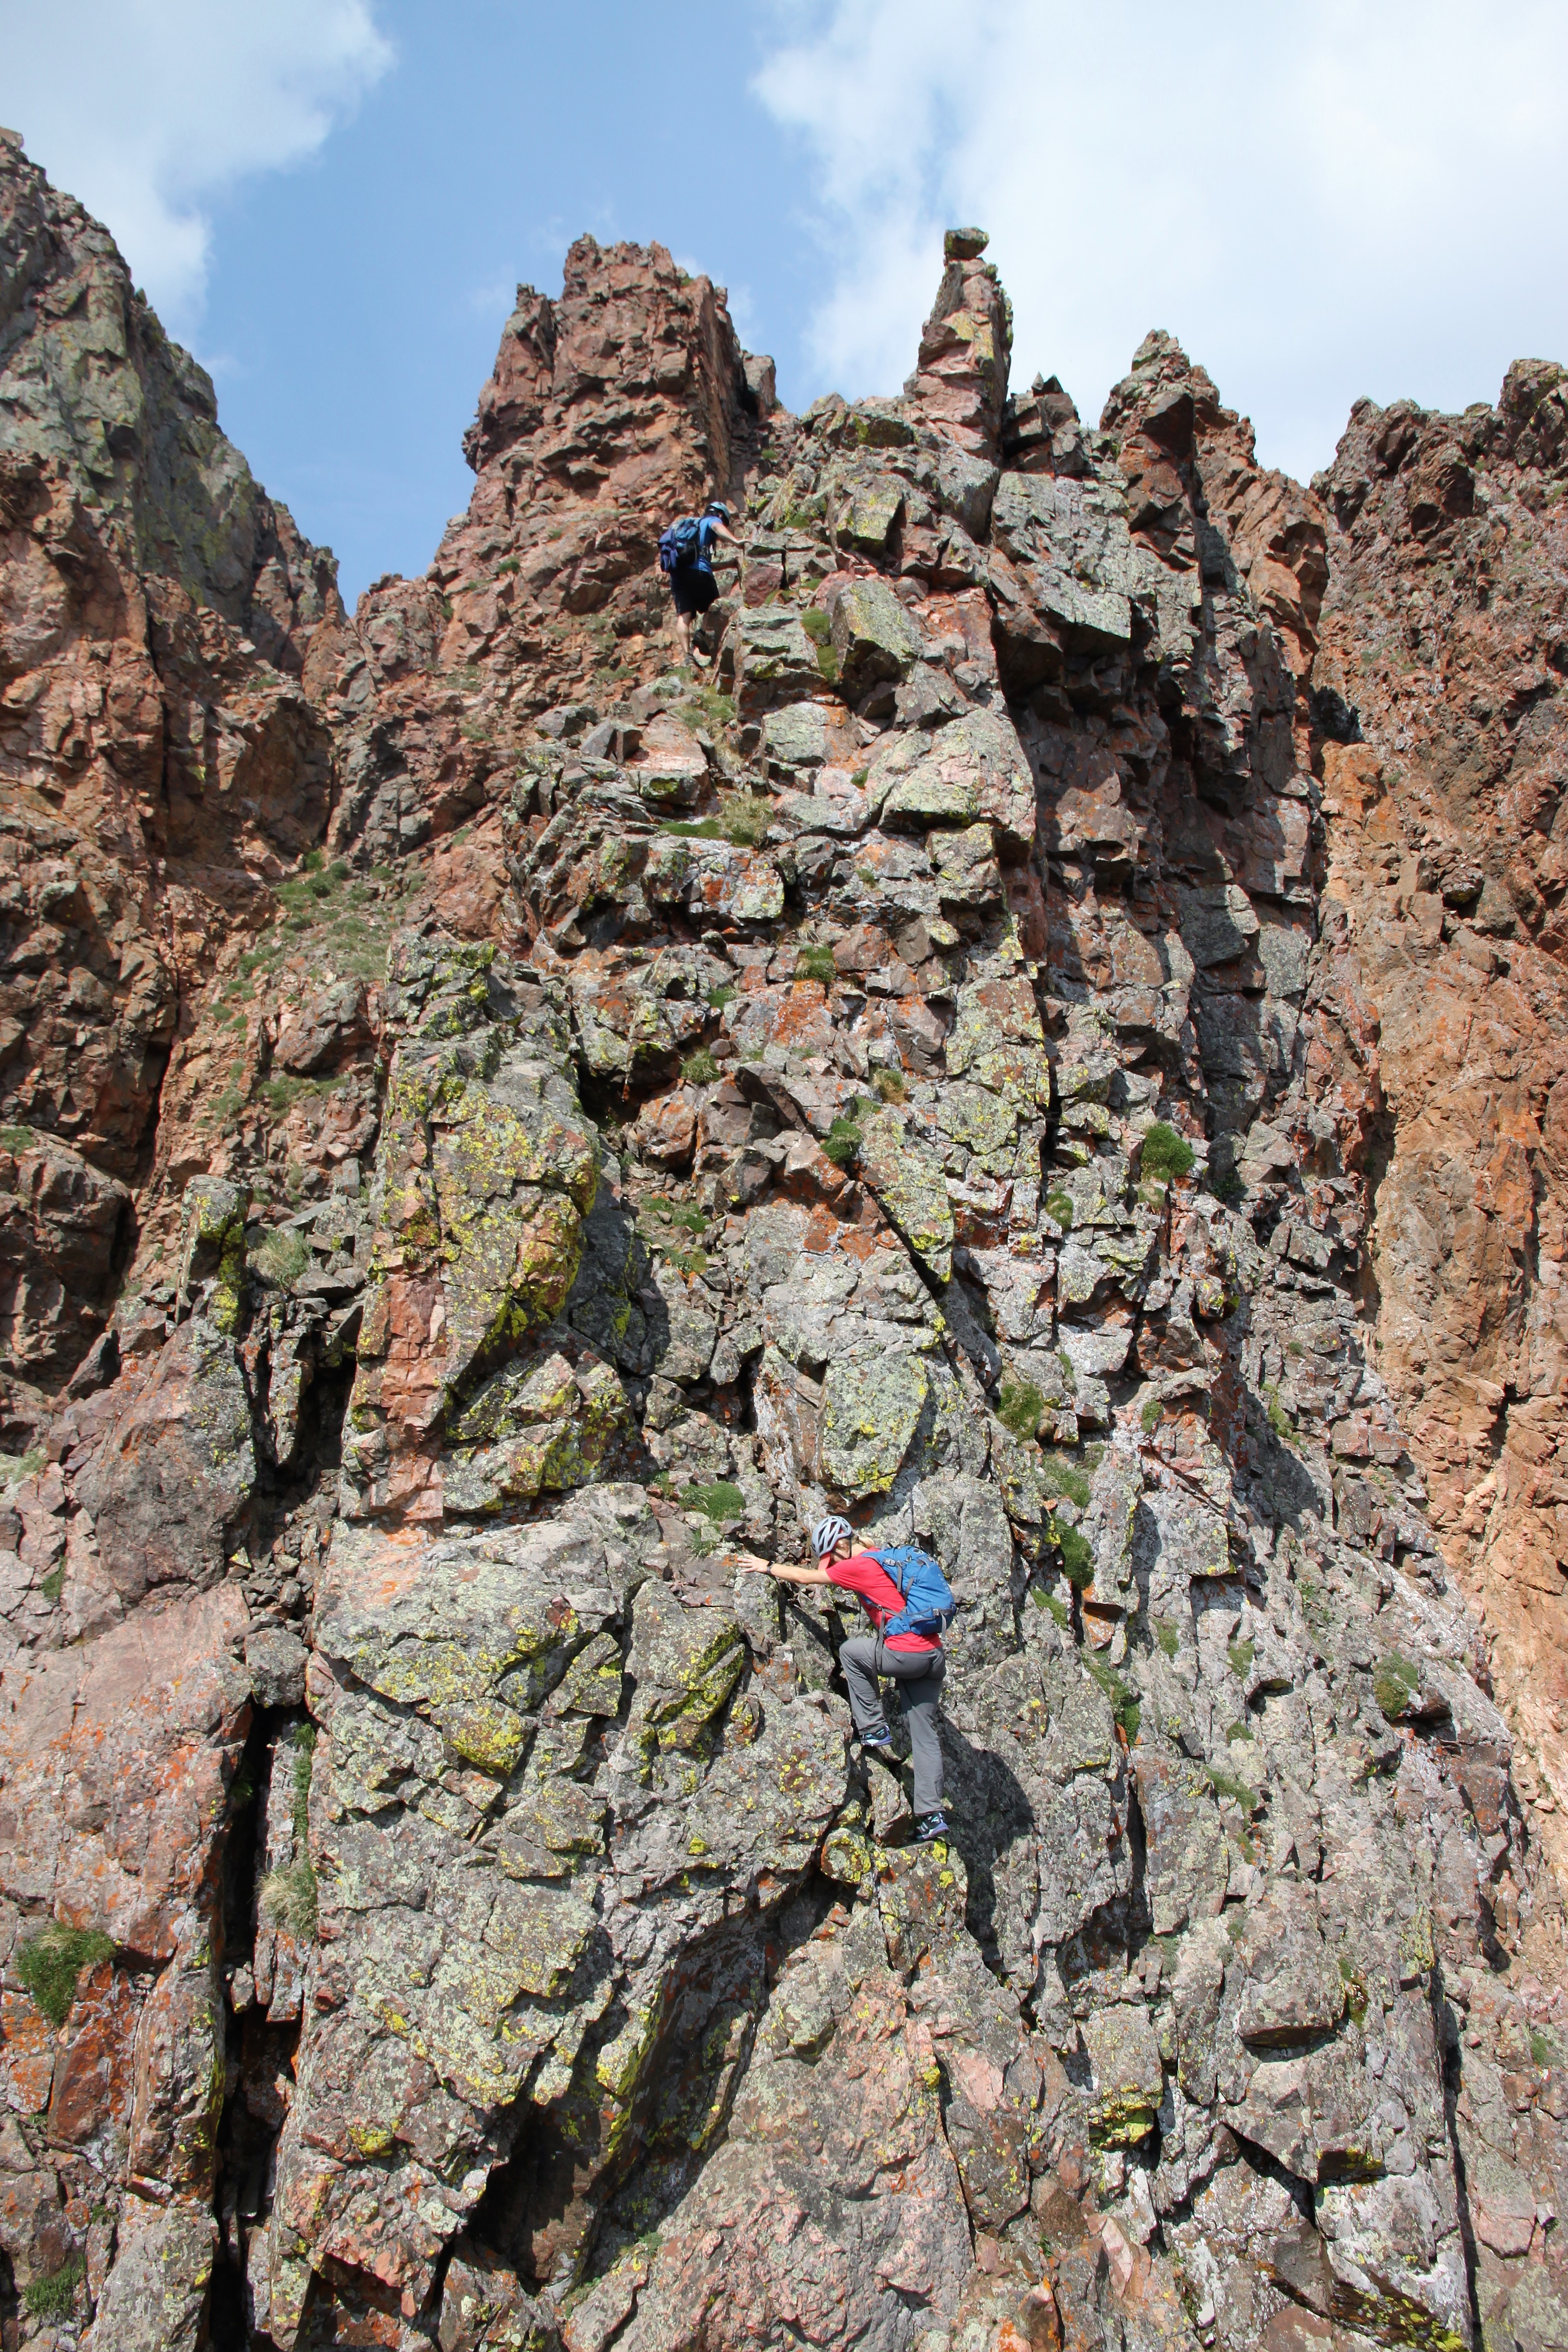
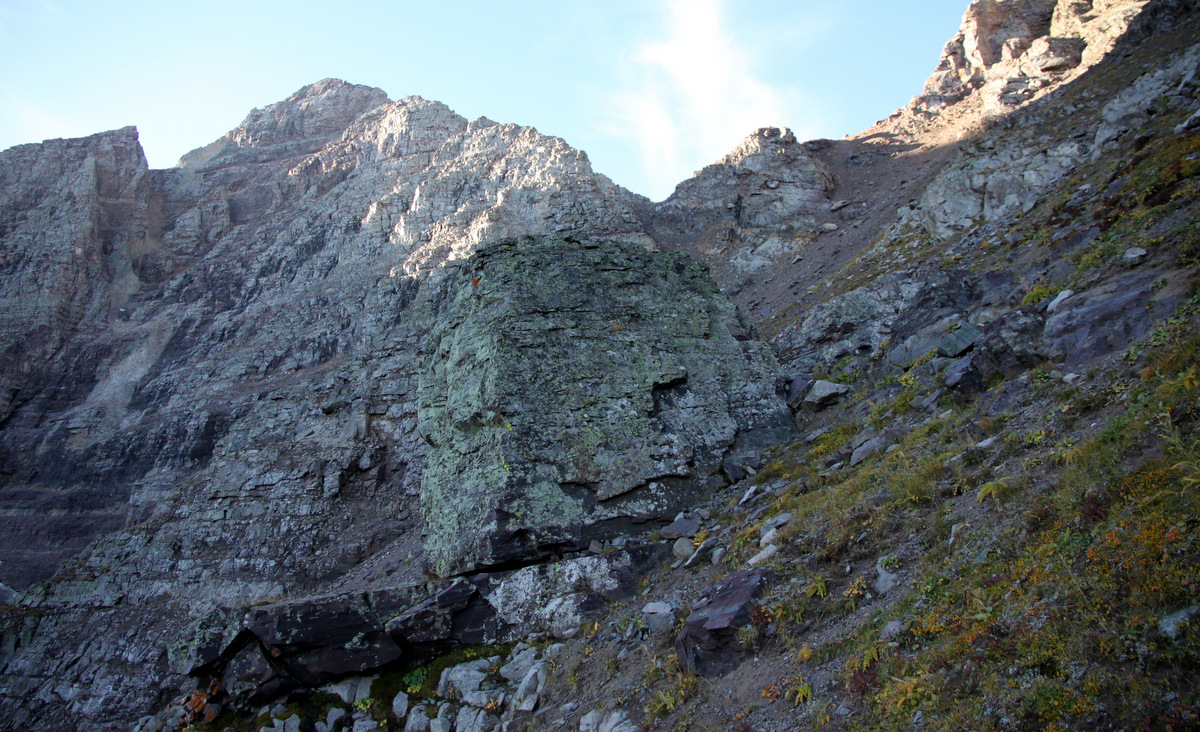
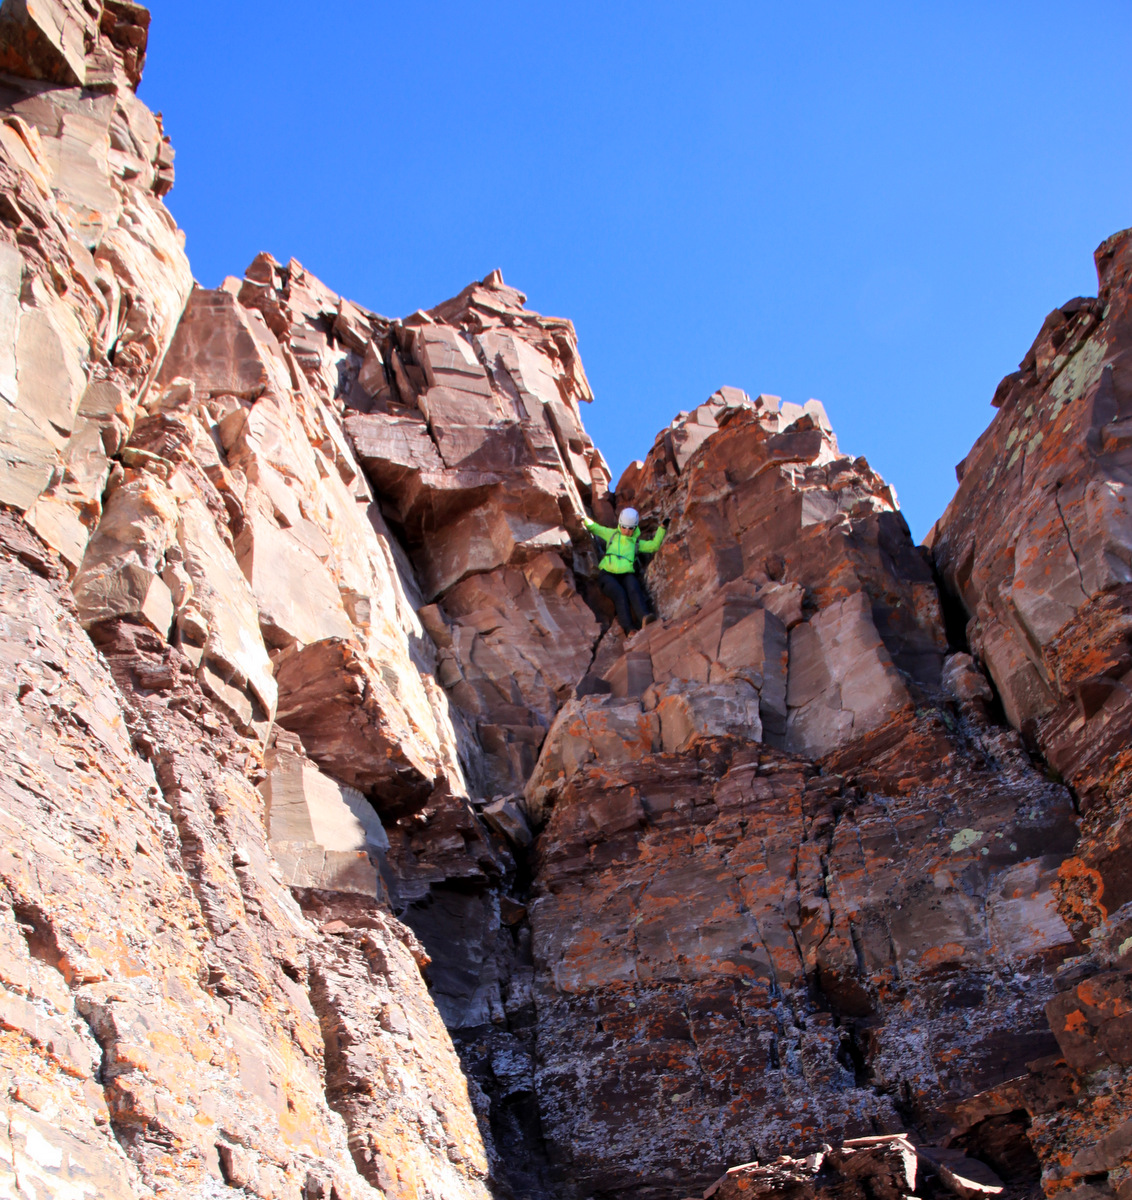
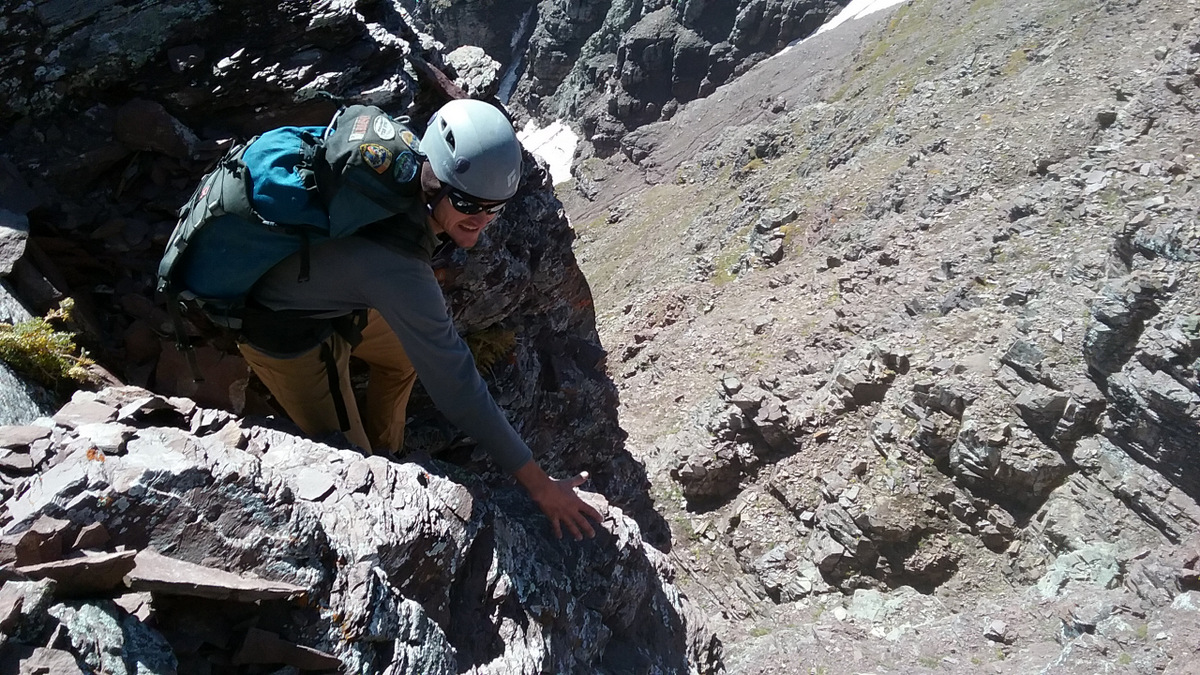
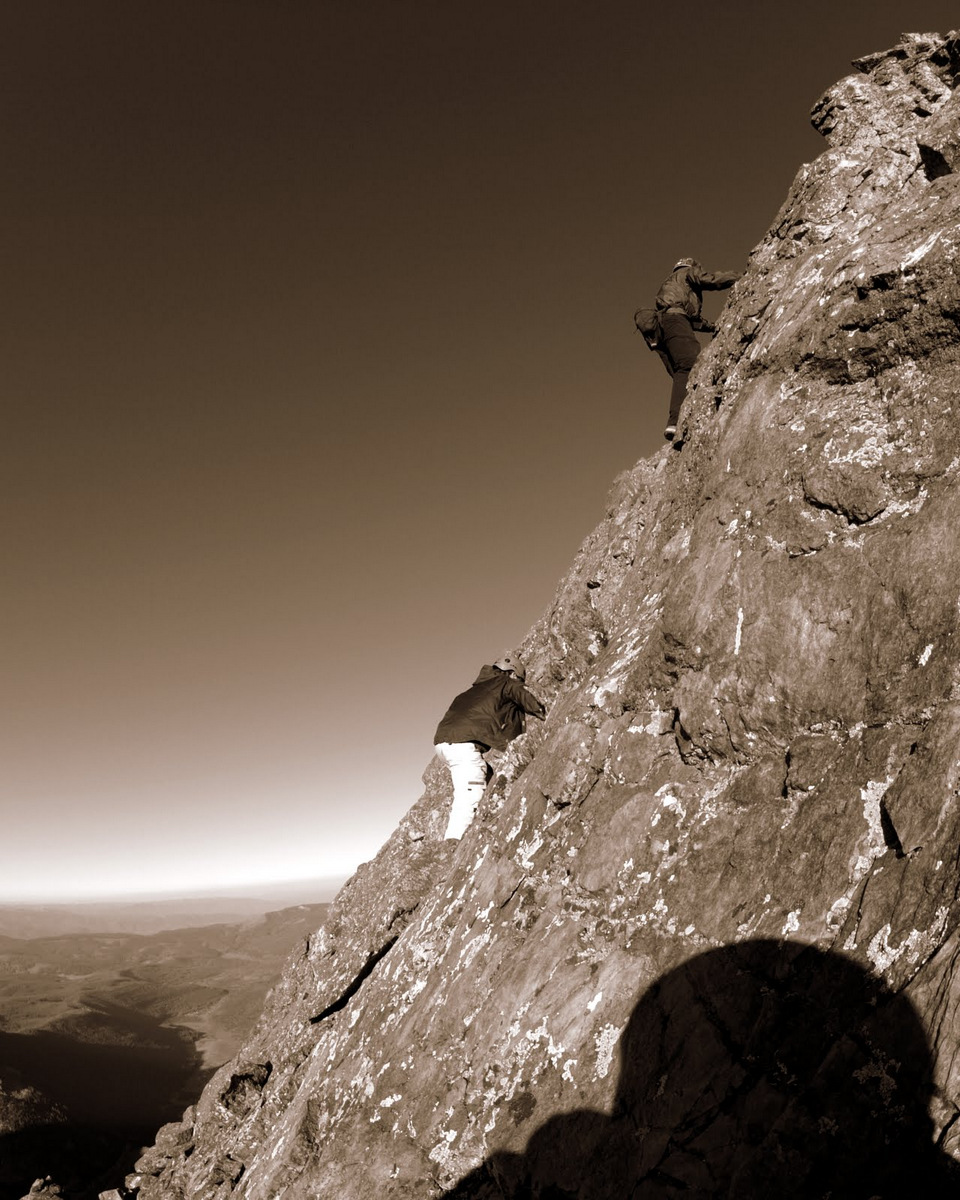
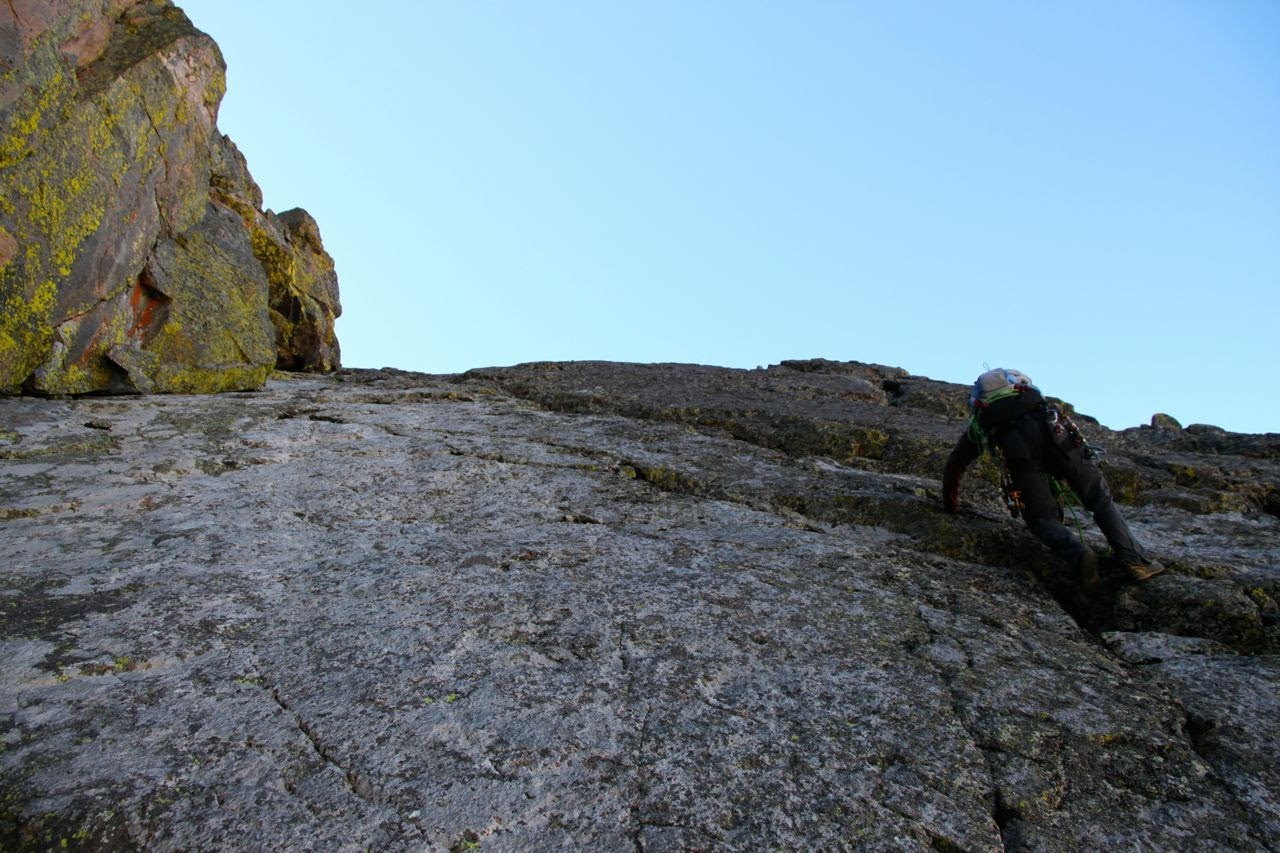
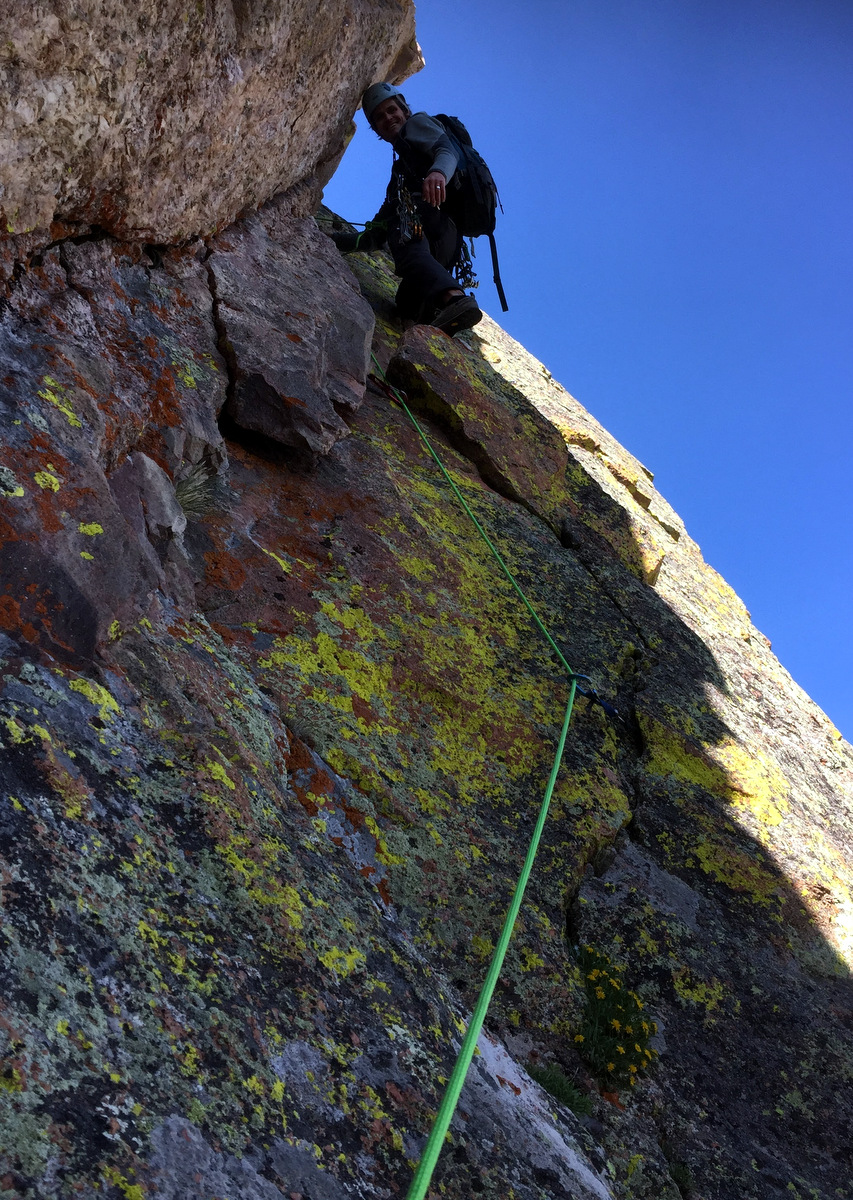
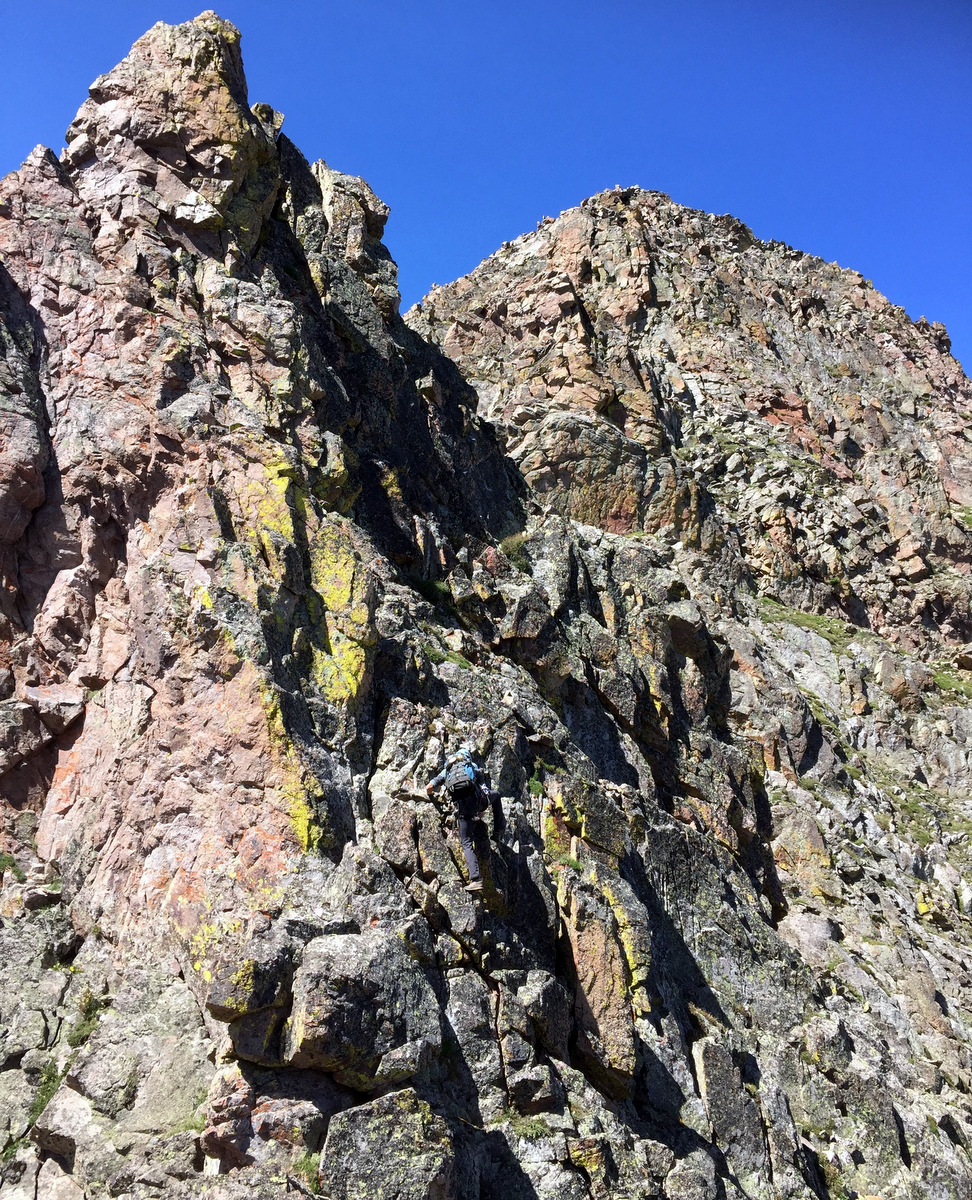
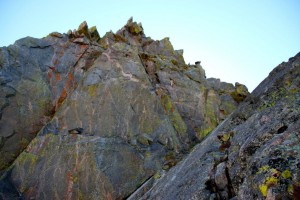
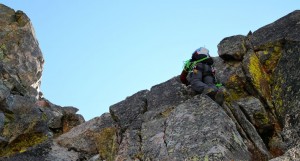
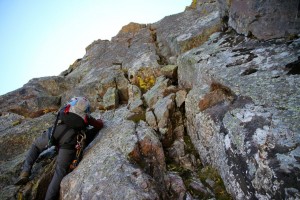
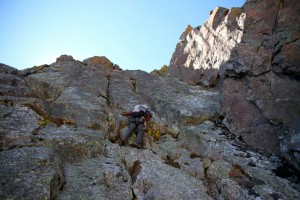
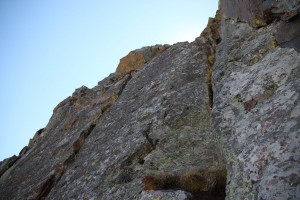
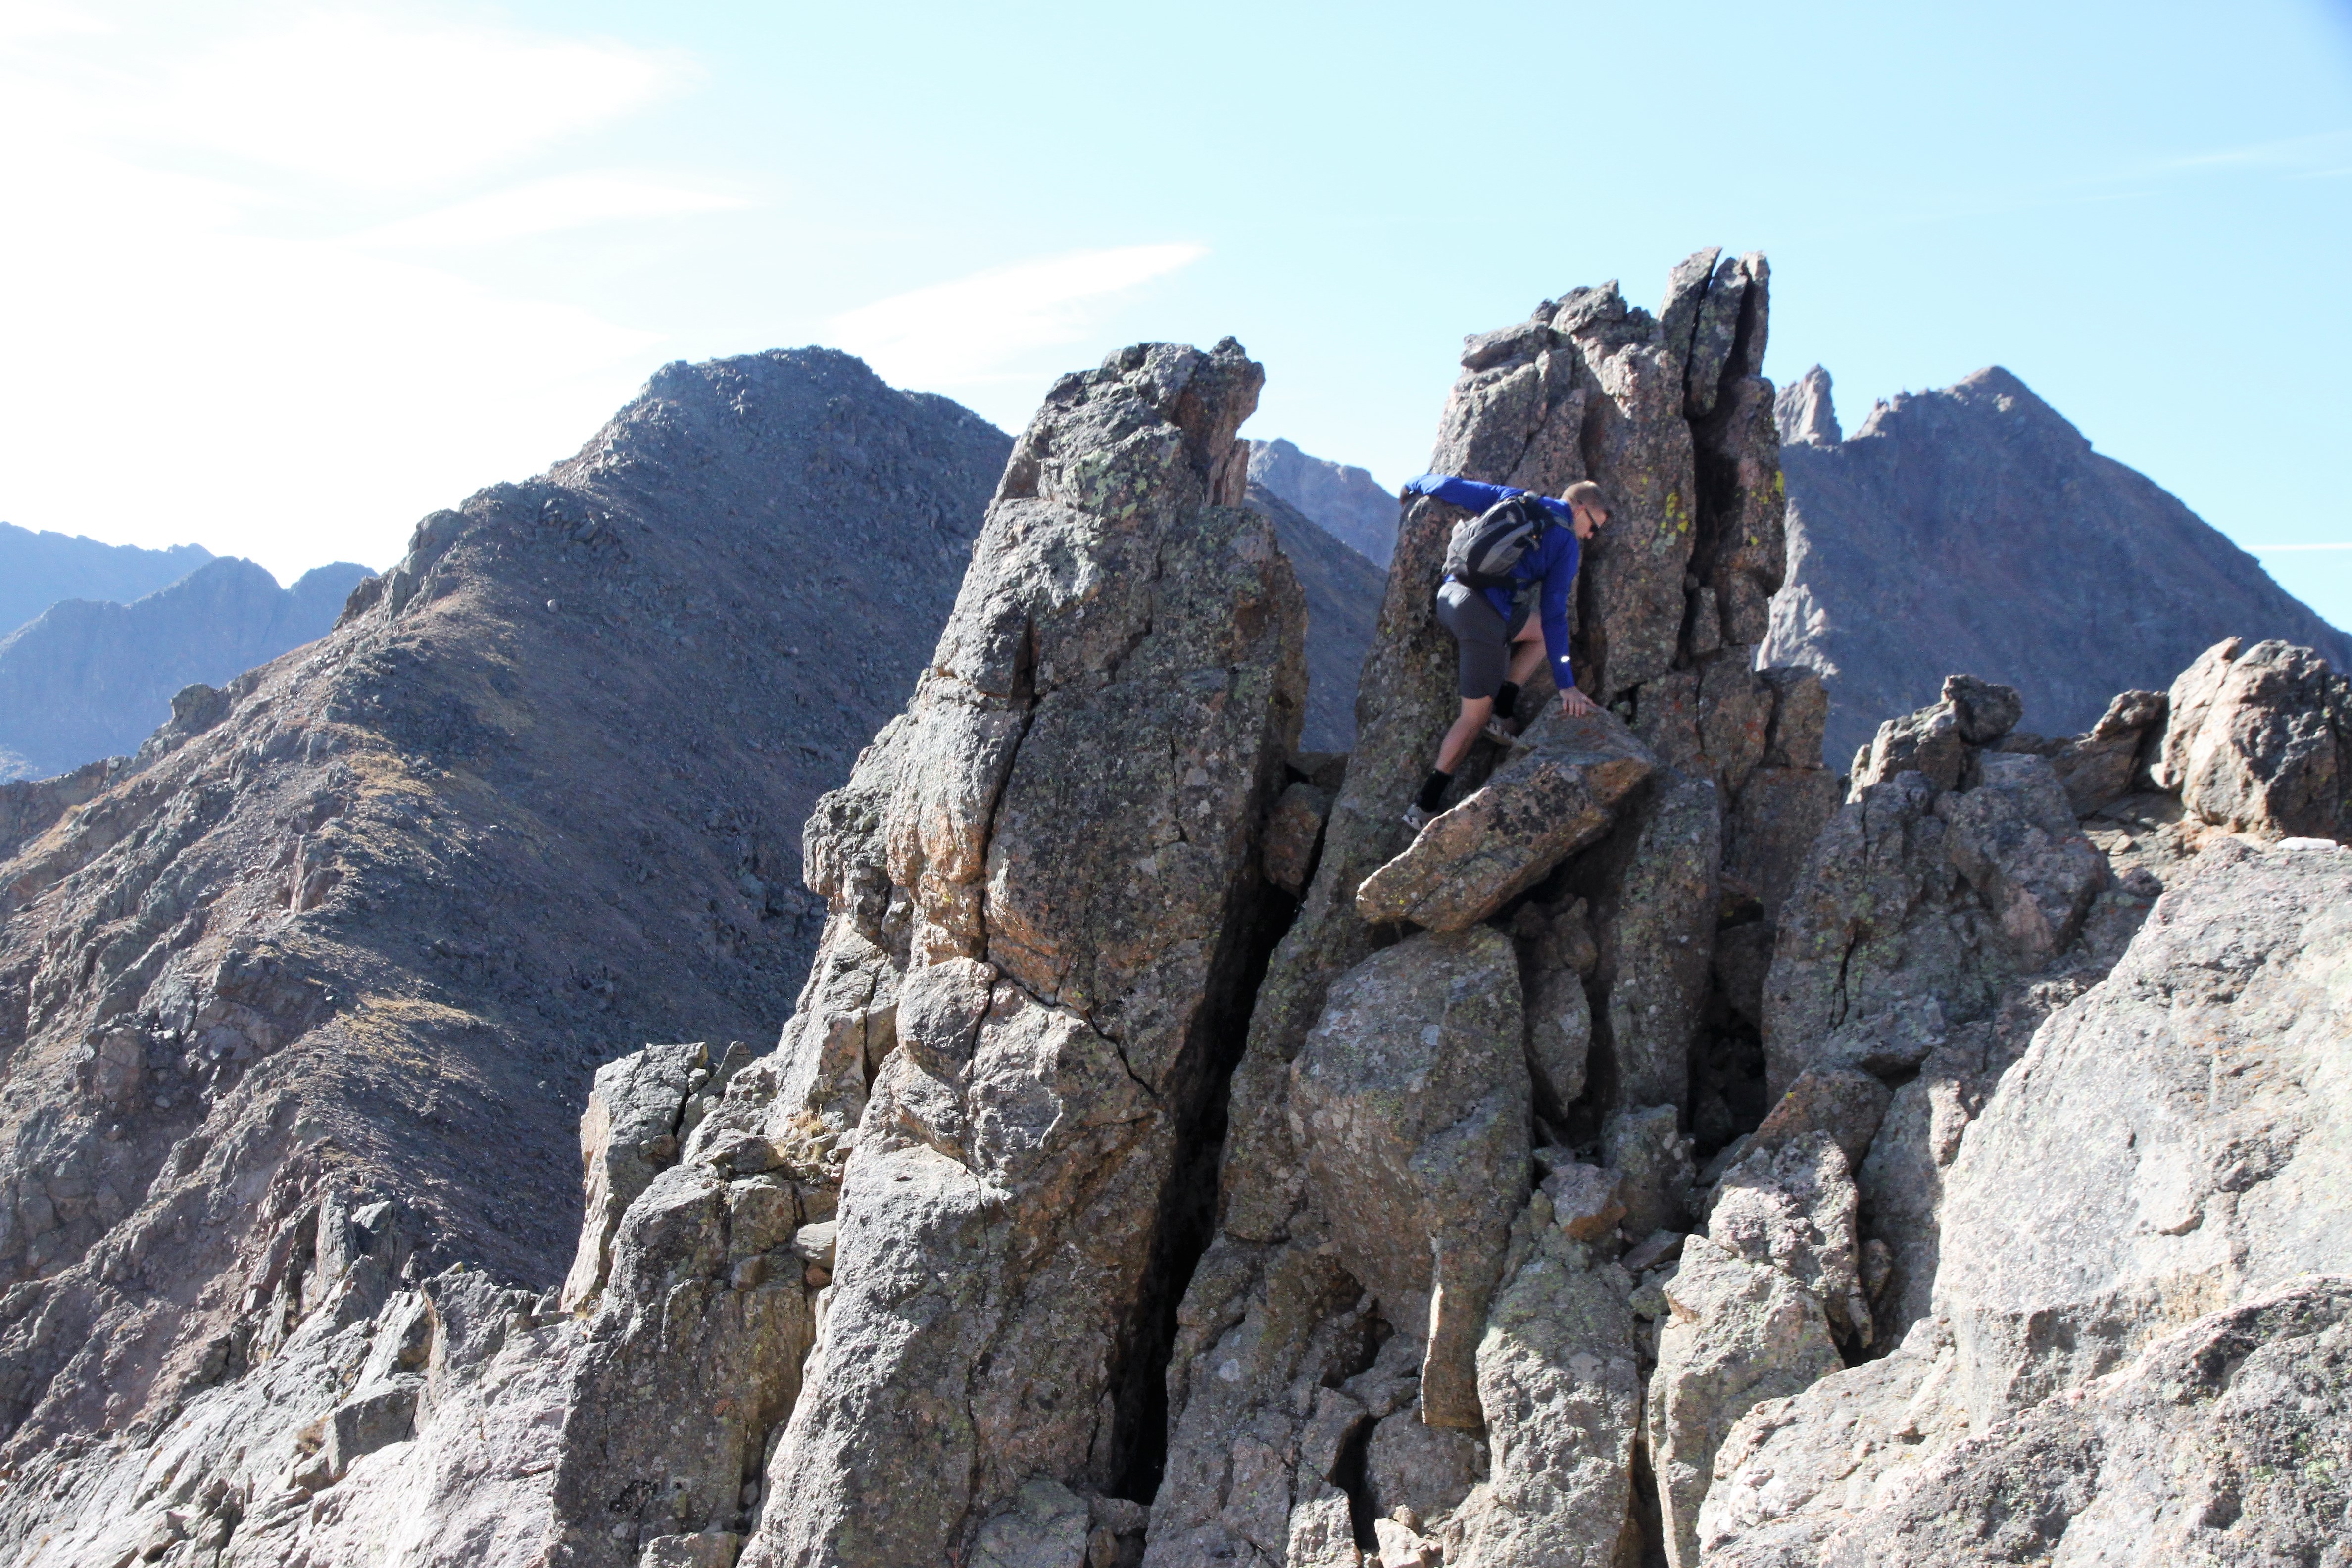
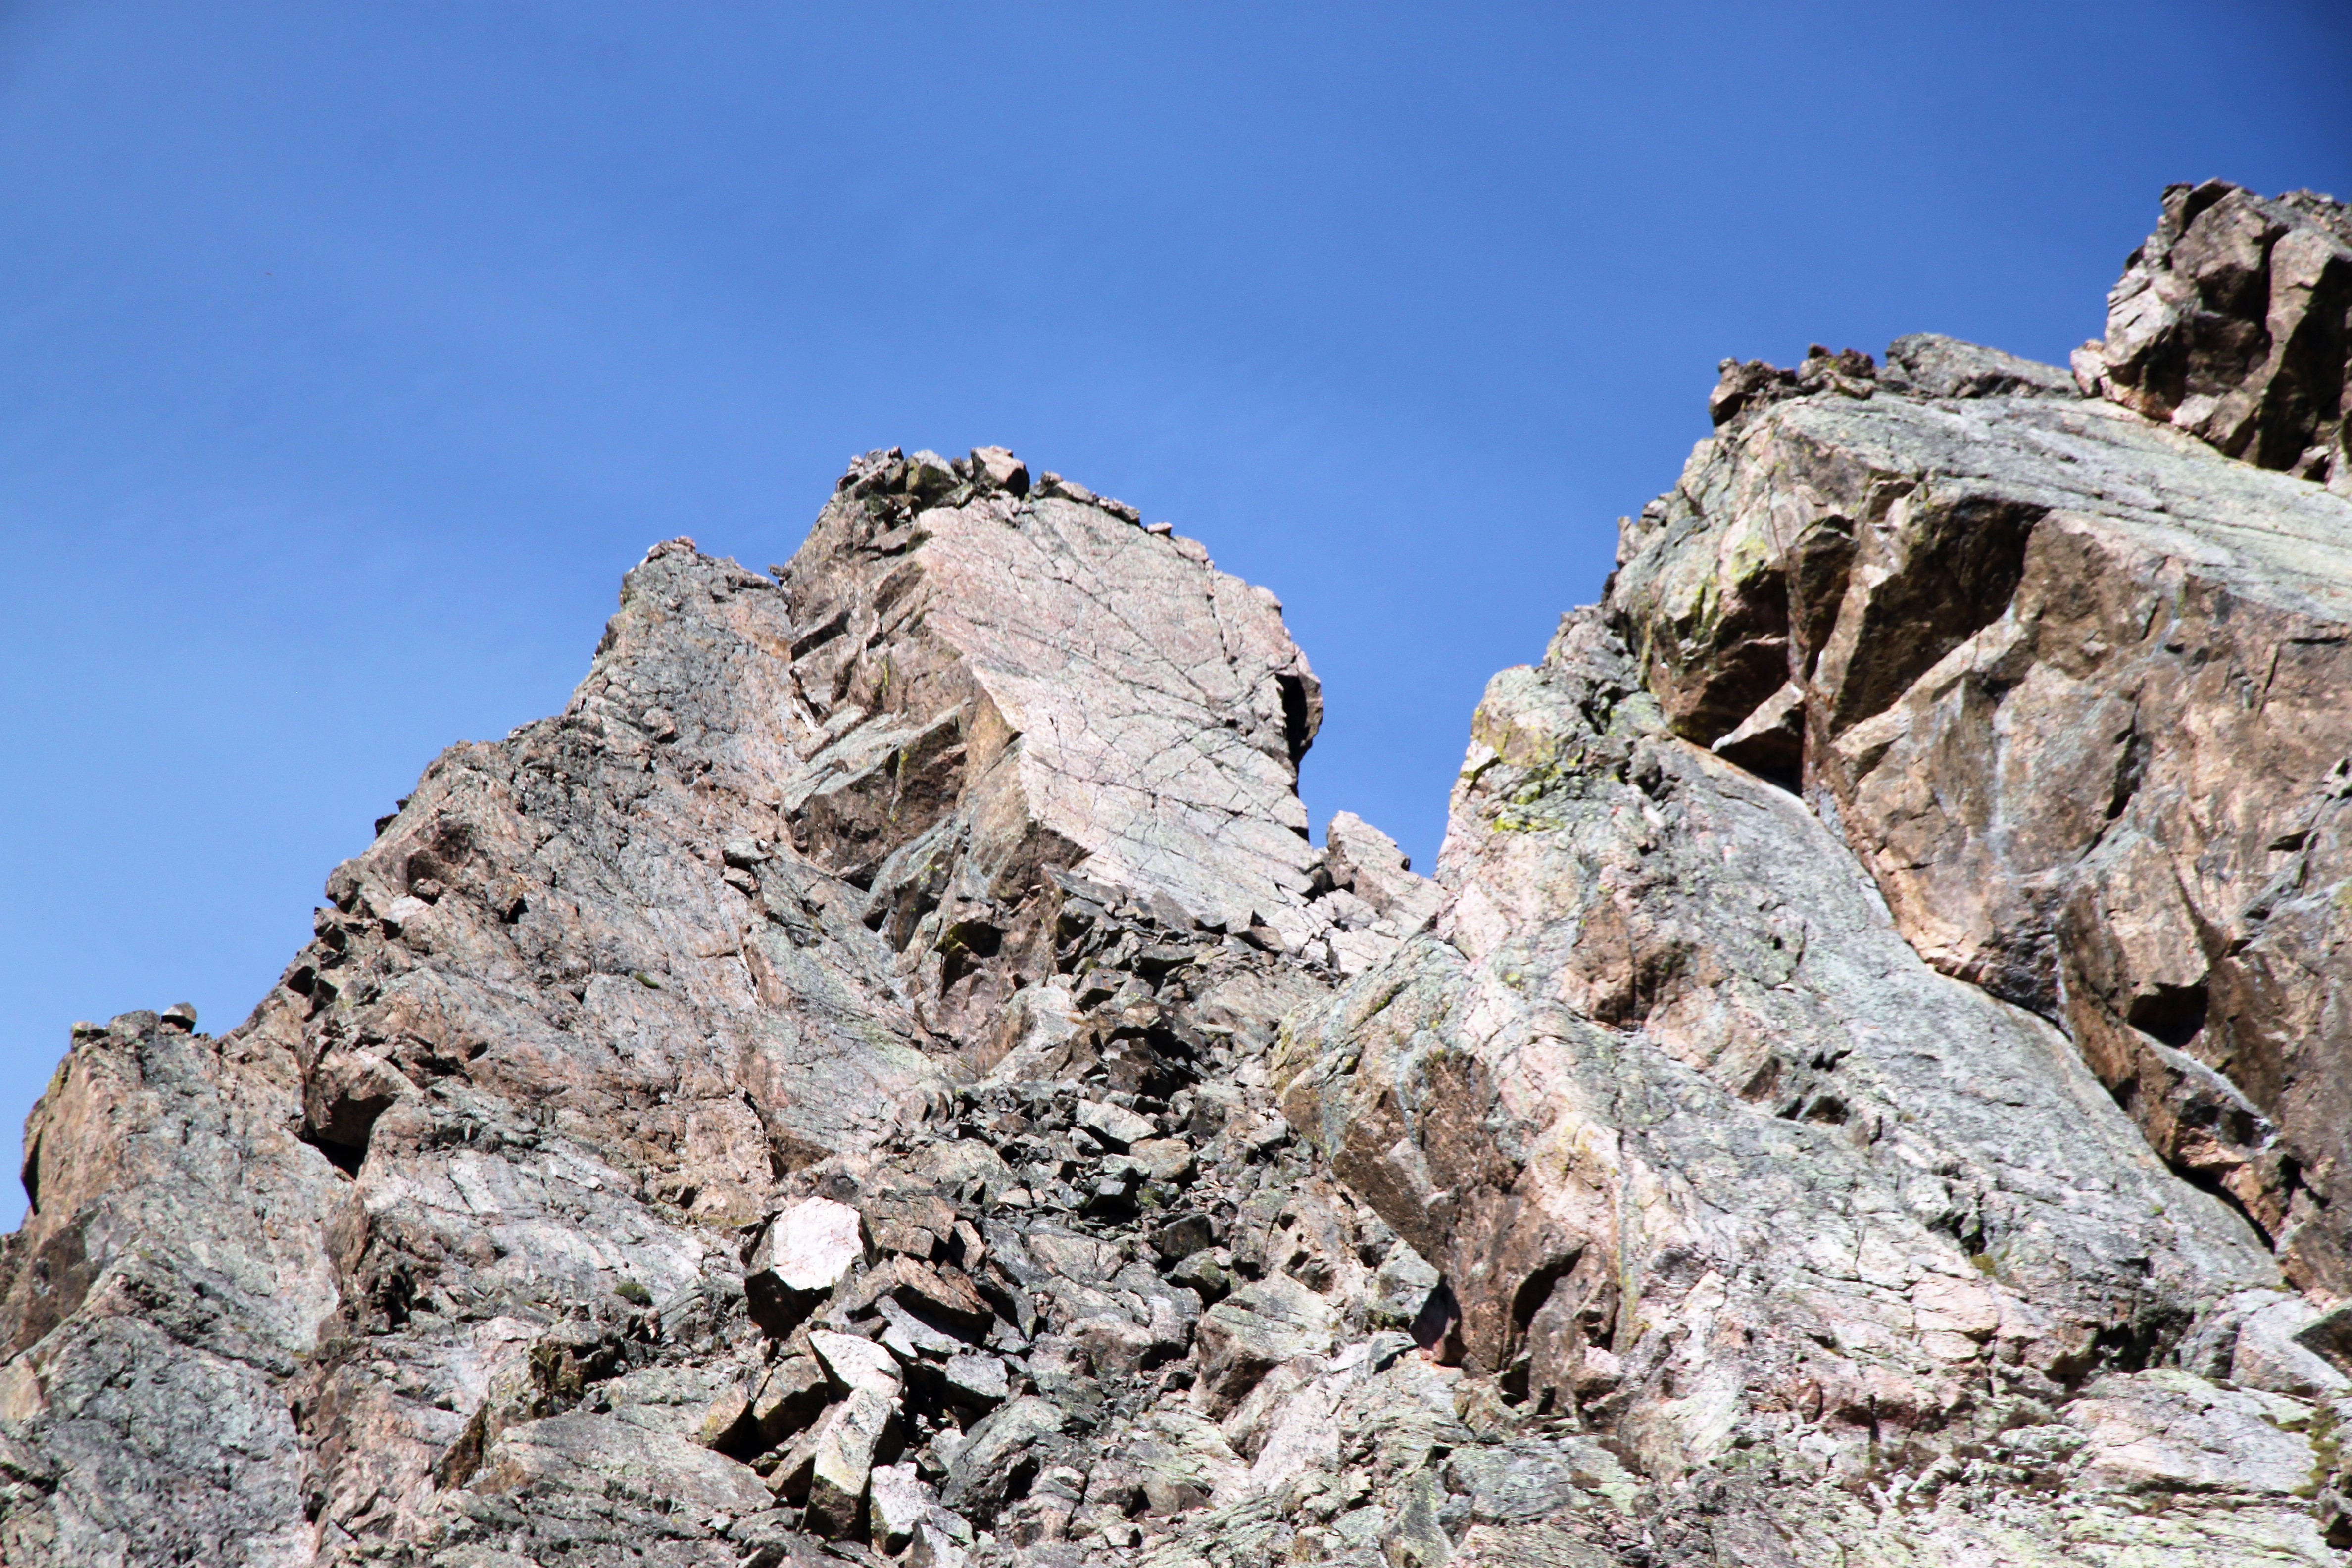
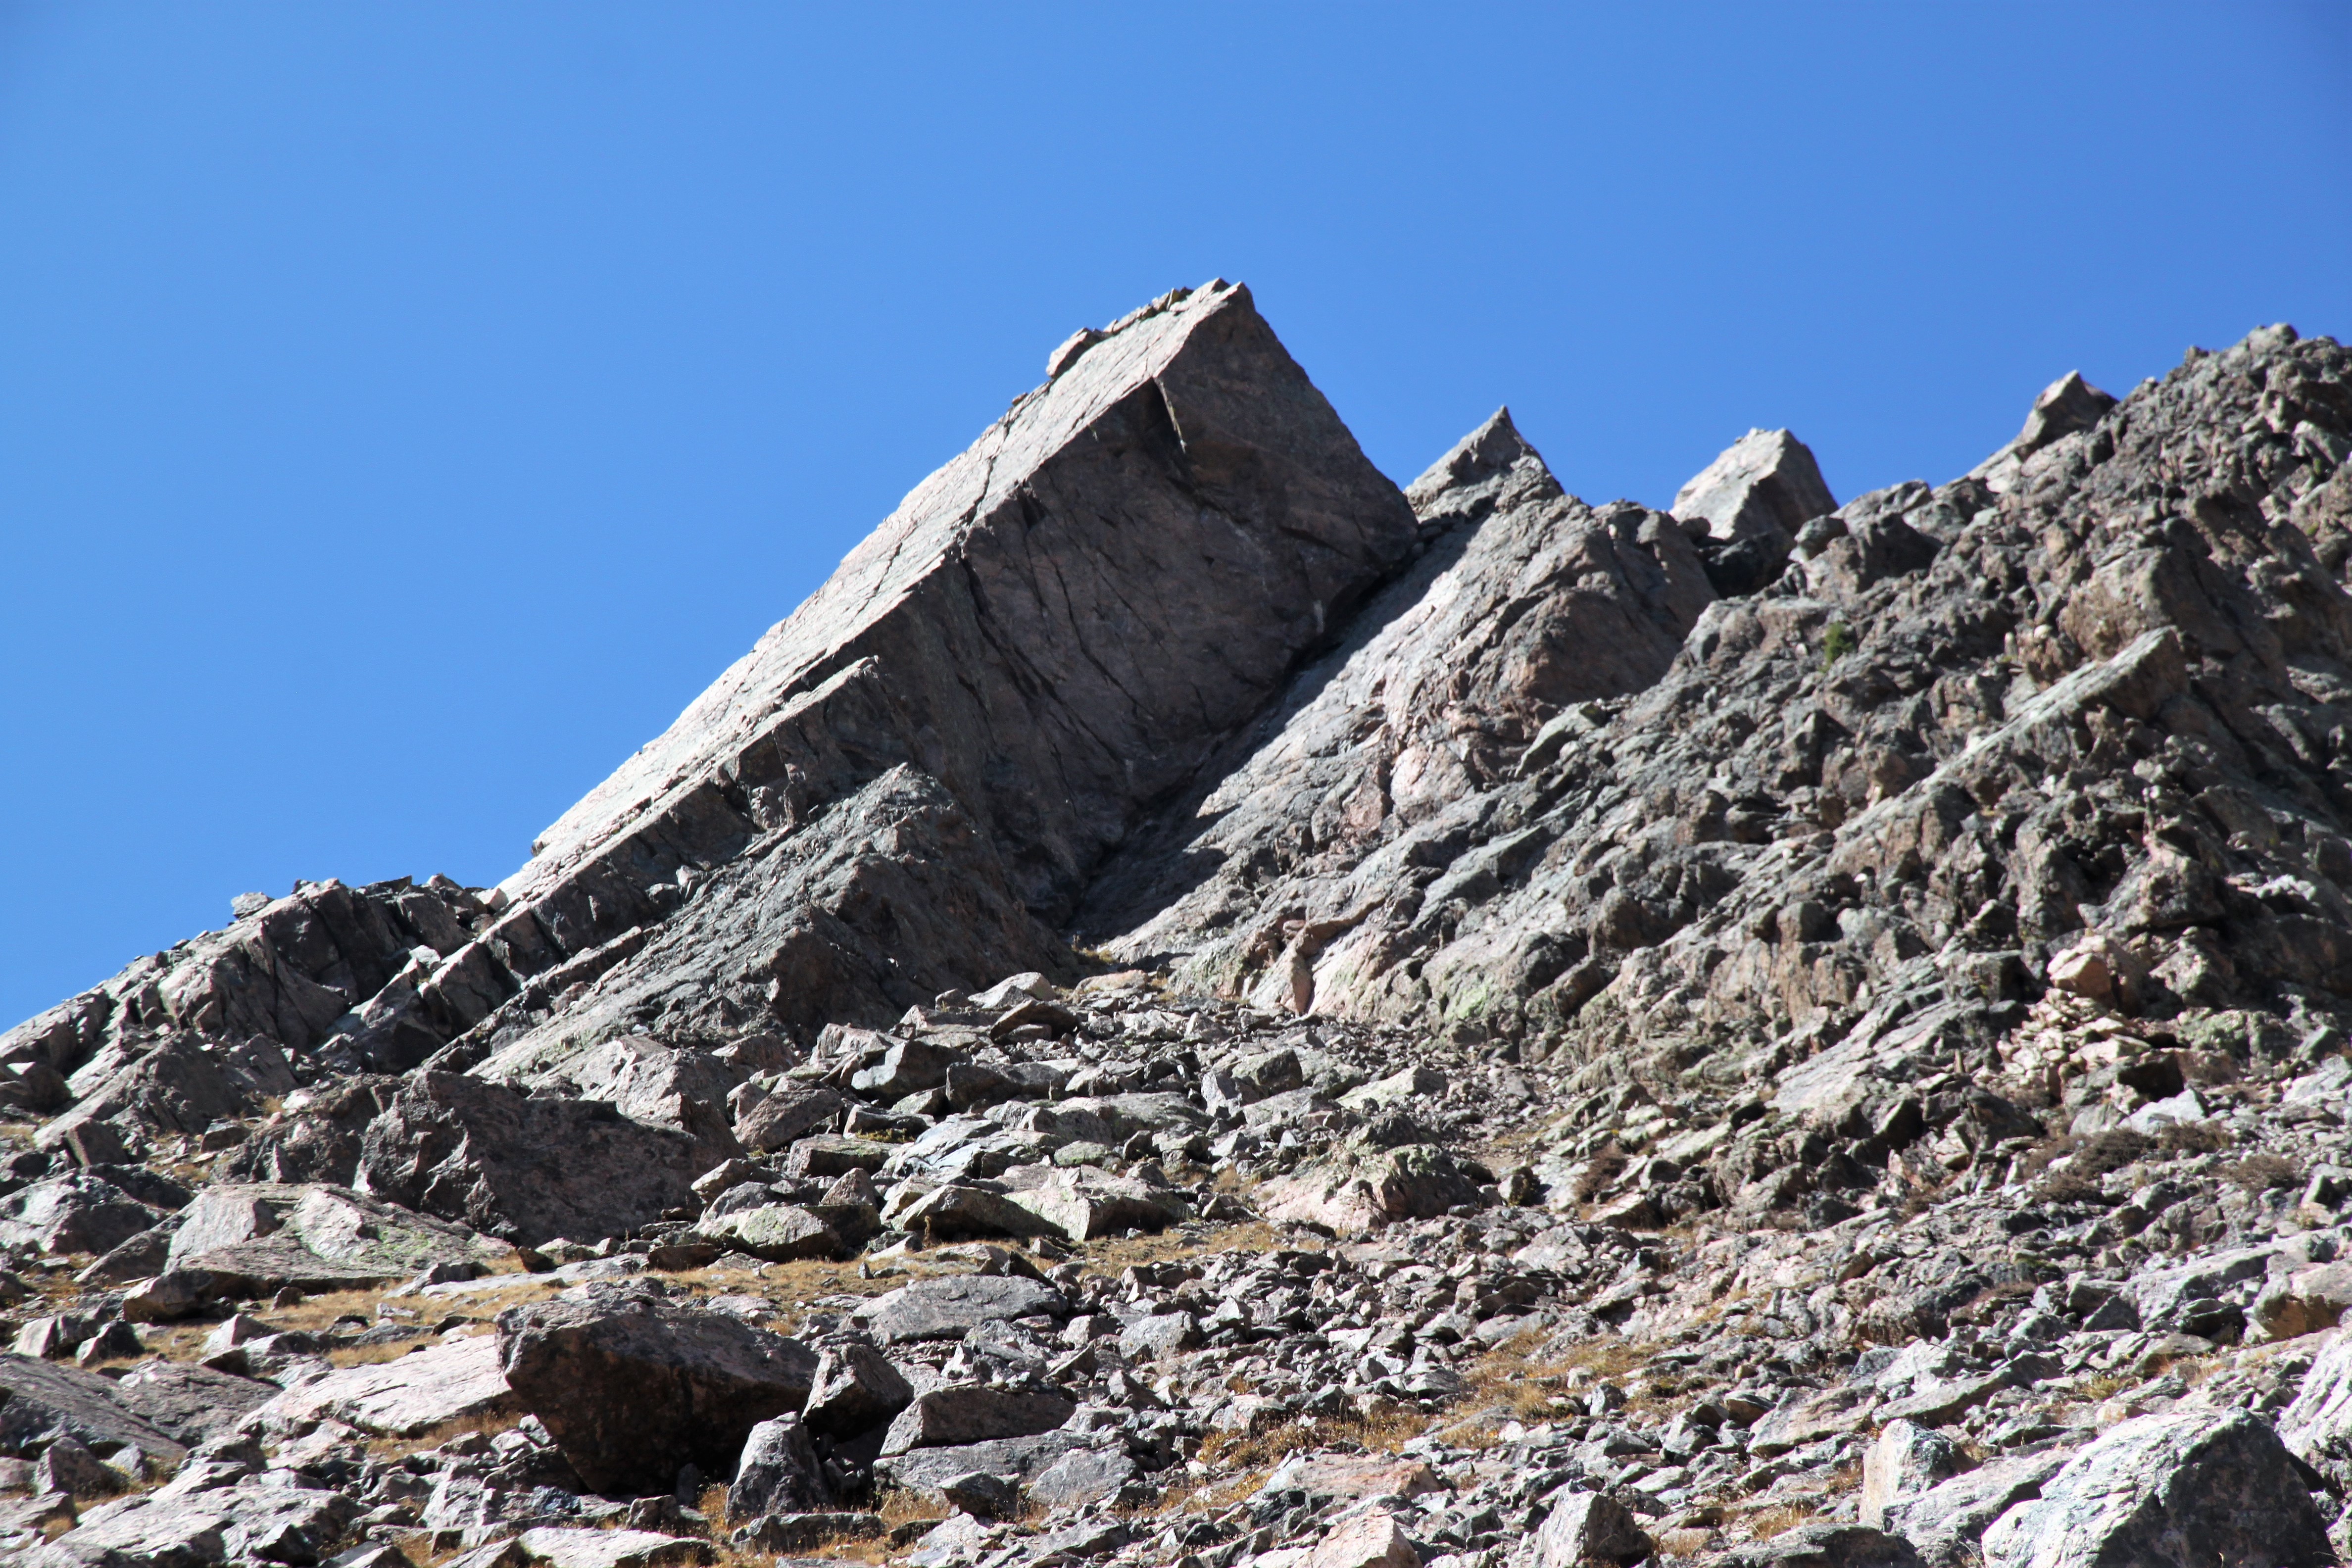
At the top of the corner dihedral and slabs was a small little grass basin followed by awesome class 4 block climbing up to the 5.4 crux move at the top of the headwall. This was really fun scrambling on super solid rock. I just loved it. We didn’t feel the need to break out the rope on the 5.4 crux as the rock was super solid. We both topped out and took in the views.
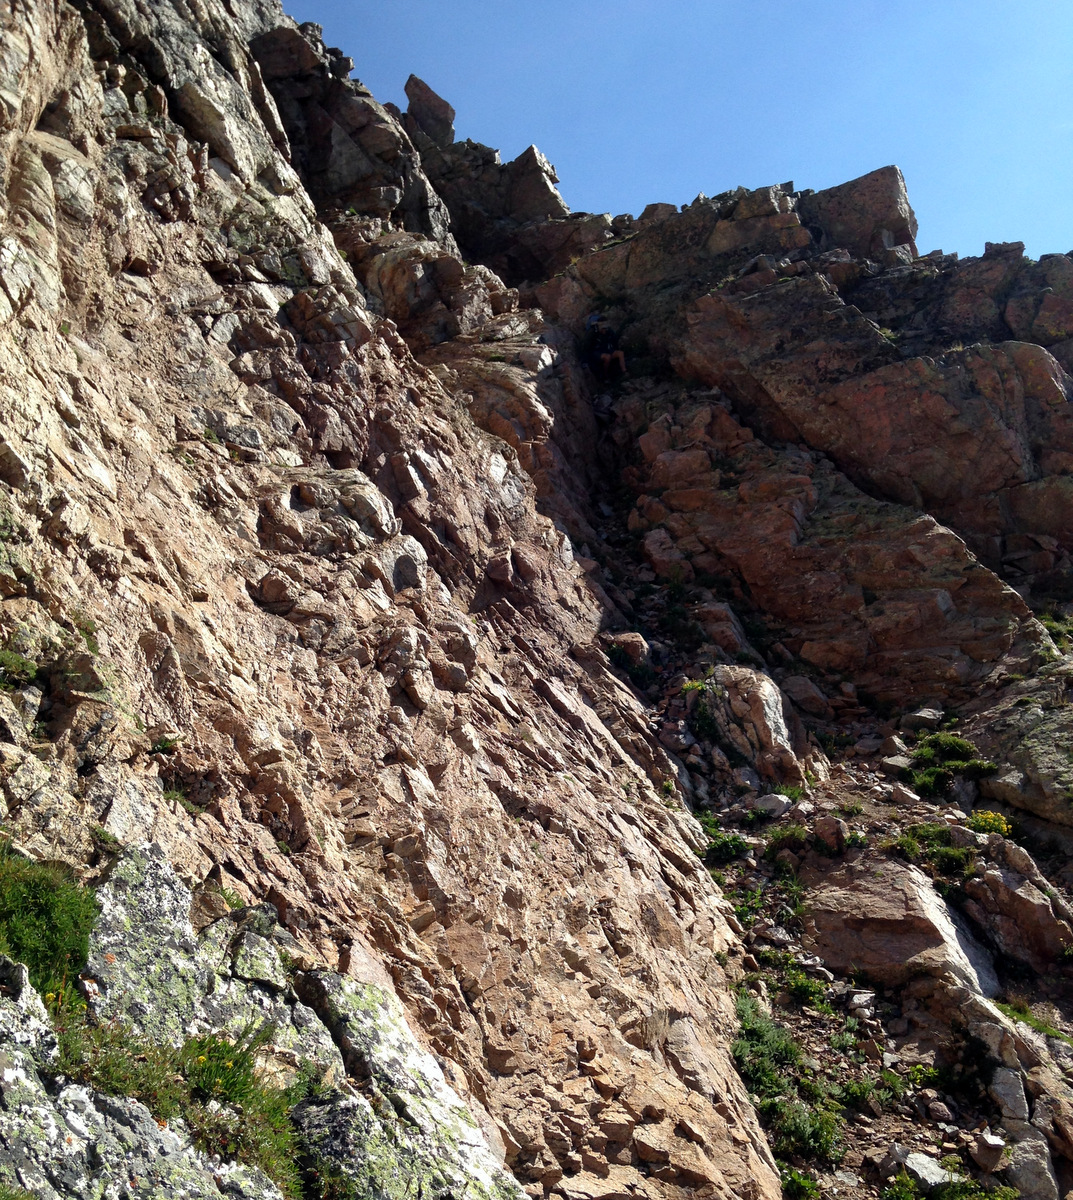
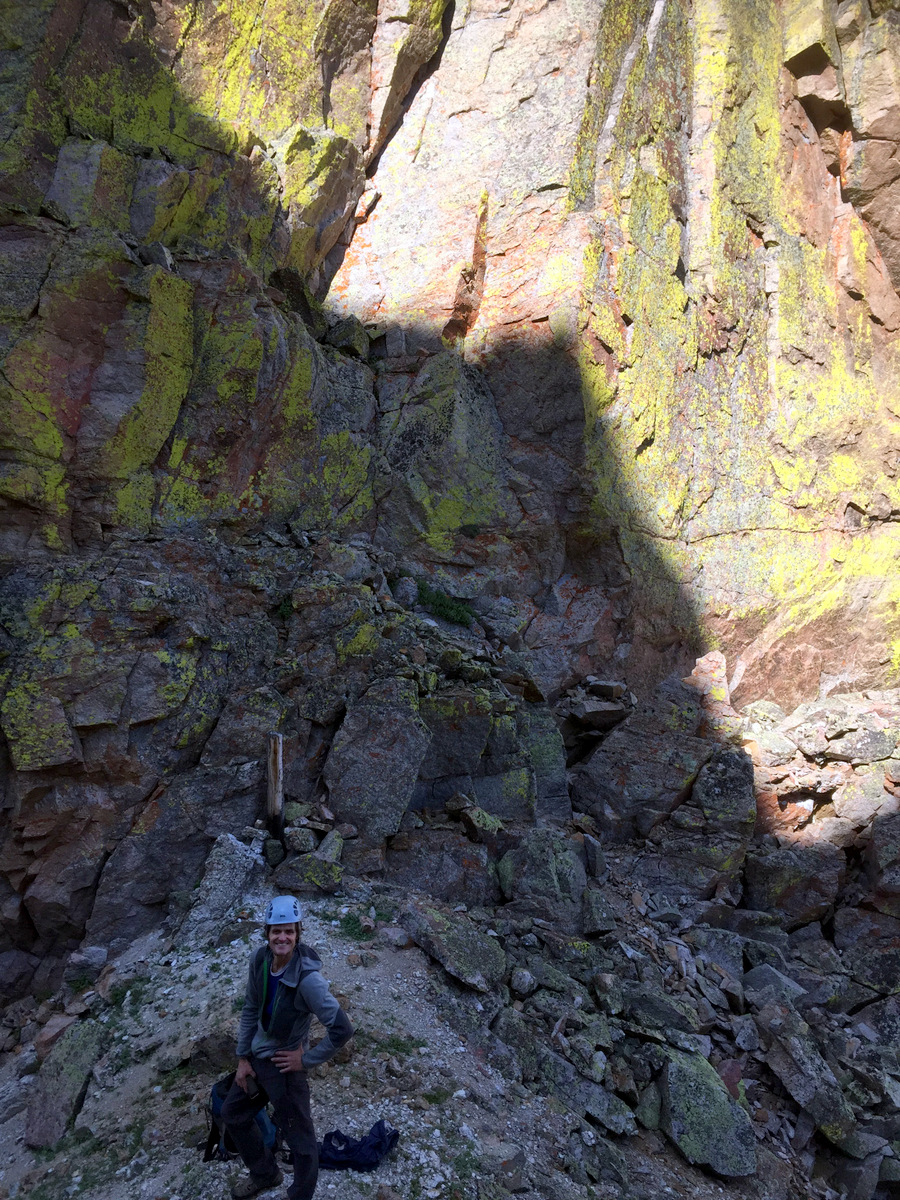
J and the headwall with the 5.4 crux at top
Class 4 block scrambling
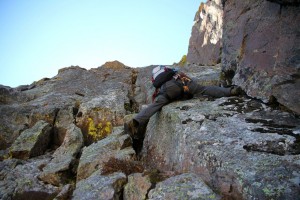
J making the 5.4 crux move
Me climbing up to the 5.4 crux. Photo by J

Me in the sun after the 5.4 crux move. Photo by J

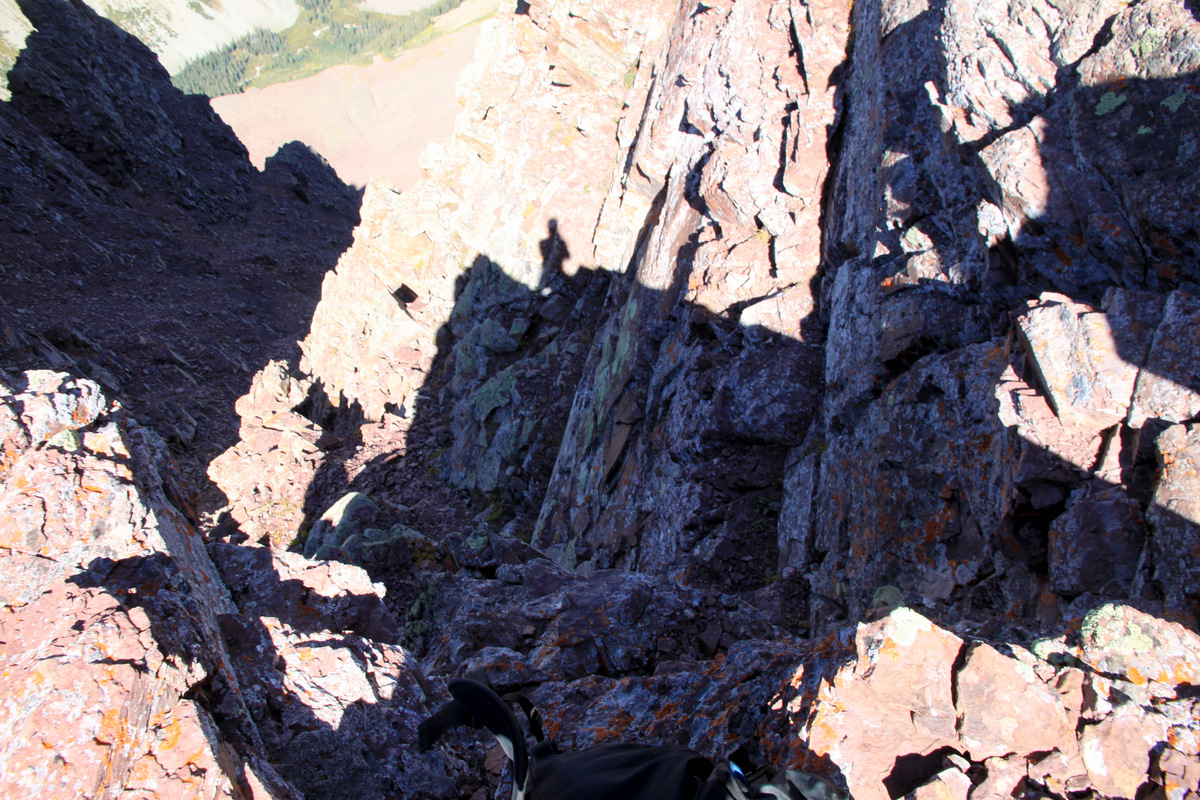
Looking down the headwall
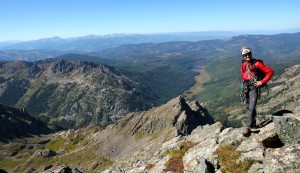
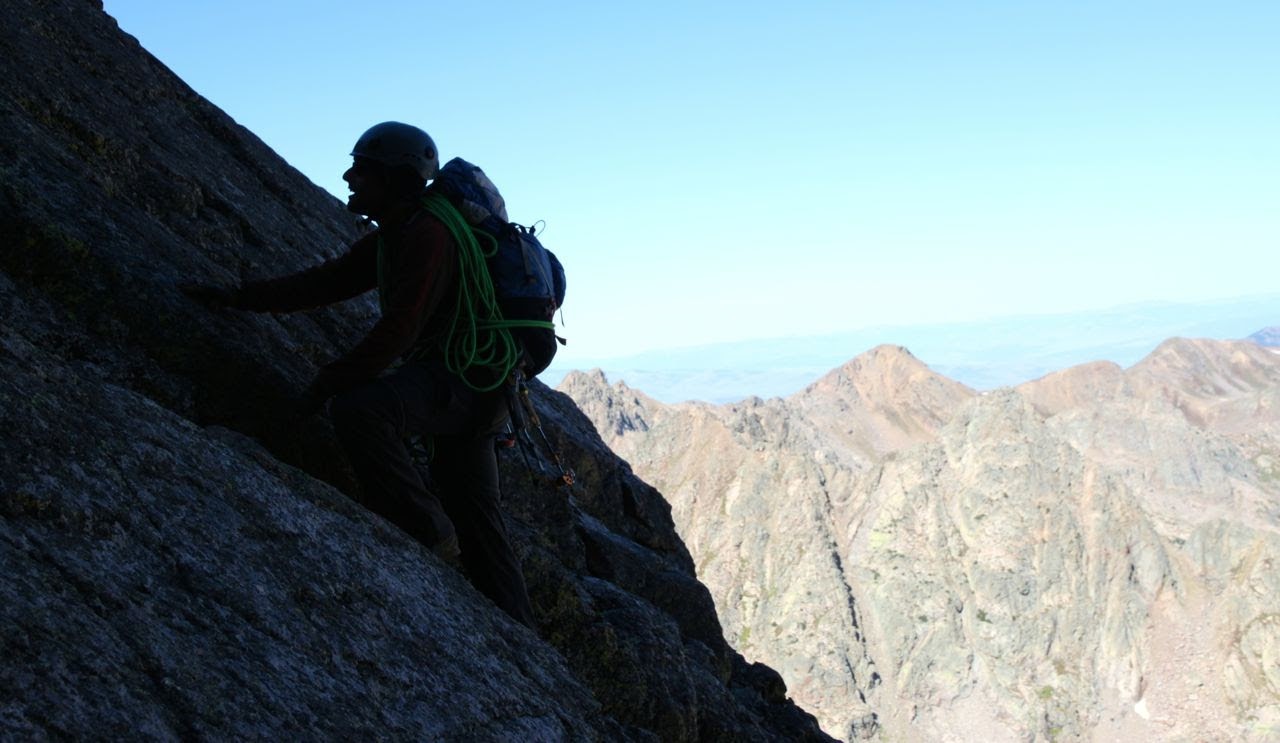
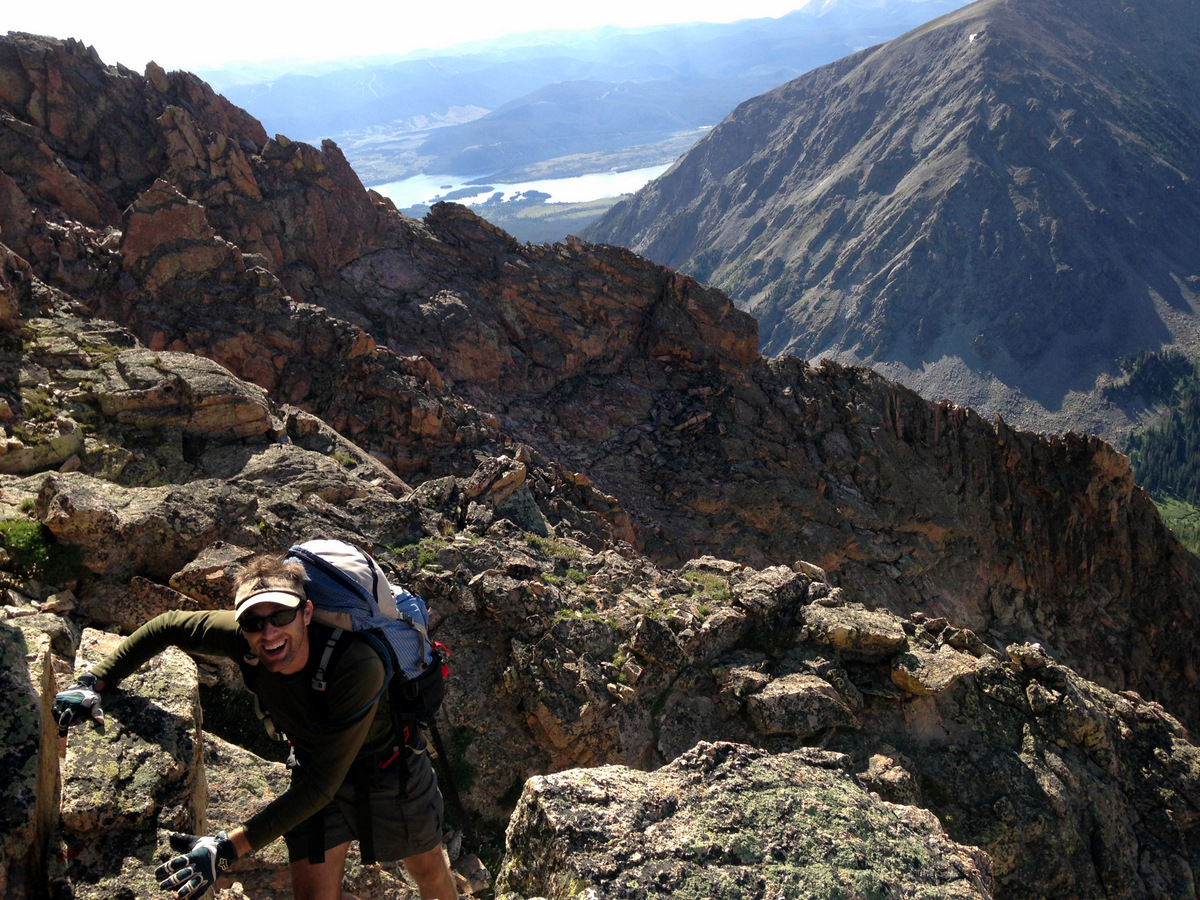
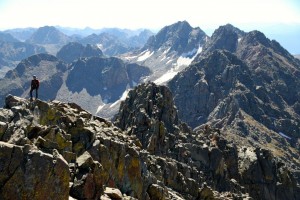
Me on the Northwest Ridge with Piney Lake in the distance. Photo by J

Mr. Goat (take 3)
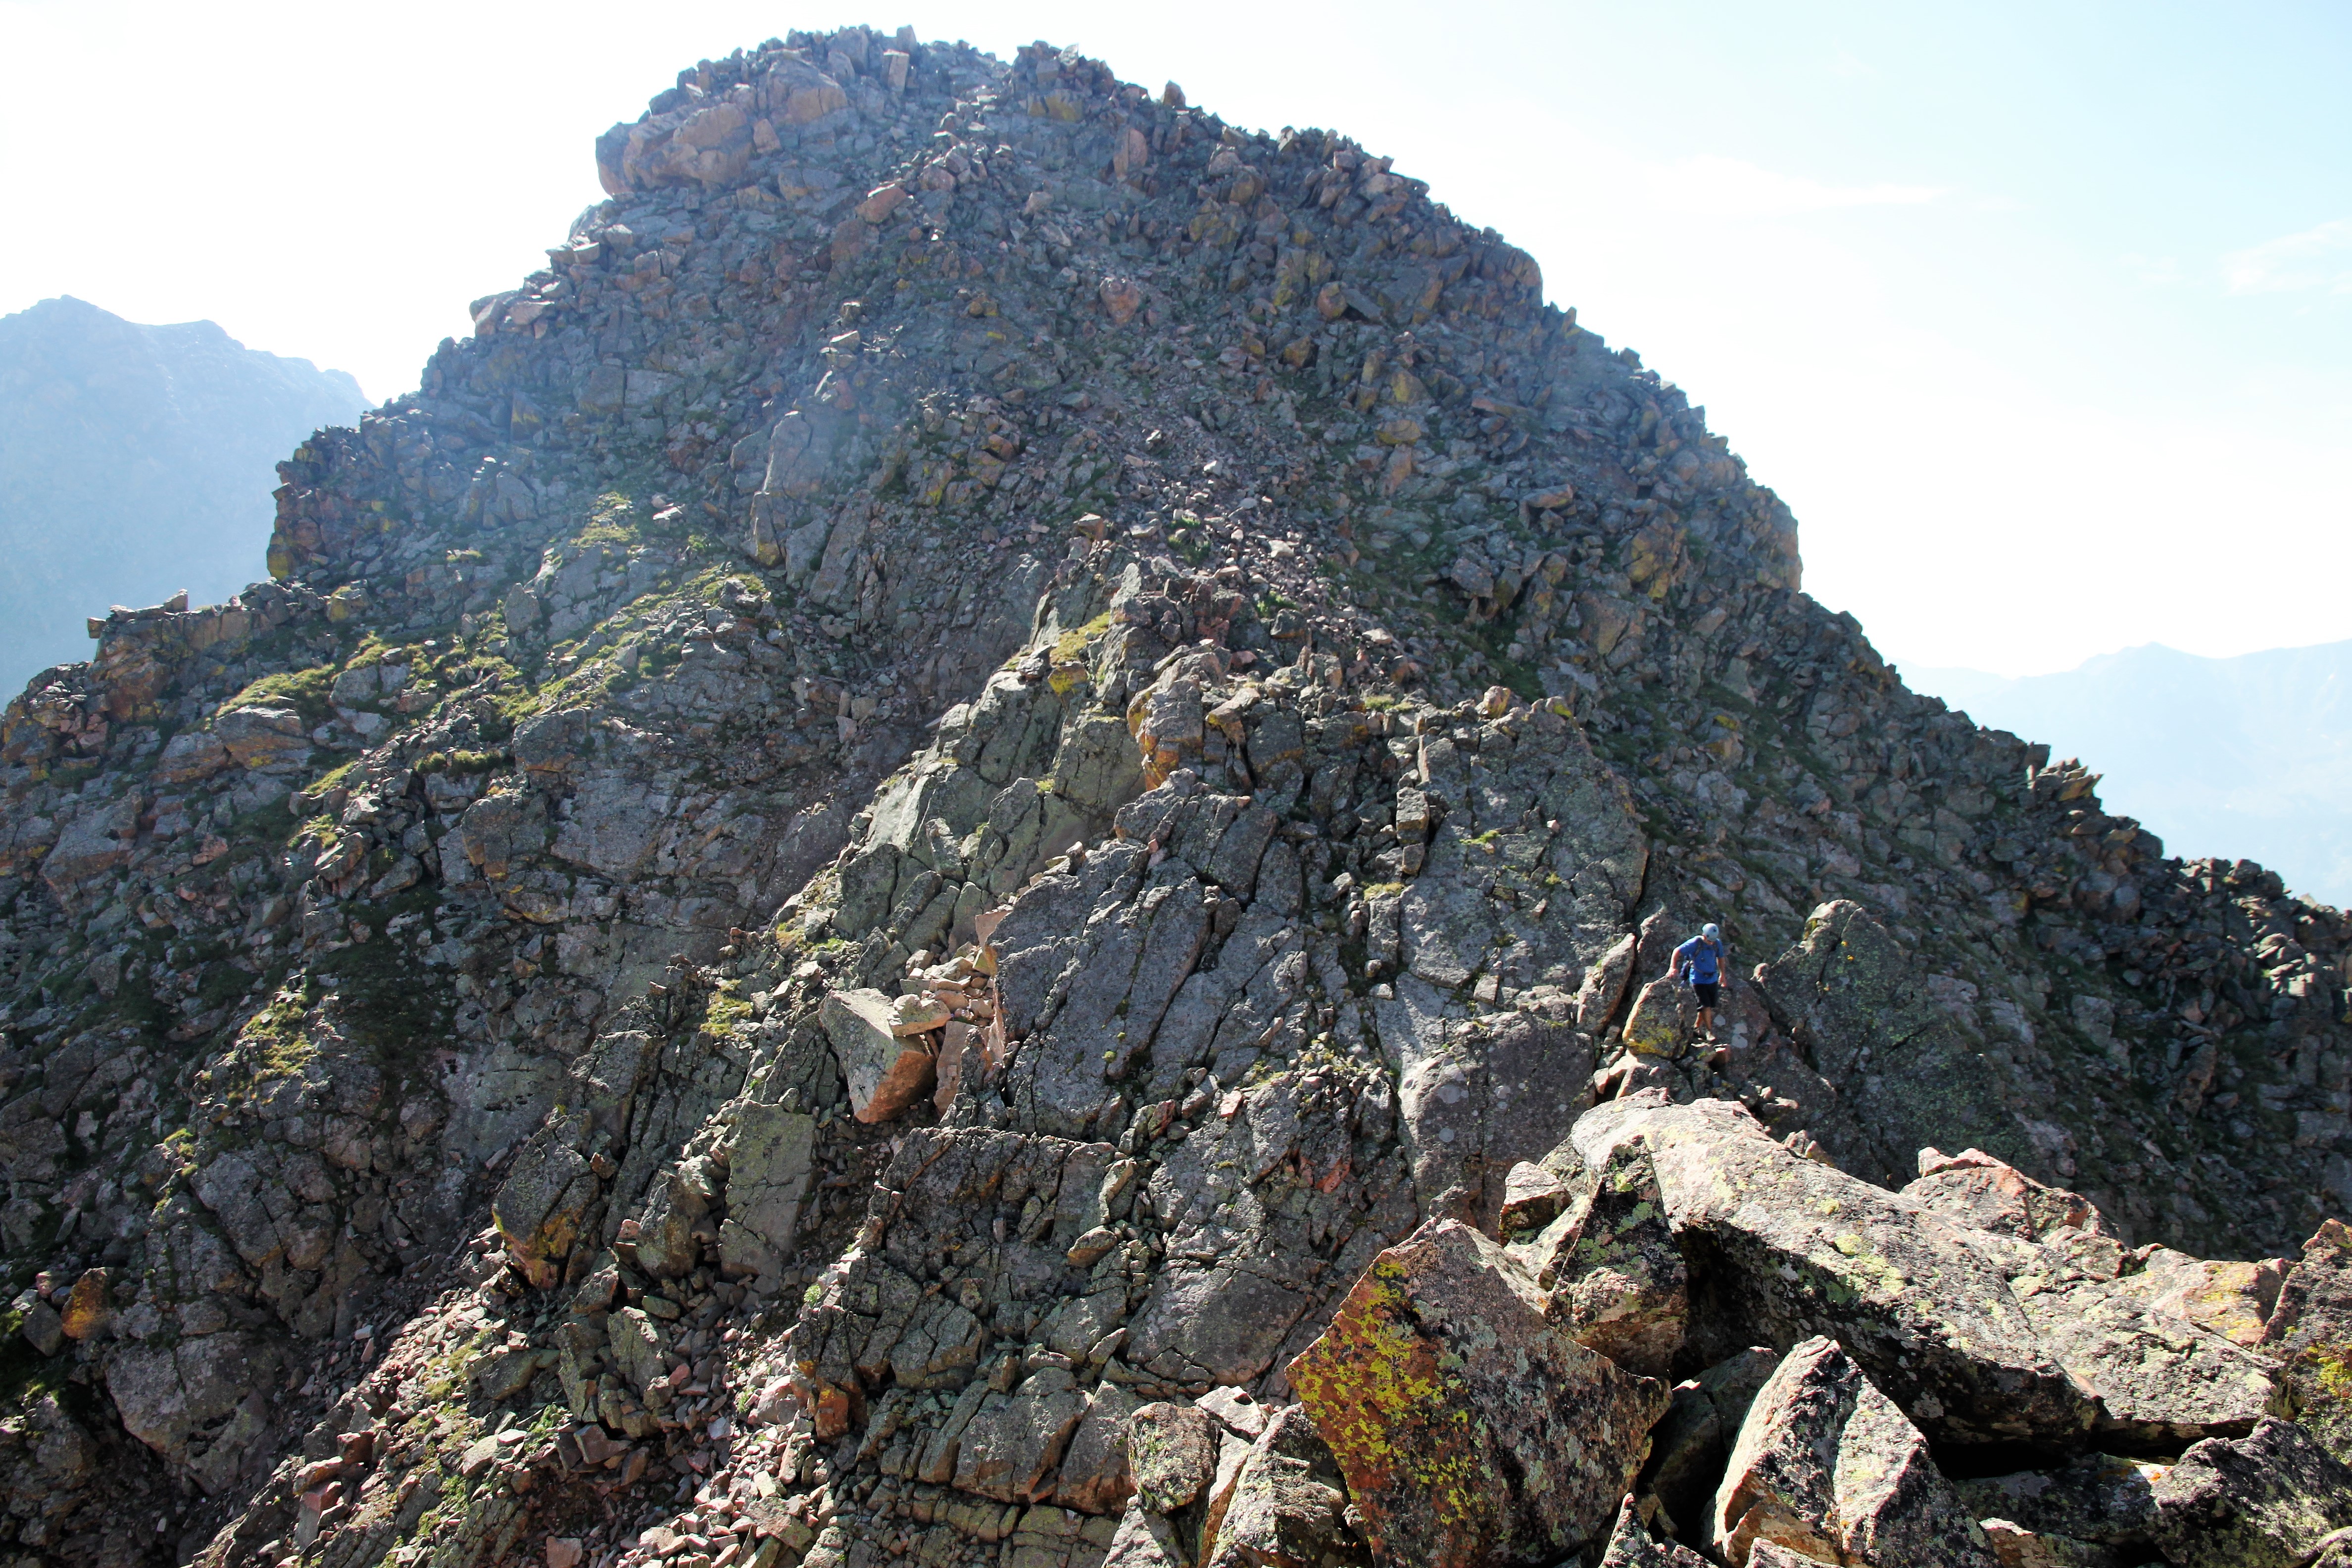
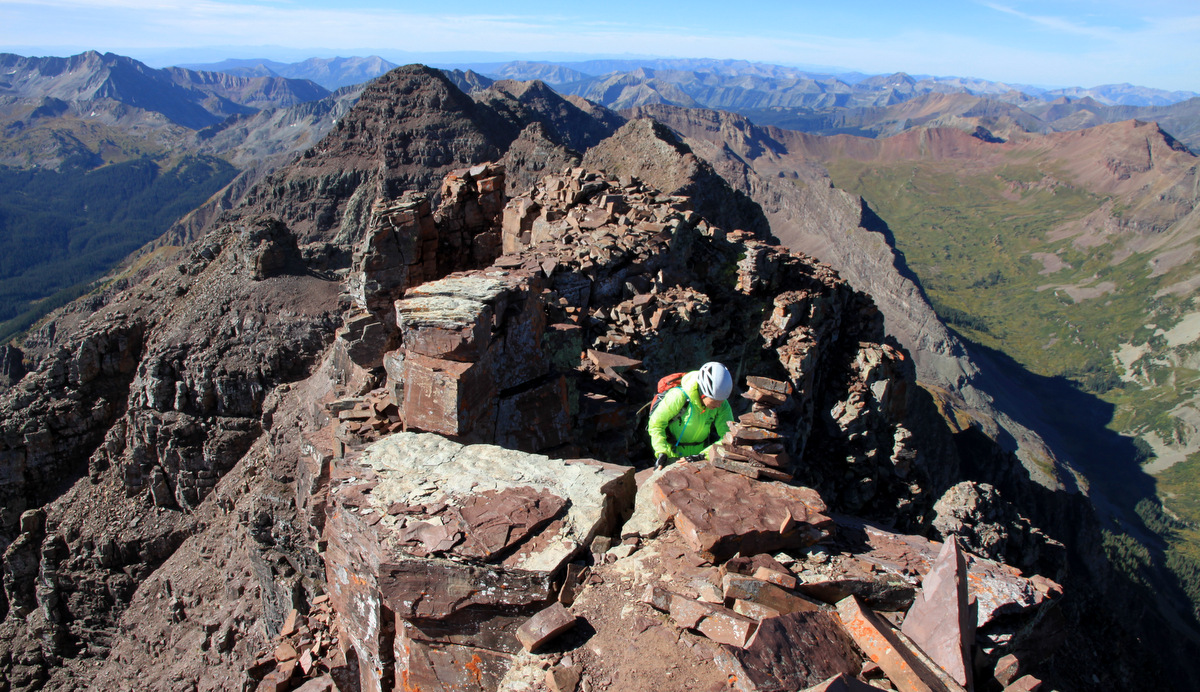
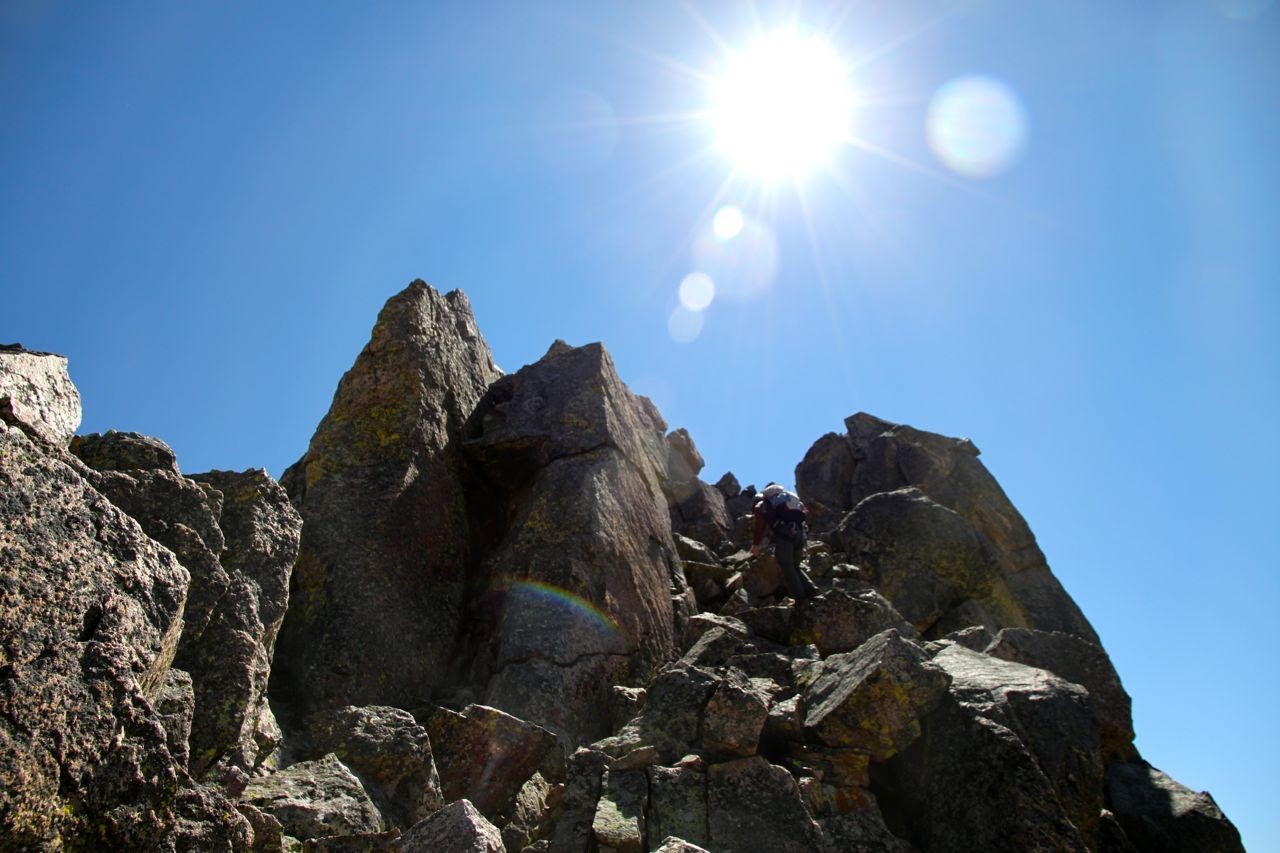
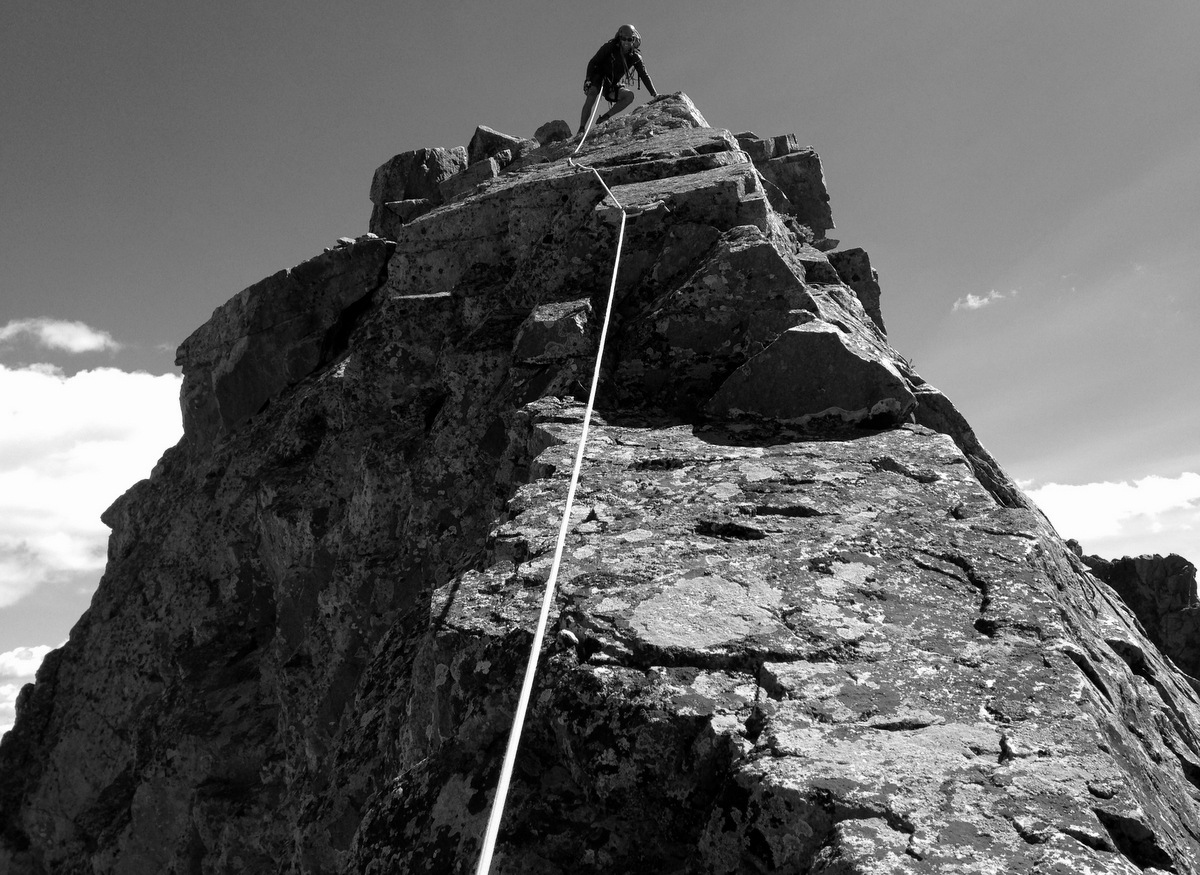
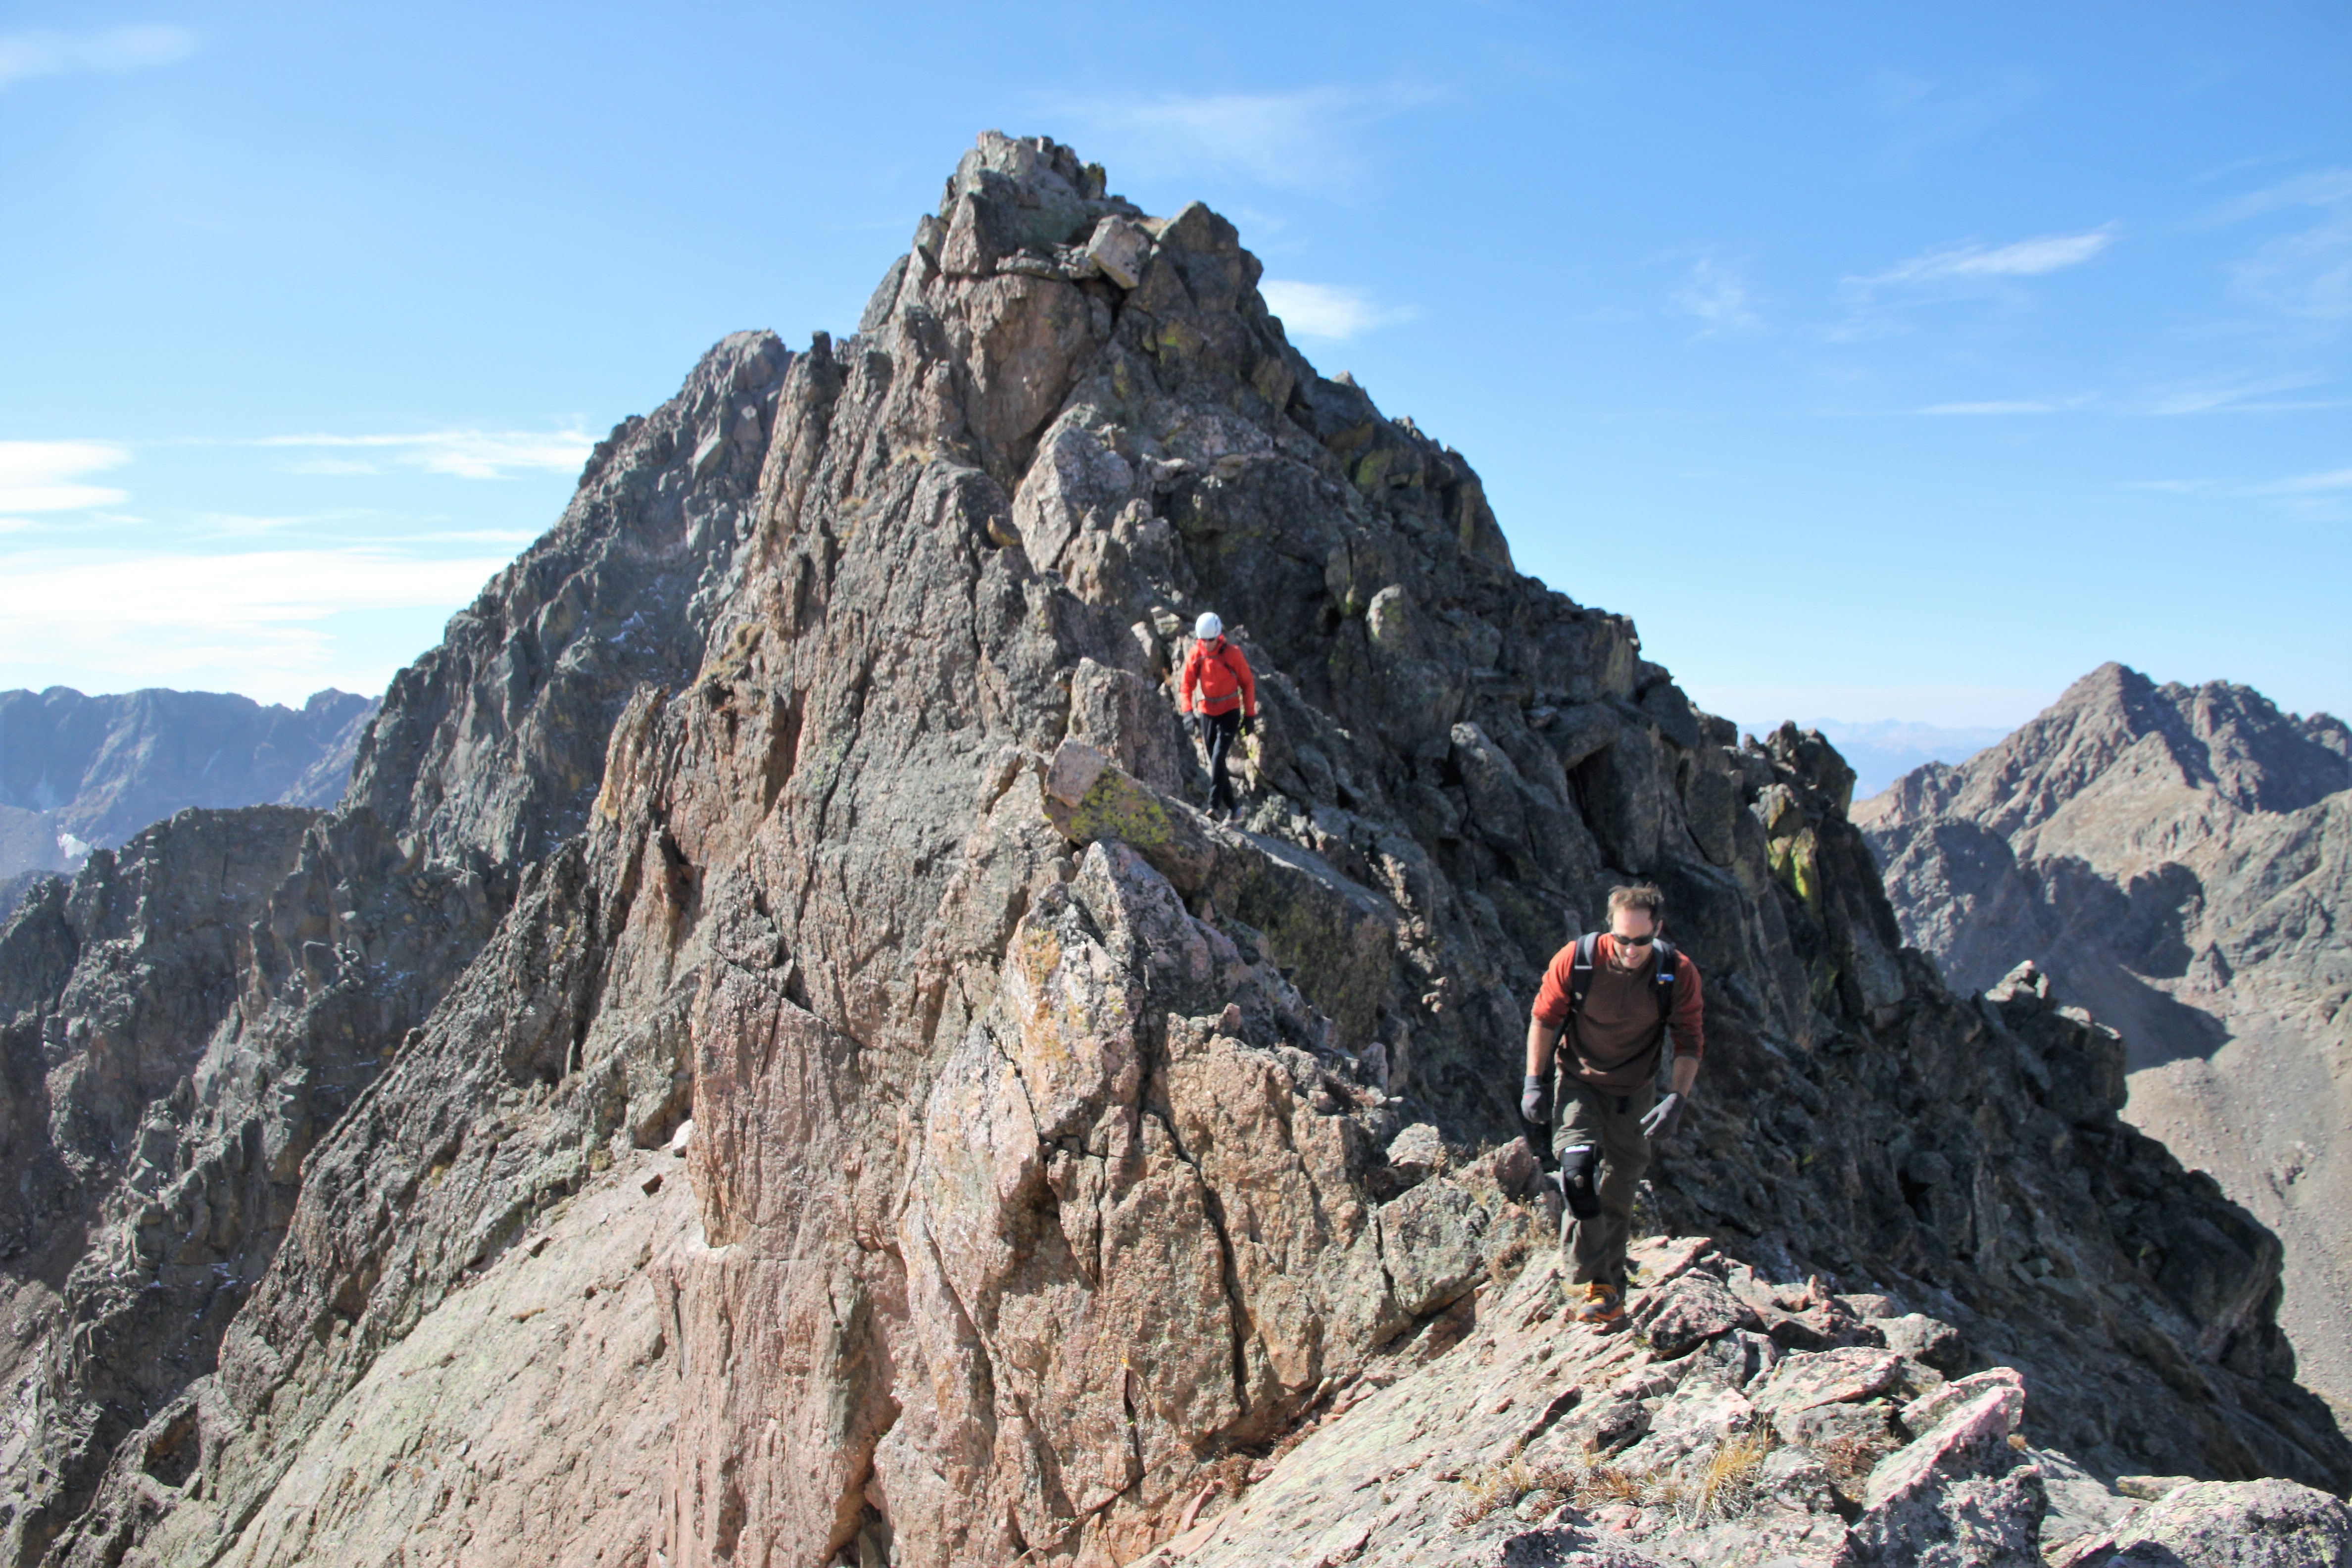
It was then a few hundred feet of class 3 scrambling to the summit of Peak C. I believe we topped out about 11am.

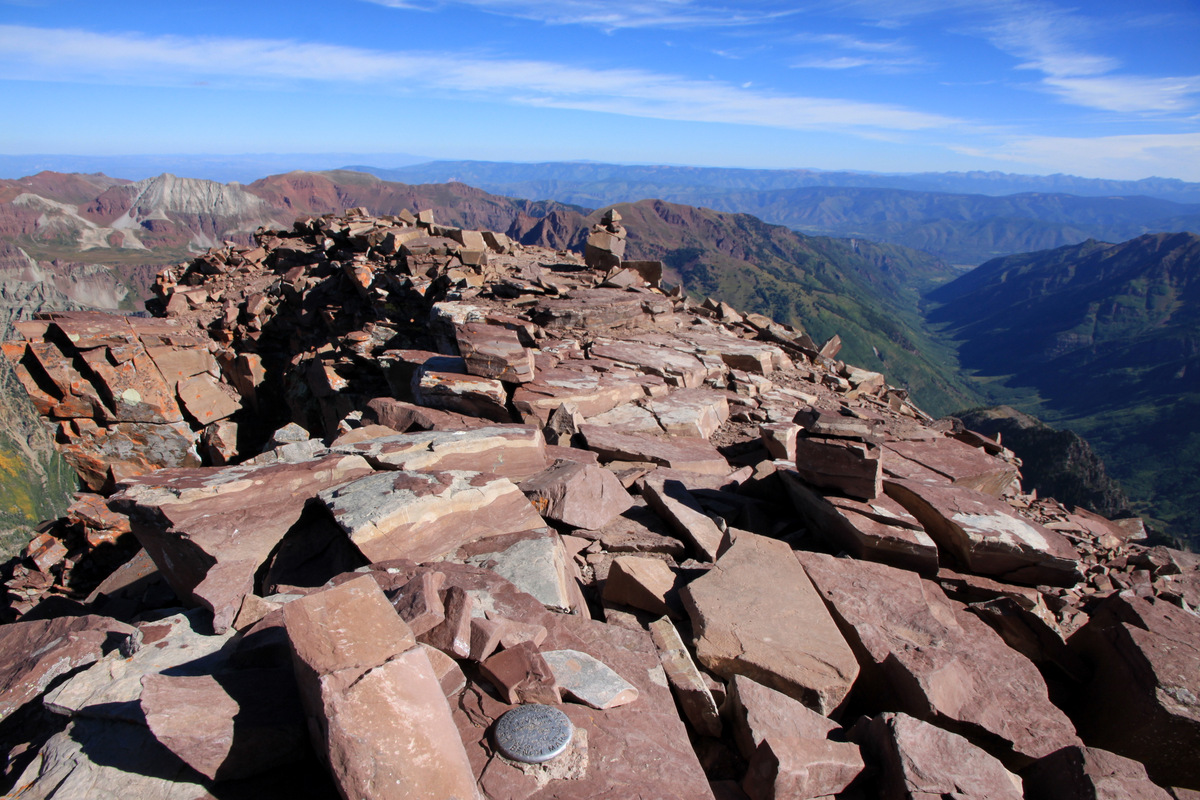
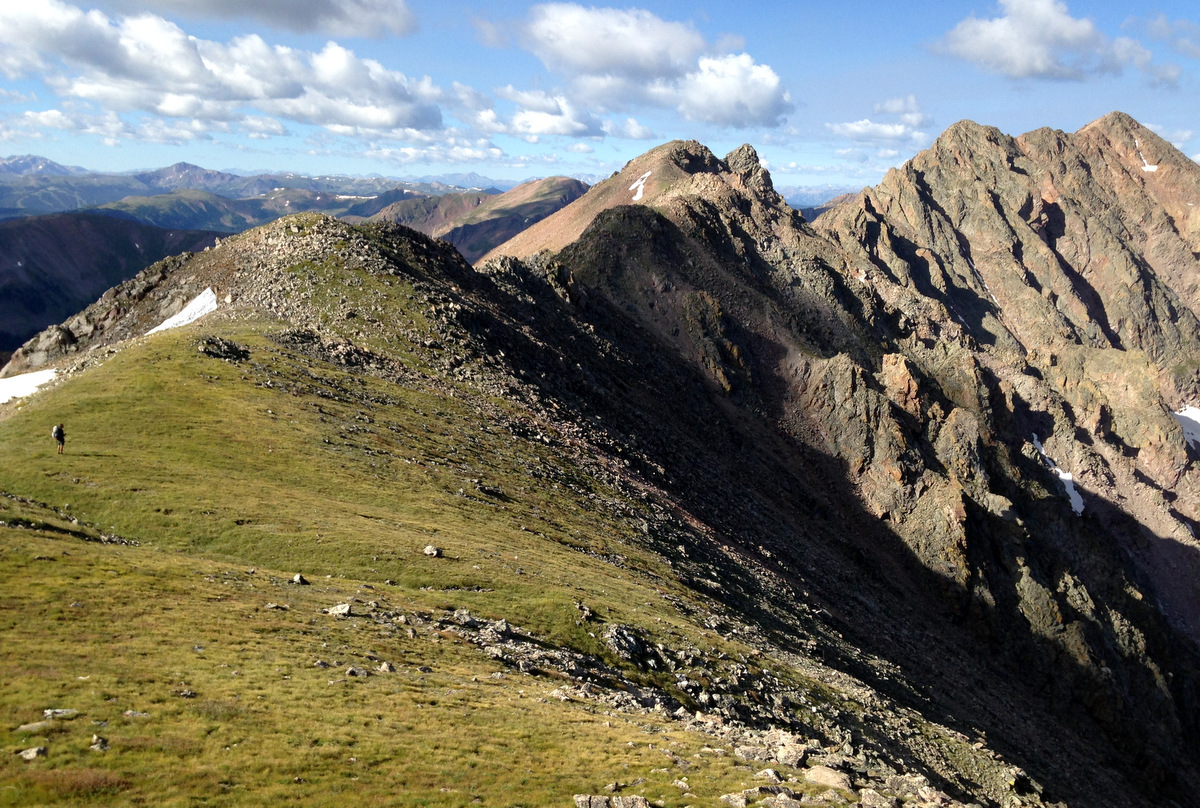
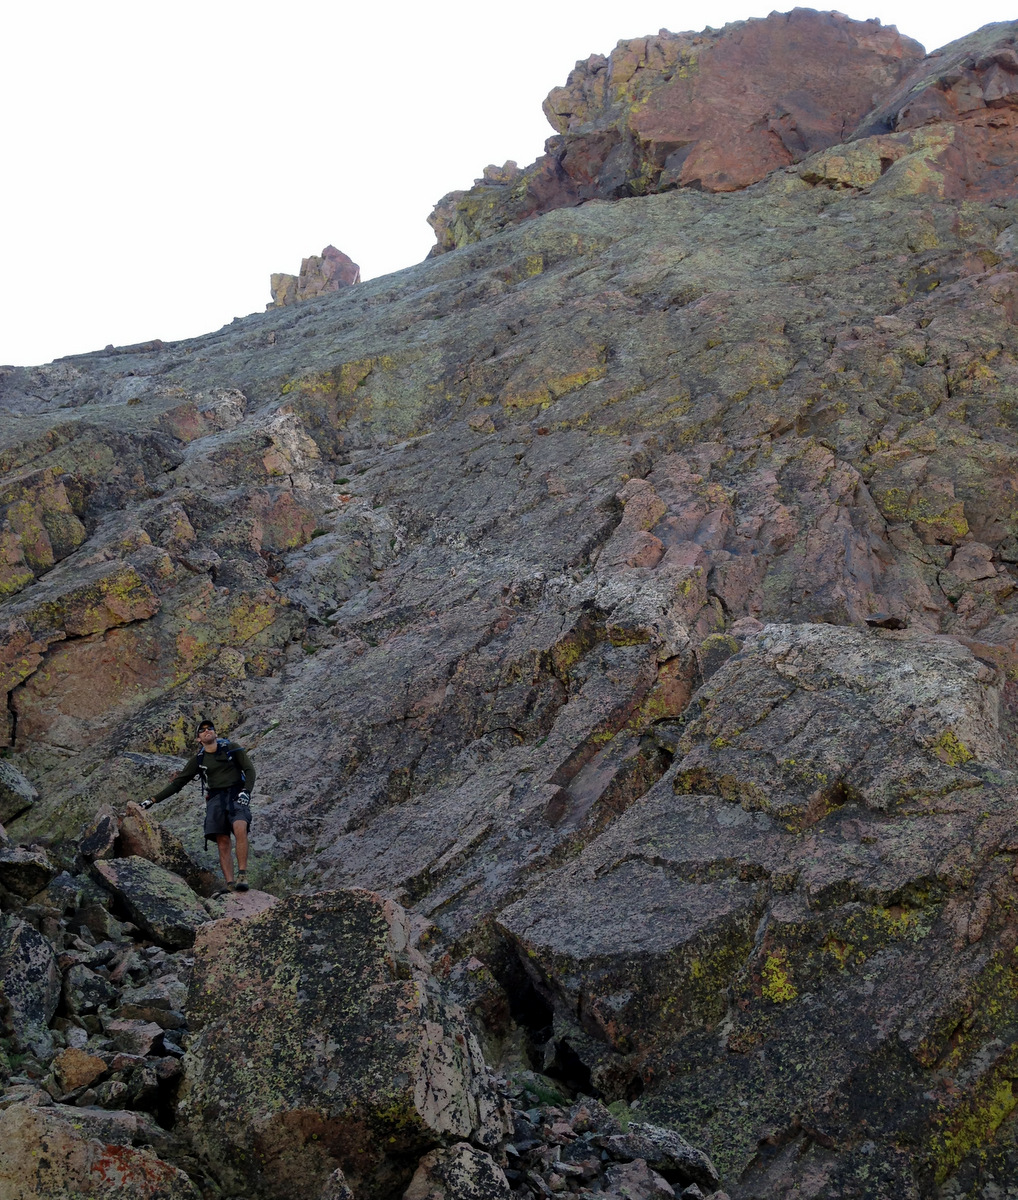
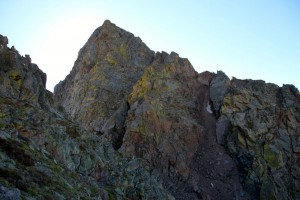
3rd class upper portion of Peak C’s northwest ridge
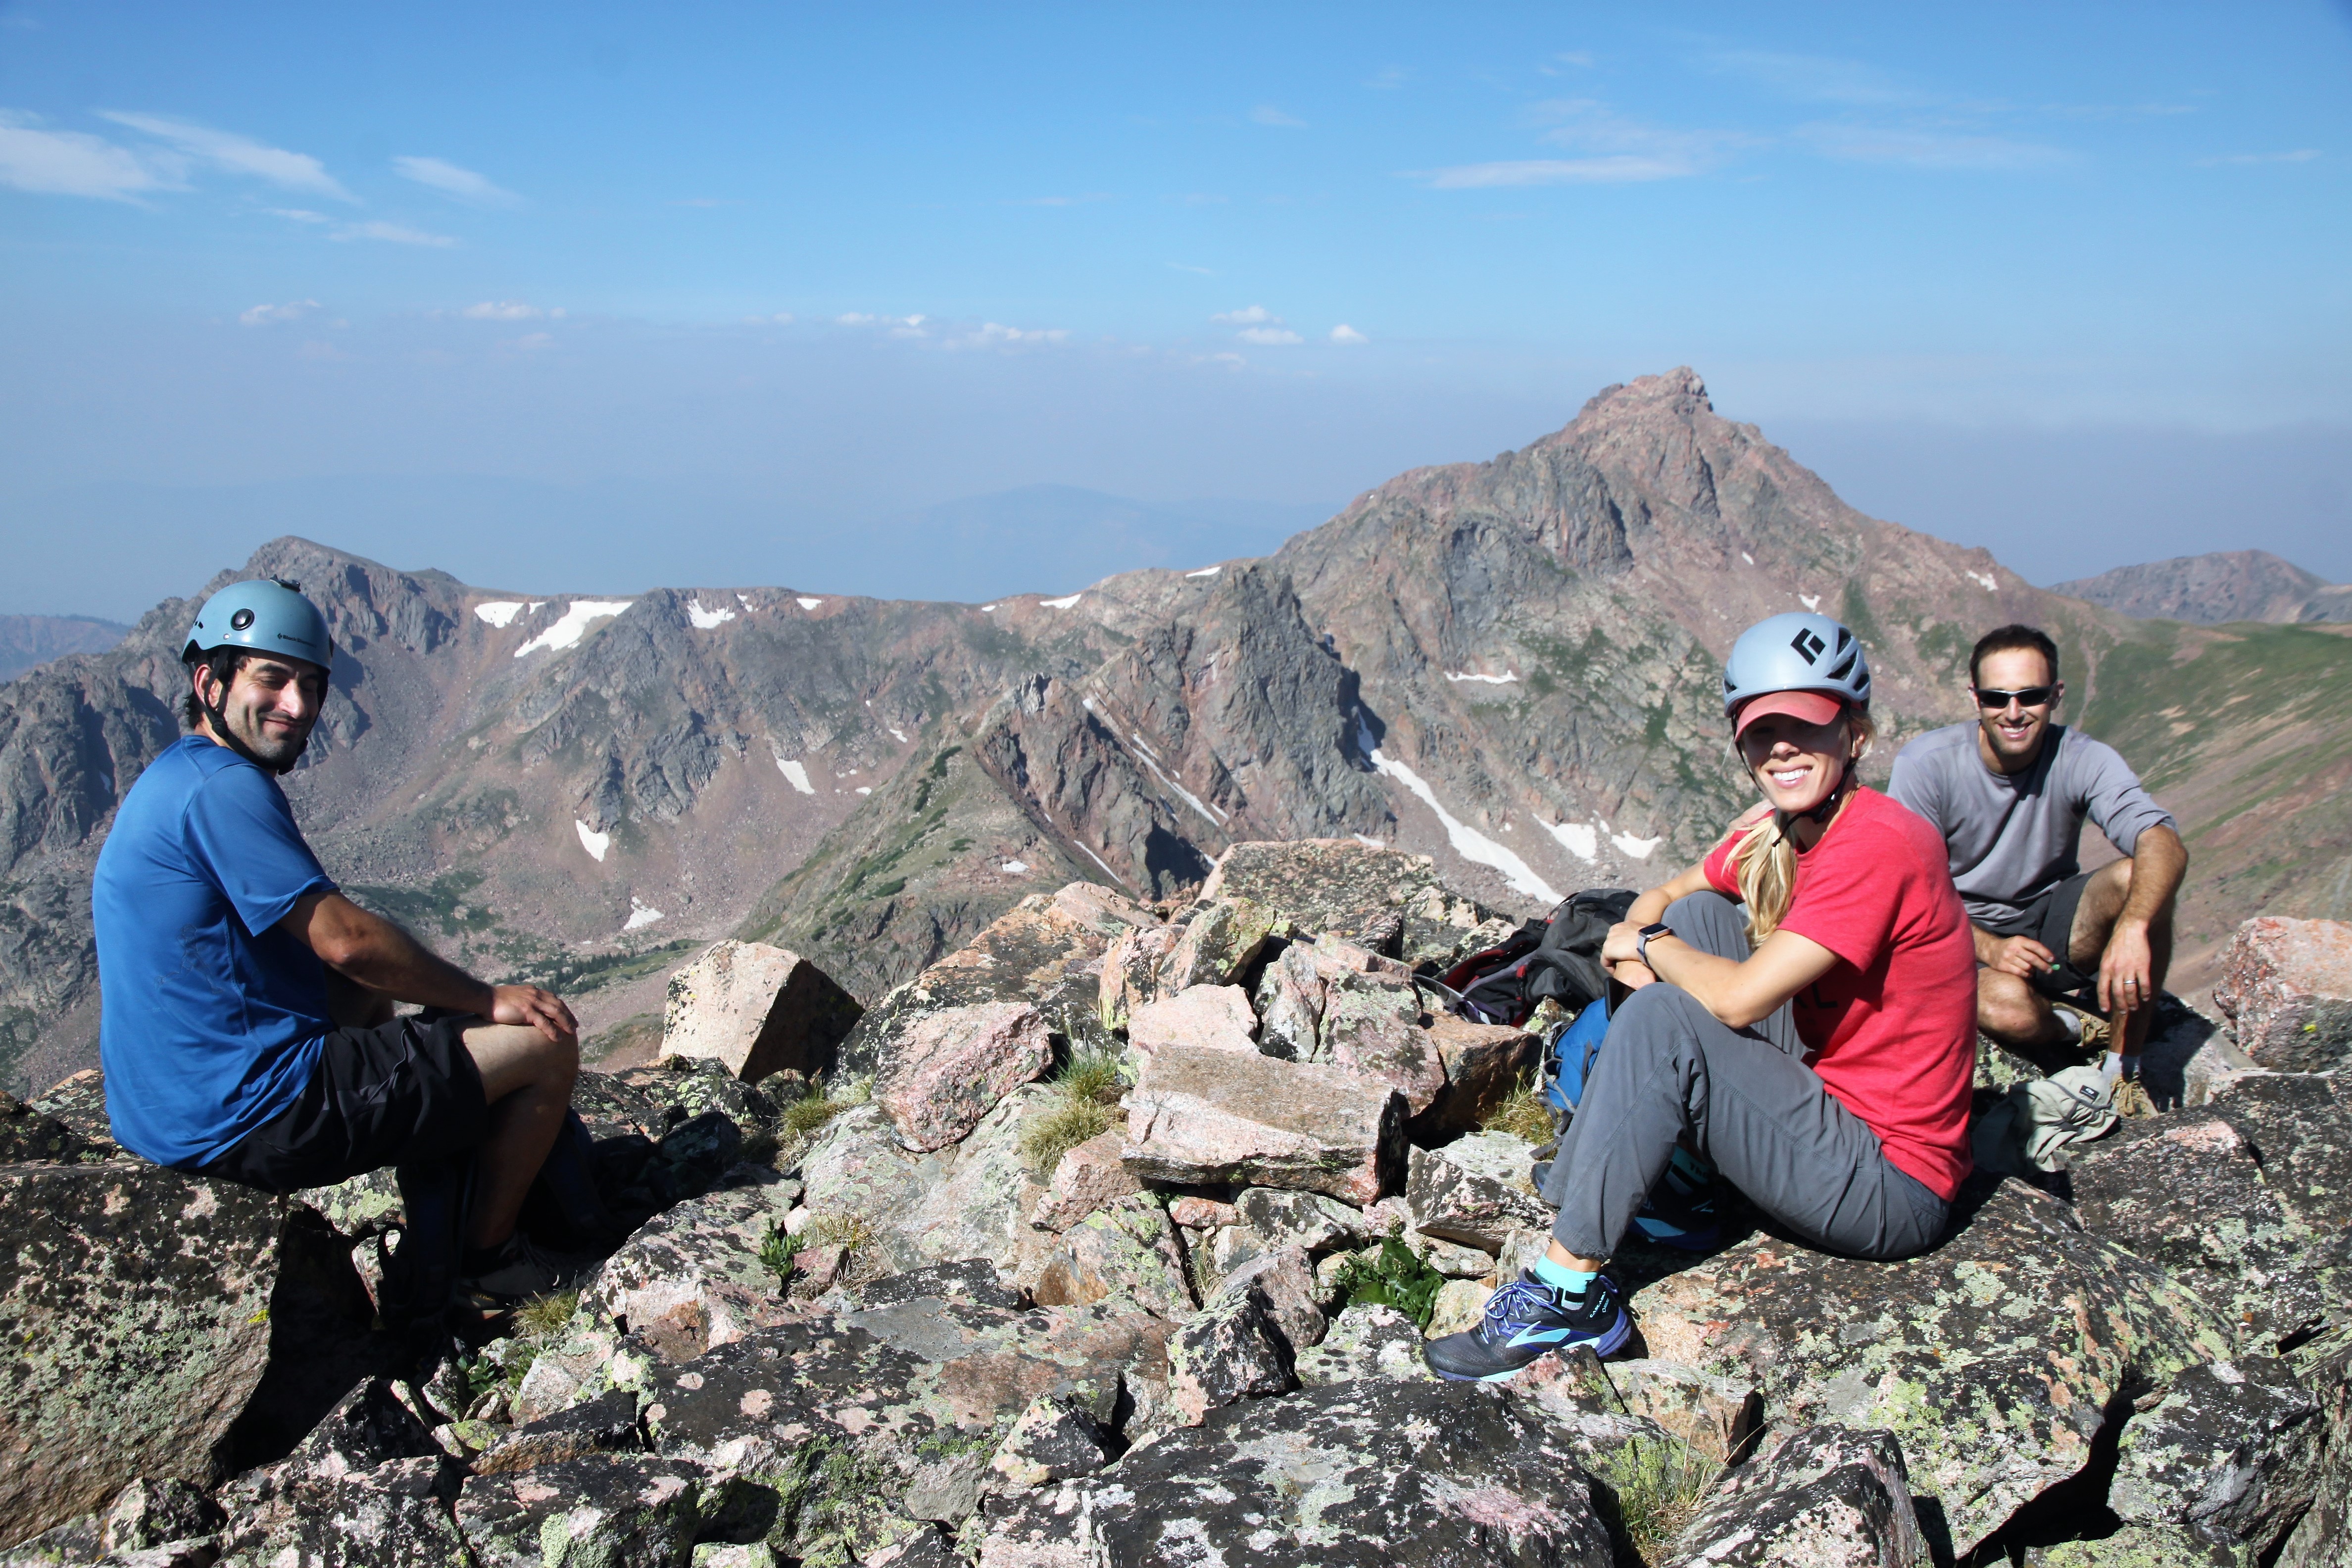
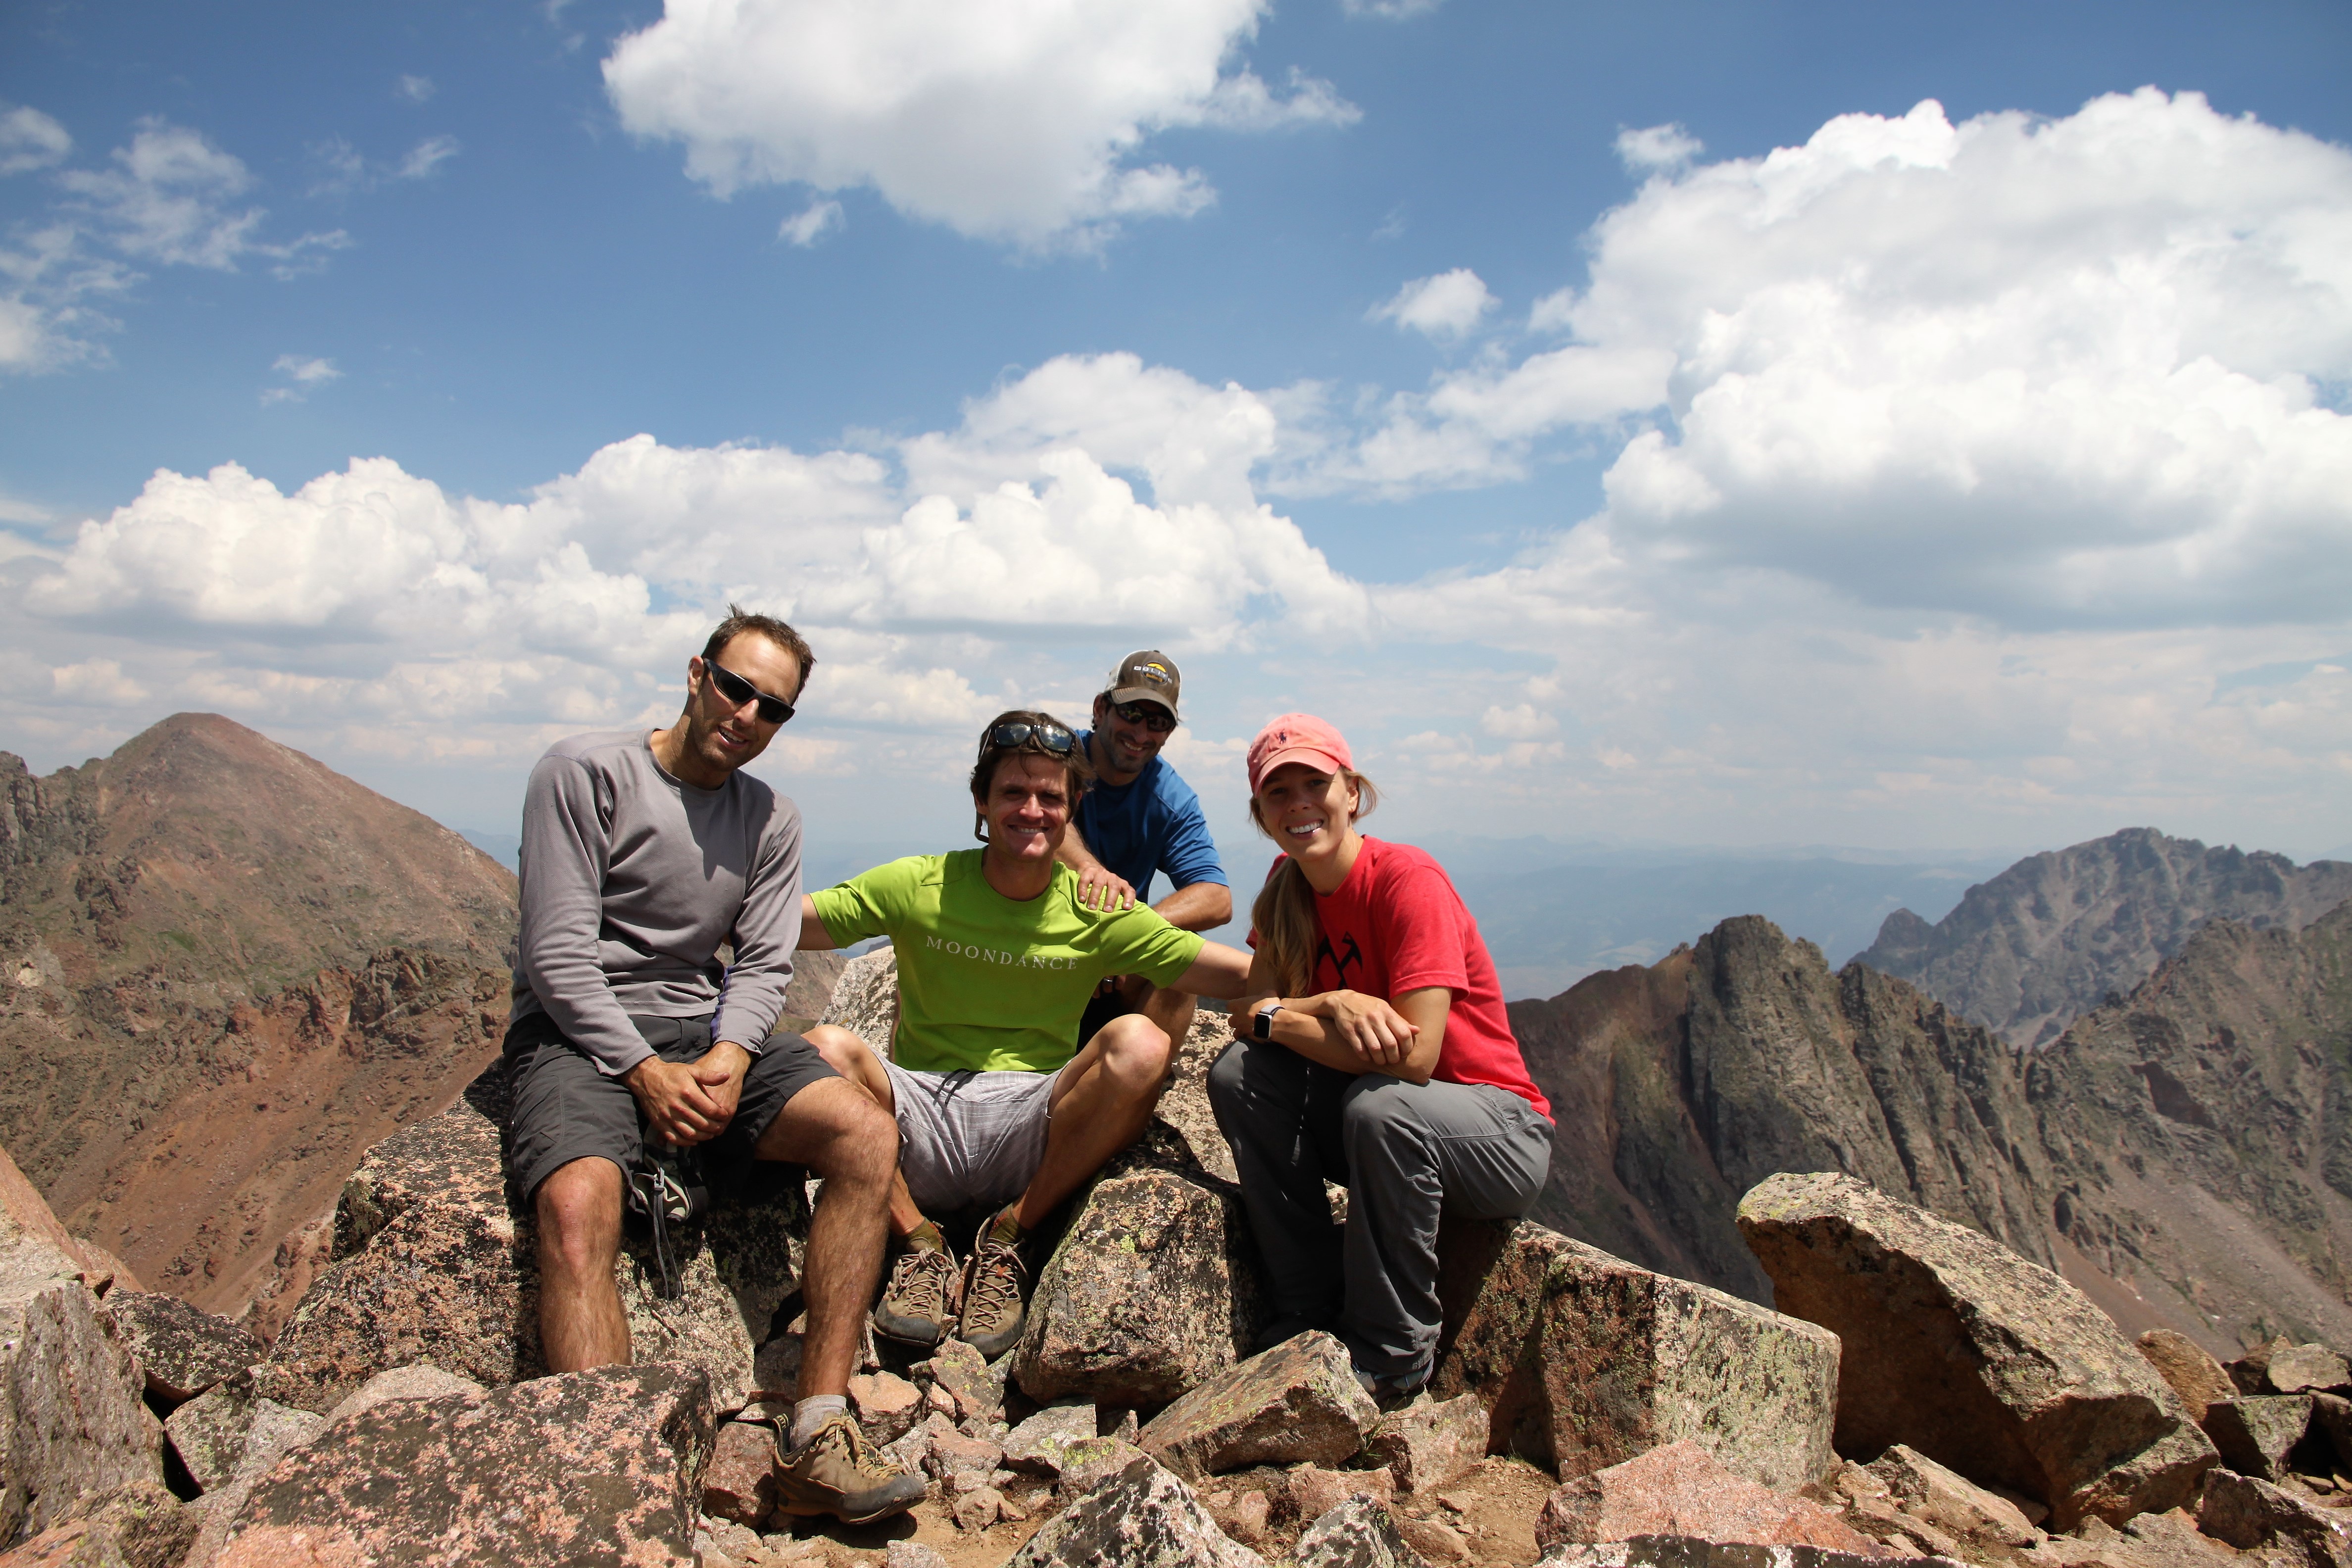
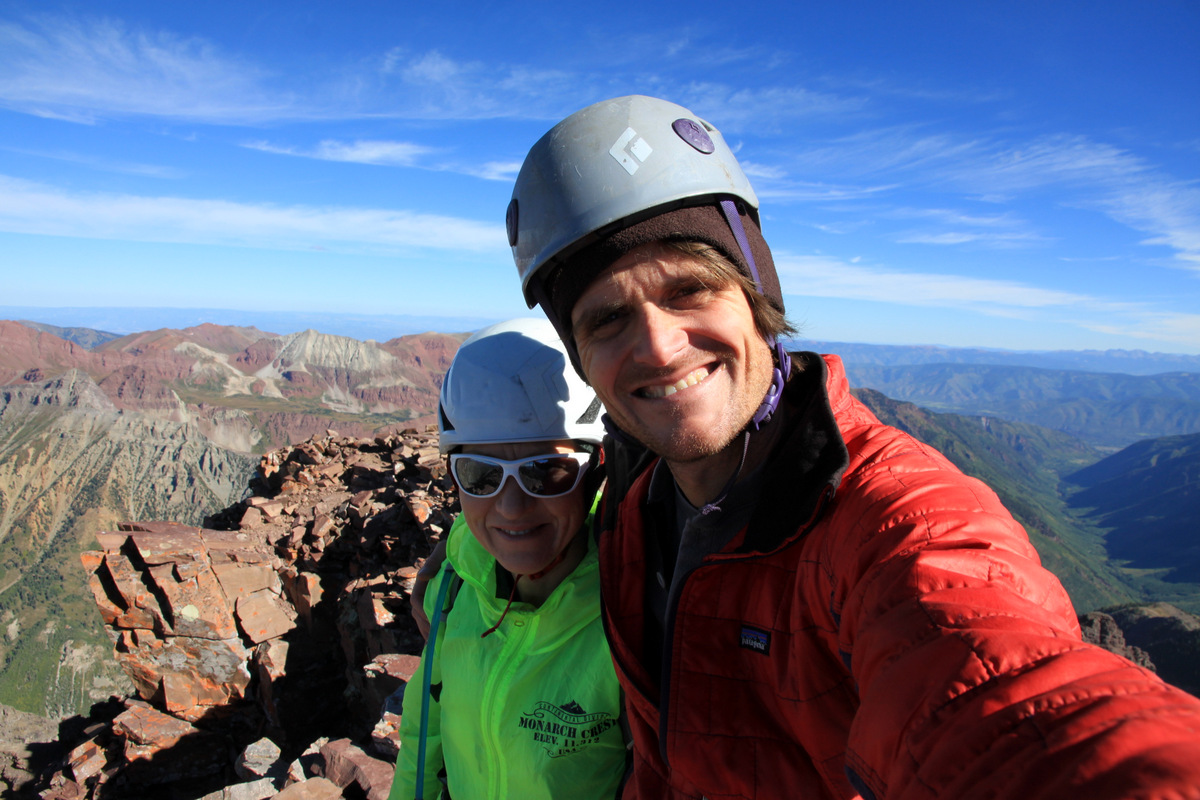
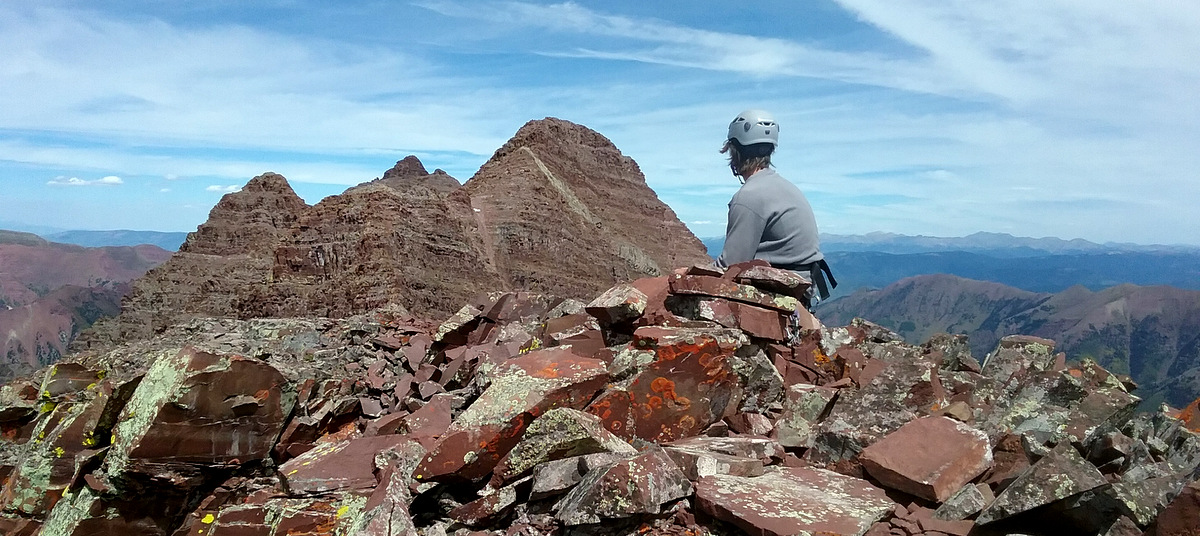
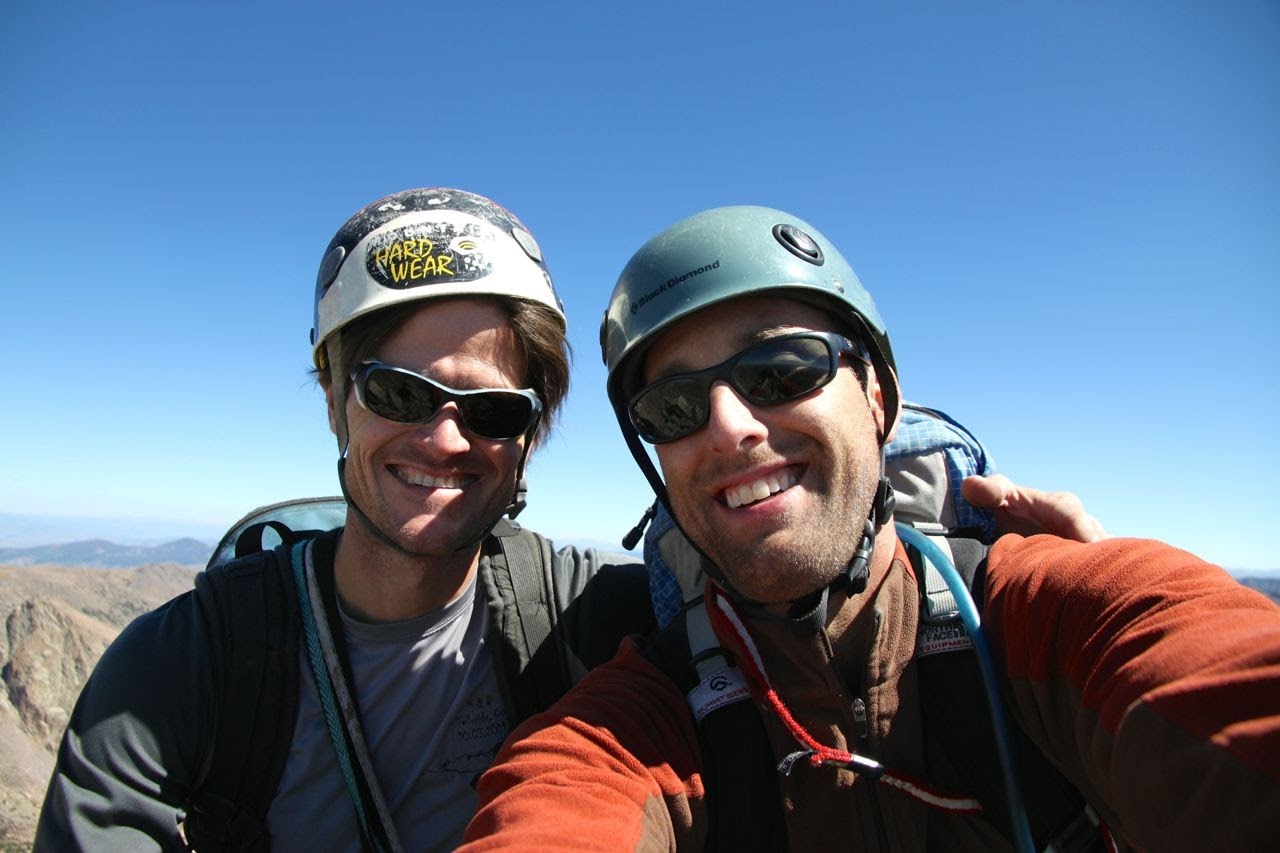
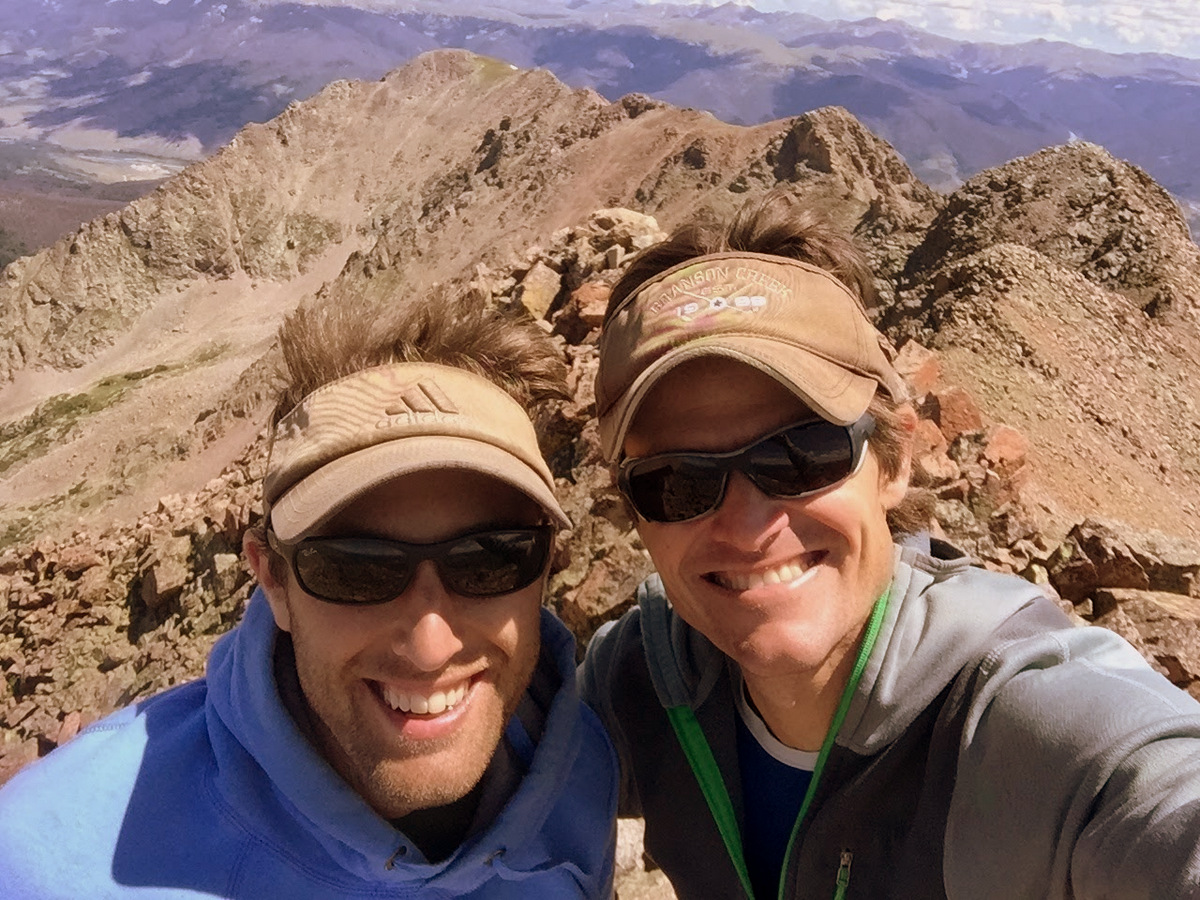
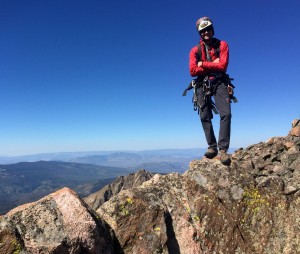
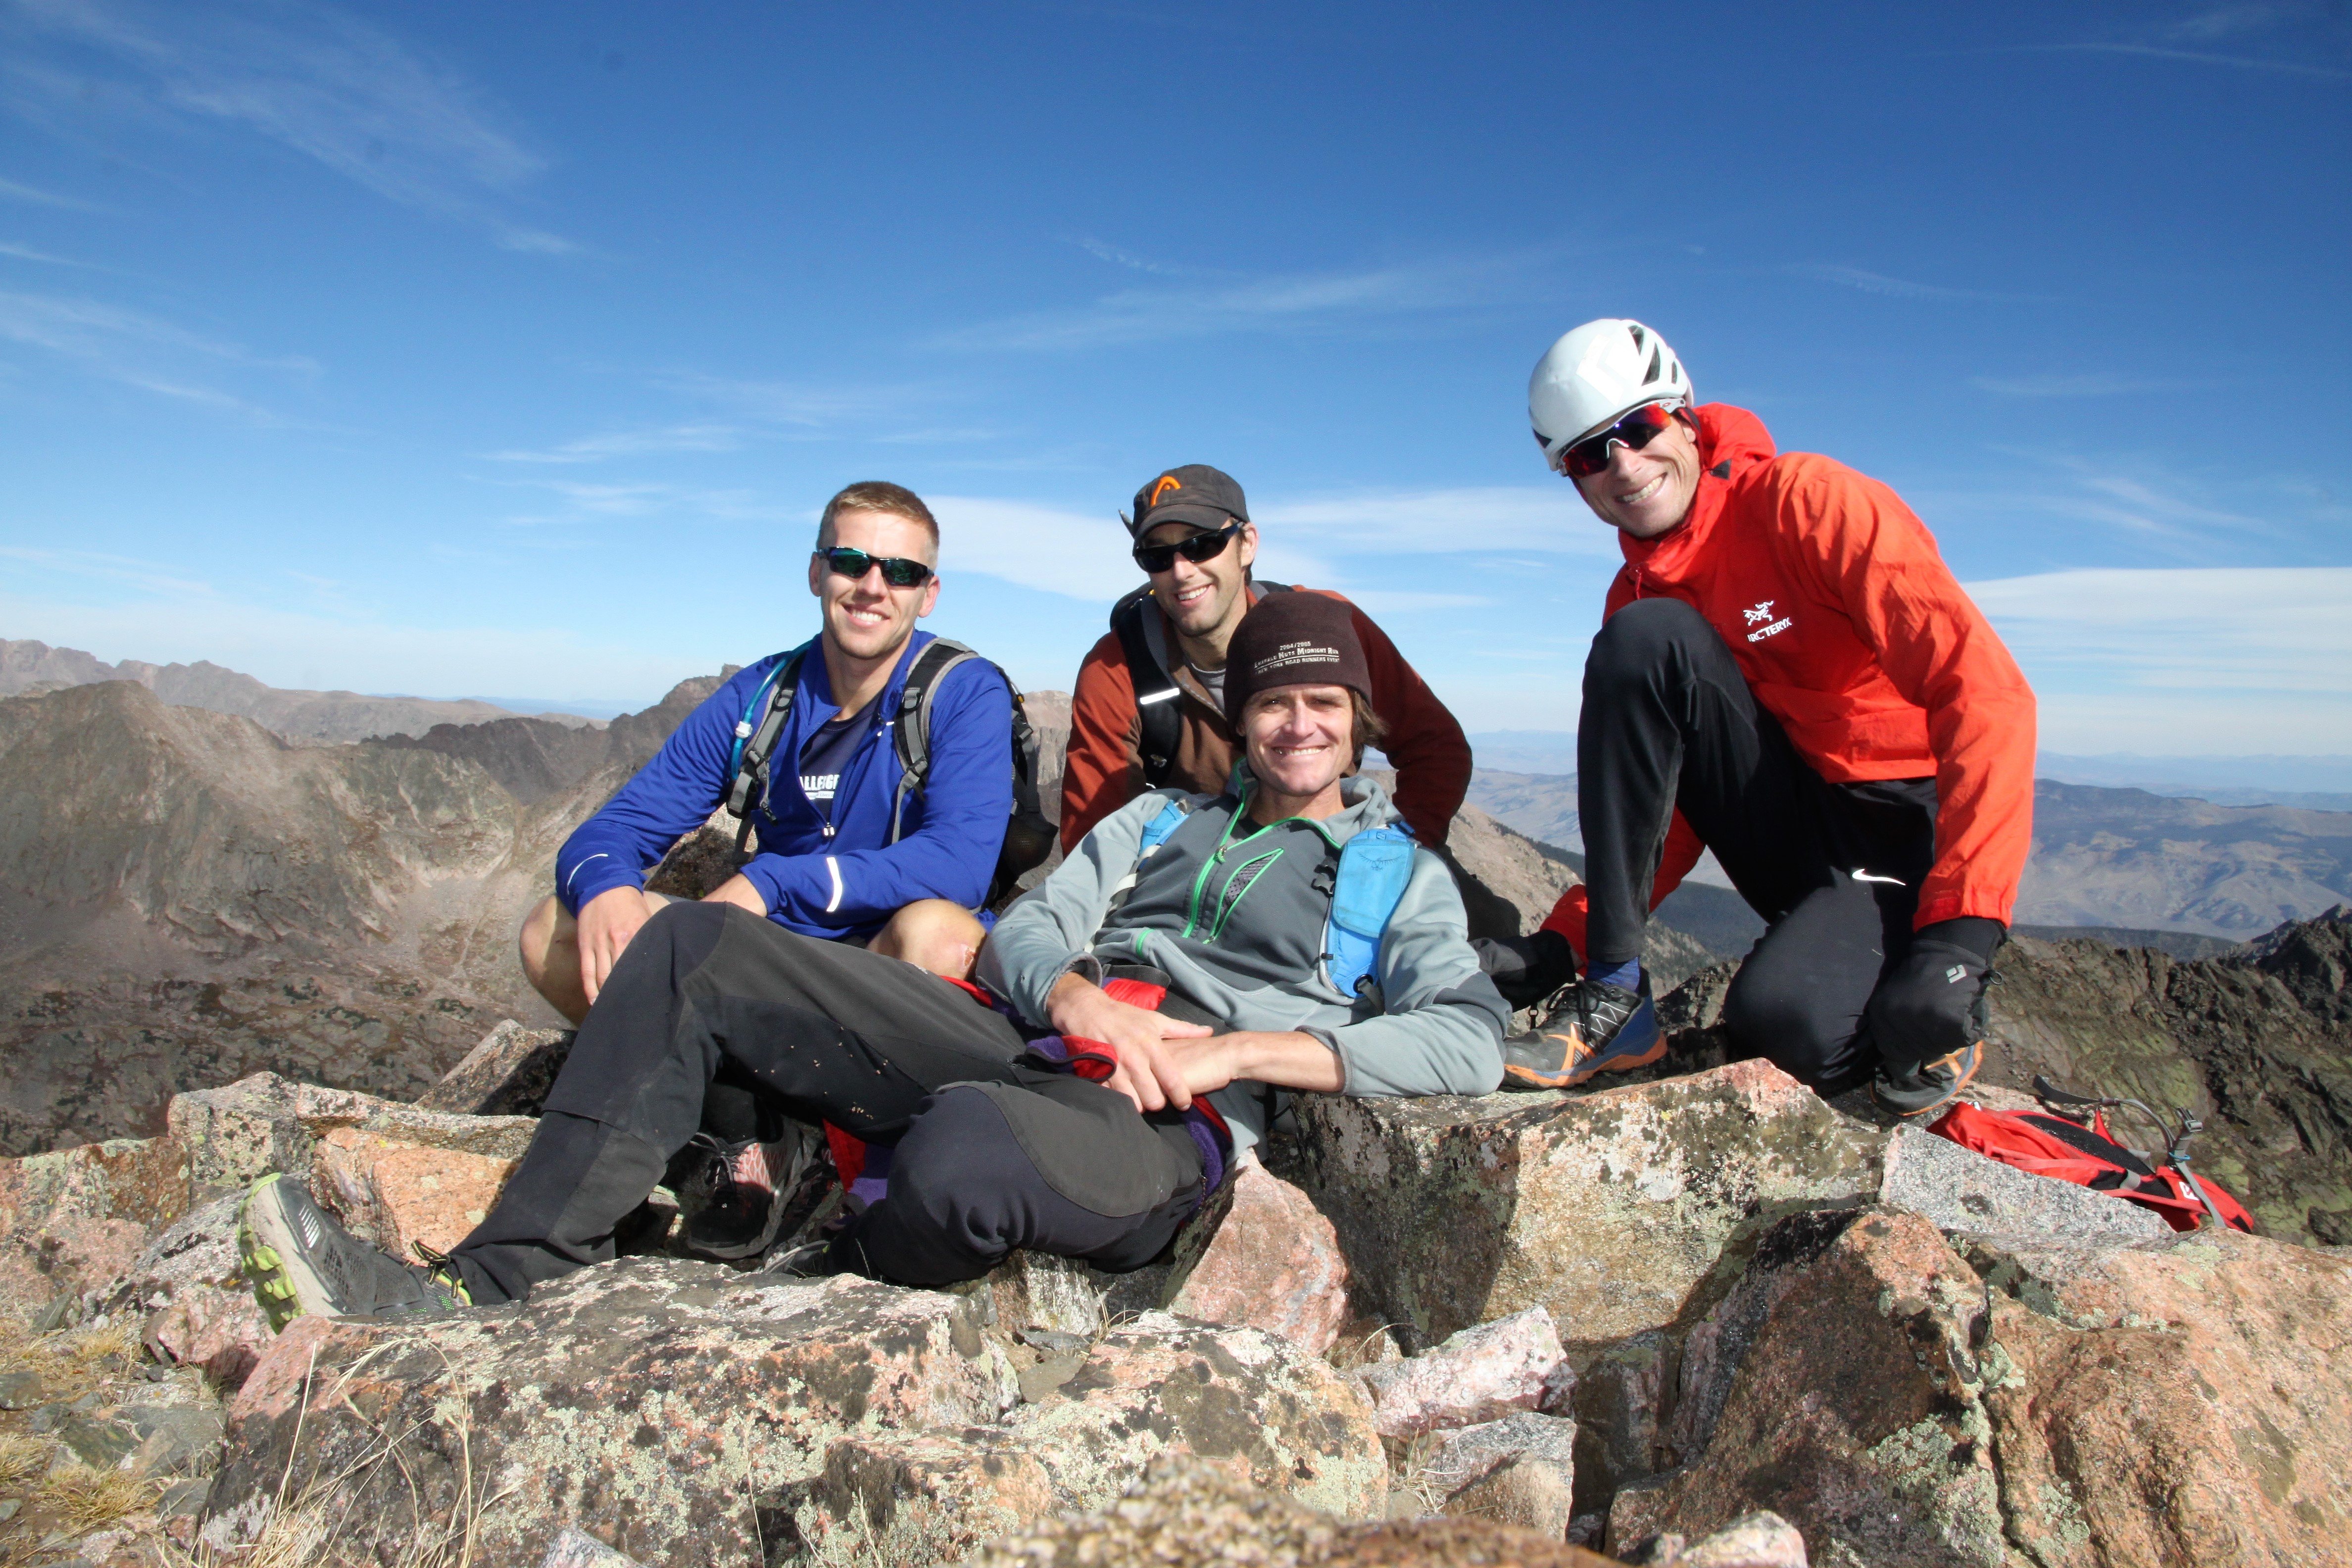
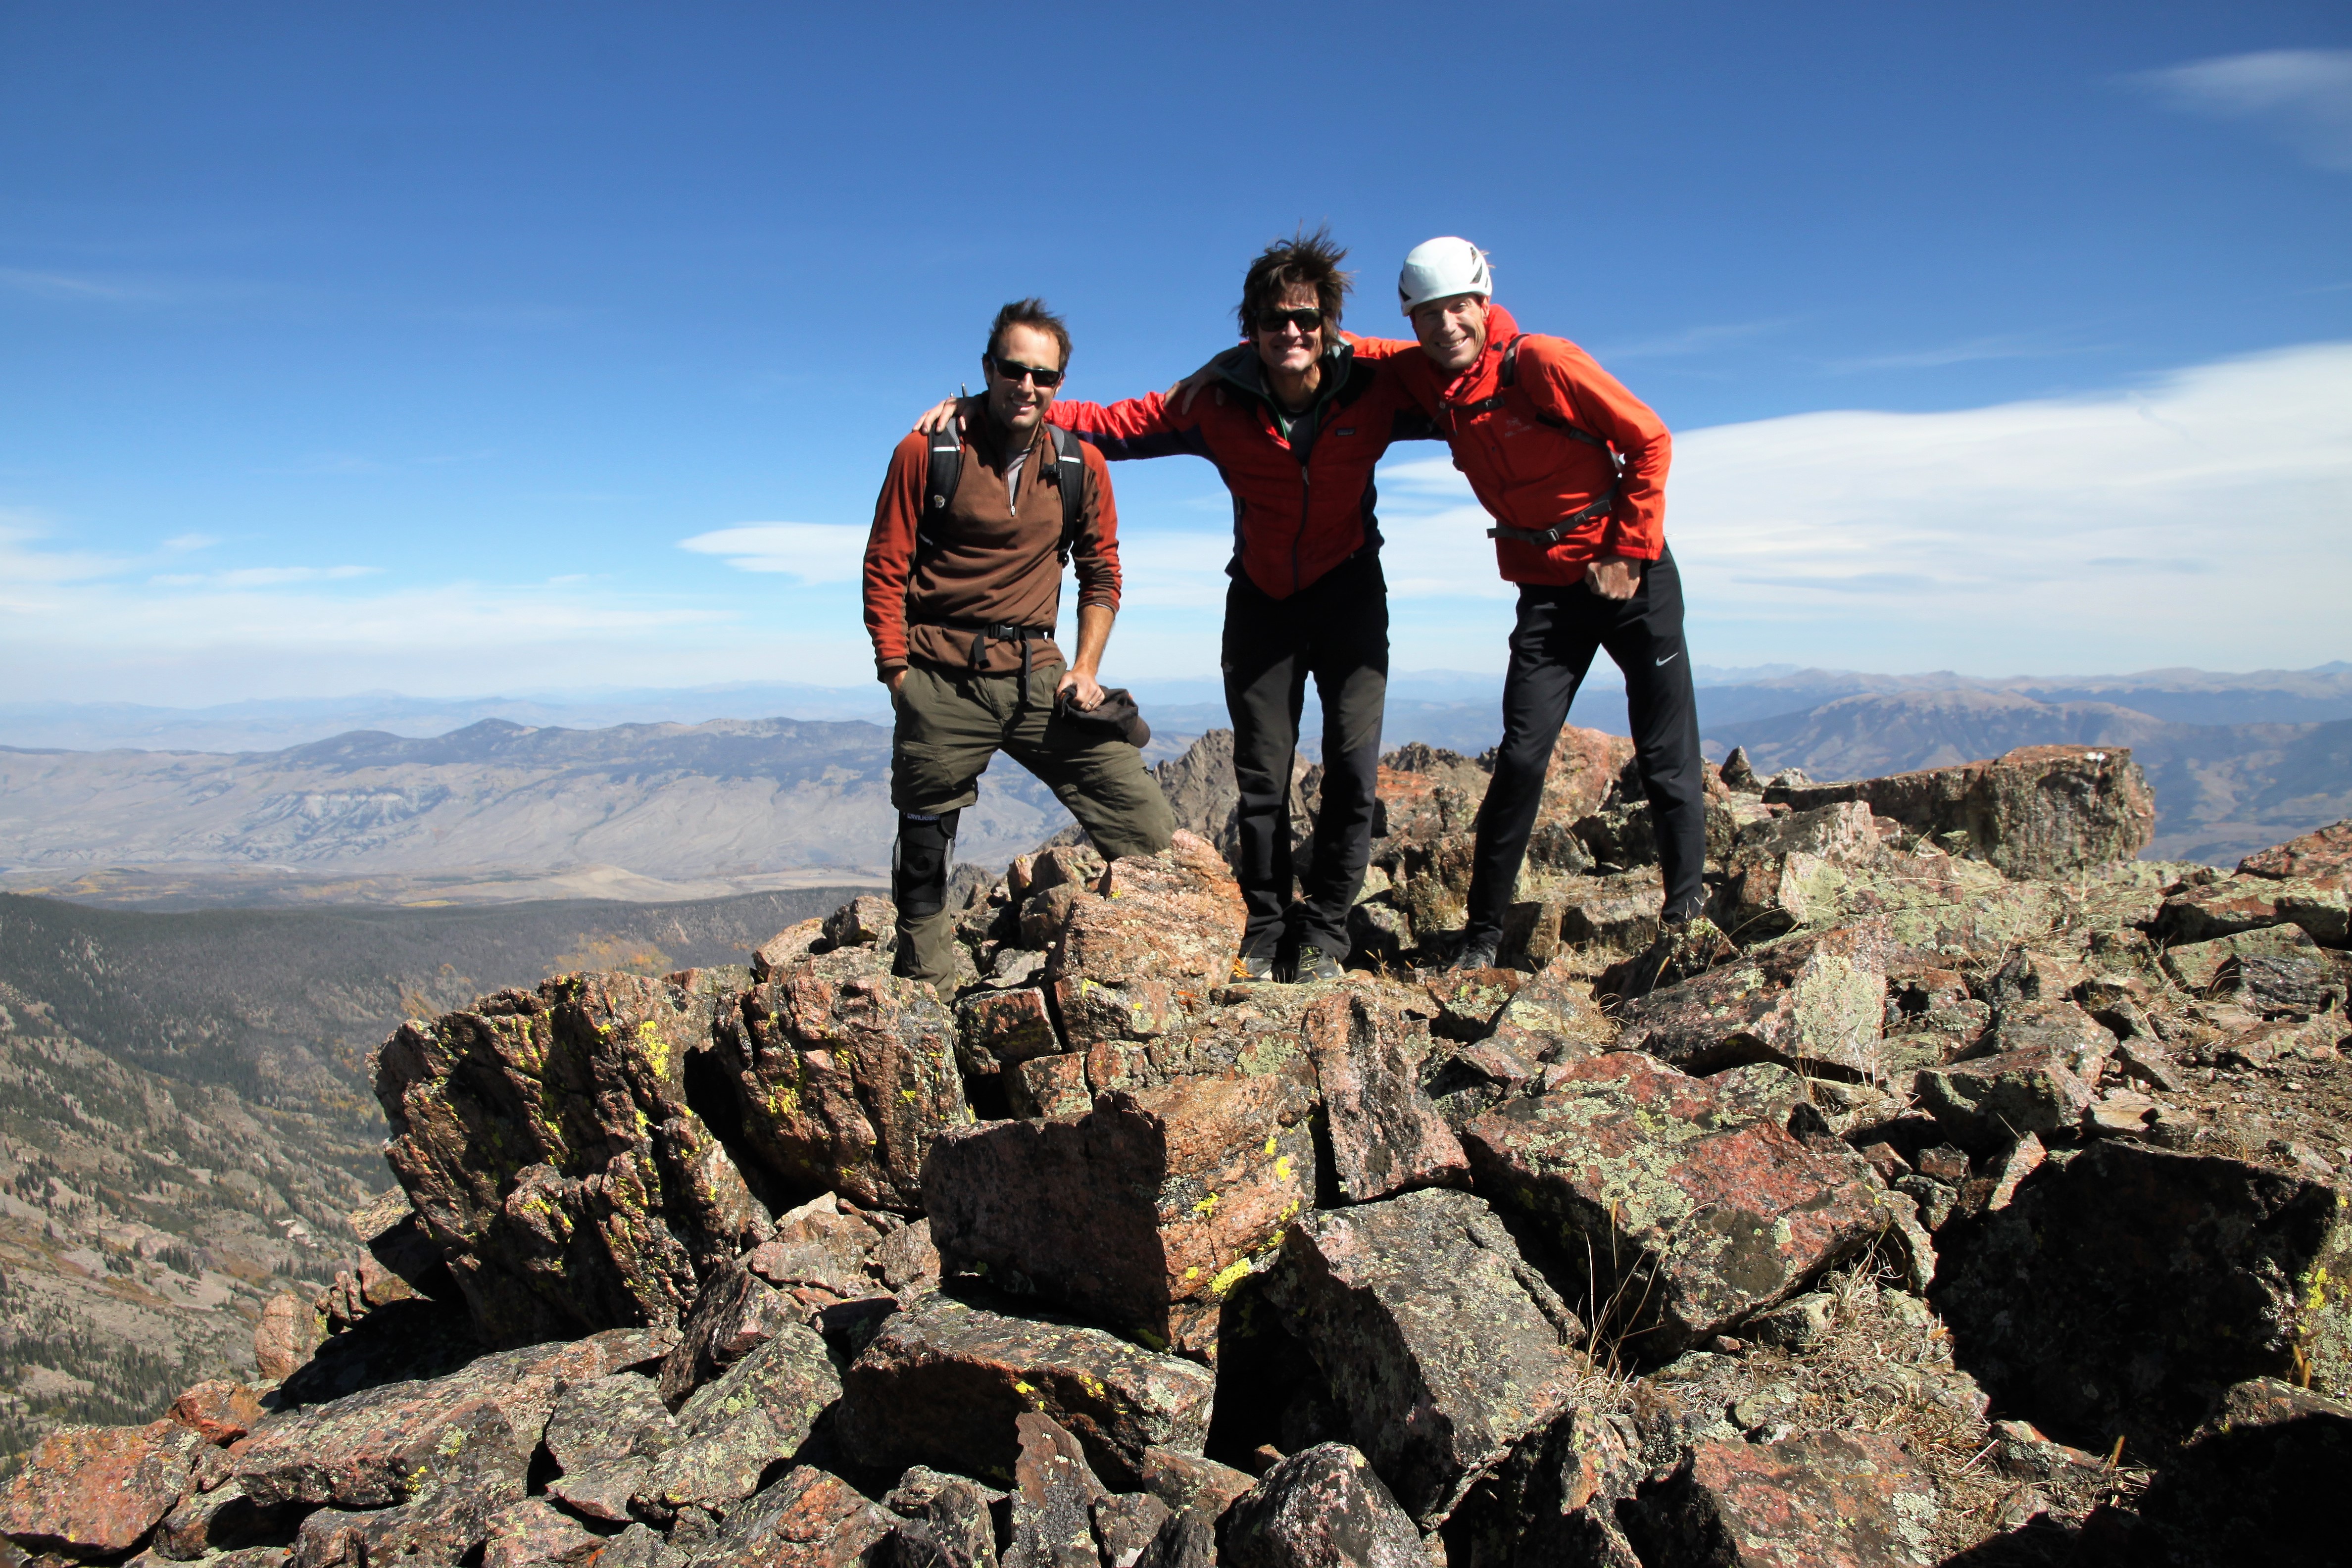
Peak C summit (13,220′)
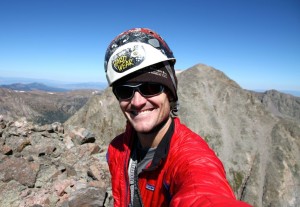
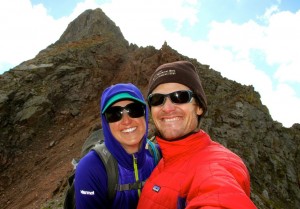
Good to be on top of Peak C again
Zoomed-in shot of John & Jennifer Danese atop Mt. Powell from the summit of Peak C
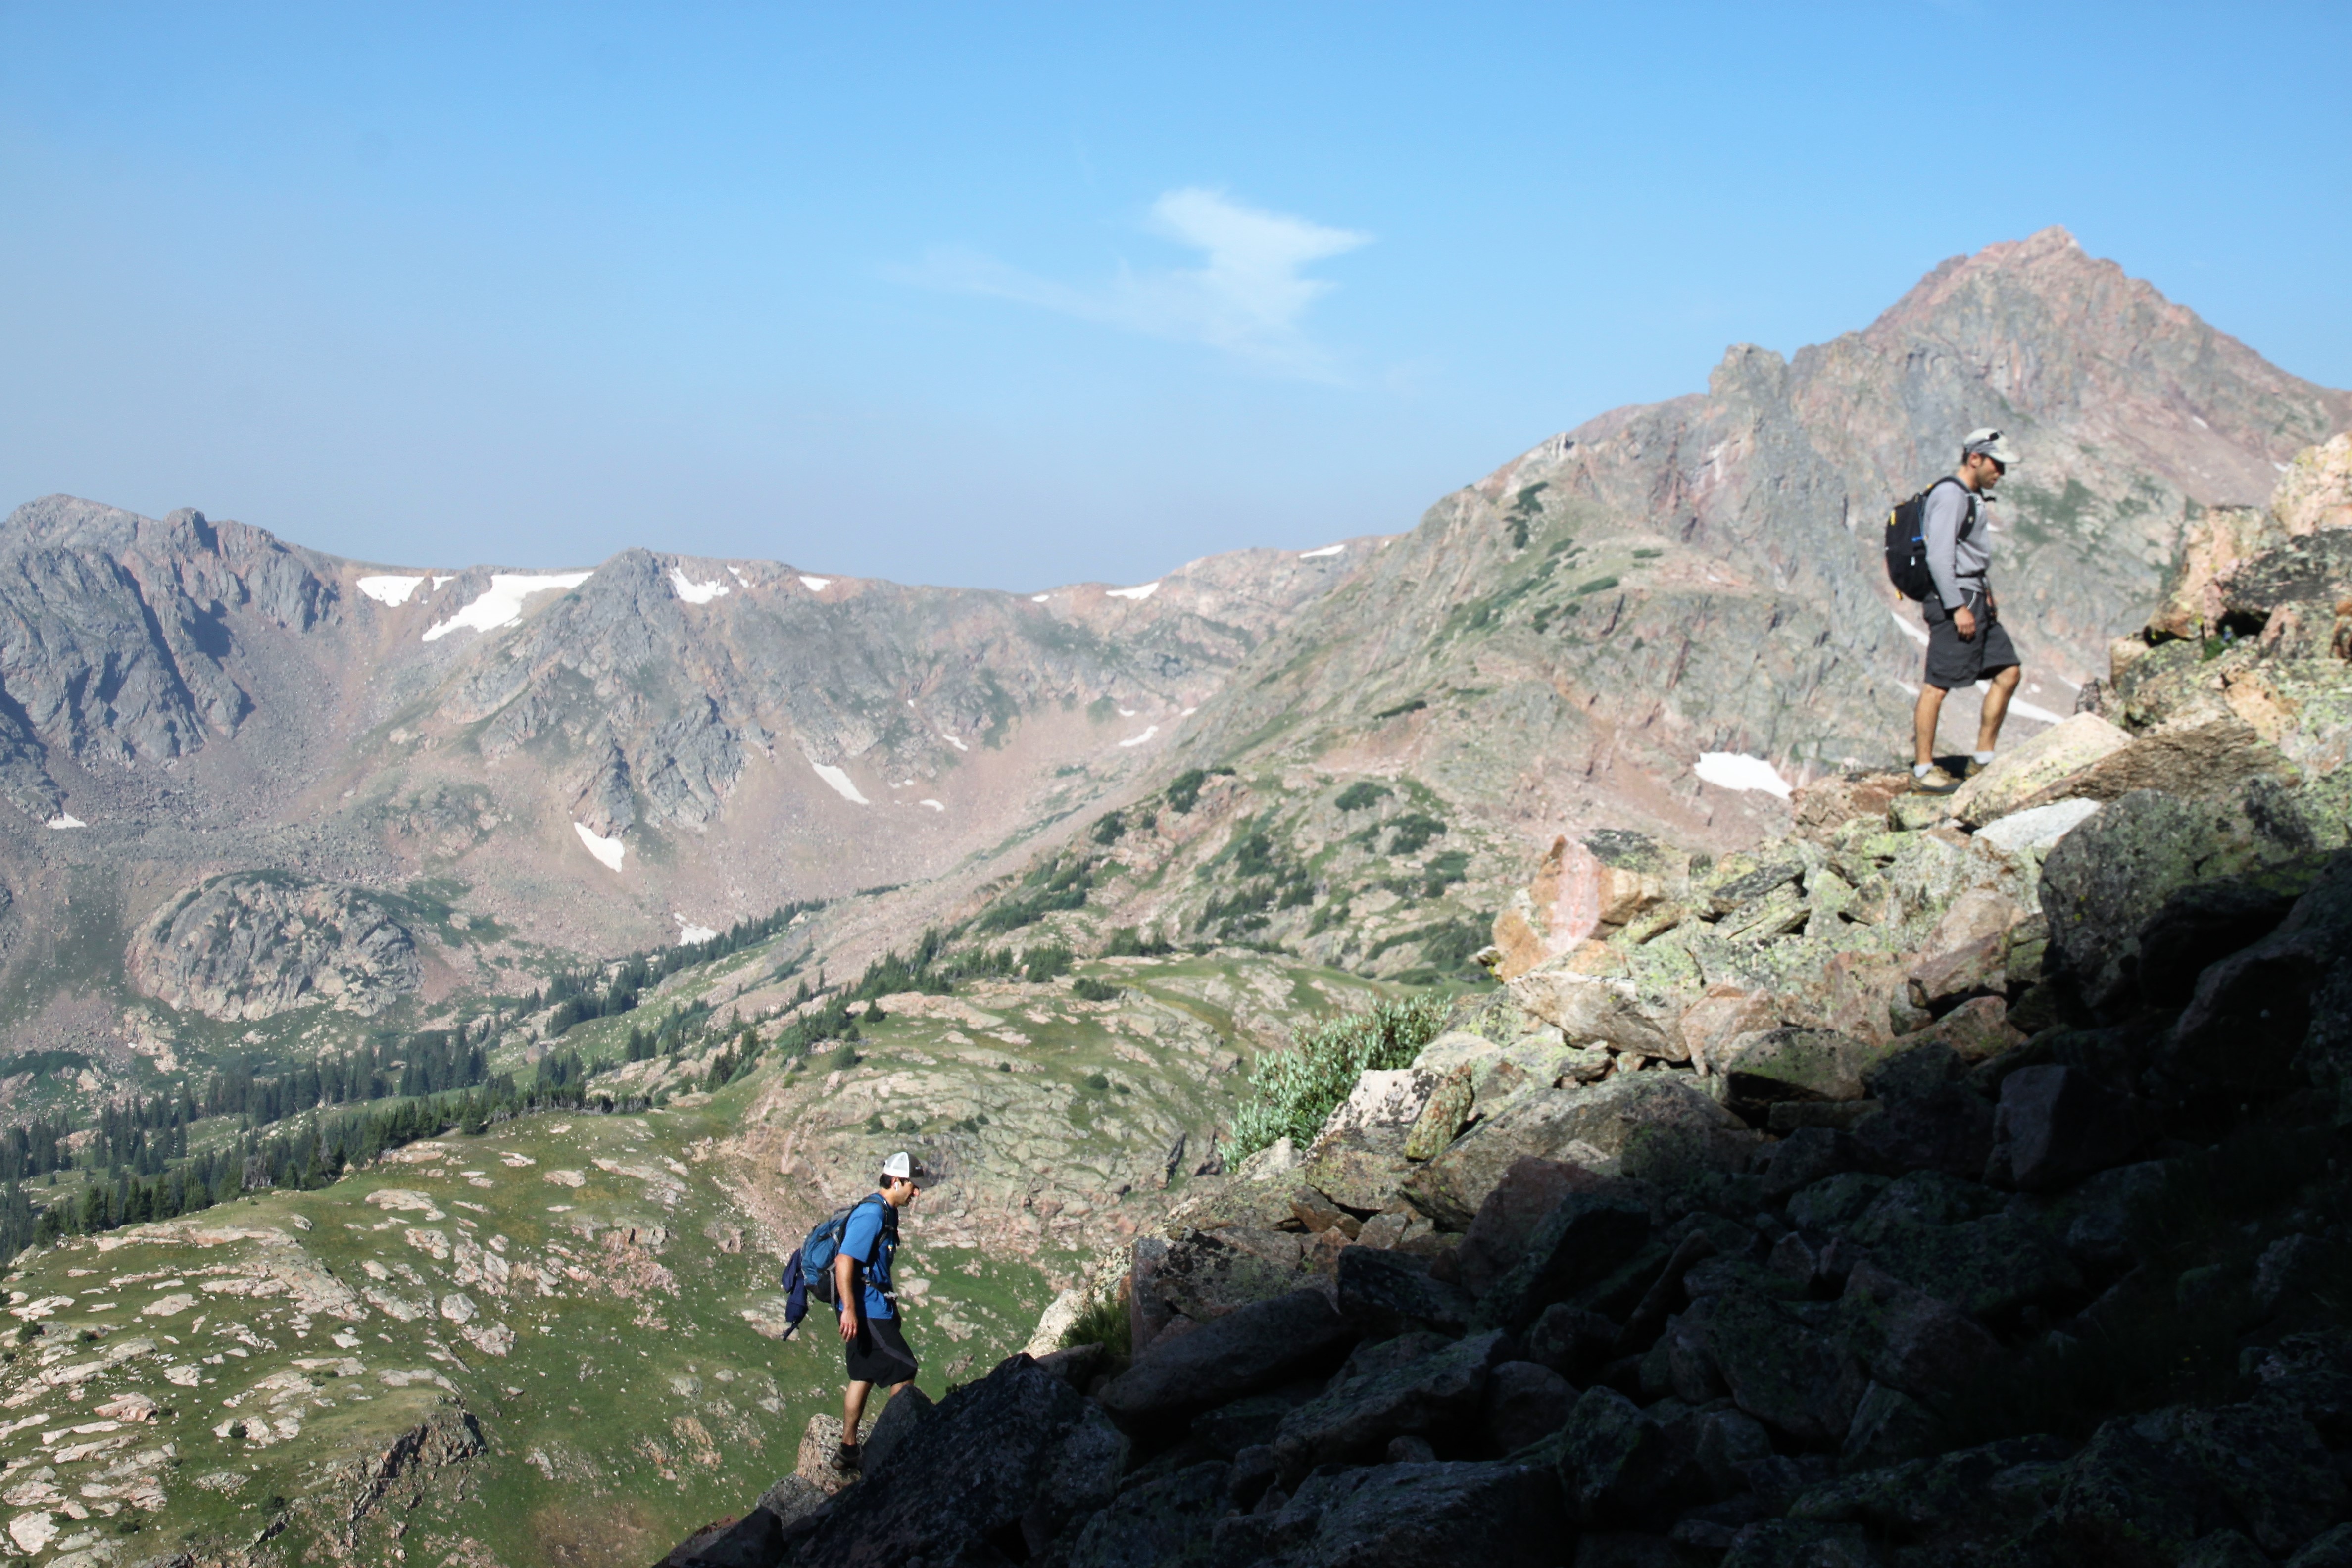
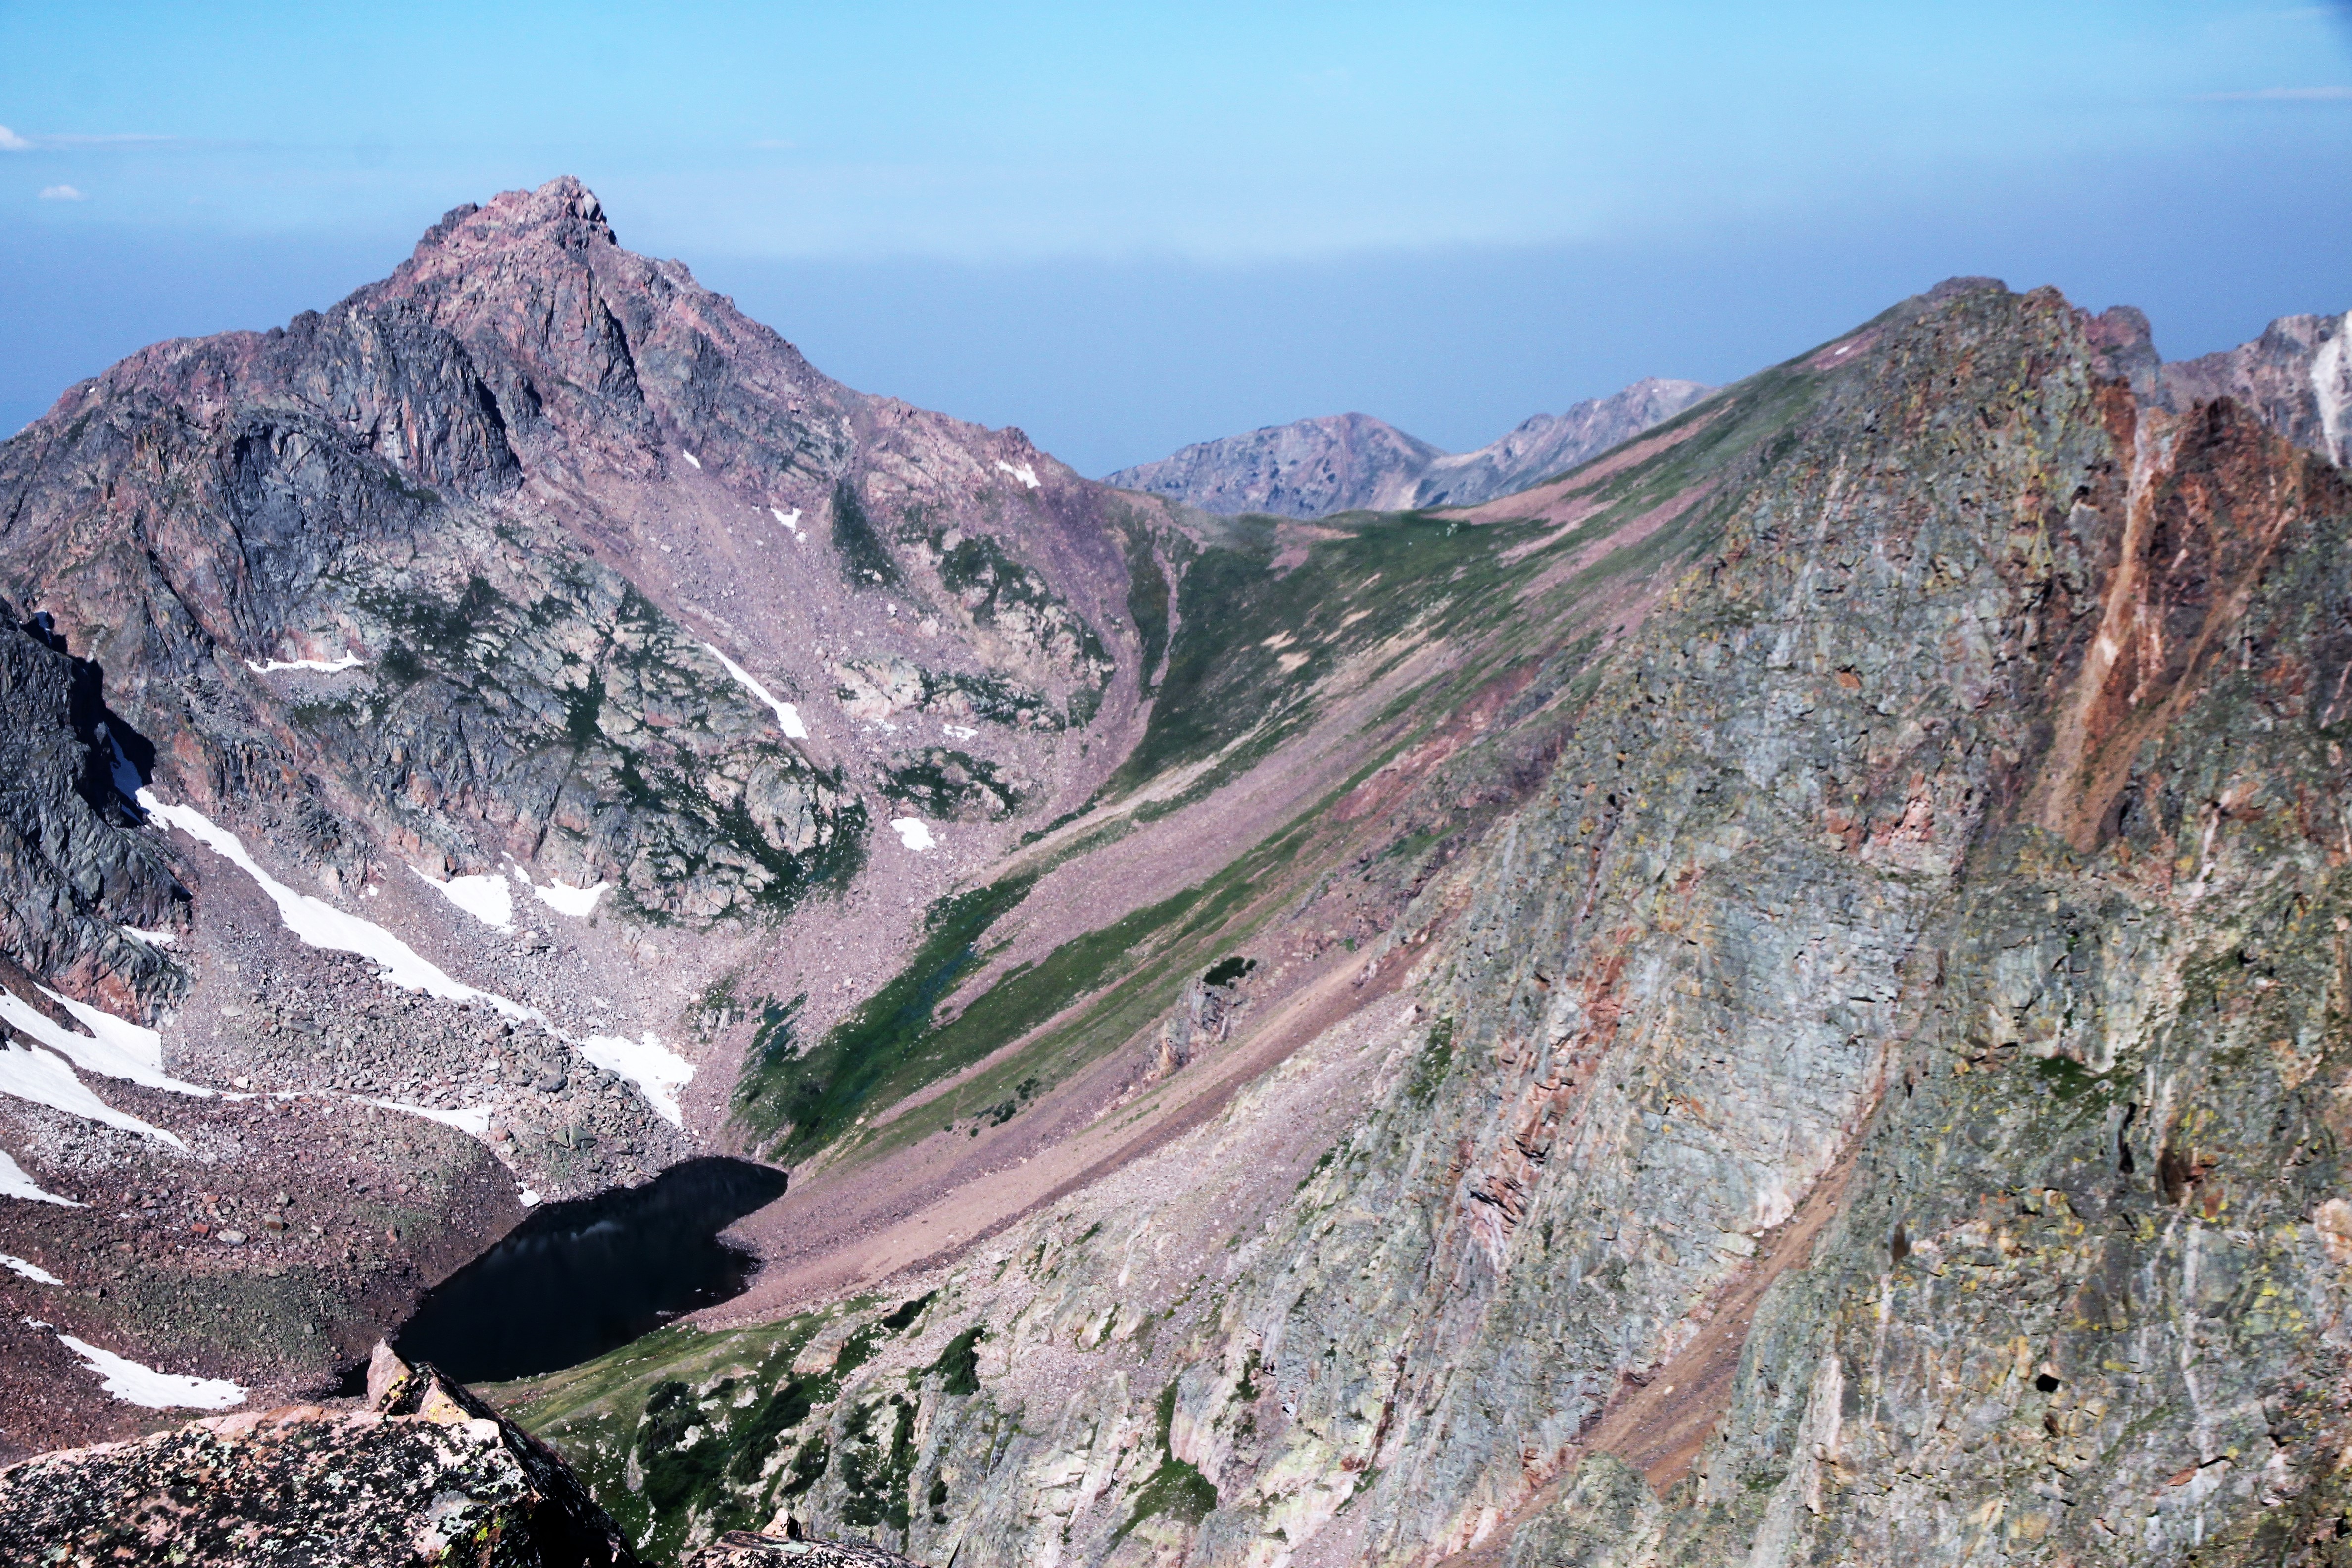
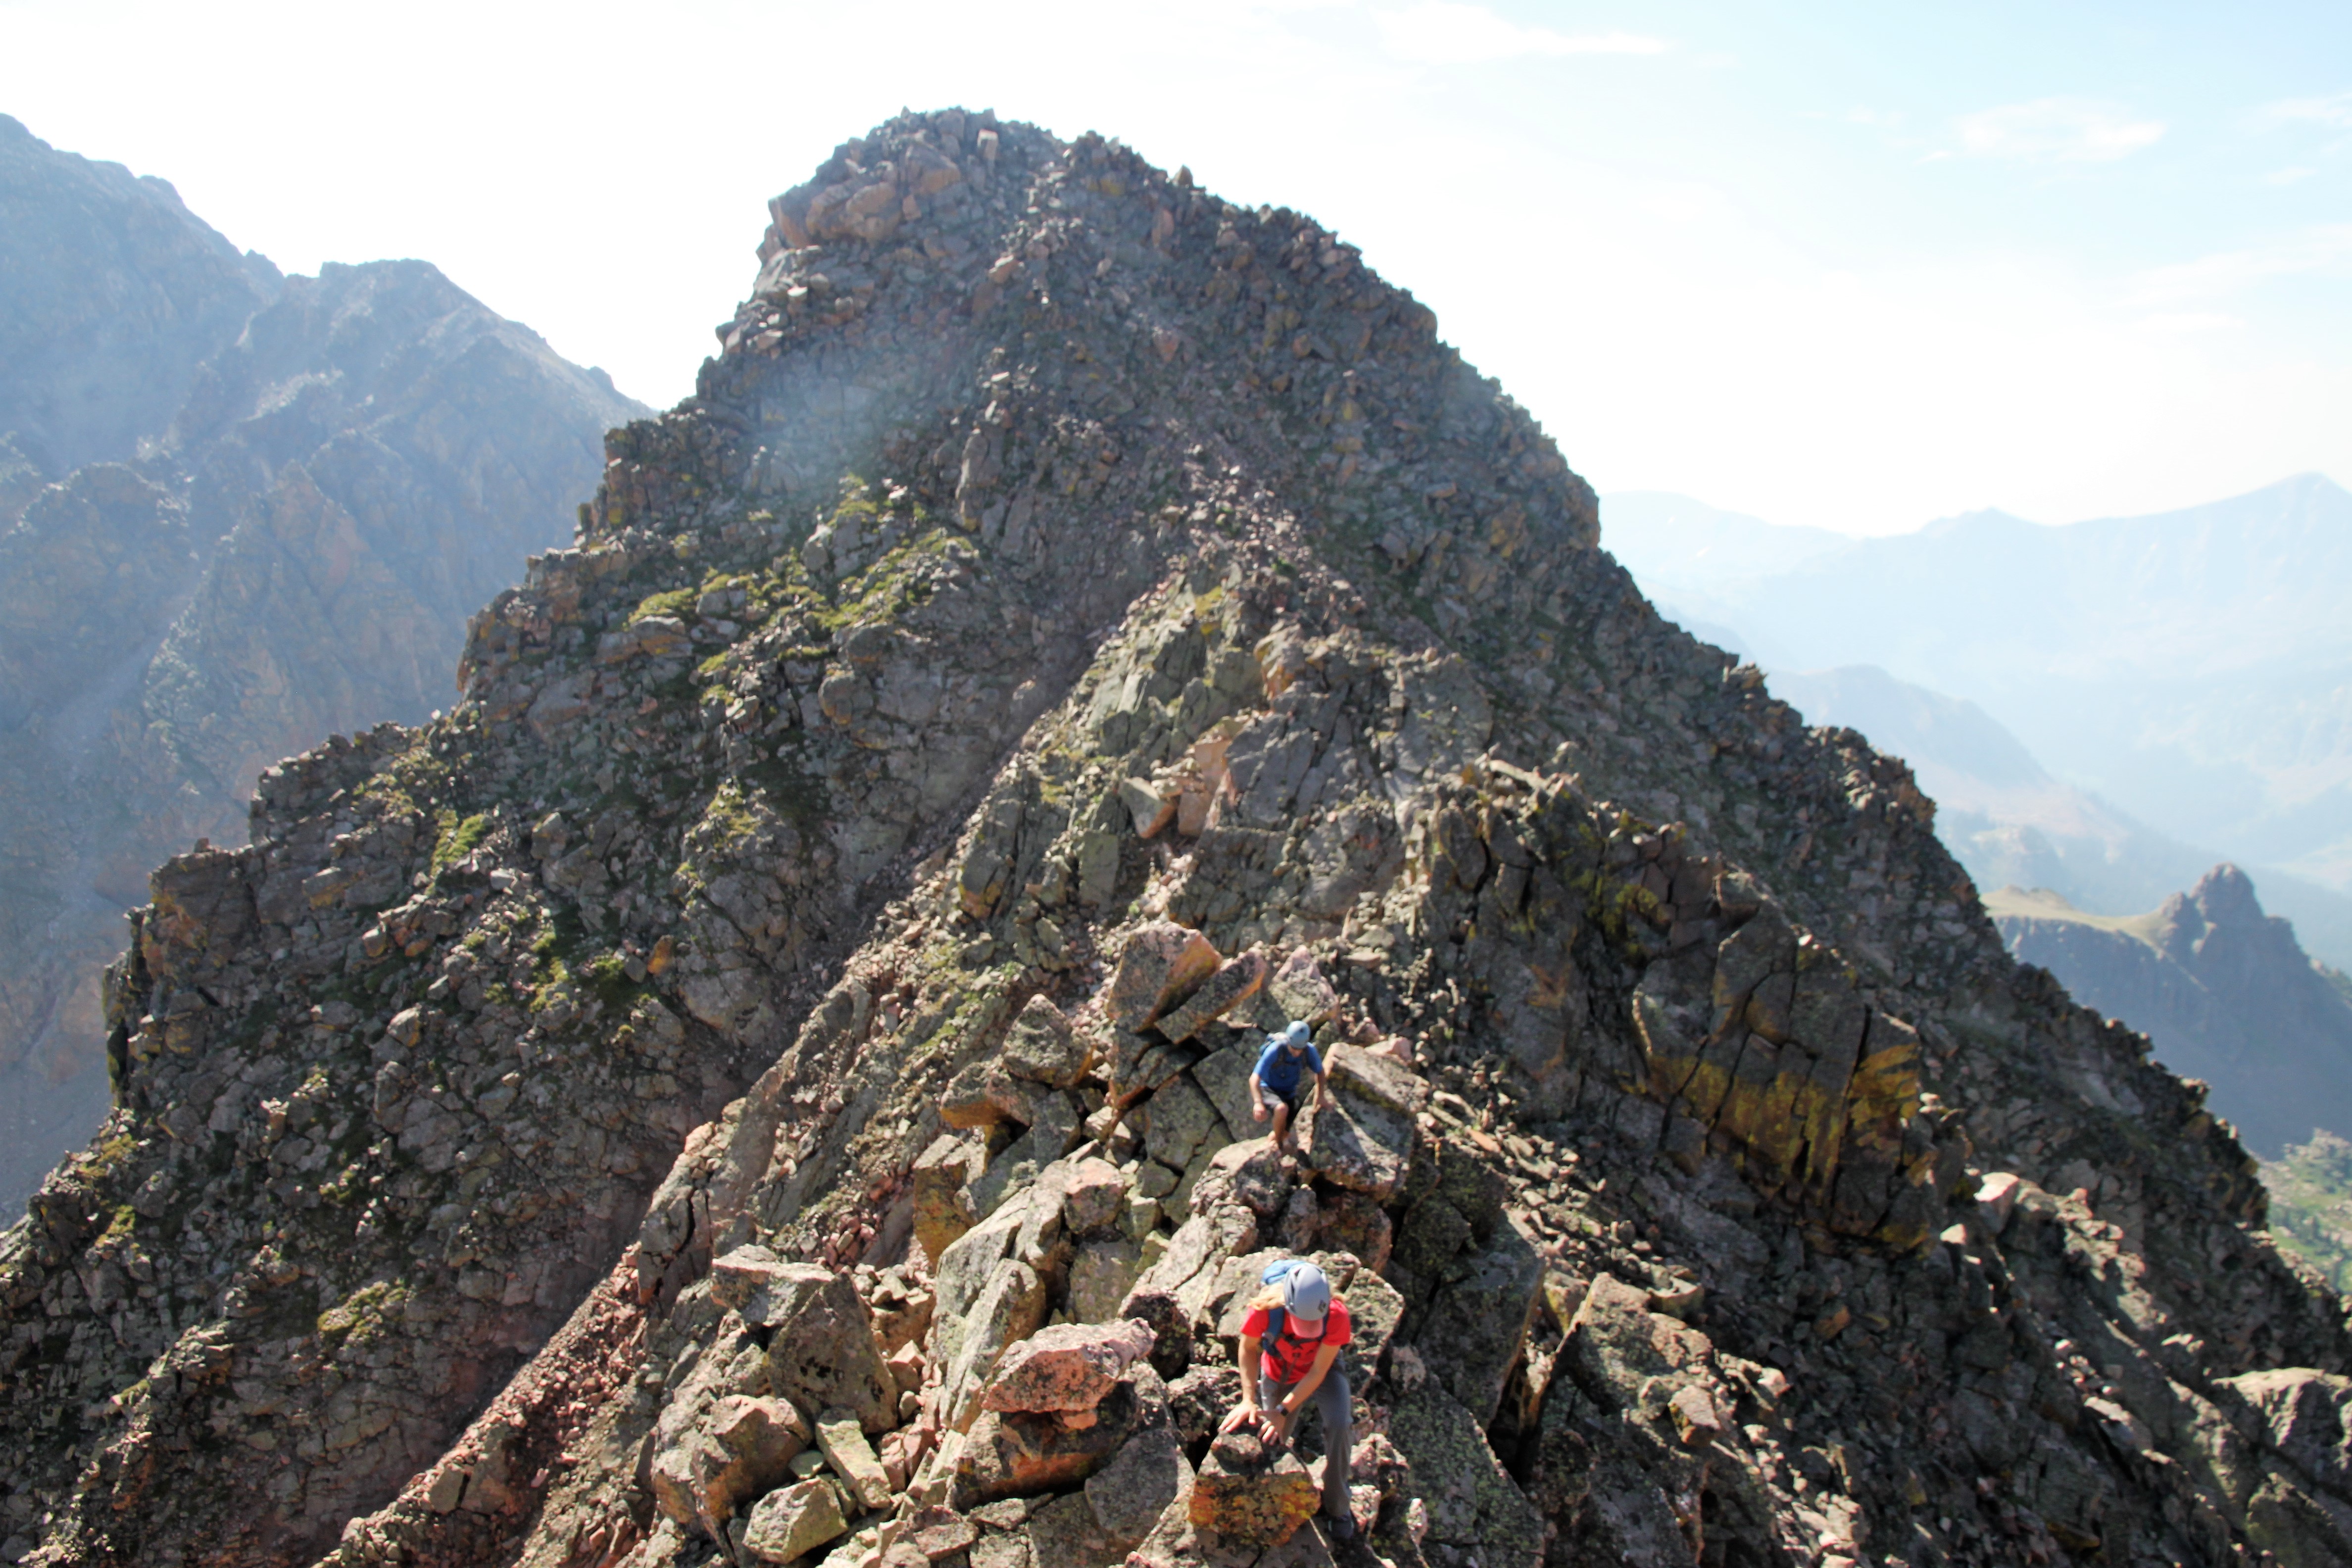
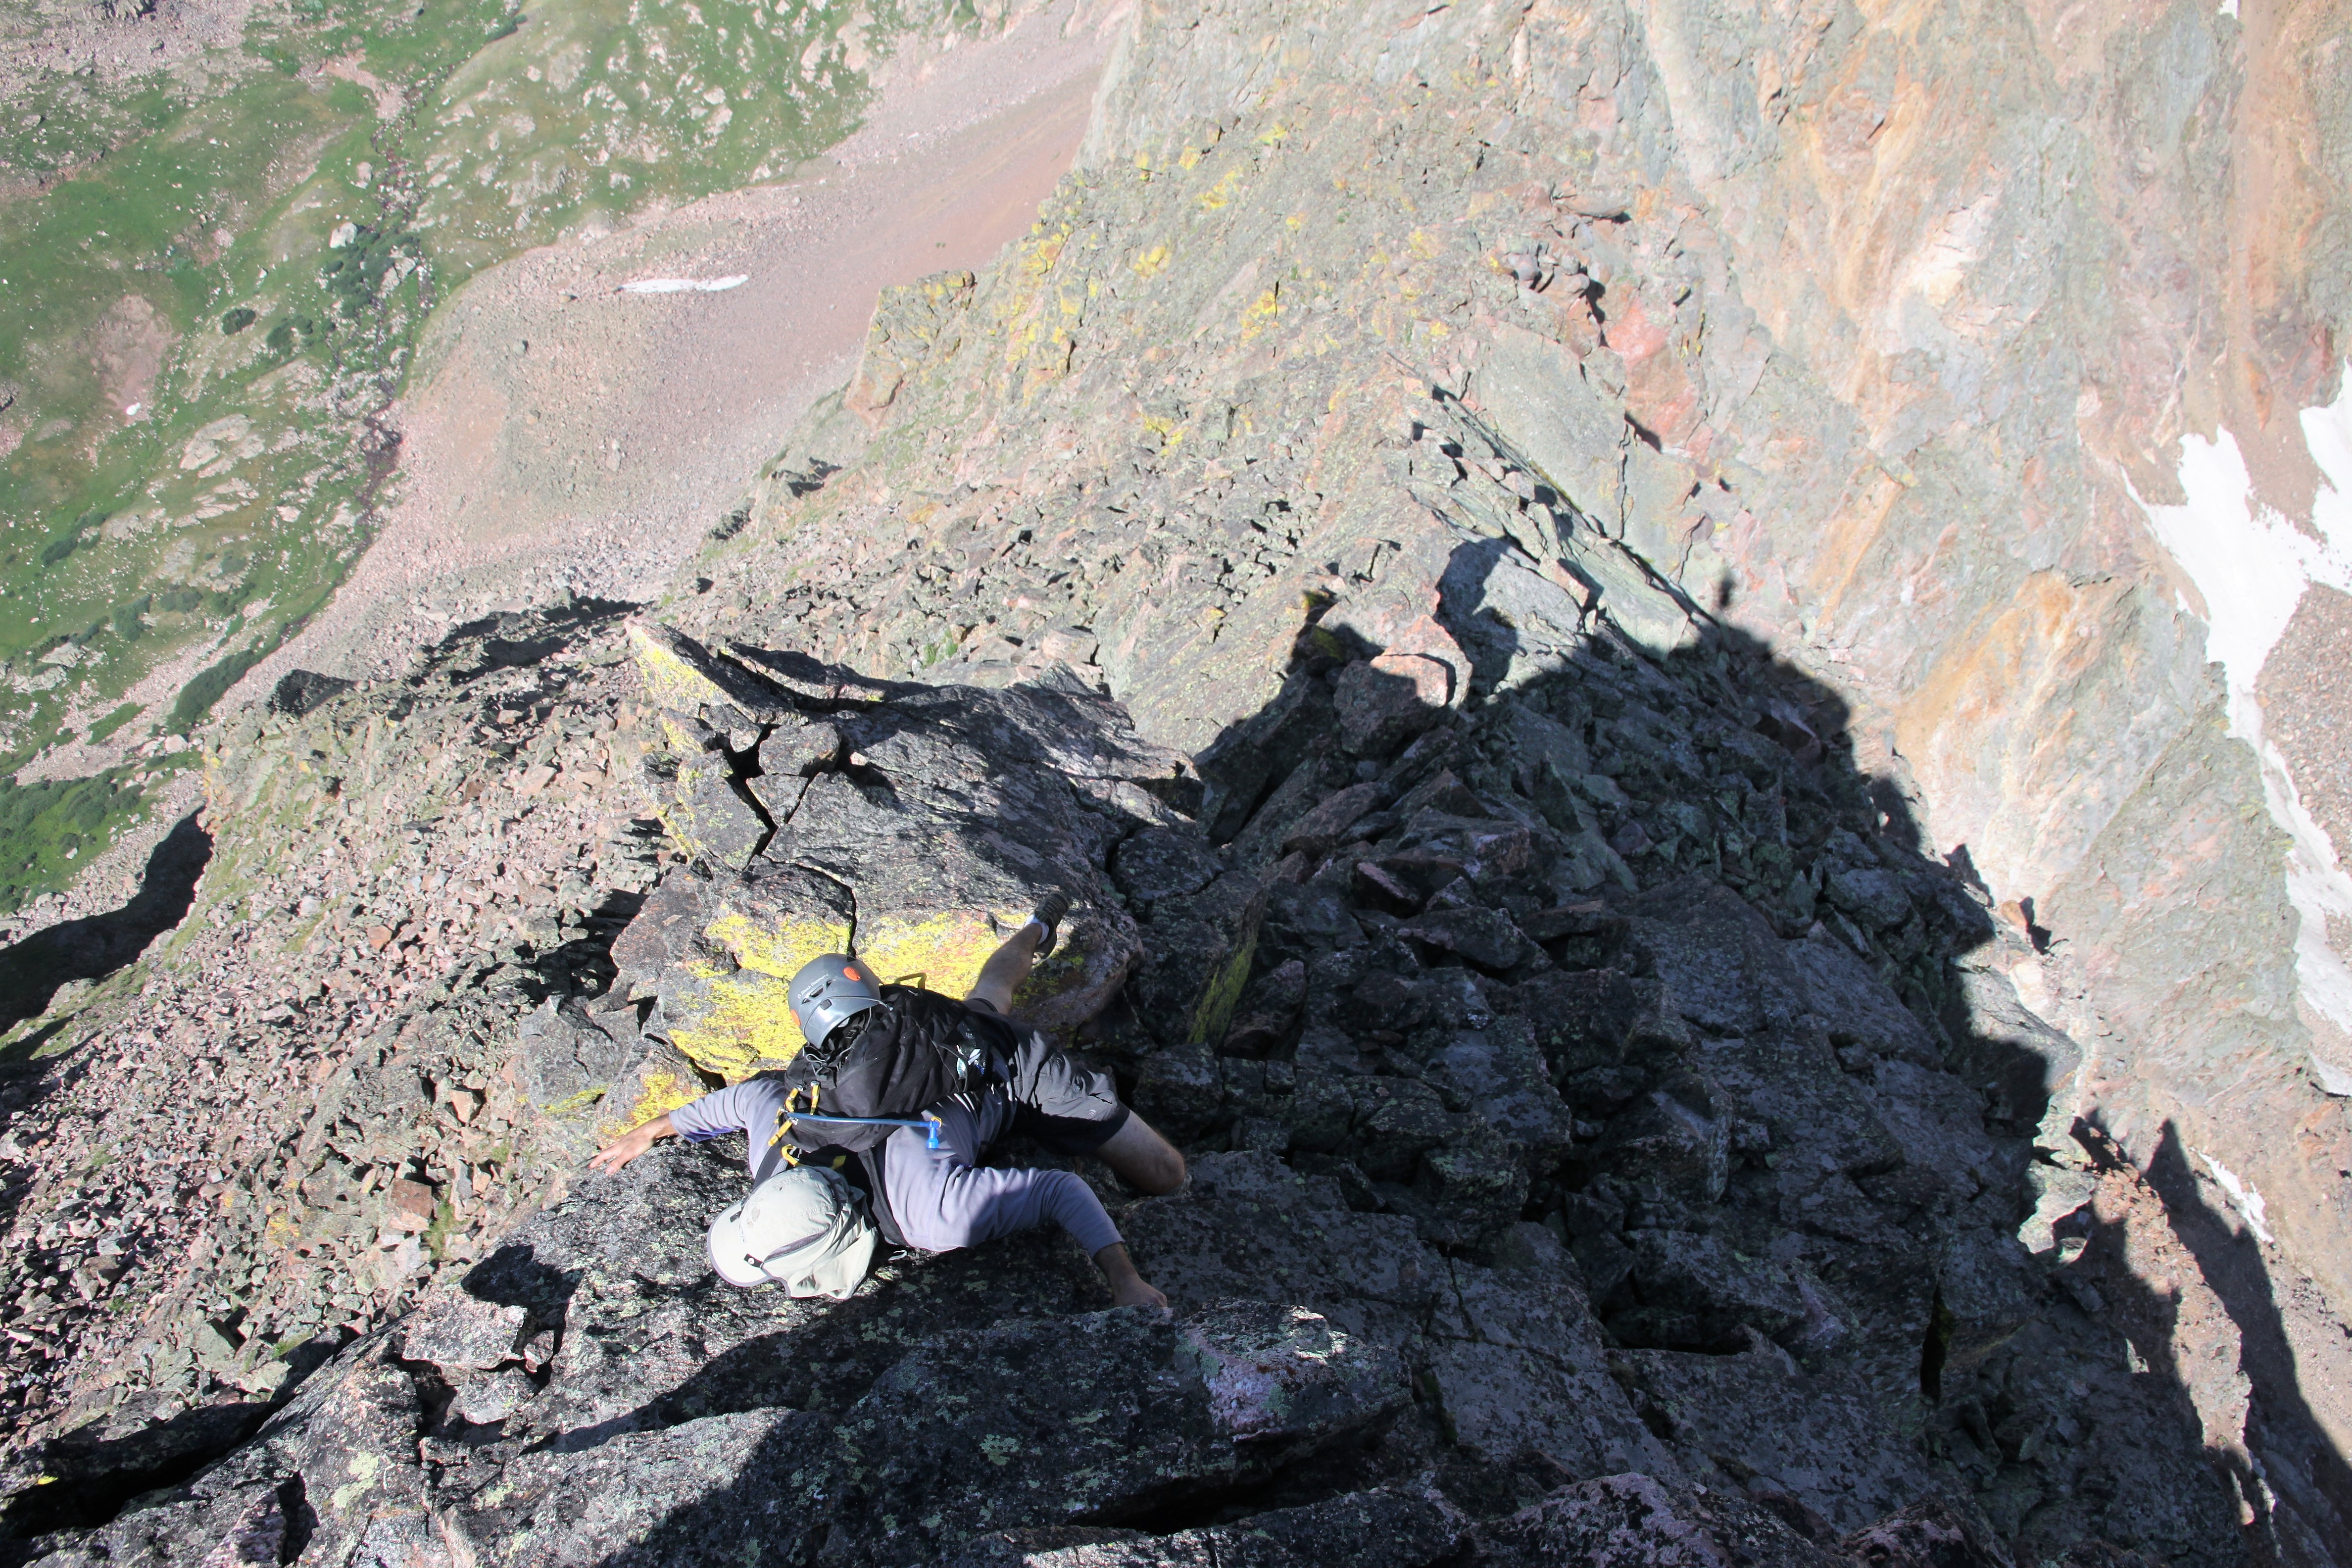
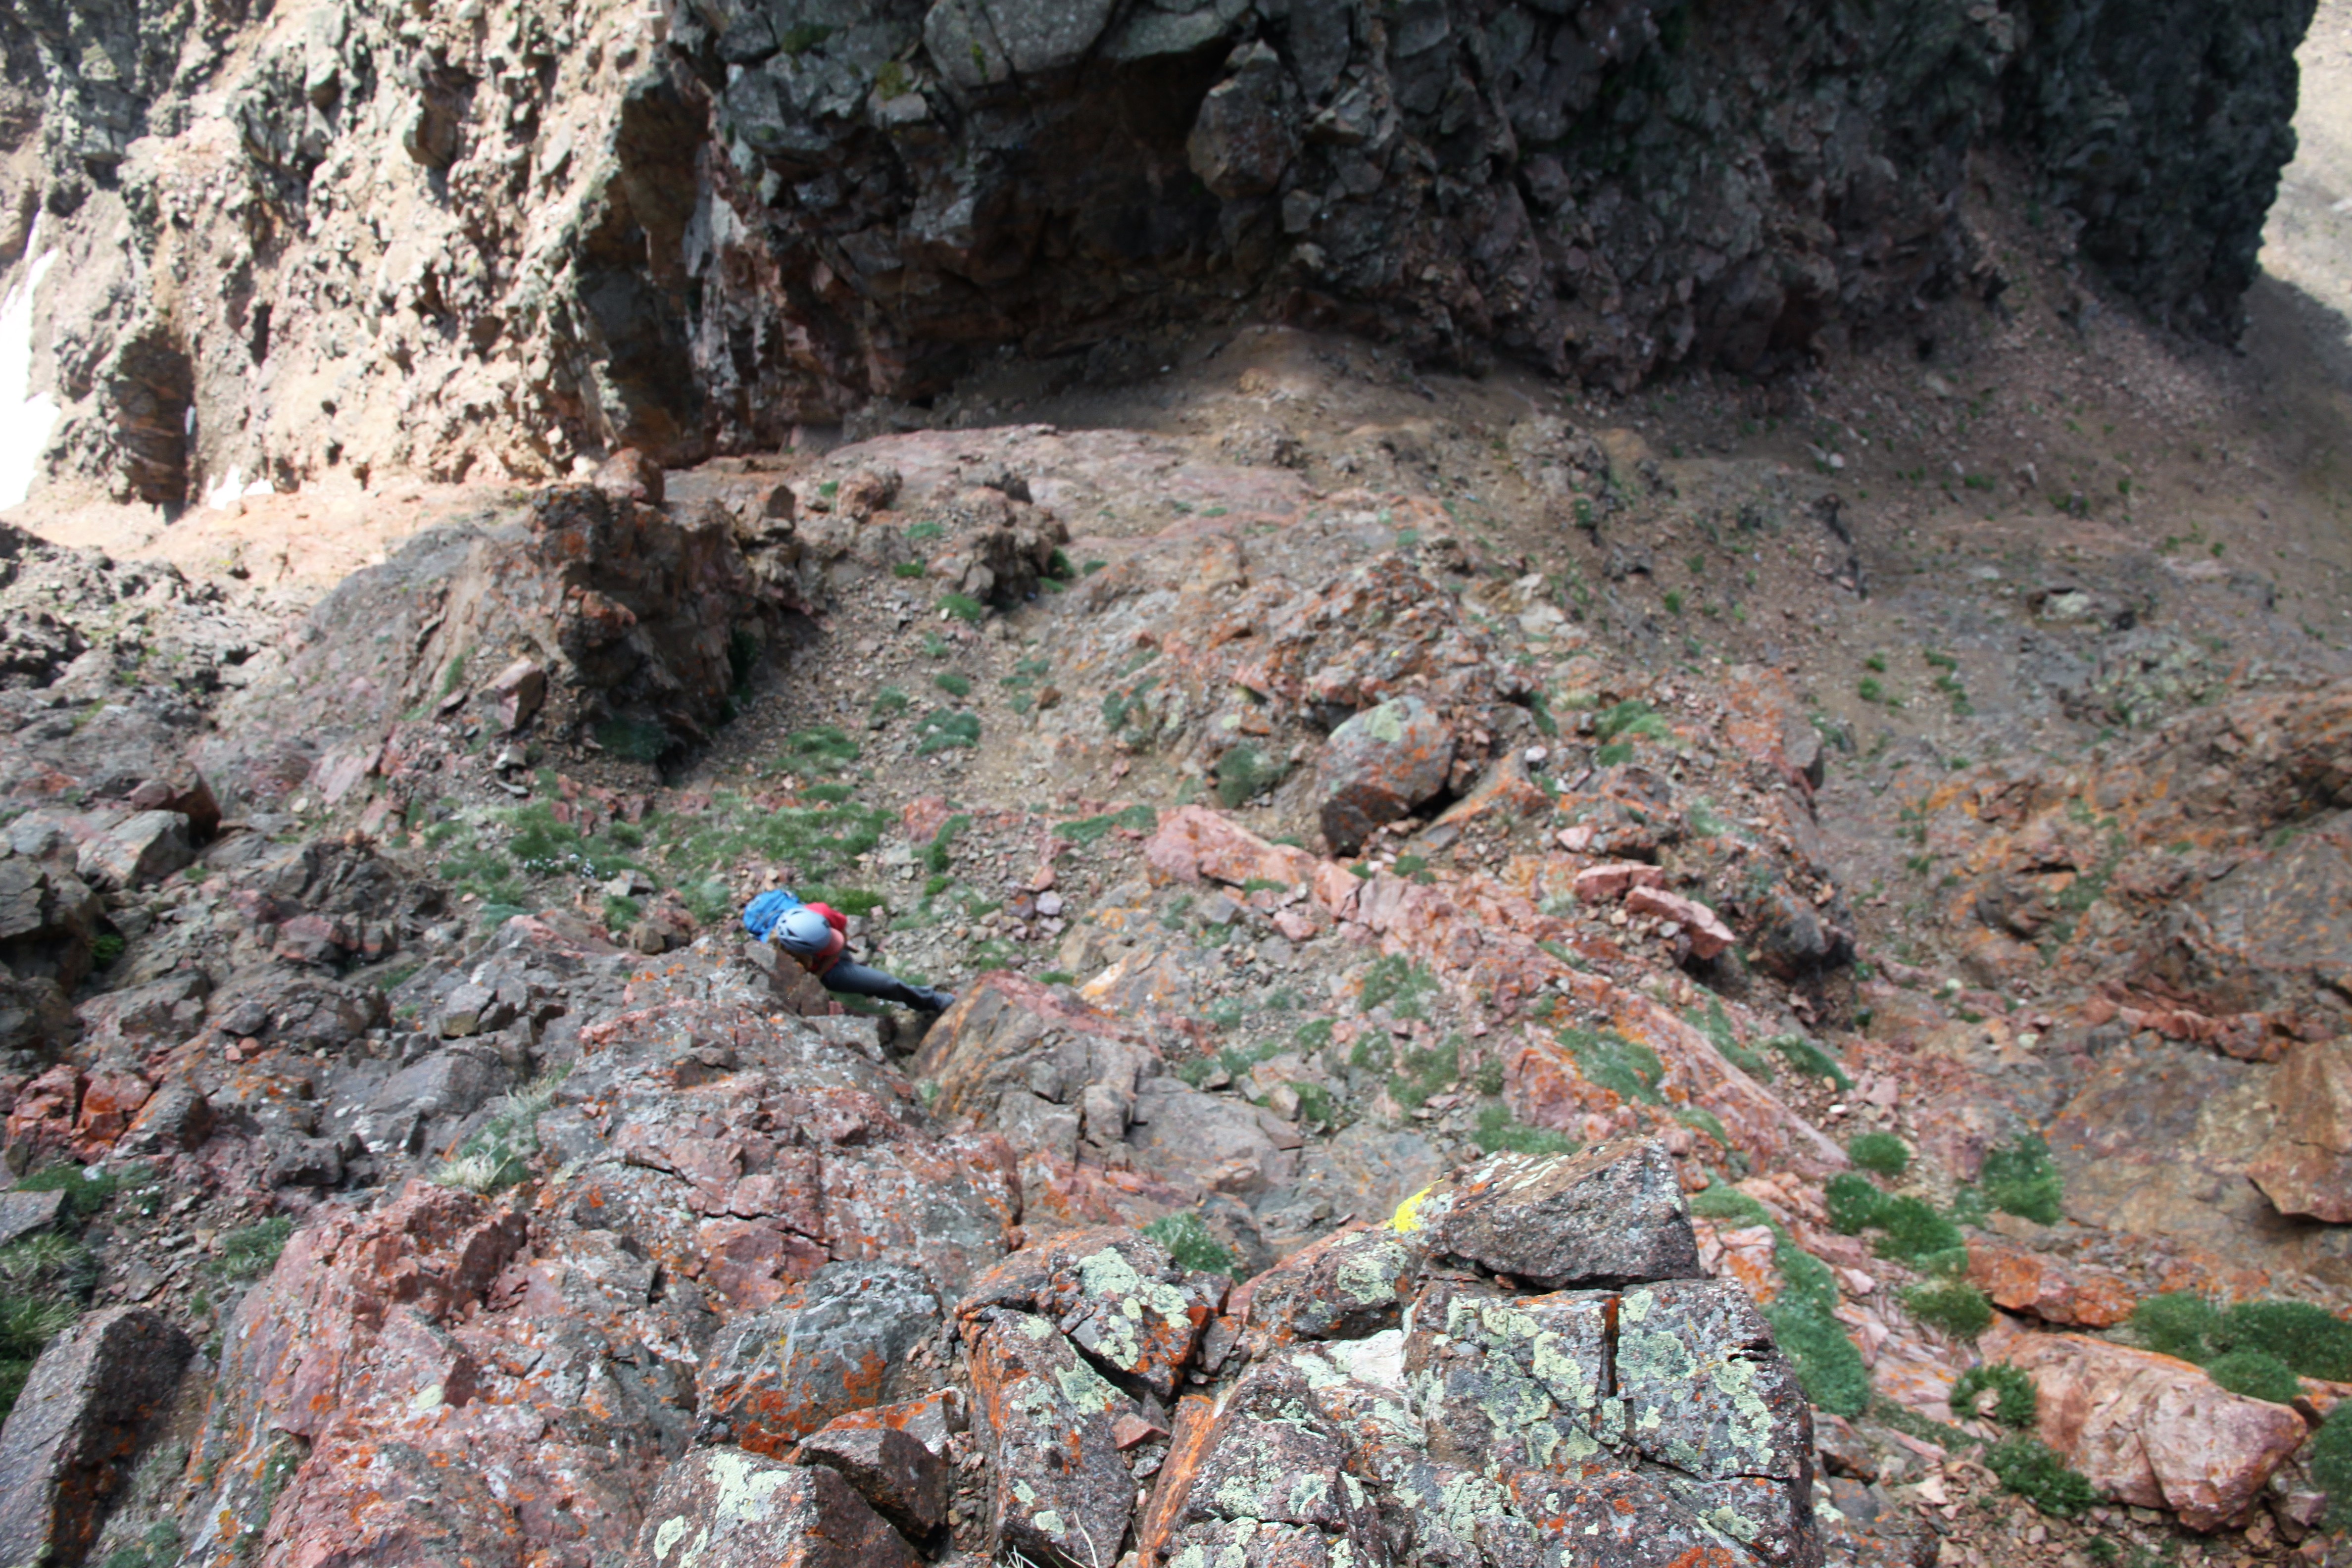
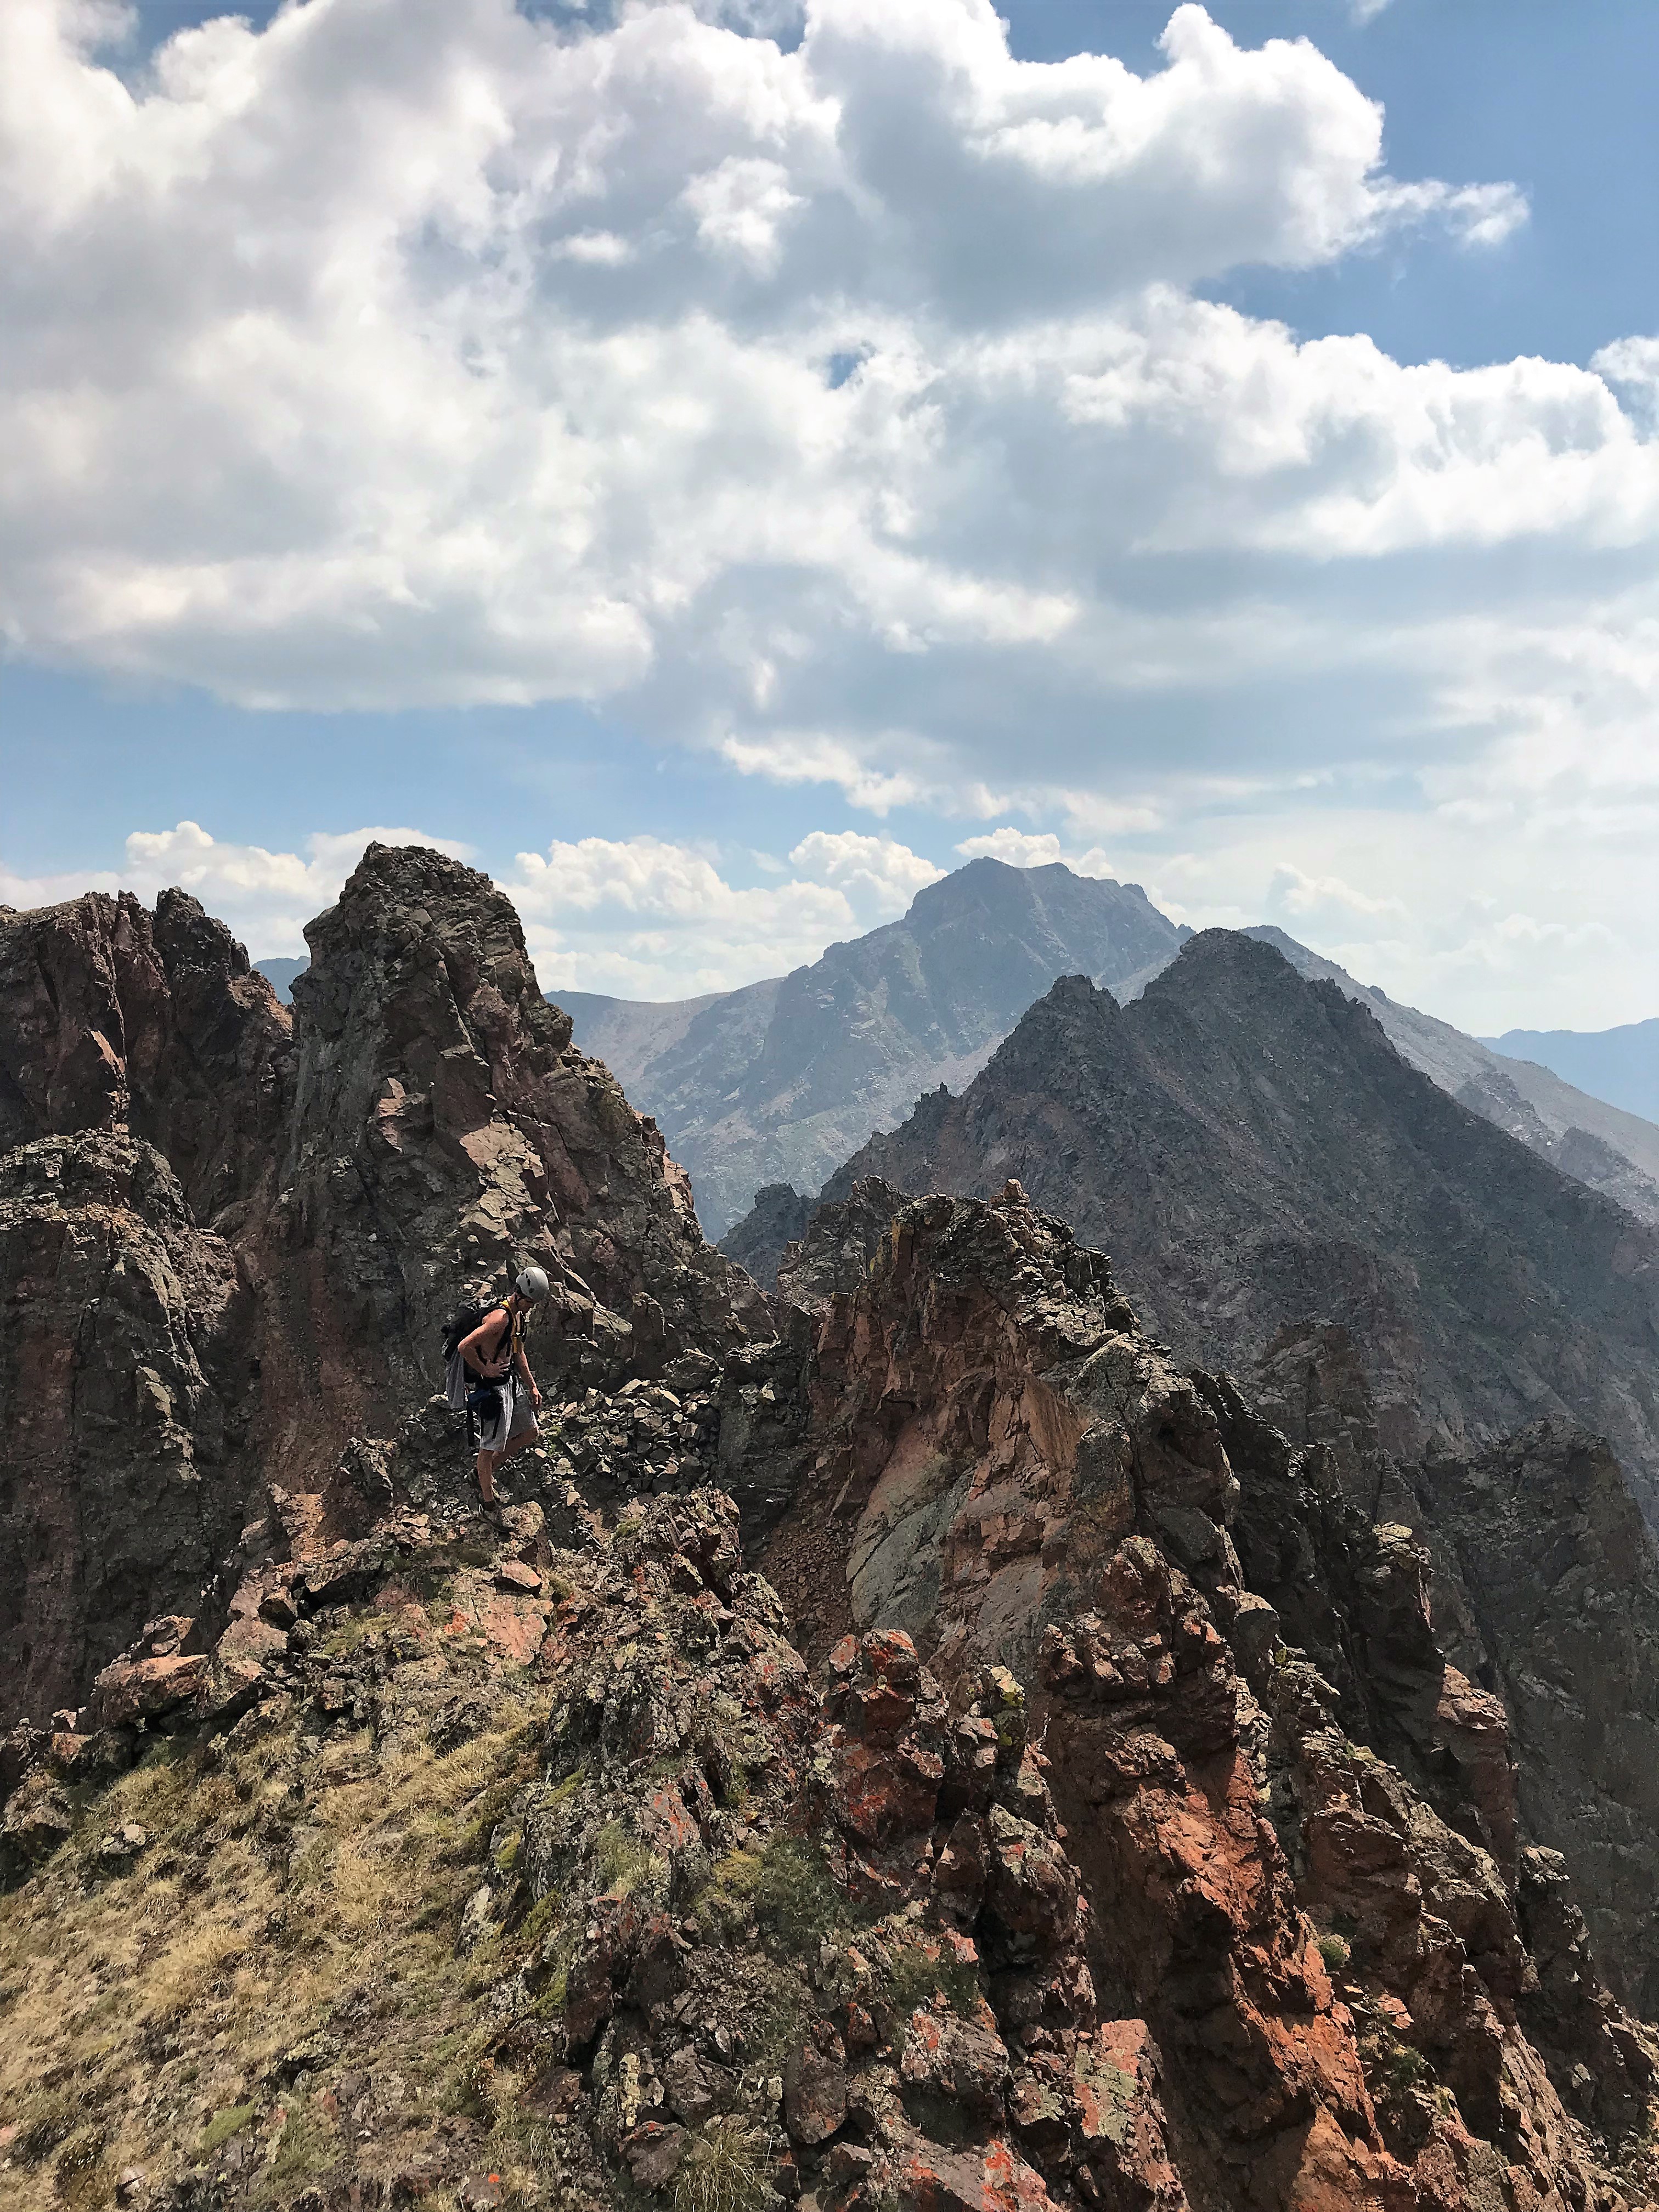
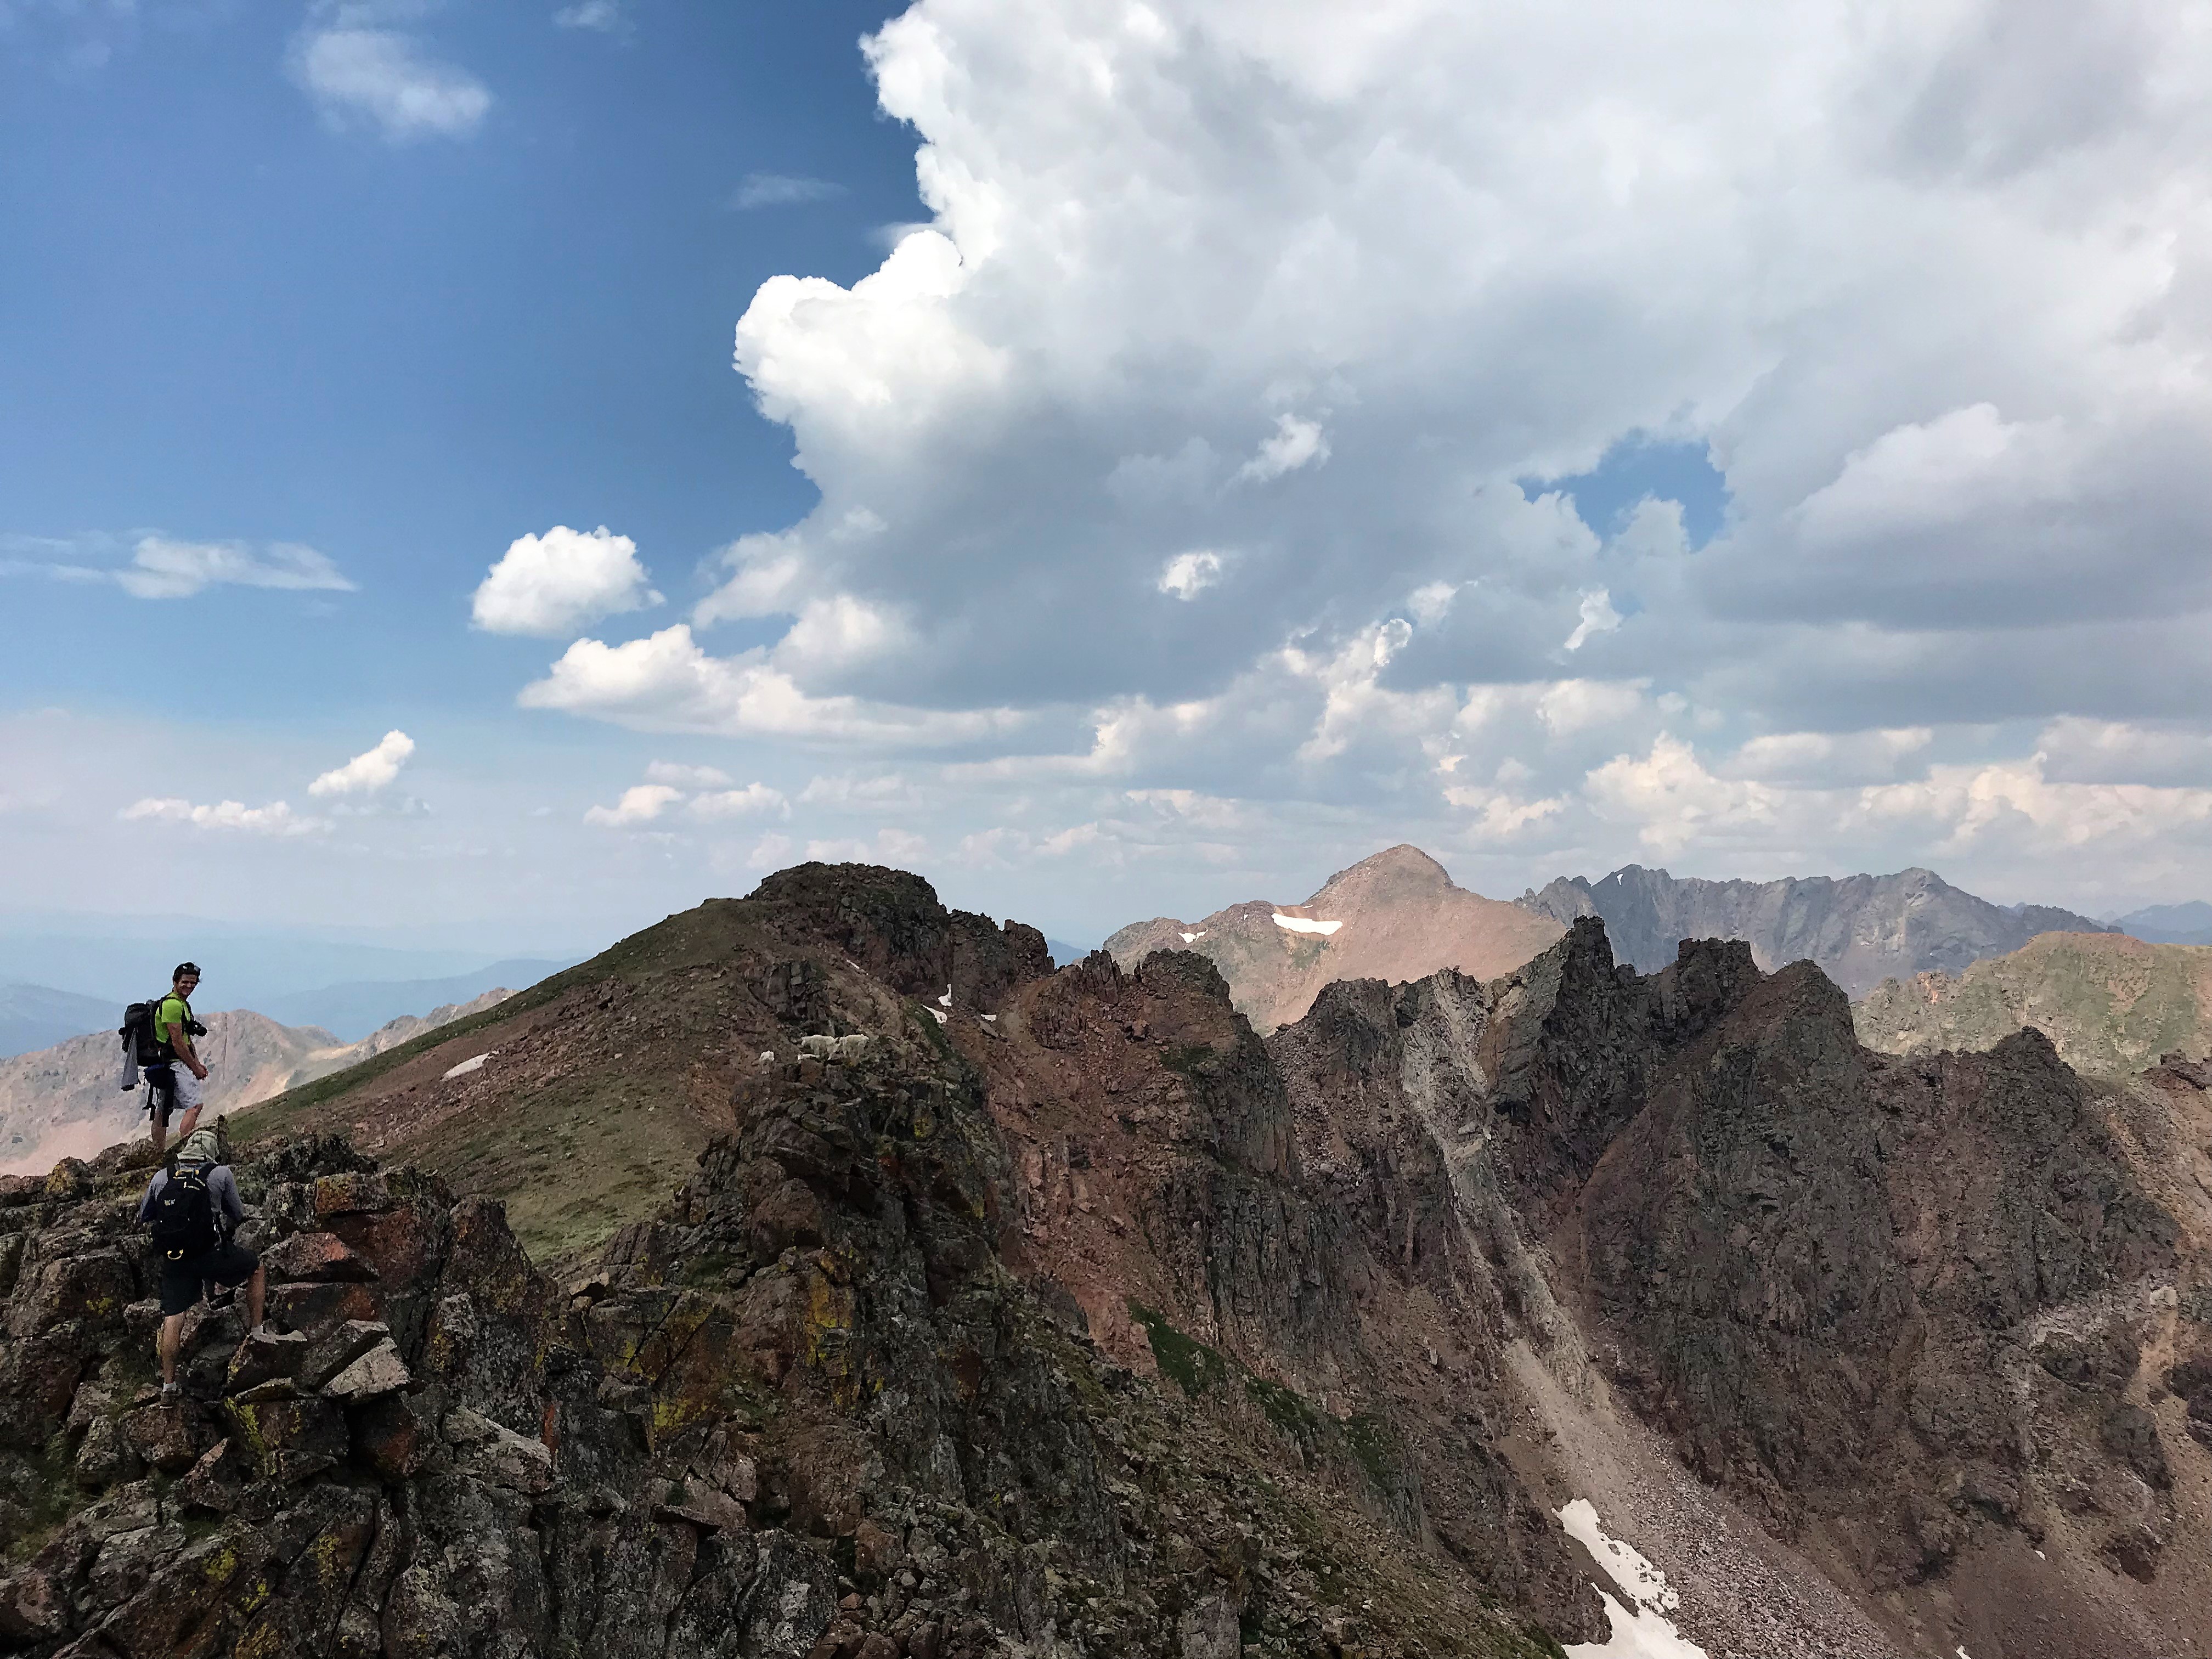
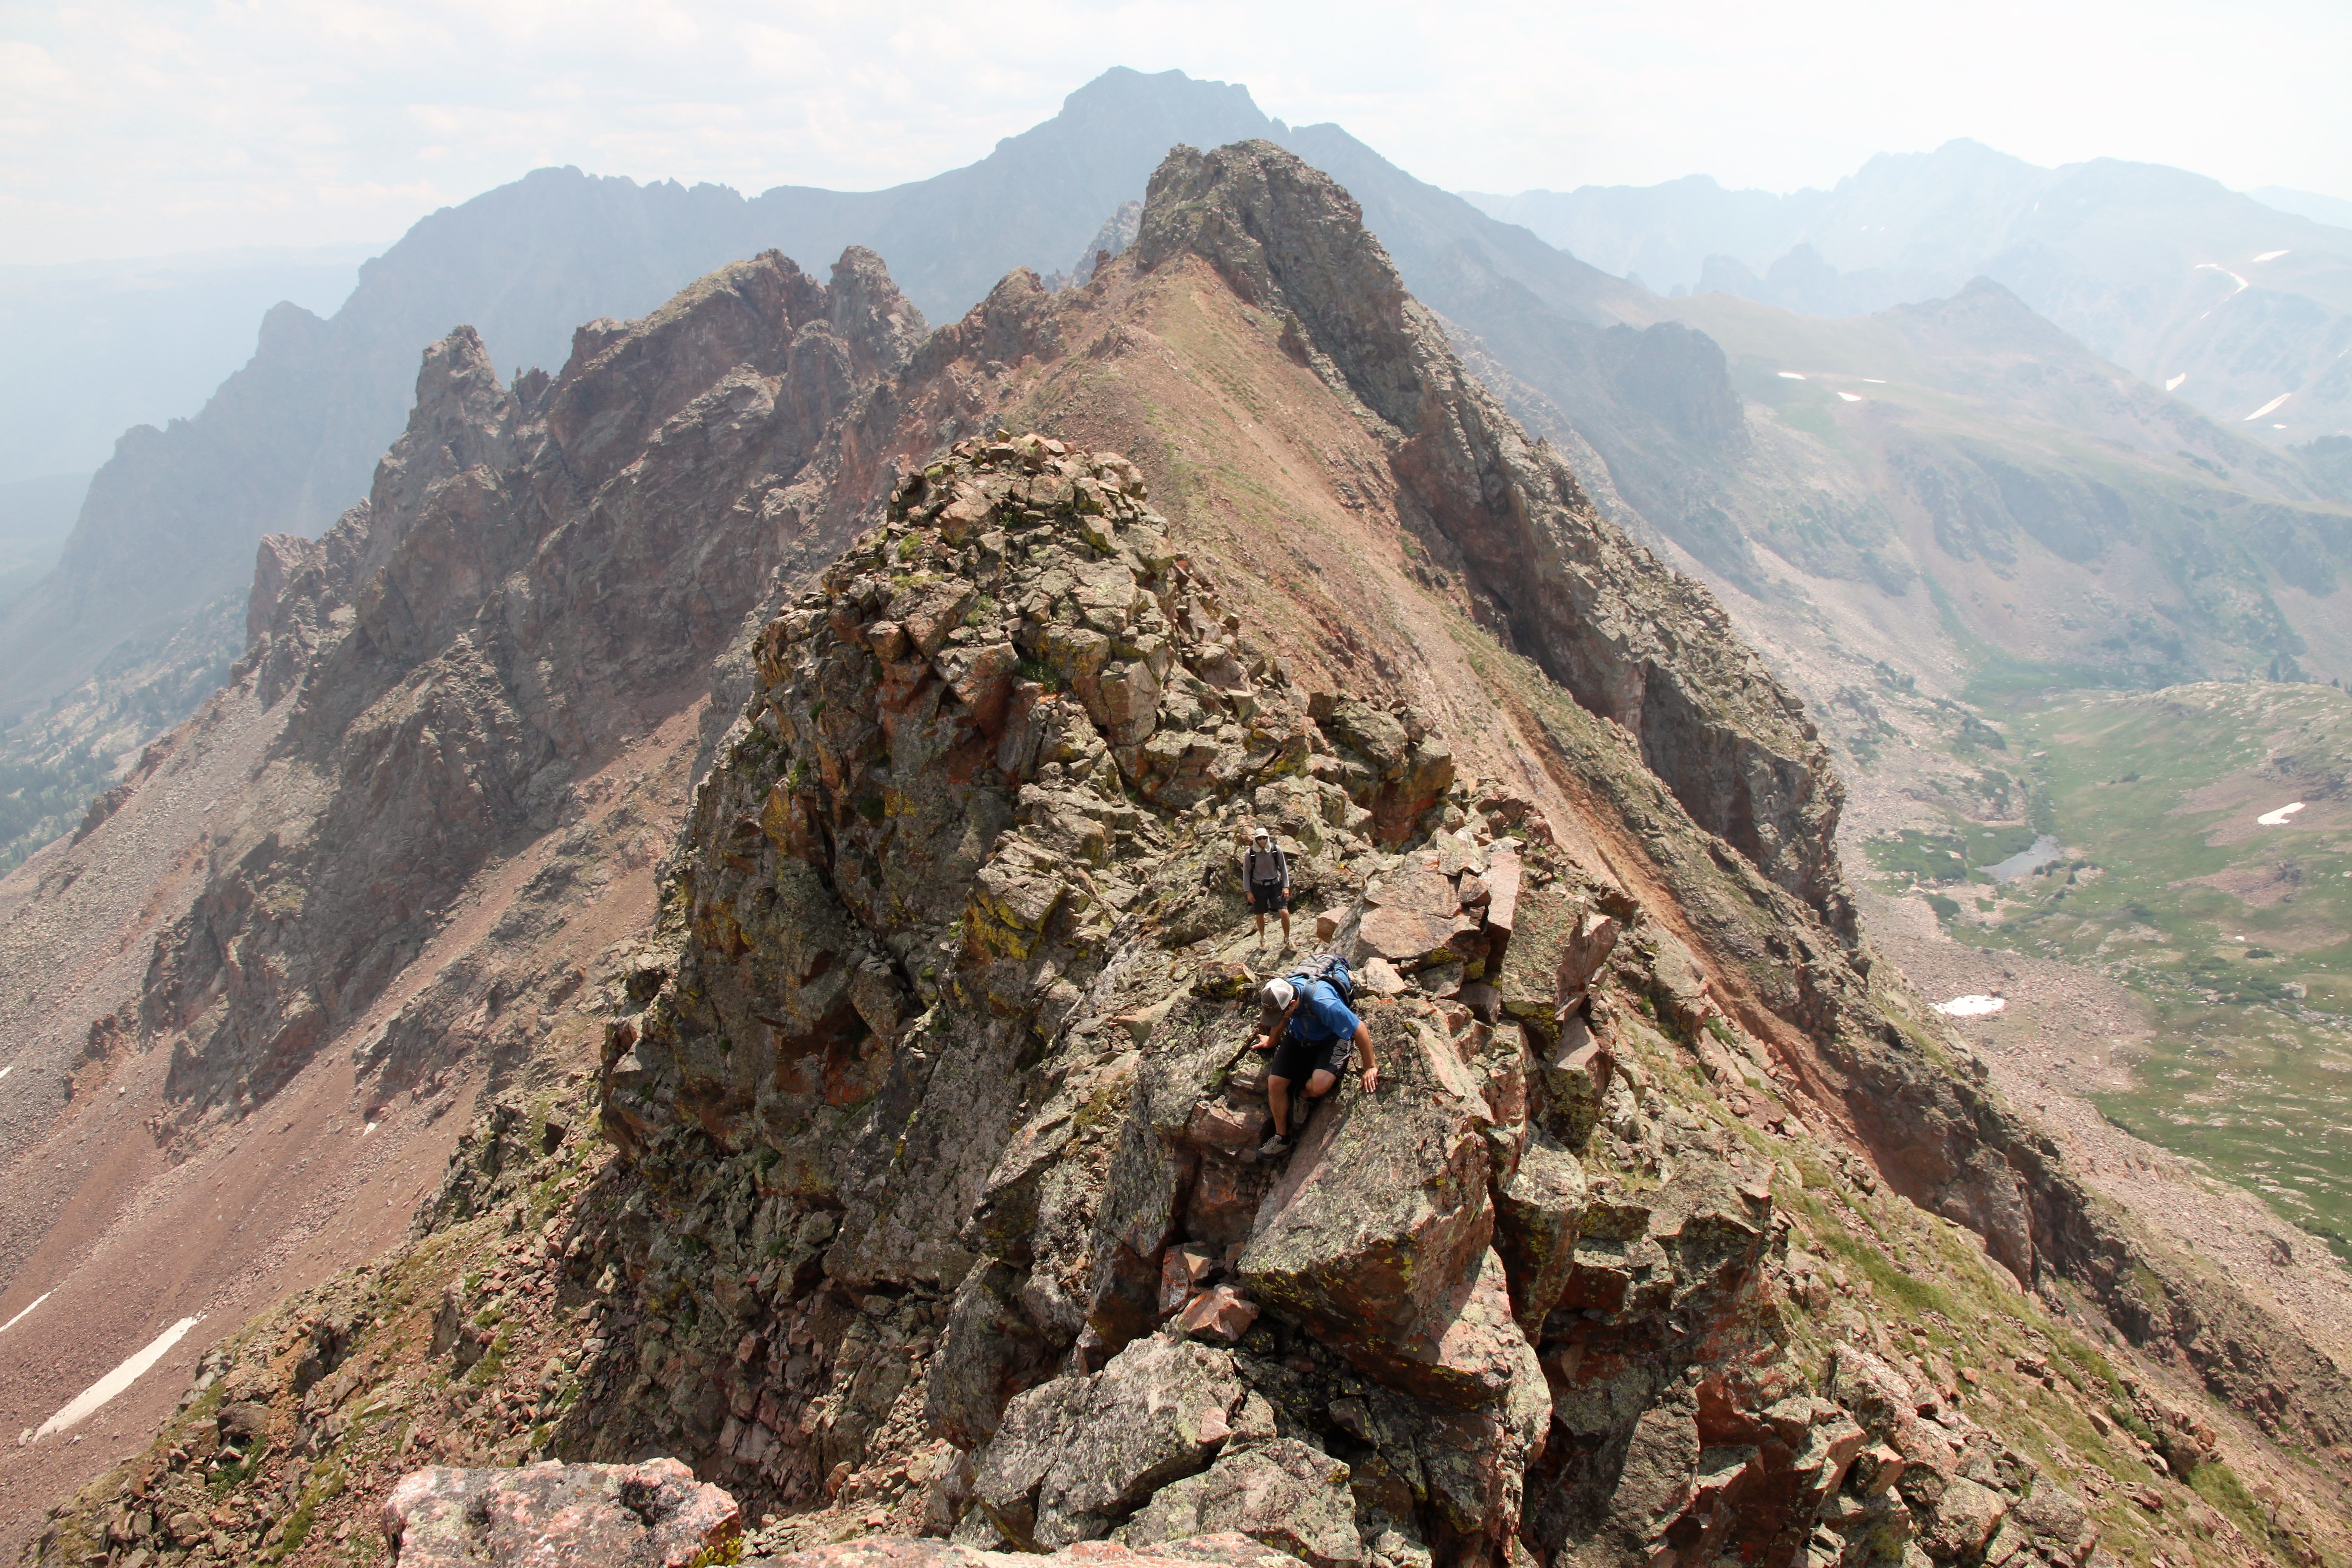
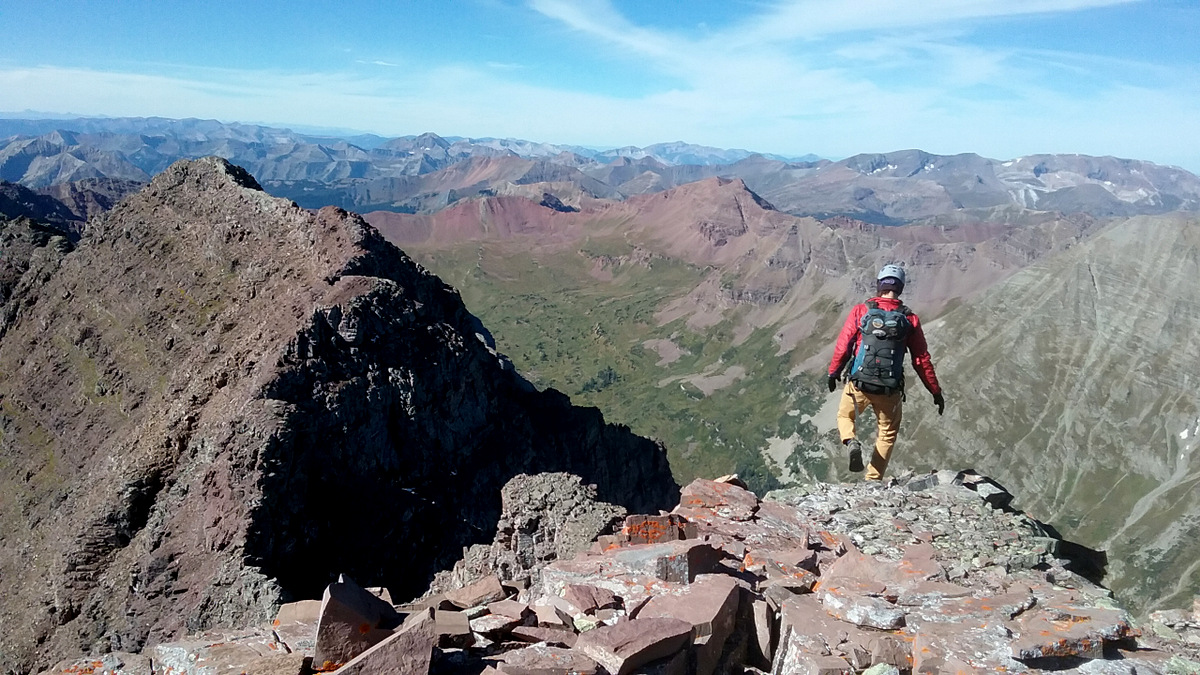
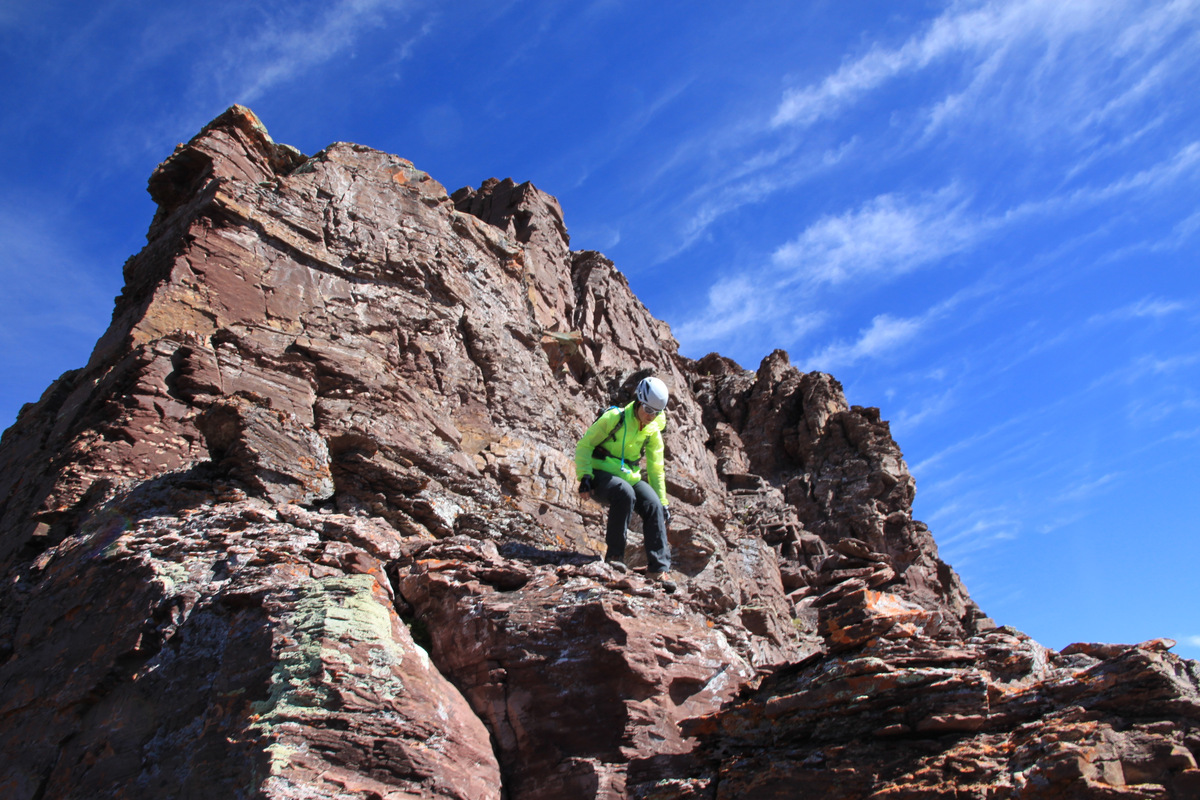
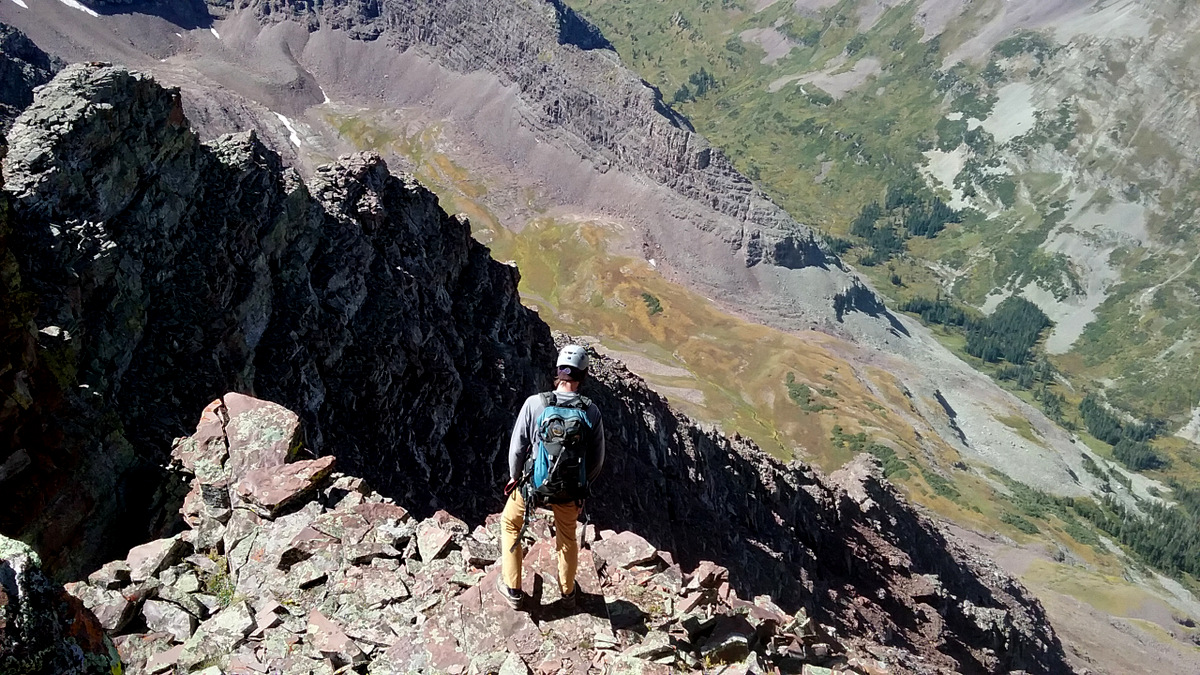
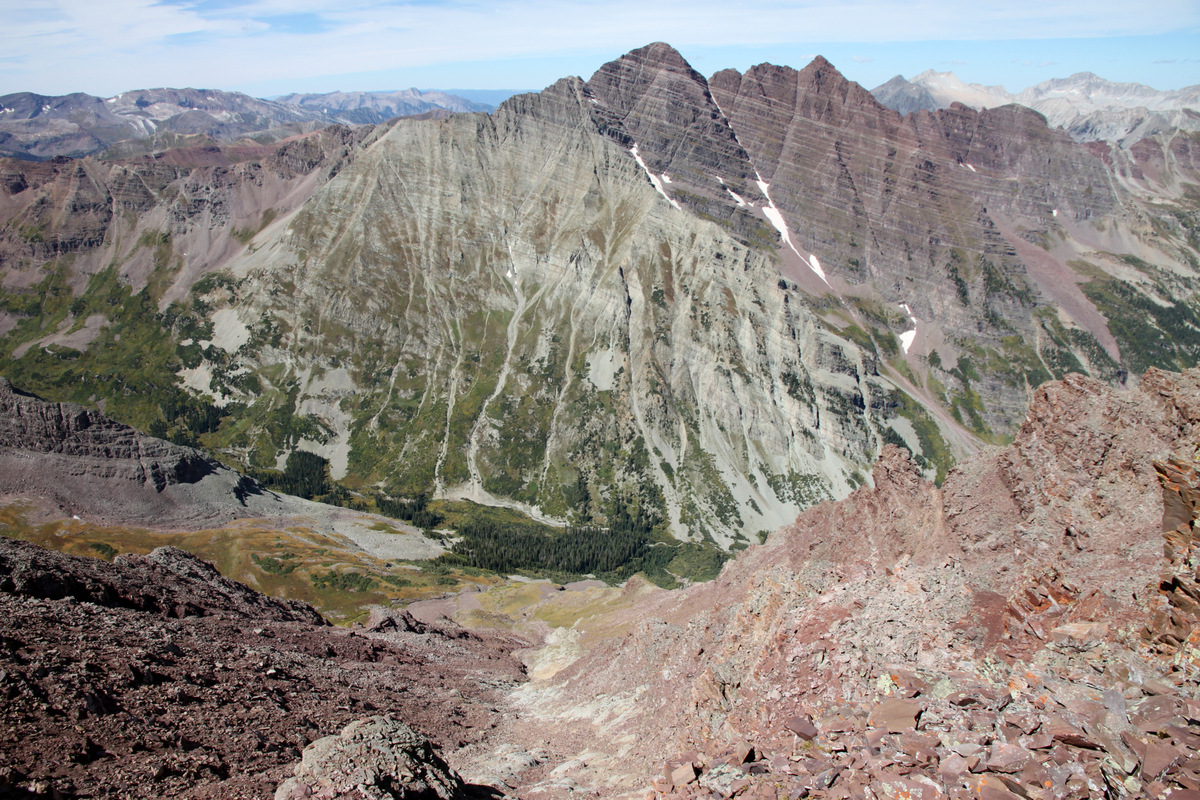
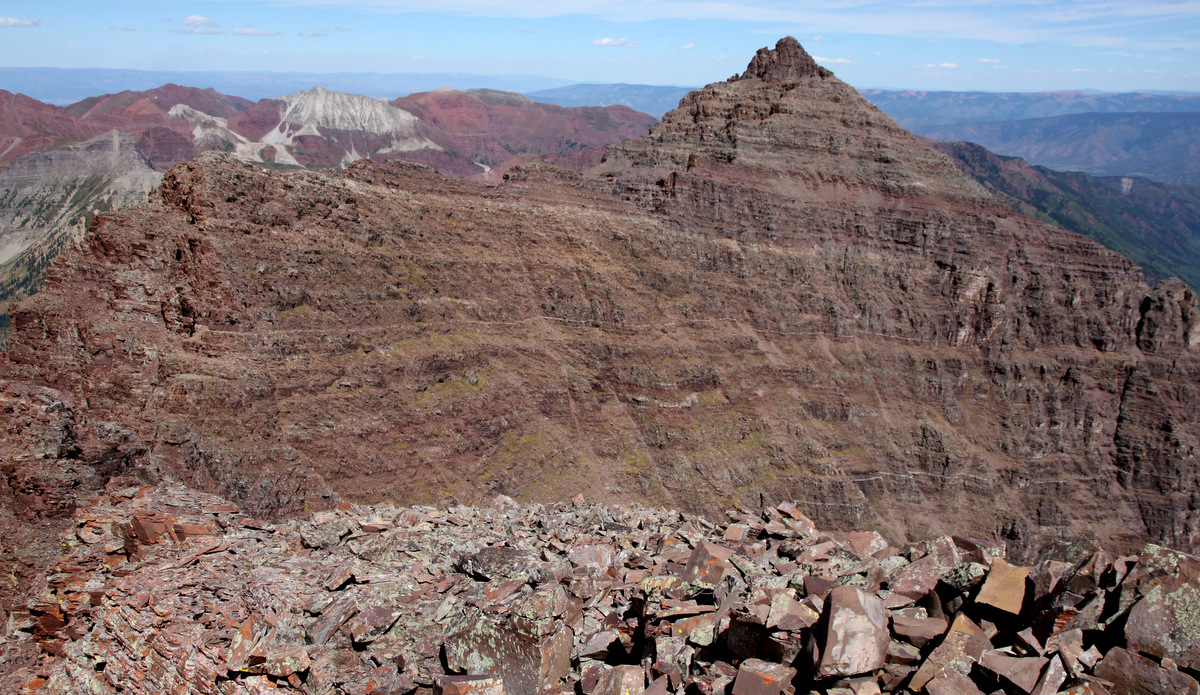
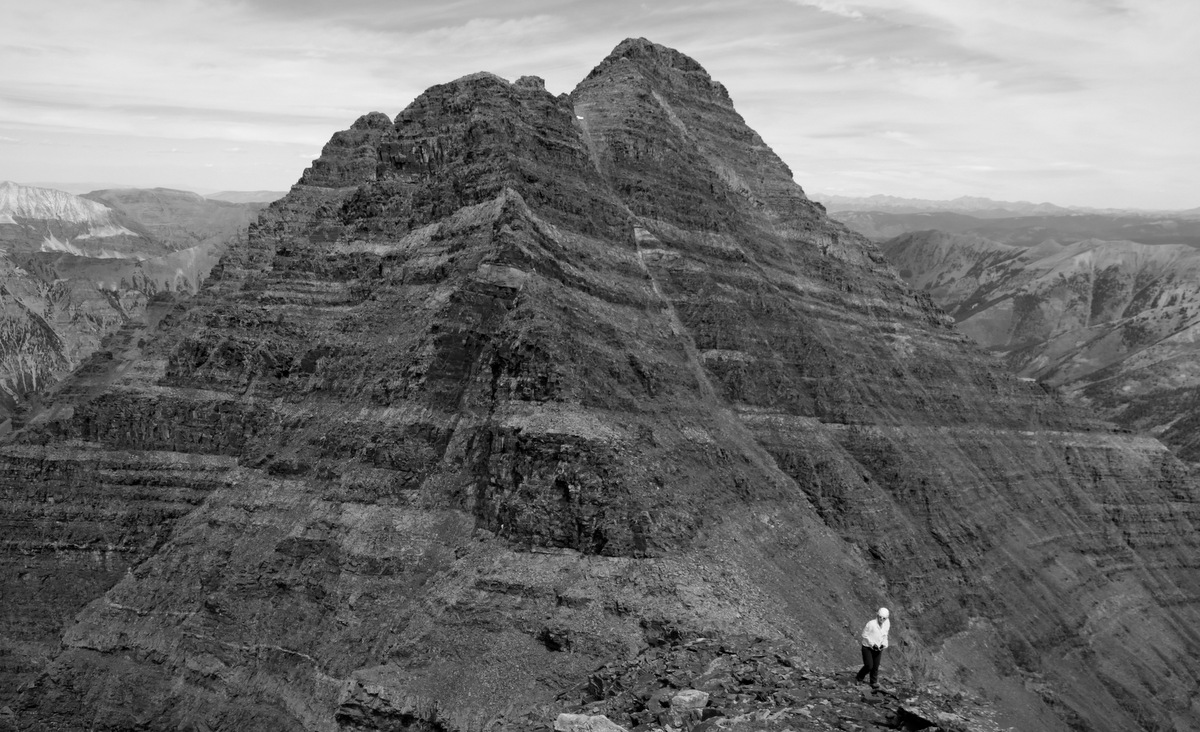
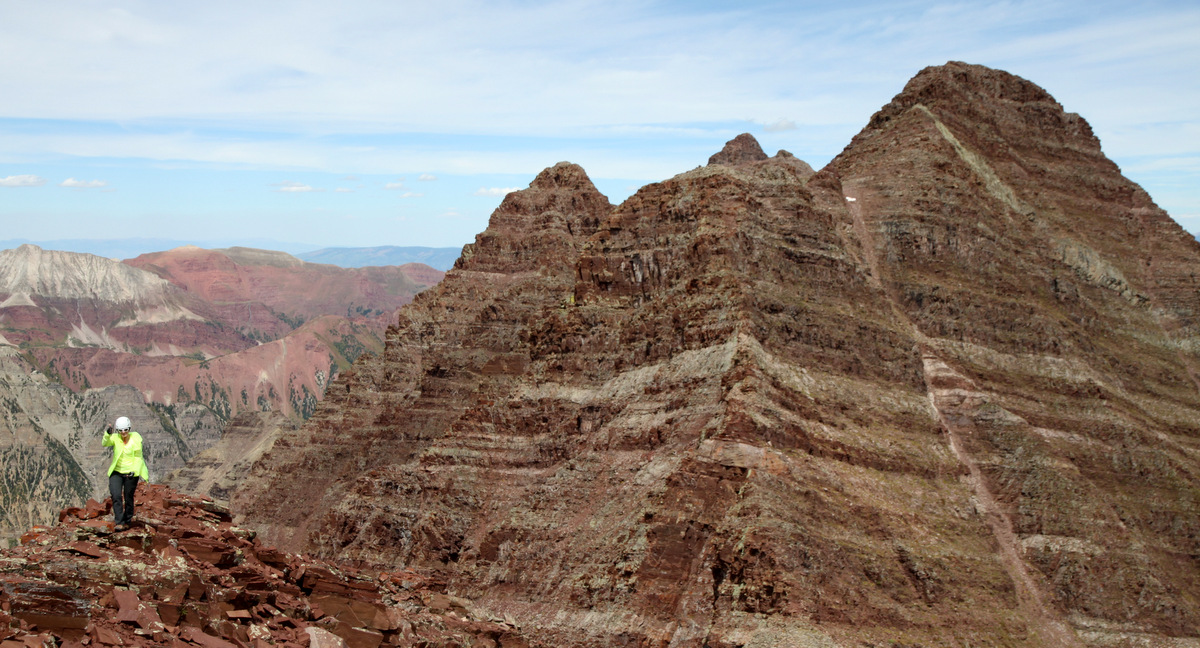
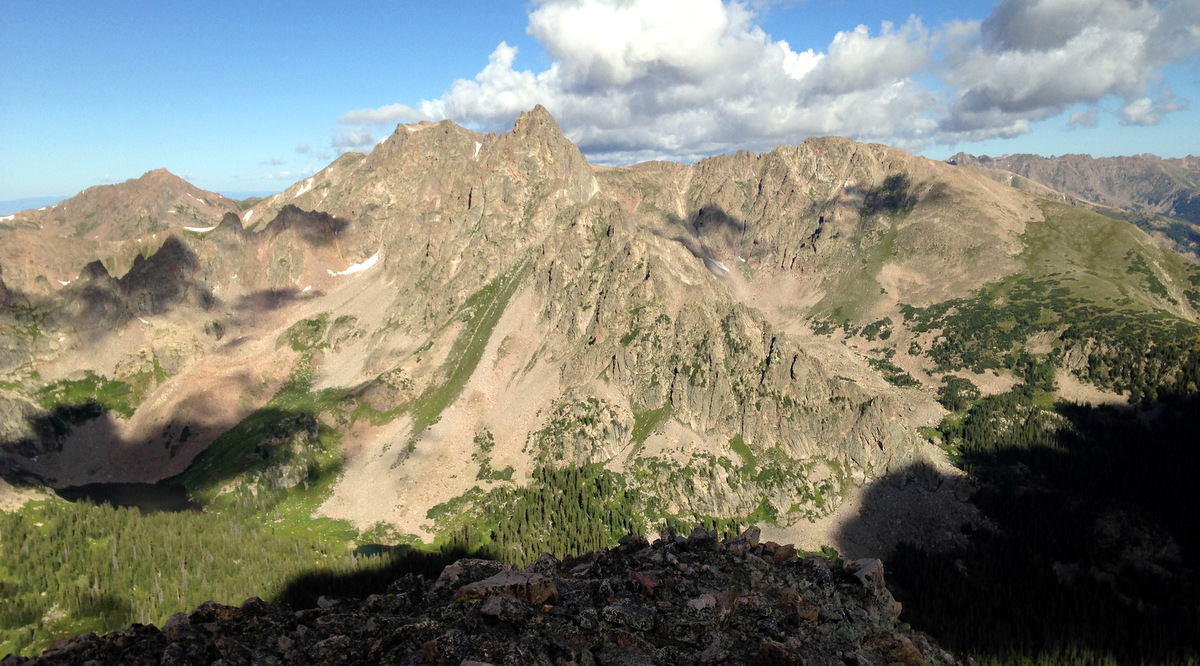
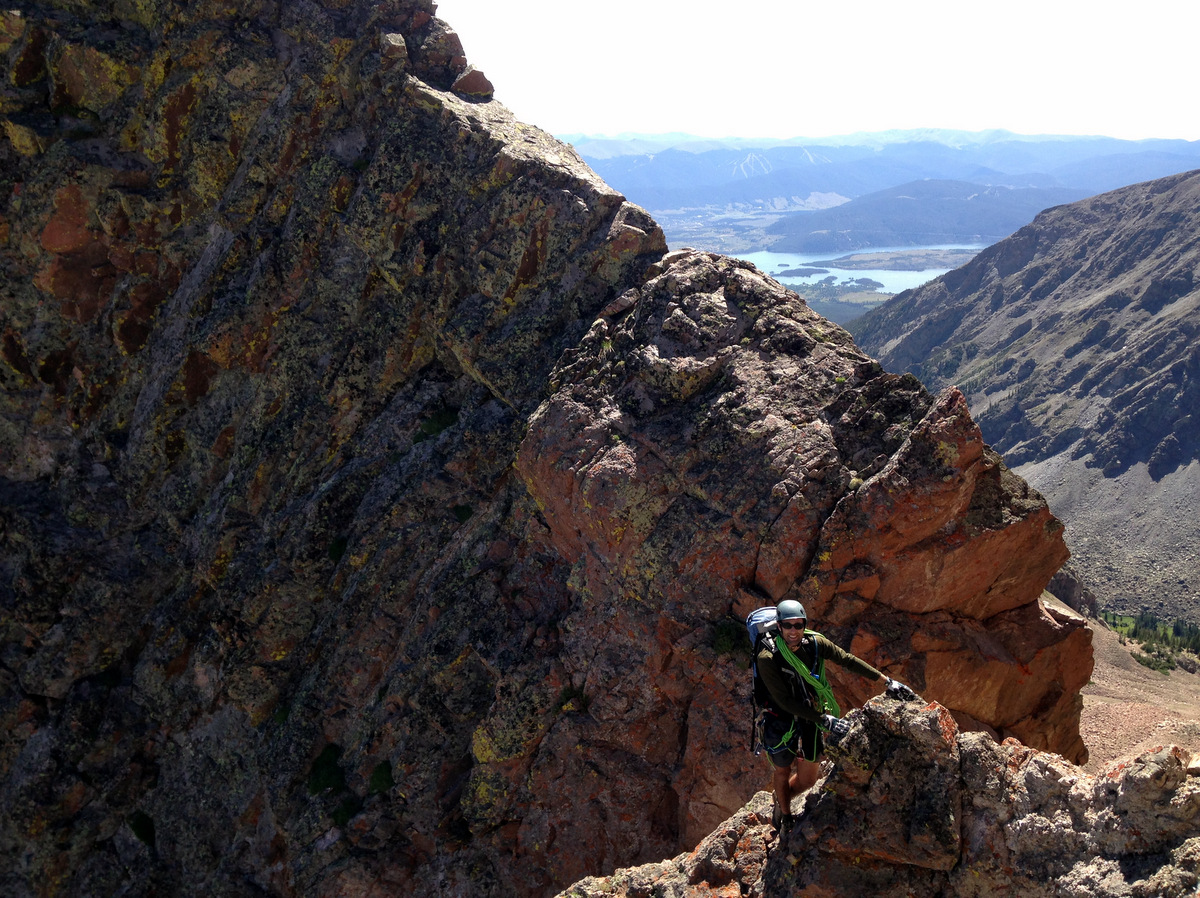
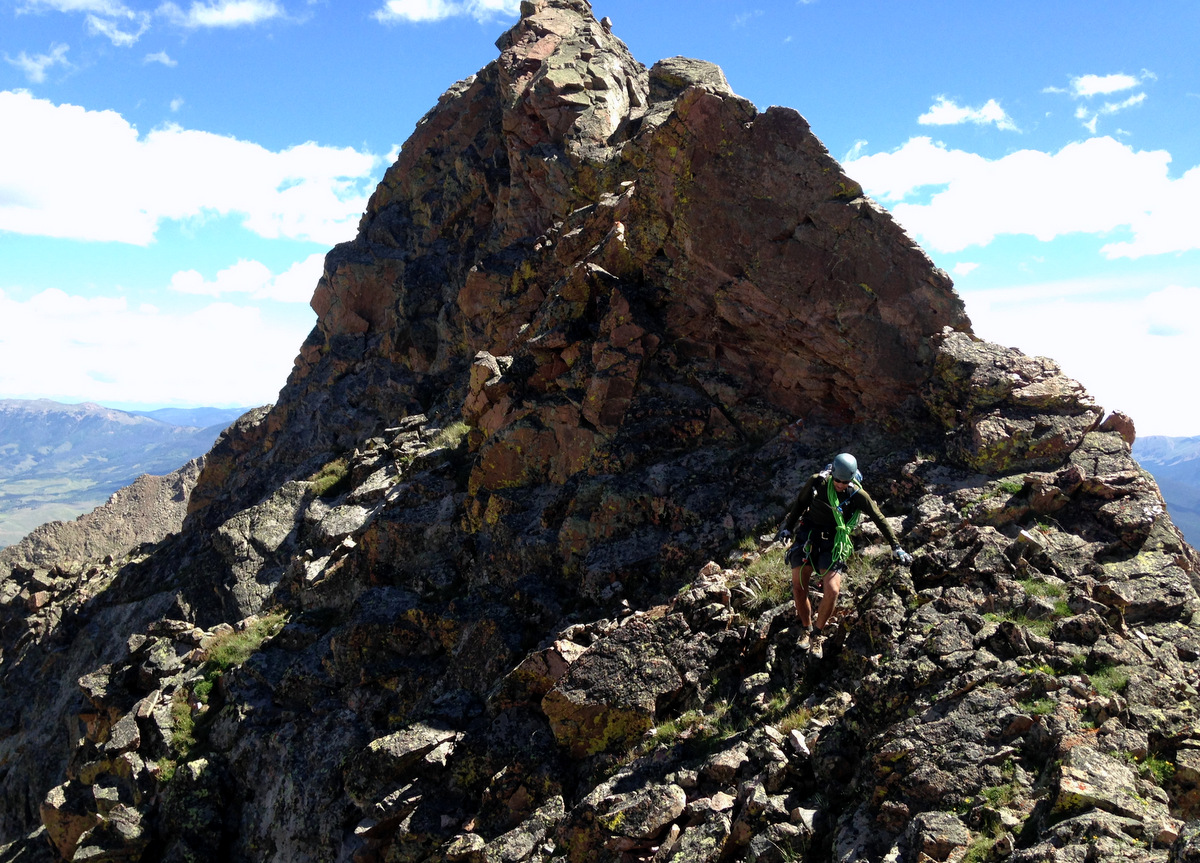
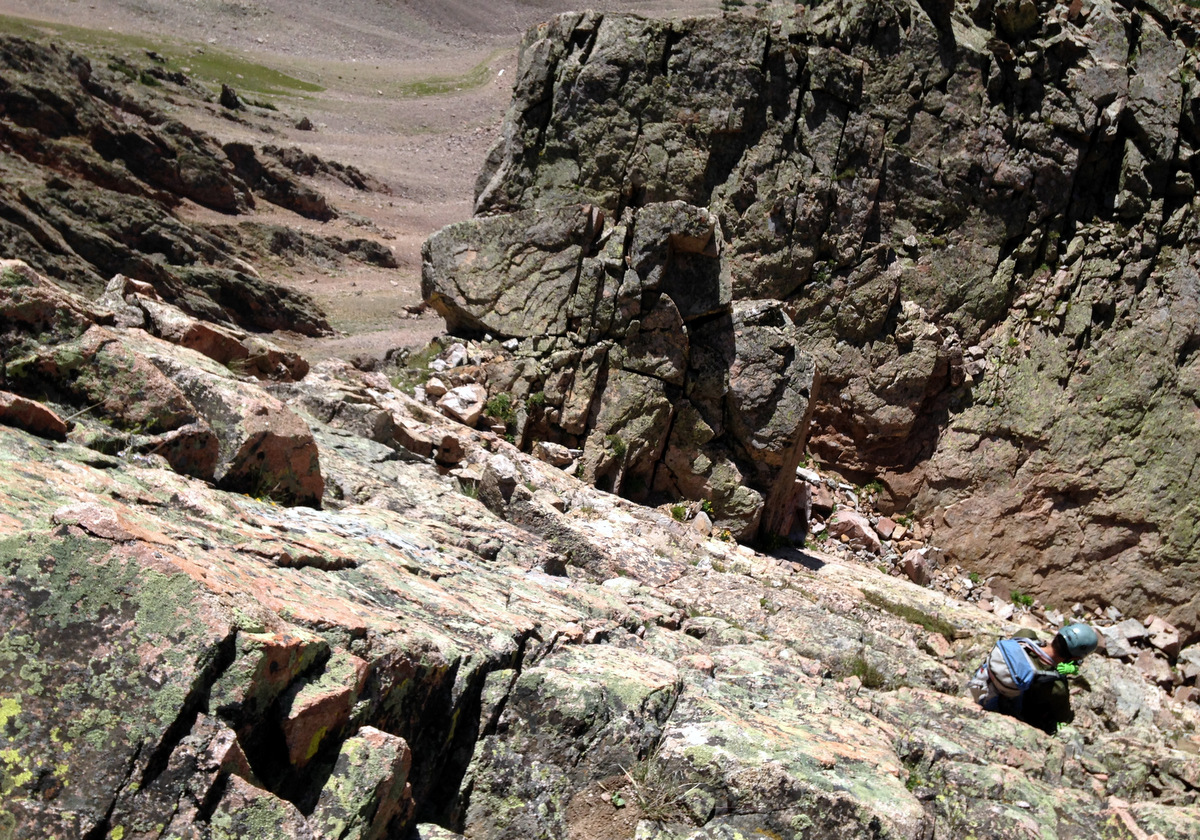
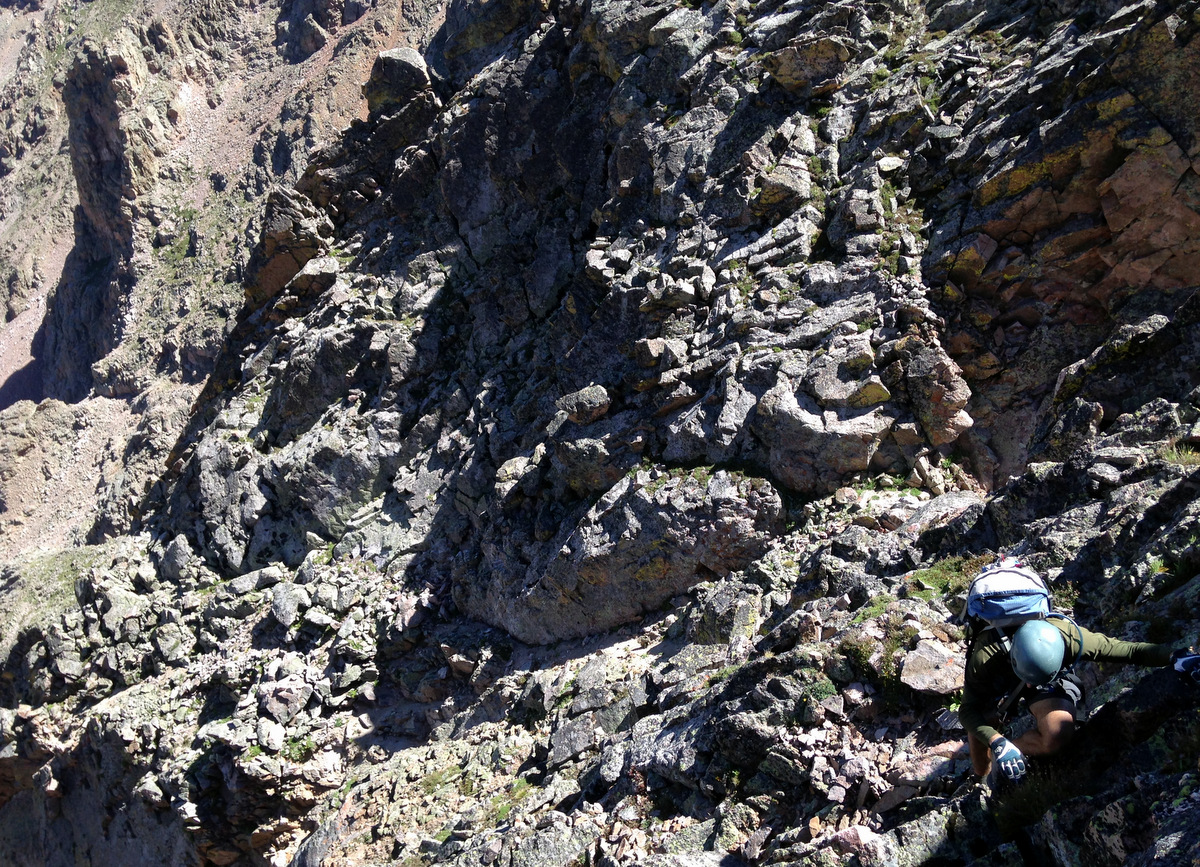
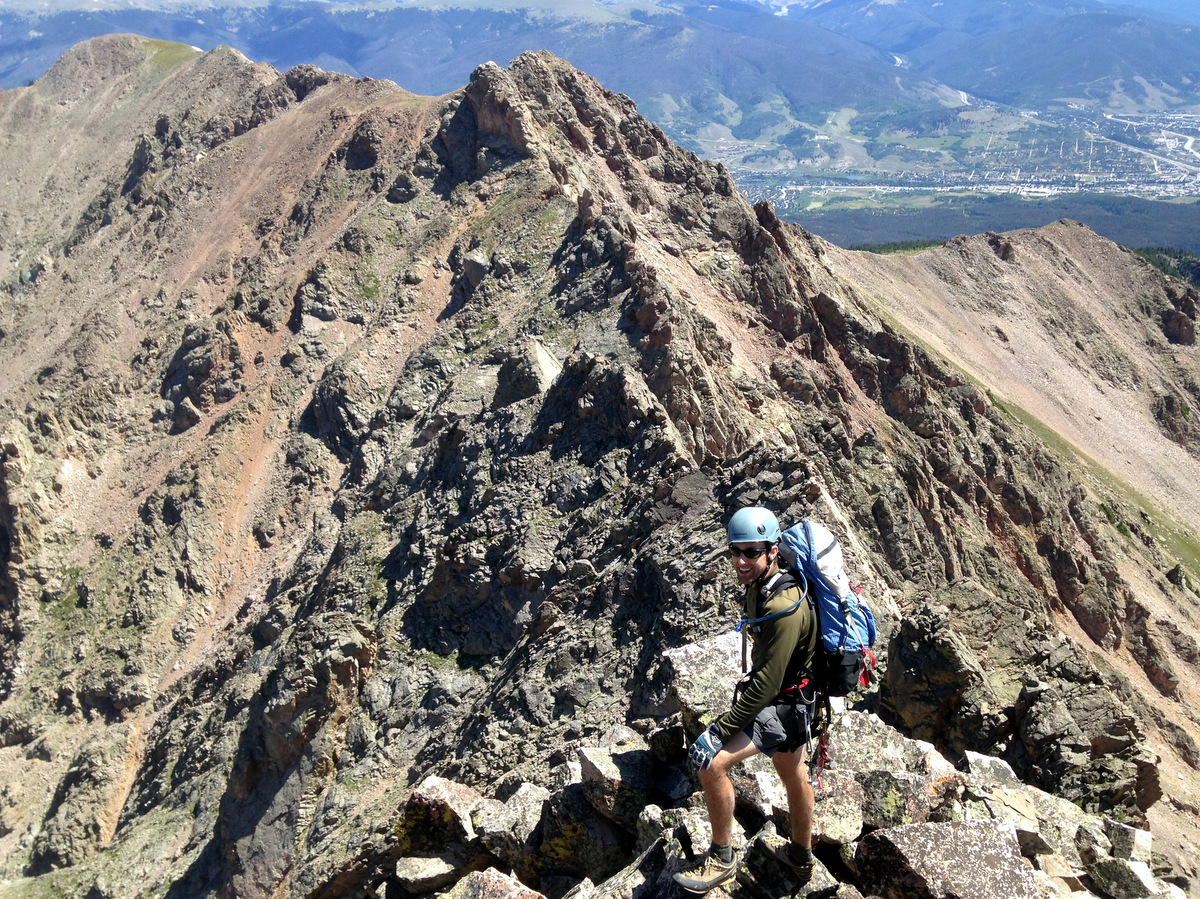
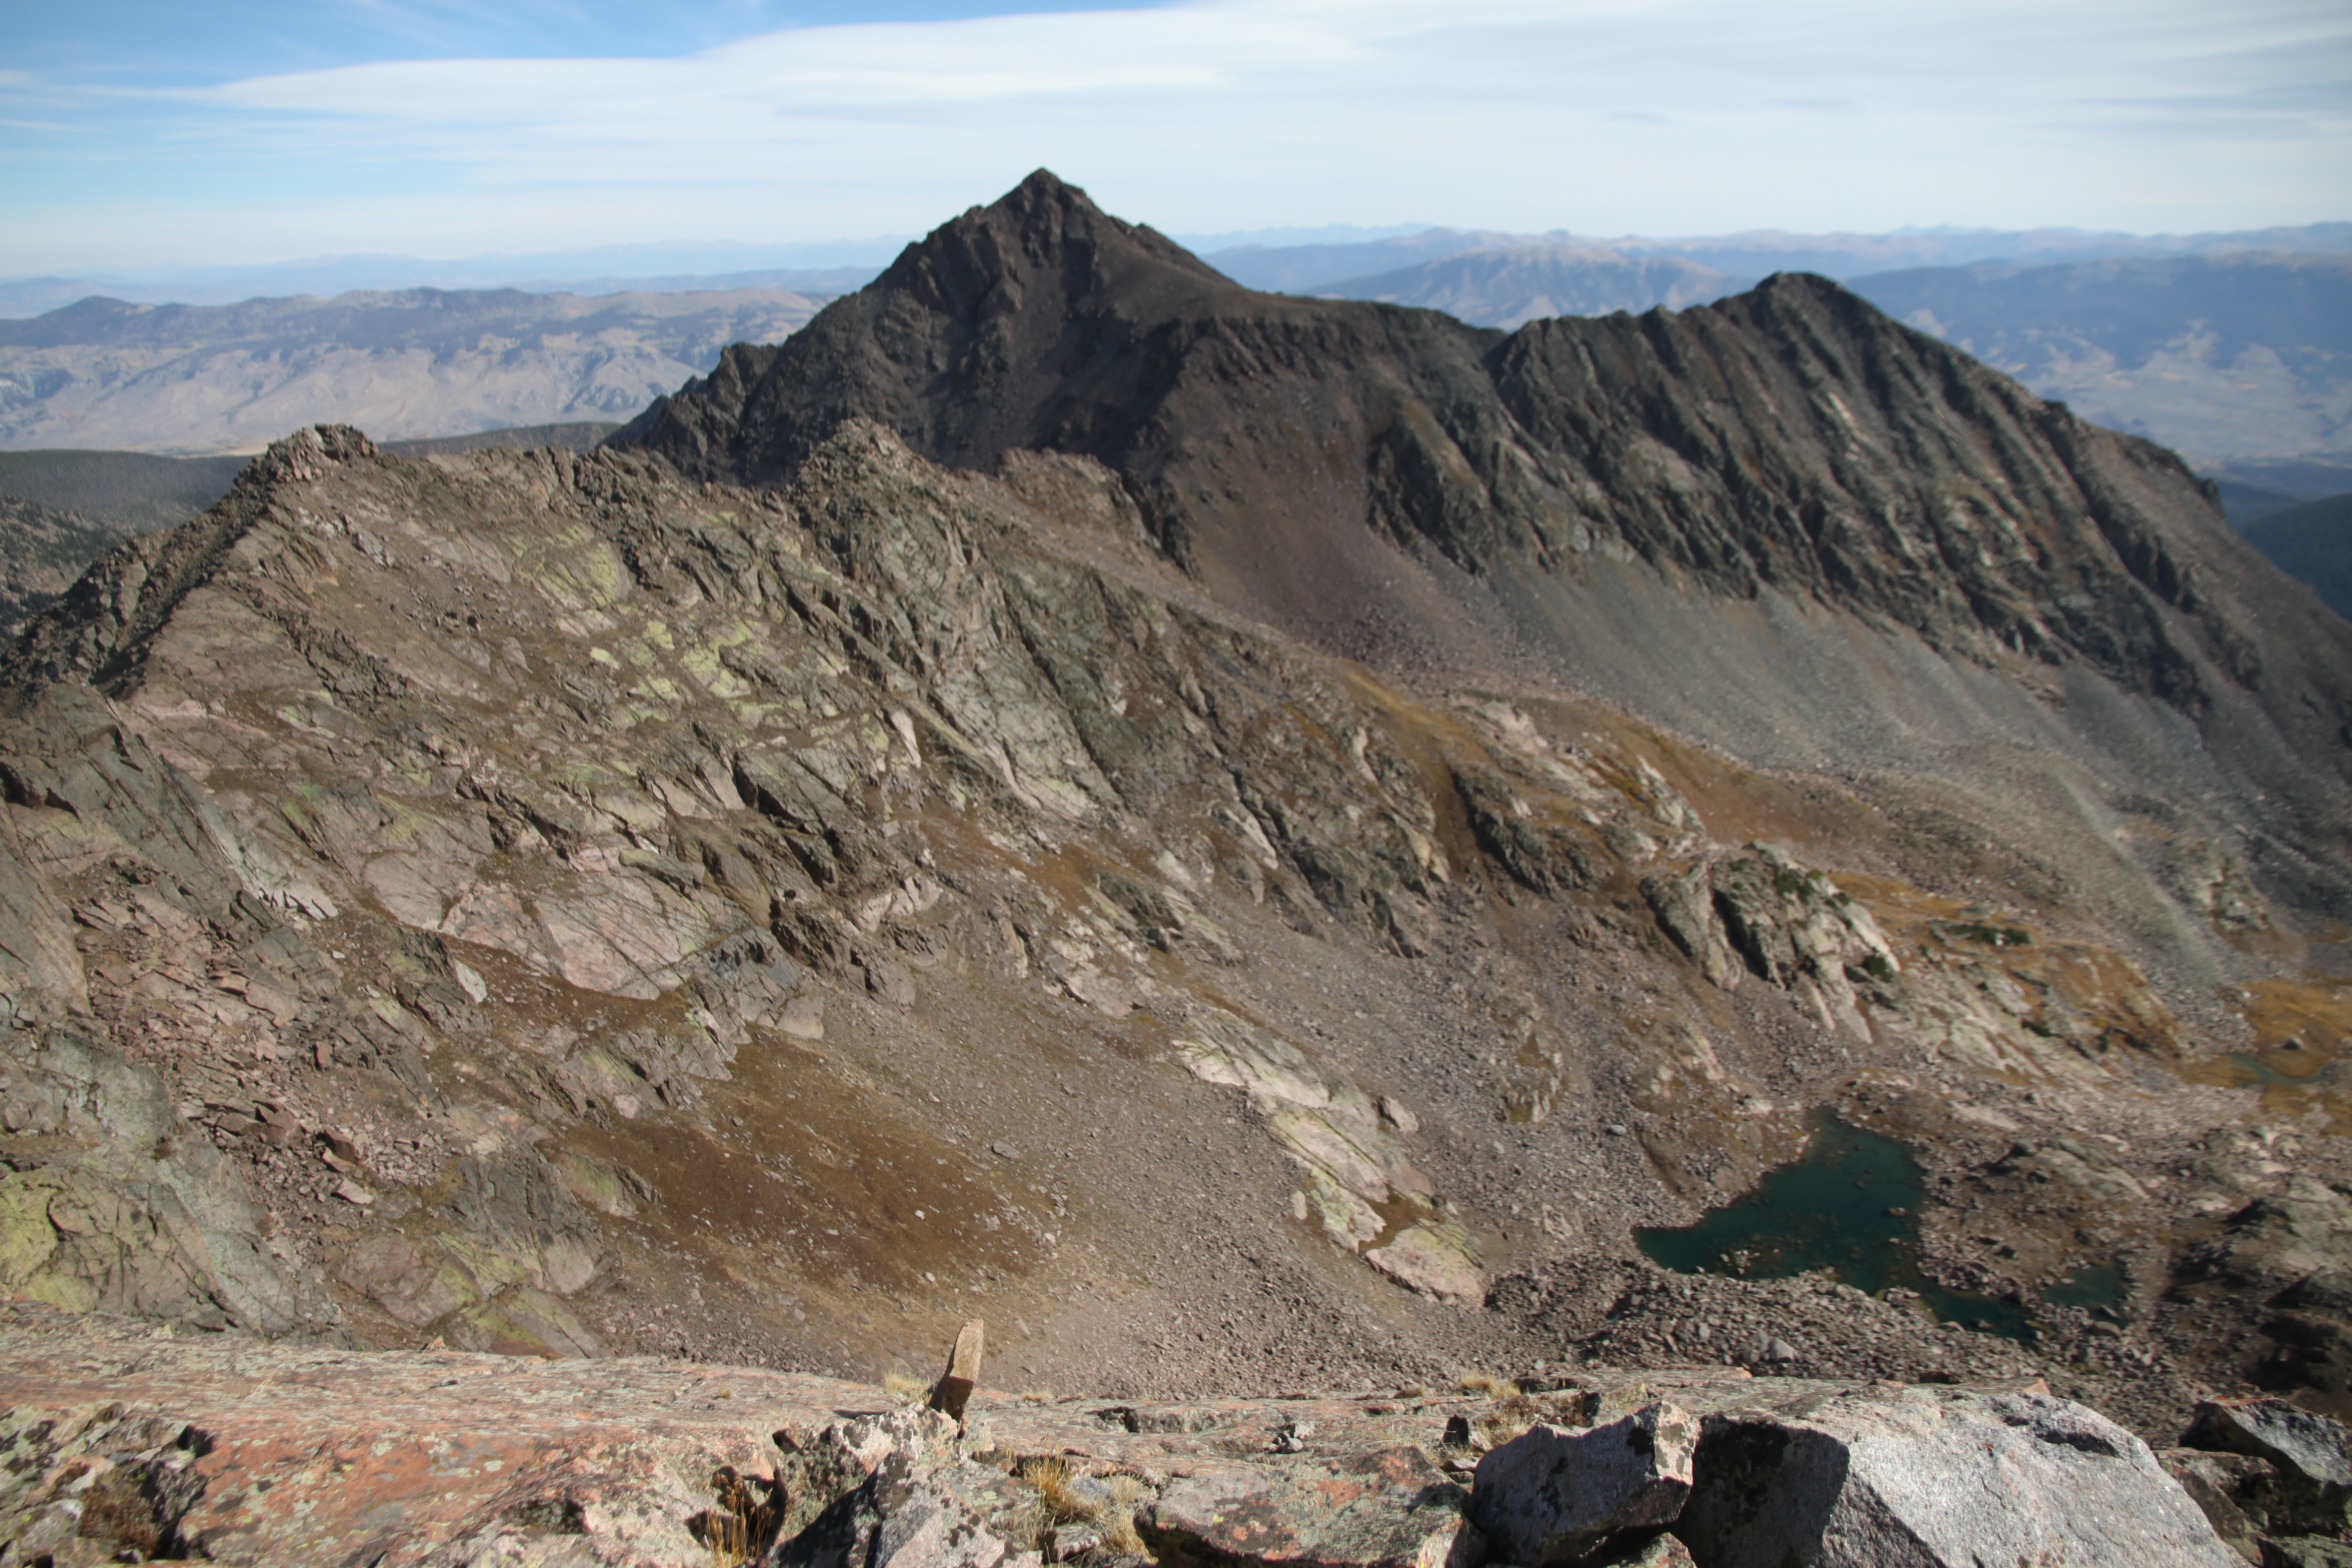
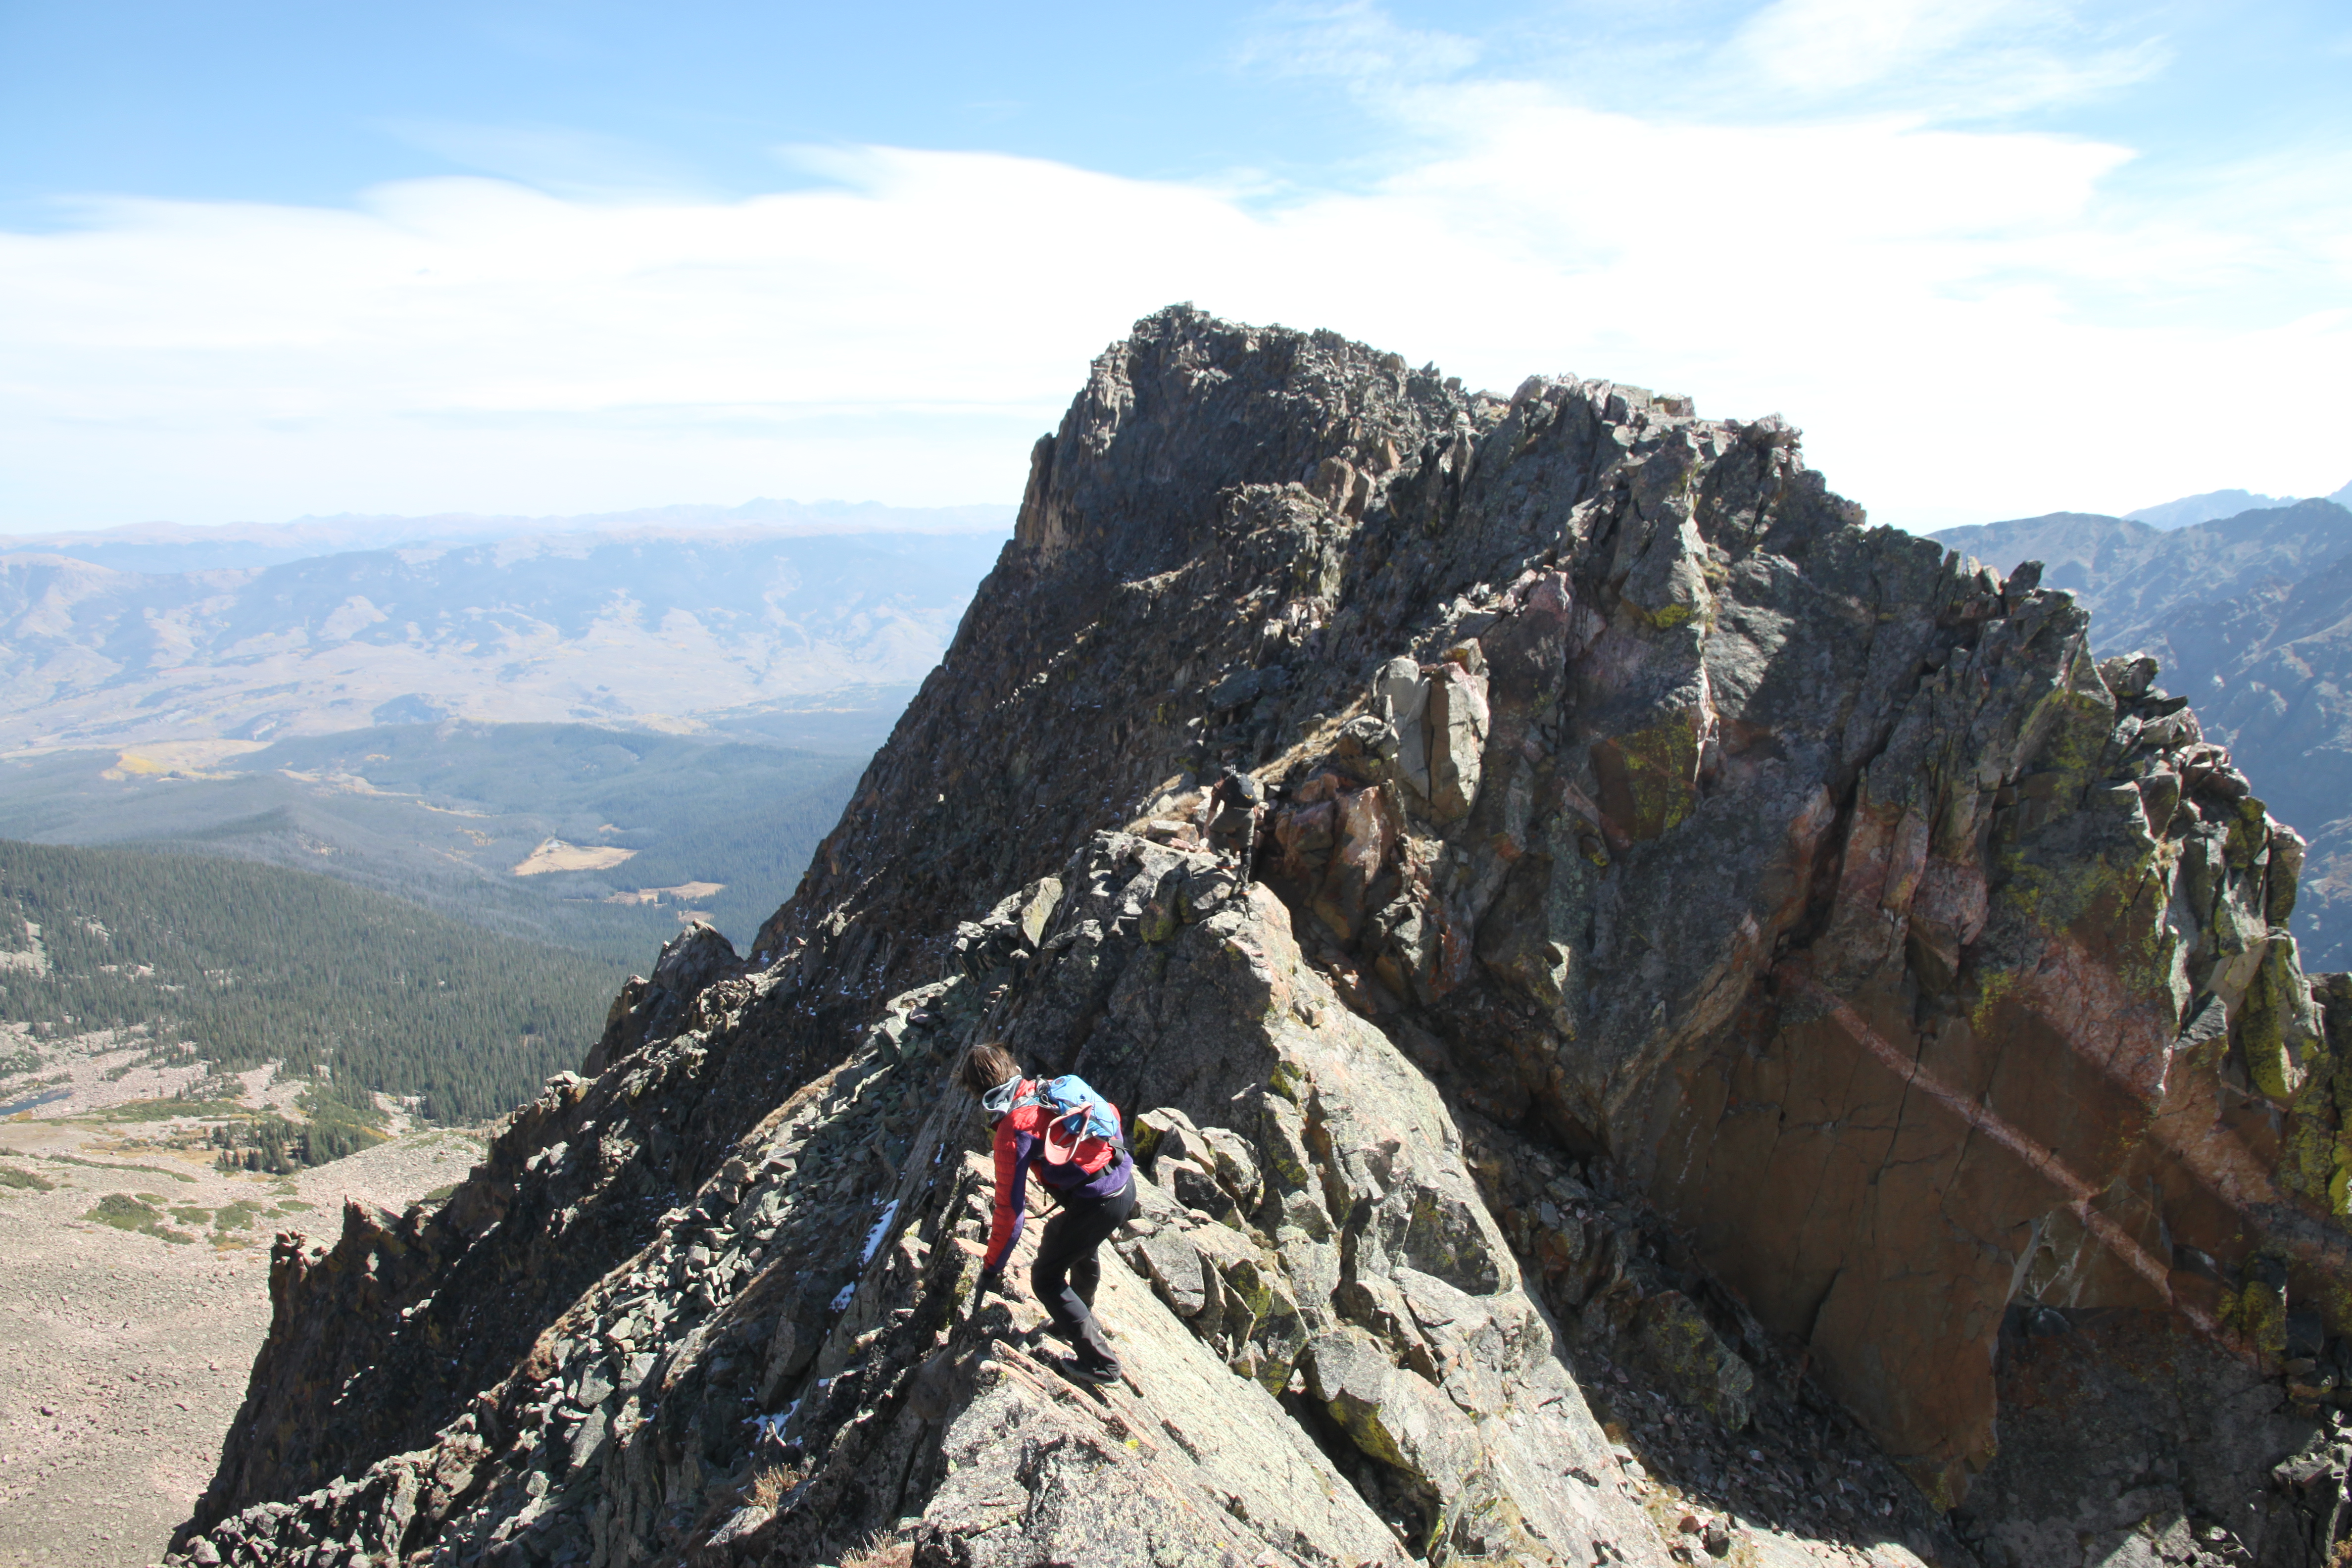
We relaxed on top for a bit and then started descending Peak C’s south ridge to the notch between Peak C and Peak C-Prime. Peak C-Prime’s awesome north ridge/face was in view the entire descent.
On the Peak C descent. Photo by J
J on Peak C’s south ridge with Peak C-Prime behind
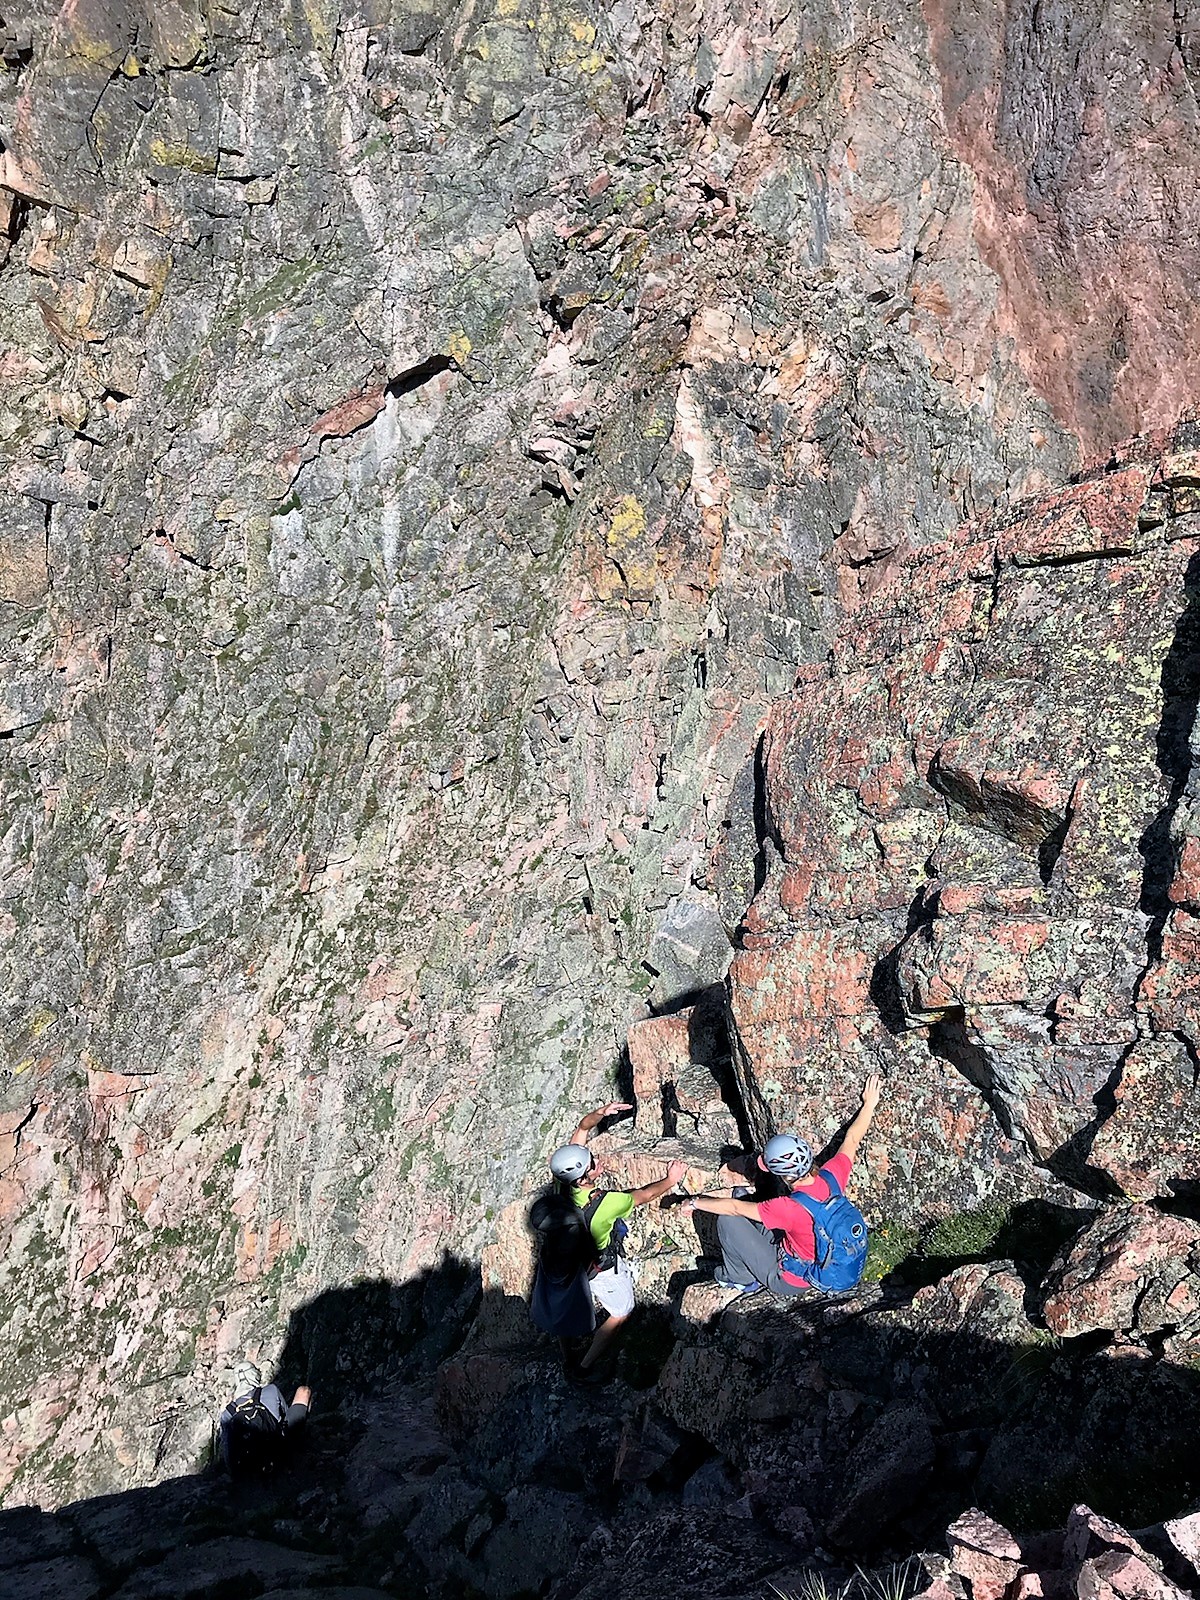
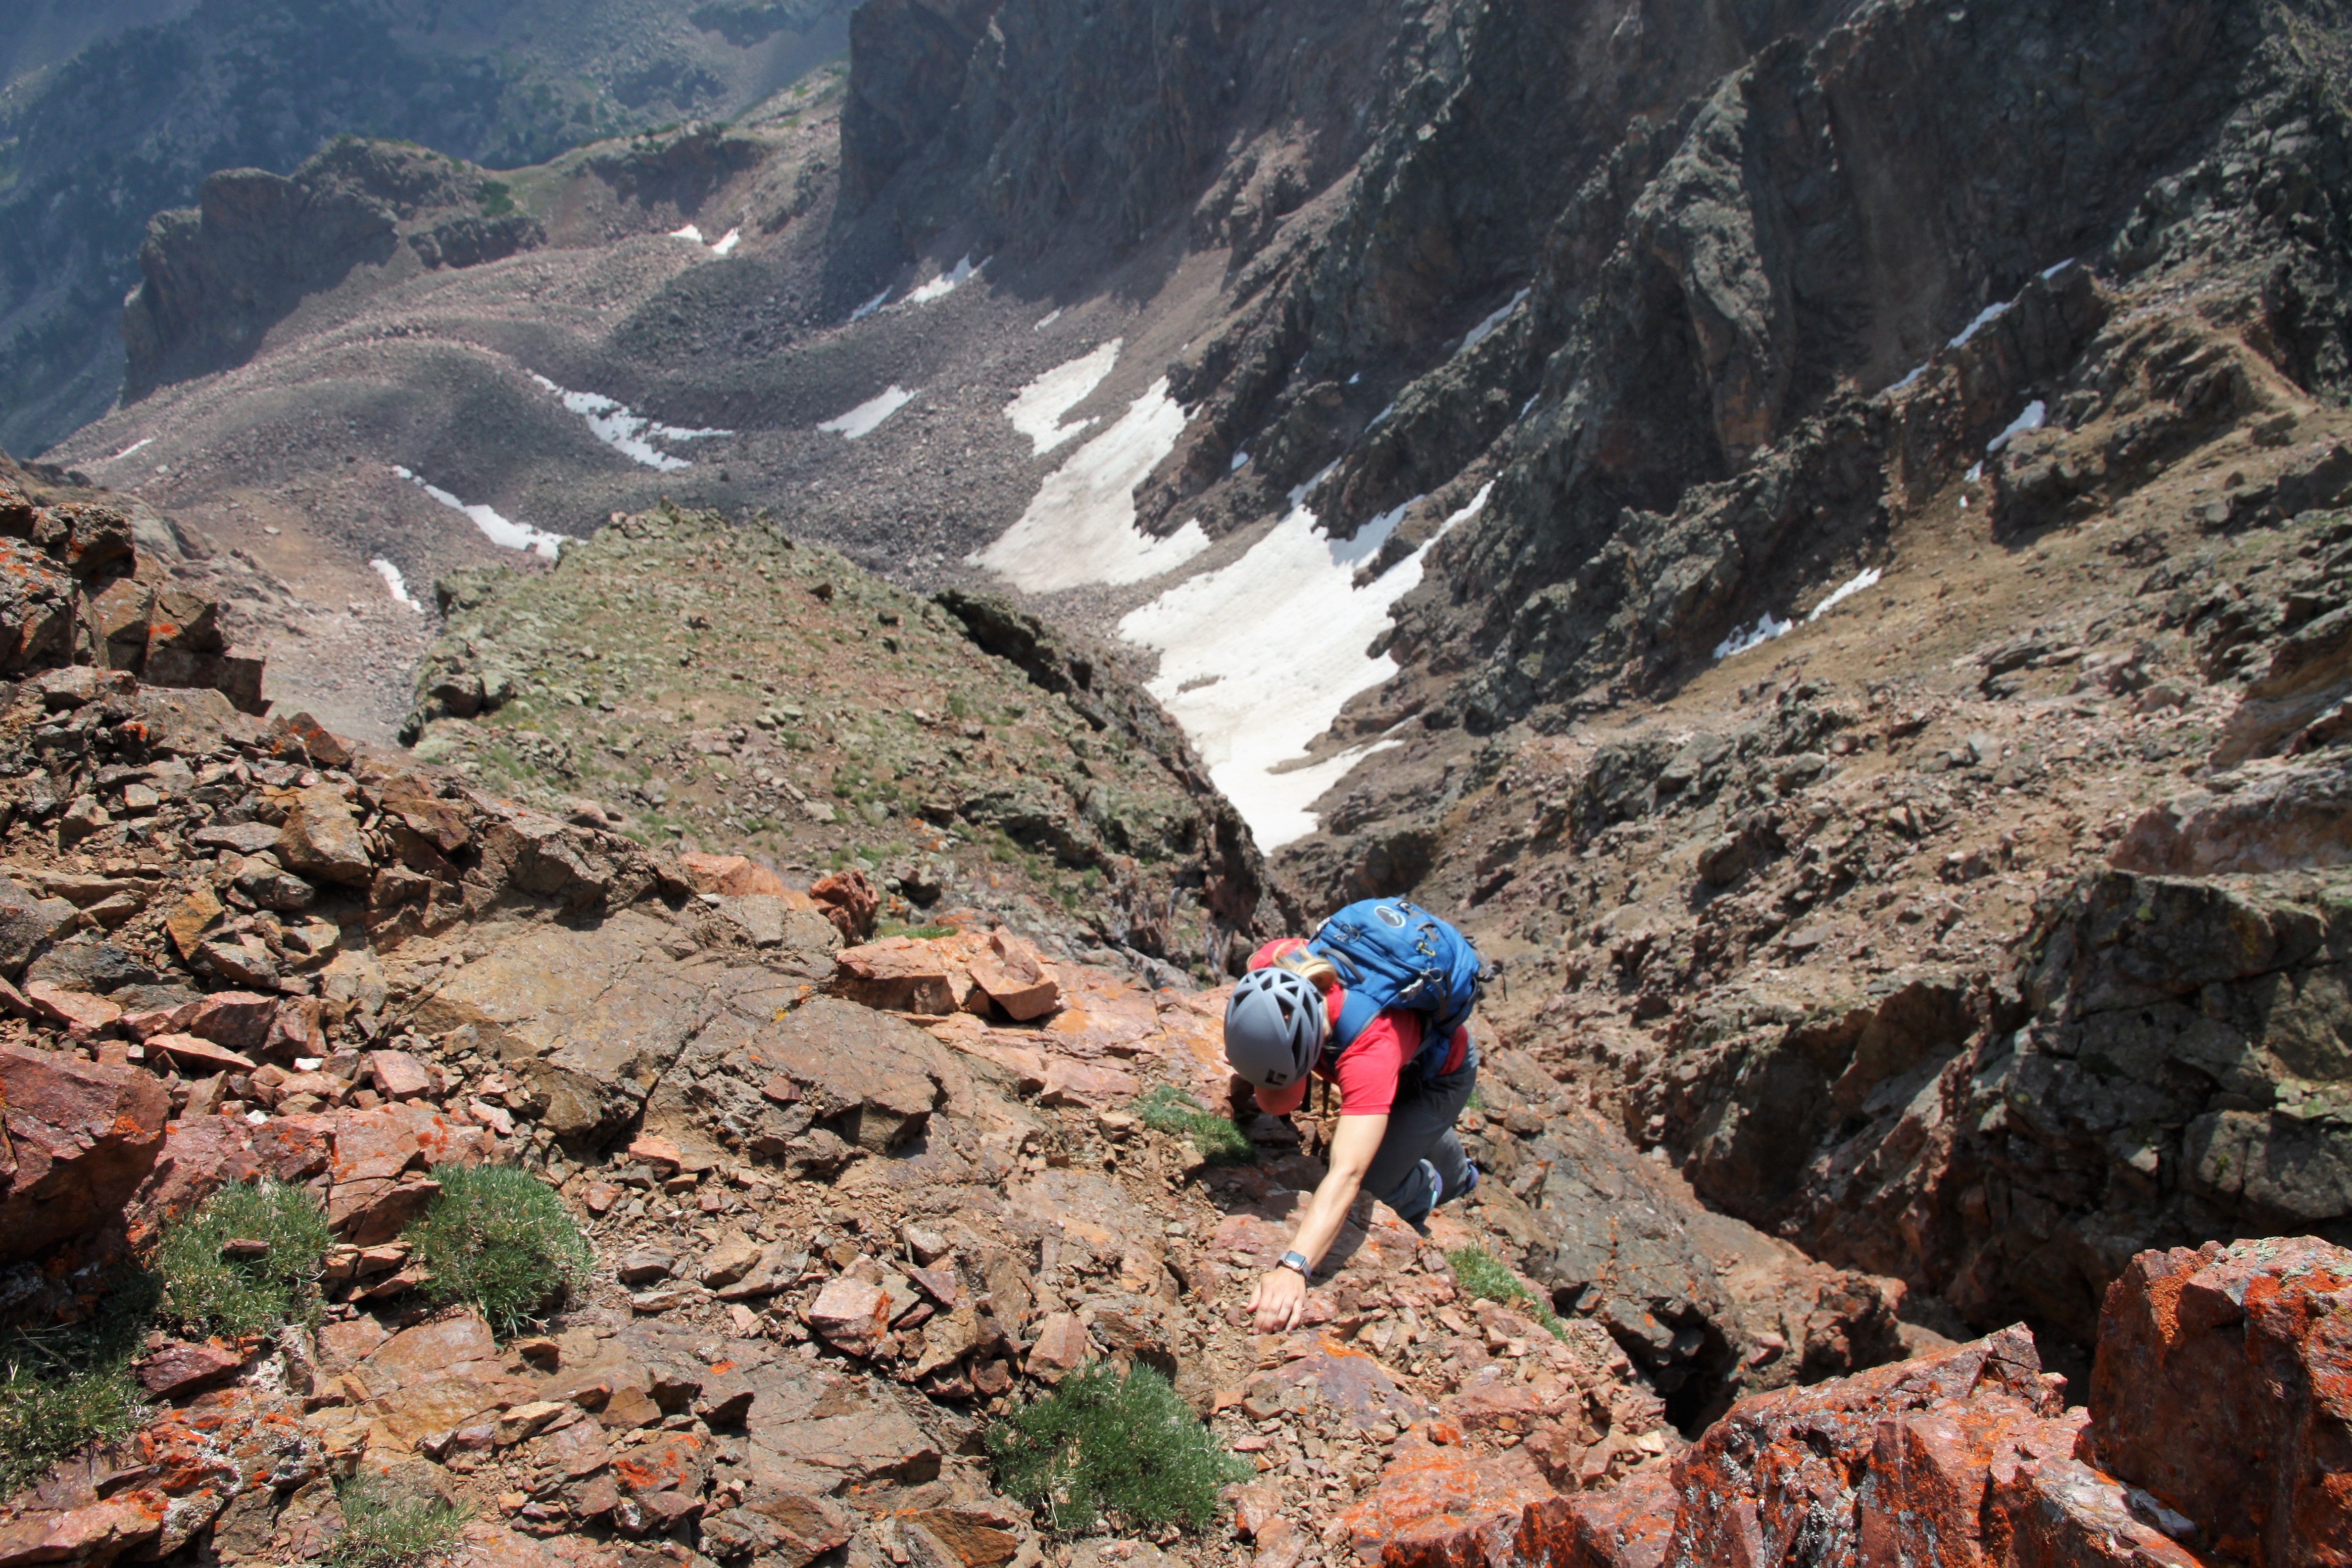
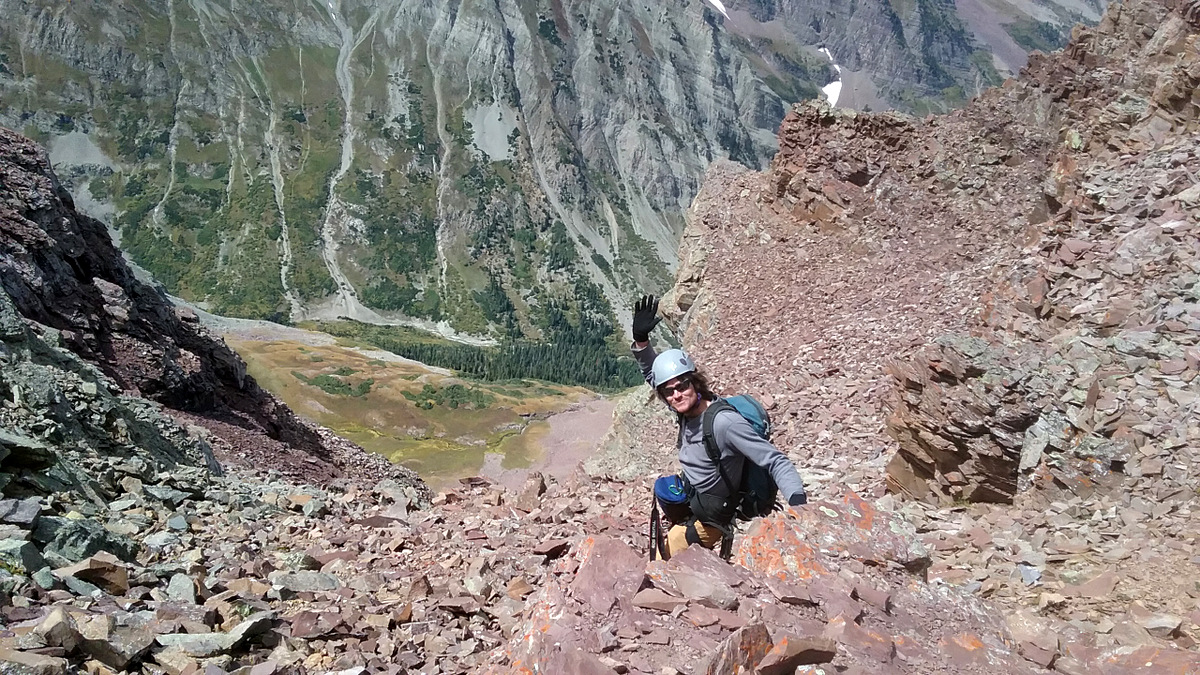
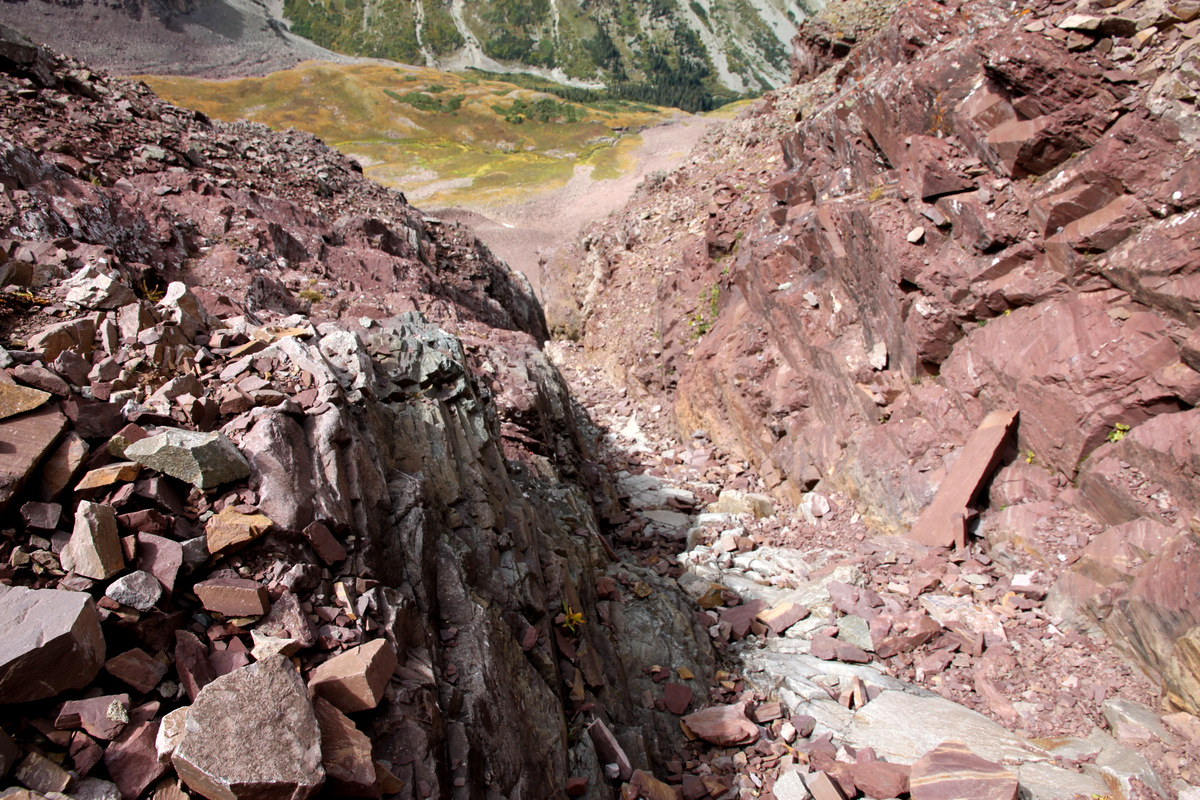
We hit the notch after the class 4 downclimb and I spotted a traverse on the ridge’s left (east) side that led to some fun looking north face cracks. After 30′ of class 4 climbing, we entered the center crack and the terrain got steeper.
Class 4 below the north face cracks above on Peak C-Prime
J was eyeing the corner dihedral to the right (west) and not the center crack as he thought it looked more fun. He tried an airy move to get to the ledge below the dihedral only to realize he wanted the comfort of a rope. We roped up, he set two cams to protect the funky move, and soon enough he was on the ledge.
J just before the move right to the ledge
Trying without a rope

On second thought, I’ll take that belay
I followed and am certainly glad J asked for a belay. Its a committing move without great feet and sloping handholds, especially in approach shoes. Maybe a 5.8 move. The dihedral above looked fun. But, so did the center crack. Choices choices. I led on up the far western crack/dihedral combo placing a #2 cam in the crack and then a smaller piece on a sling in the dihedral itself on the right. Maybe 5.7 climbing with a few fun hand jams and face features.
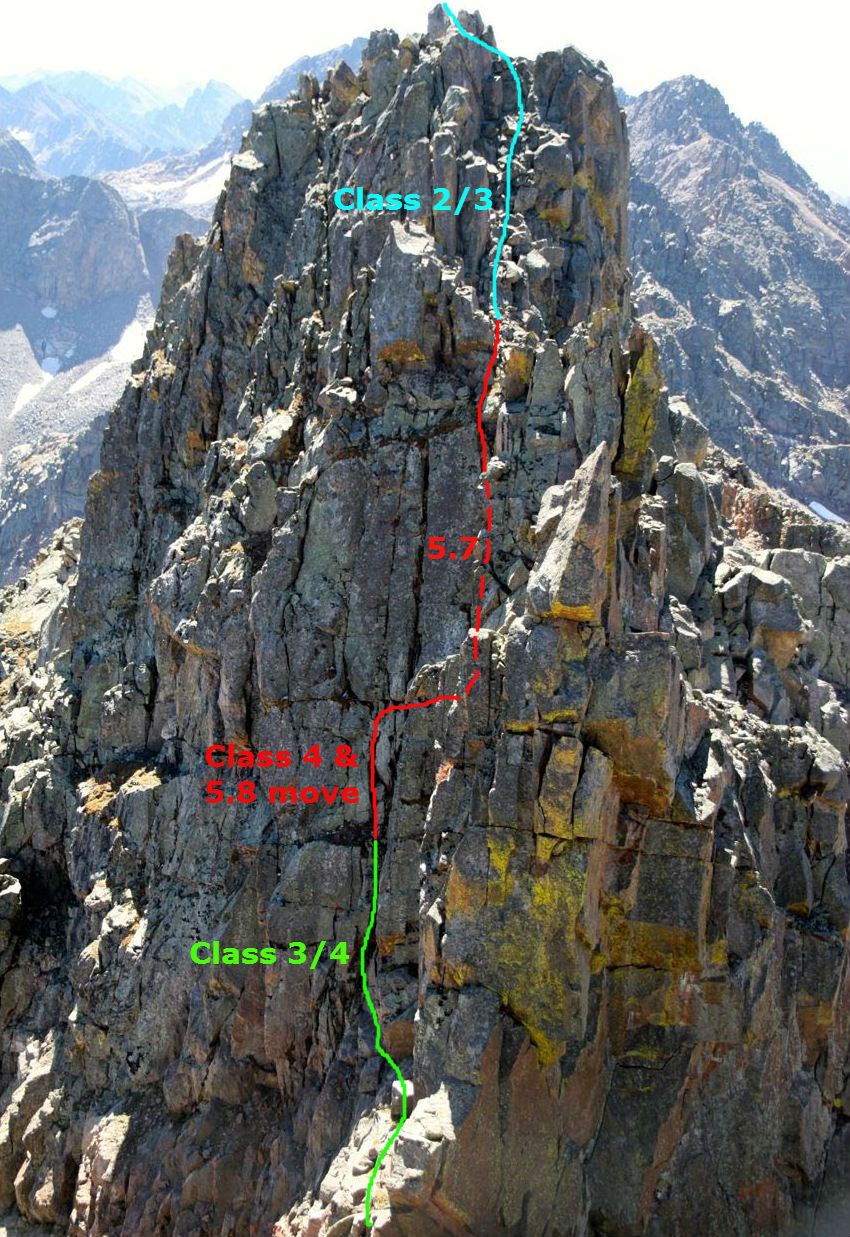
Peak C-Prime north face cracks. We climbed the crack right of center
Our crack

Me on lead up this fun little route. Photo by J
I slung a solid boulder and looked down to J only noticing behind him that Mr. Goat was downclimbing the class 4 headwall on Peak C’s south ridge! It was a sight to behold.

Looking down the 5.7 pitch to J on the ledge. Can you spot Mr. Goat?
A close-up
Impressive to say the least
J cleaning the 5.7 pitch
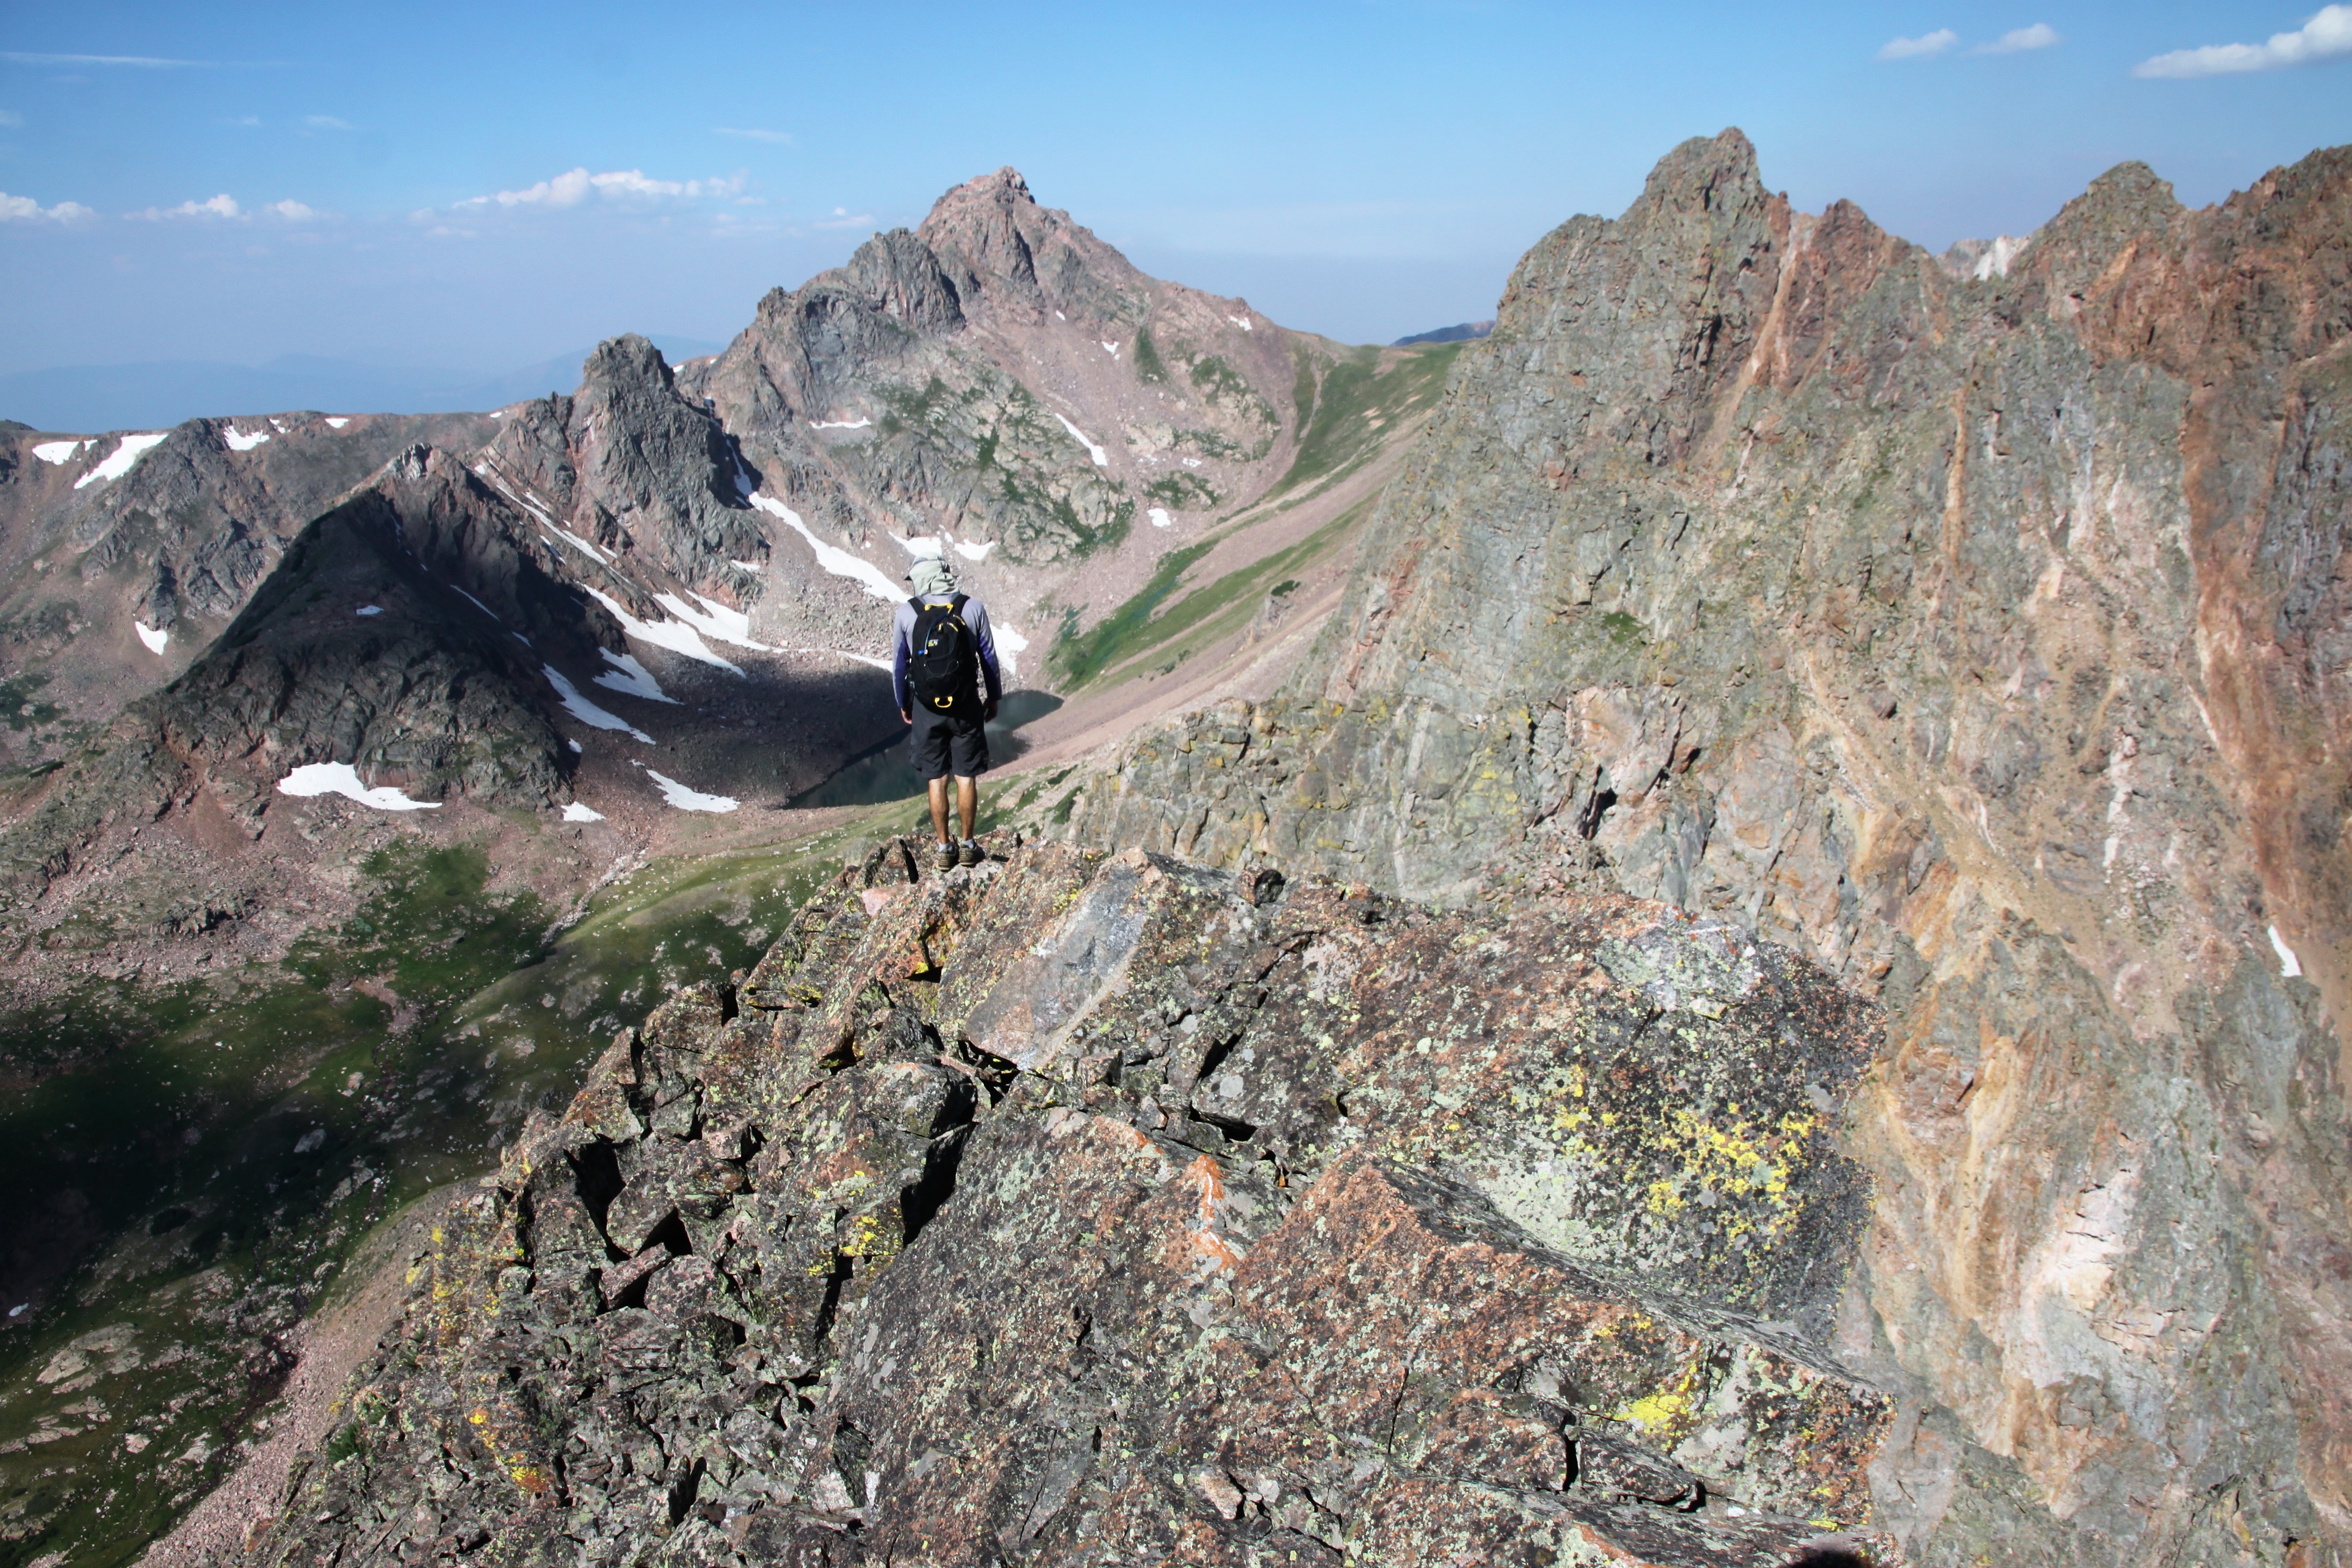
Once J reached me we stowed the rope and de-harnessed and scrambled easy class 2/3 to the summit of Peak C-Prime.

The remaining easy ramp to C-Prime’s summit

Peak C-Prime summit (13,100′)
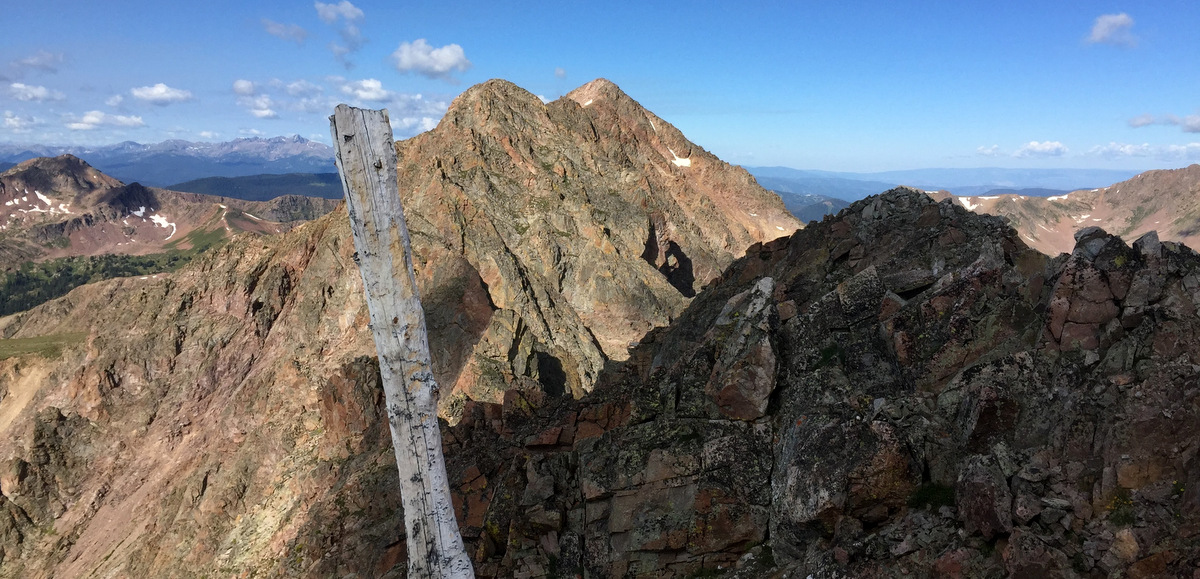
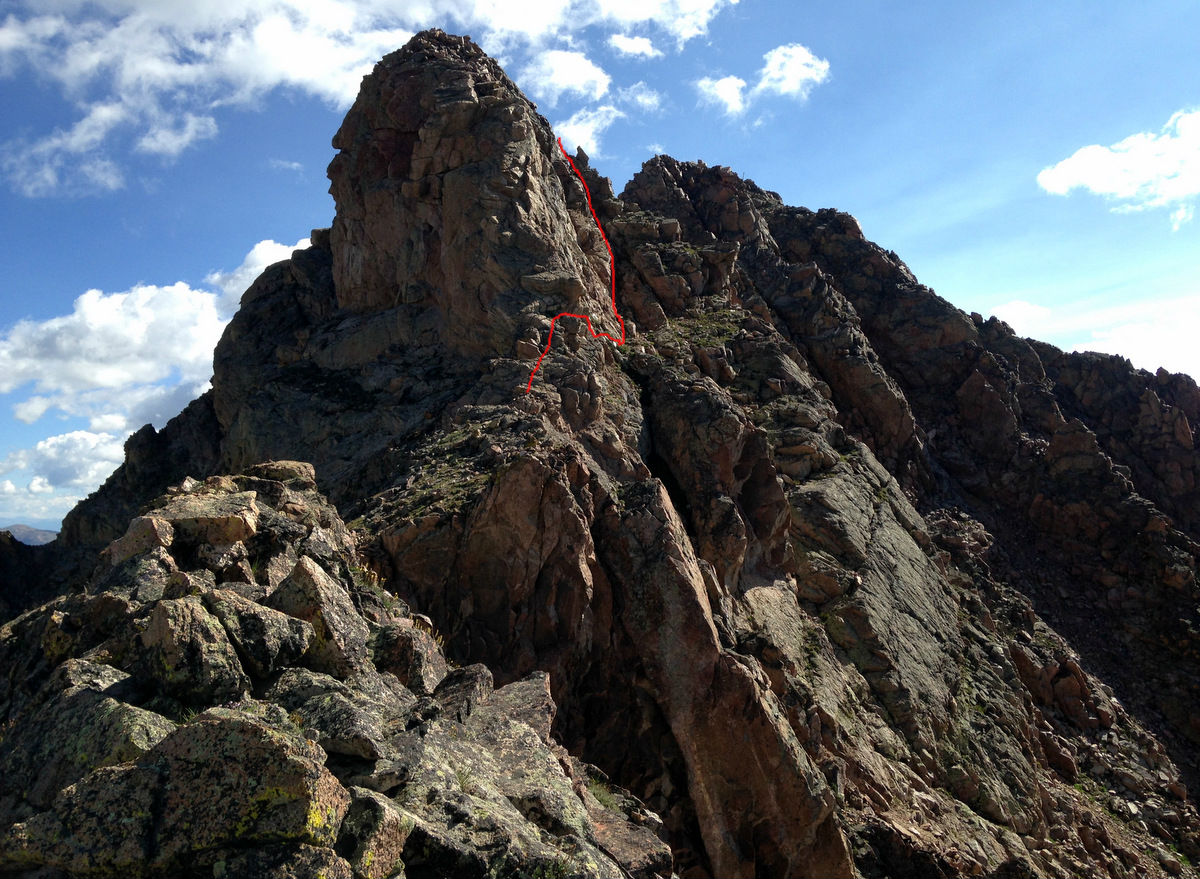
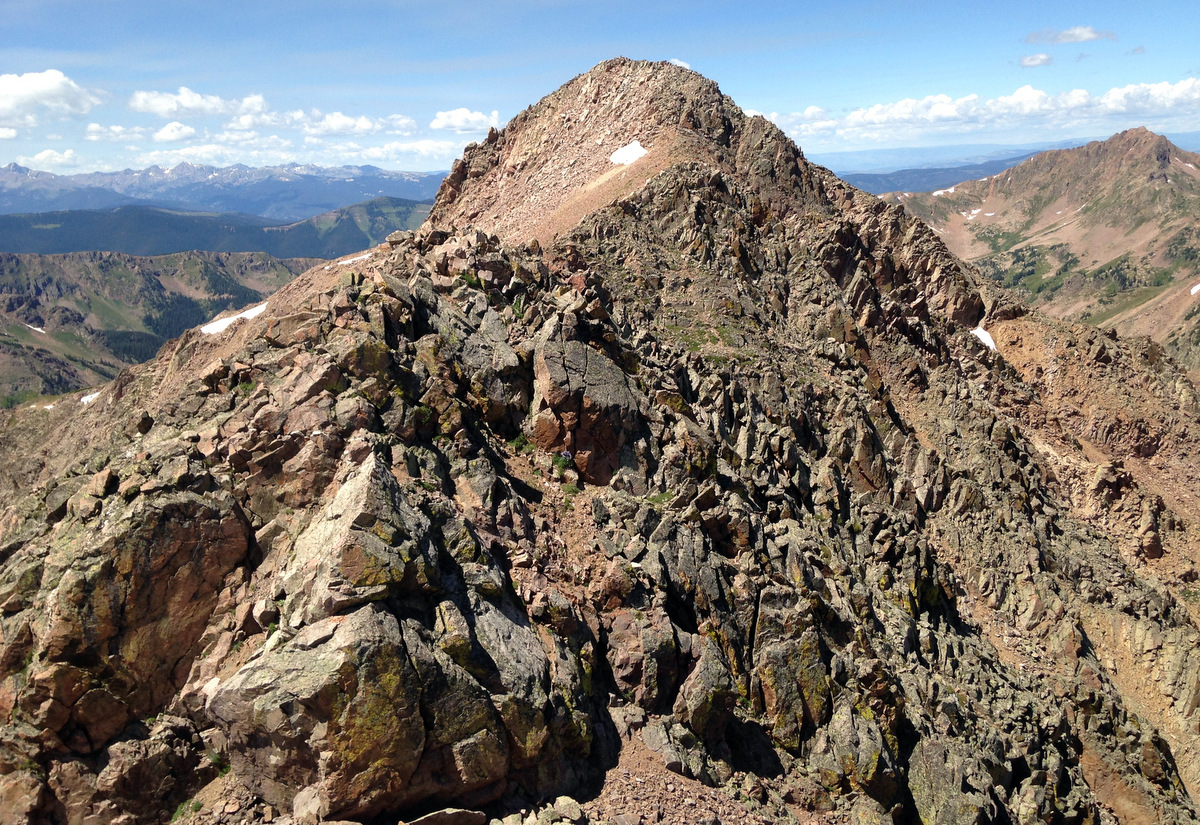
Our route up the north face/ridge of Peak C-Prime
Mr. Goat had climbed down Peak C’s southwest couloir a few hundred feet and climbed up Peak C-Prime’s normal class 3/4 route to meet up with us. I guess he wanted to hang out with us because he climbed the class 3 slabs up C-Prime’s southeast face to within 20 yards of us.

There he is on the ridge
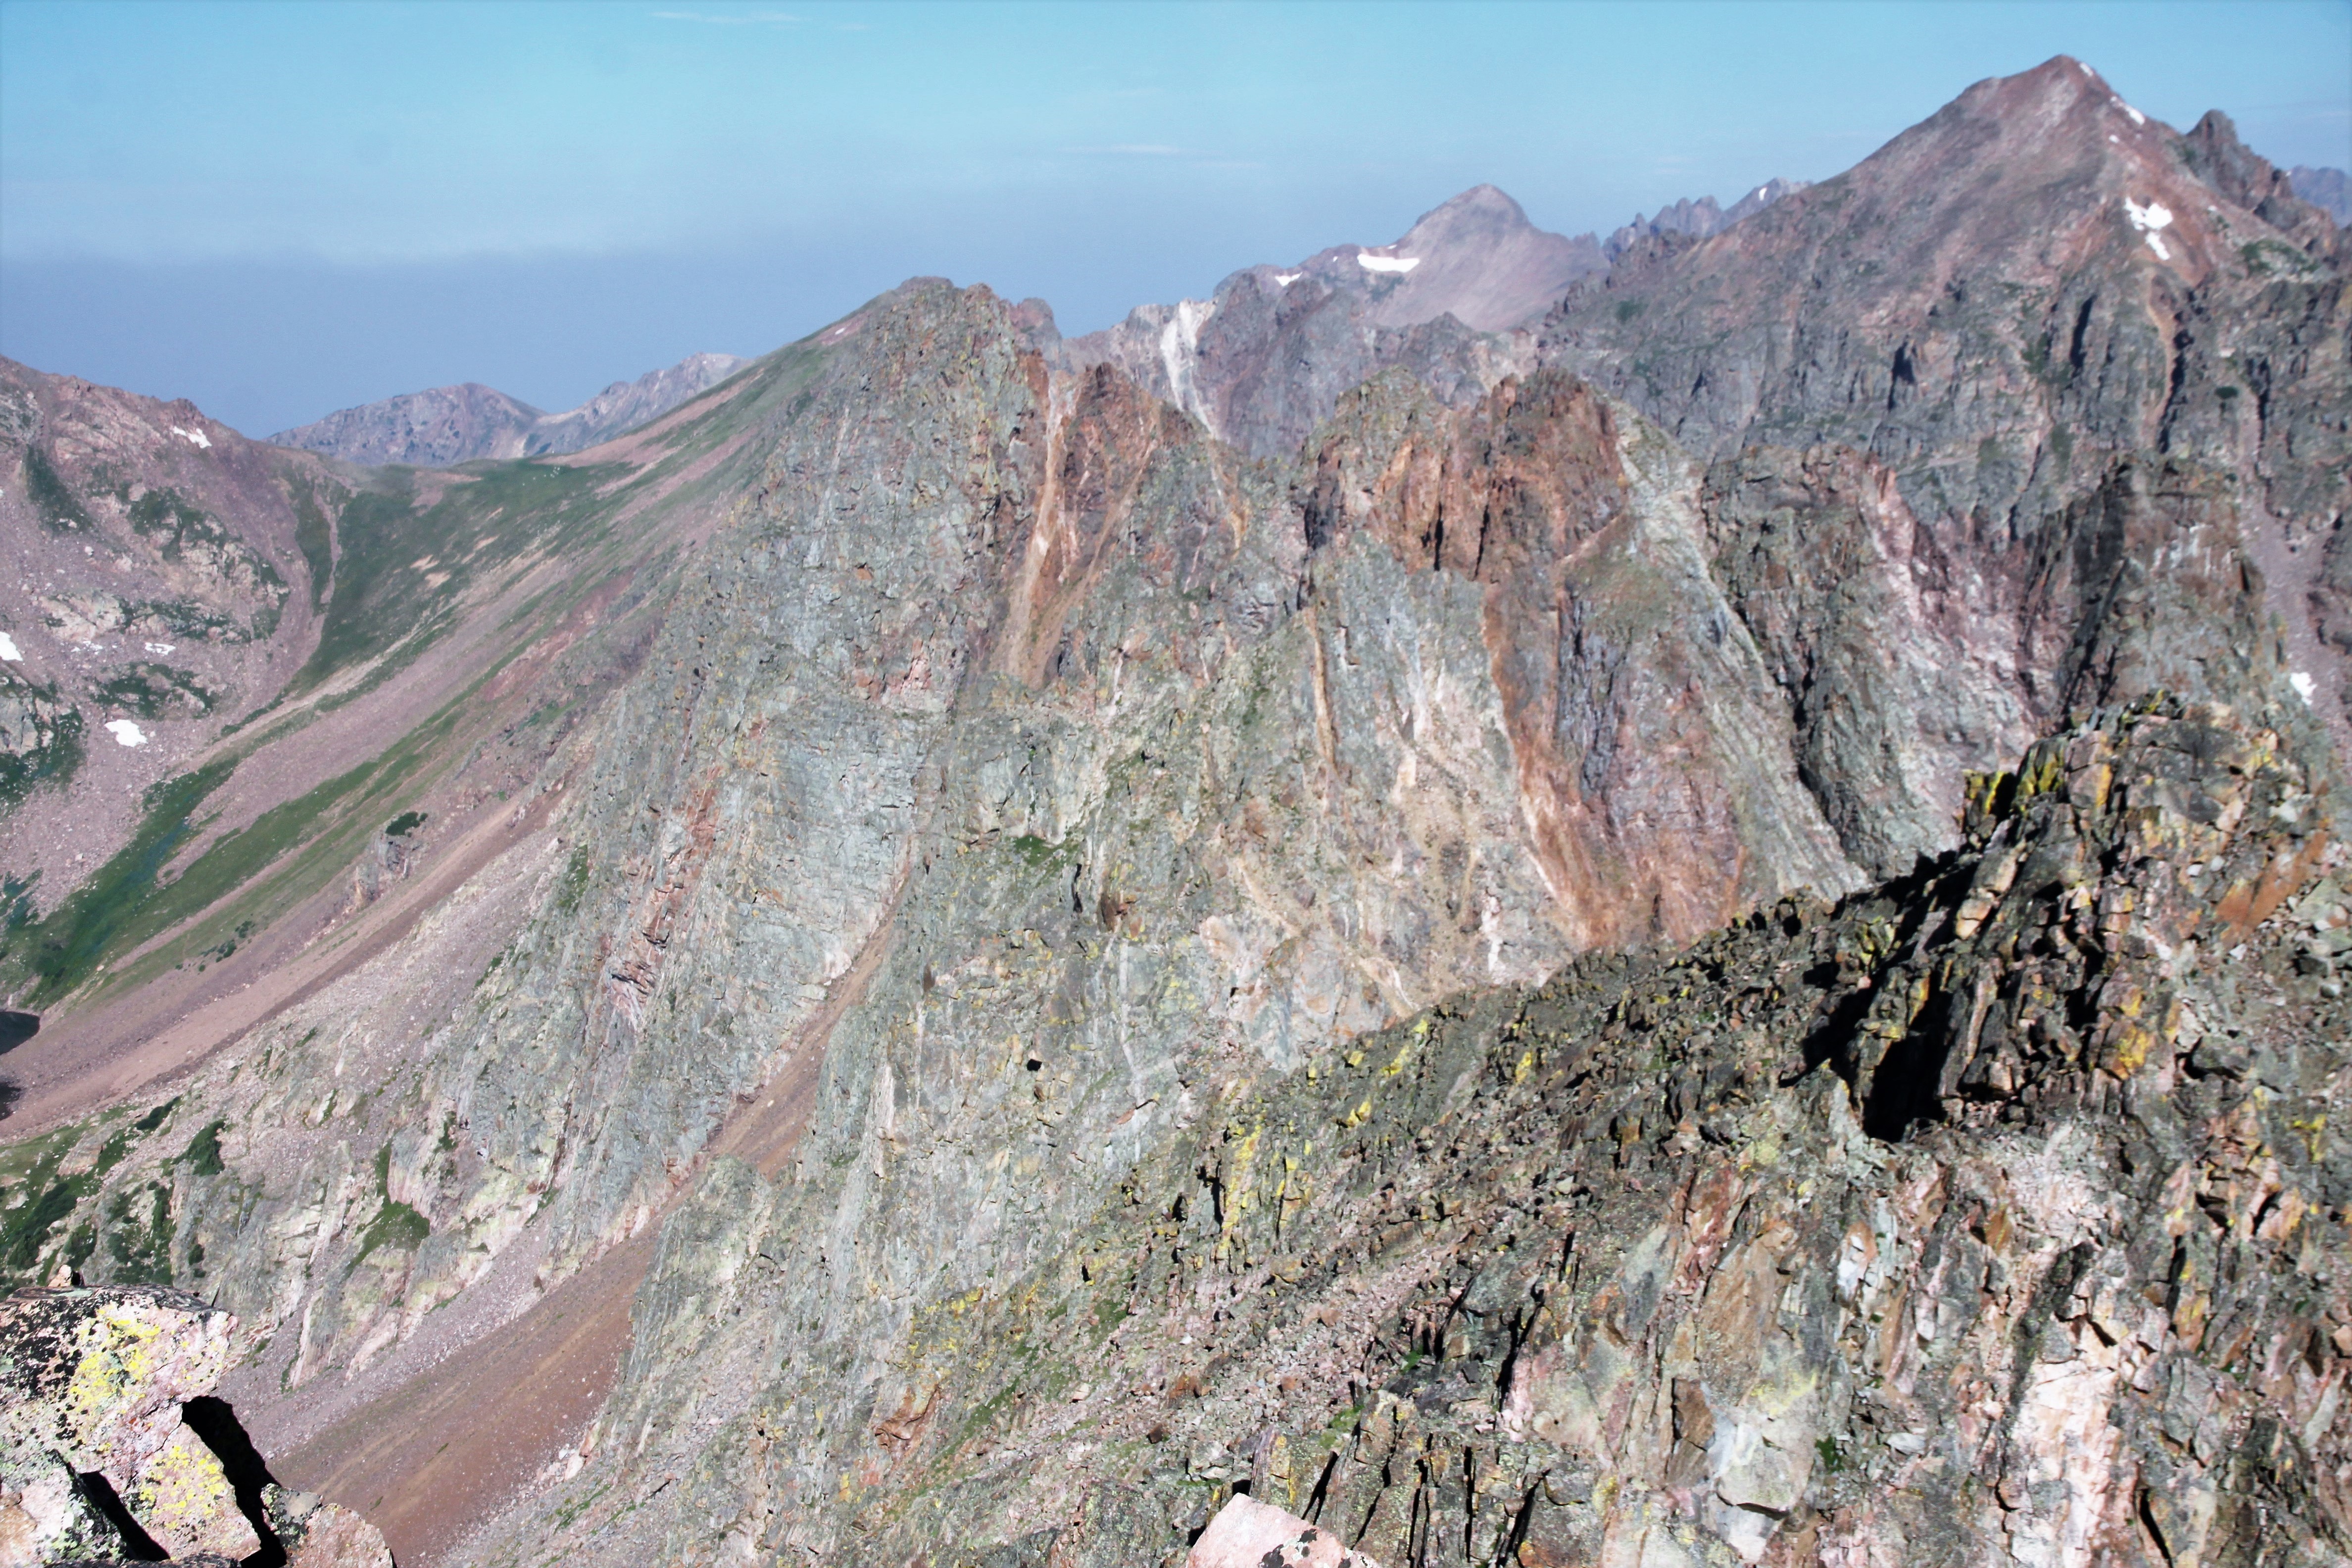
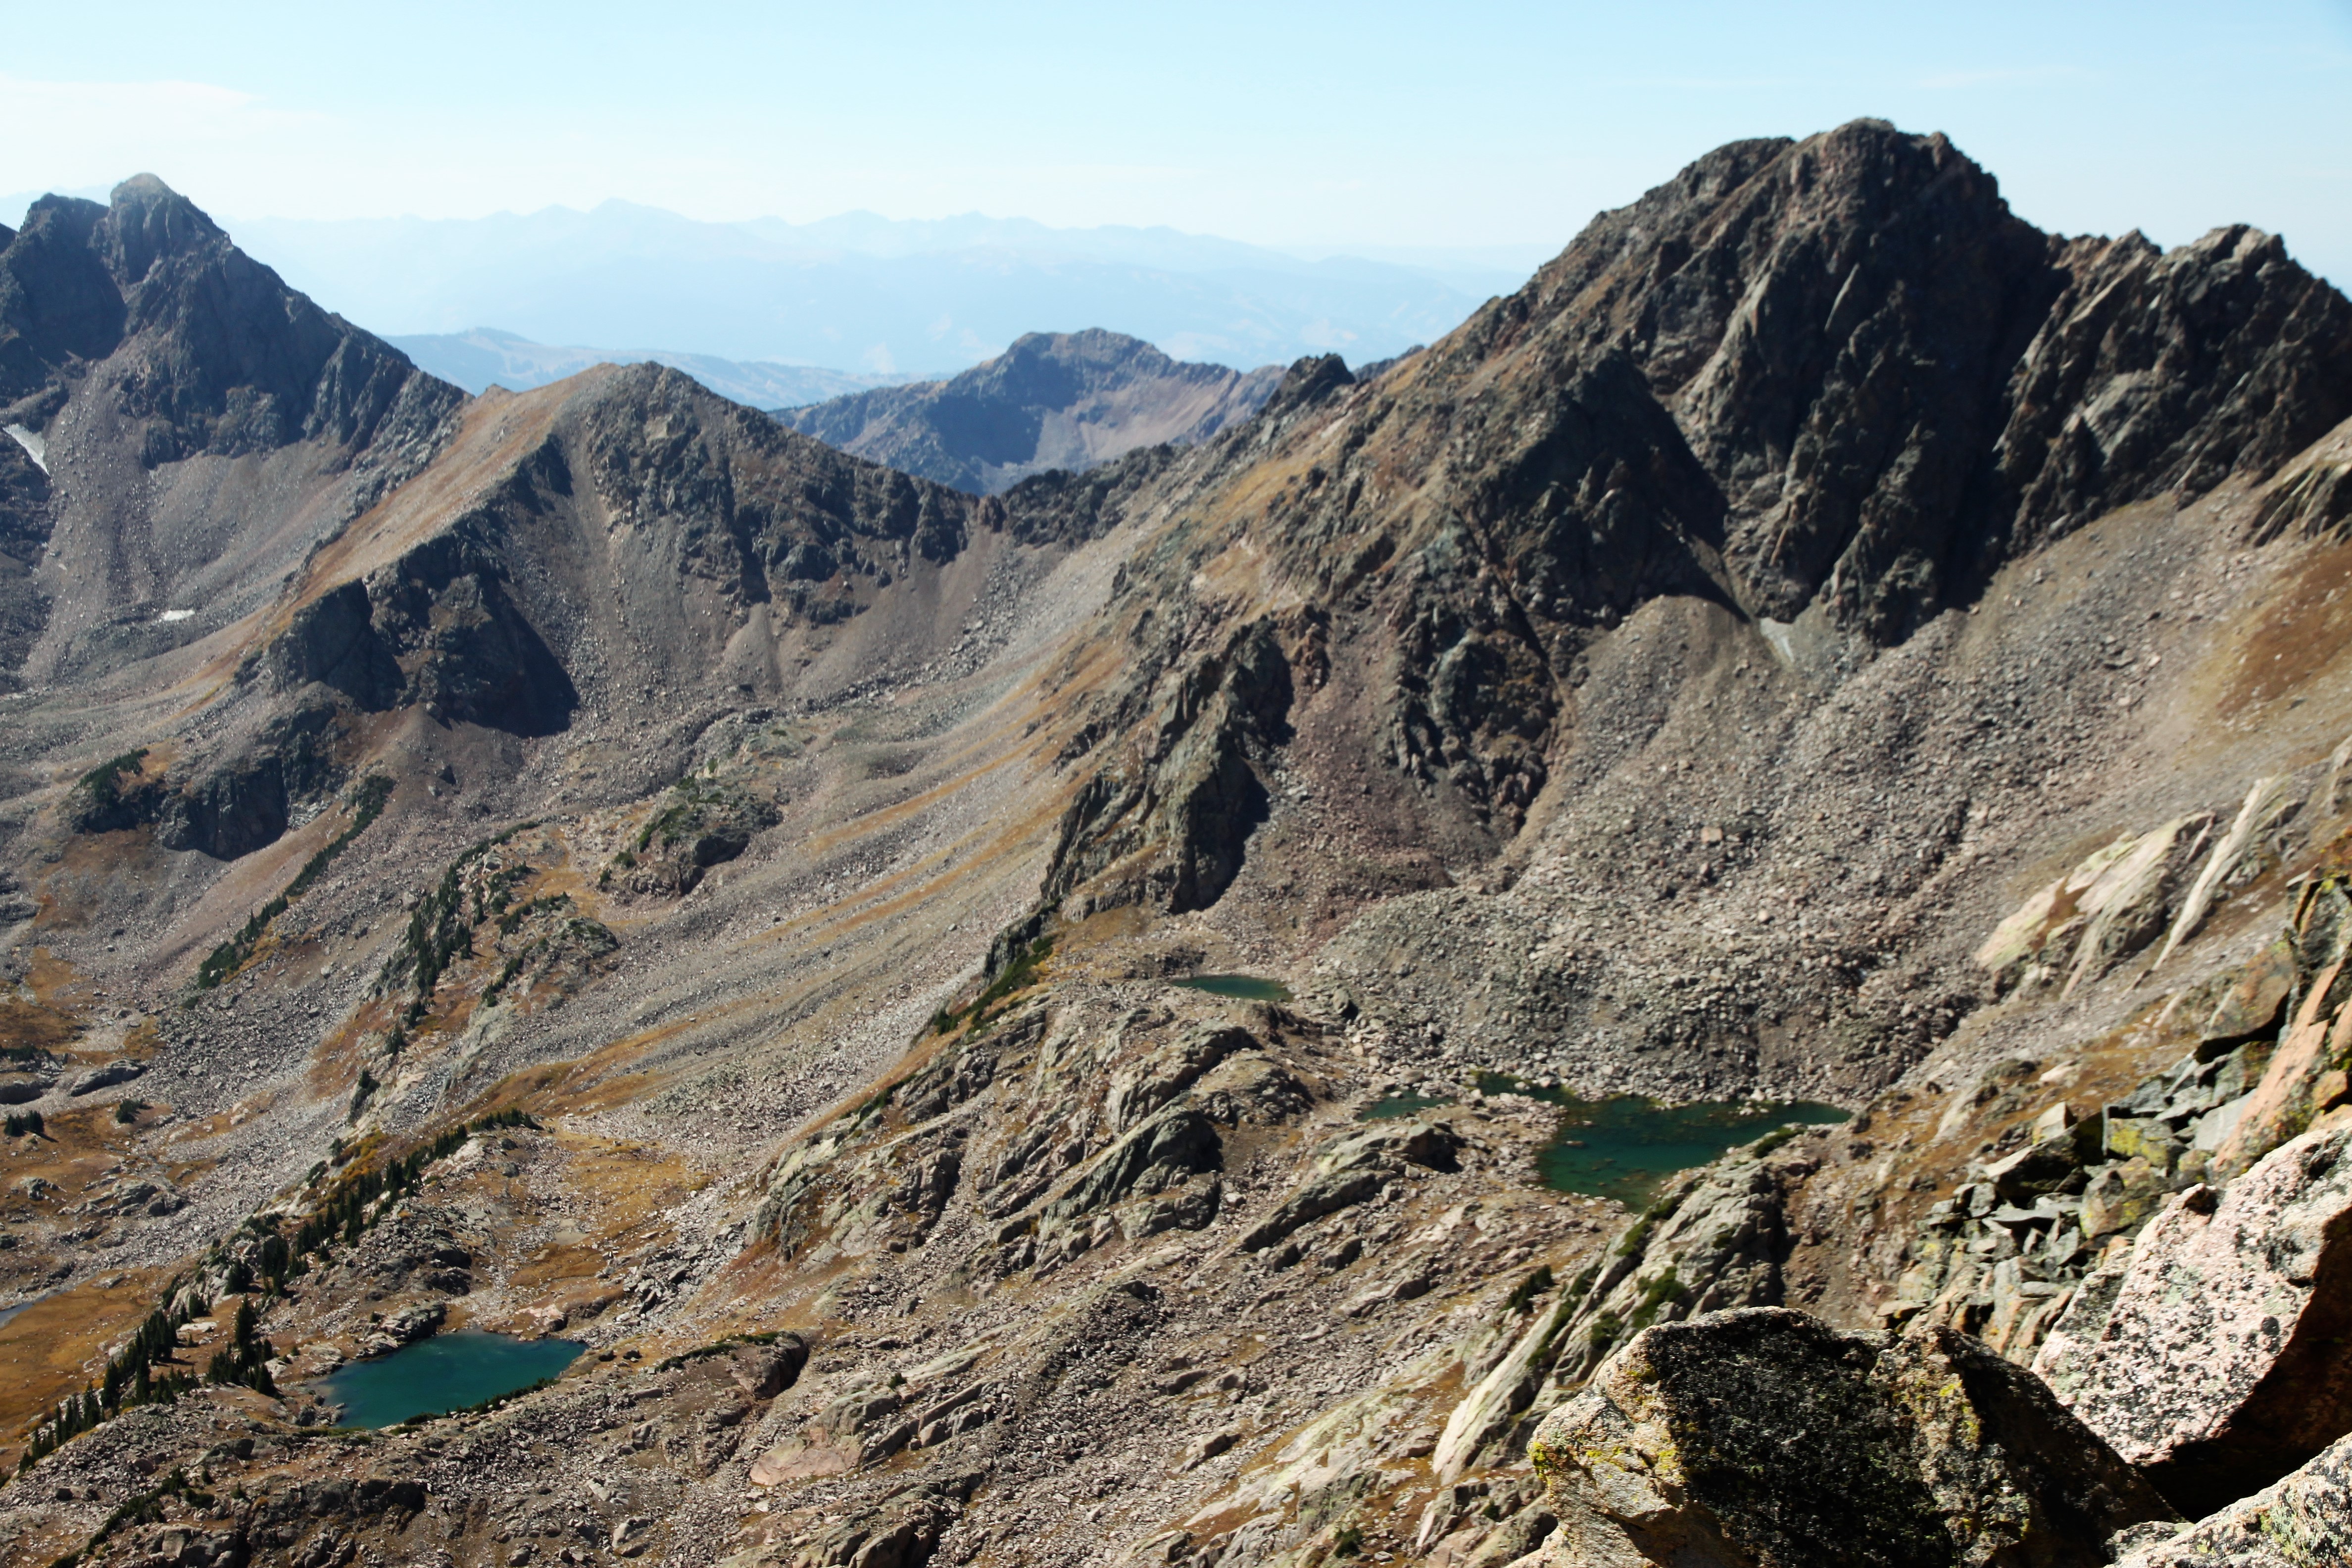
Mr. Goat on Peak C-Prime with Peak G to the right and Peak Q at far left above the goat
J descending Peak C-Prime with the goat back on the ridge. Maybe he went onto Peak D
We took the standard descent couloir down from Peak C-Prime, which feeds into Peak C’s southwest couloir. The descent down the southwest couloir is obviously much better on skis.
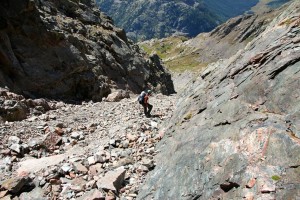
J descending Peak C’s southwest couloir
We then traversed northwest on the couloir’s apron to reach a small notch at the top of one of two northern couloirs leading back down into Kneeknocker Basin. It was a quick descent and before we knew it we were back on the Kneeknocker Pass trail. We saw the Daneses descending Kneeknocker Pass and decided to hang and wait for them to walk out together. They had spent an hour on Powell’s summit lounging and just talking in this gorgeous fall weather. It was fun hiking out together trading mountain stories back and forth with each other.
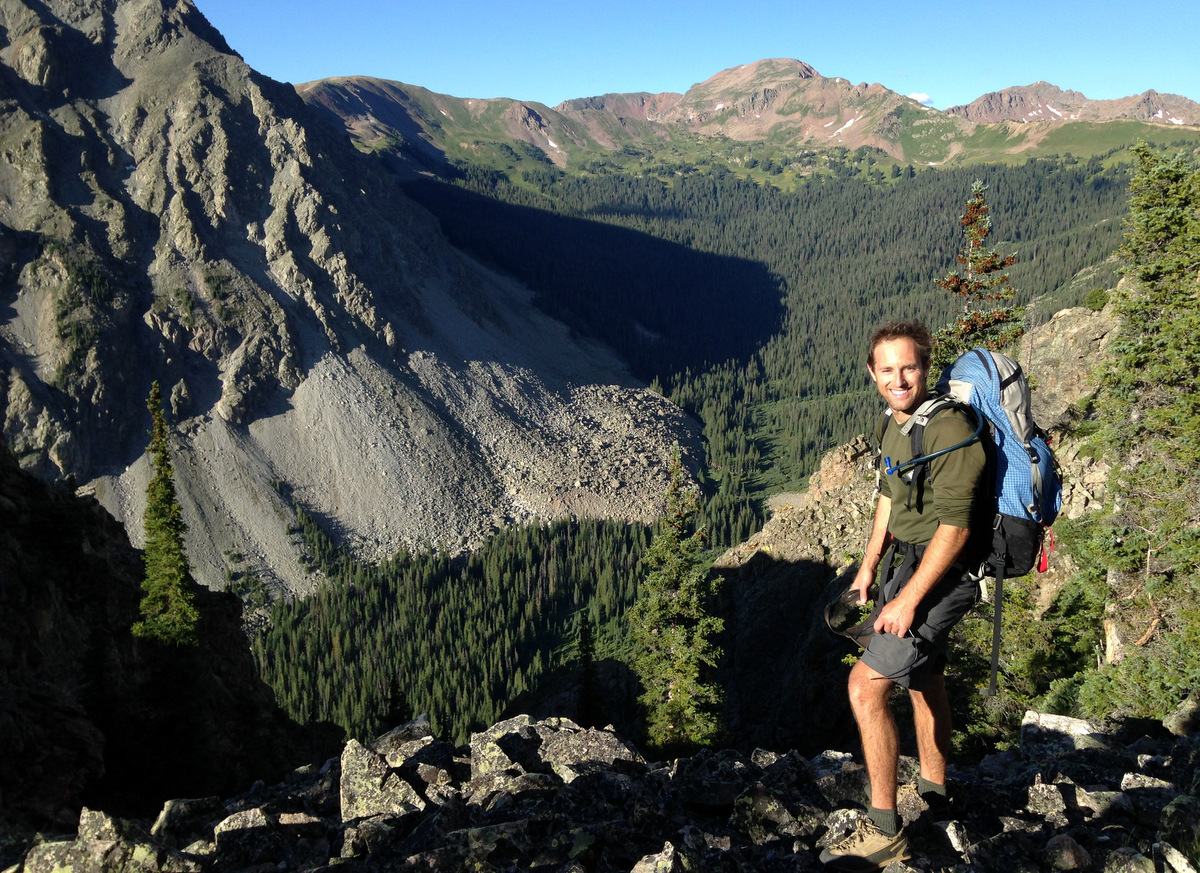
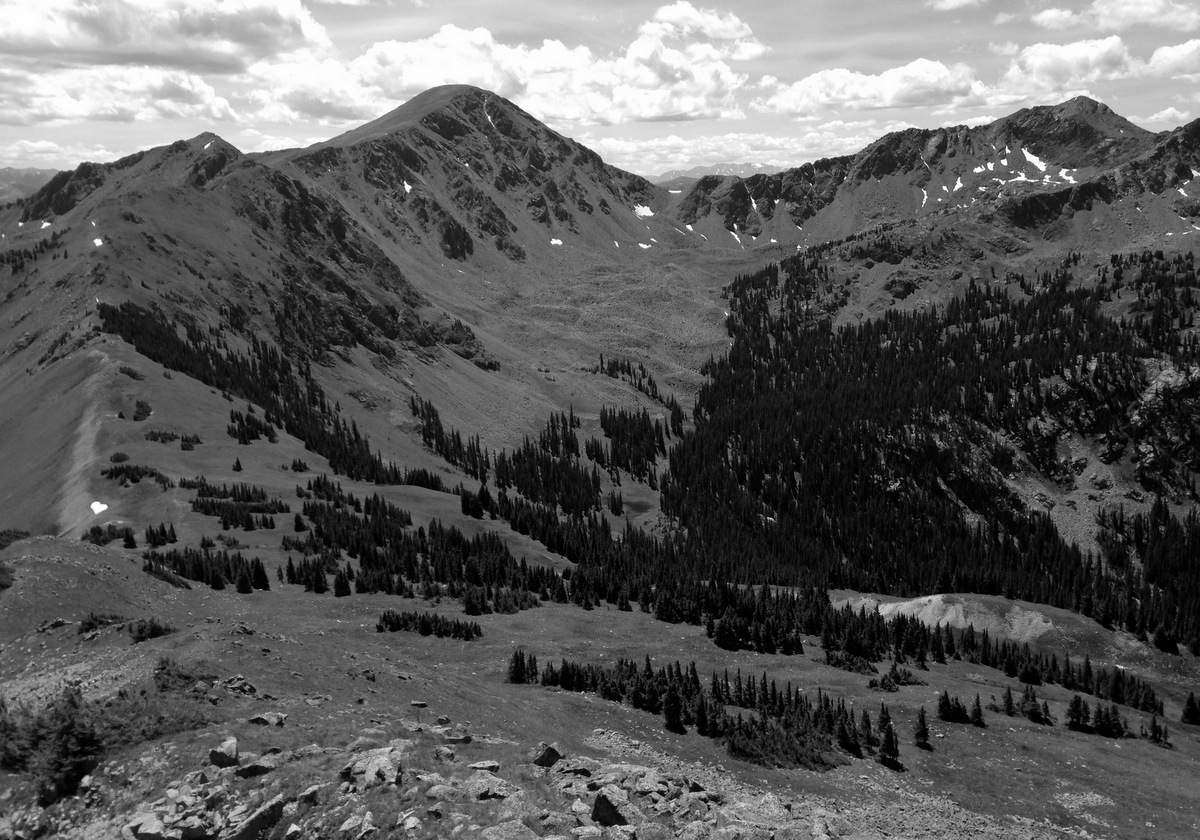
Kneeknocker Basin and Peak C’s northwest ridge standing tall
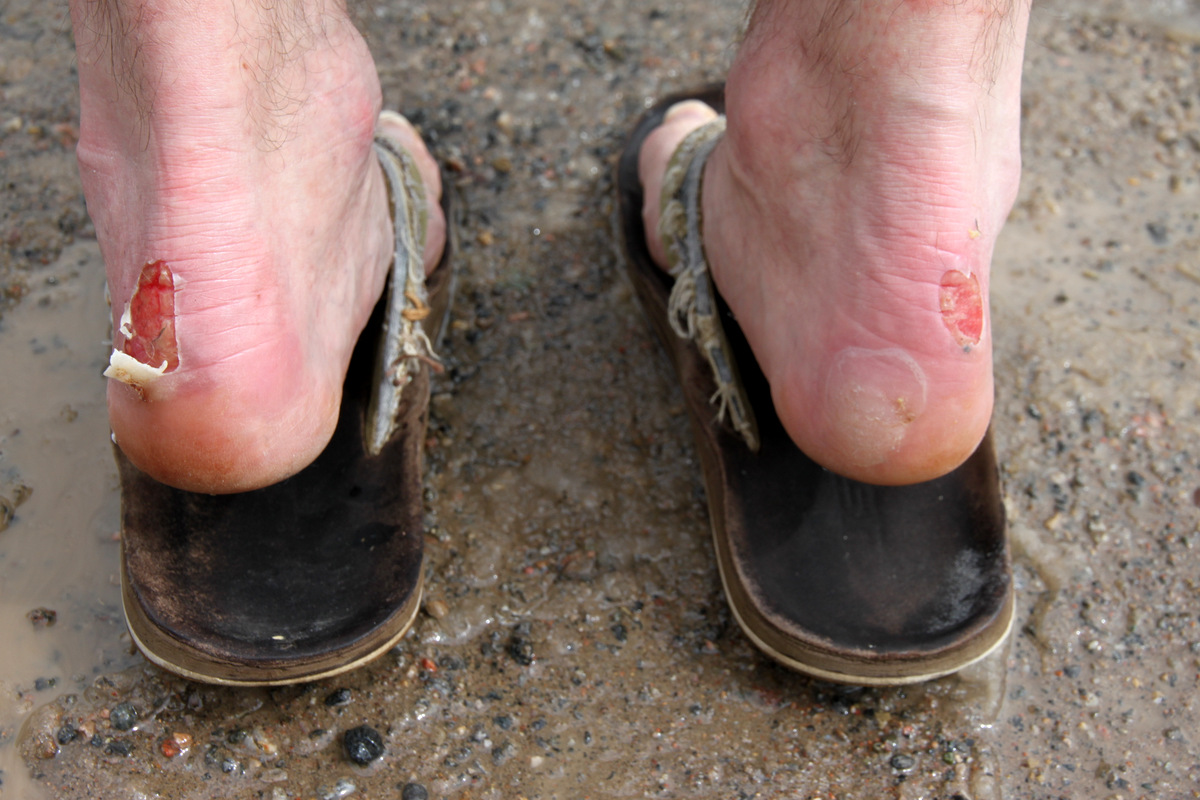
Taking a break along Piney River with John & Jennifer and soaking the feet
We arrived back at the trailhead around 4pm and promptly headed on out back to Vail. A great day out in the northern Gore on some familiar peaks yet up some new routes. Just perfect. I told Kristine now that I know the details of the northwest ridge route up Peak C, she and I will go back for sure. She will totally enjoy it as we found it to be a very moderate and fun technical alpine route in our favorite range.


 Follow