I haven’t seen much beta (any really) on this section of ridge in the Gores dubbed “The Saw”, so figured I’d include some text and pictures for those wanting to get some isolation and solitude in the middle of Colorado’s best range. Having scrambled Ripsaw Ridge from Peak C to Peak G last Fall, I wanted to see what Peak H and beyond had in store. I’ve heard many different opinions on where Ripsaw officially ends, whether at Peak H, Peak J, West Partner, or Frisco. Well, who knows…its all subjective. However, I like to get names right when possible and per Gore Galore on this site and his information from Robert Ormes “The Saw” is indeed the ridge from Peak H to Peak J, Peak J to Peak P doesn’t officially have a name, and Peak P to West Partner is “Rockinghorse Ridge” given it’s name by the four distinct towers on West Partner’s north ridge. Personally, I like Ripsaw Ridge ending with Peak H, The Saw from Peak H to Peak J and then onto Peak P since it’s all very similar ground (endless towers), and Rockinghorse Ridge starting from Peak P to West Partner. Peak H seems like a natural barrier and distinction between Ripsaw & The Saw since the ridge drops considerably in elevation south of Peak H. Nevertheless, the plan was to traverse The Saw & Rockinghorse Ridge from Peak H to West Partner and camp another night in Upper Piney Lake basin. However, the mosquitos were so bad and we were so not prepared for them that we had to get out that day. We aborted on Rockinghorse Ridge and descended between Peak P & West Partner. Rockinghorse Ridge will have to wait a bit longer.
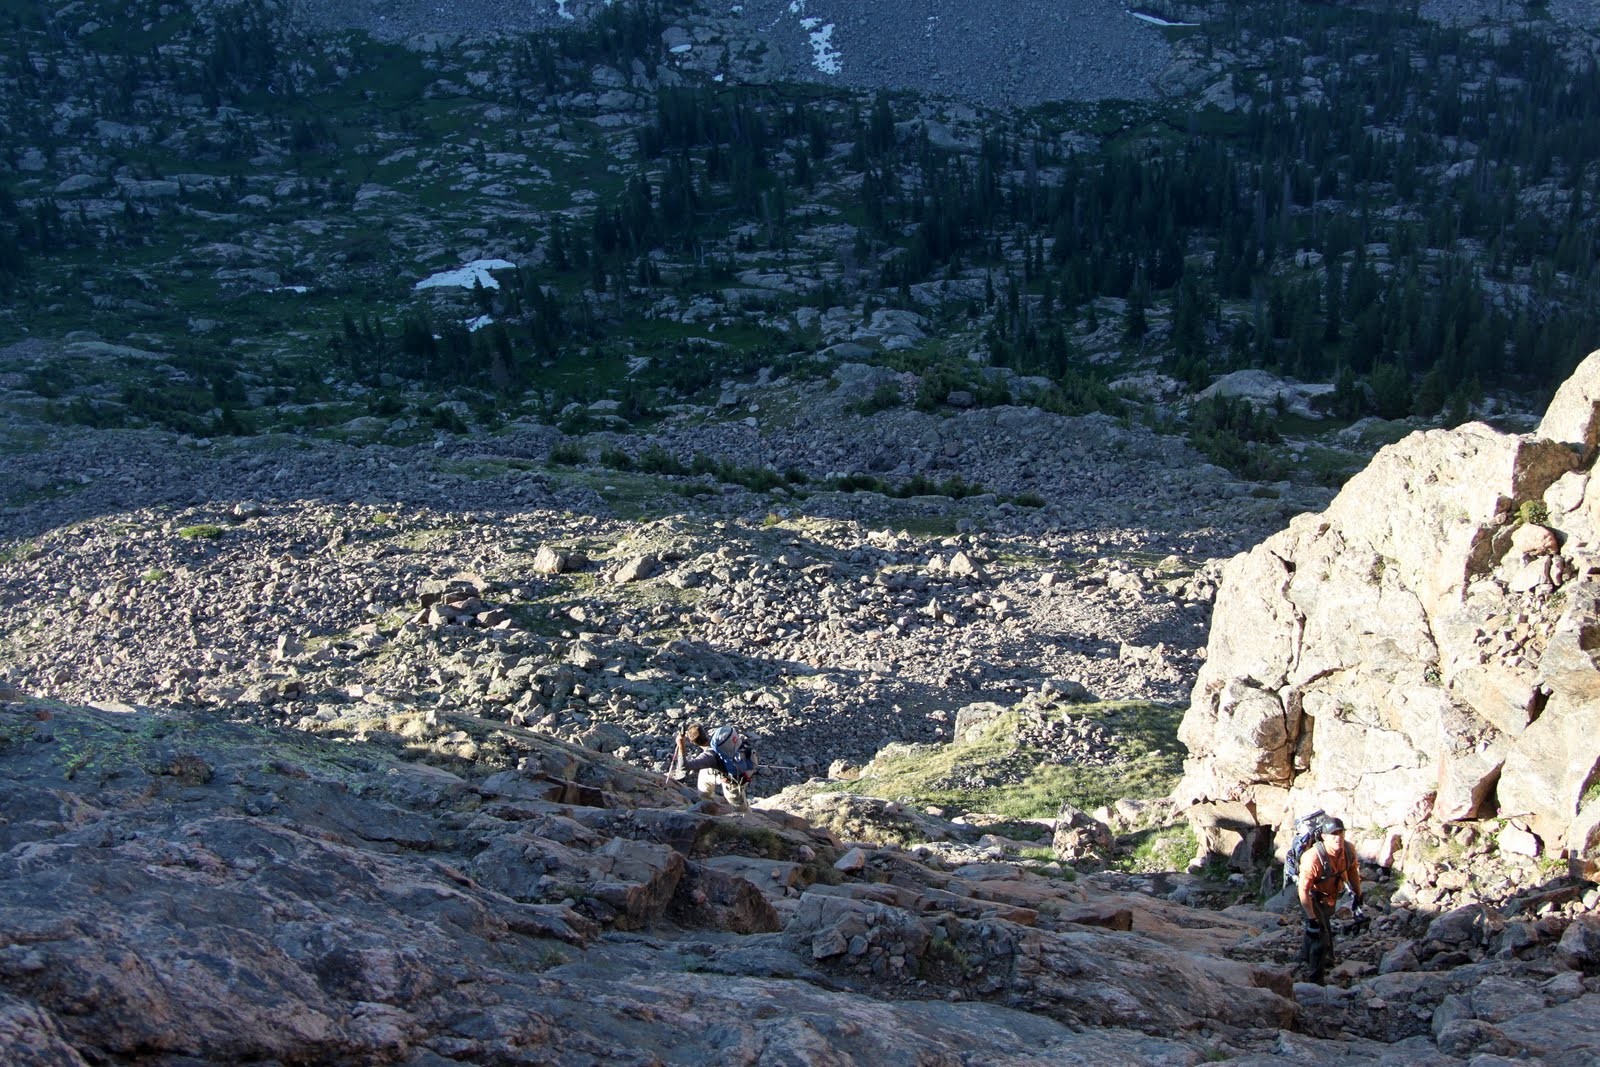
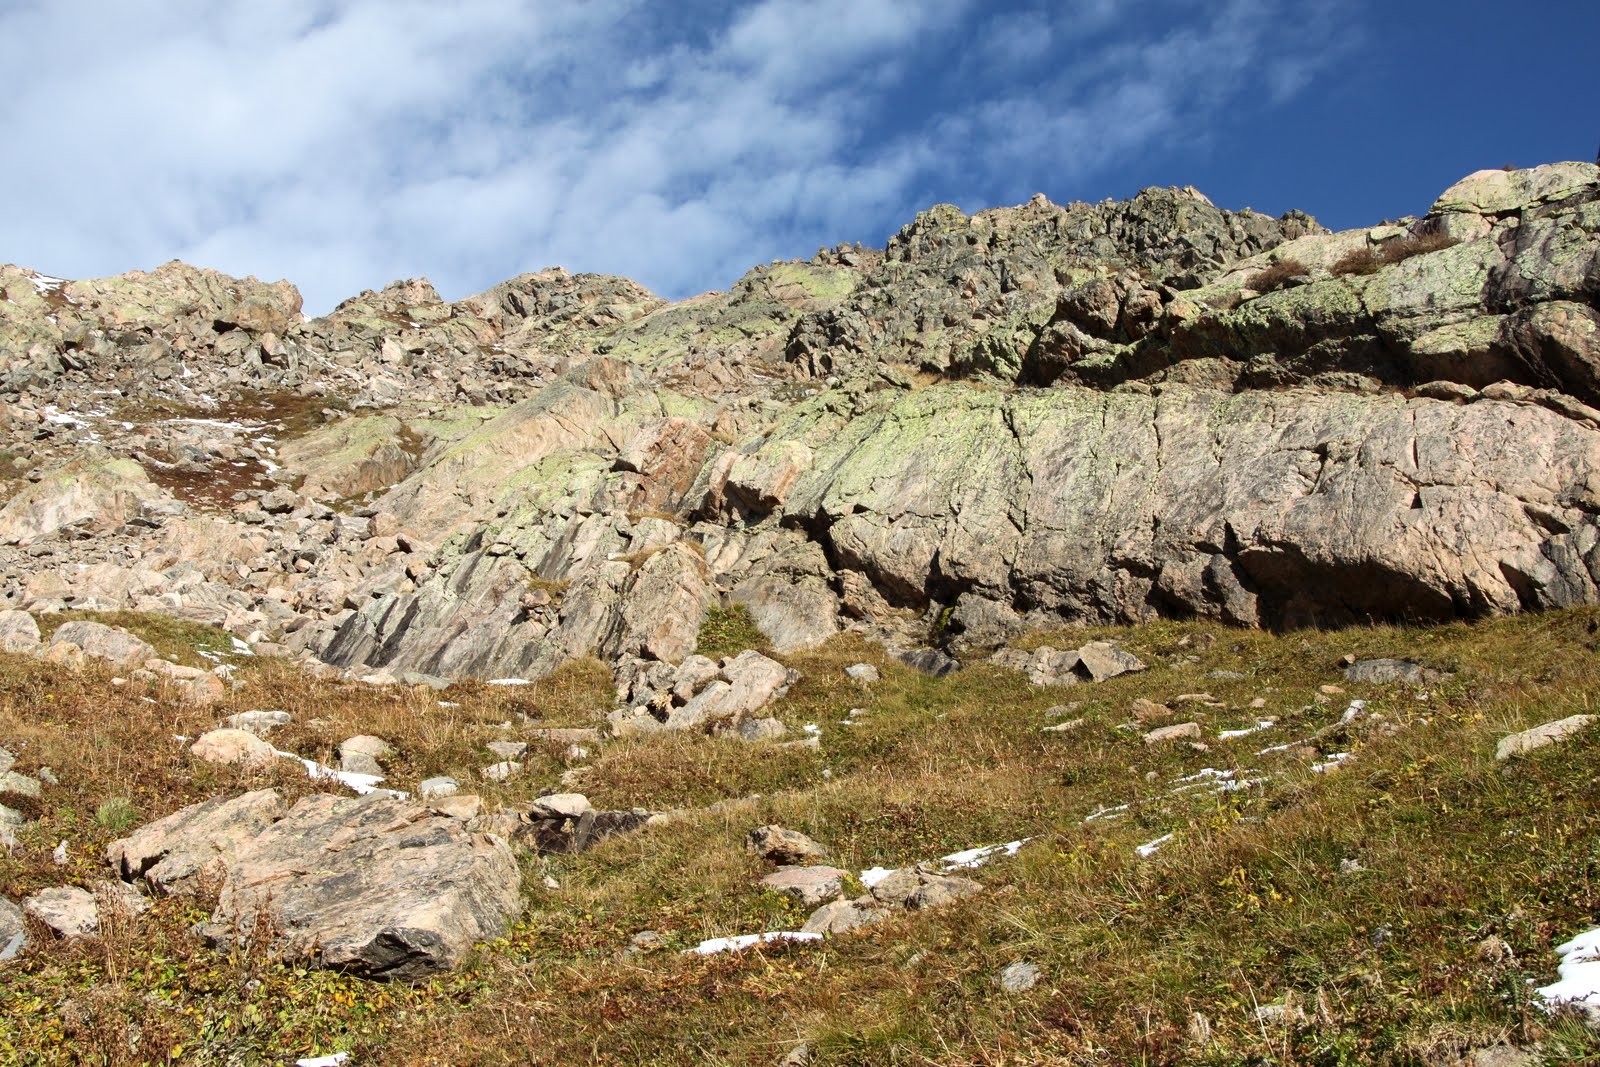
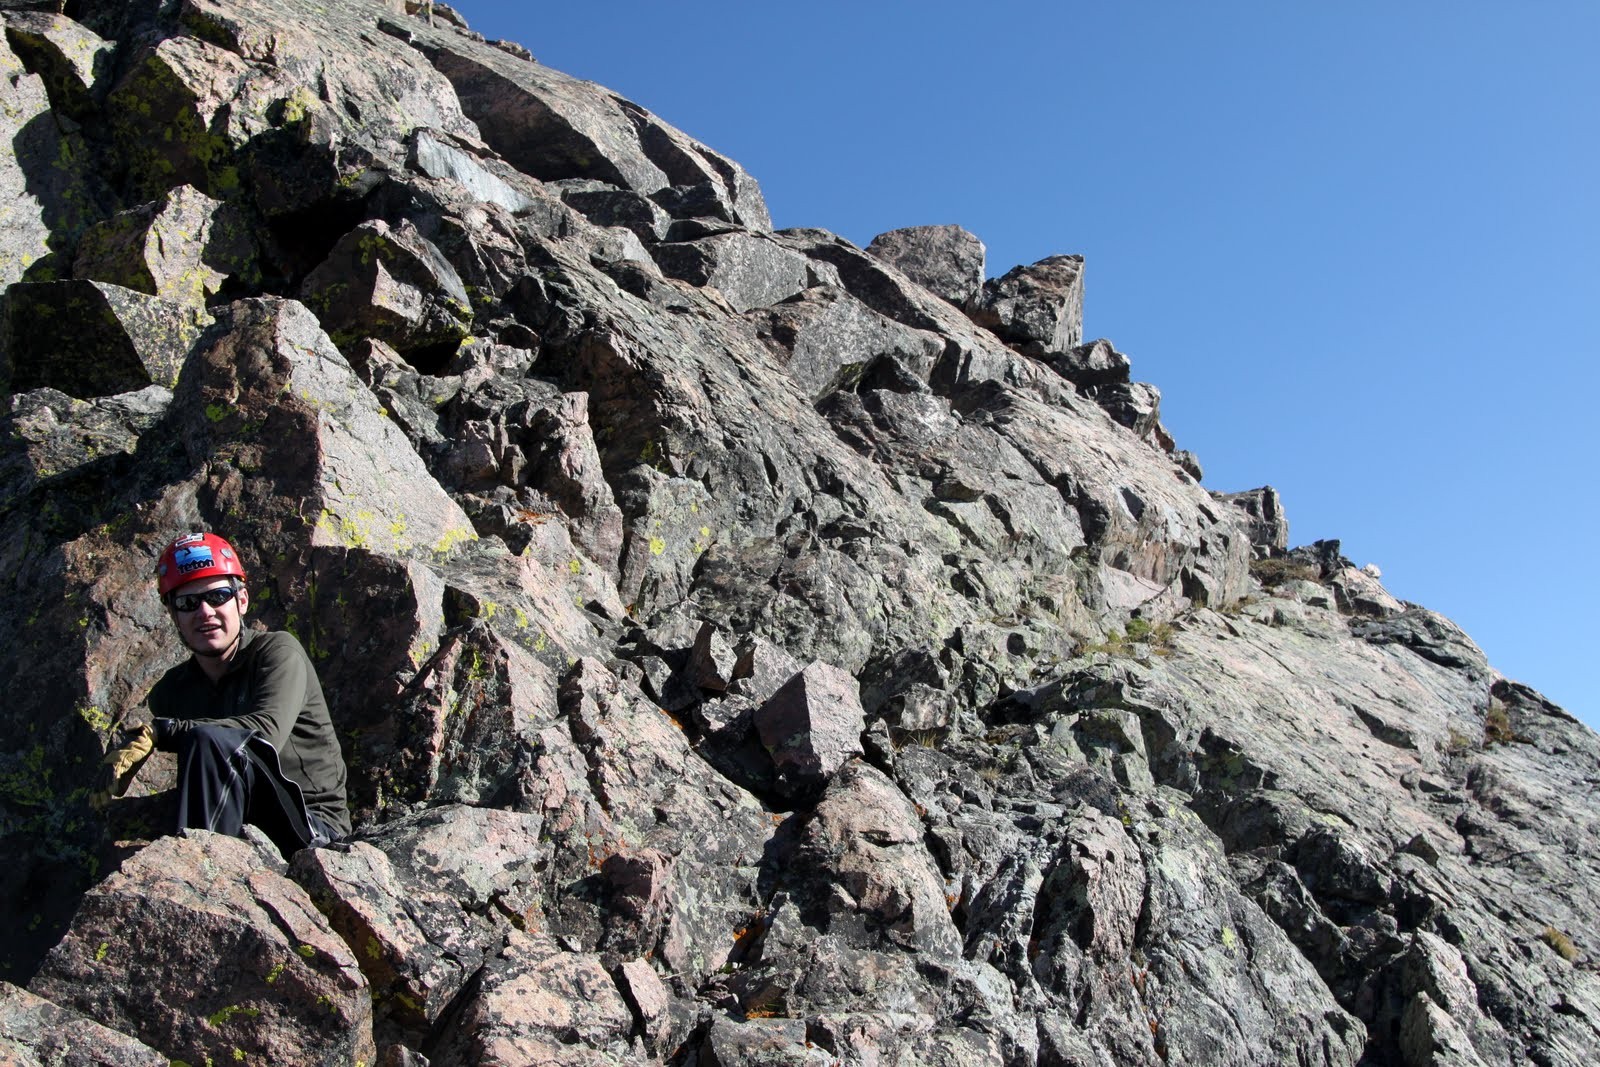
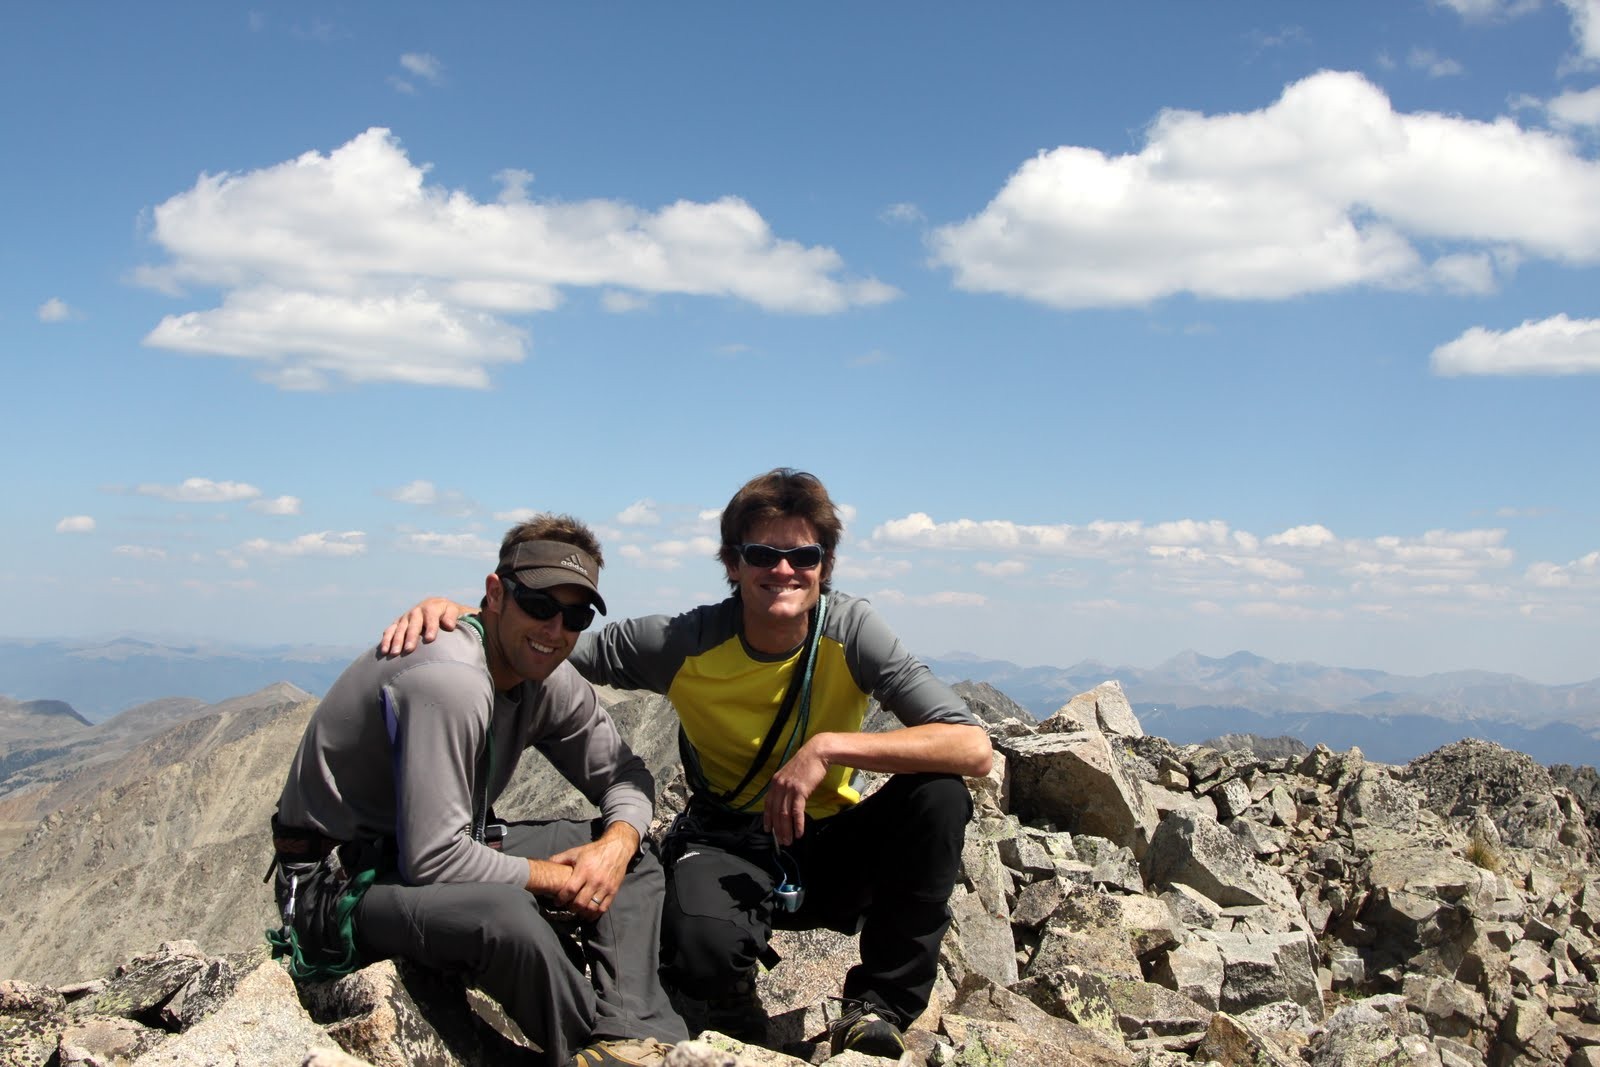
I’ve wanted to get back into the Gores asap after some Casacades ski mountaineering ventures and taking some folks on the Gore Grand Traverse 2 weeks prior. My good friends J, Chuck, and Baba (who used to live in Vail but had flown in from New Hampshire the day before) and I packed up and made the long backpack into the Upper Piney River Basin from Piney Lake on a late Friday afternoon. I’ve only ever been as far as the Peak C southwest couloir turnoff, so heading further south on the faint Upper Piney Lake trail towards the base of the Spider’s north face was a treat. We eventually found a vague horsepack trail that led in the direction we wanted to go, i.e. the Upper Piney River Basin. After some steep side-hilling, we leveled out and broke out of treeline into the swampy upper basin before Upper Piney Lake. Not having brought any mosquito repellant, no tent, and b/c of the fire ban, our battle with the horrendous mosquitos was fully on. I’ve been in some bad areas for mosquitos (the worst before this was in the Winds attempting Gannett Peak way back in high school). But, this took the cake. It was absolutely horrendous, so we set up our bivouac high on a good slab of rock, ate our burritos, and got in our sleeping bags fast. I haven’t slept much worse than I did that night, despite the gorgeous surroundings, with mosquitos biting and buzzing all night at my face. It was too warm to put my head under my sleeping bag. Up at 5am and leaving our bivy at 6:30am, we headed up the relatively easy south slopes of Peak H.

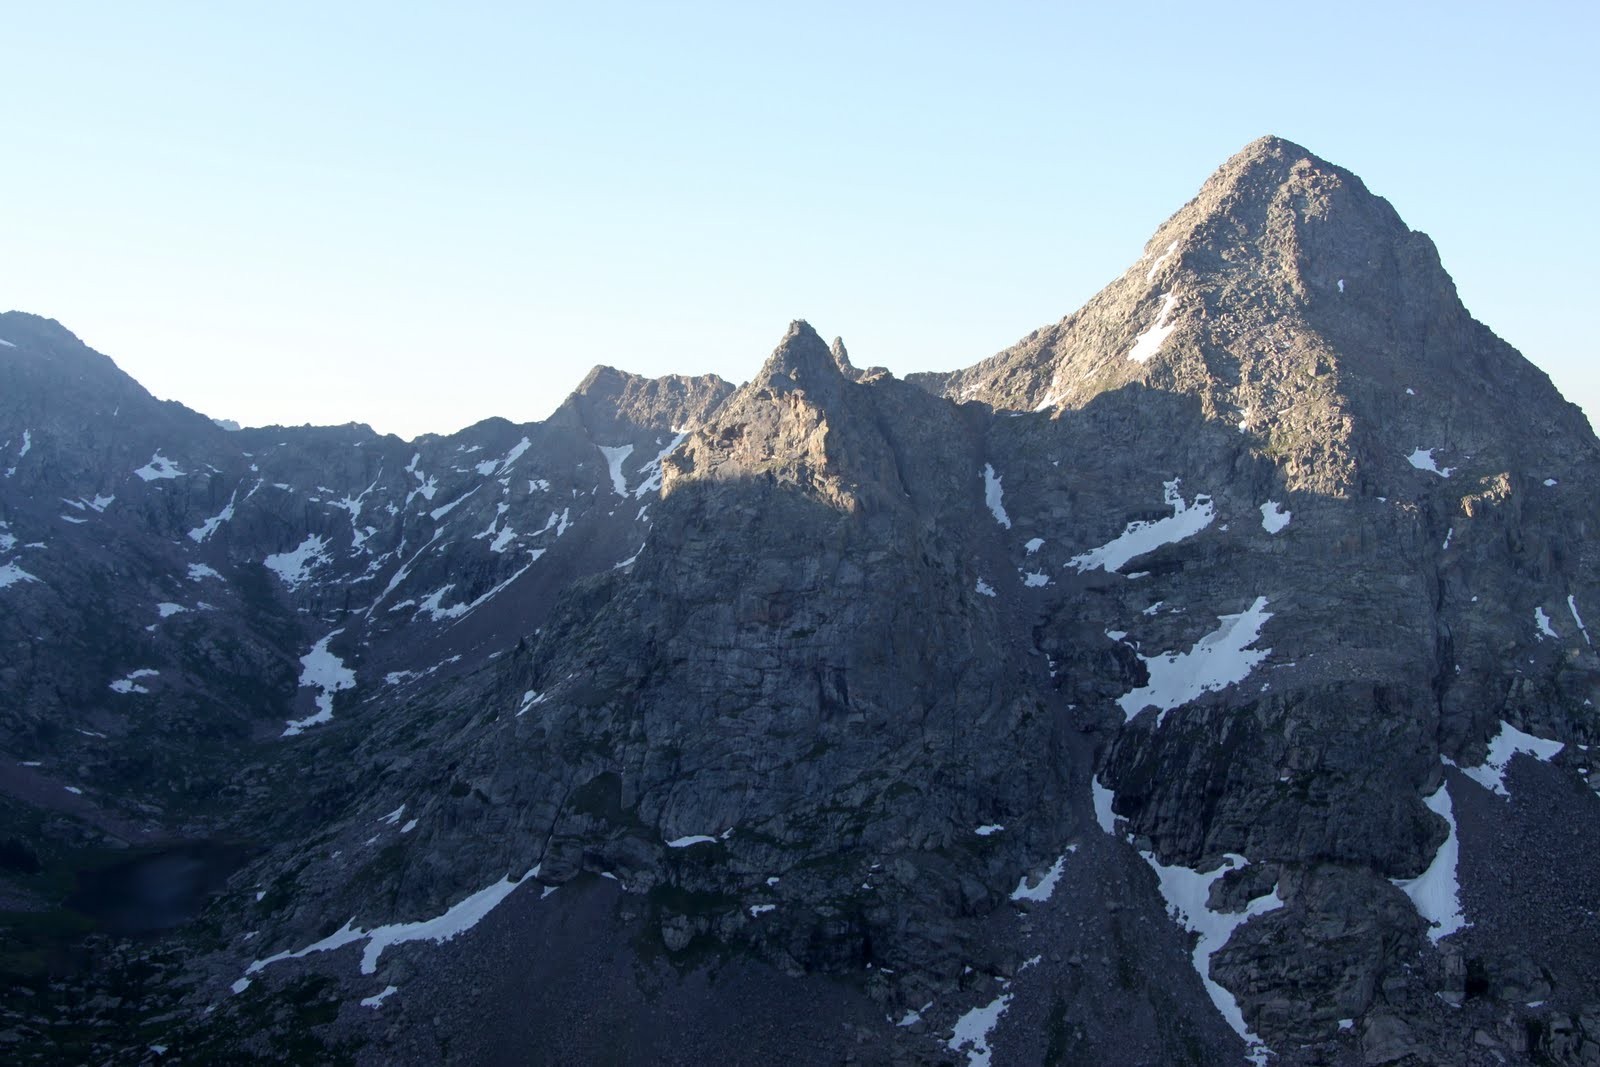
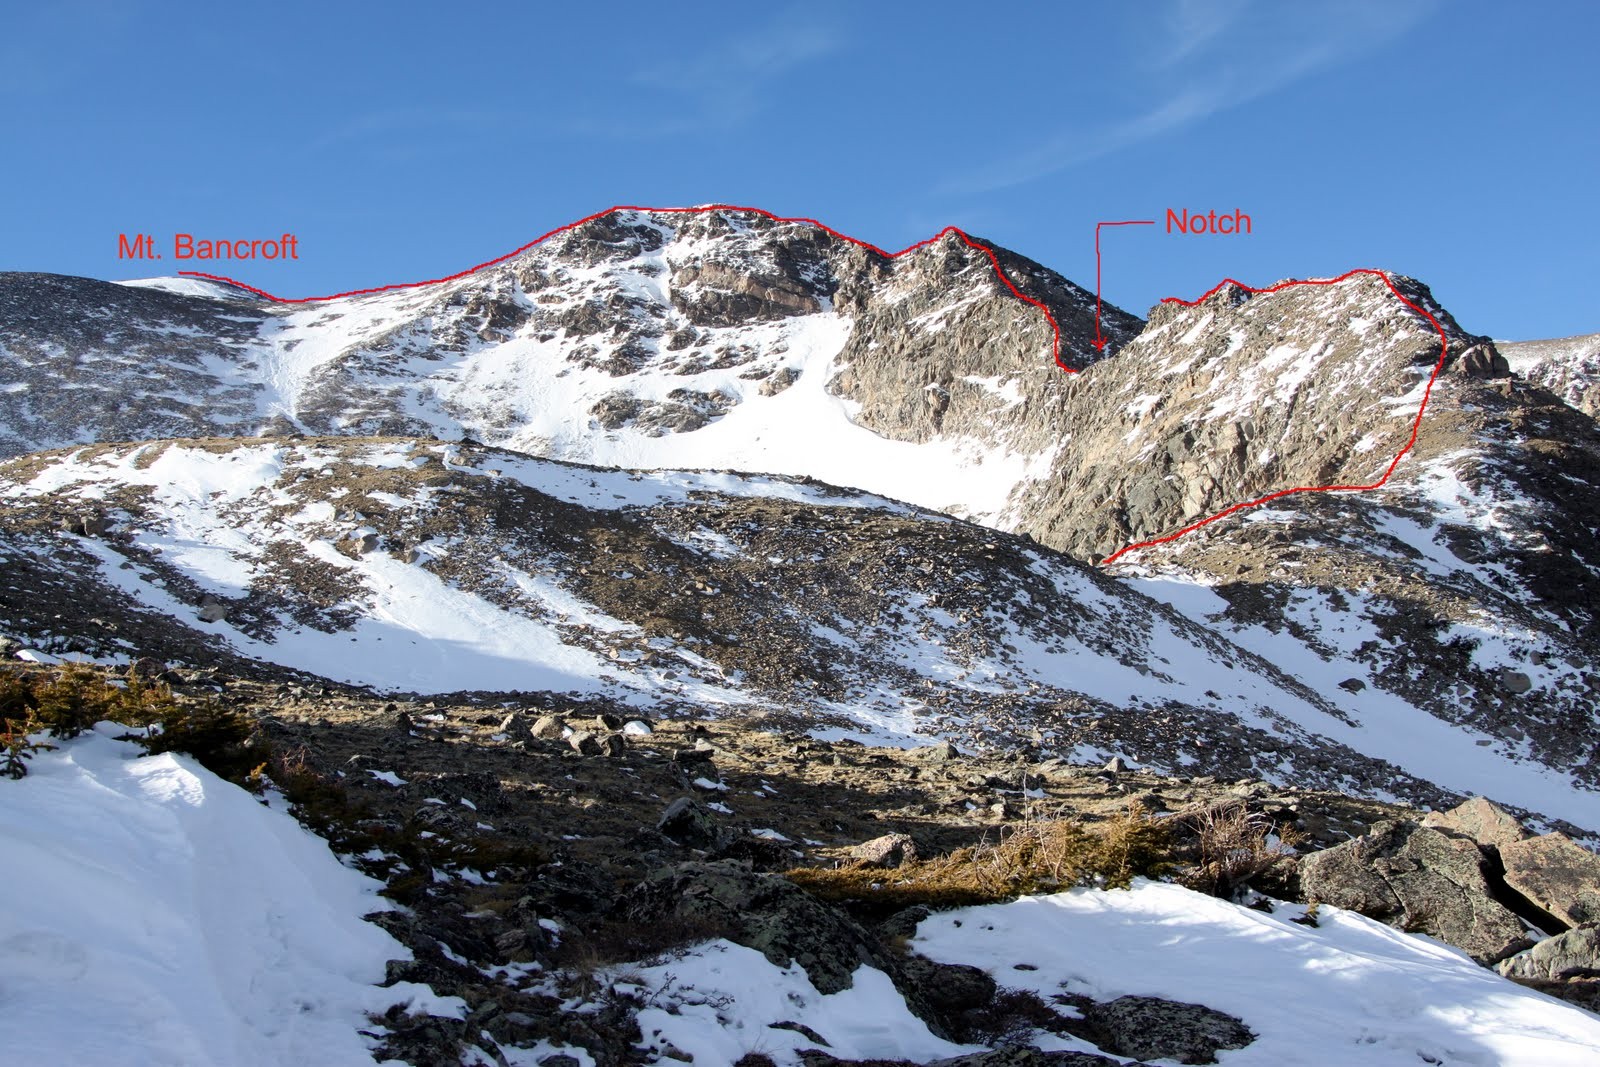
Peak 12,200′ & The Spider (12,692′) from Peak H’s south slopes
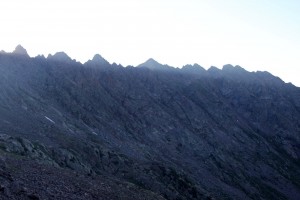
Sunrise over The Saw from Peak H’s south slopes
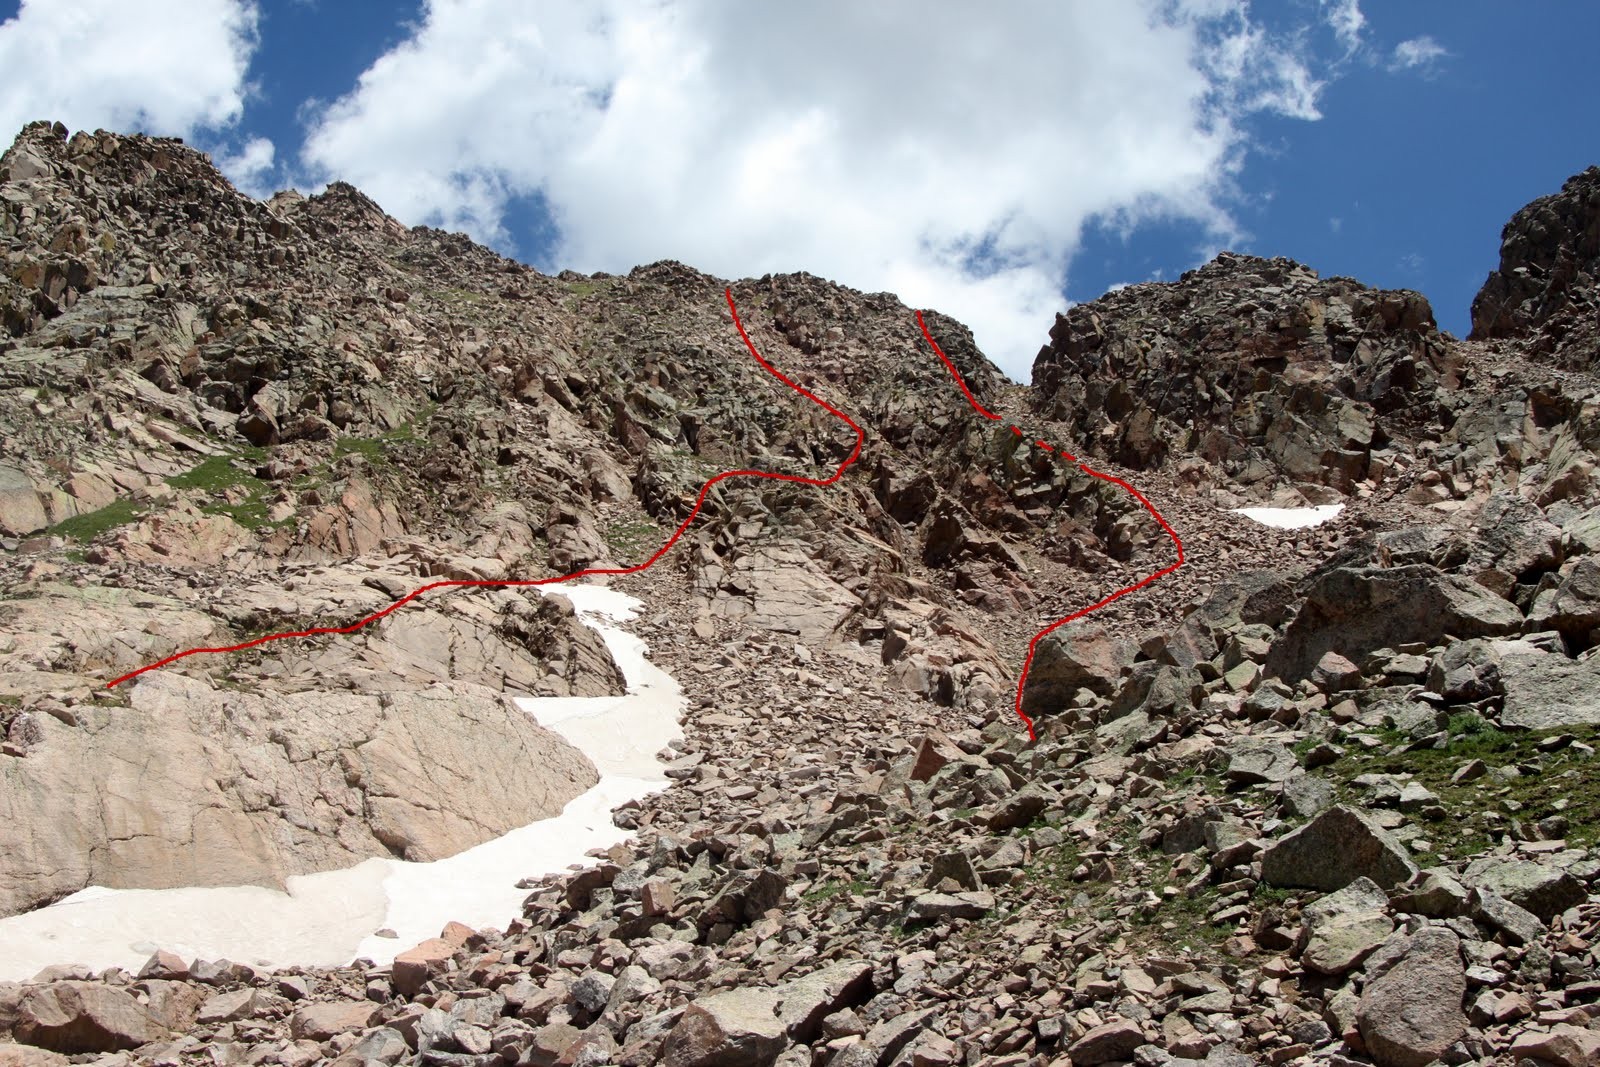
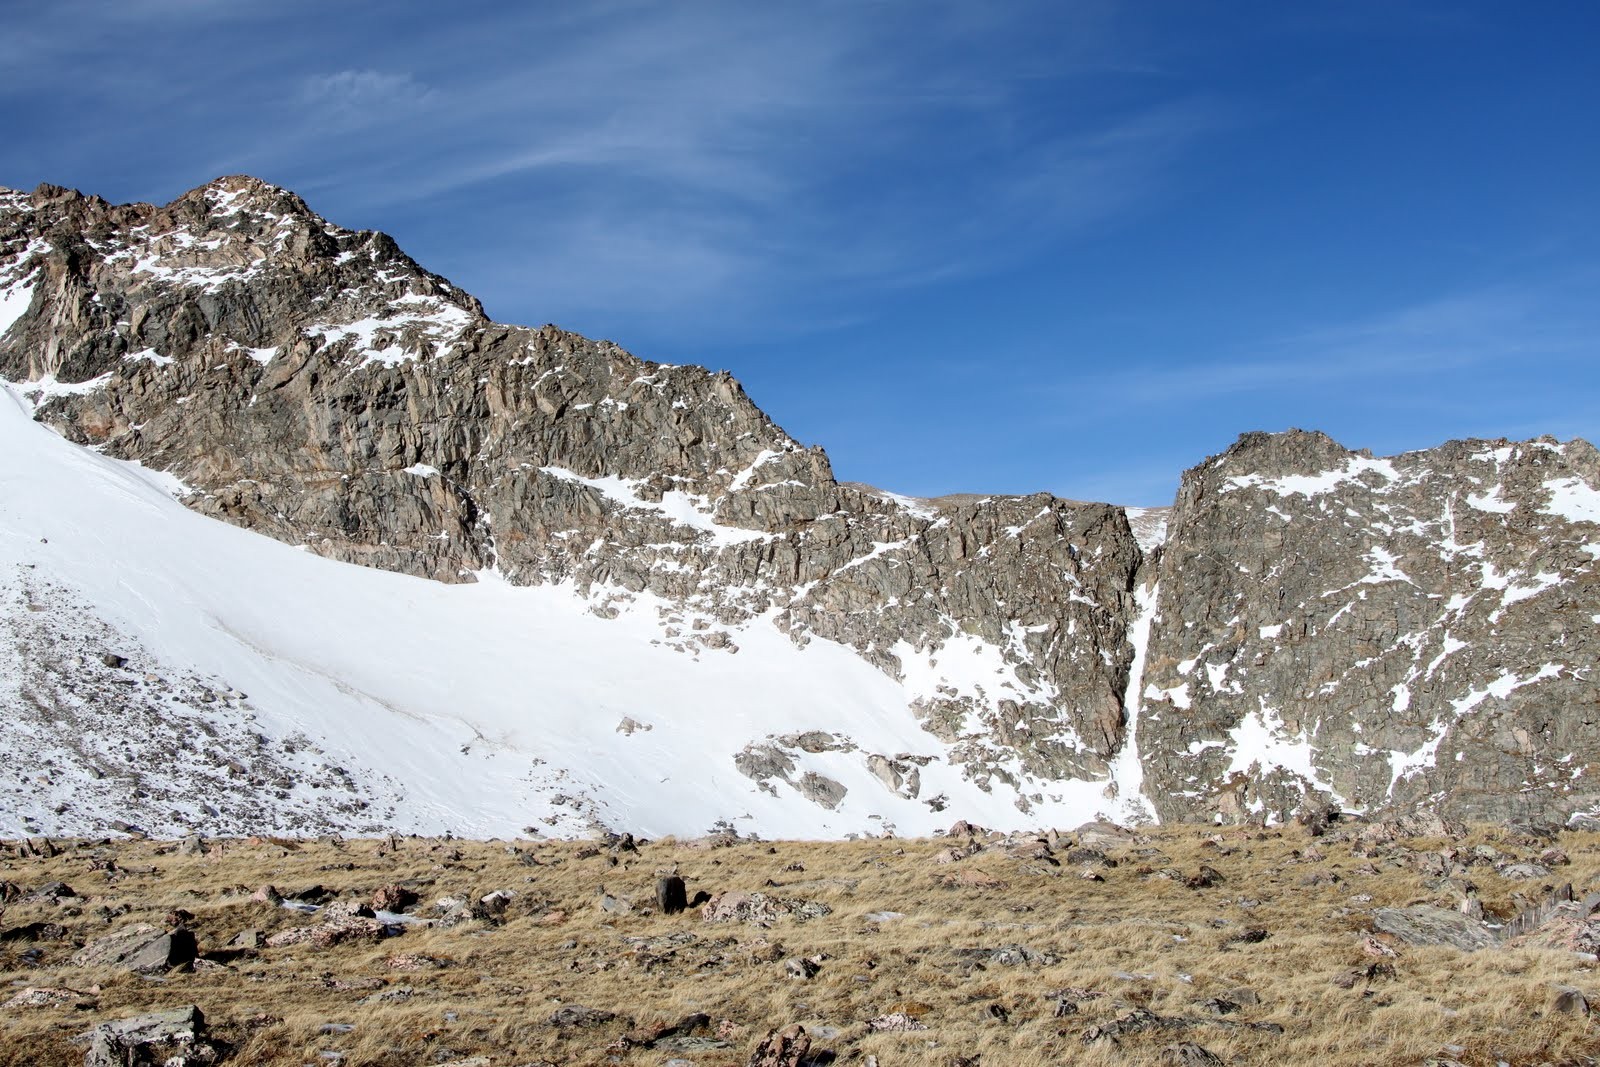
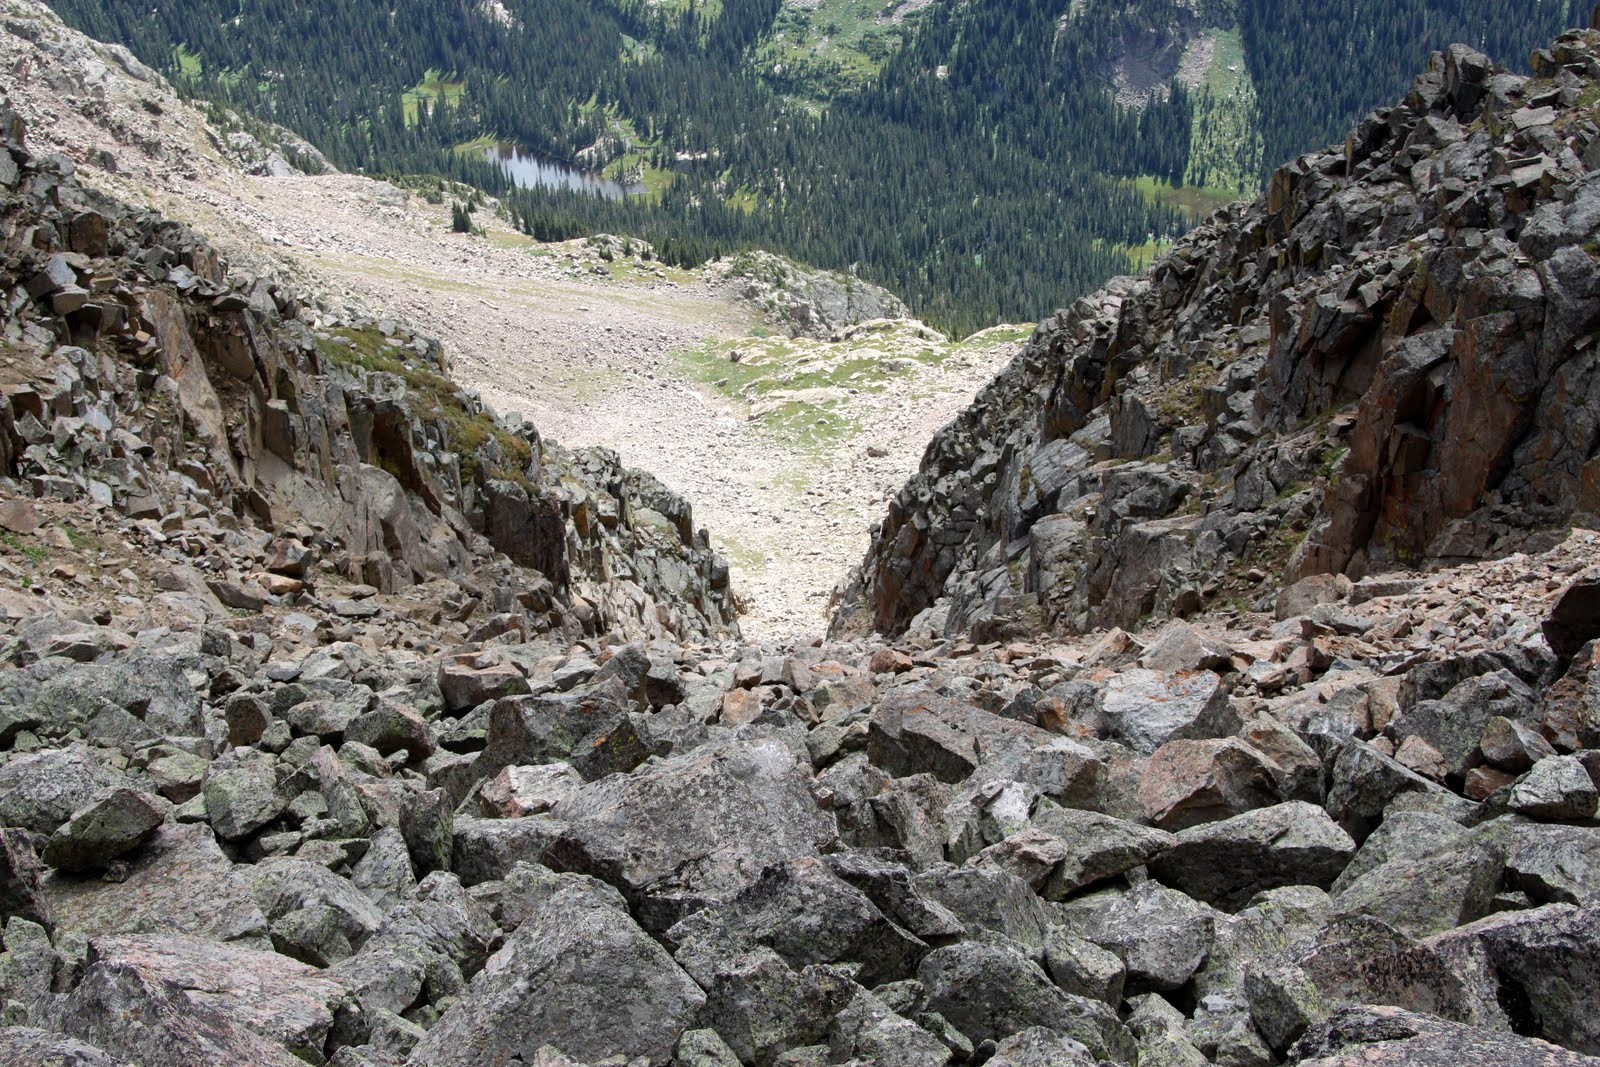
The minor class 3 gully we ascended on Peak H’s south slopes
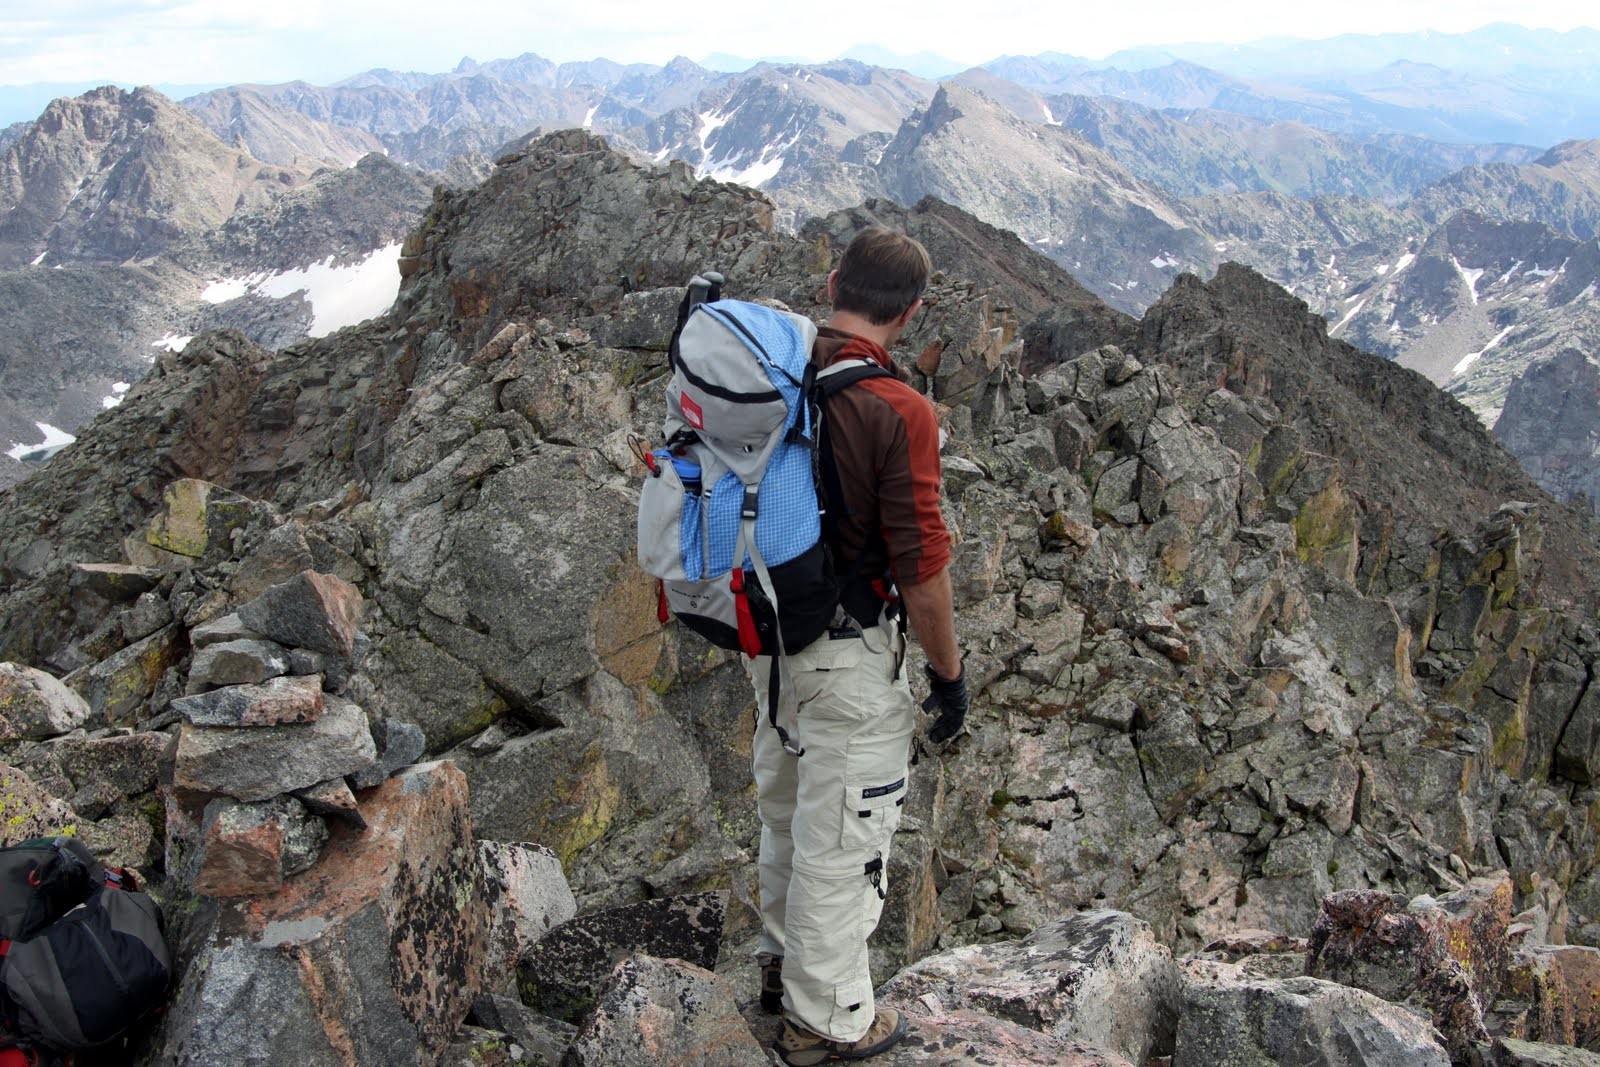
After about an hour and a half, we topped out on Peak H on a spectacular morning. Peak H has two summits separated by the top of the “Straight Arrow Couloir” dropping off to the southeast. We found a register on the north summit with a very short list of entries dating back to the early 70s. We then looked to the southeast at the intimidating ridge to Peaks J & P and beyond. However, we were very excited to begin the adventure.

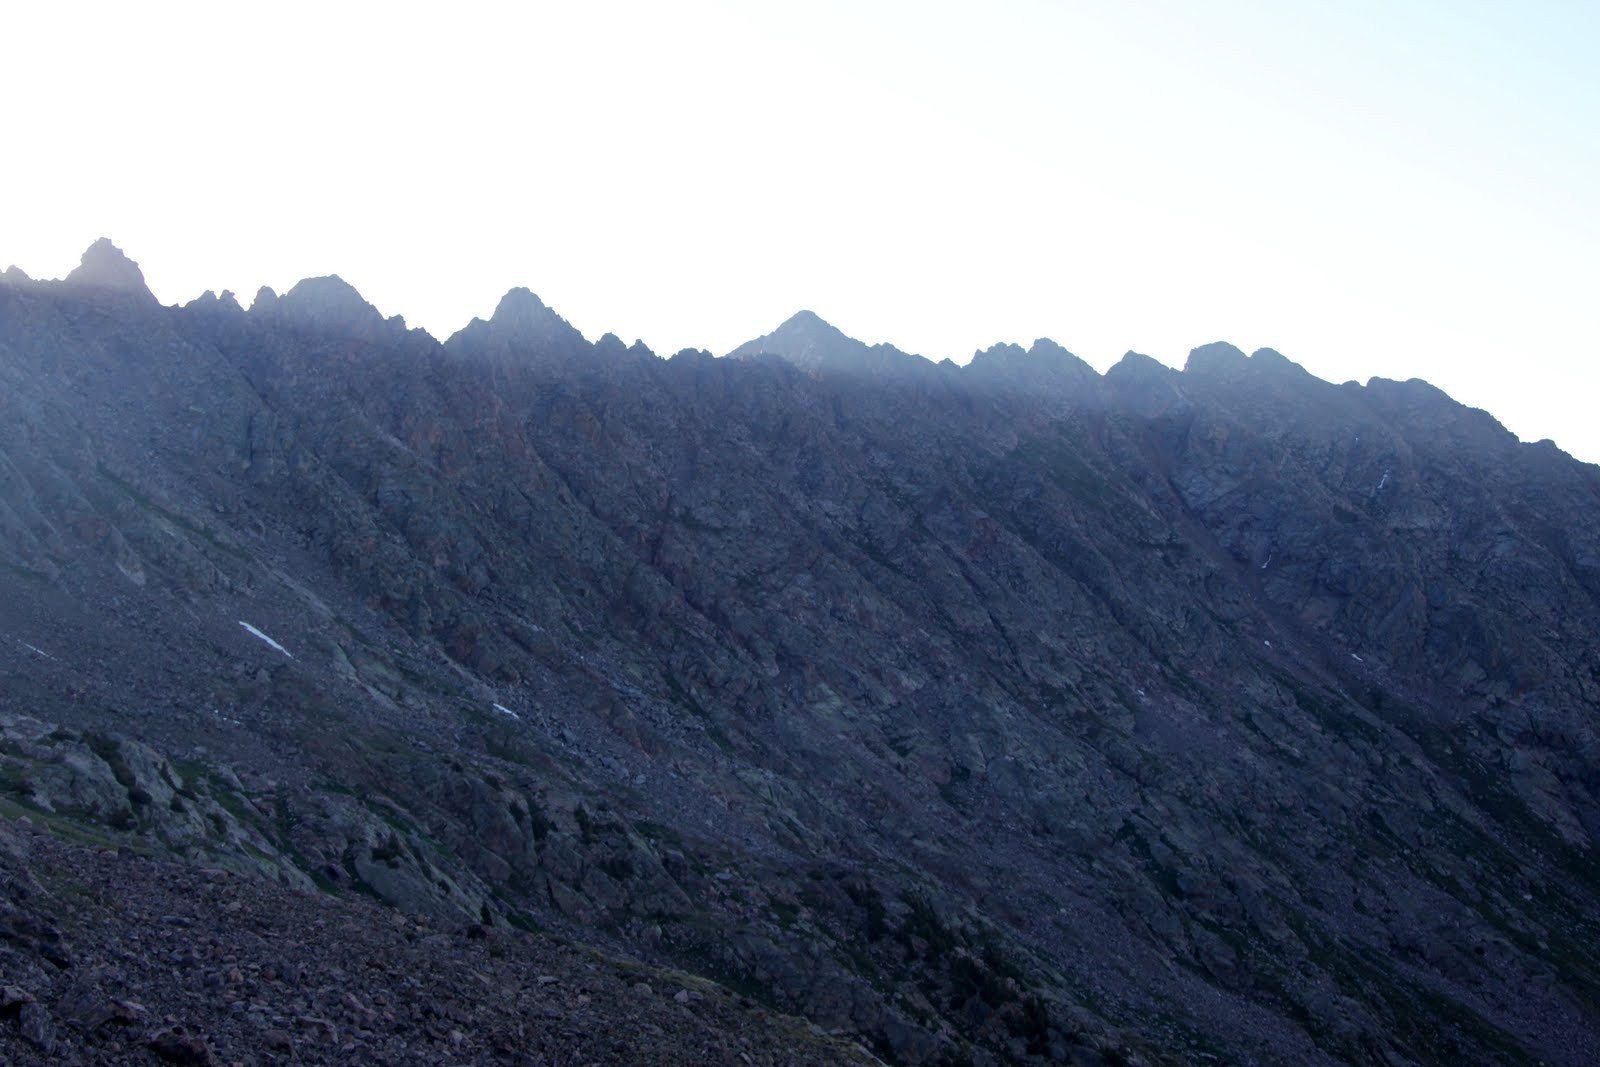
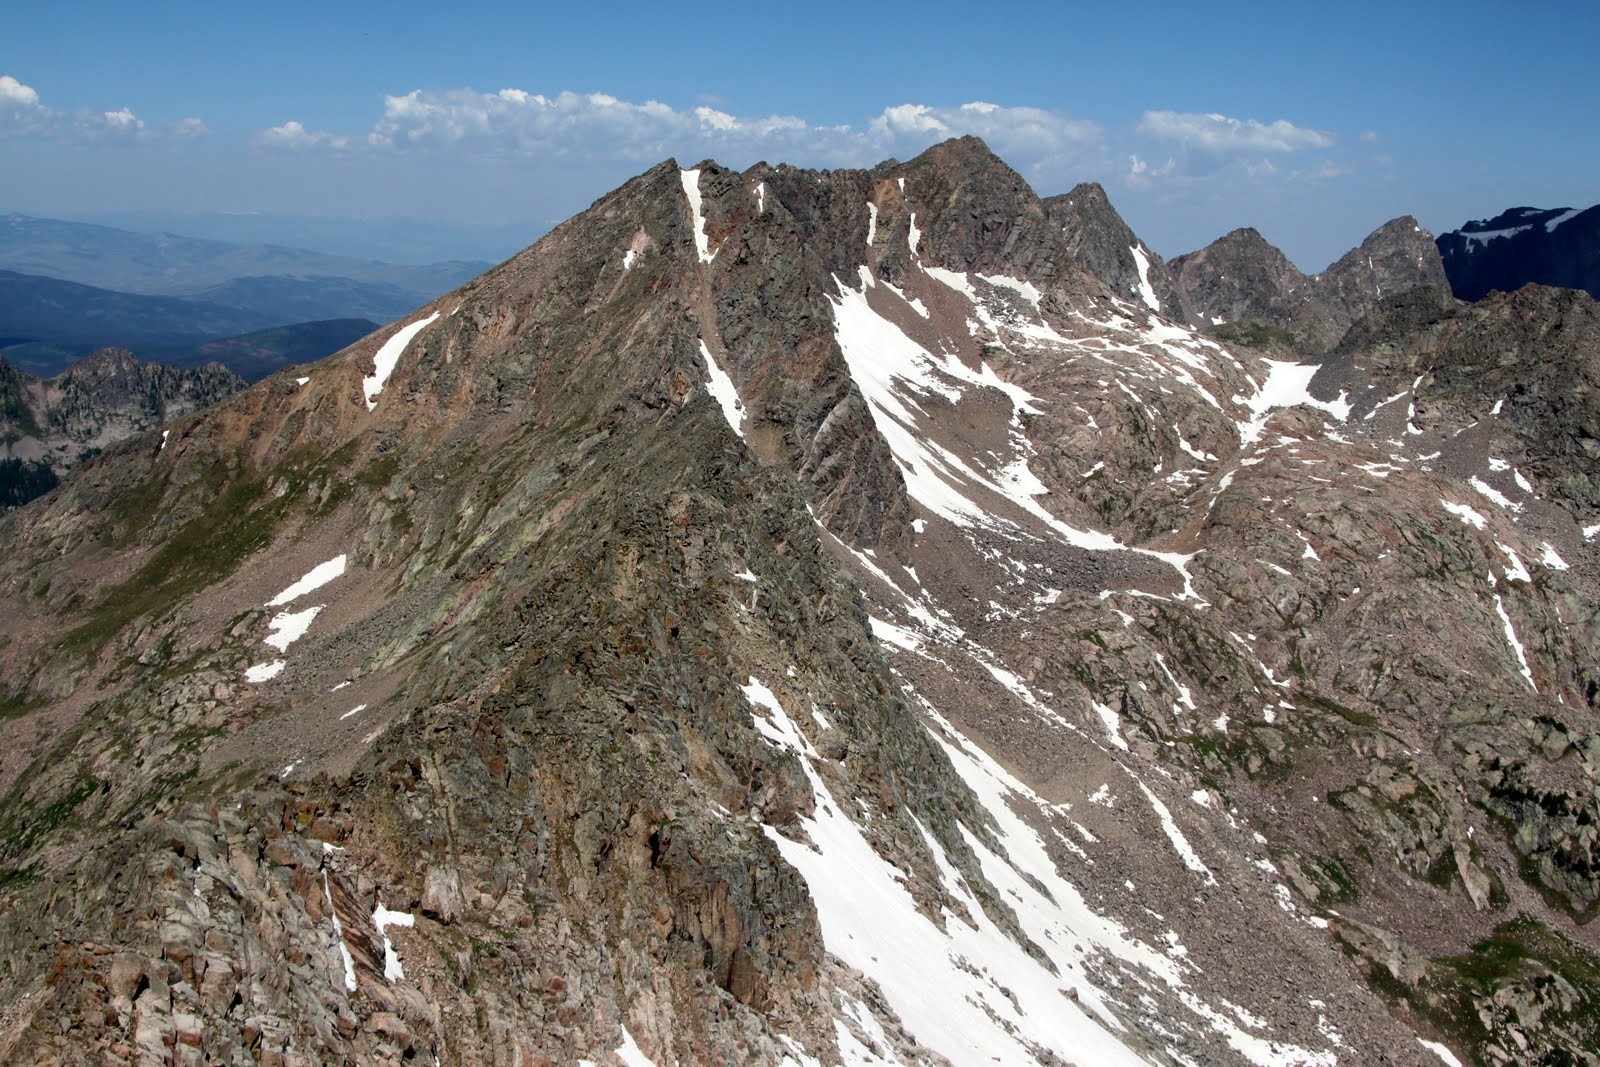
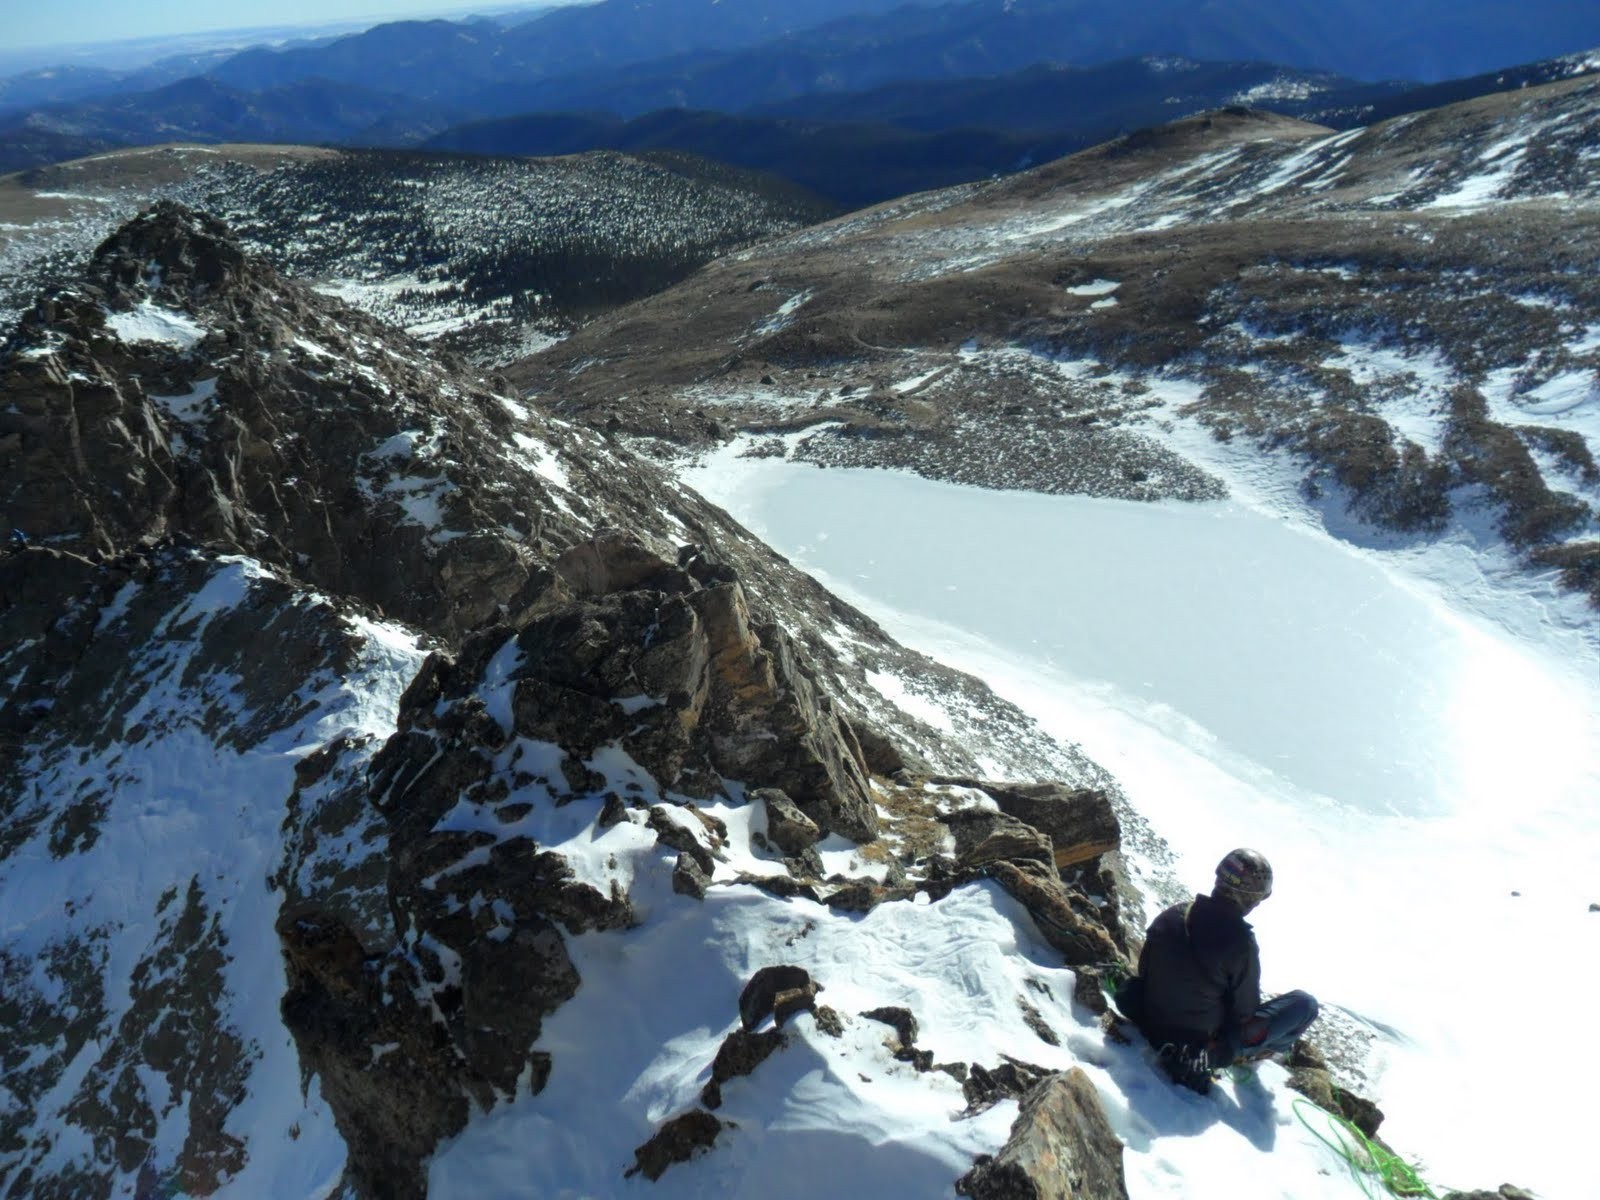
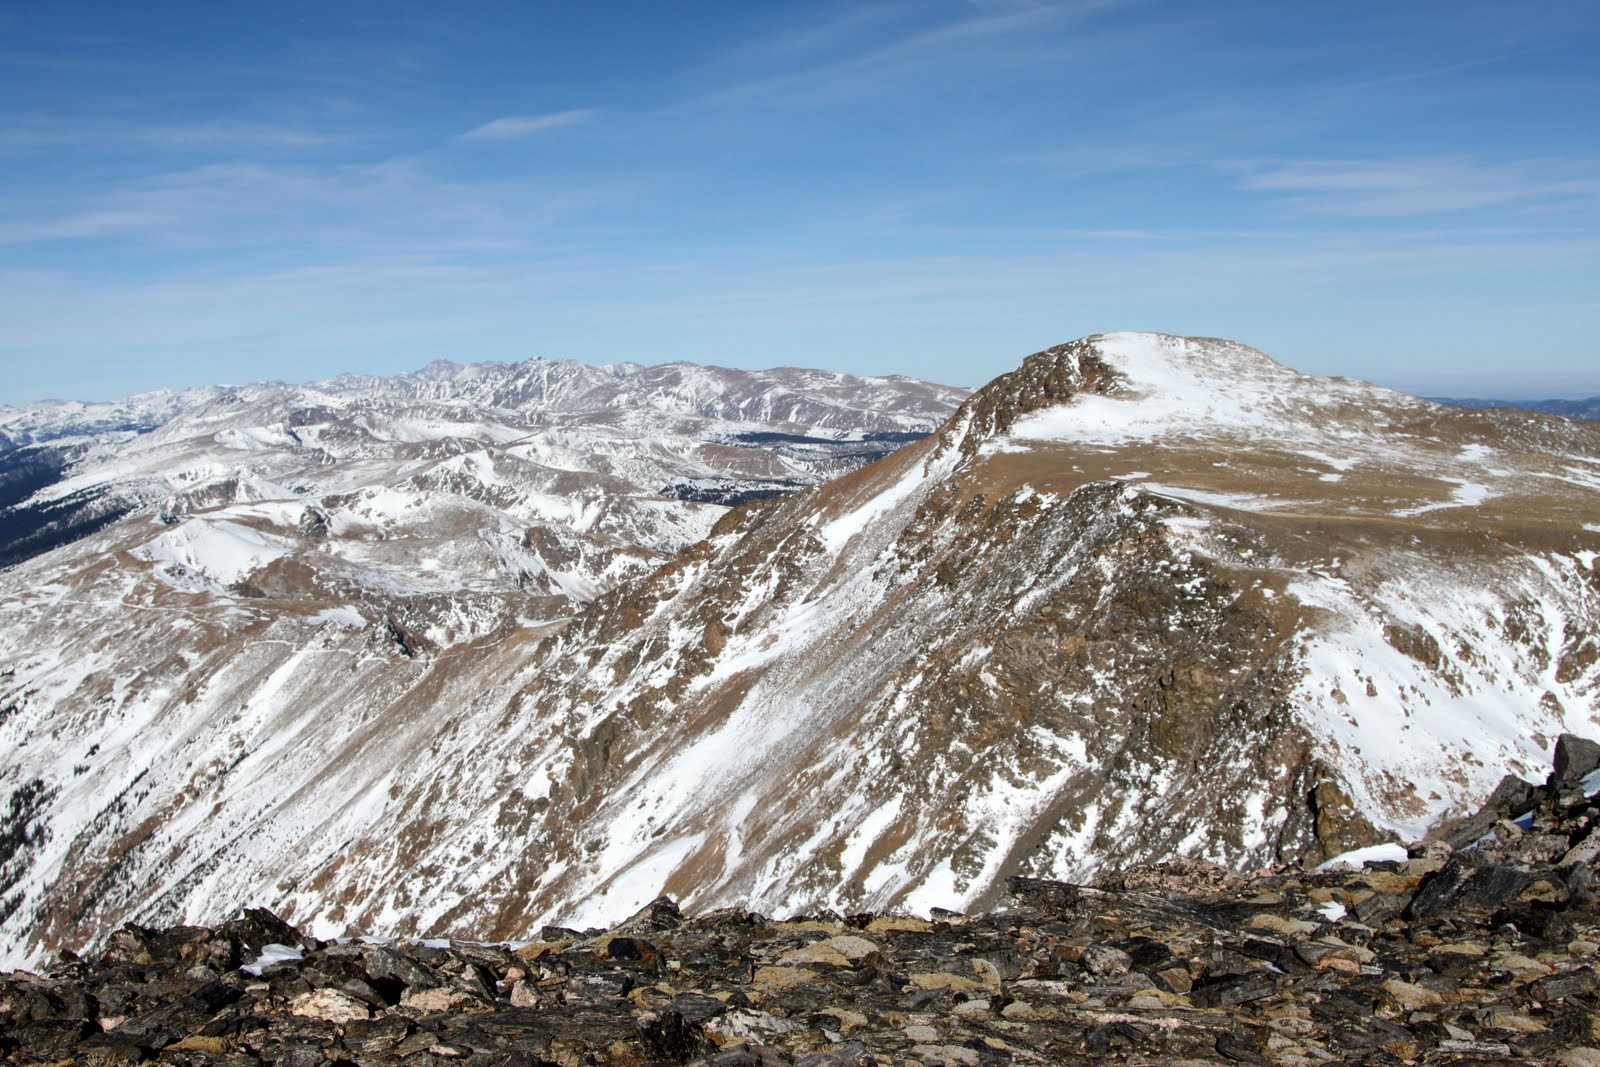
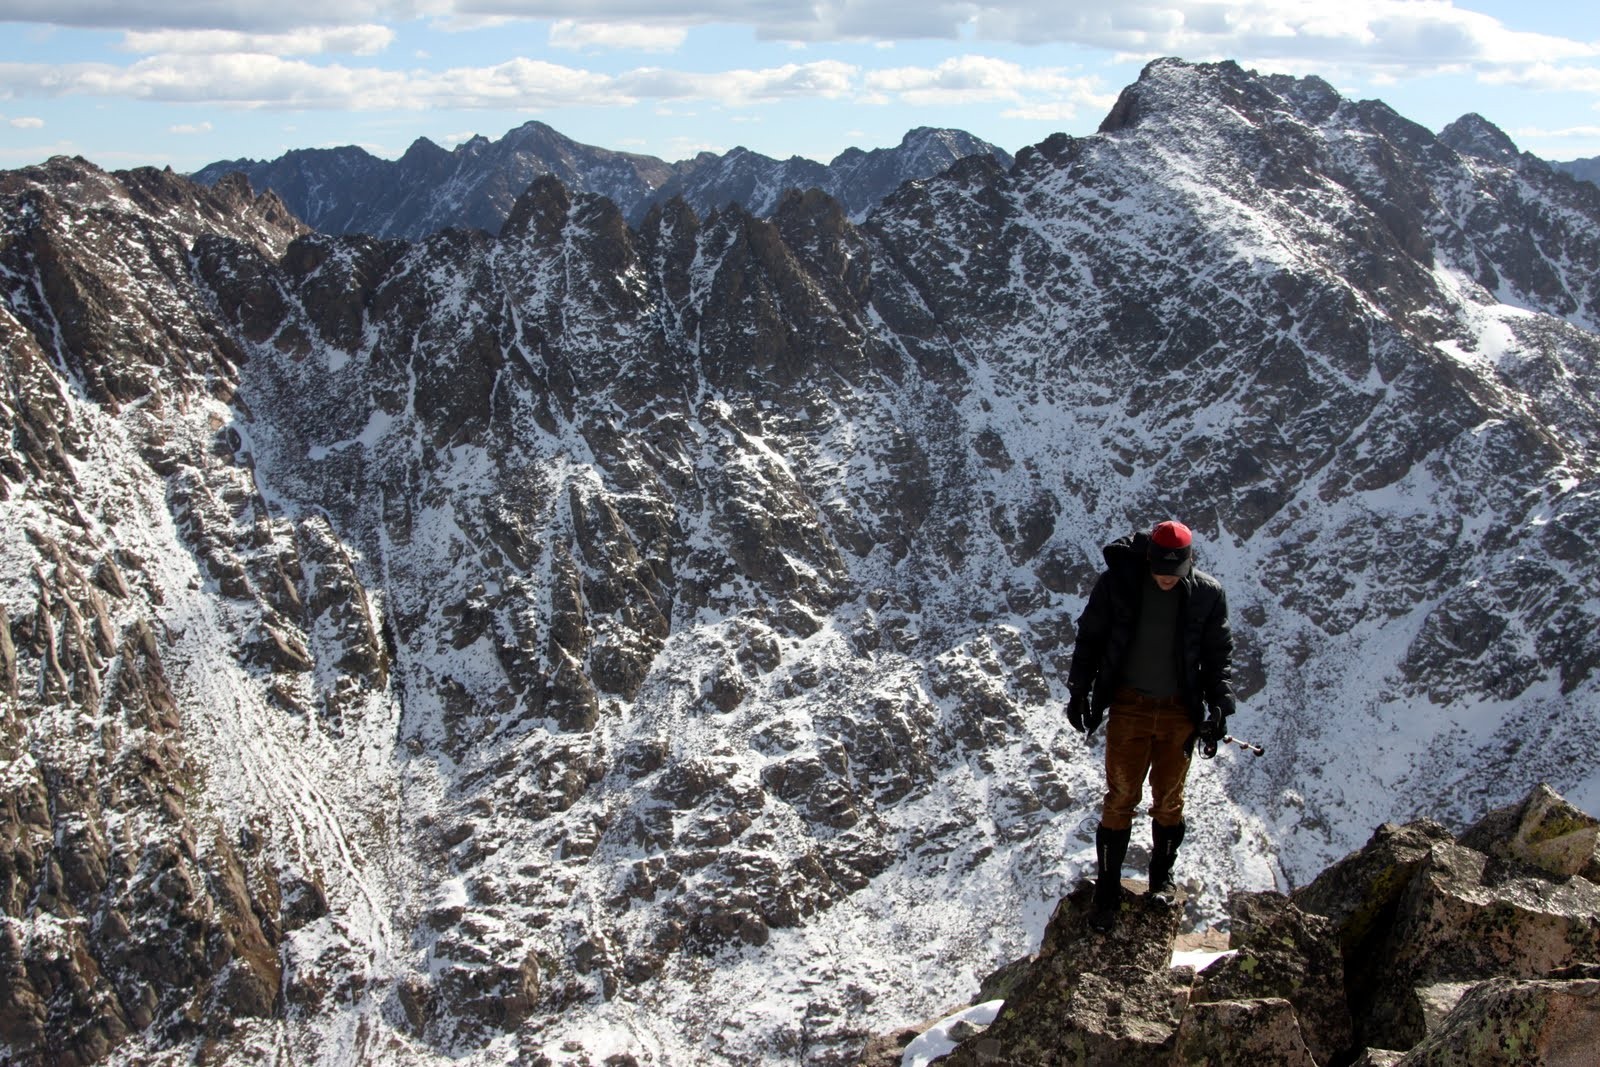
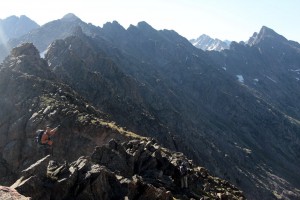
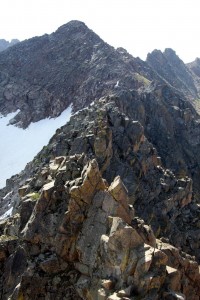
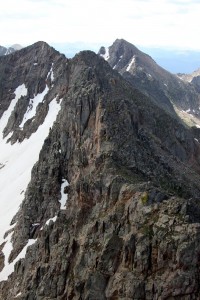
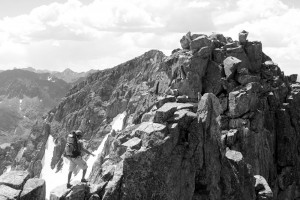
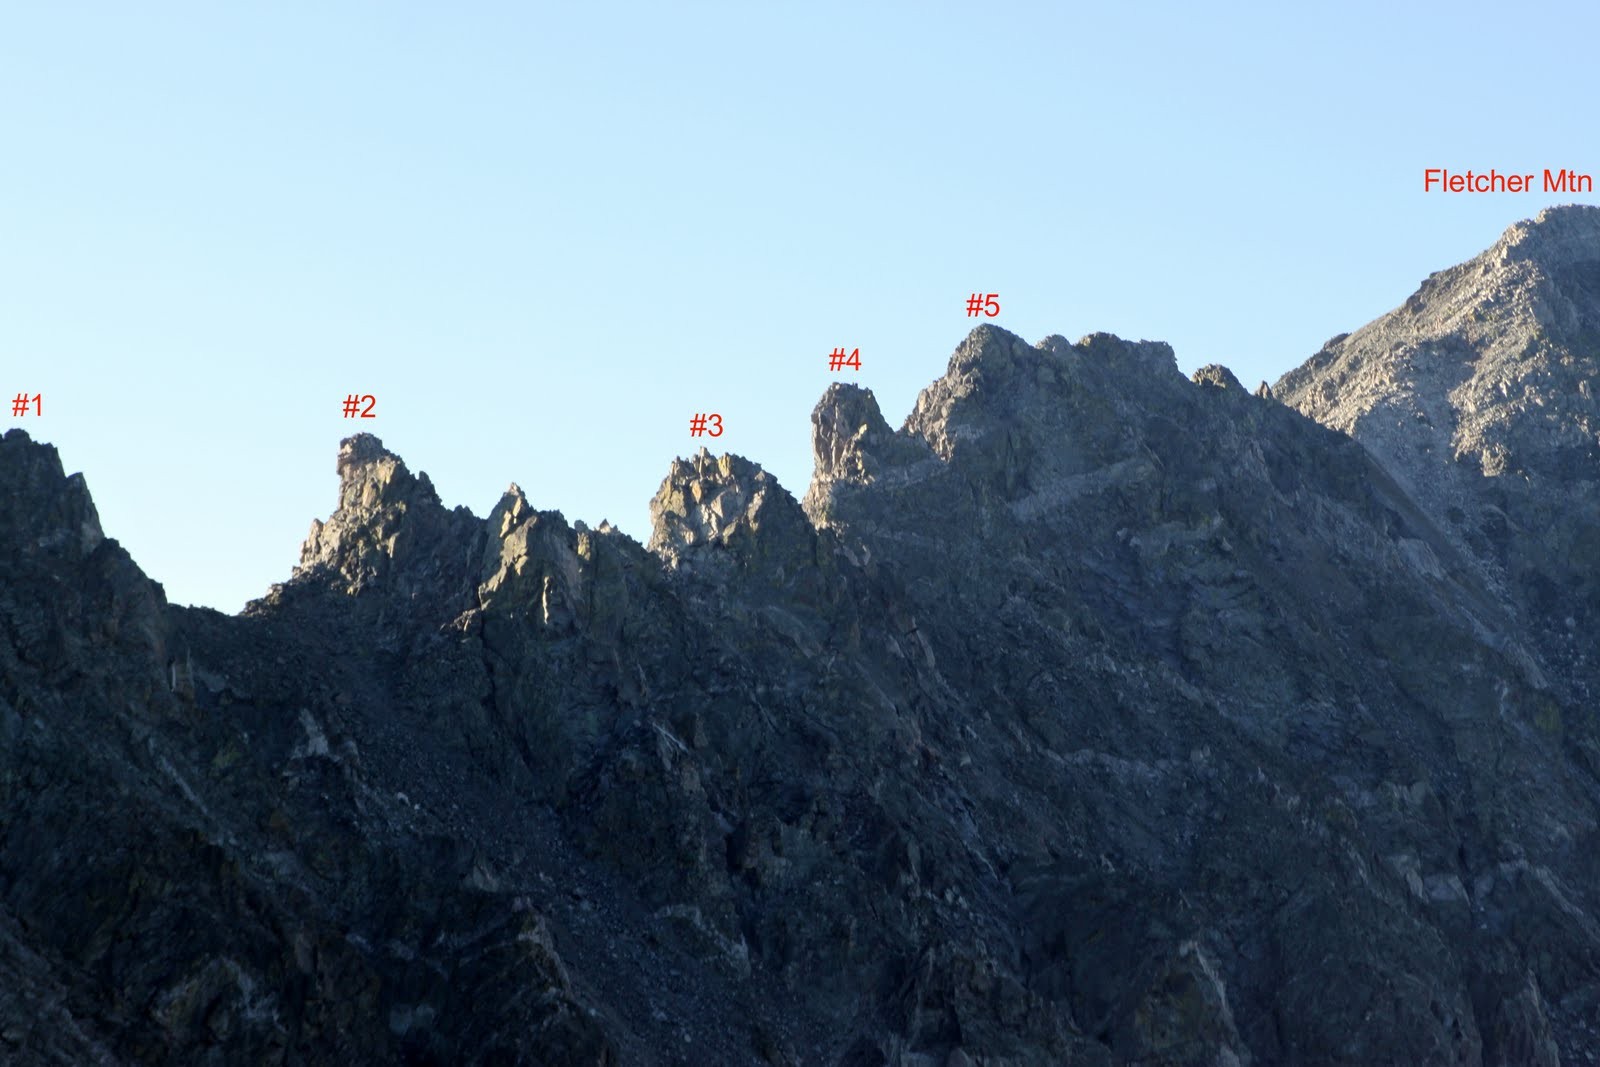
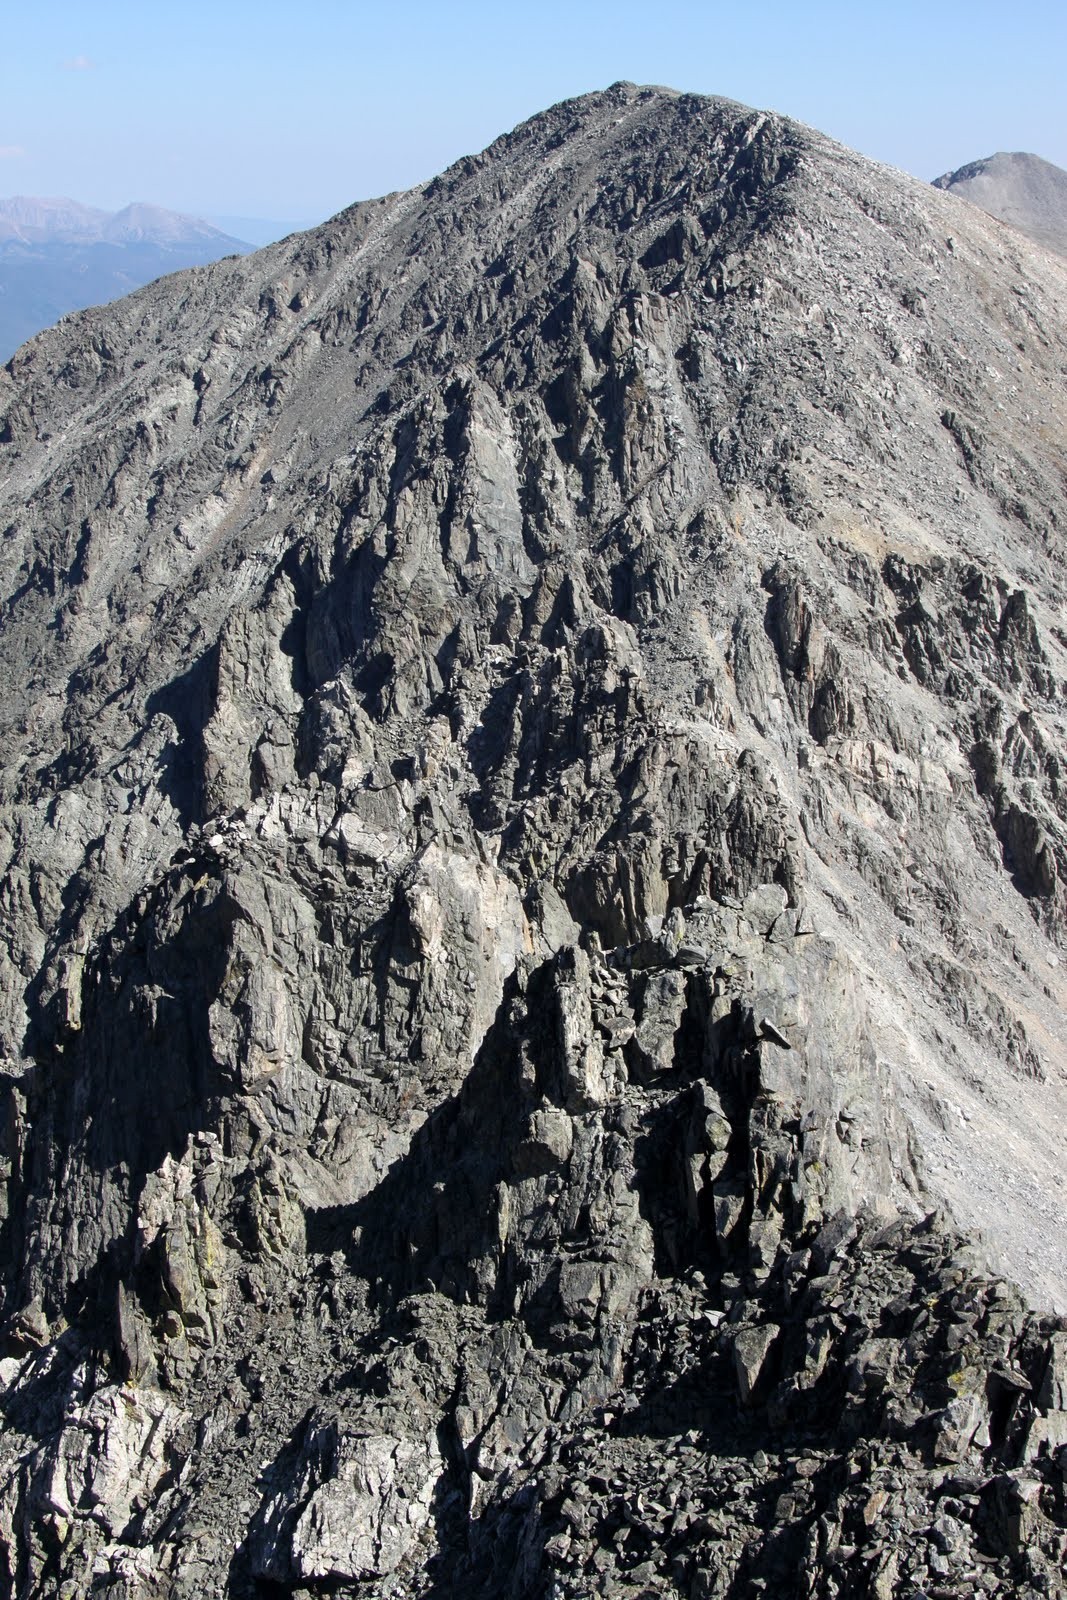
The Saw to Peaks J & P from the summit of Peak H
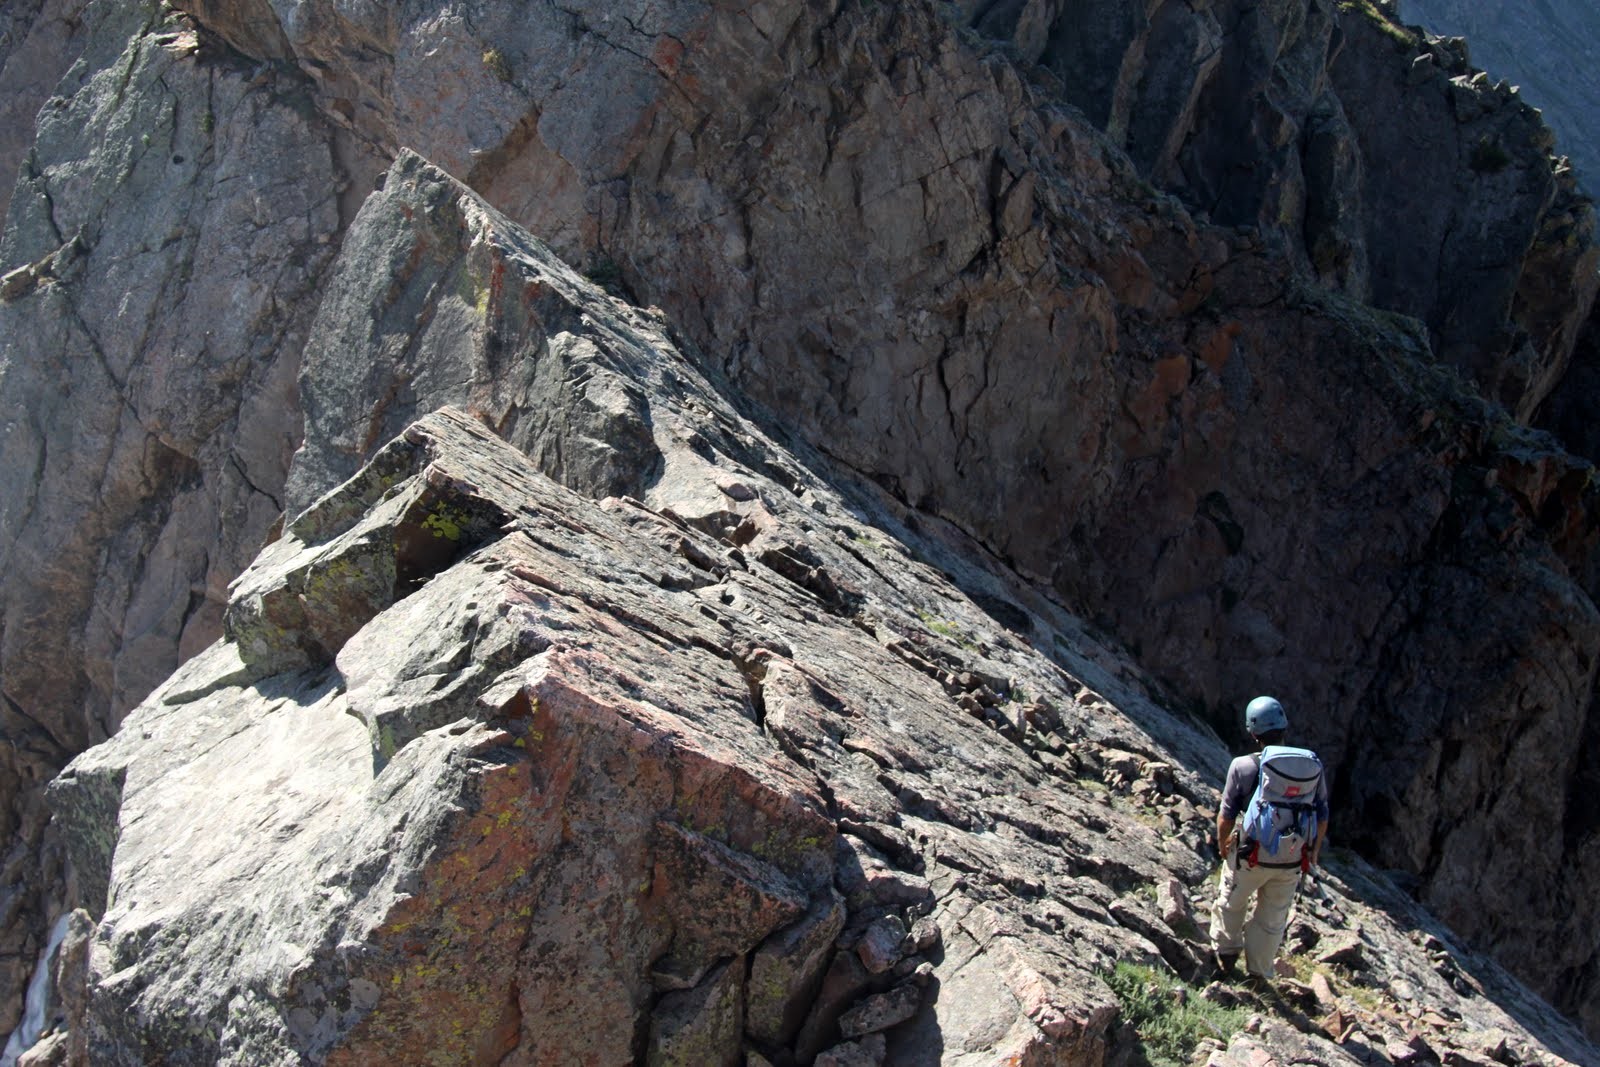
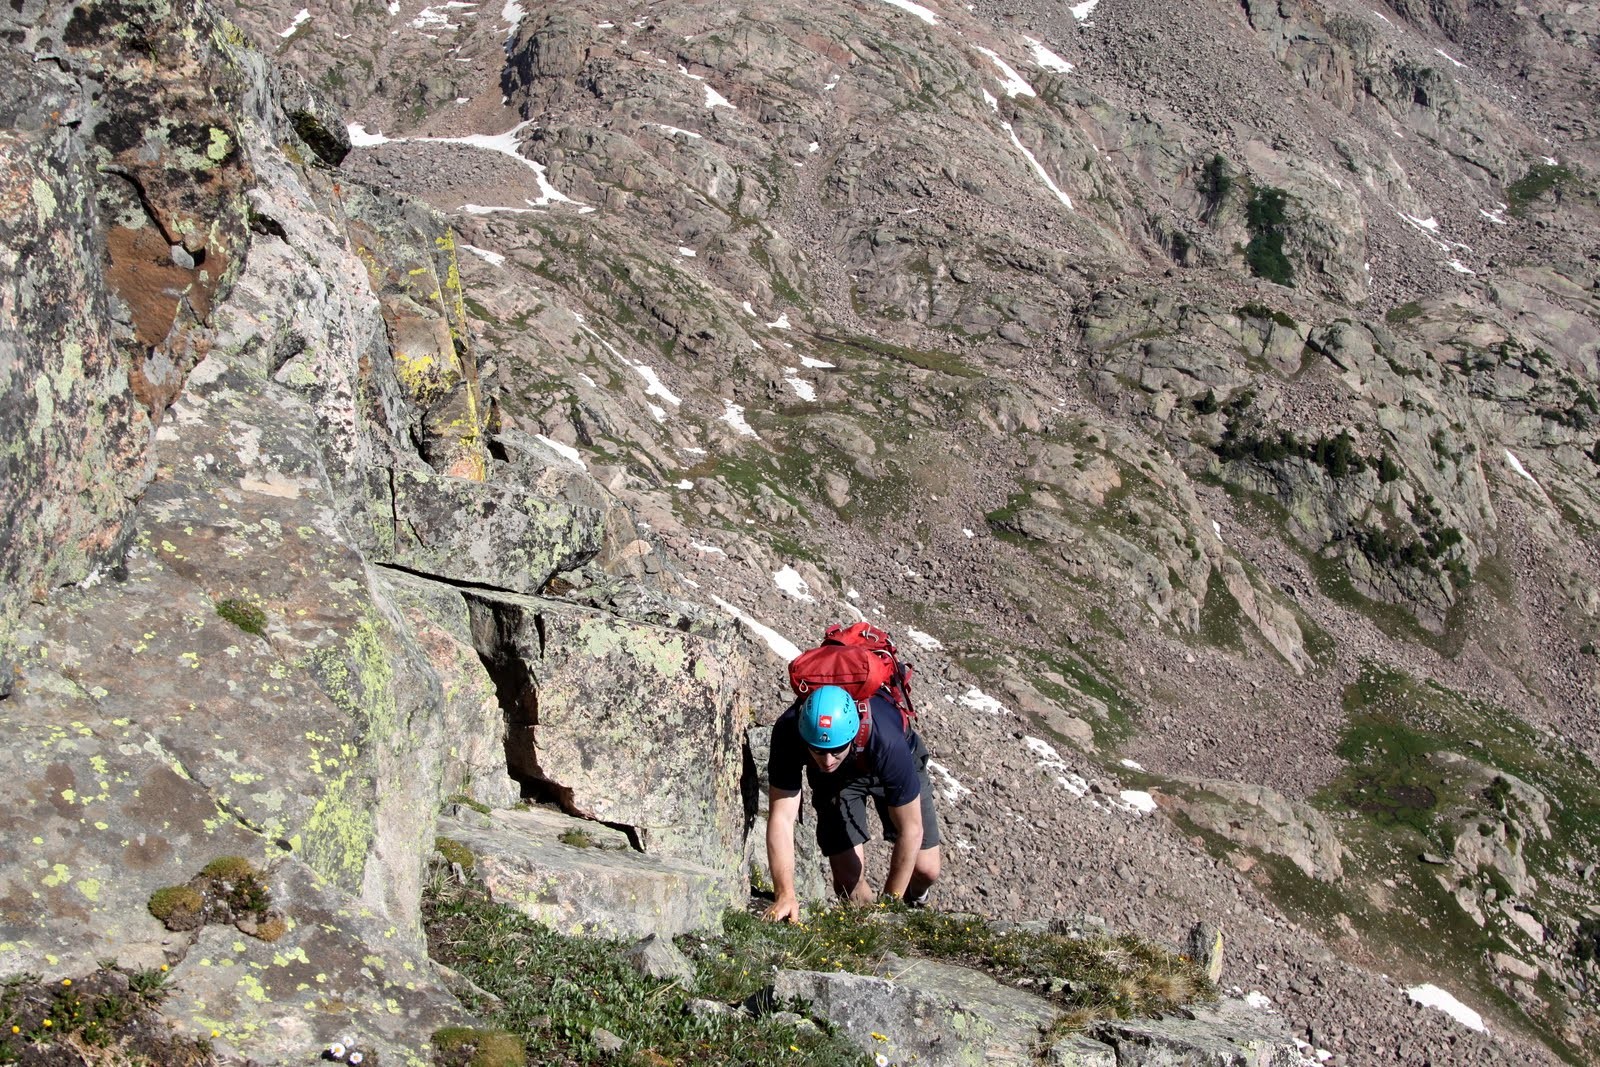
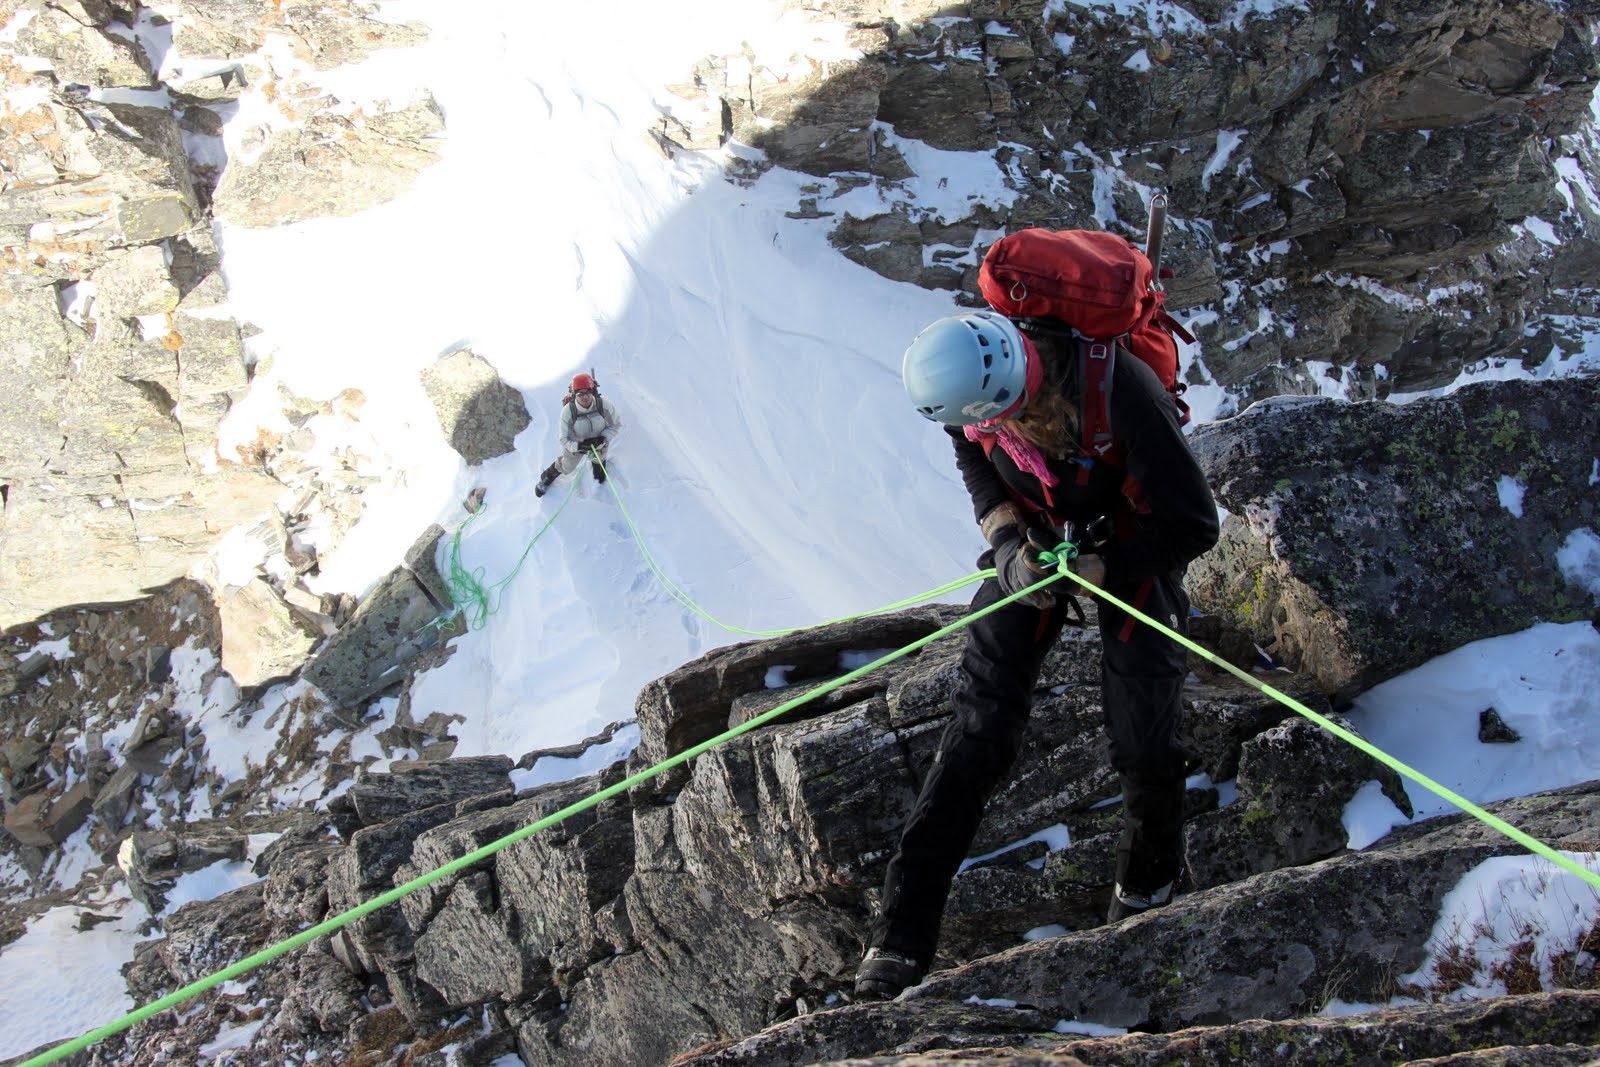
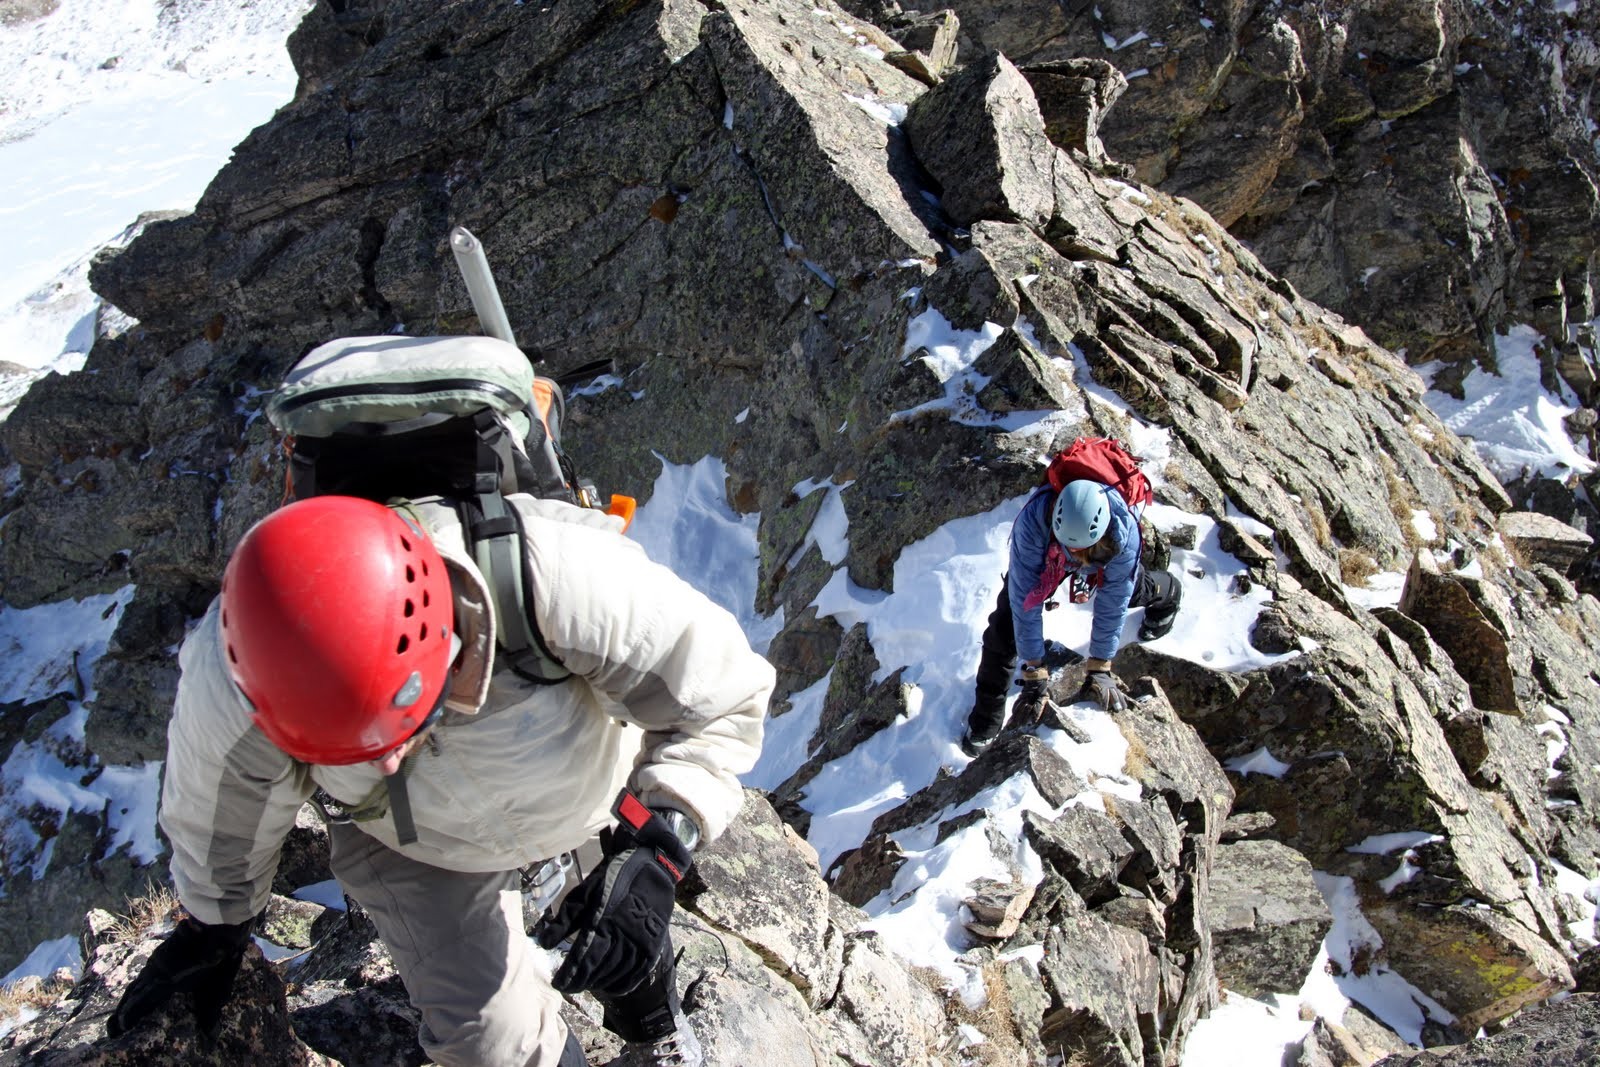
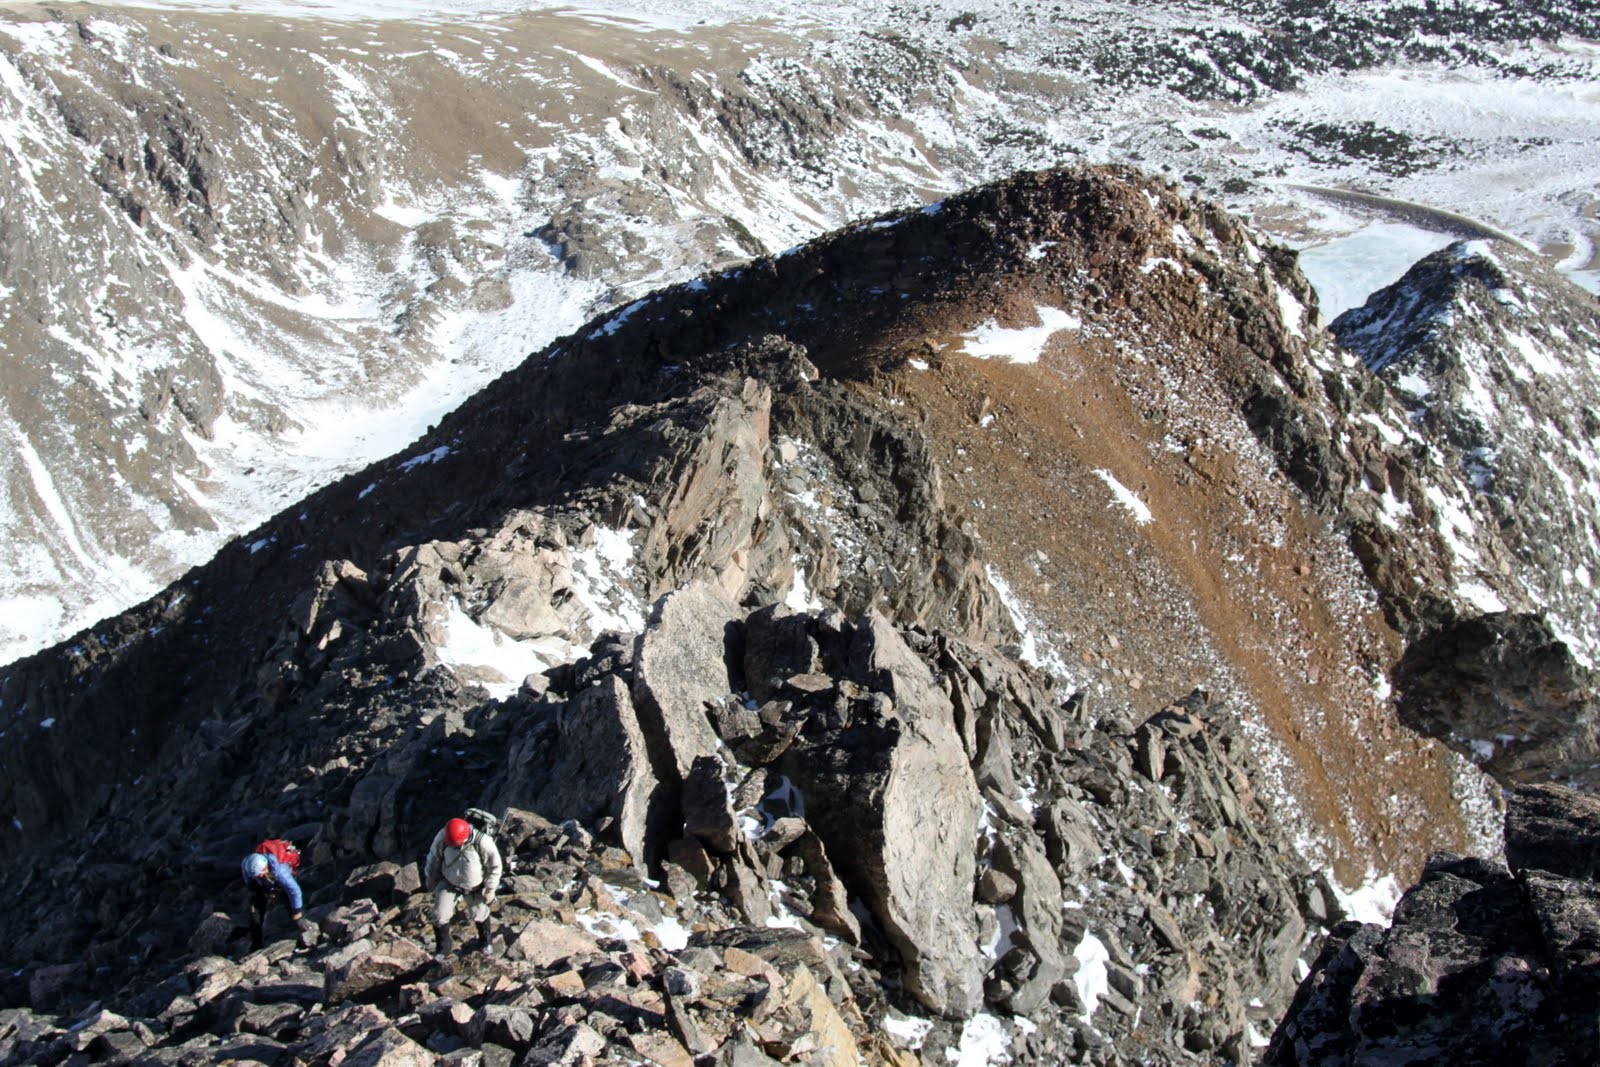
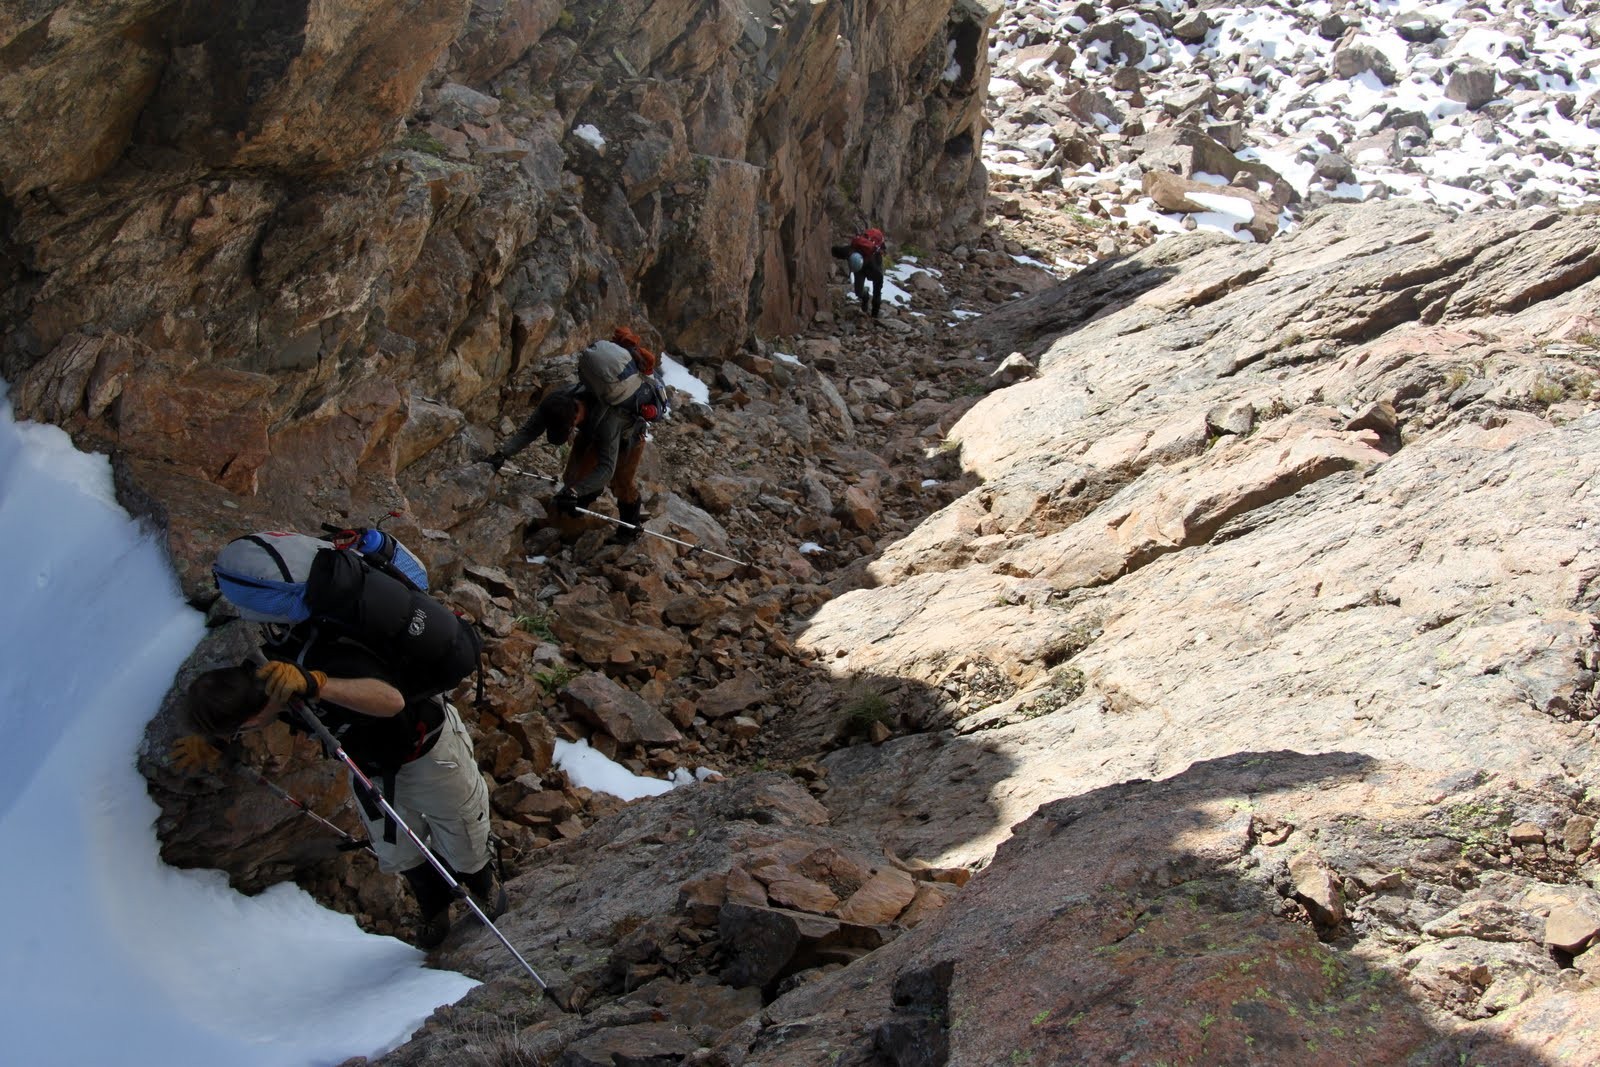
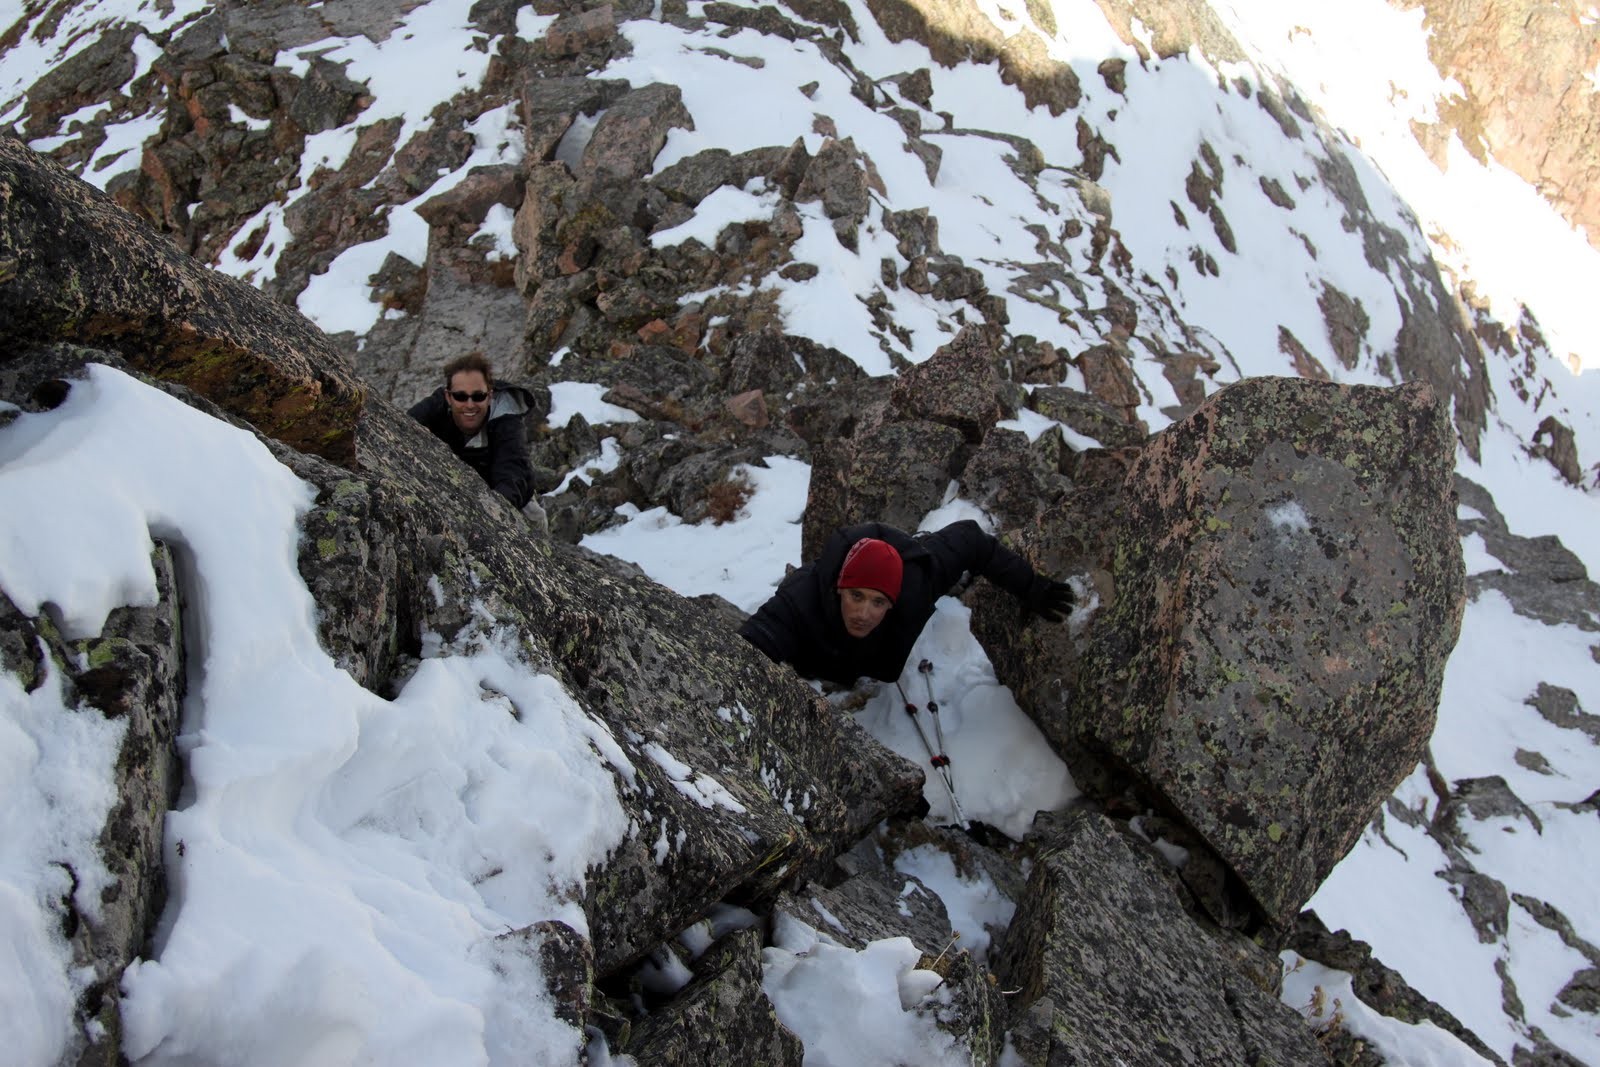
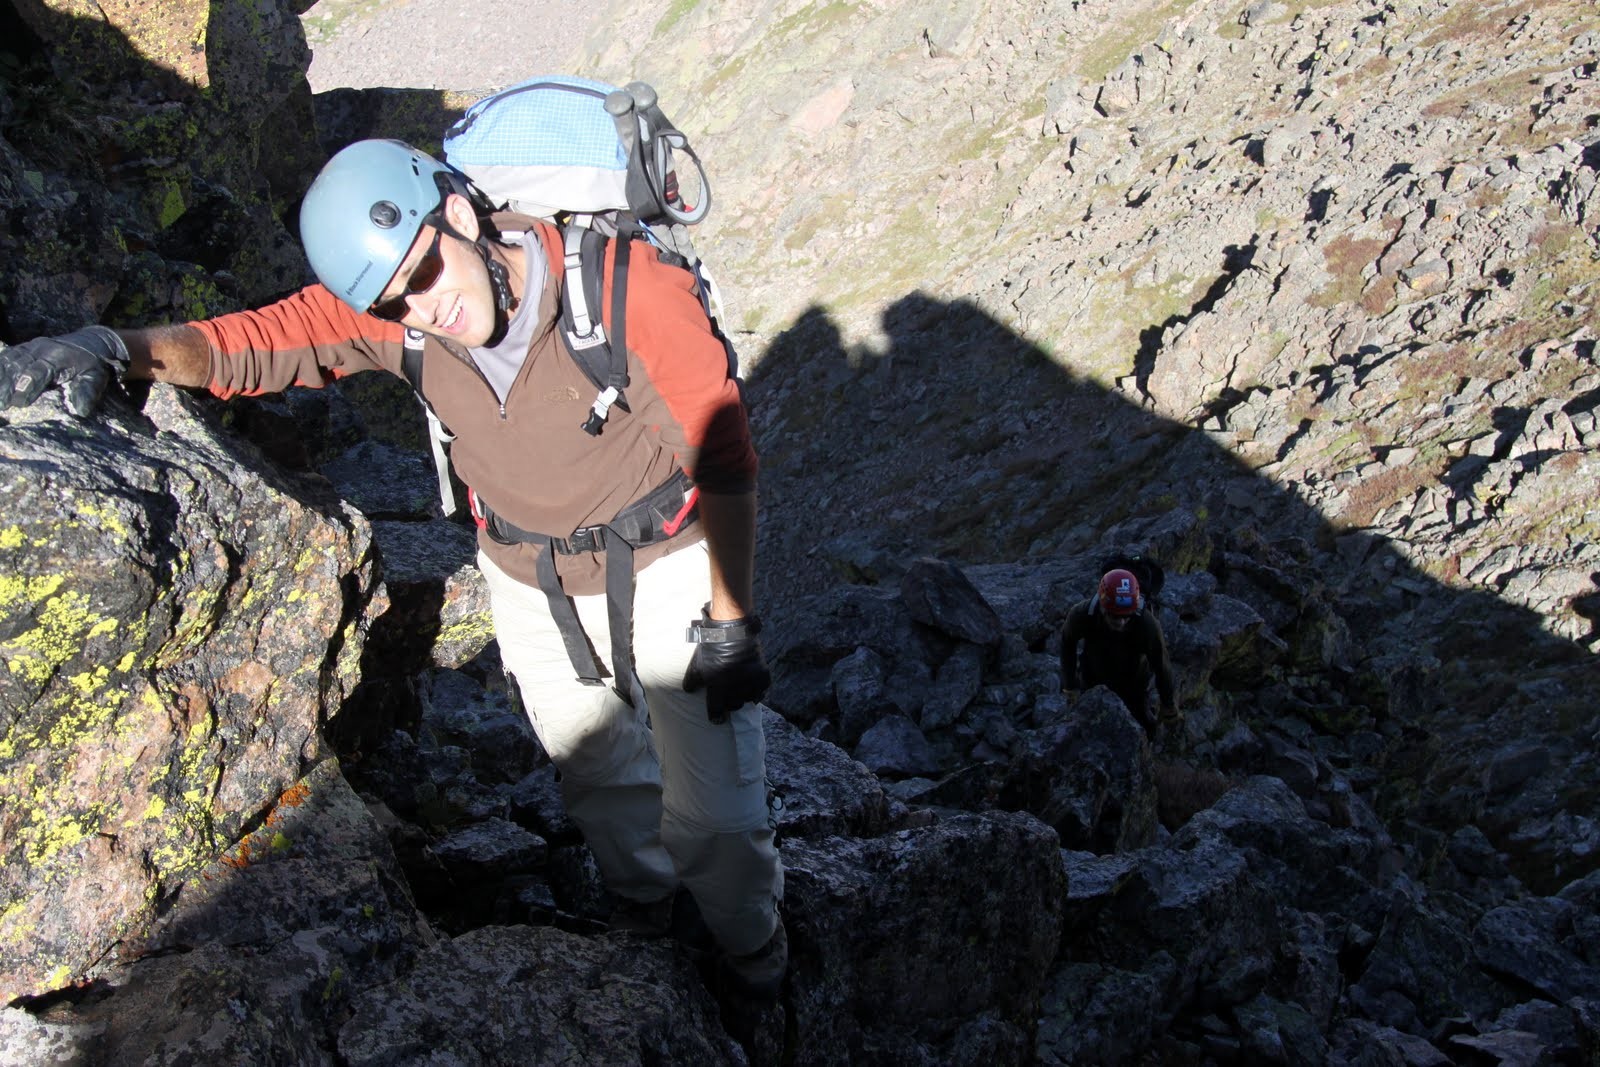
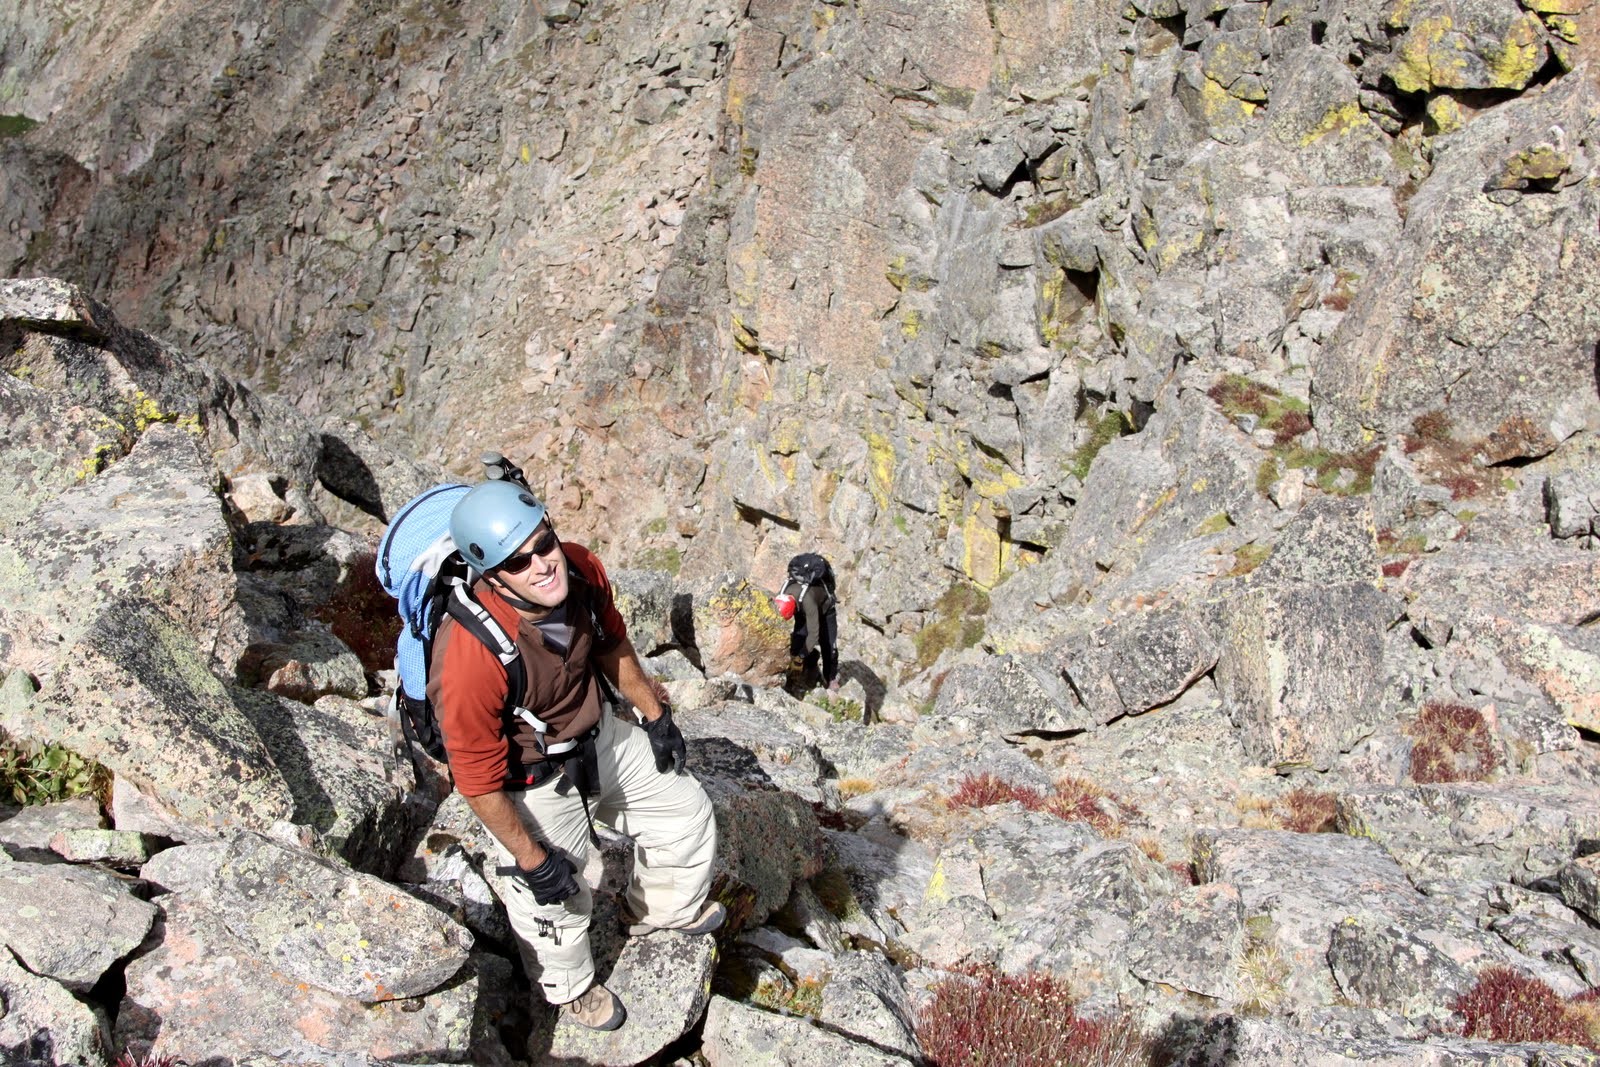
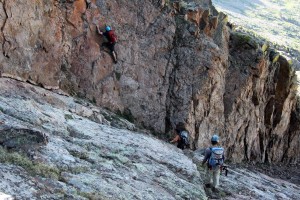
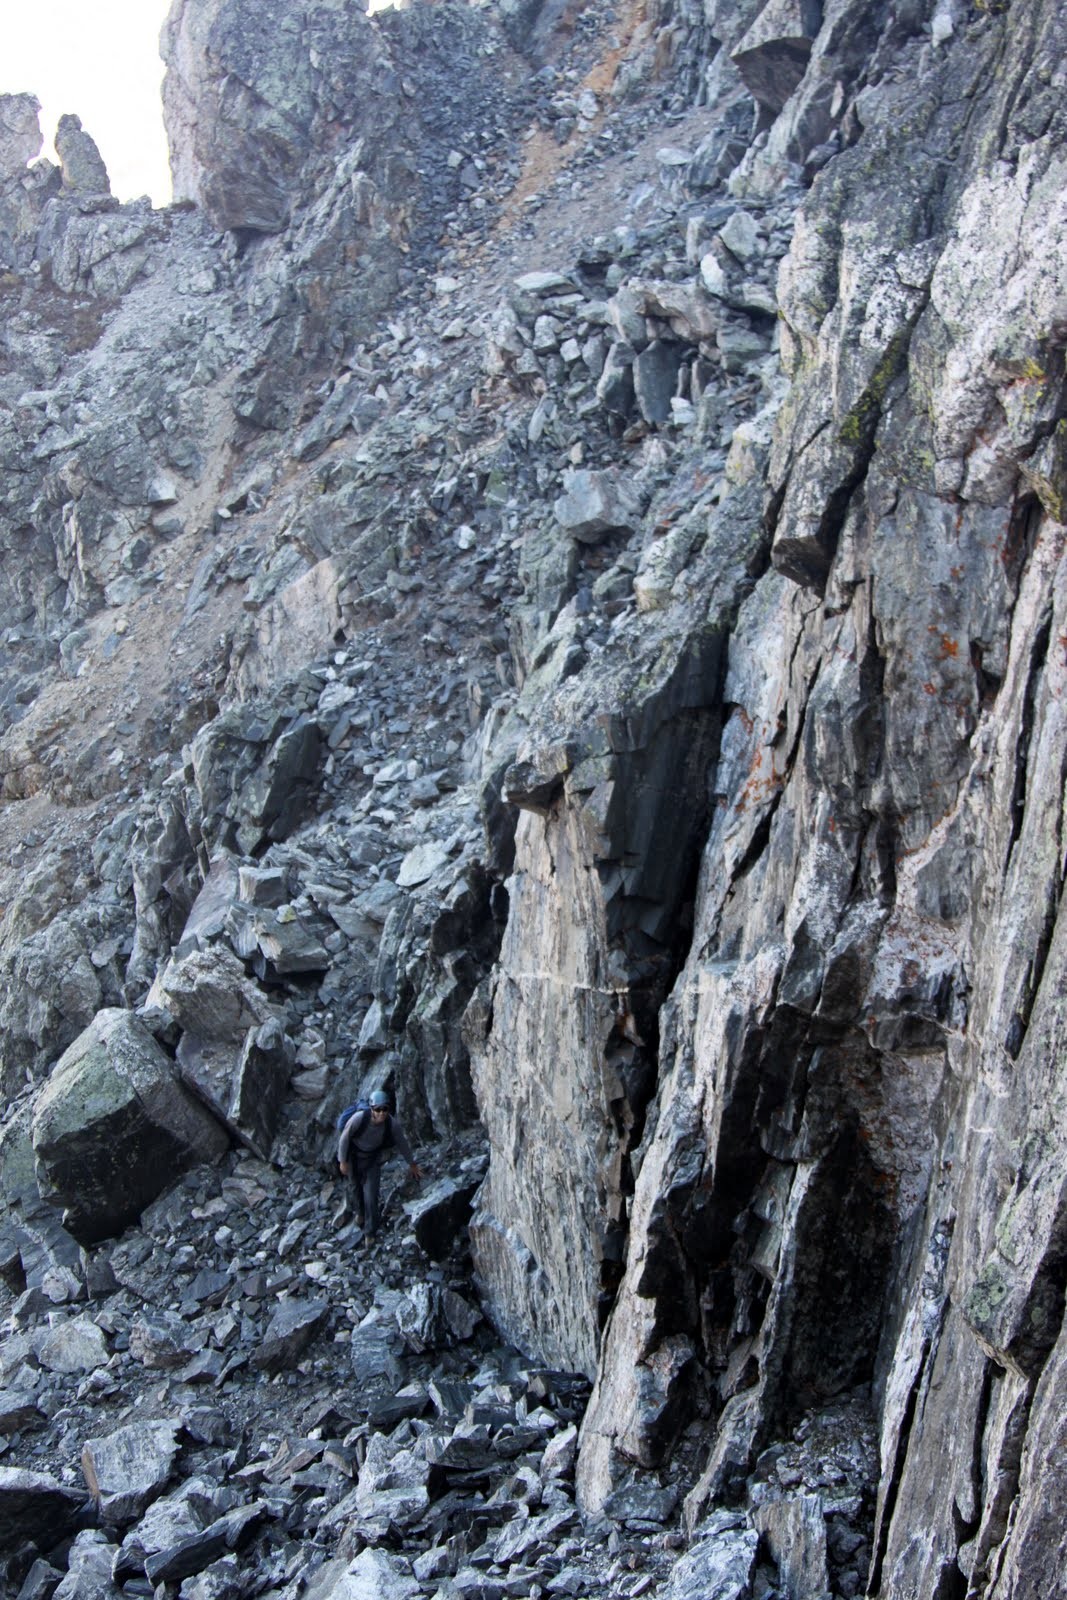
The descent off Peak H’s southeast ridge drops you several hundred feet of class 2/3 down to the ridge proper to begin the large slab section as could be seen from our bivy down in the basin. Perhaps this slabby knife-edge is why Ormes named the Peak H to Peak J ridge “The Saw”.

J on the slabby ridge section
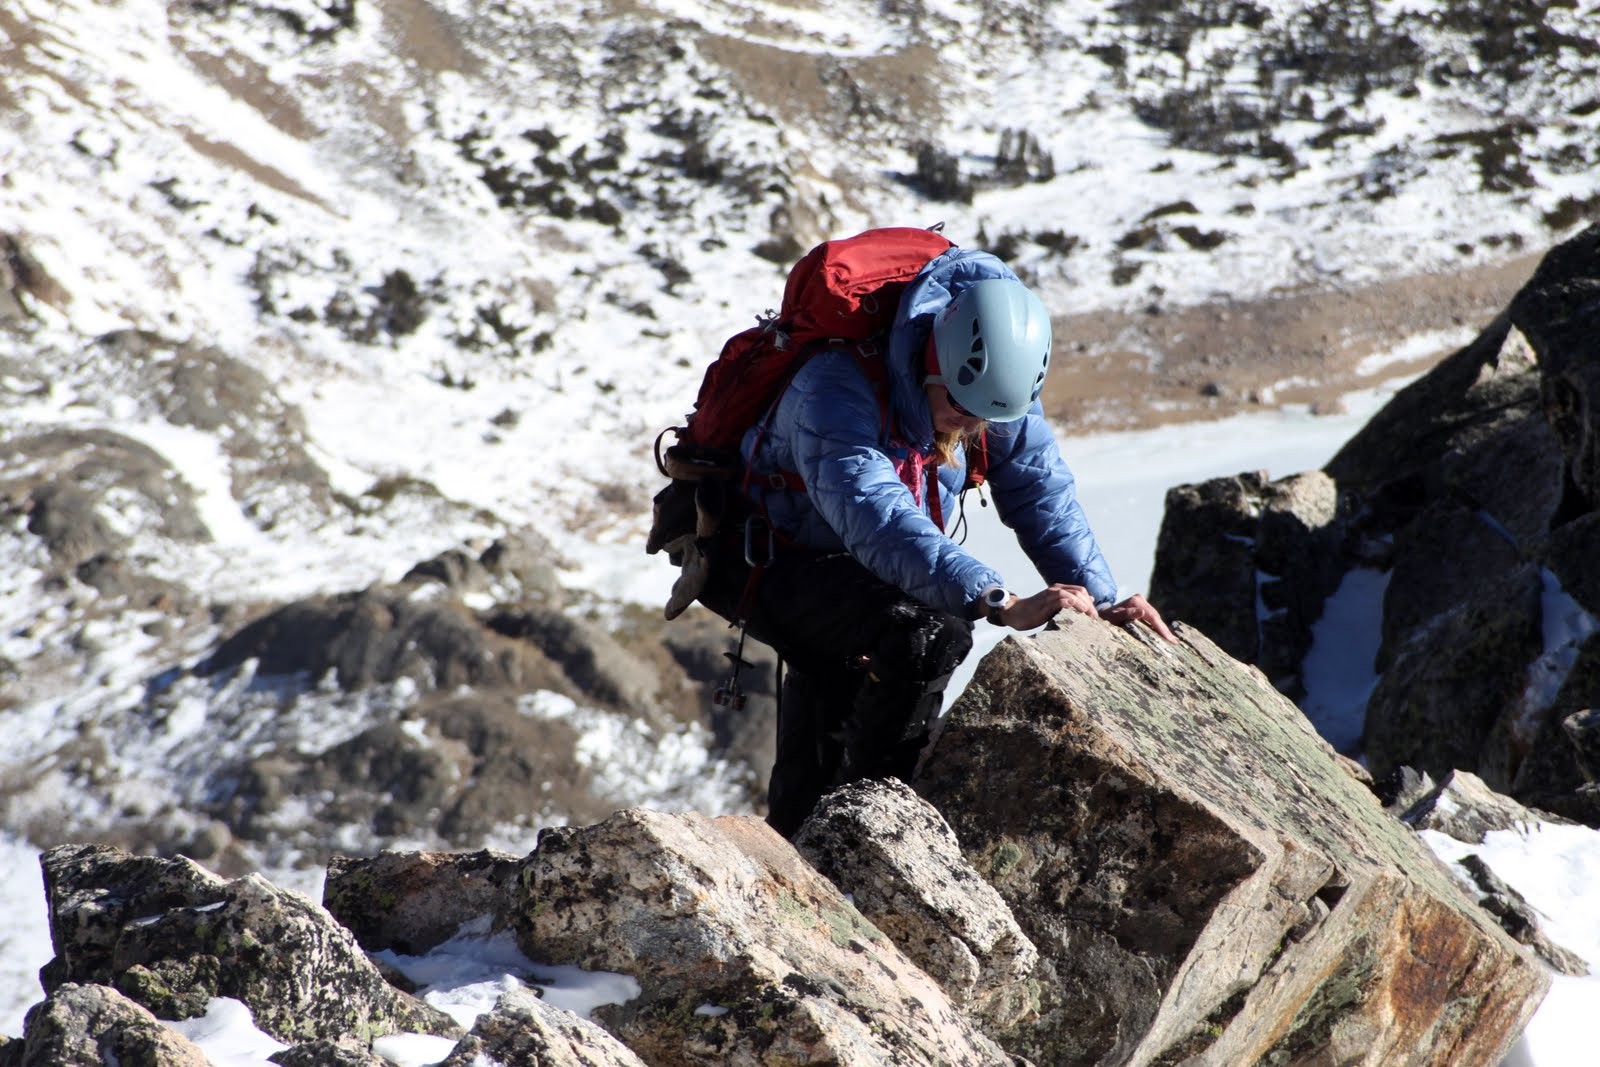
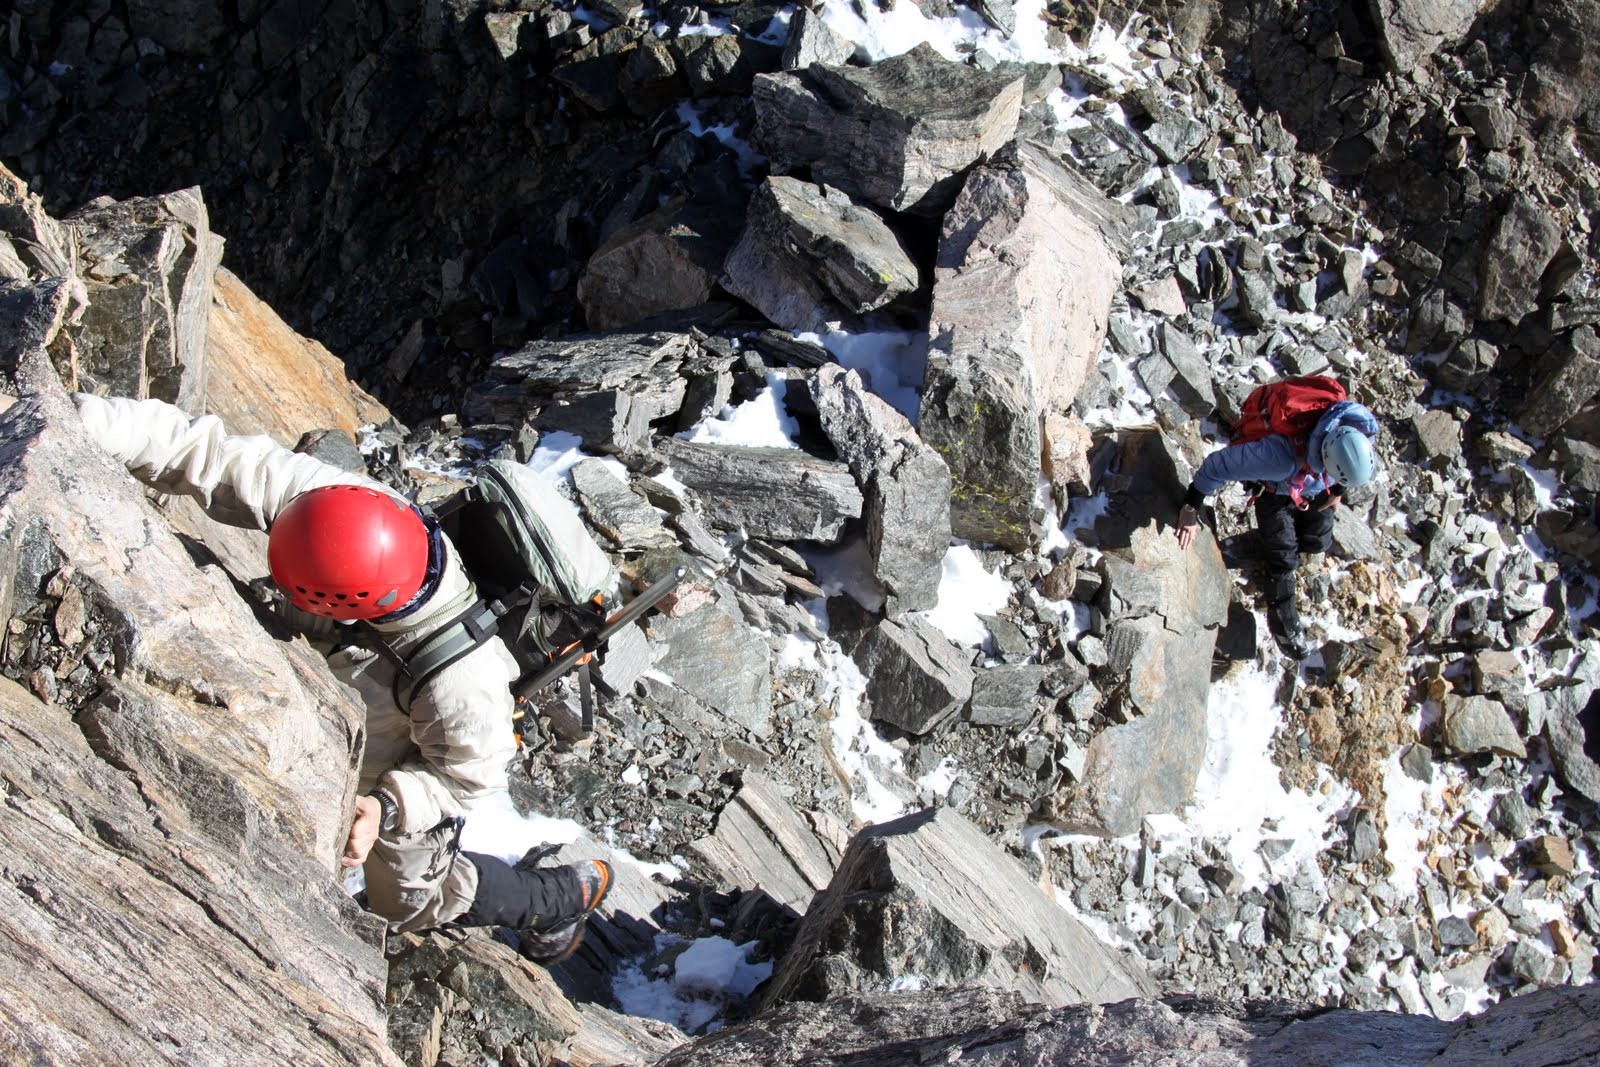
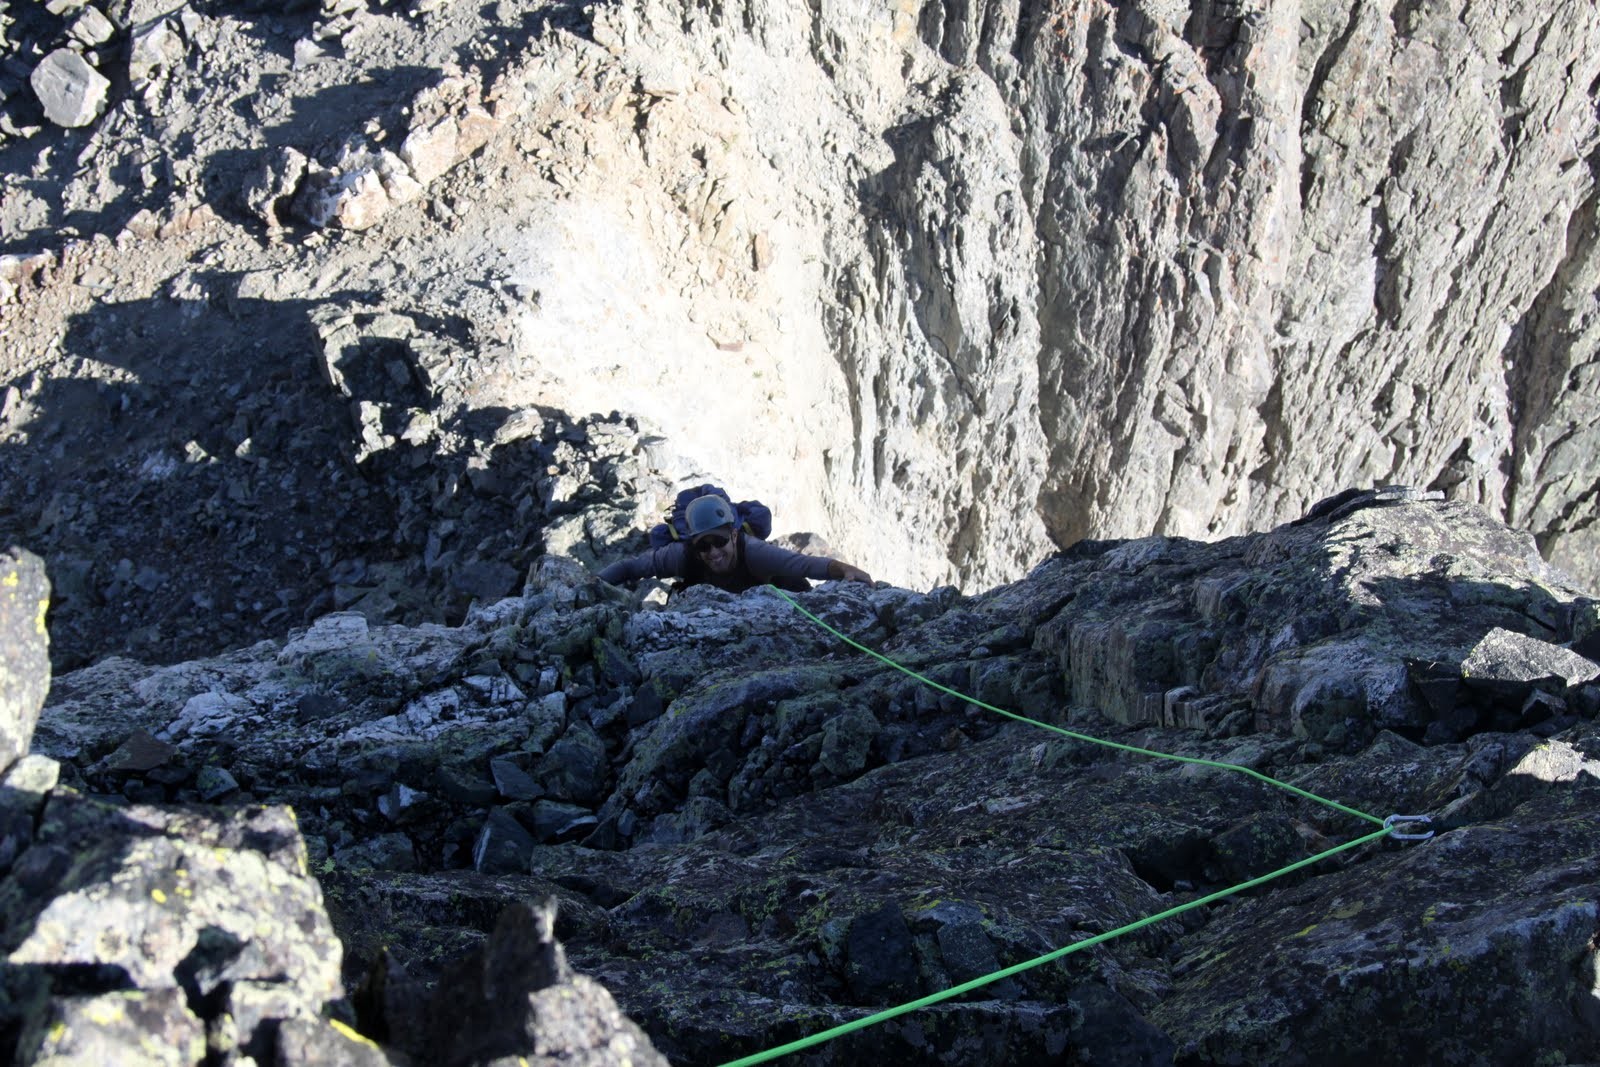
The slab ridge proper ended in a cliff with no climbable way over it without the need of a rope and some pro. So, we dropped 20 vertical feet to our right (south) to find a climable 4th class weakness.
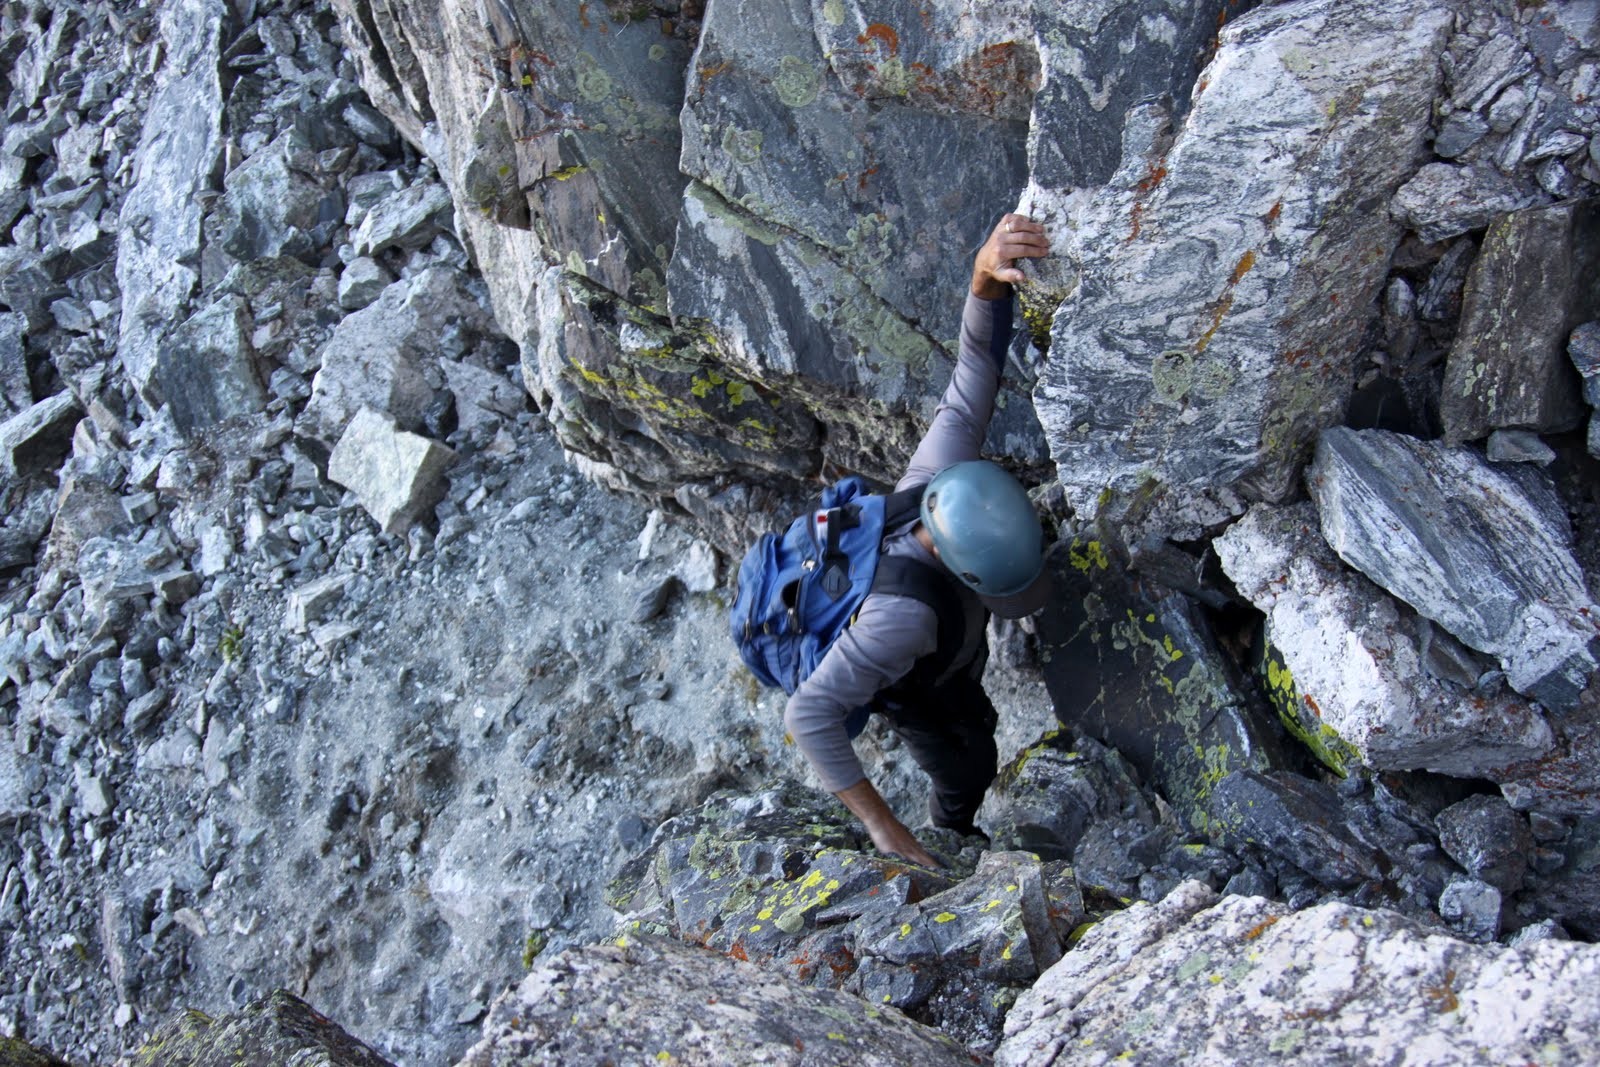
Baba climbing our 4th class exit off the slab and back onto the ridge
Some easier terrain after the initial slab section and a few towers

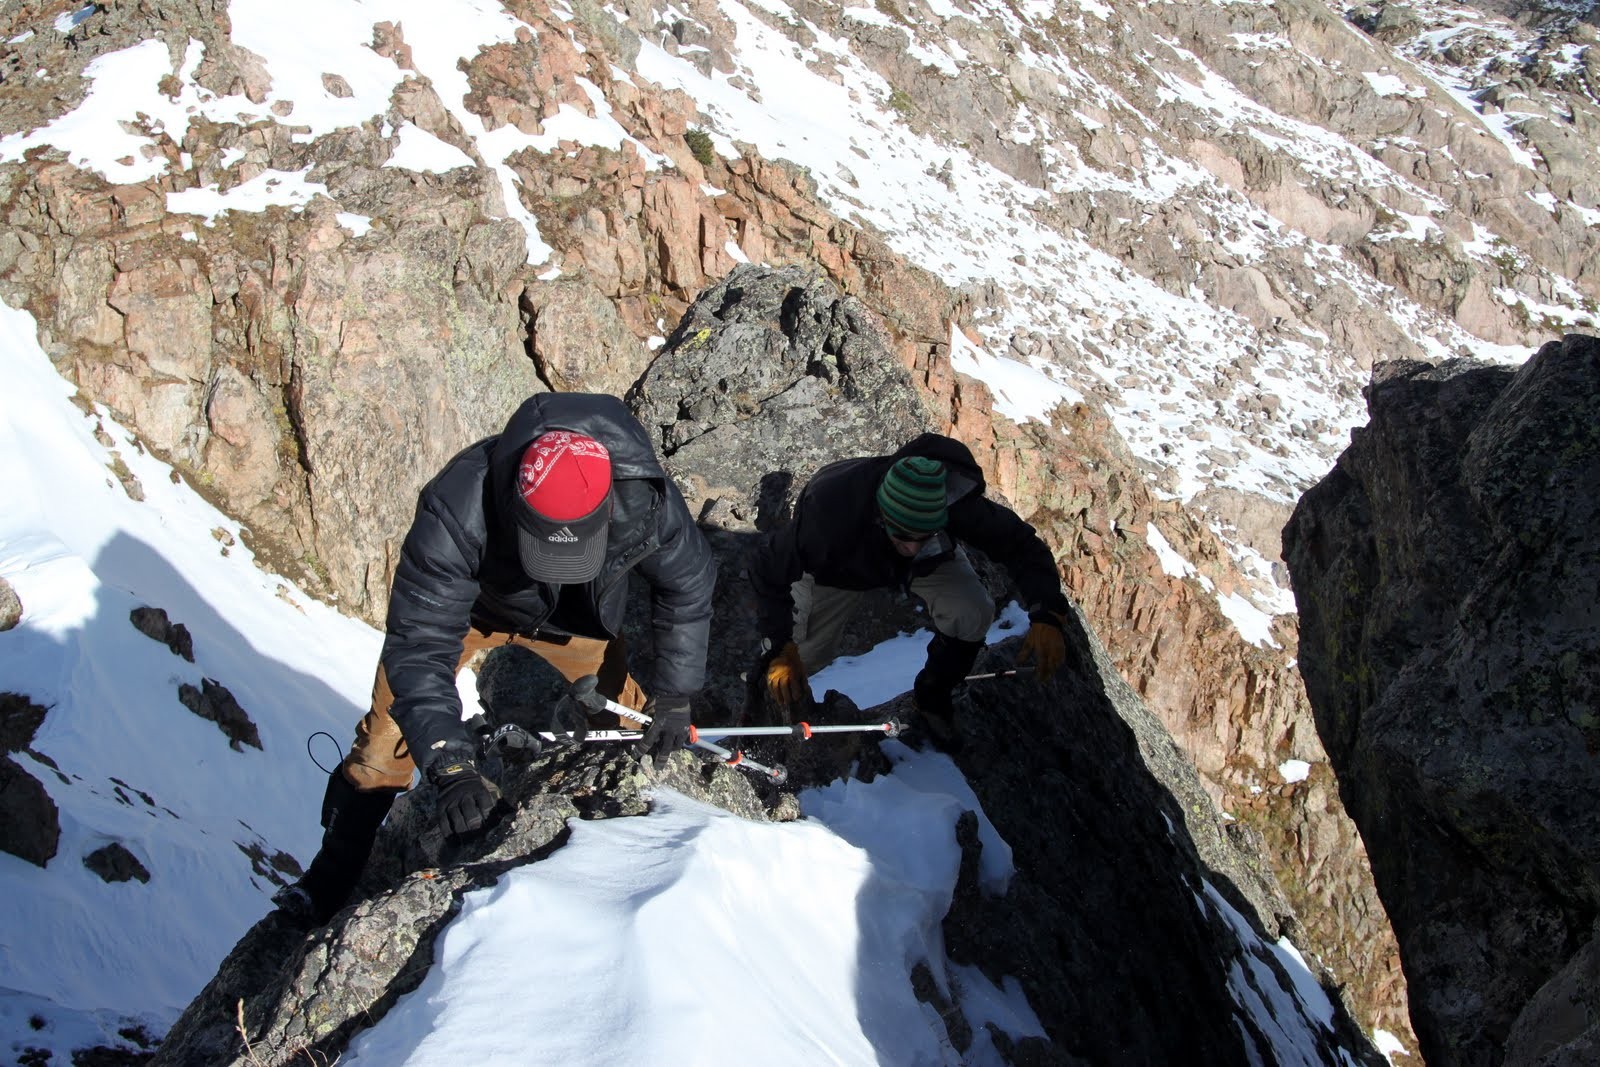
Chuck on a knife-edge portion of the ridge proper
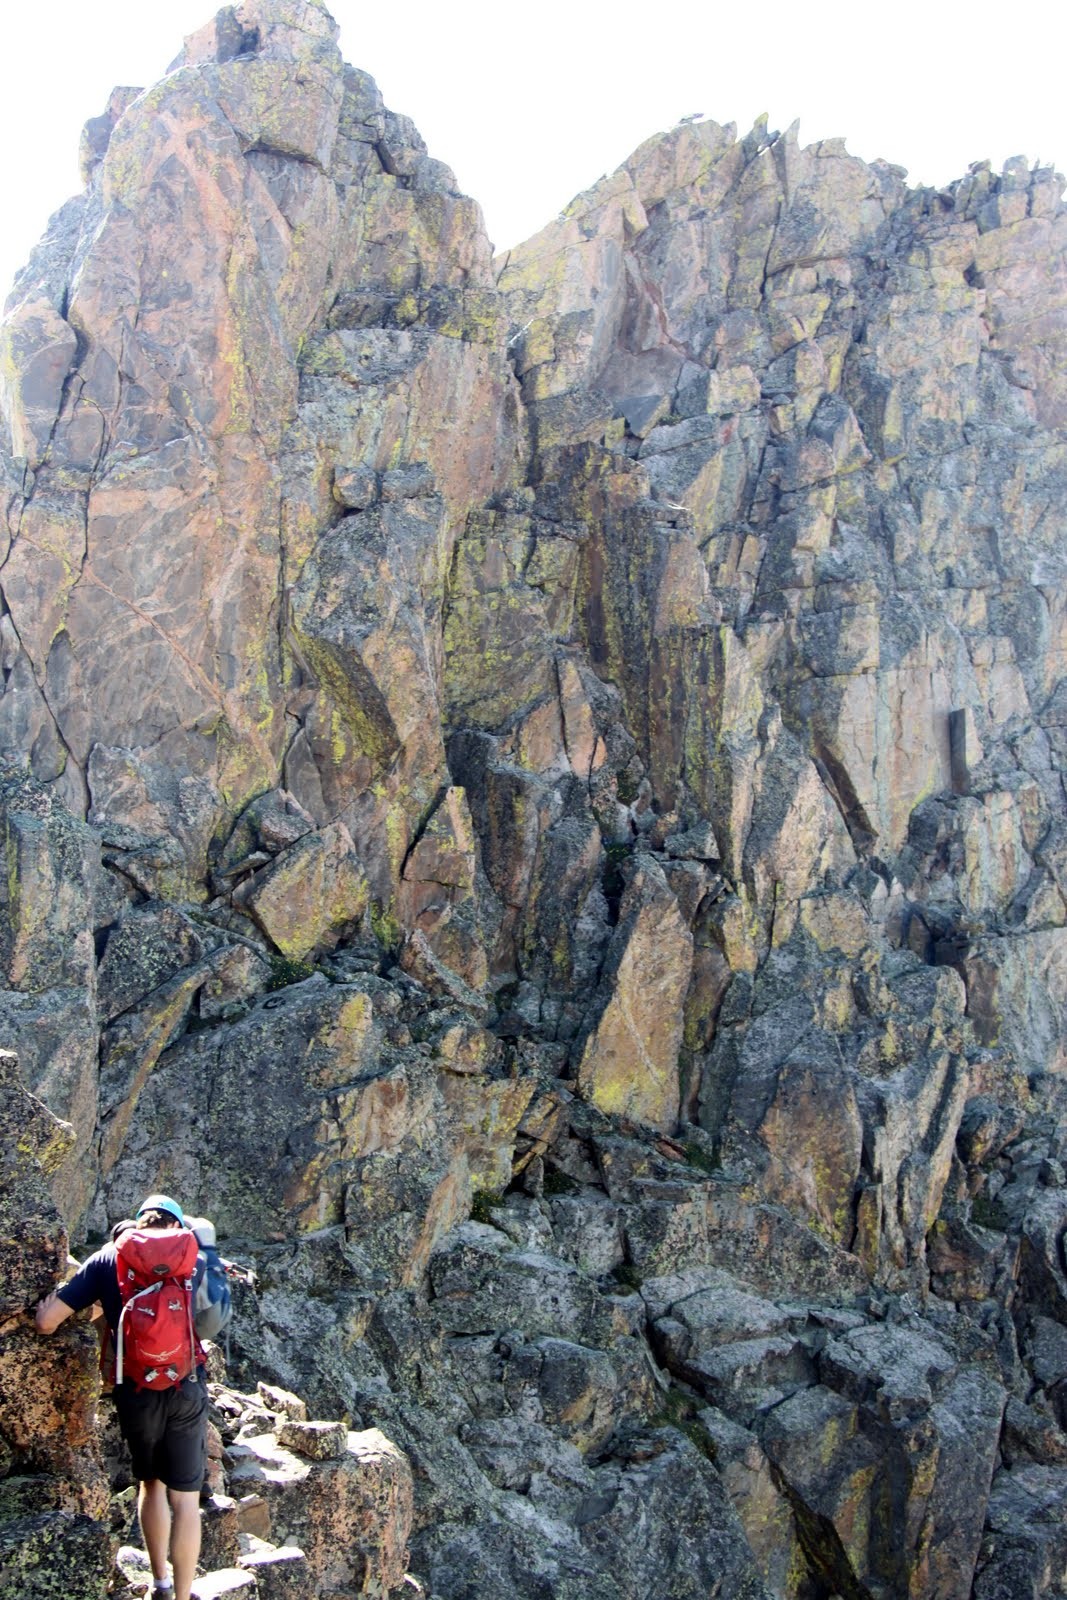
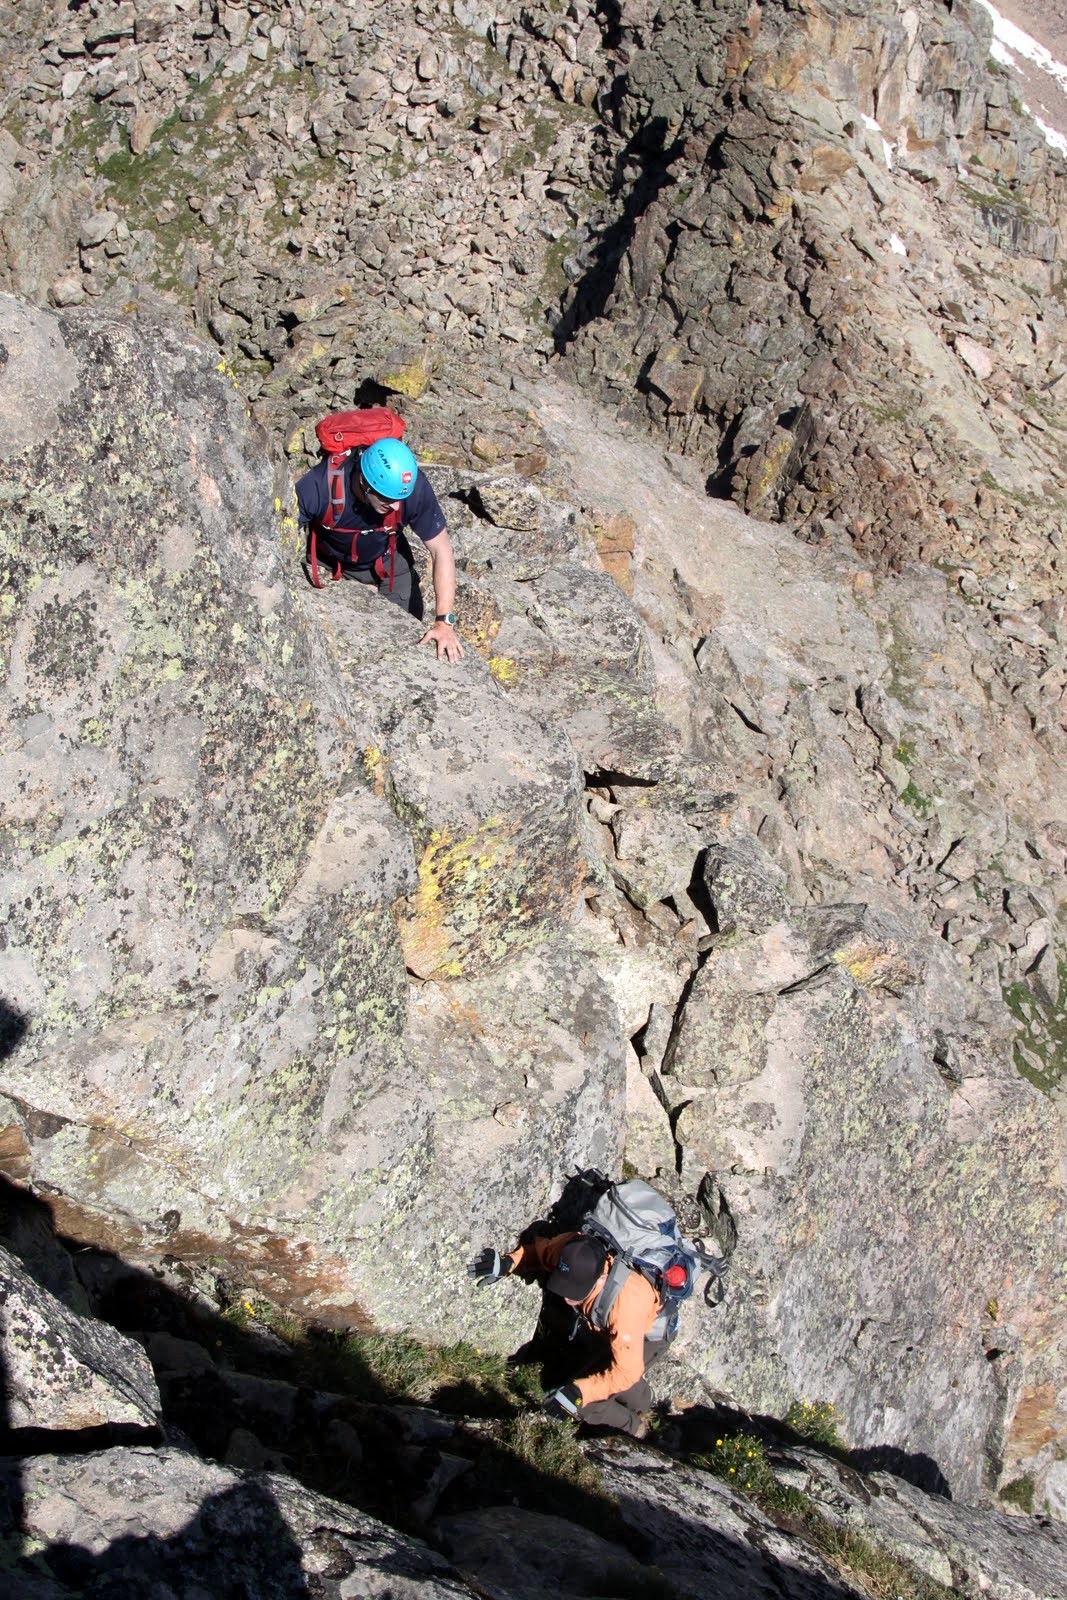
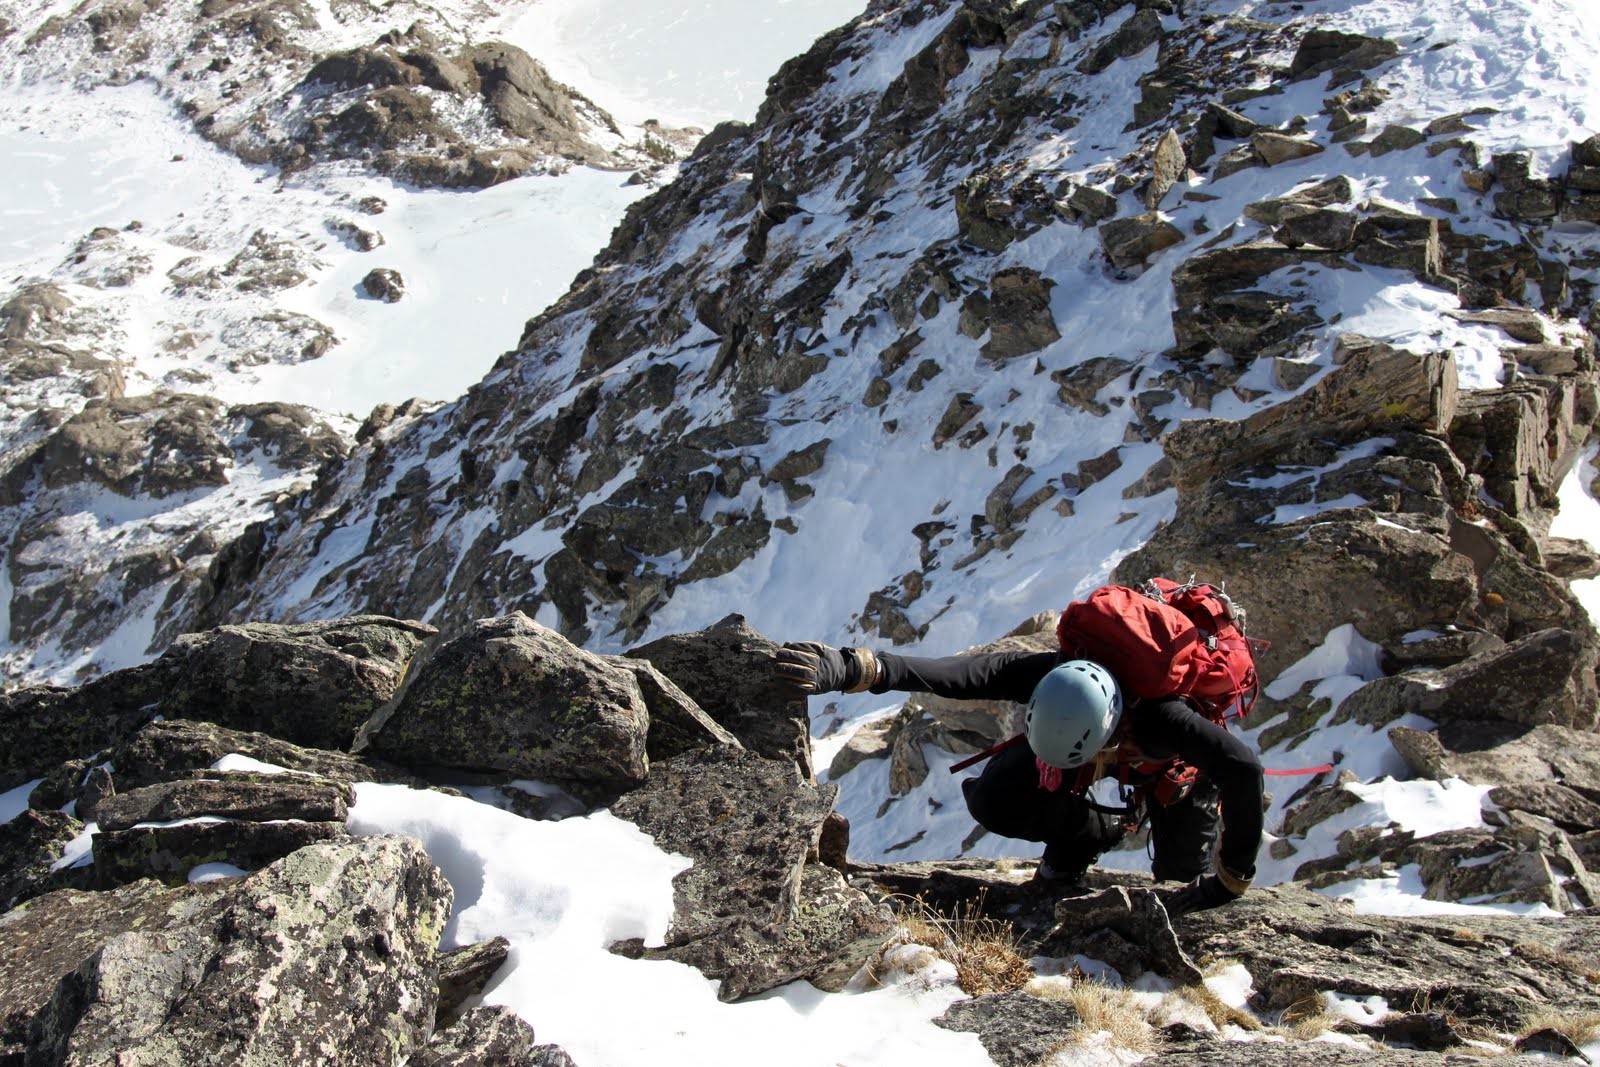
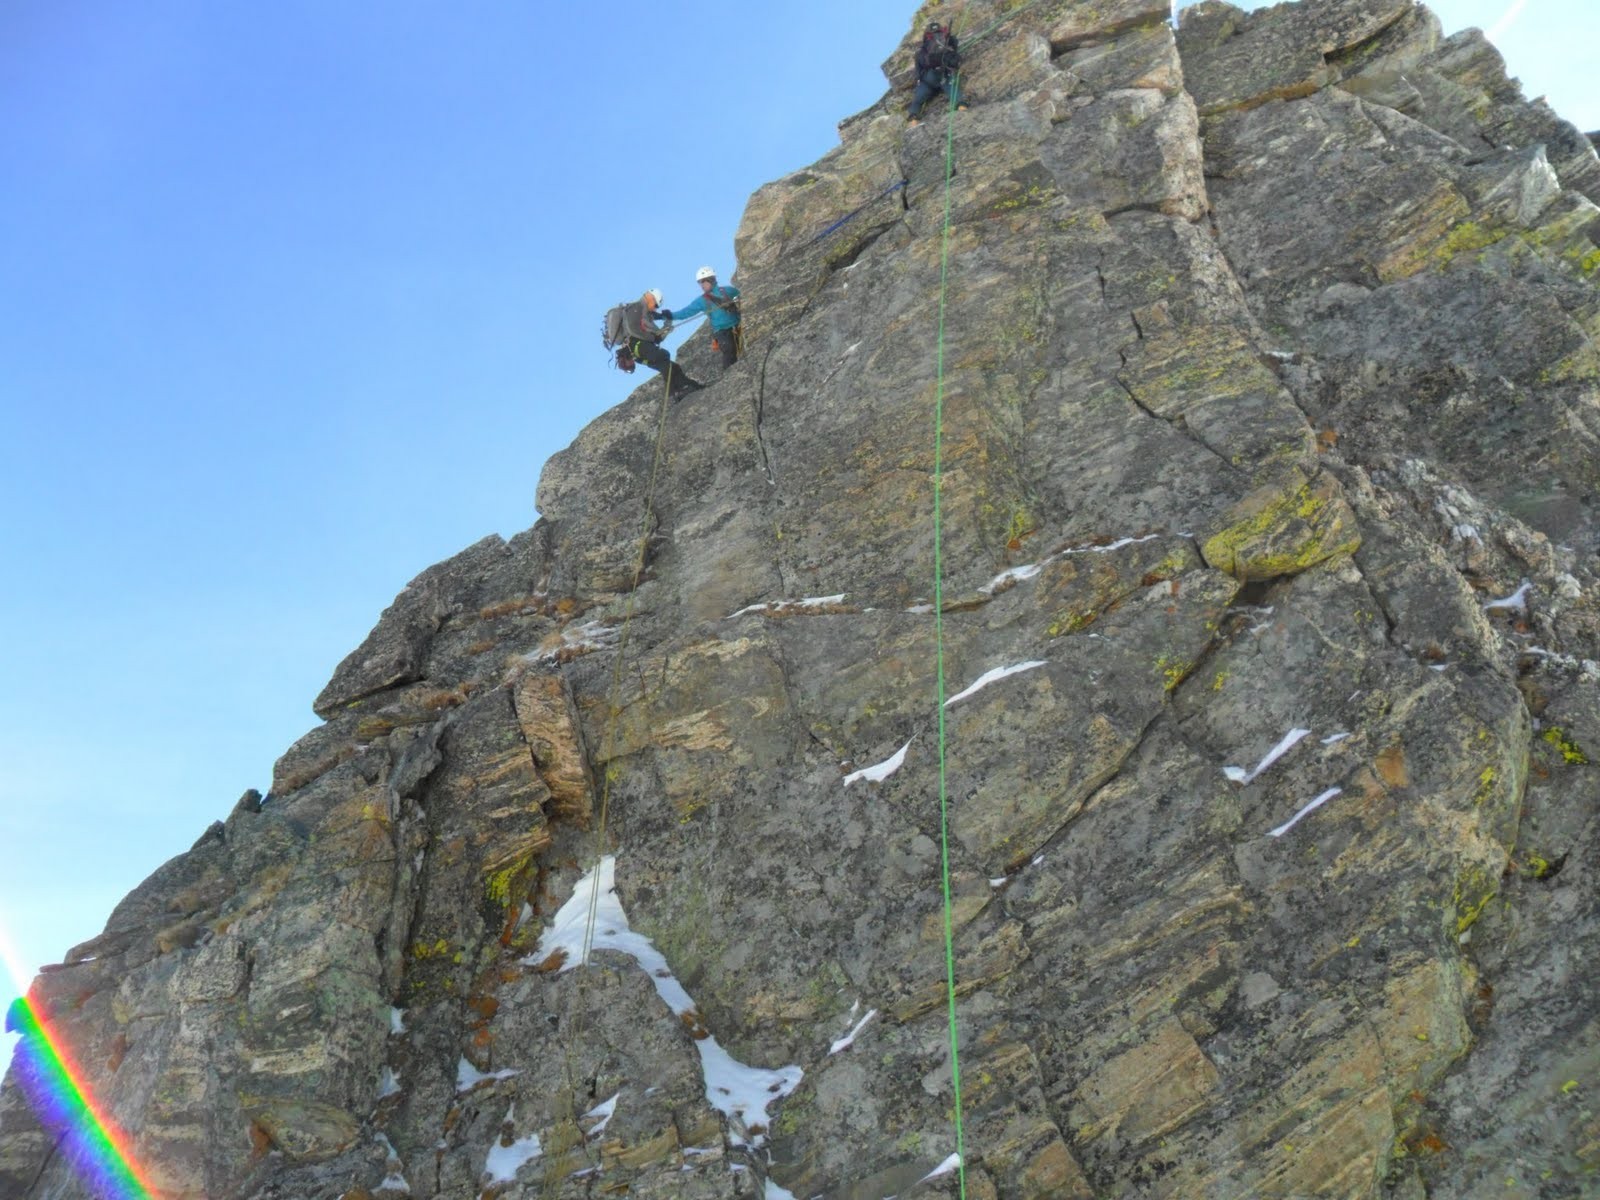
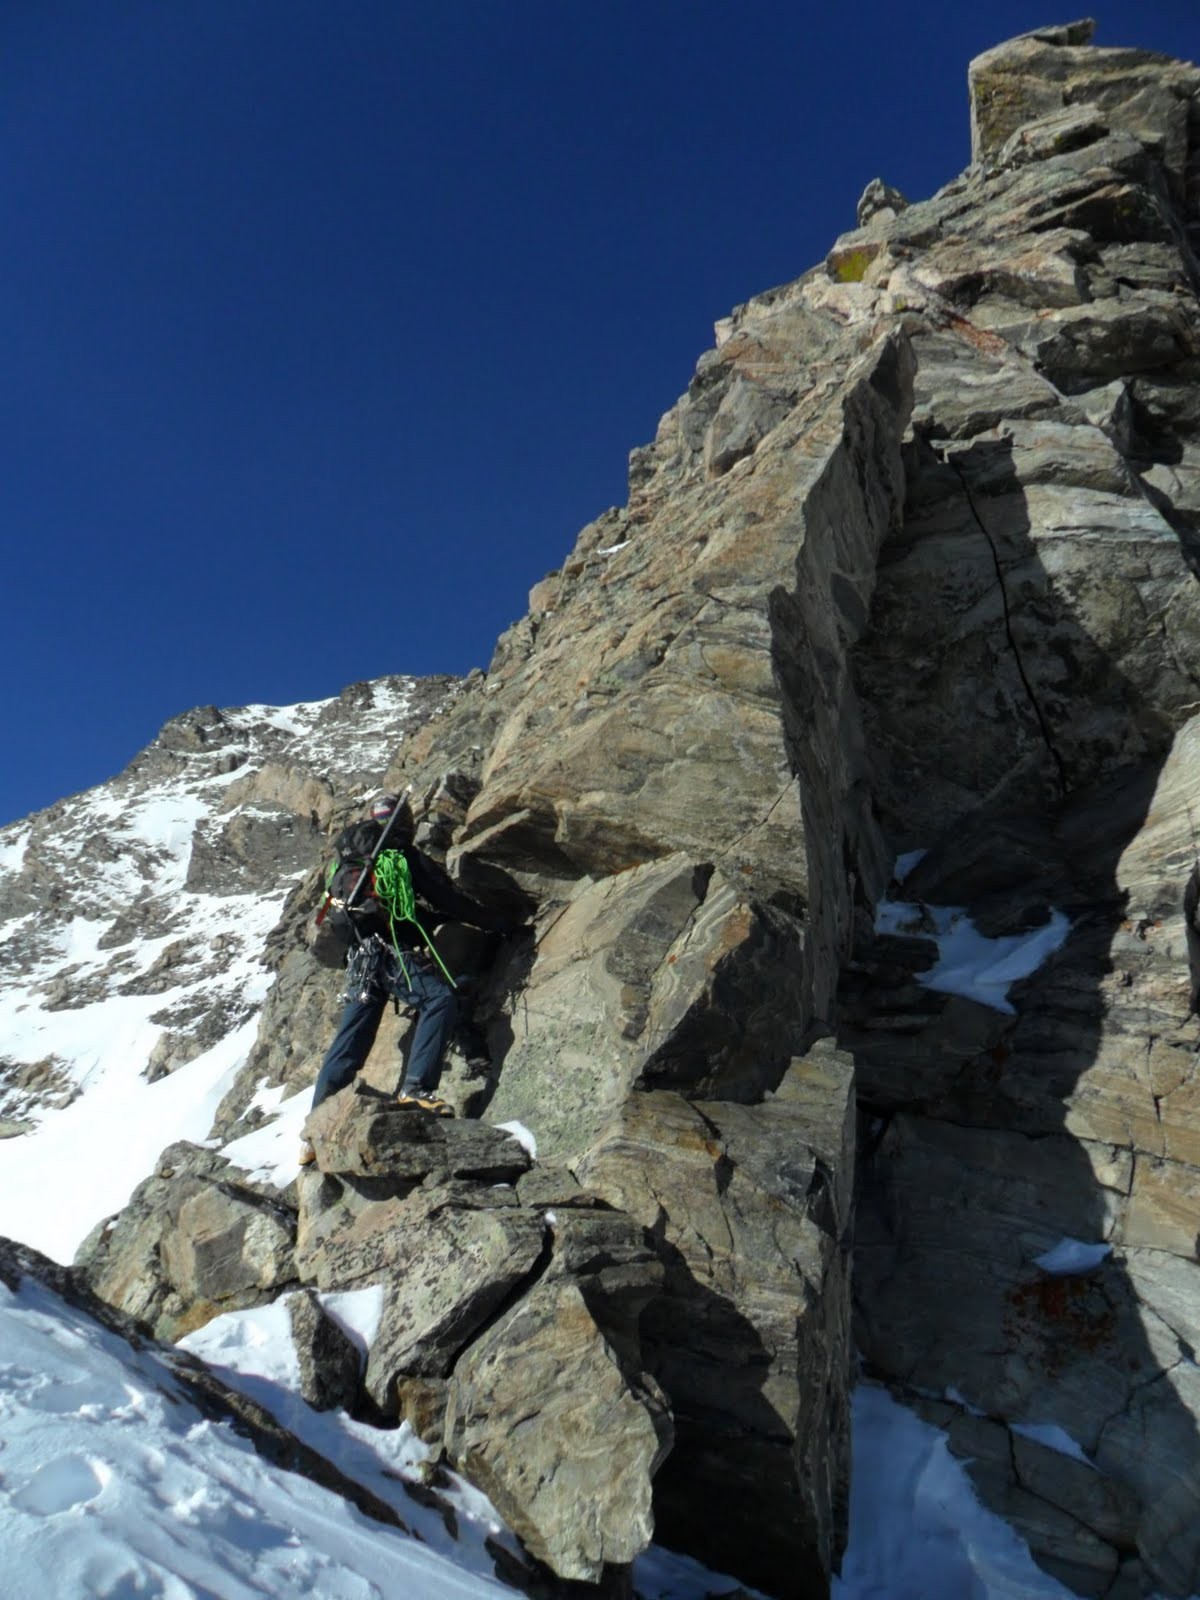
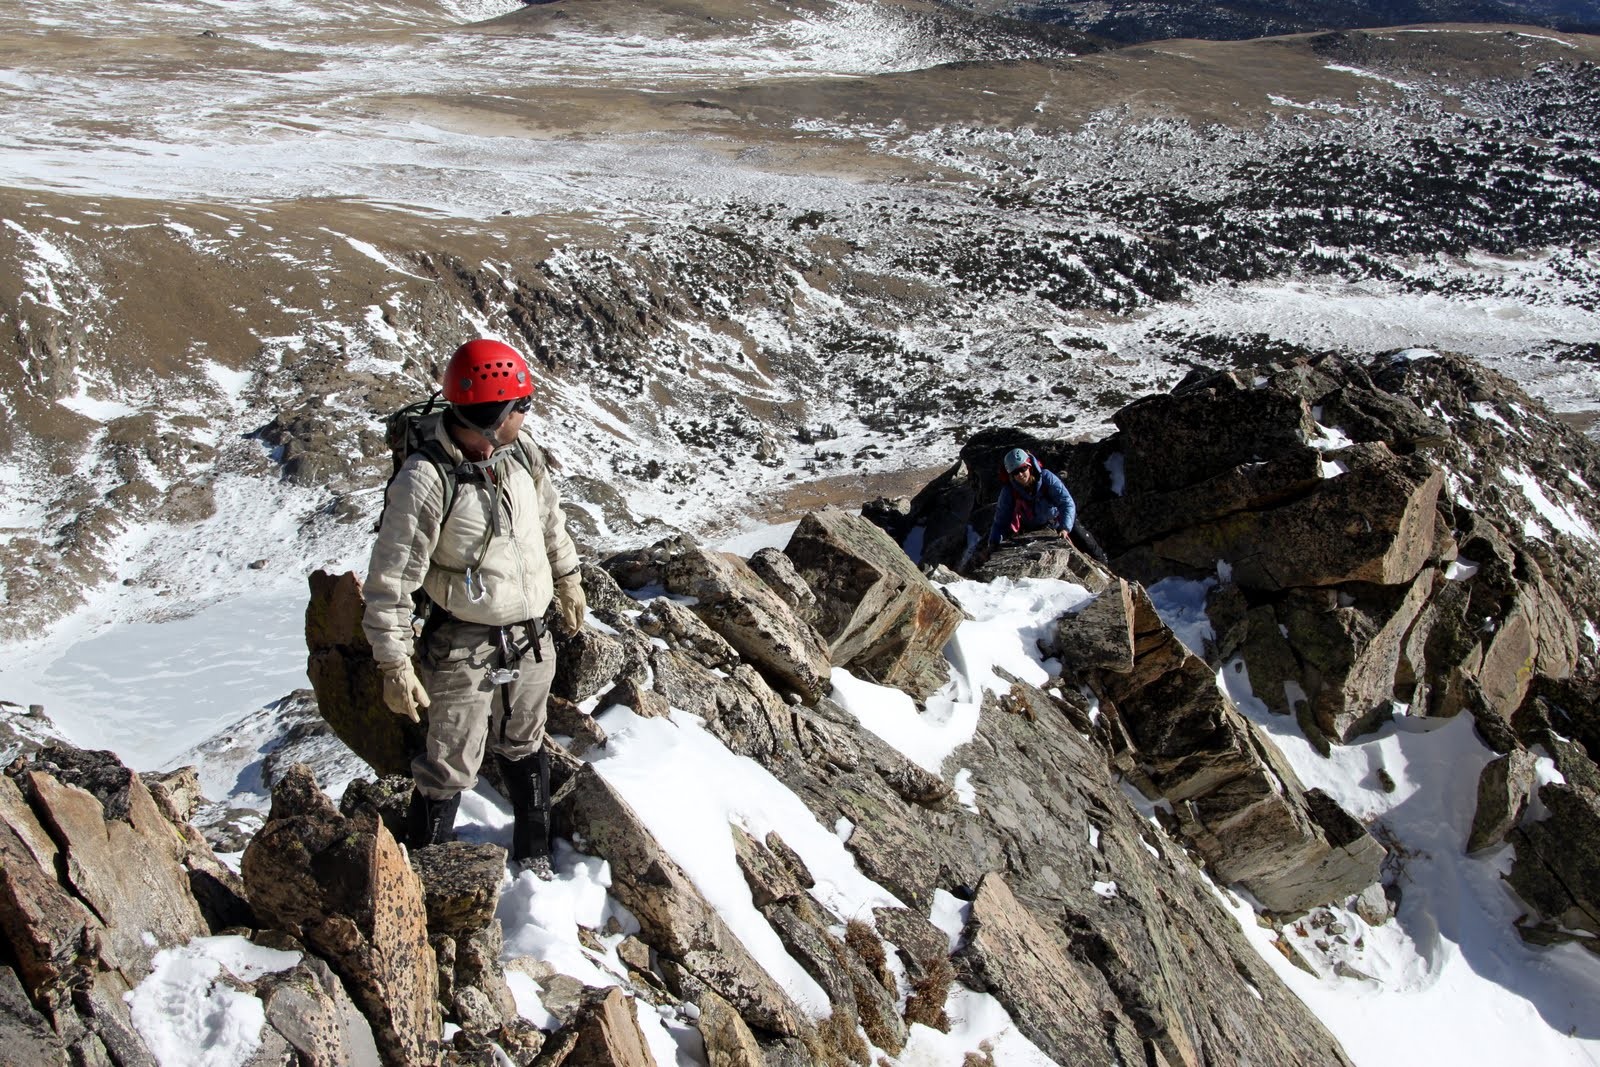
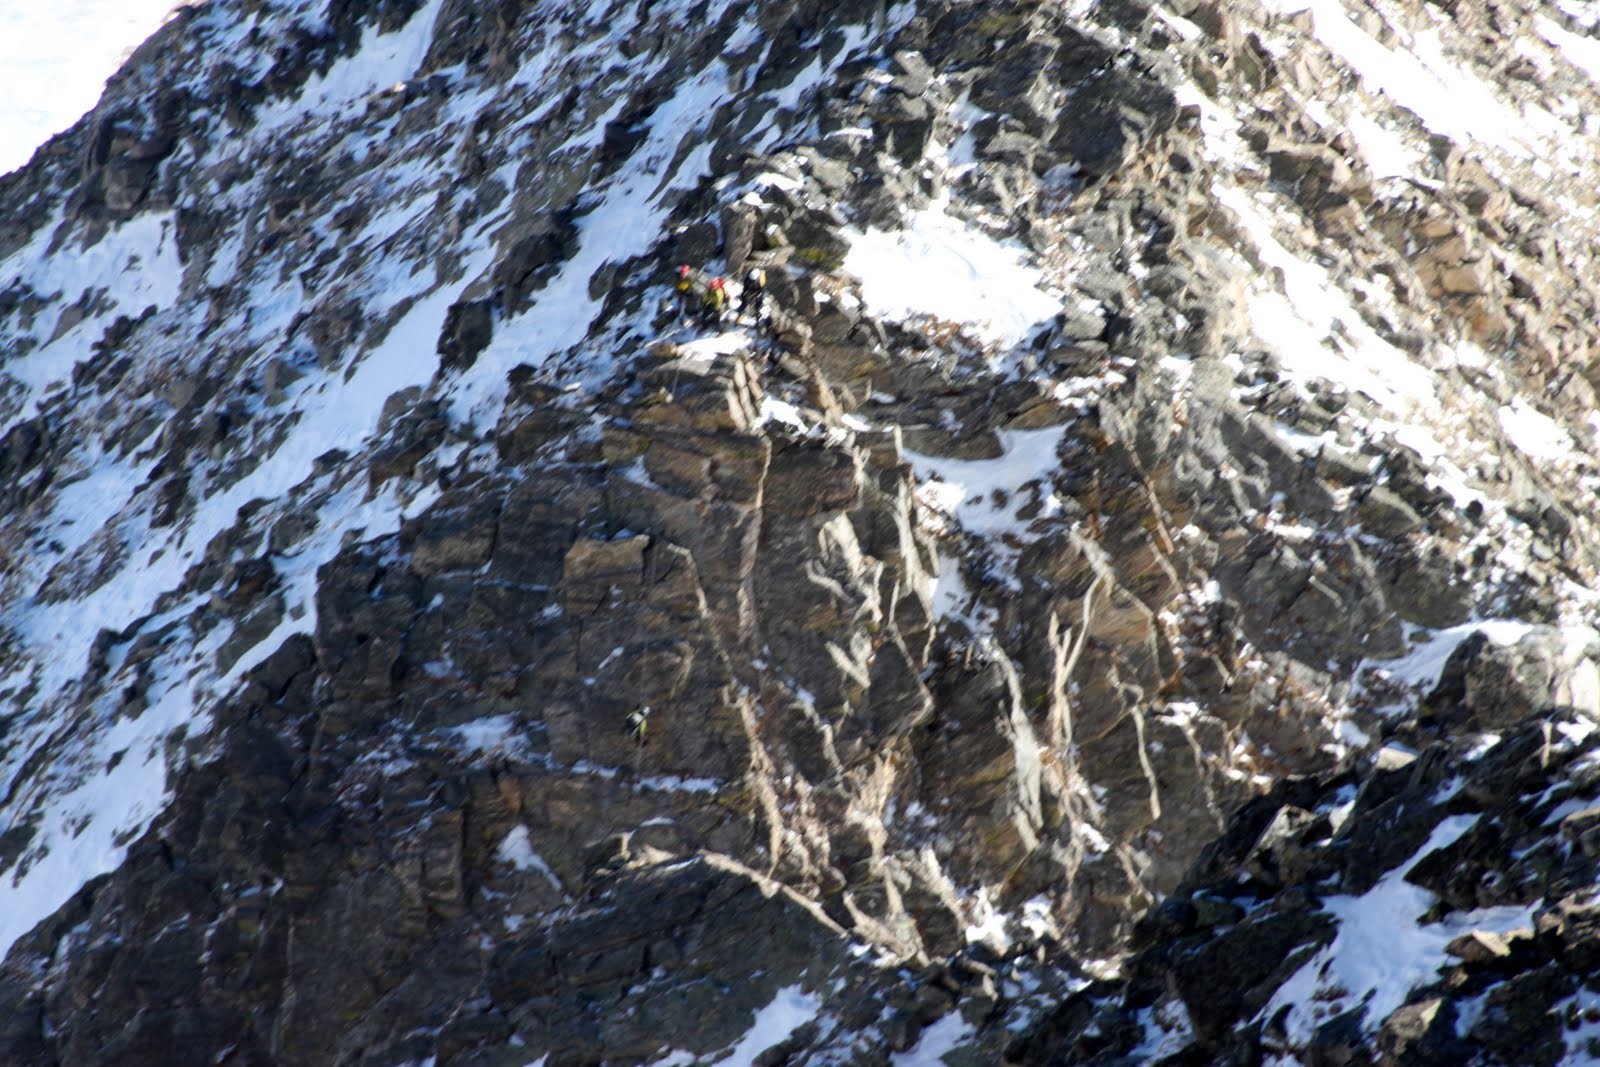
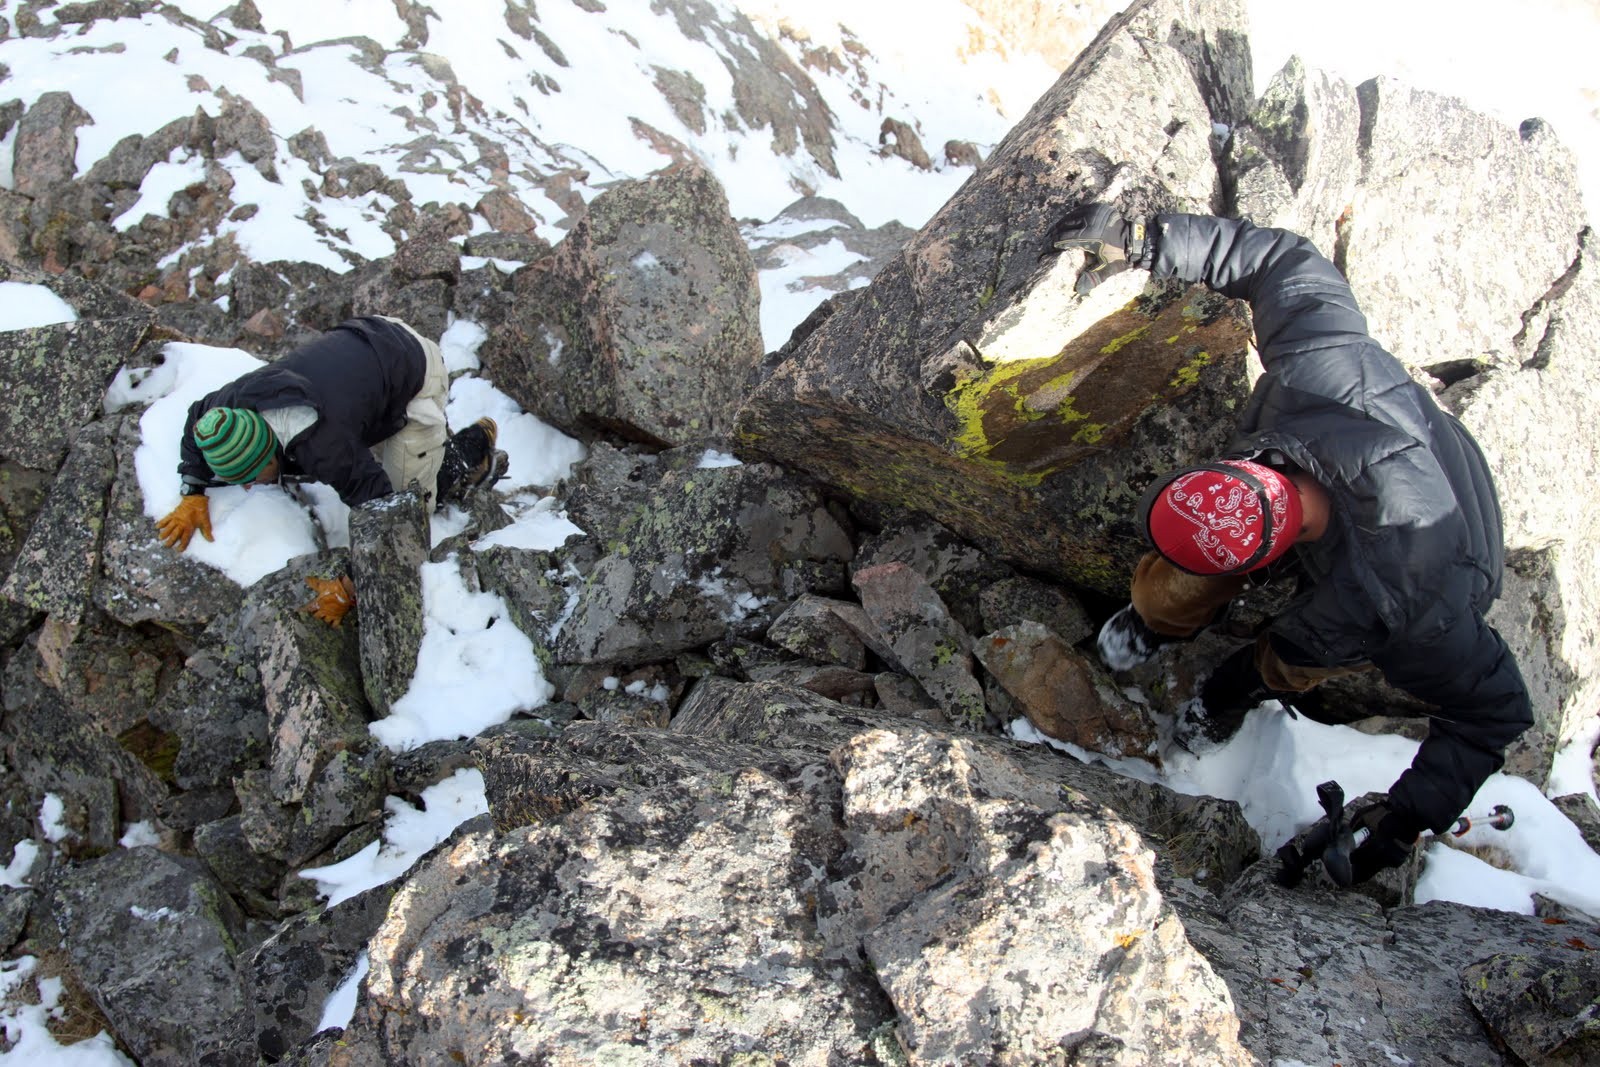
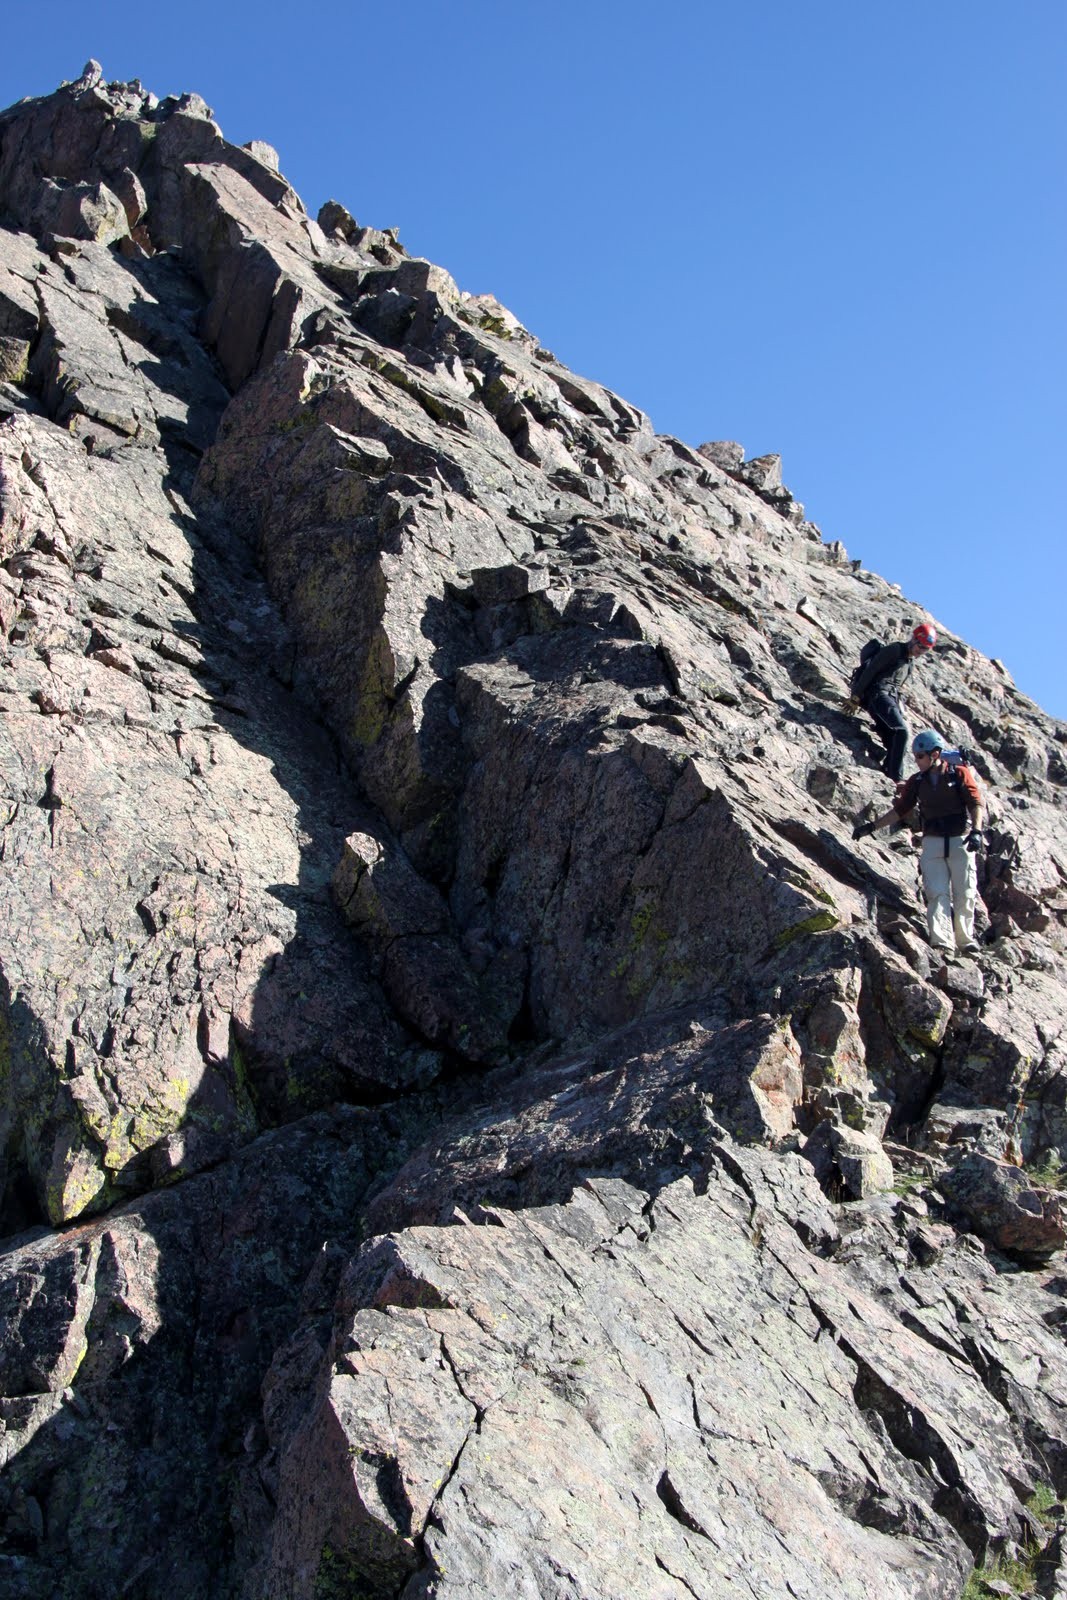
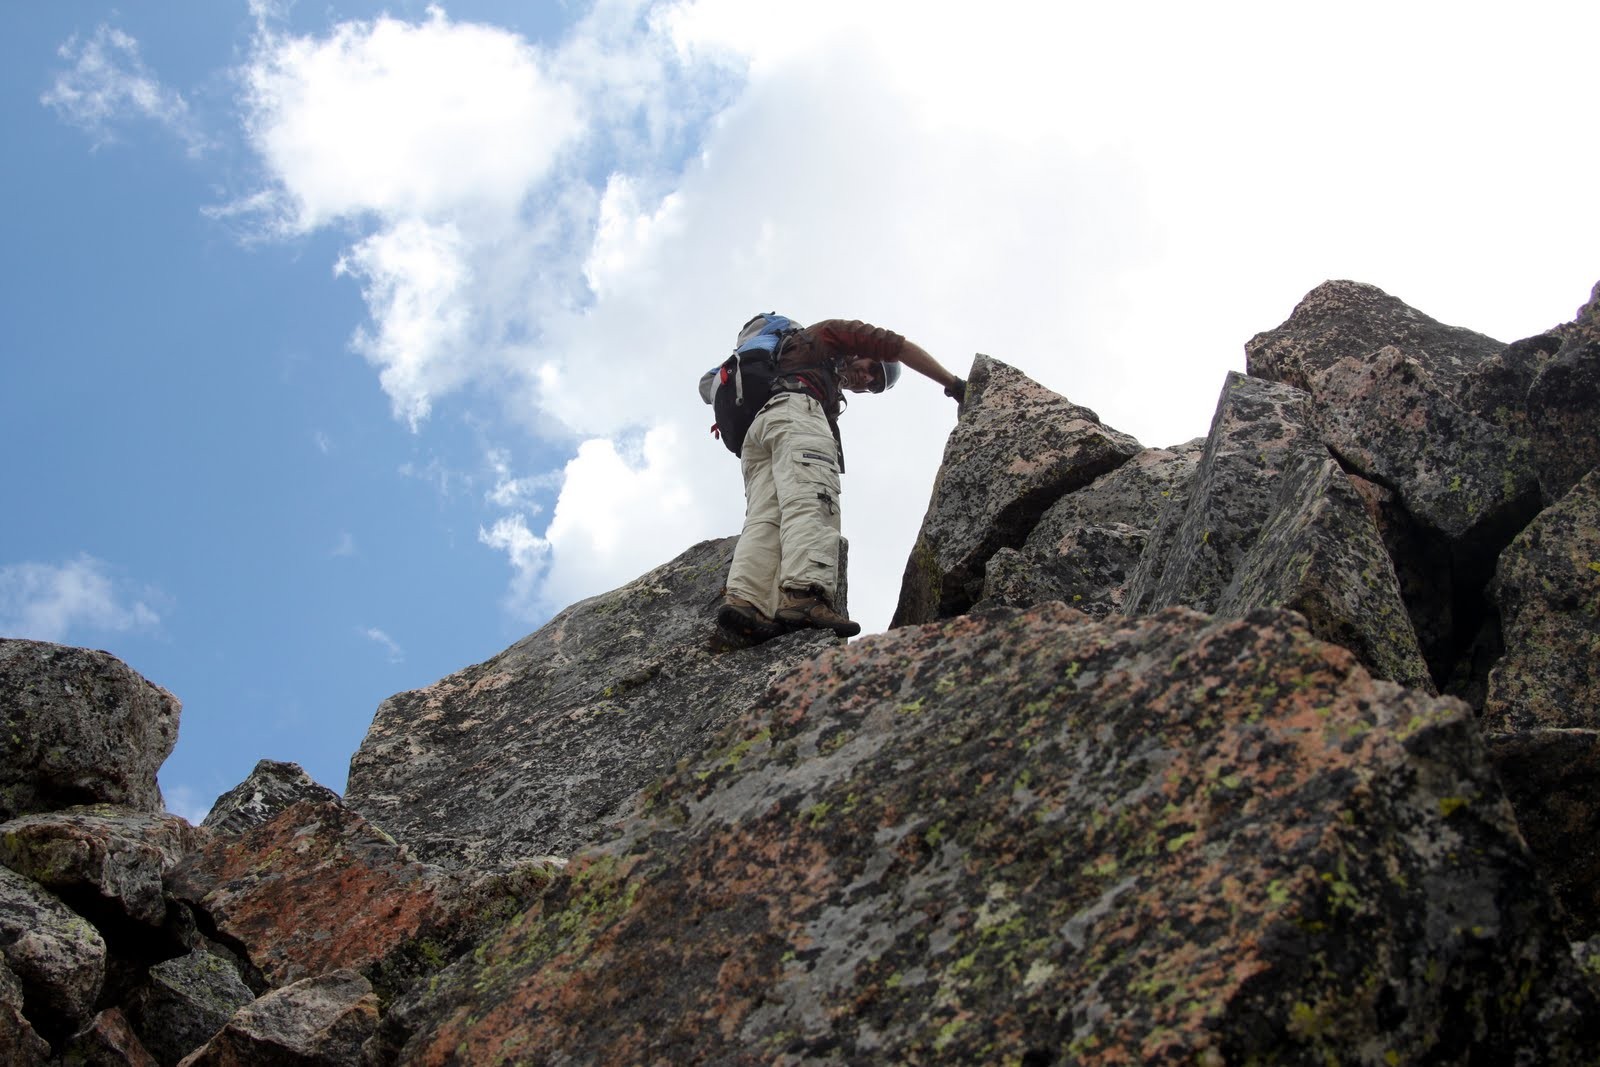
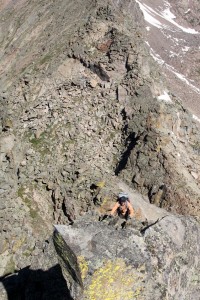
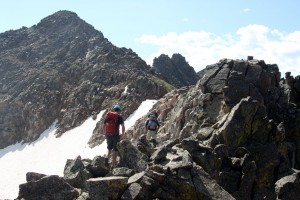
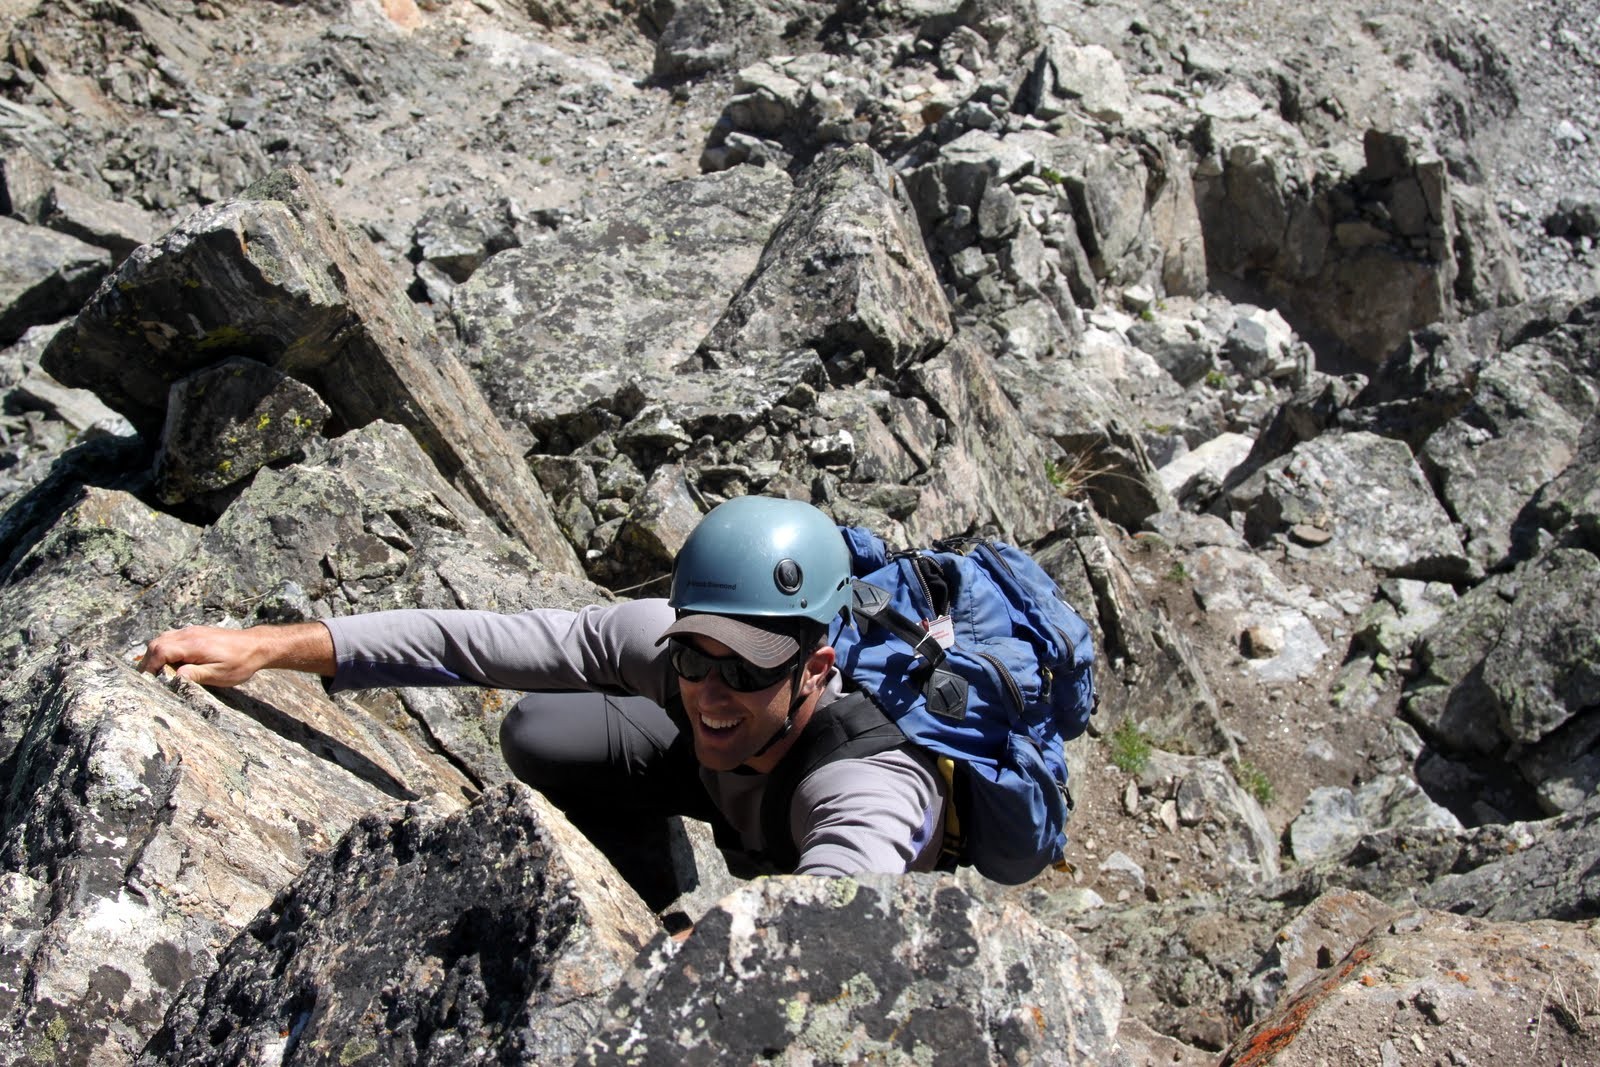
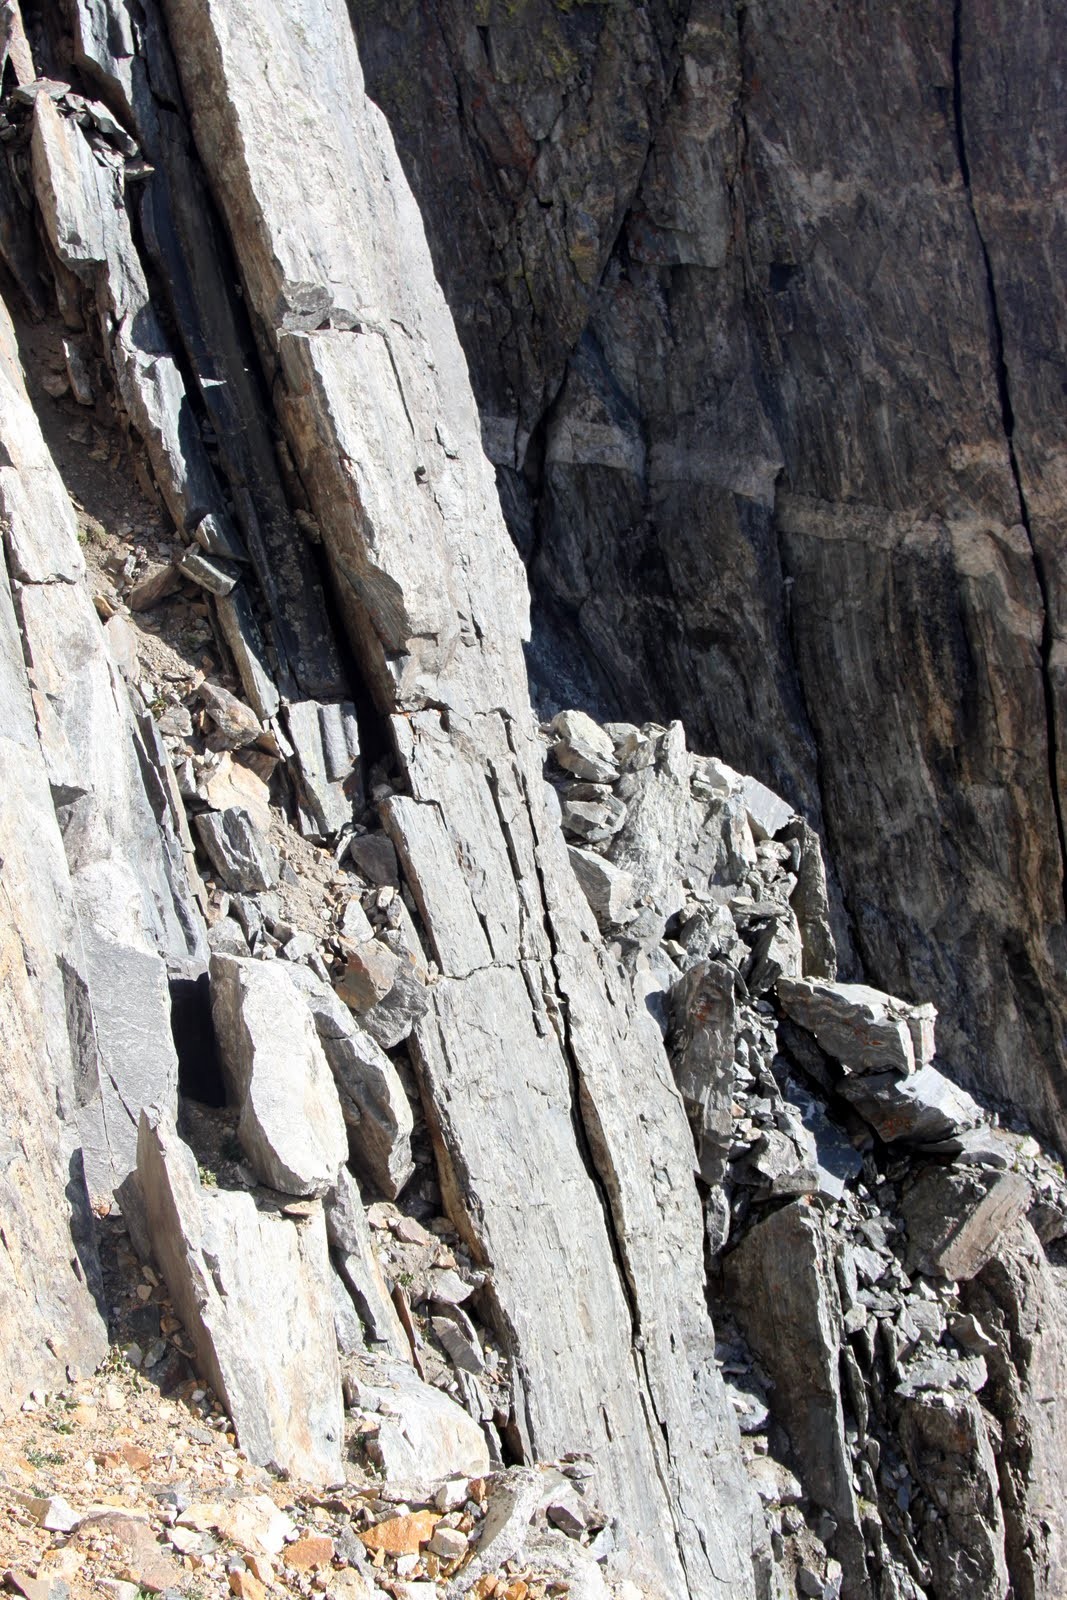
There are a few larger towers that make up the middle ridge section between H & J and most of these can be climbed on the ridge proper with 4th class/low 5th moves. However, one tower would not go ridge proper much less than a 5.10 I would bet, so we traversed around to the ridge’s north side for some steep and exposed grass ledge scrambling.

Baba approaching the few towers that encompass the middle section between H & J – we went around the upcoming tower to our left (north)

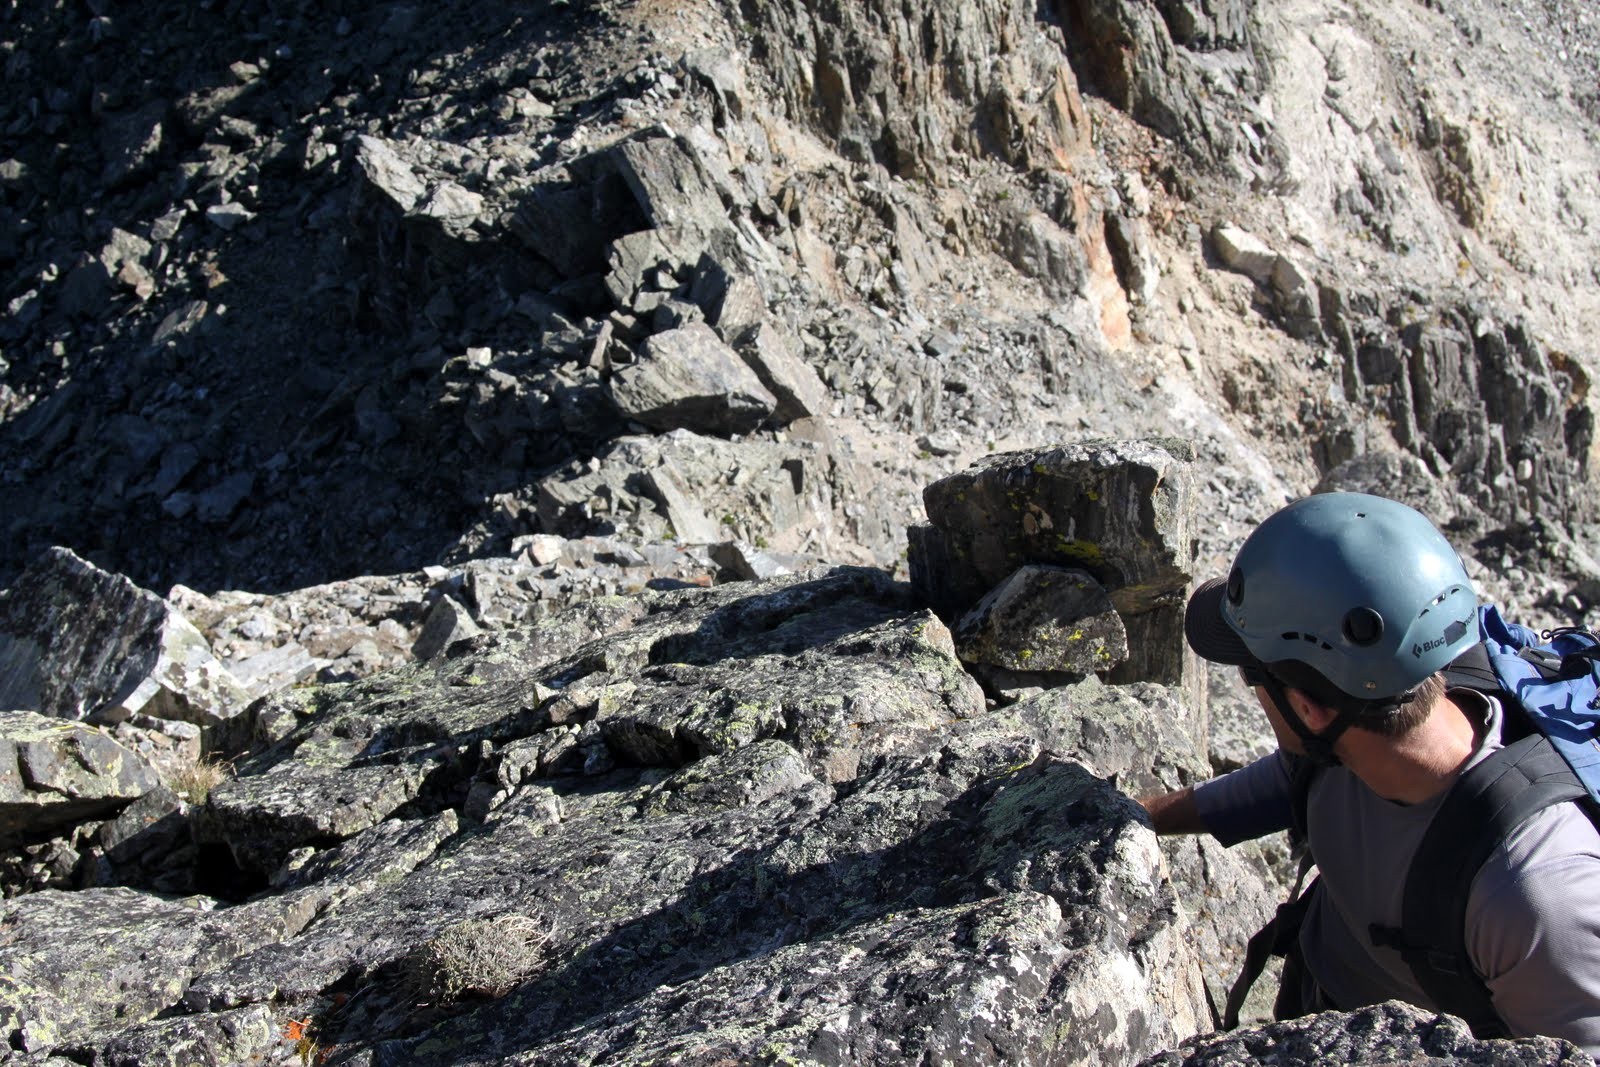
Steep gassy slopes on the ridge’s north side
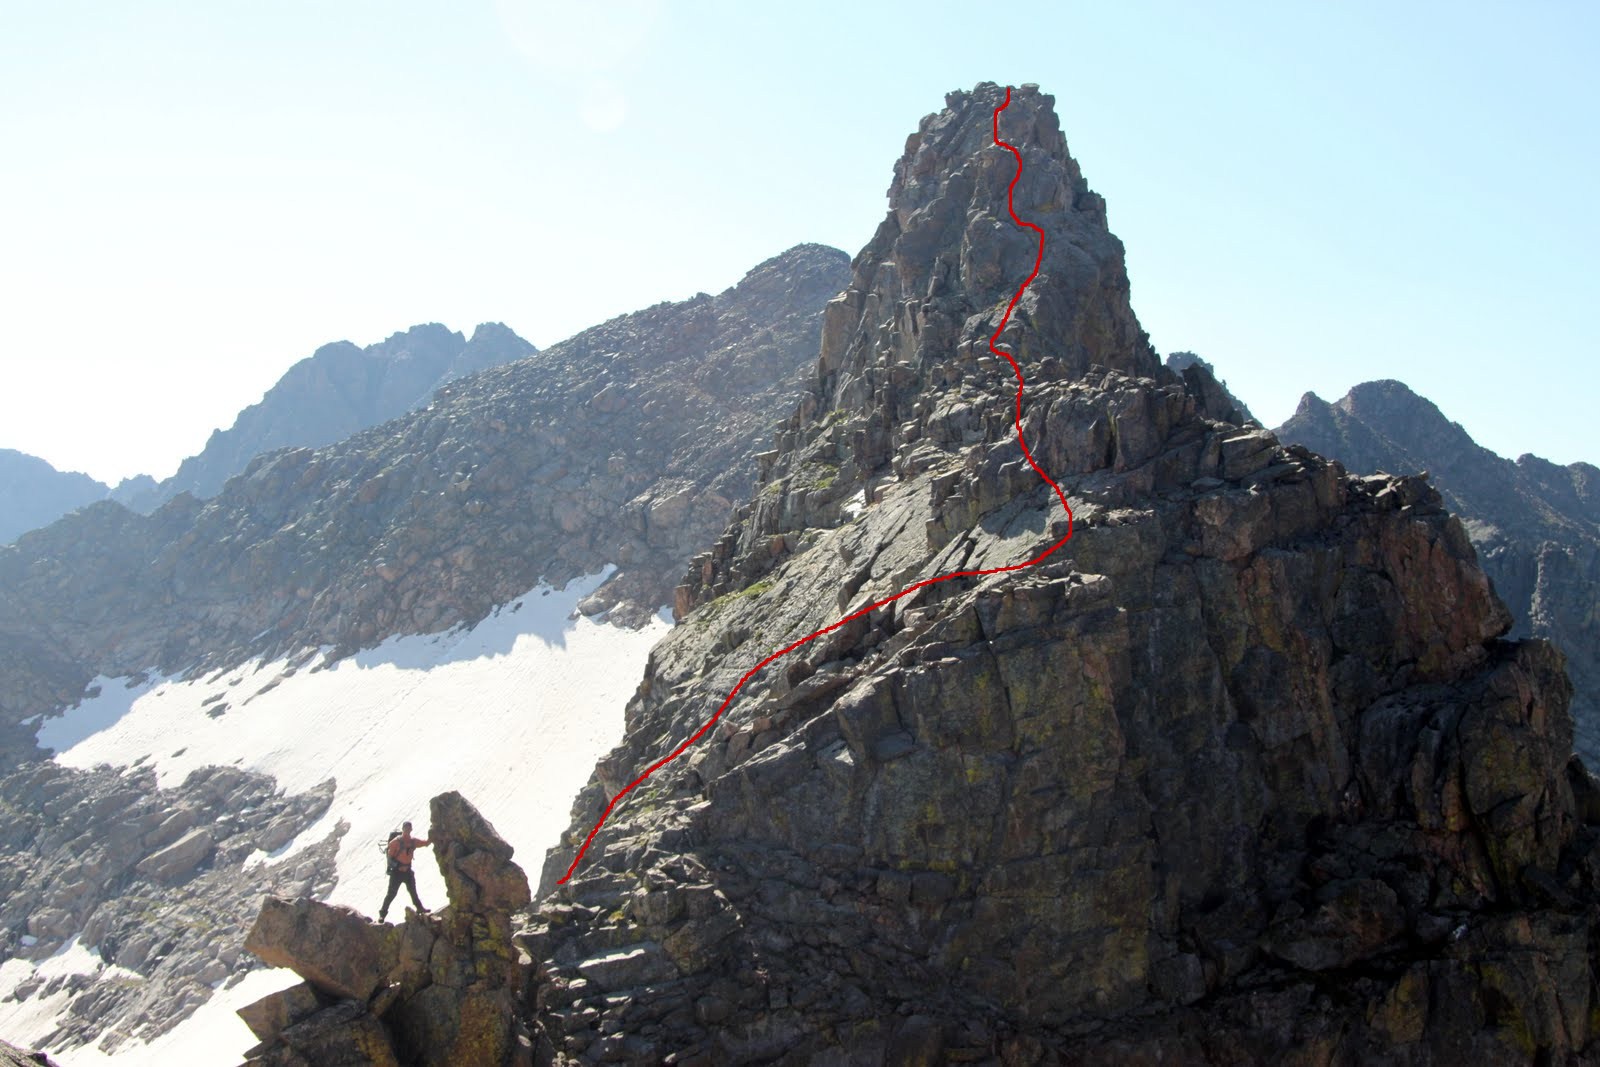
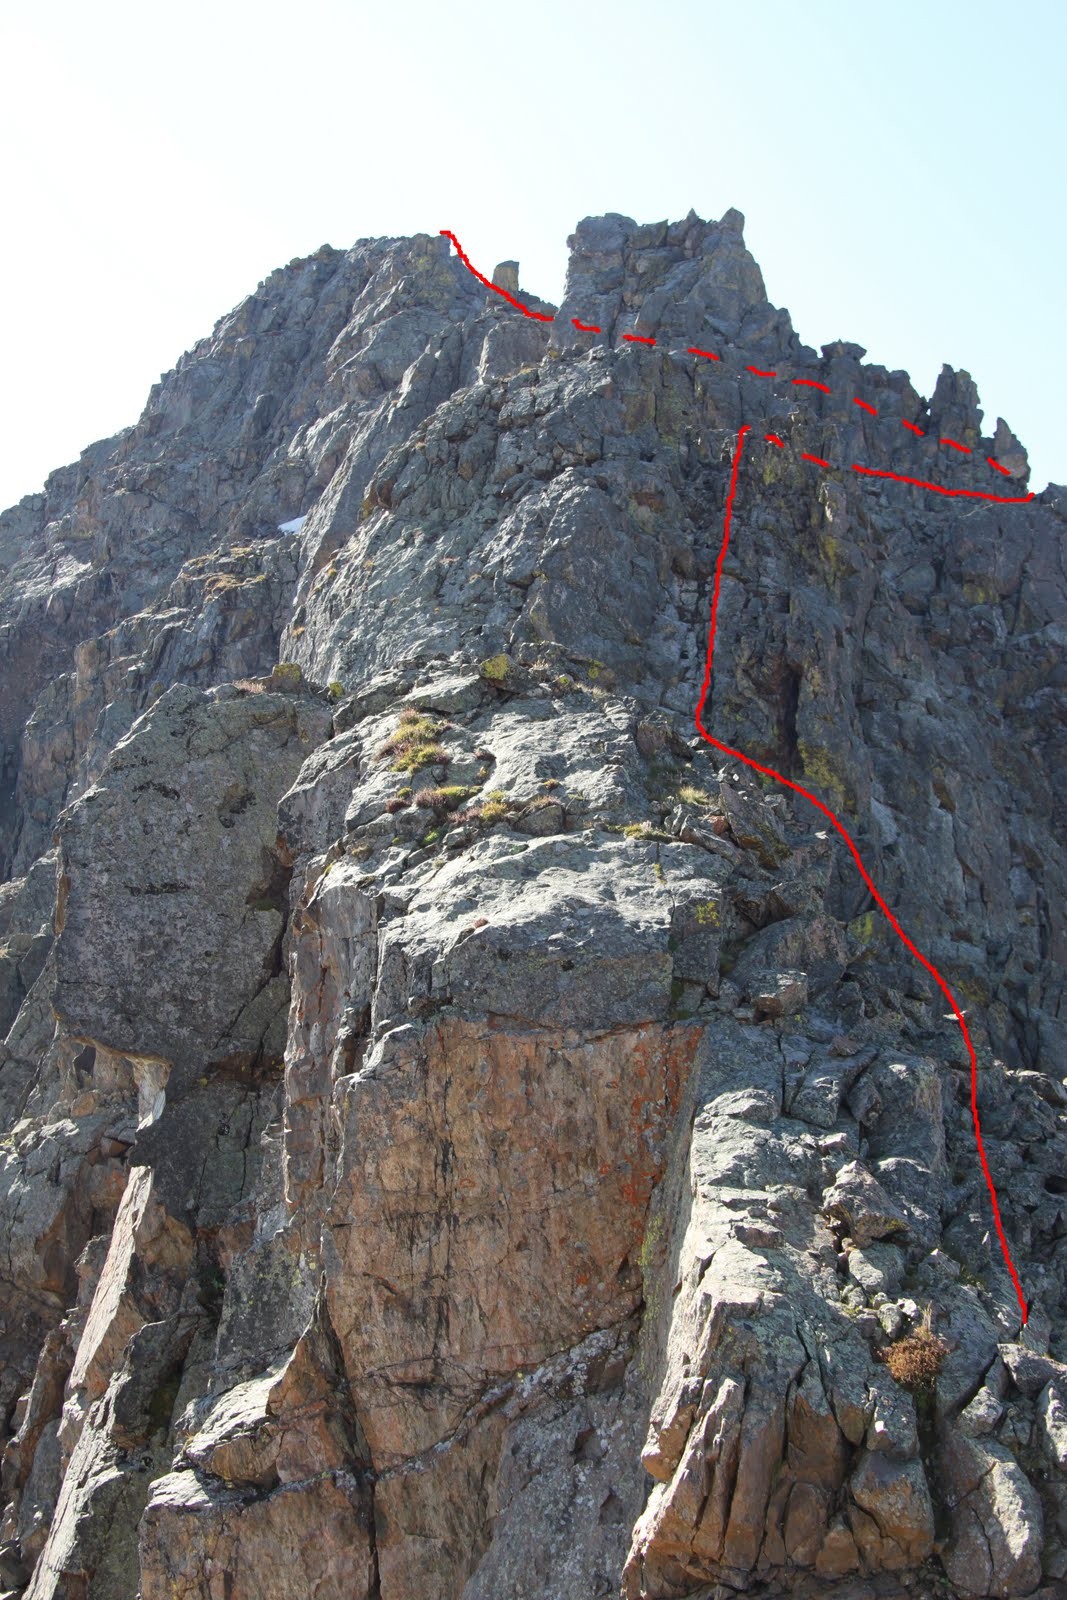
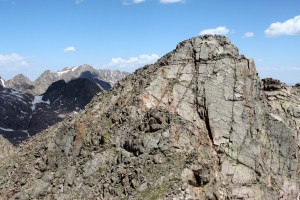
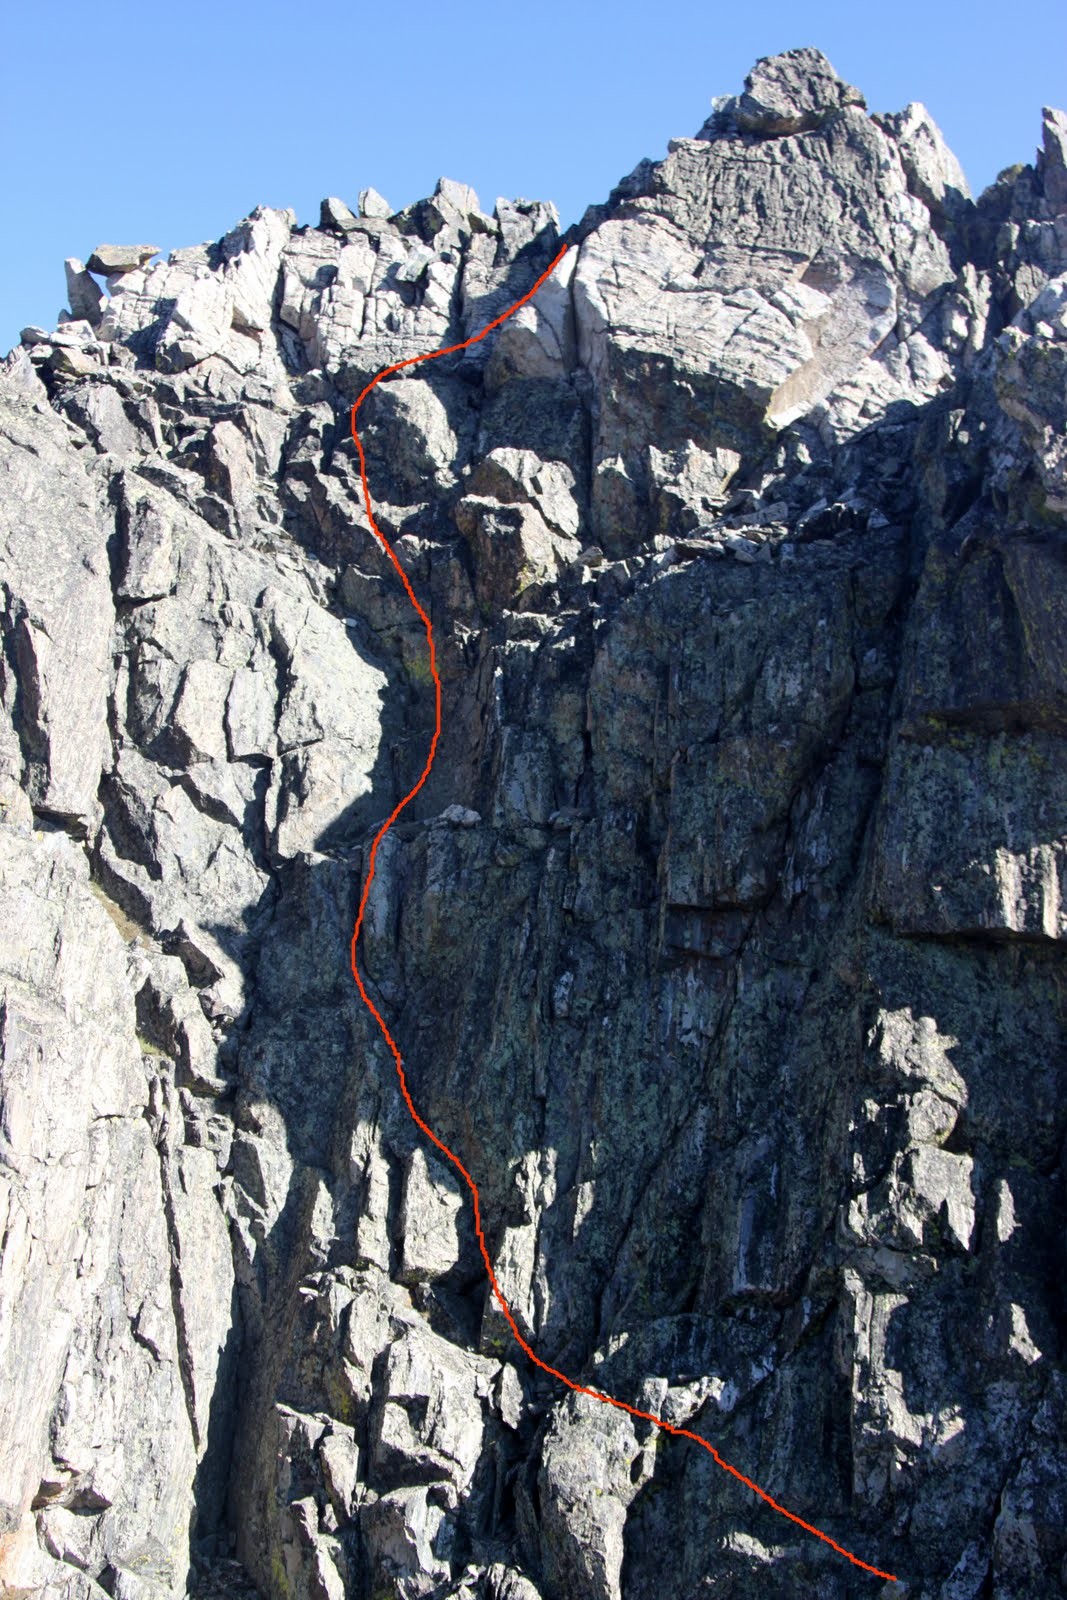
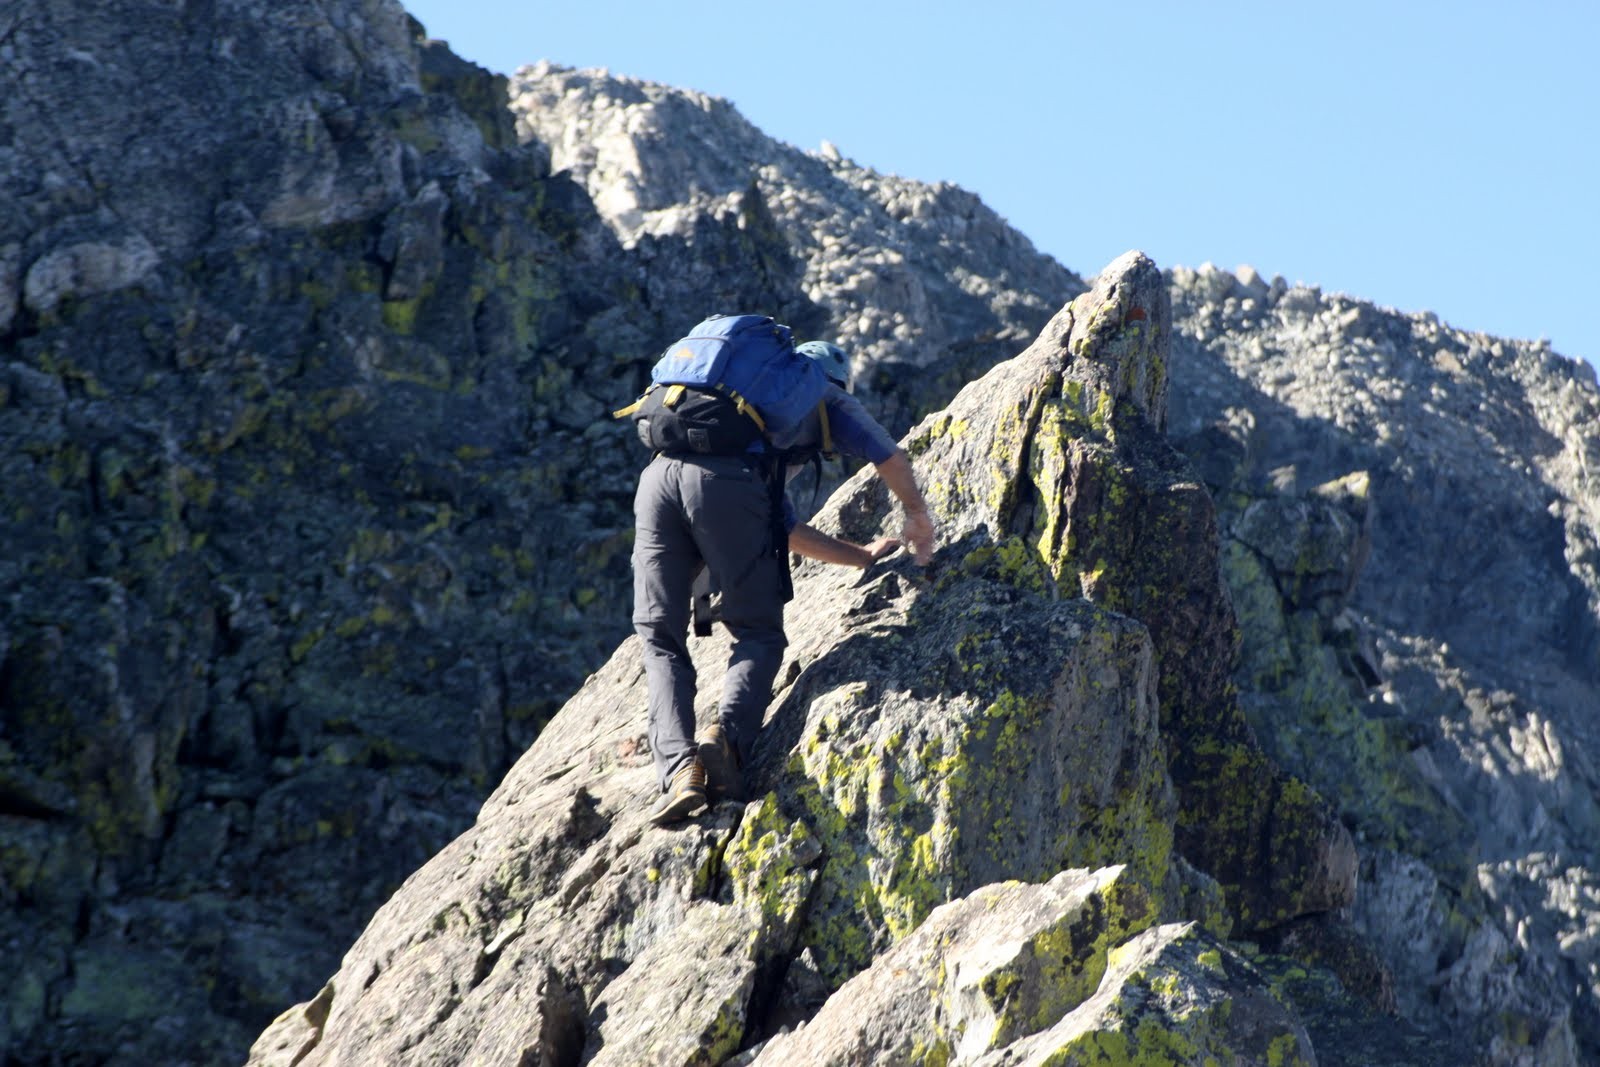
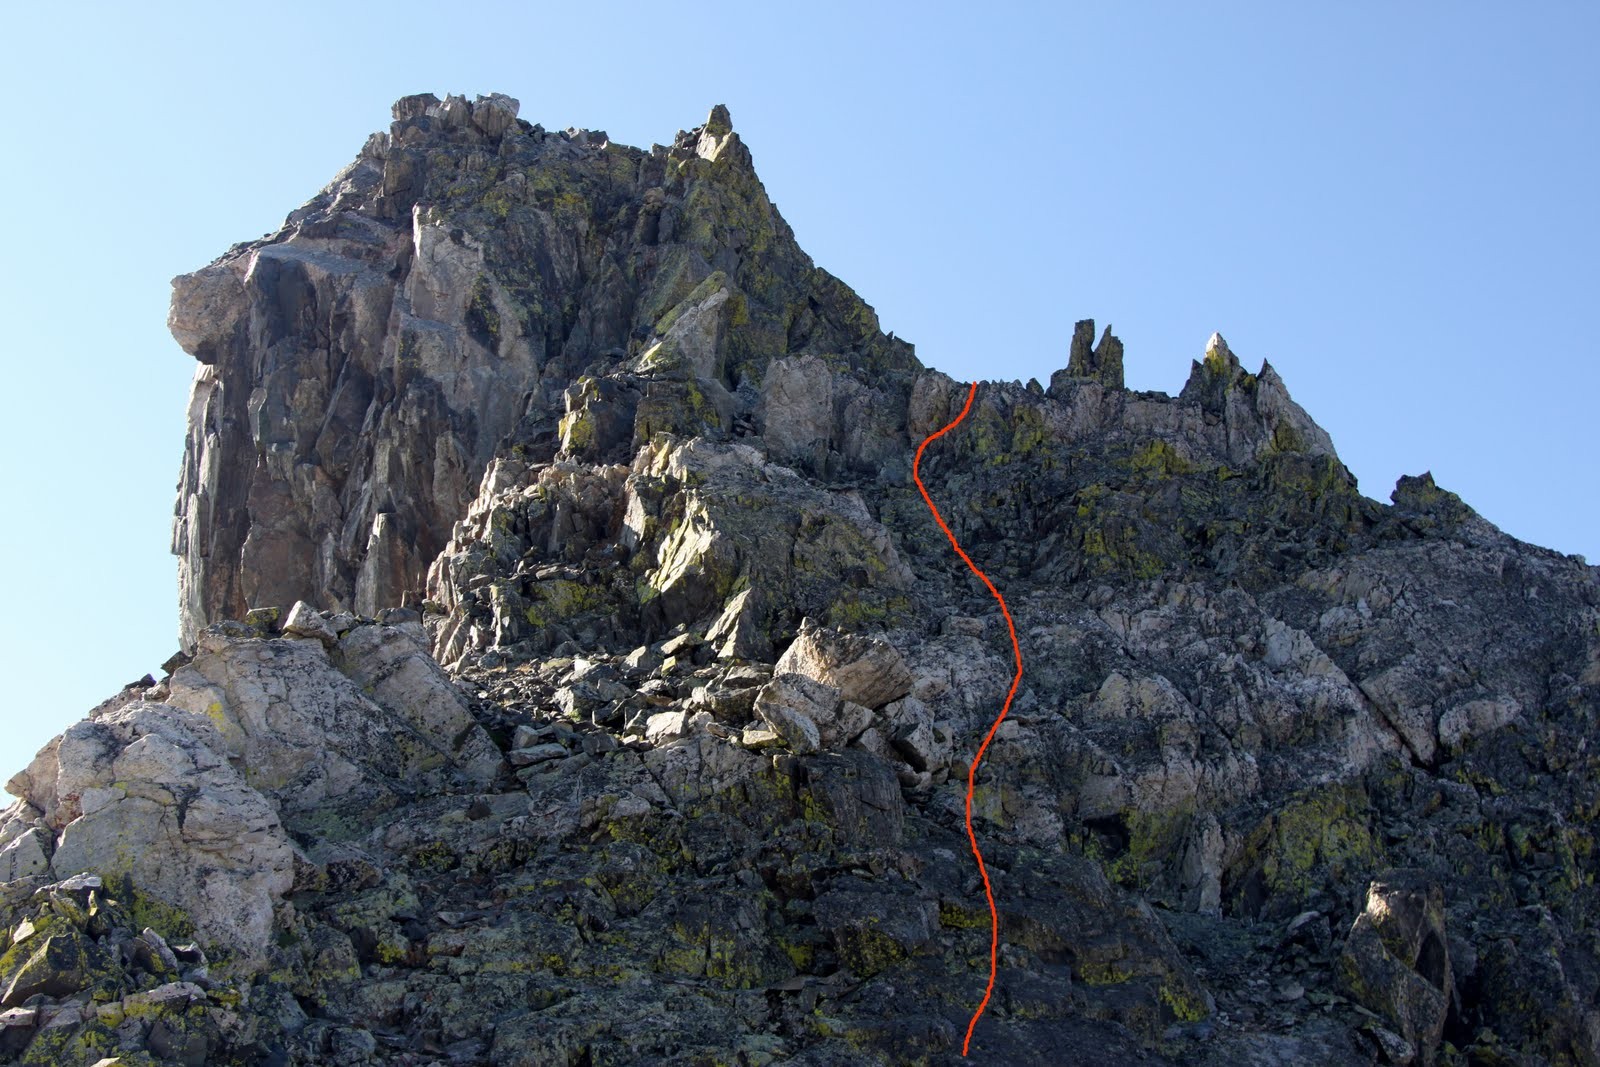
We then came up to an awesome looking tower that I wanted to find a way up and over. Fortunately, it worked out.

The hardiest of towers between H & J which we went up and over (route shown in red)

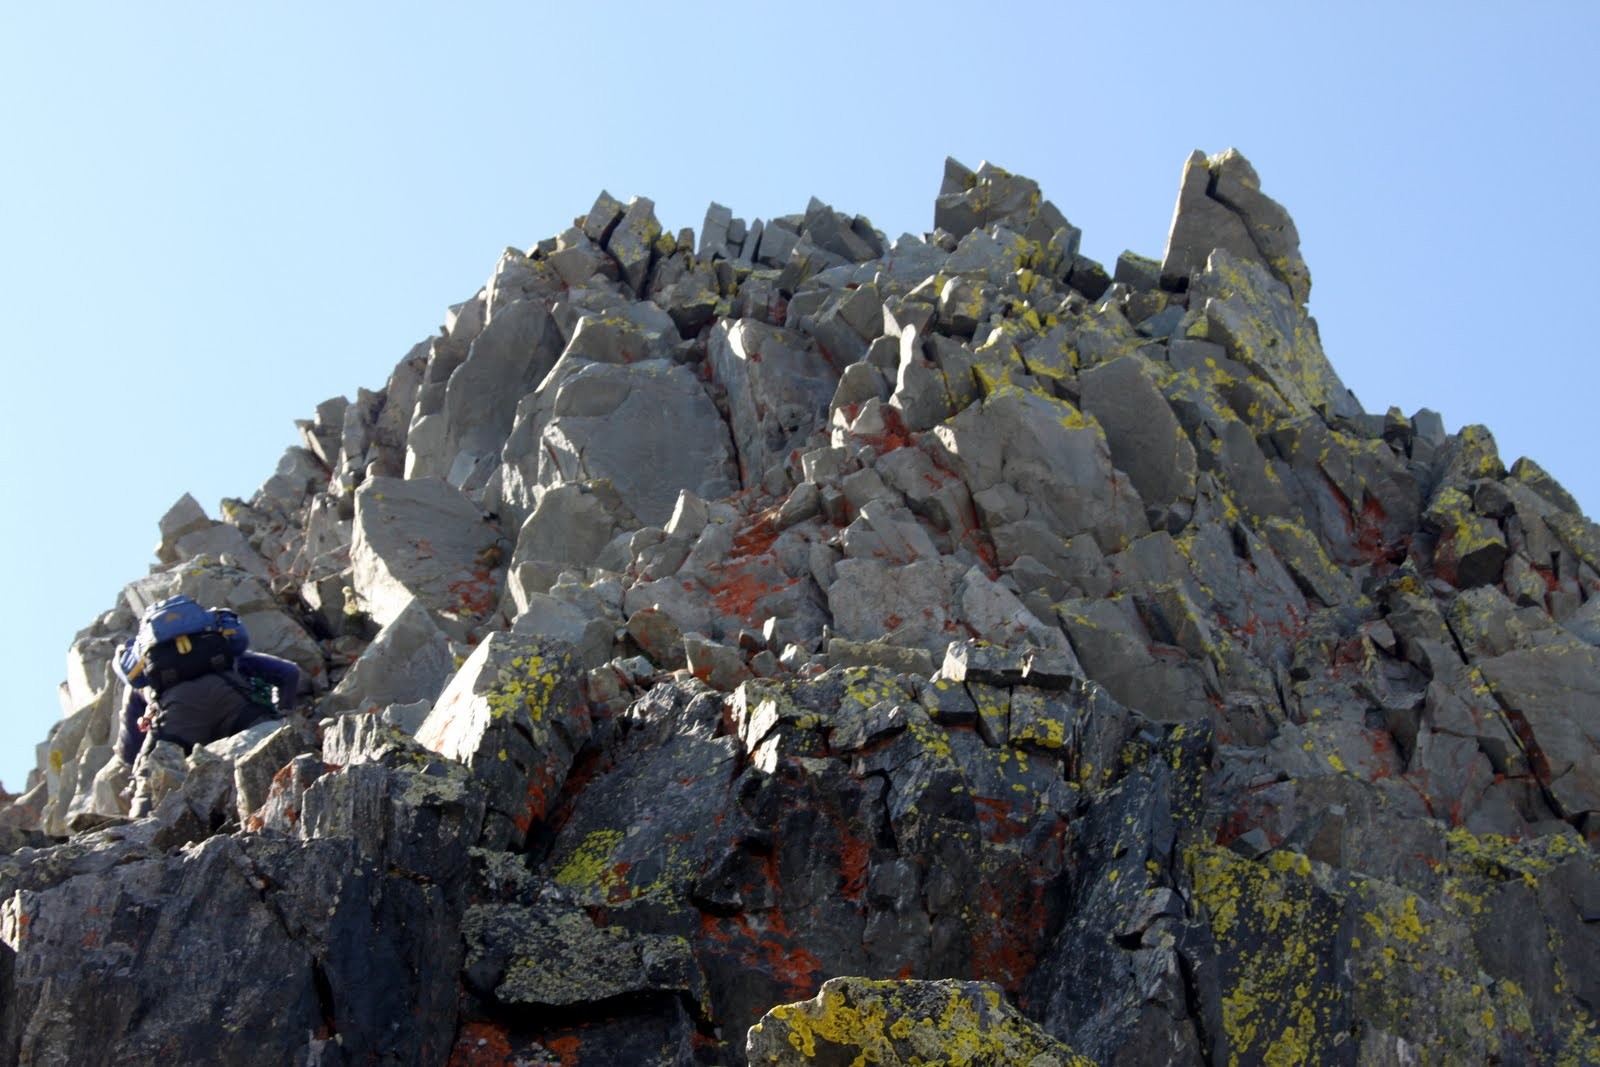
The crew descending the last tower after the grassy ledge system section
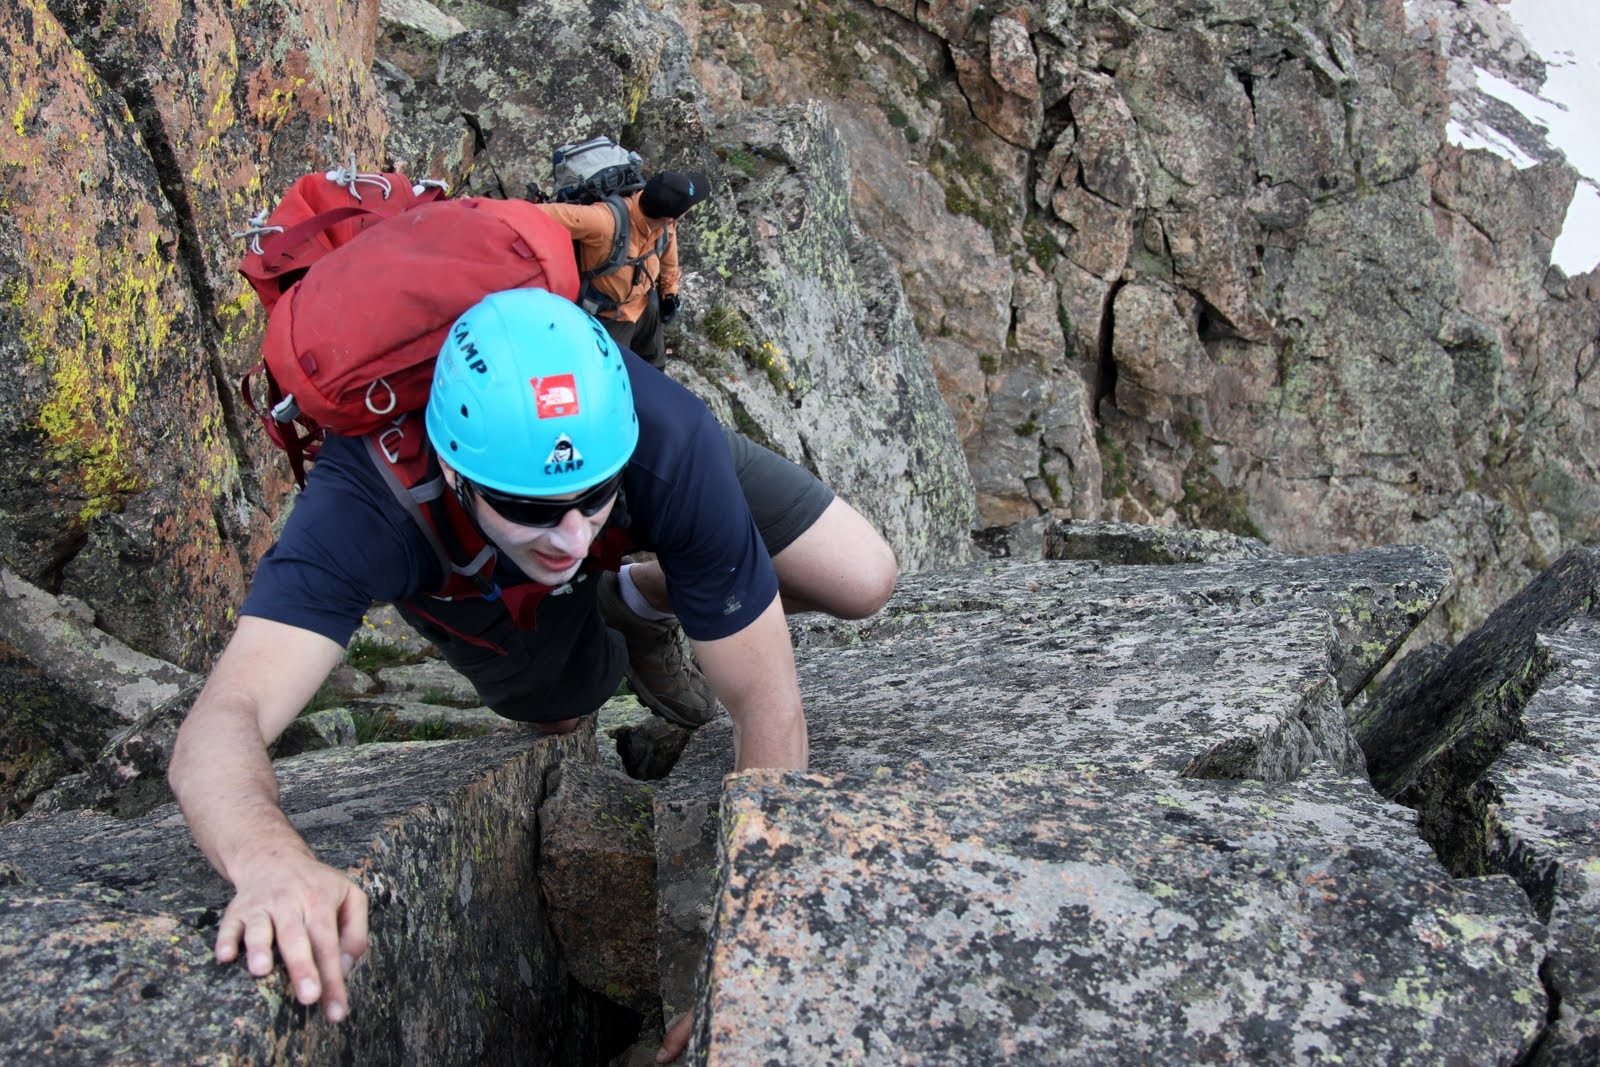
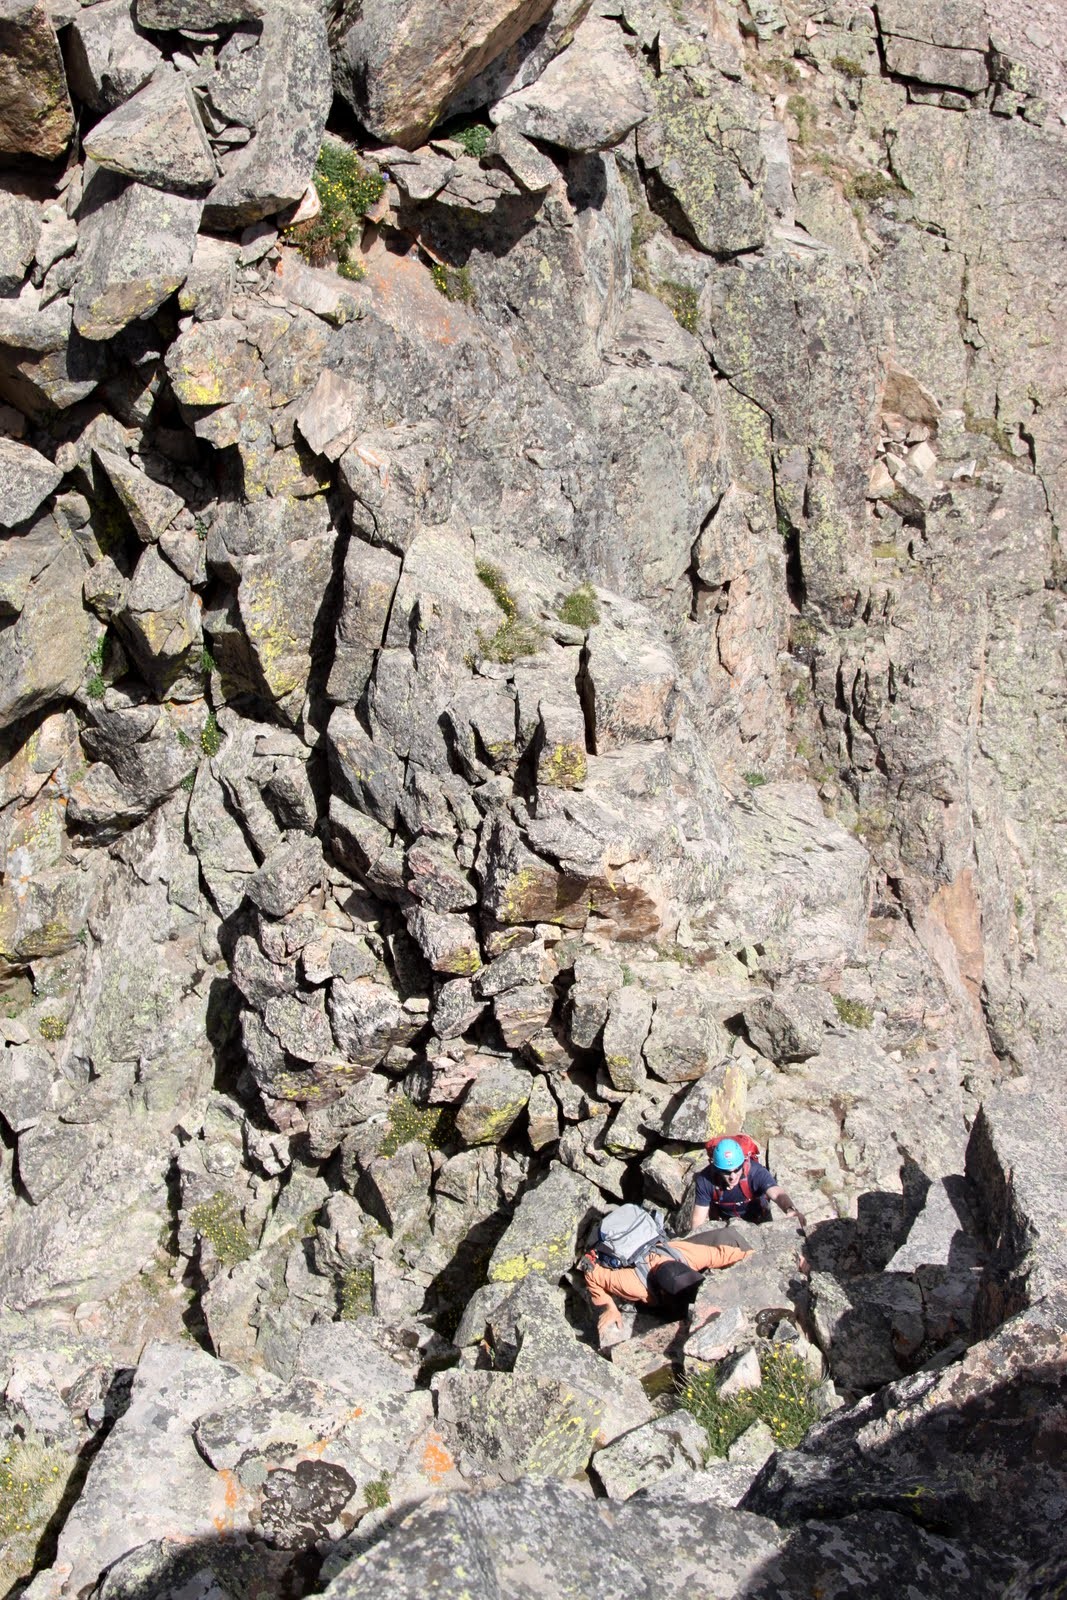
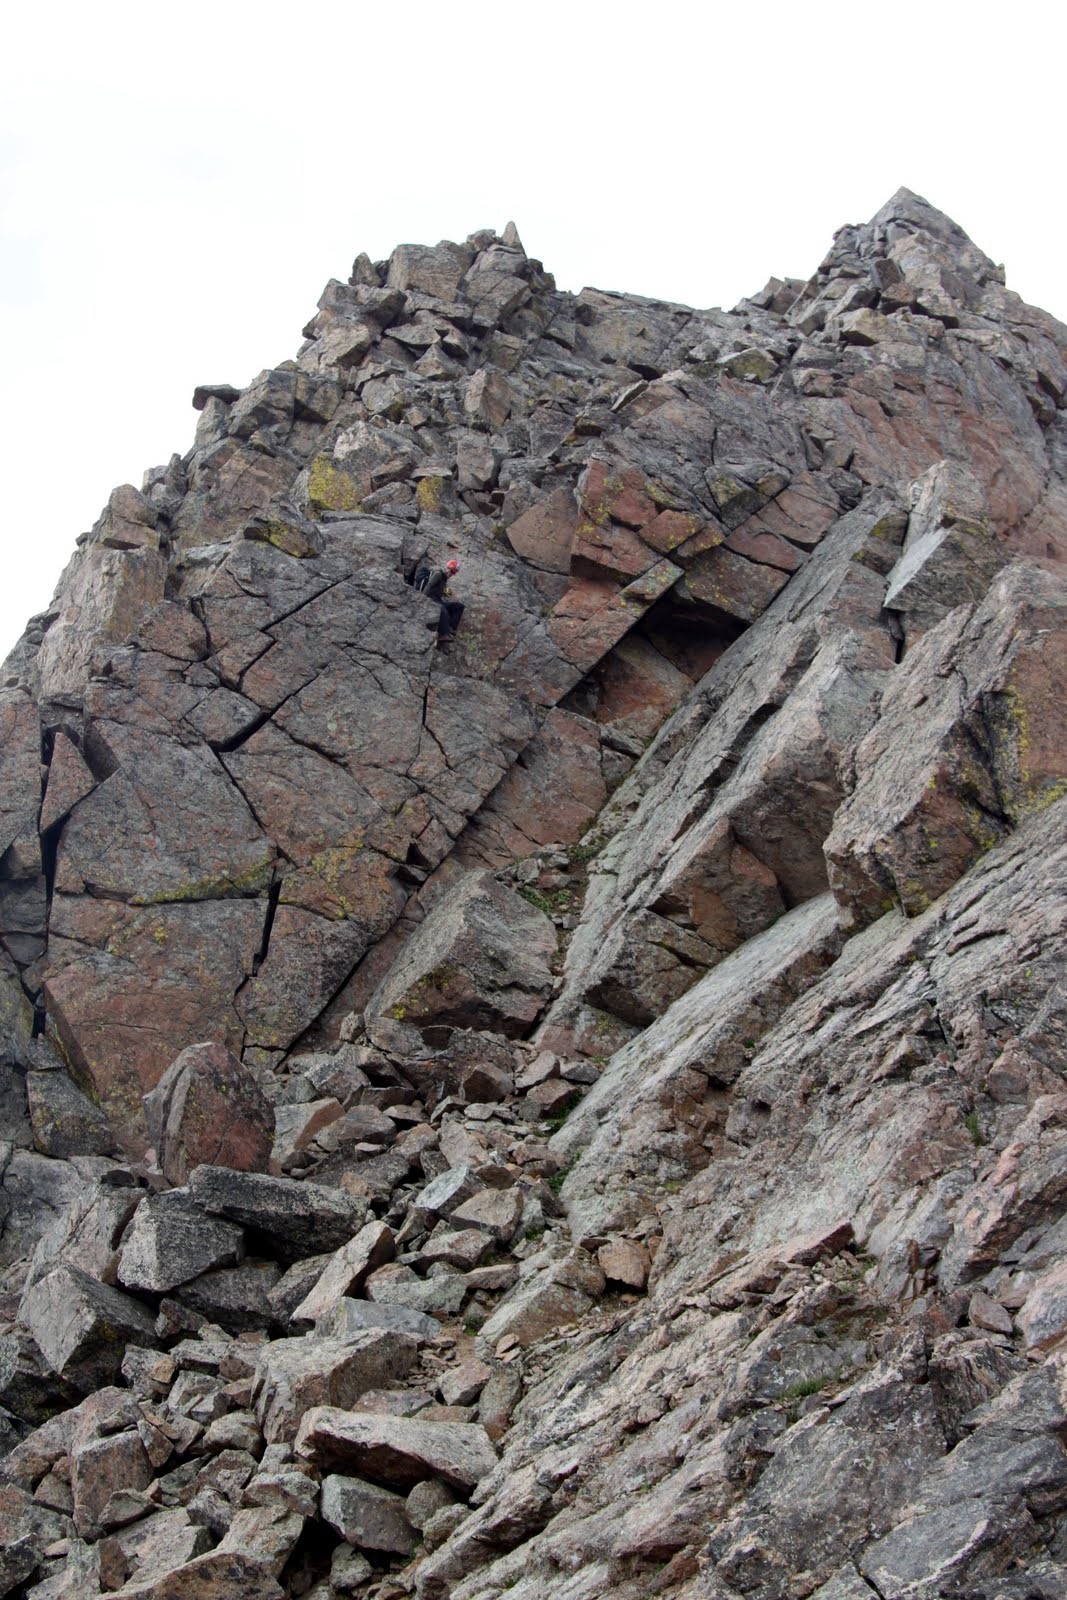
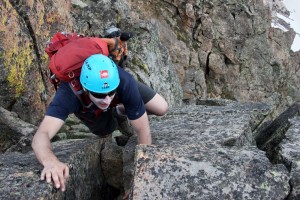
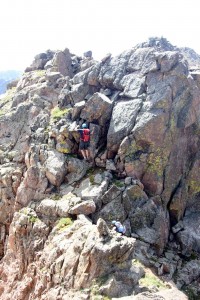
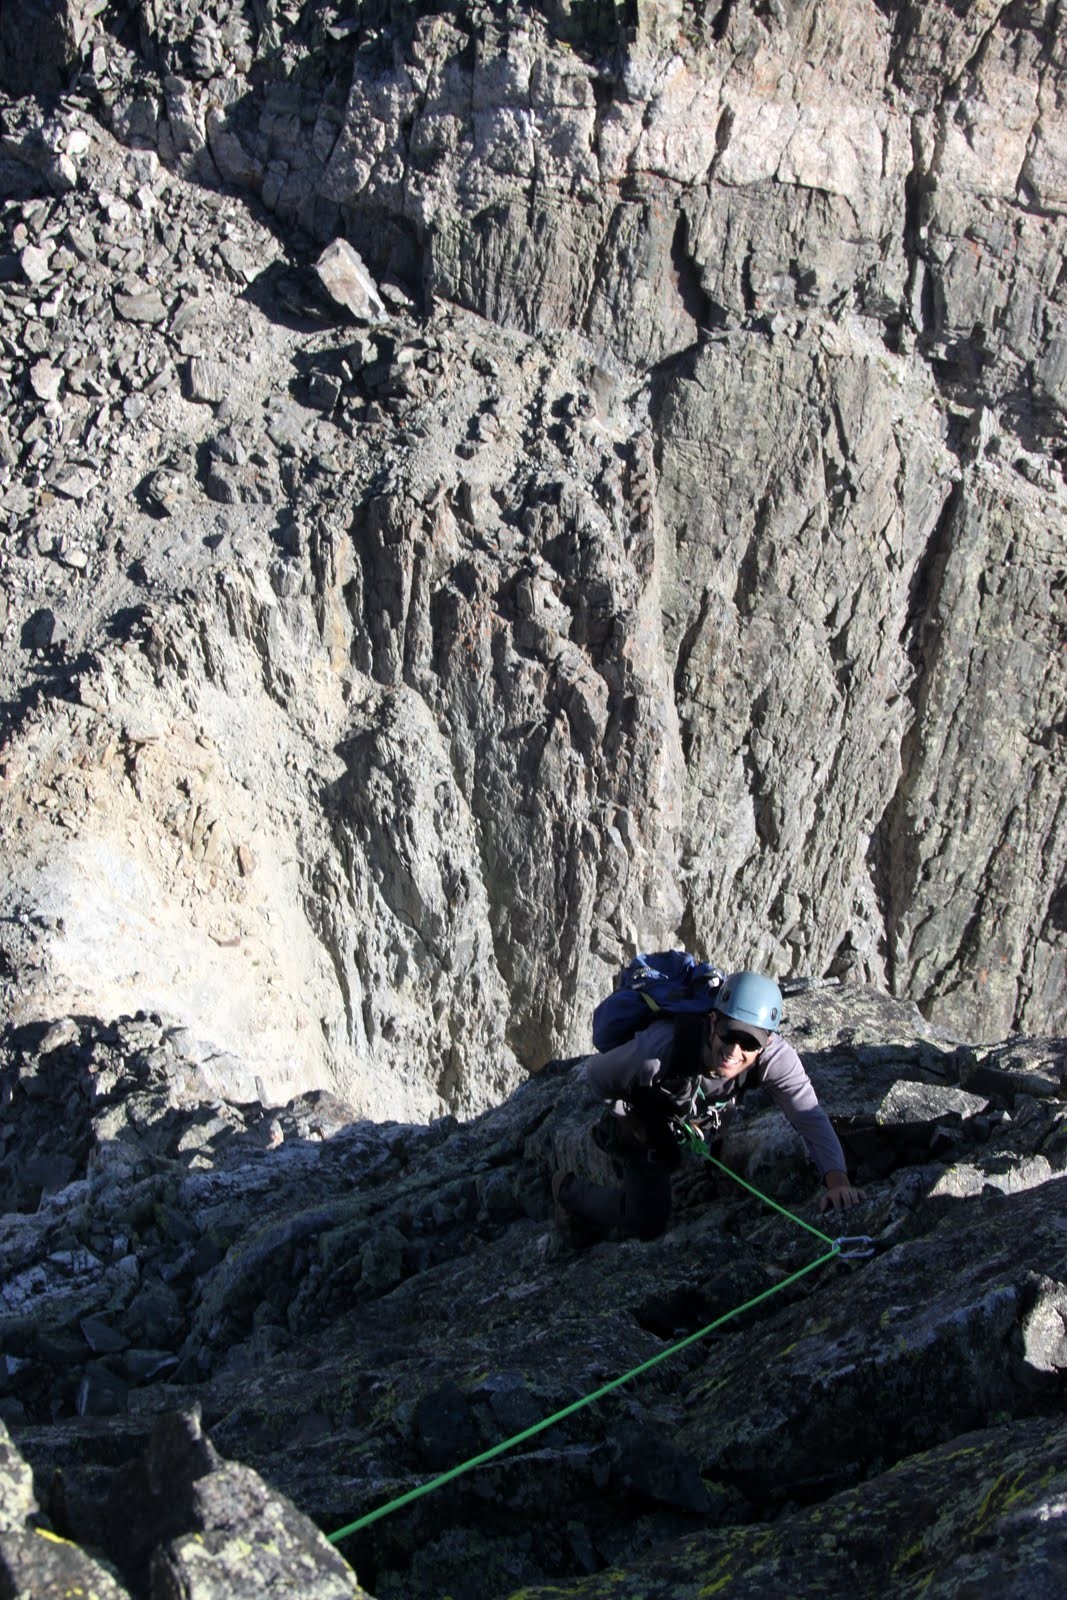
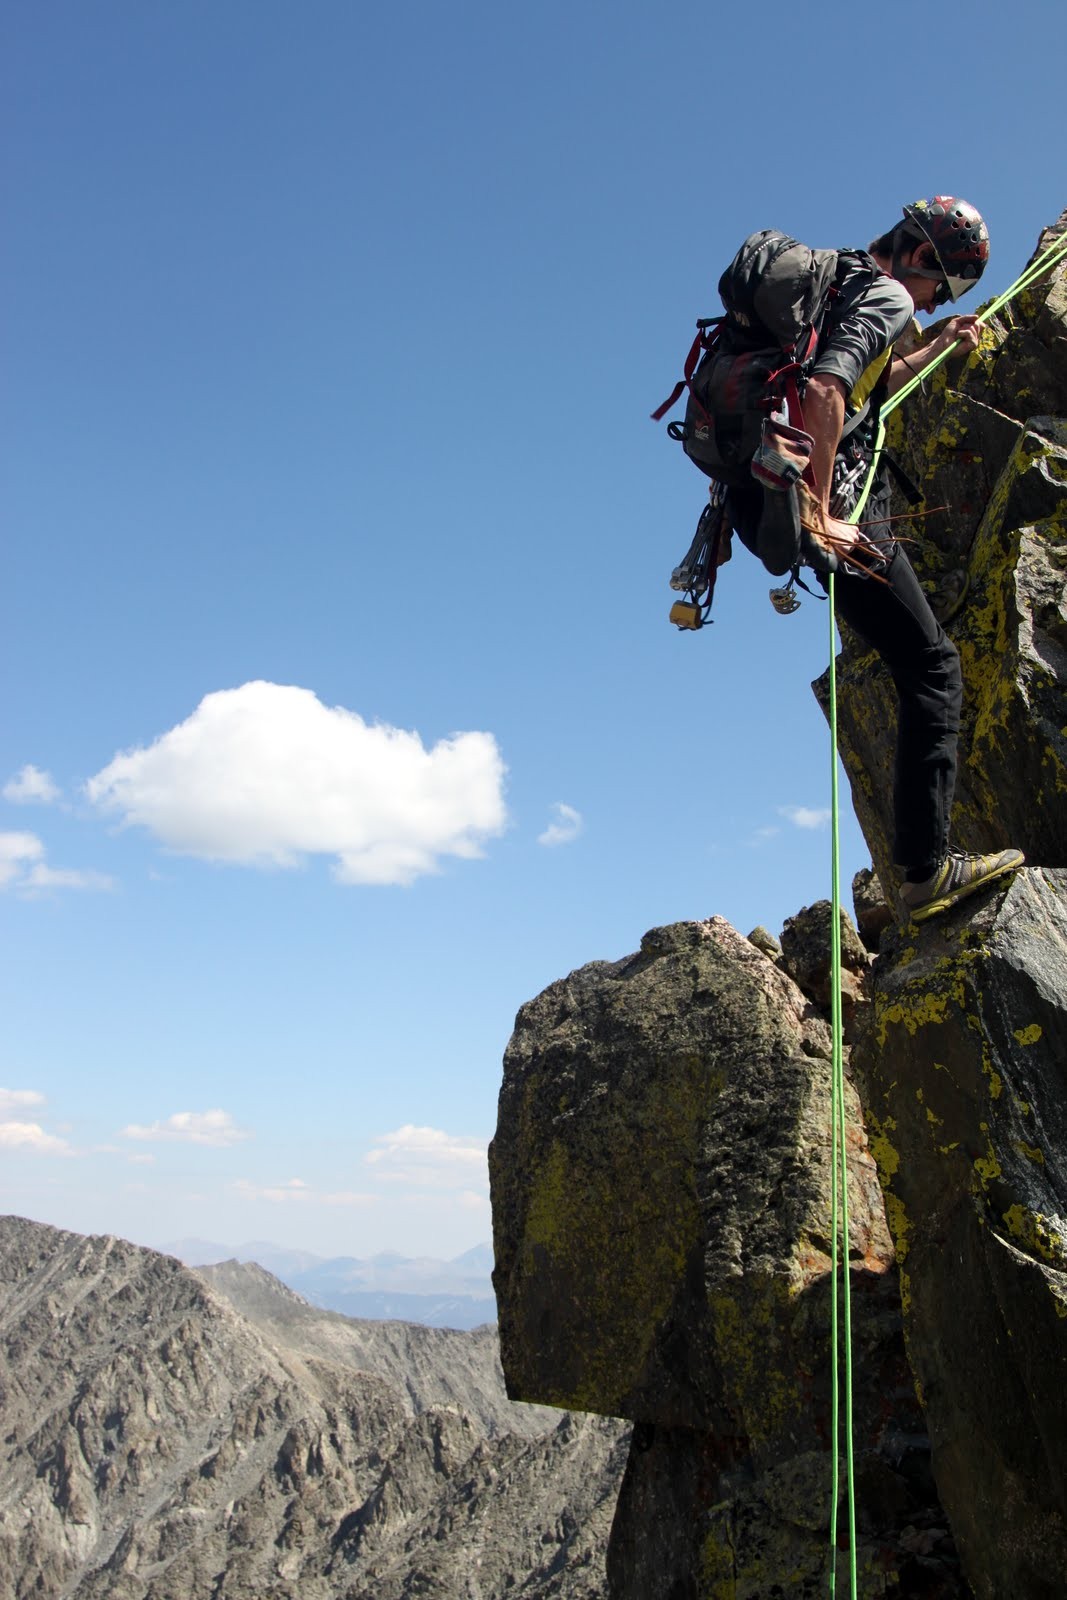
Chuck climbing the tower
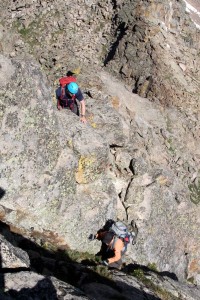
Chuck & Baba negotiating the final moves up to the tower’s summit
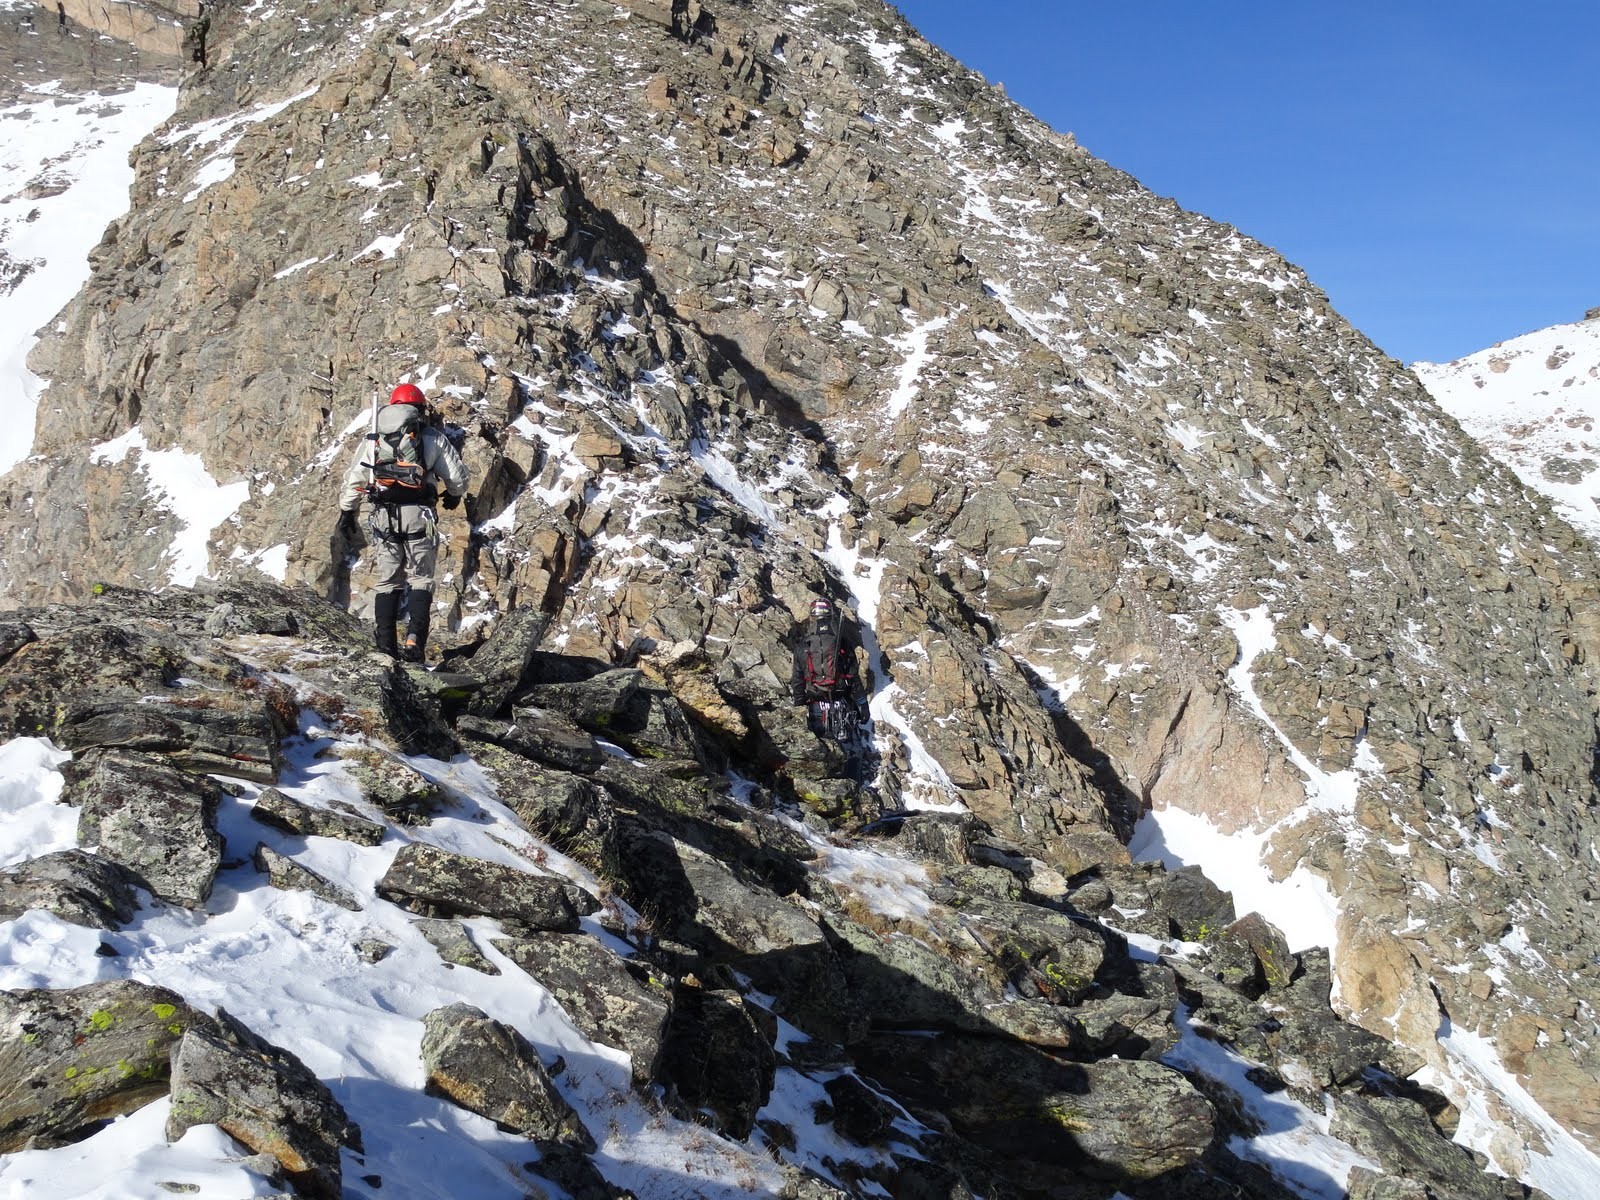
More fun sections up to Peak J
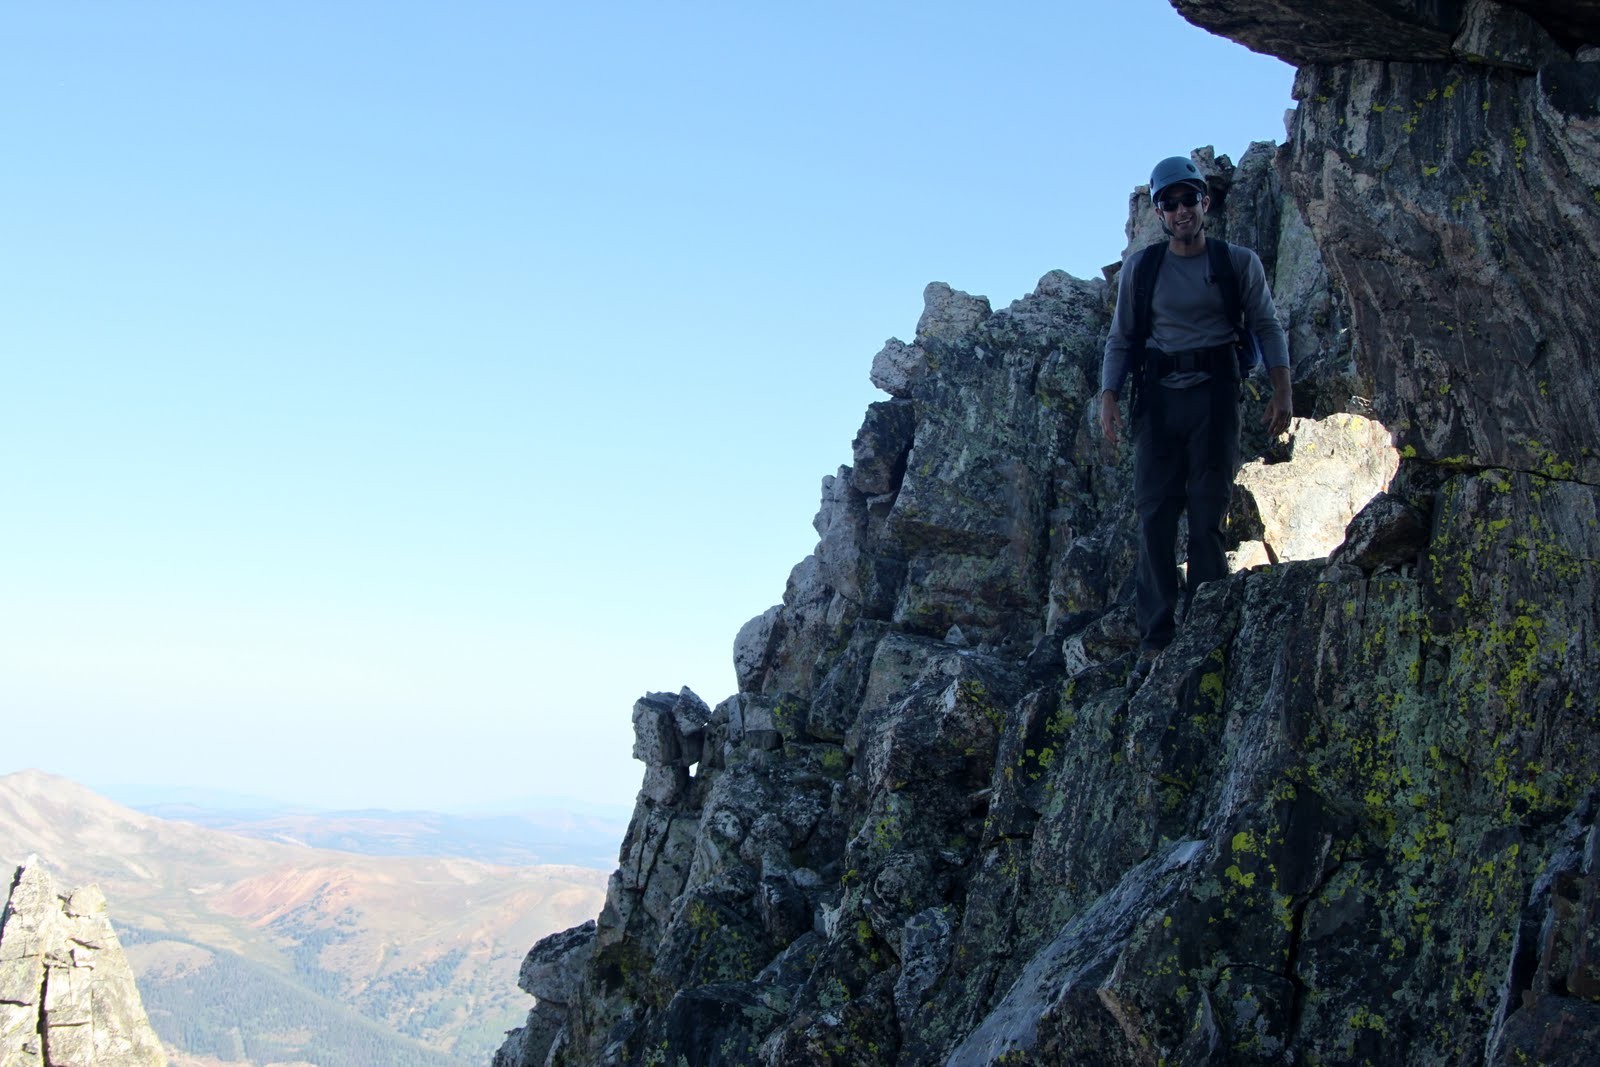
One of the advantages it seemed going from H to J and not vice versa was that every time we’d climb up 4th class/low 5th towers on their northwest side, there would be a relatively easier 3rd class descent off each tower’s southeast side. Thus, we didn’t have to down climb serious terrain, which was nice. This is something we obviously did not know before hand and just worked out for us. So, in that respect, I would recommend going from H to J.
Baba & J on a semi-walking portion of the ridge
Baba making his move up another smaller tower
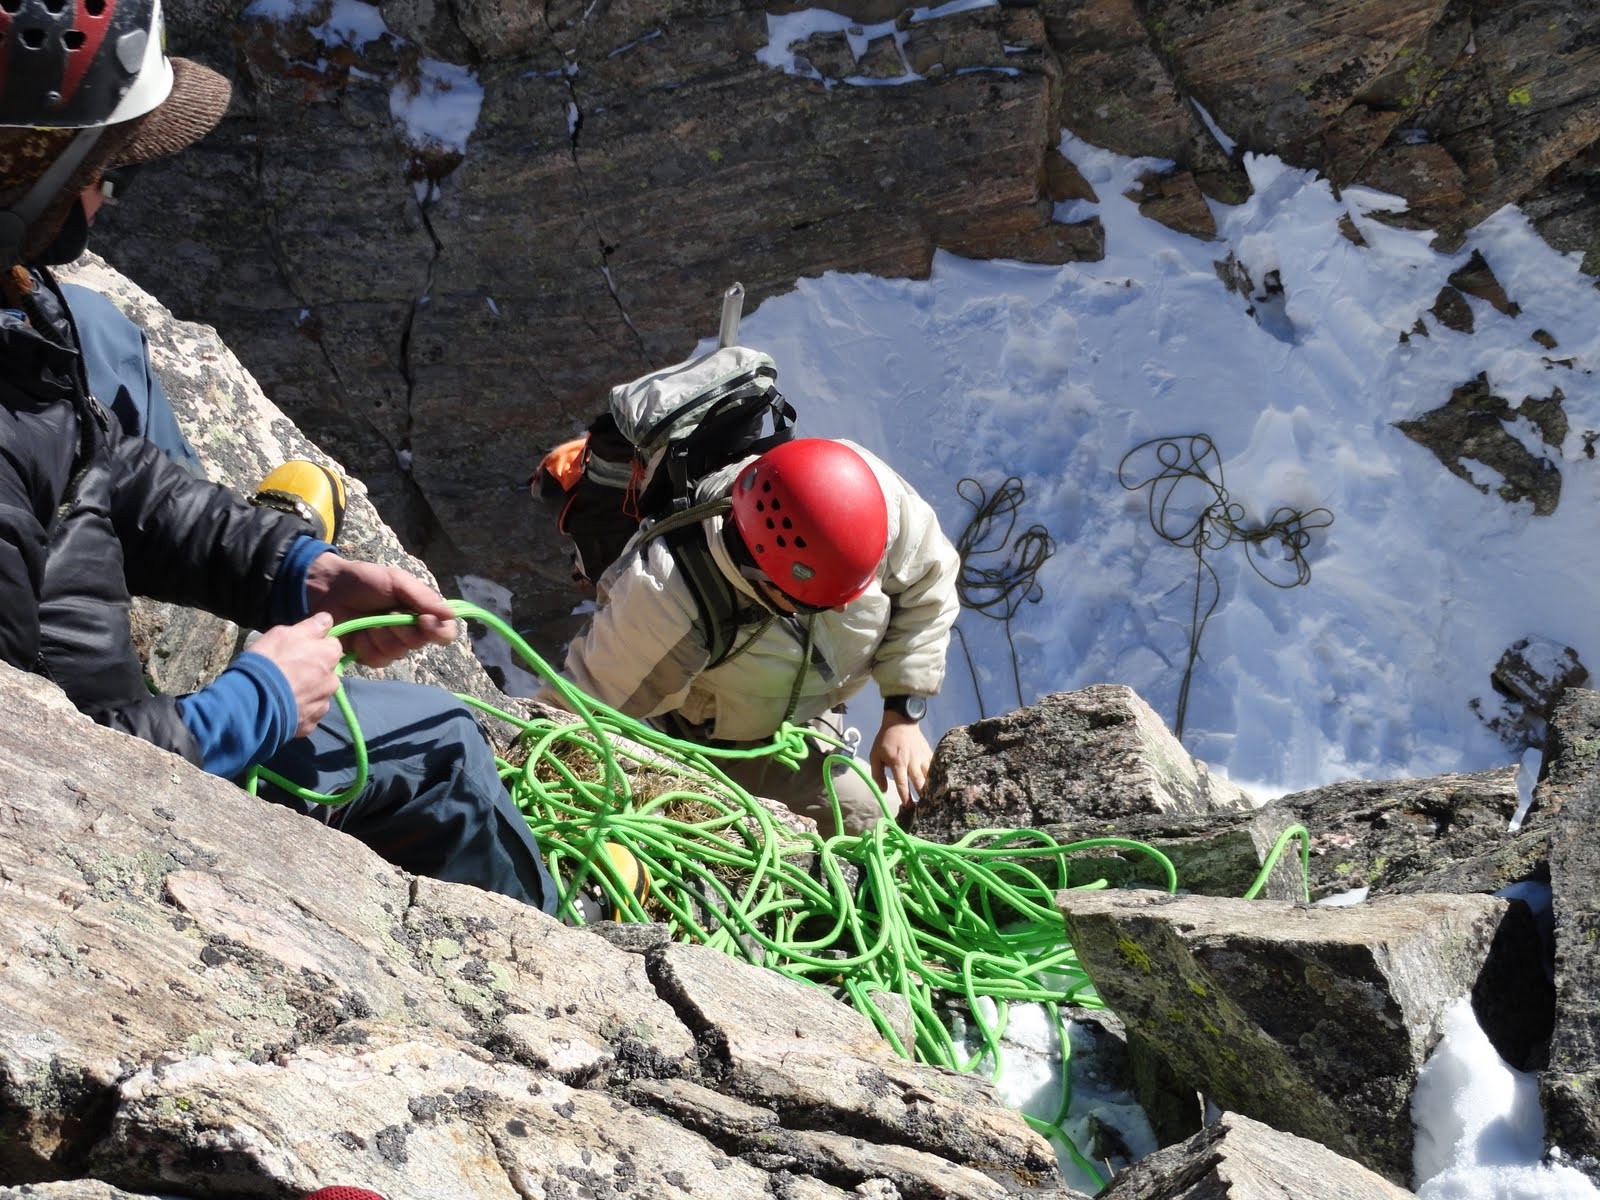
3/4 of the way across to J, Chuck spotted an old hex deep down in a crack. J & I spent 10 minutes freeing it
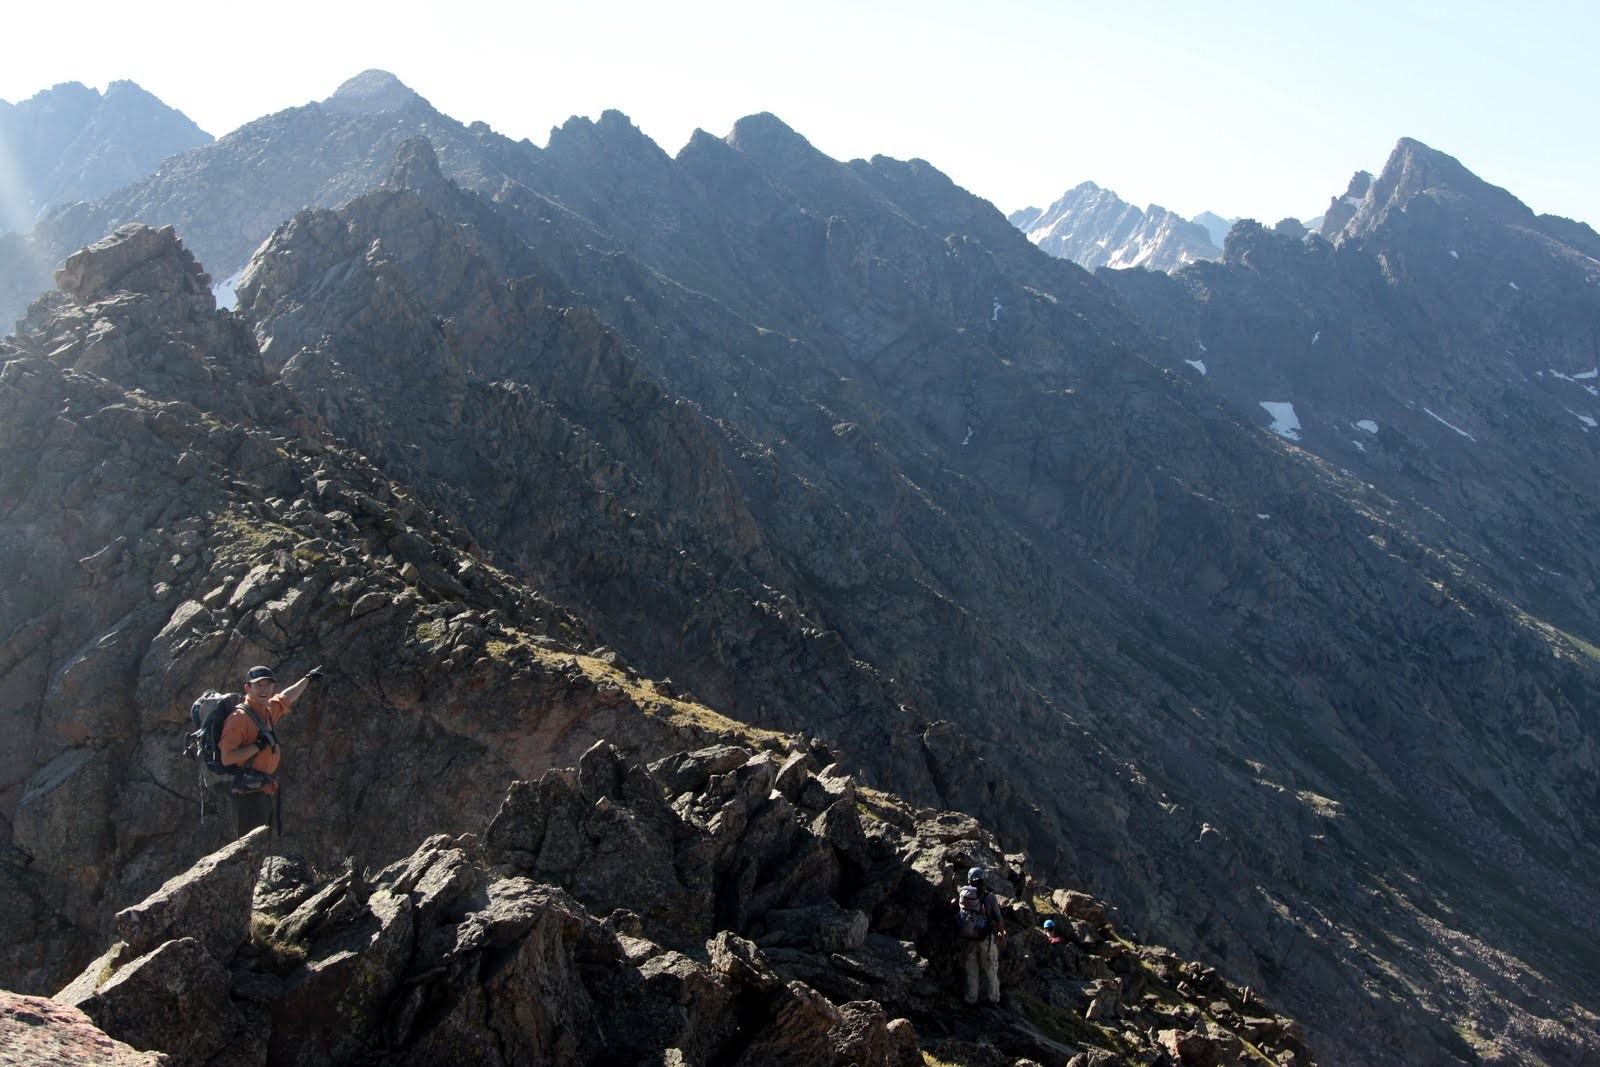
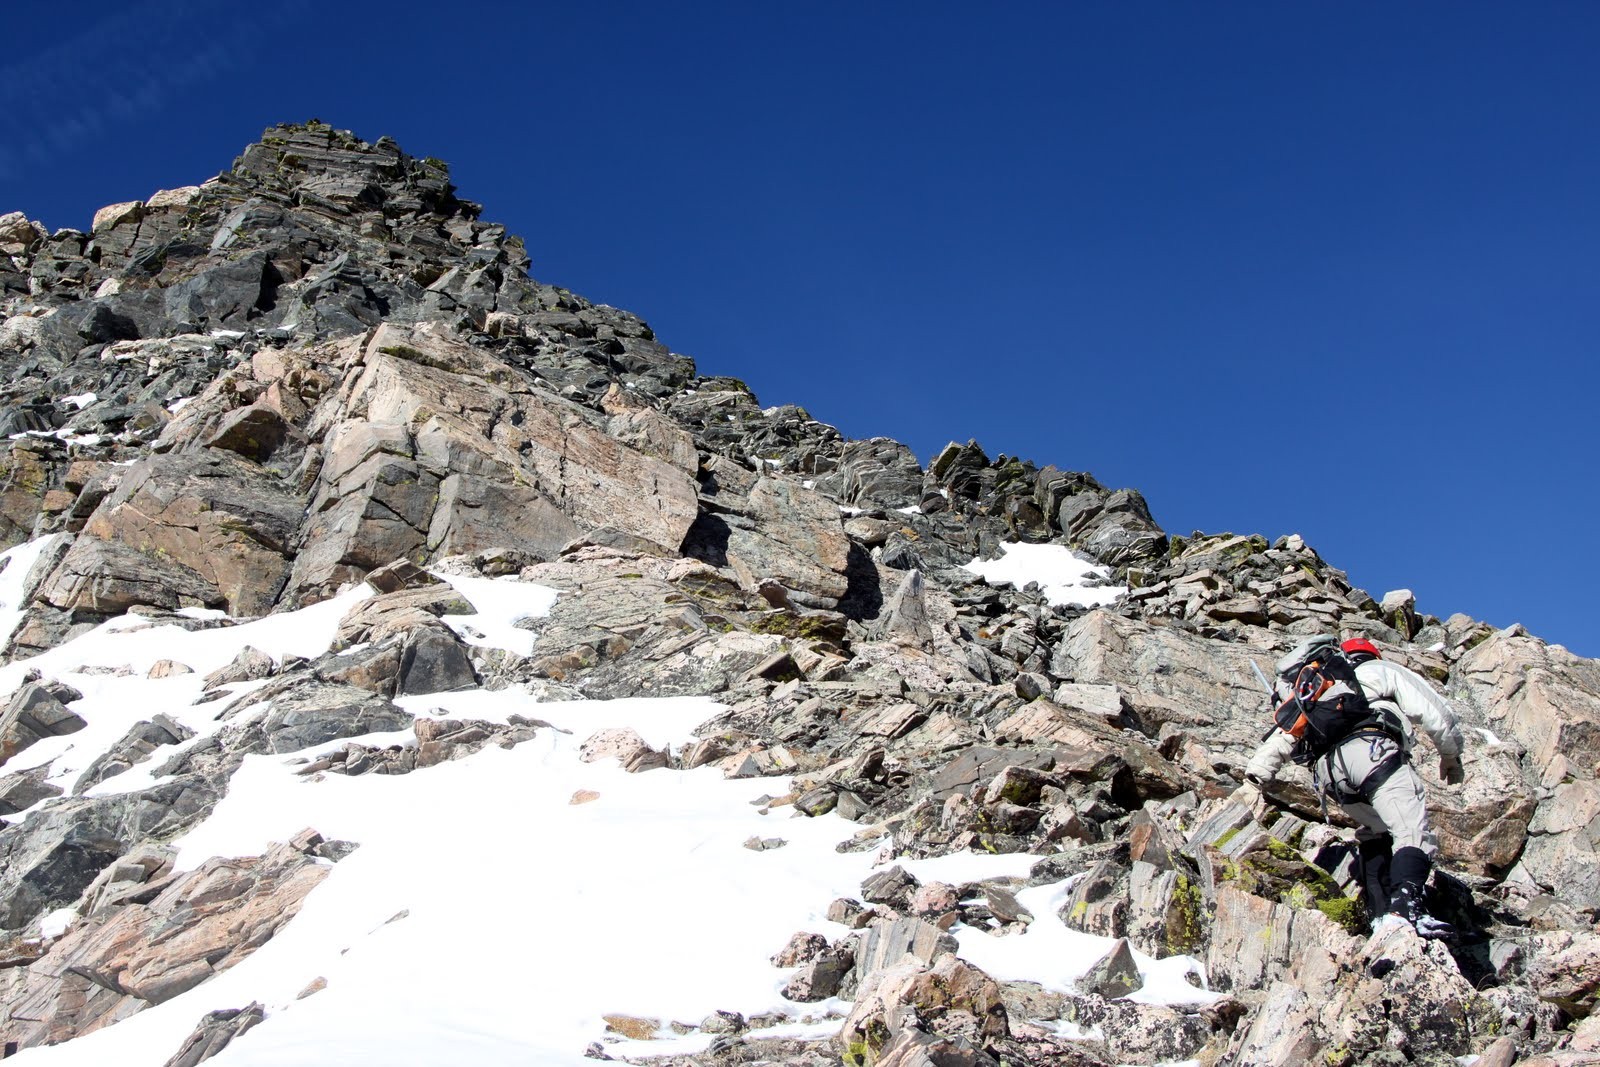
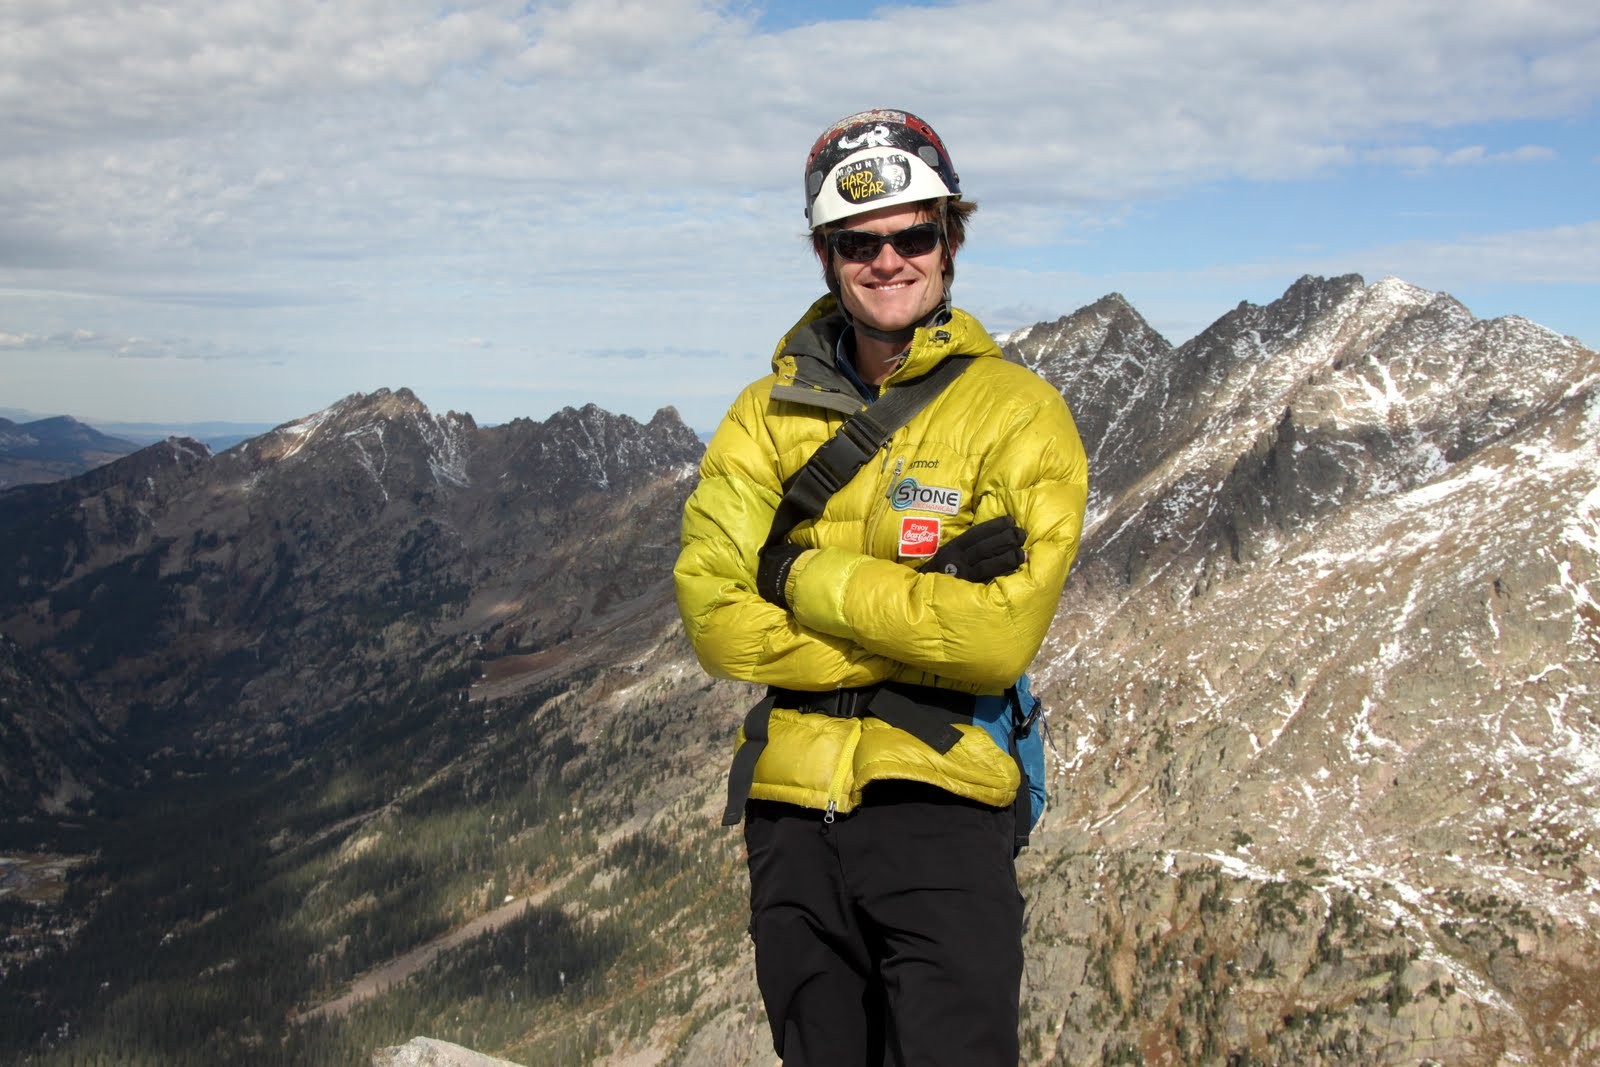
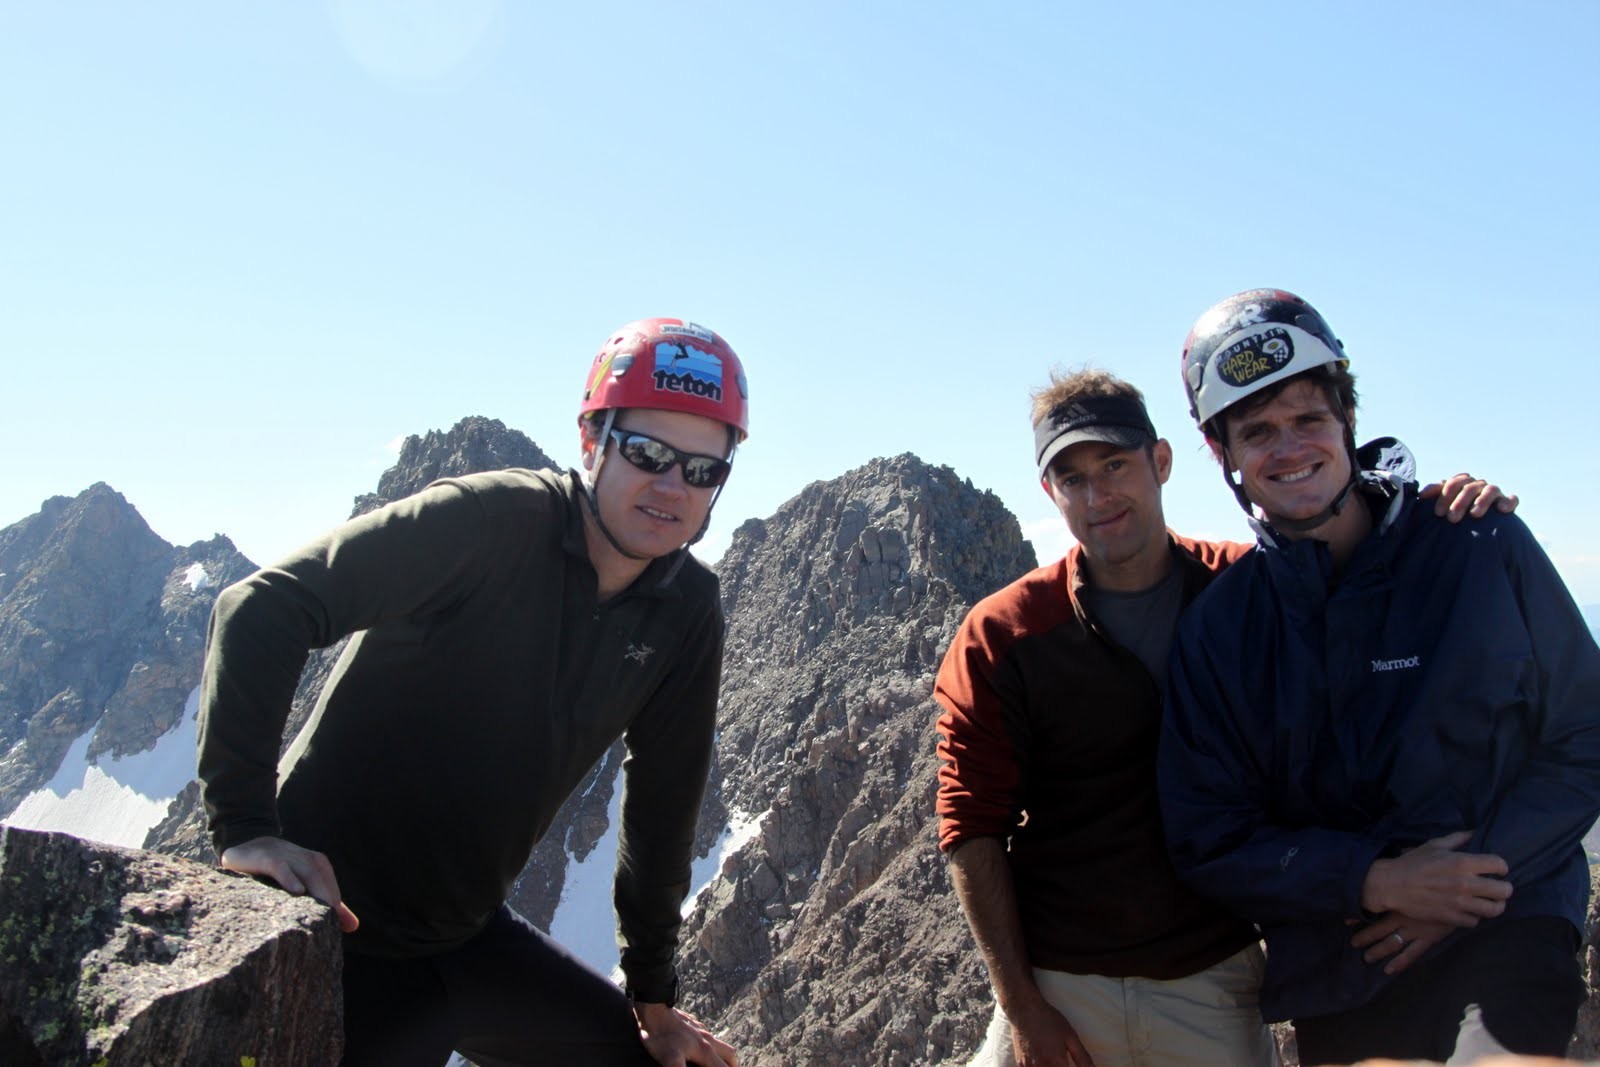
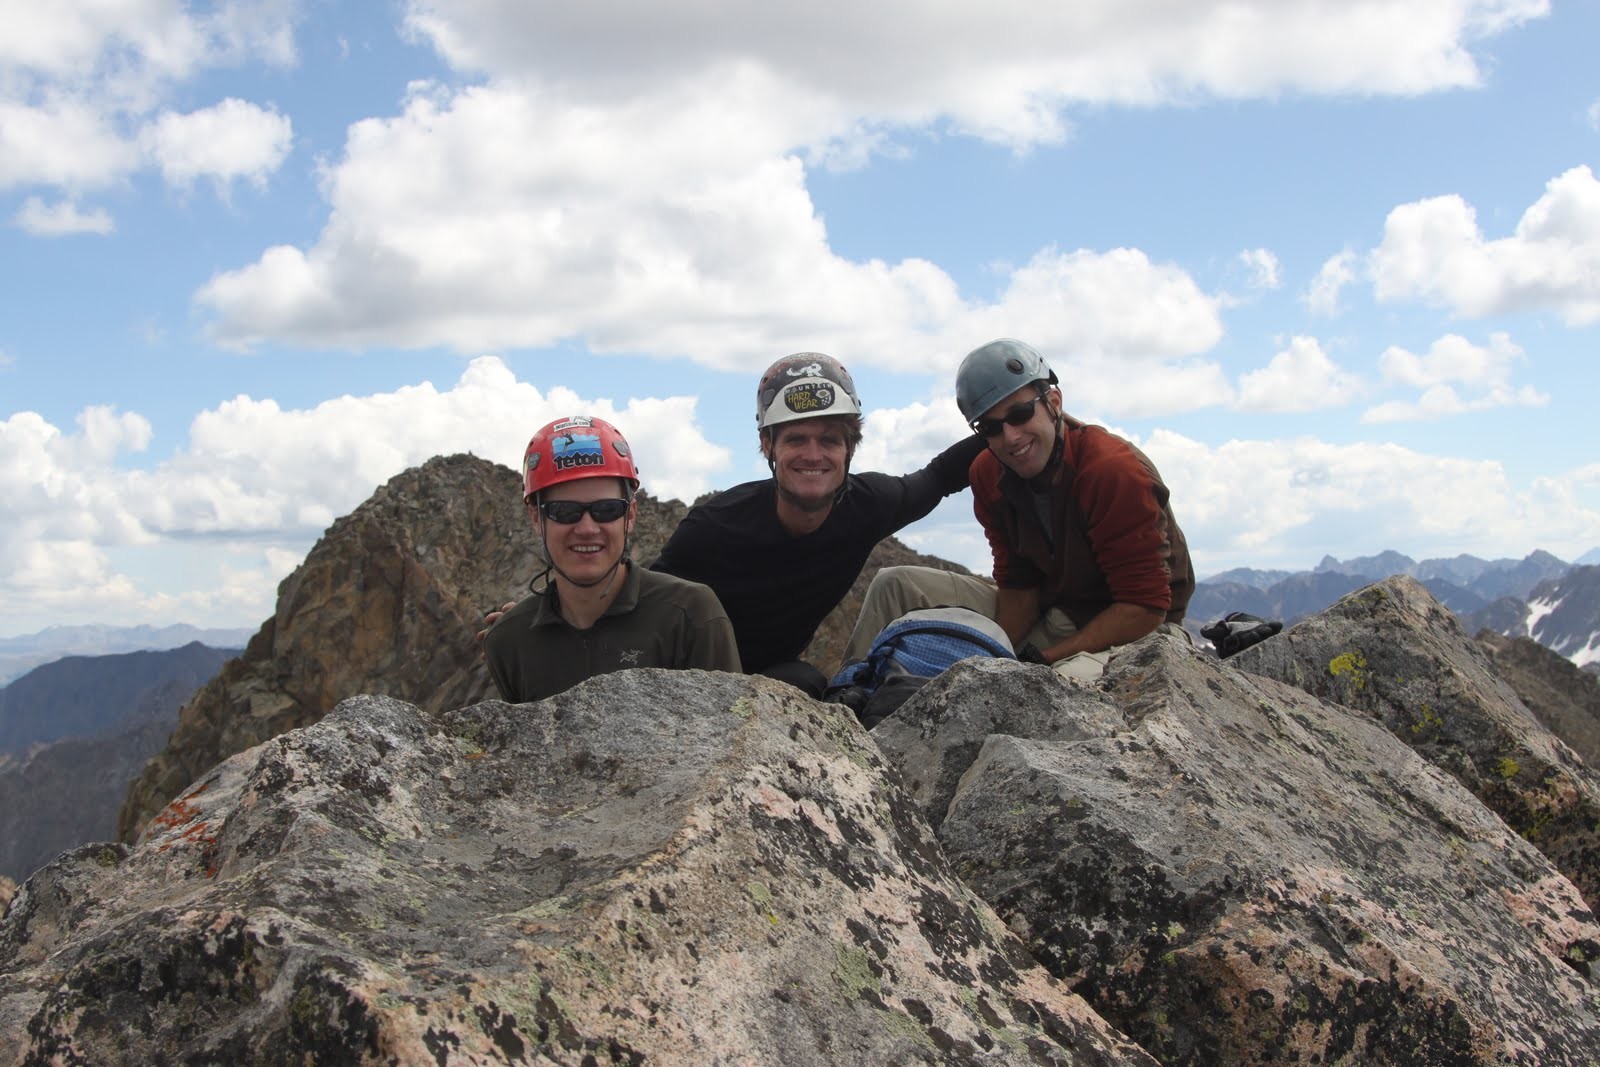
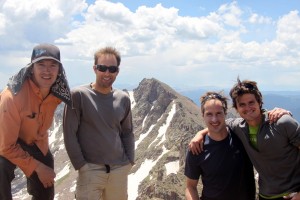
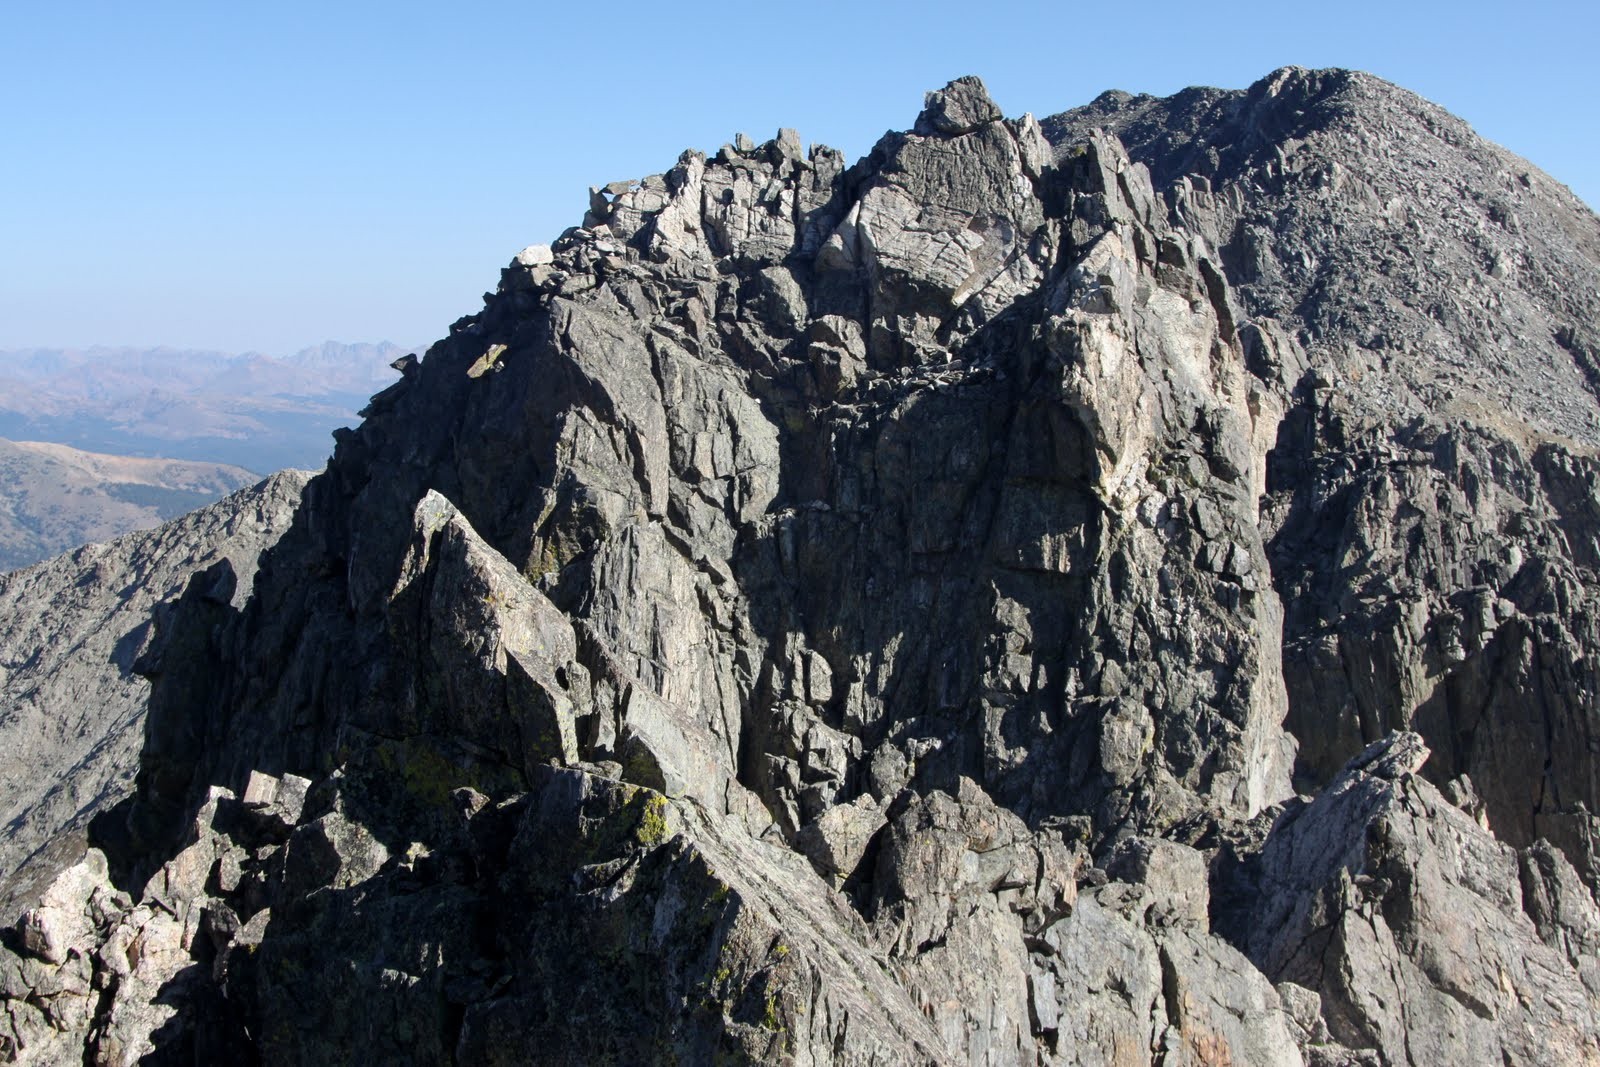
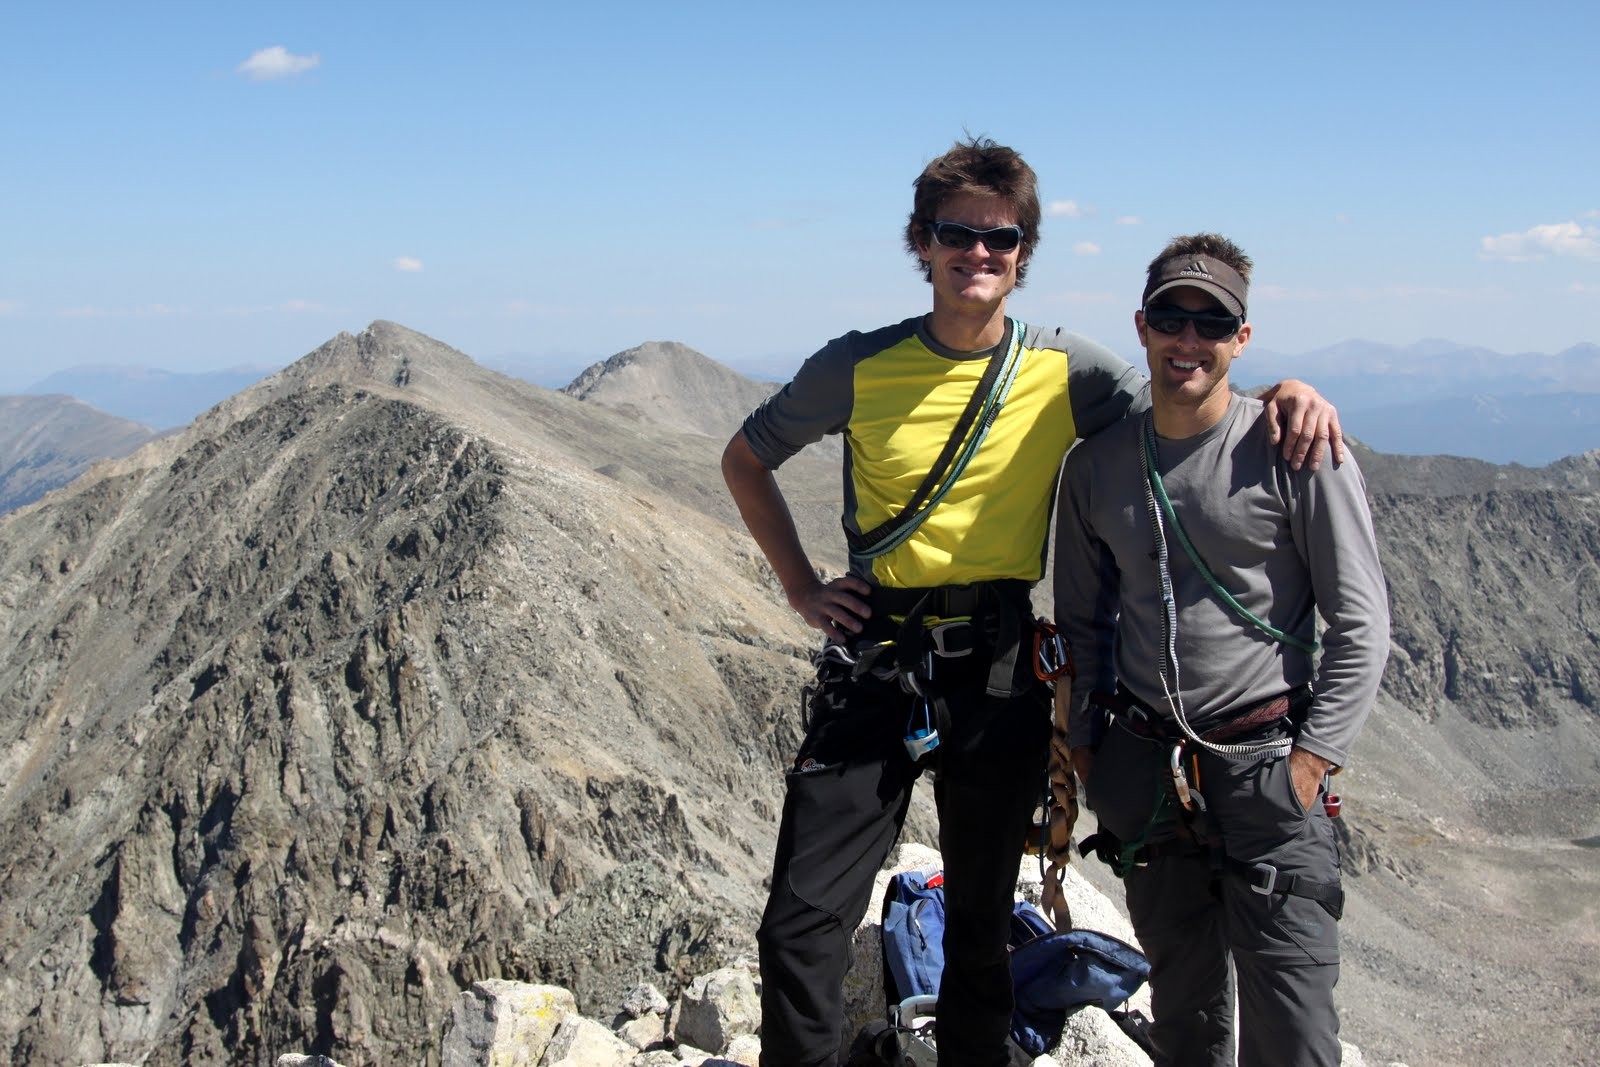
After a few more smaller towers, yet still extremely fun, it was easy class 2/3 terrain up to Peak J’s summit. J was stoked to be on Peak J

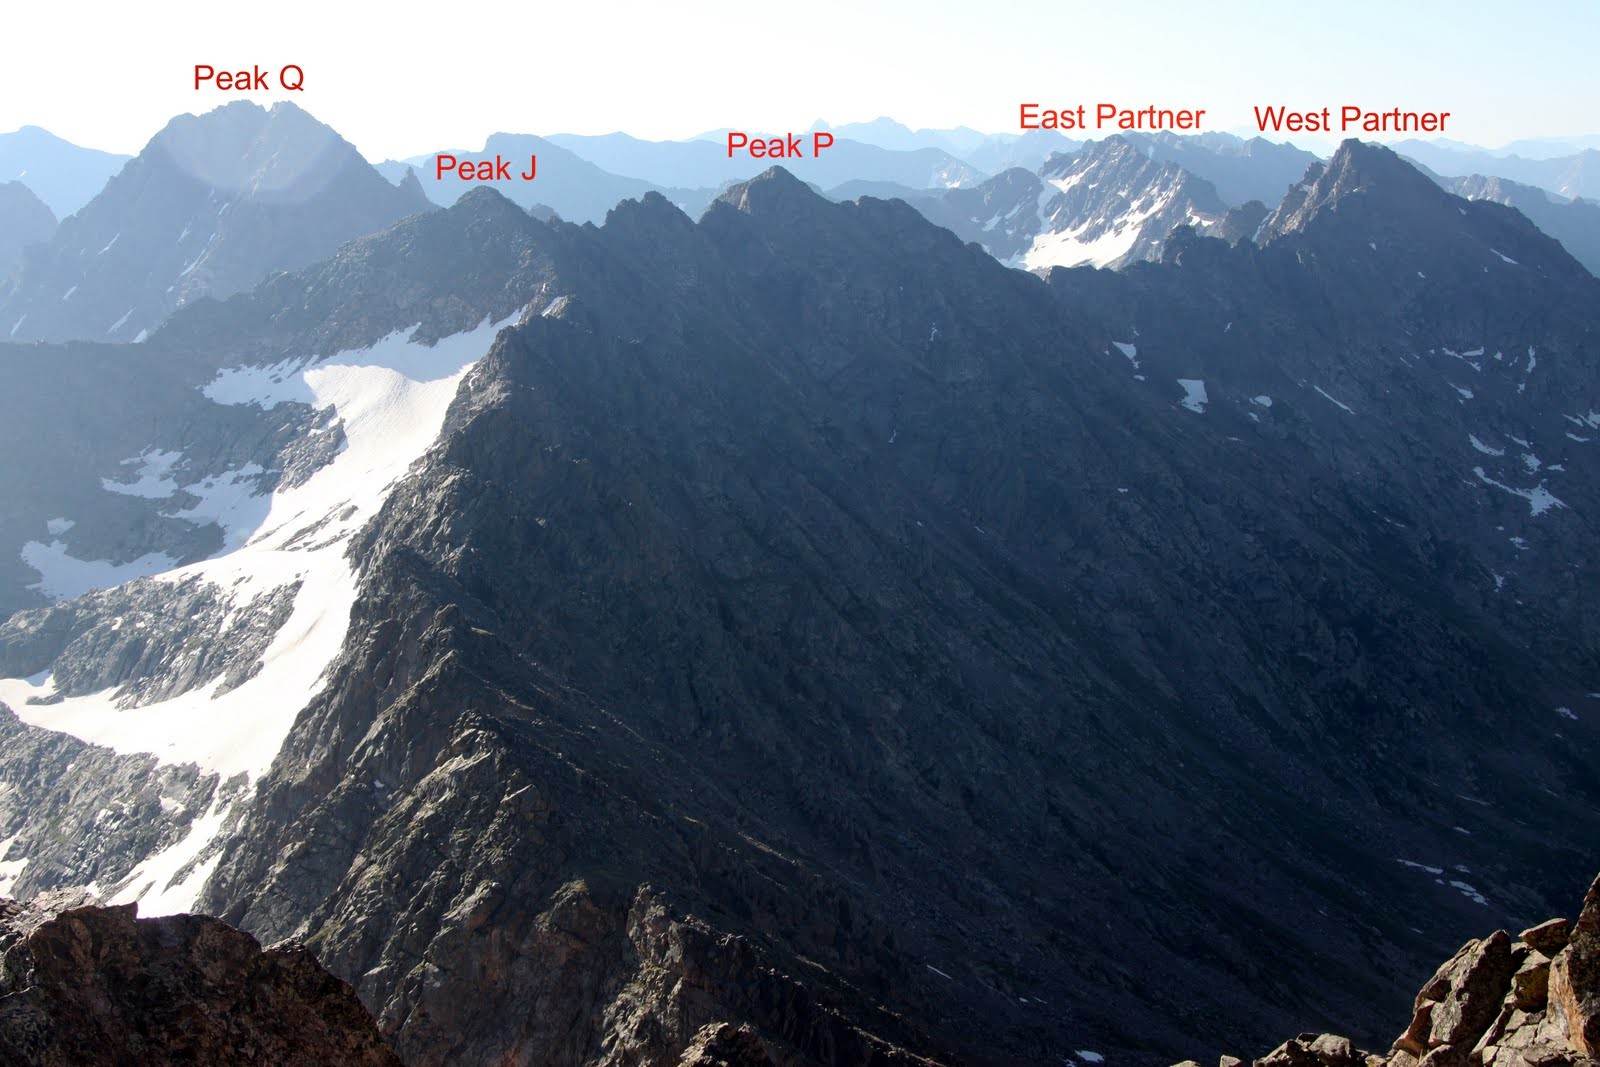
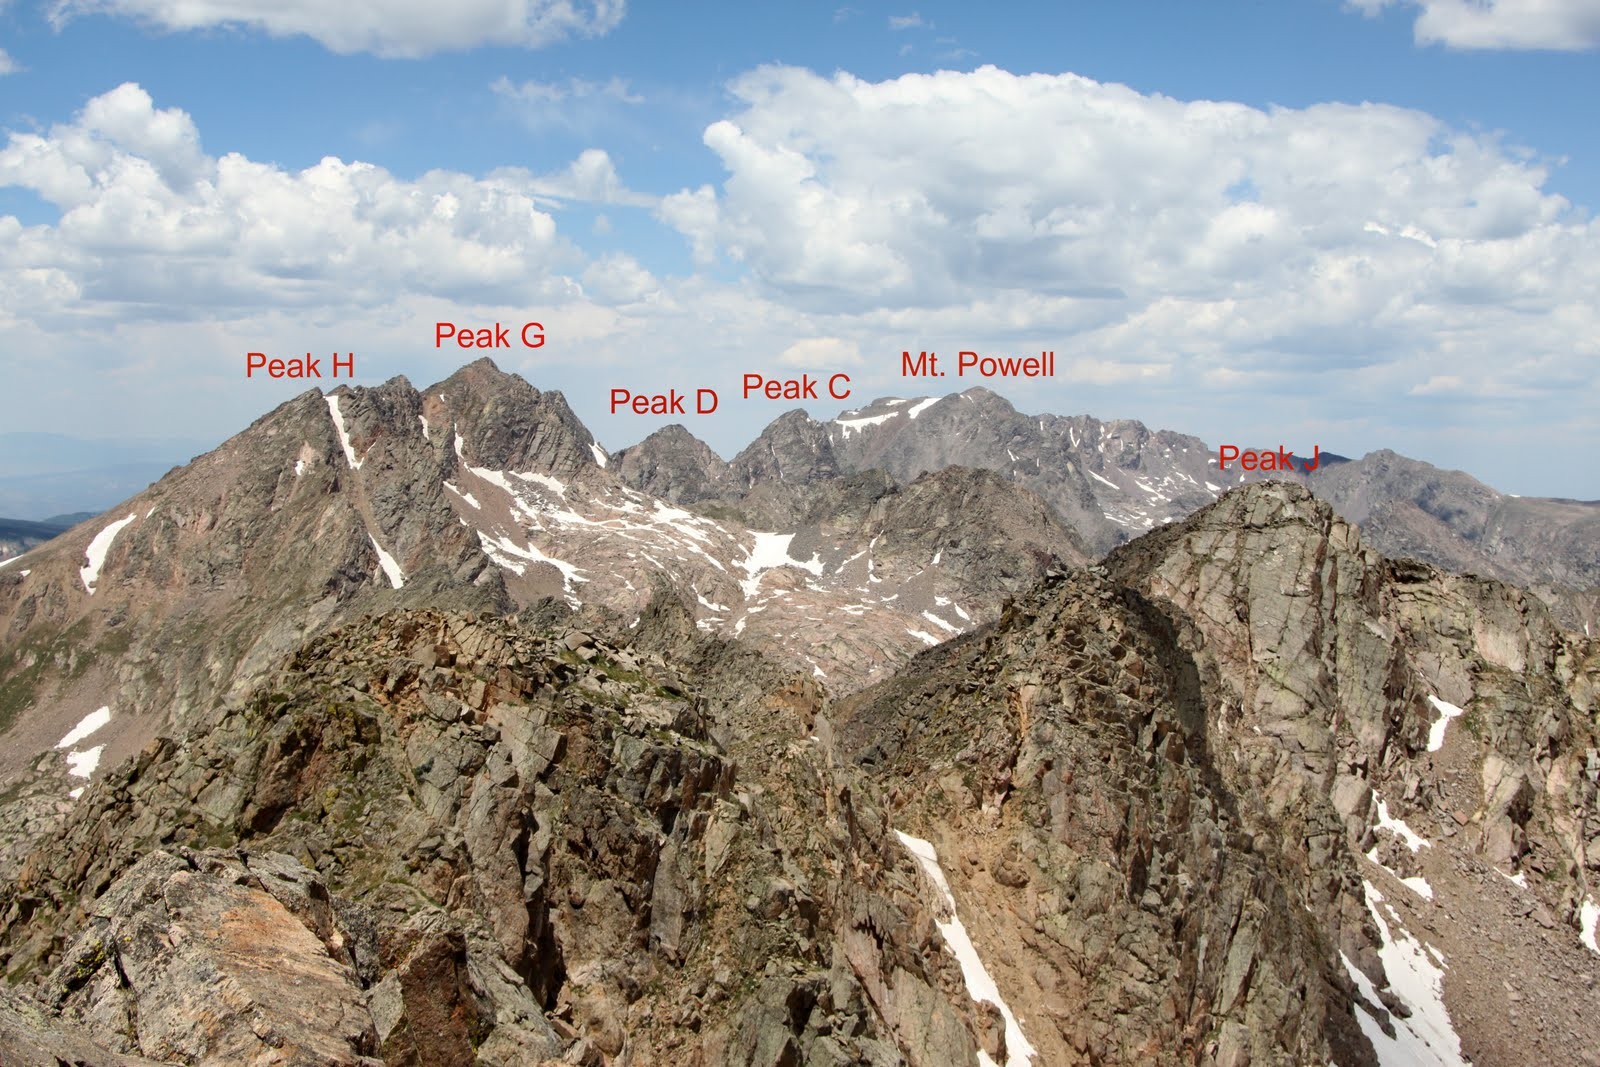
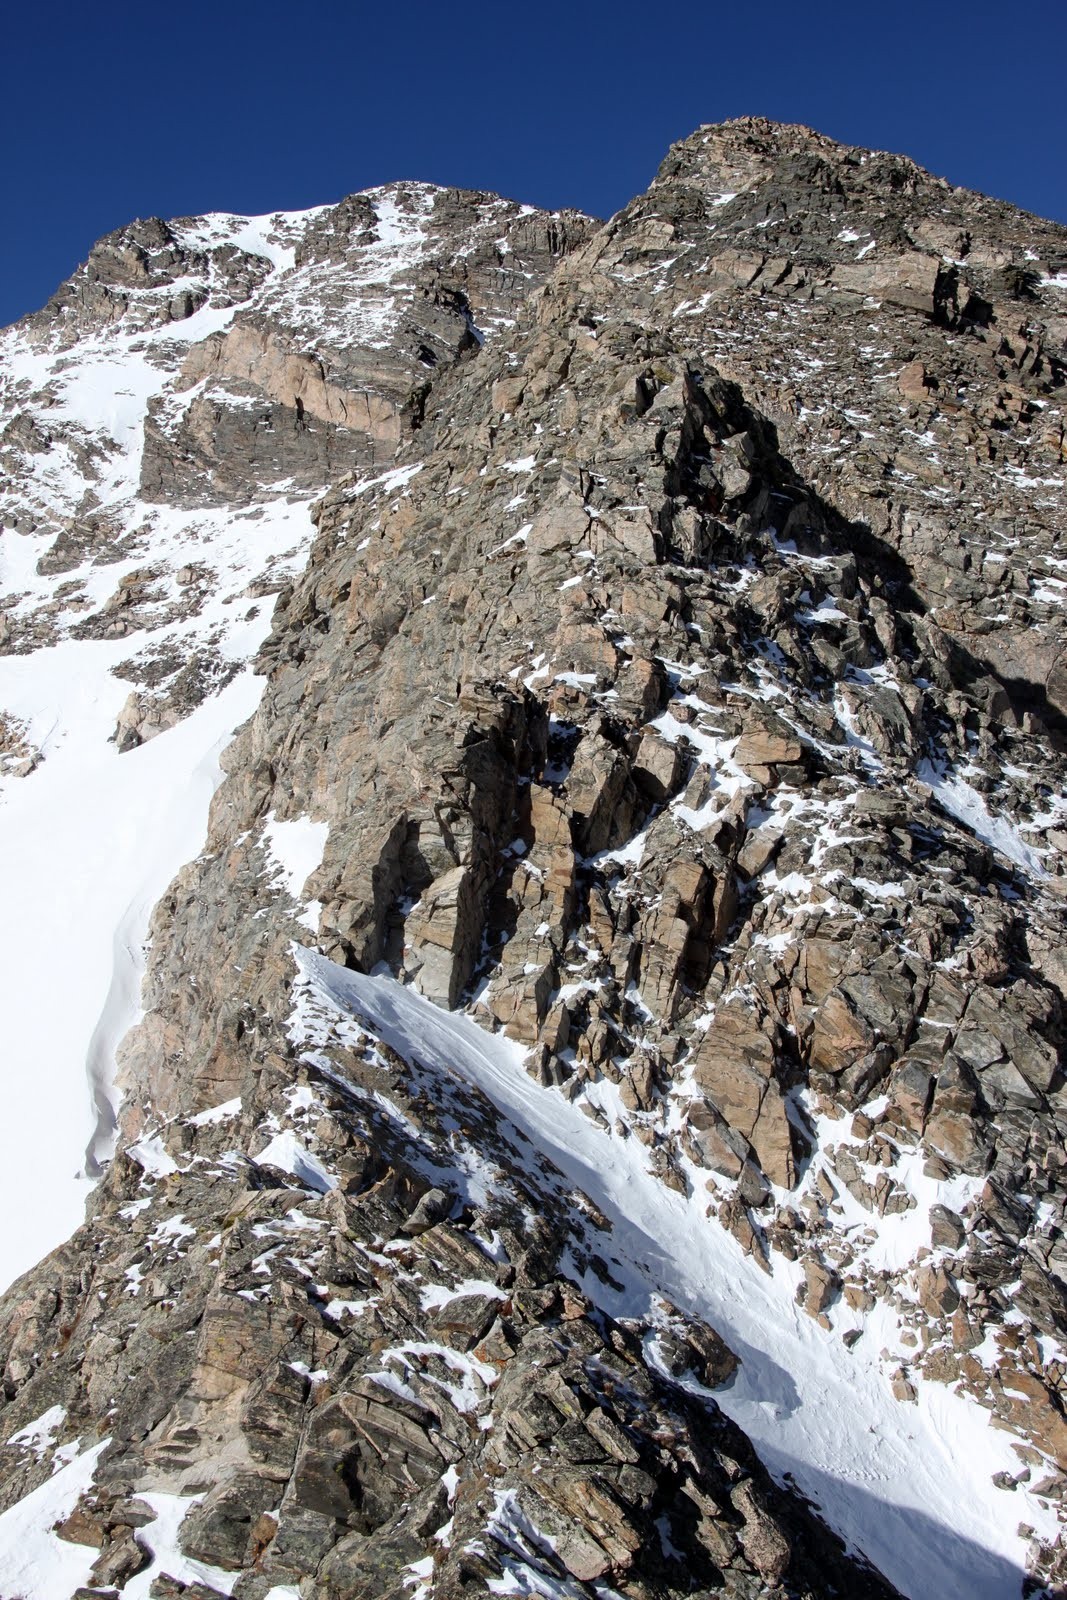
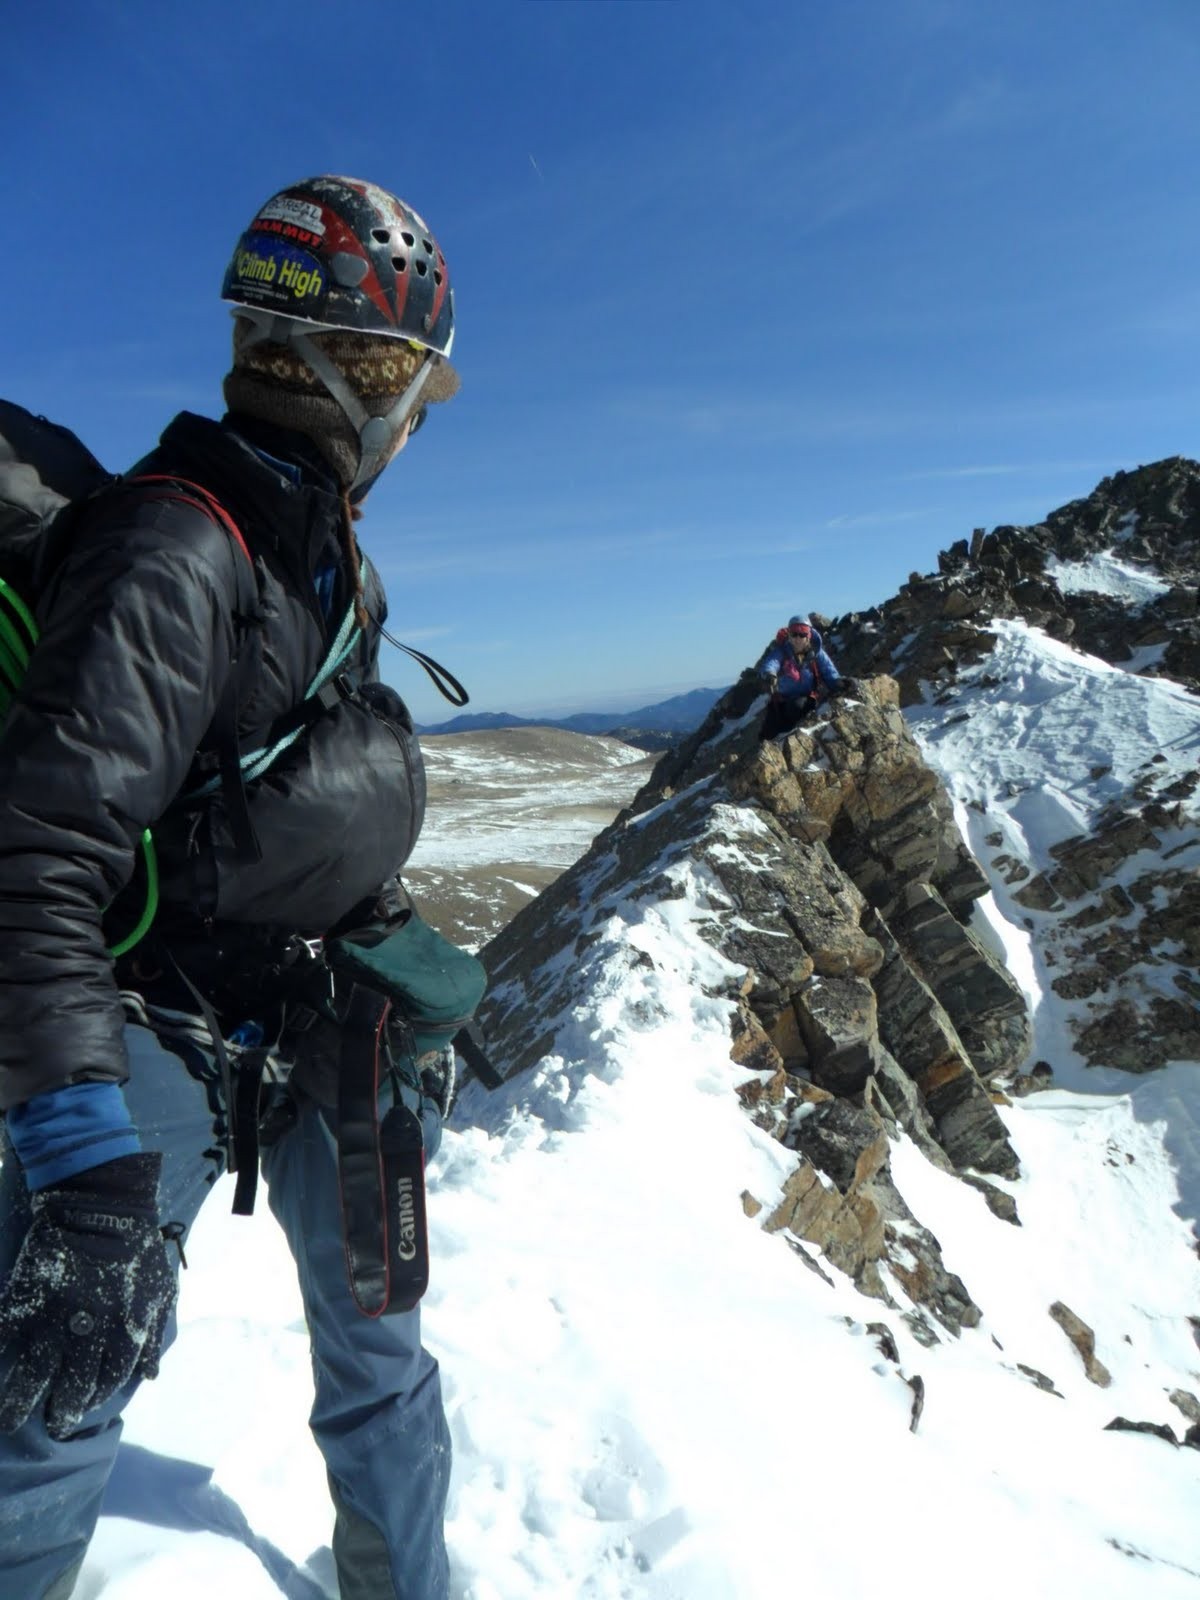
We had great views of Peaks K, L, Q, R, S, & T towering above the Slate Creek Basin to our east.
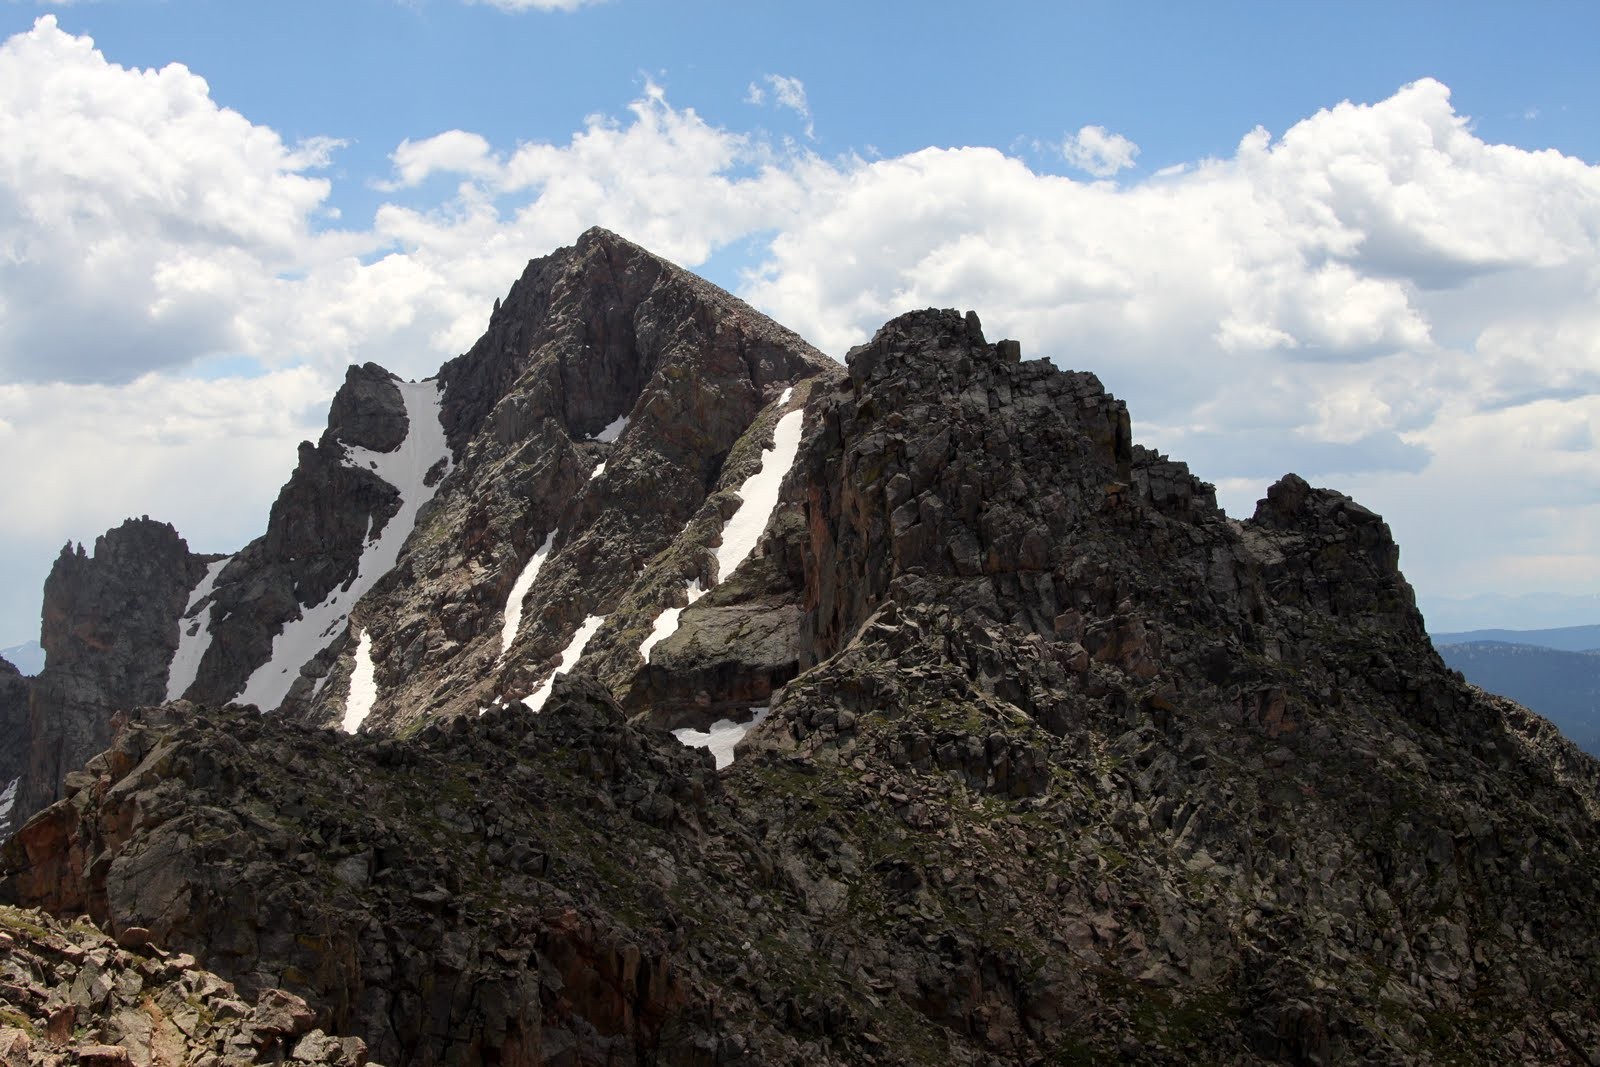
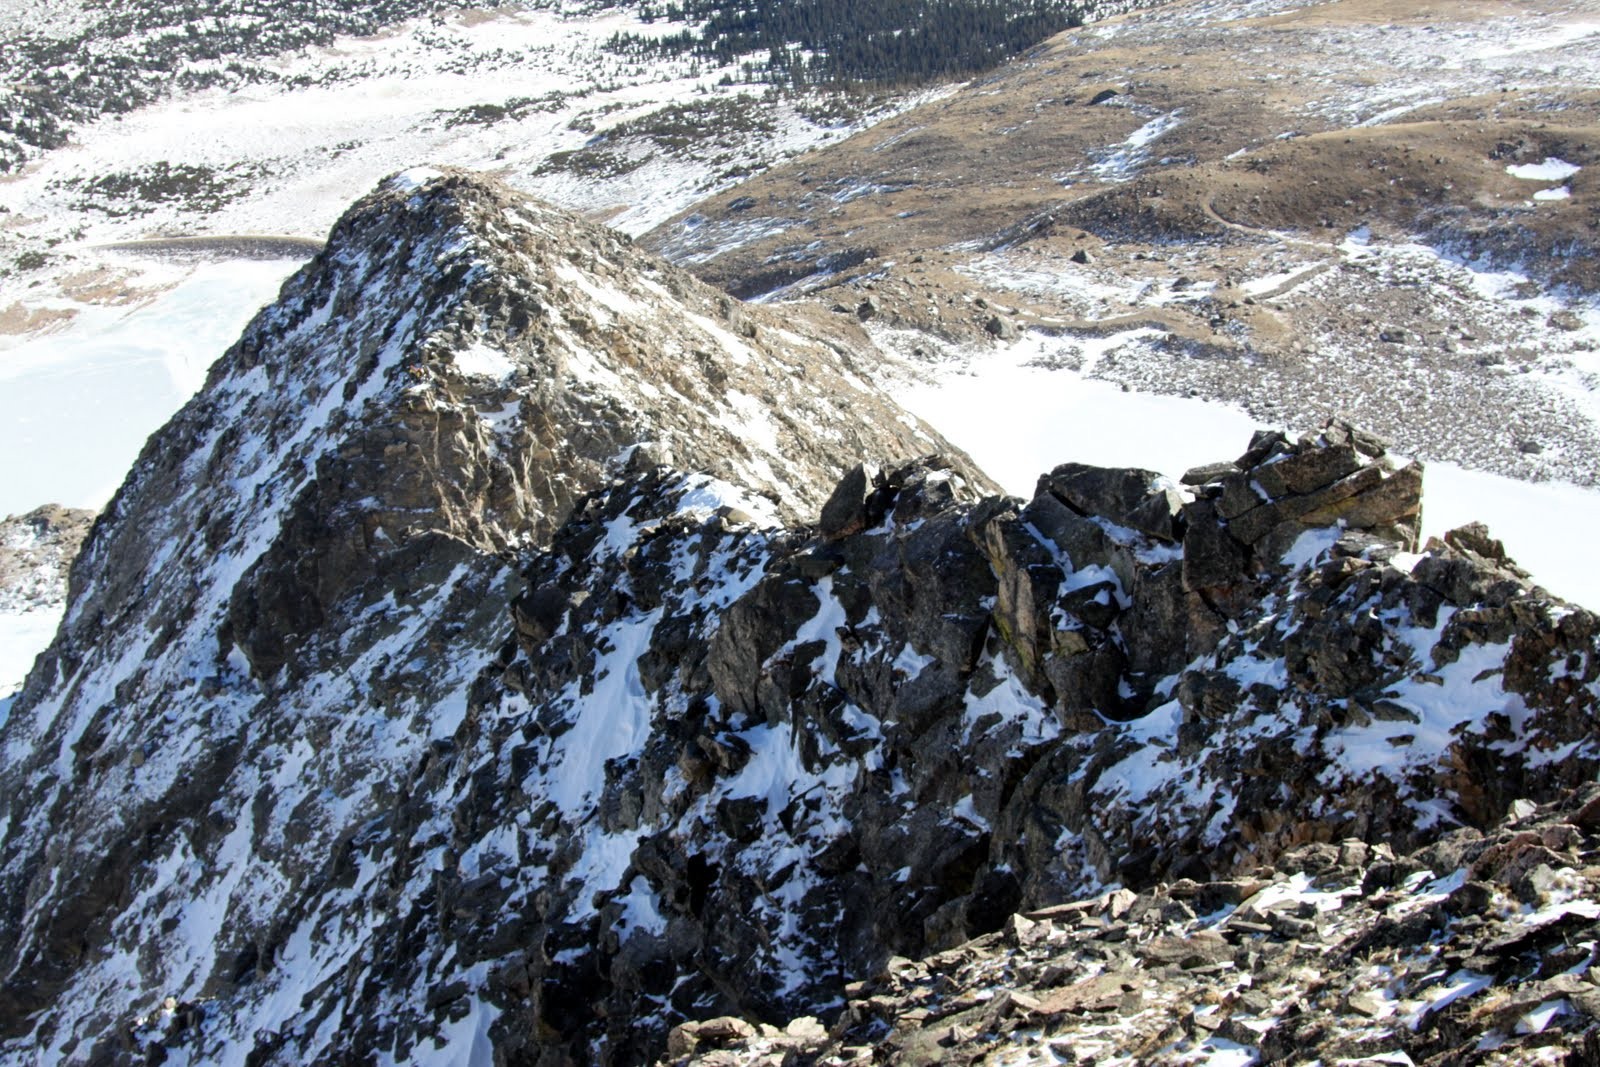
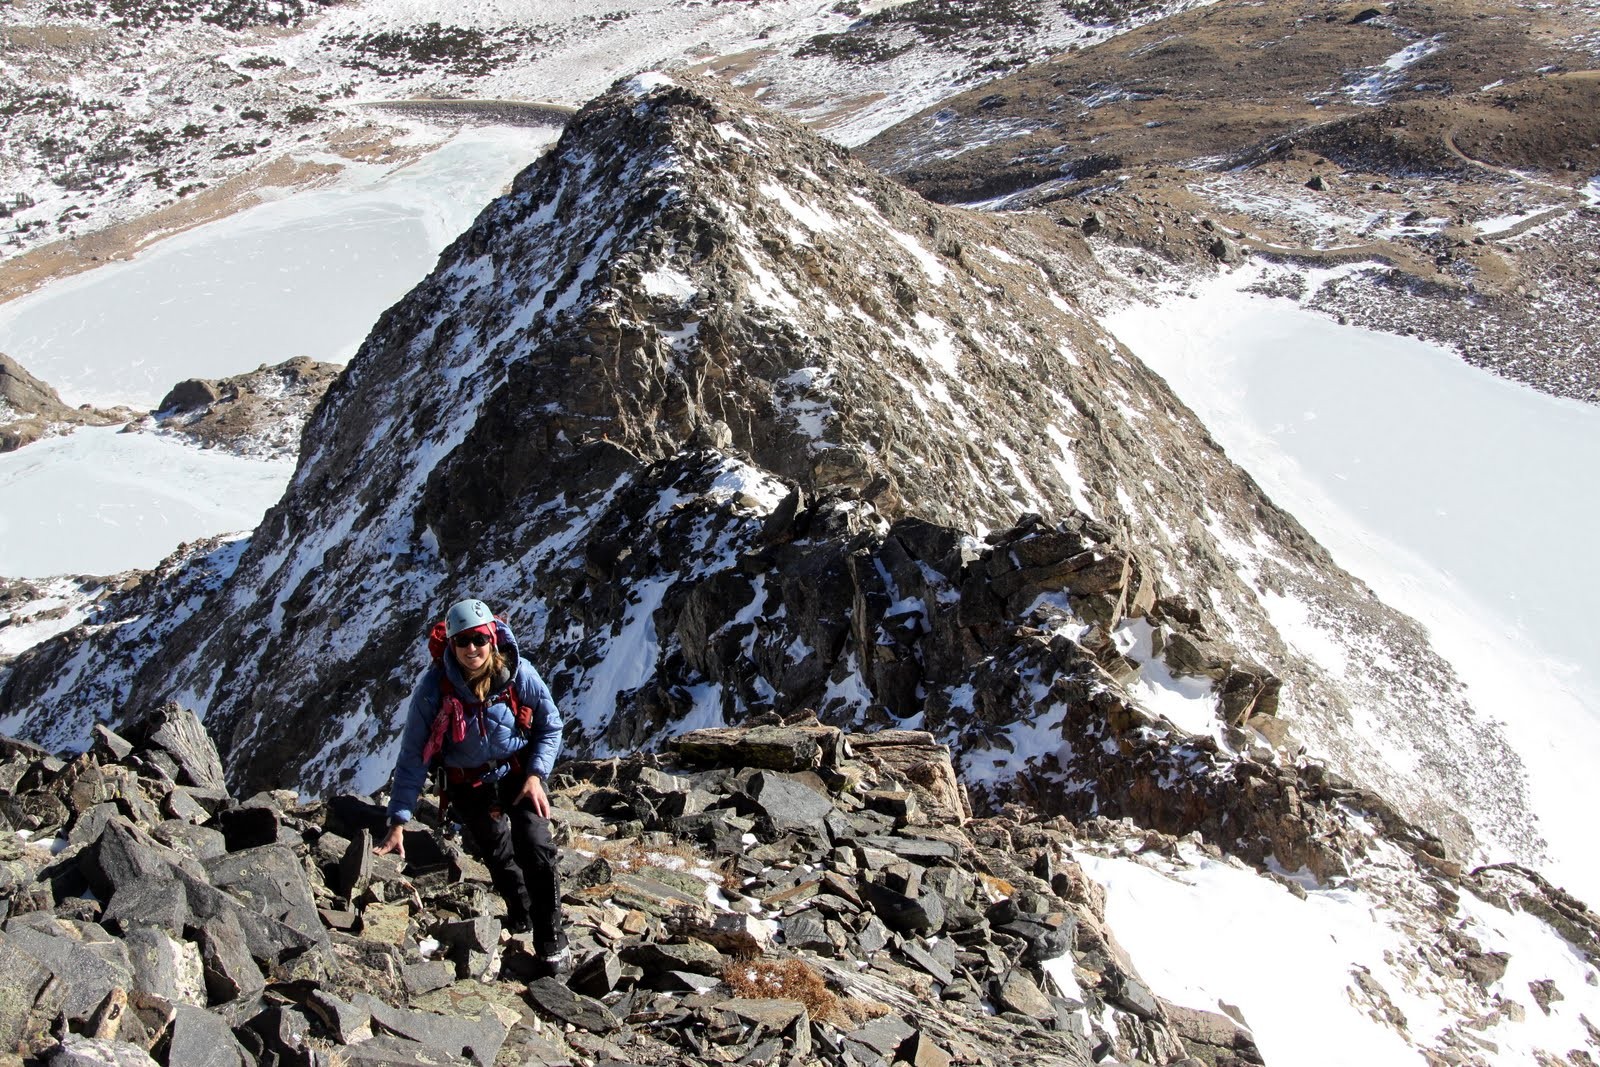
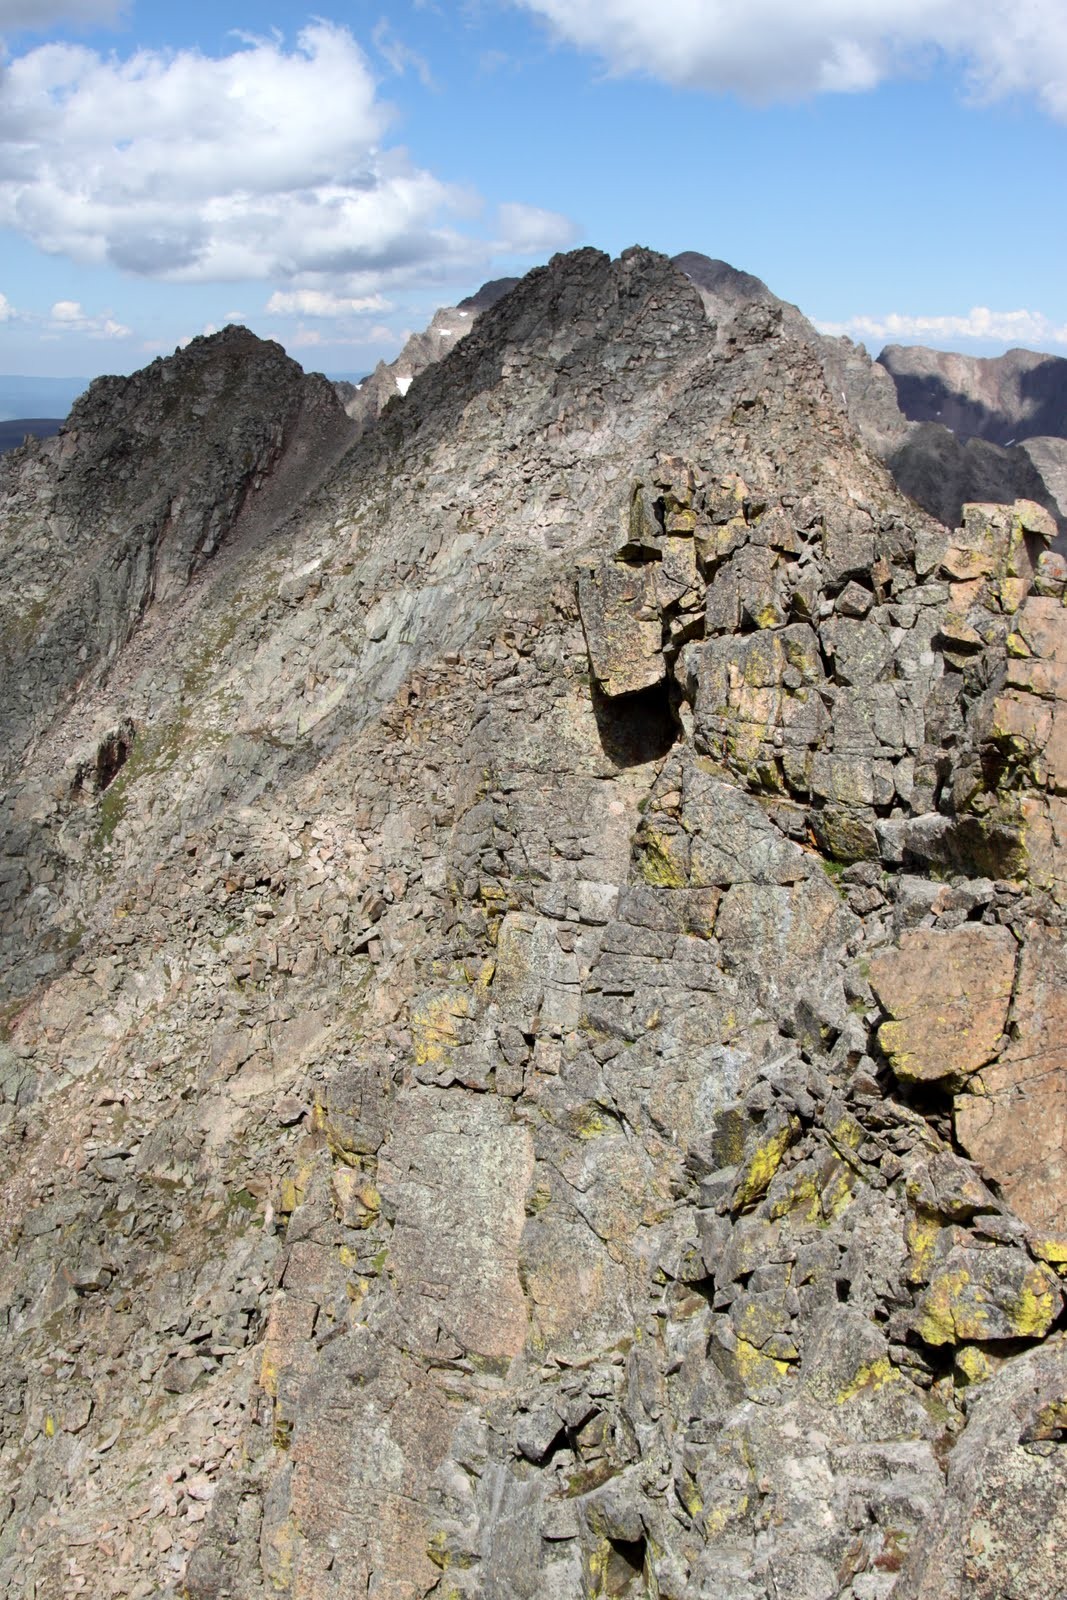
The ridge to Peak P from the summit of Peak J (West Partner in the distance)
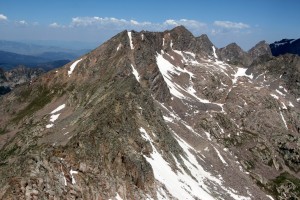
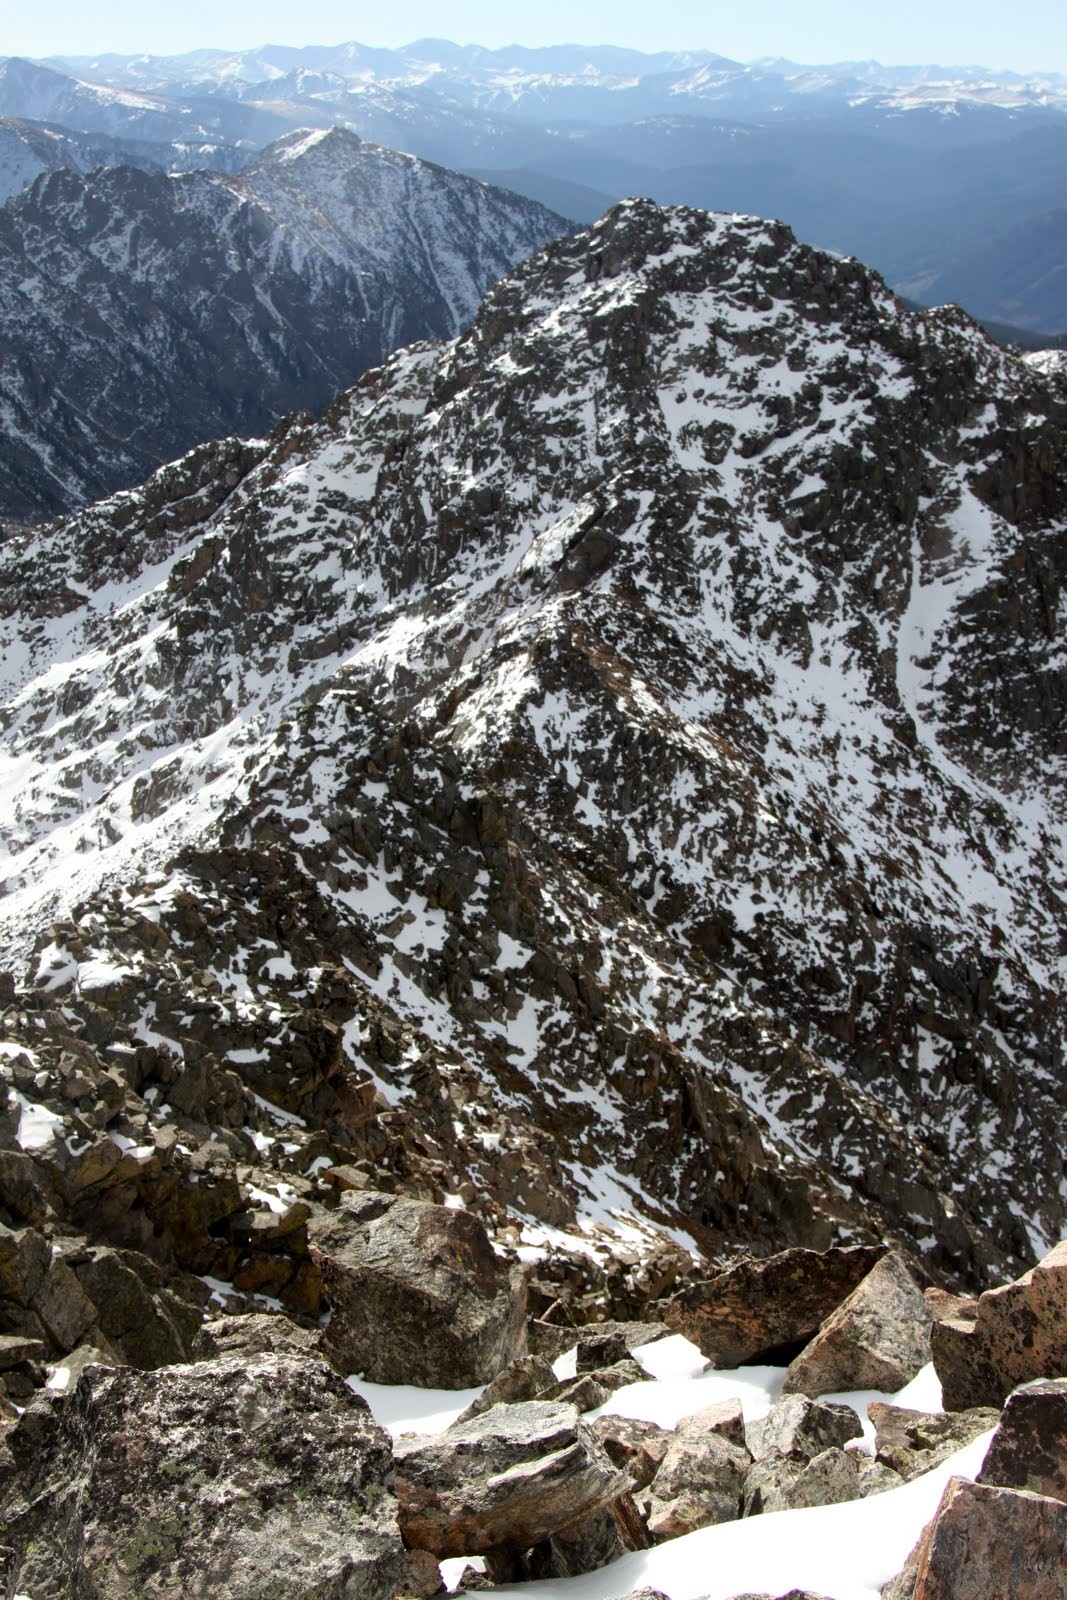
Looking back at The Saw to Peak H (the “Straight Arrow Couloir” can be seen coming down off Peak H’s summit)
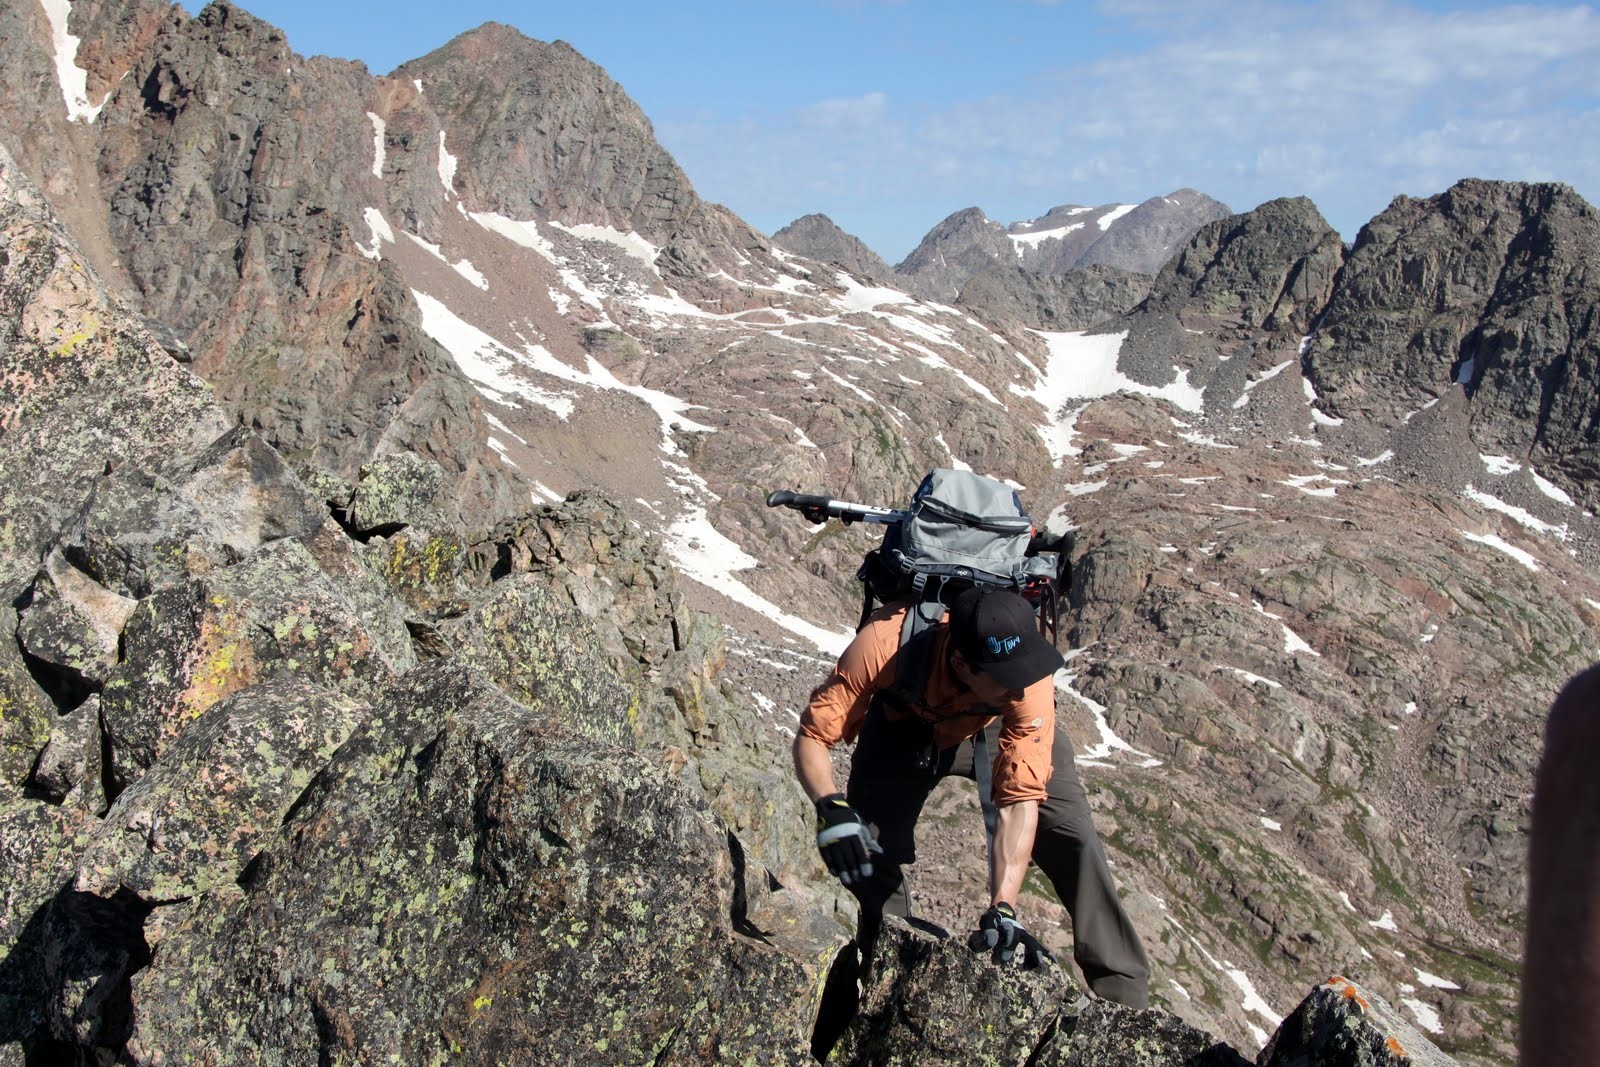
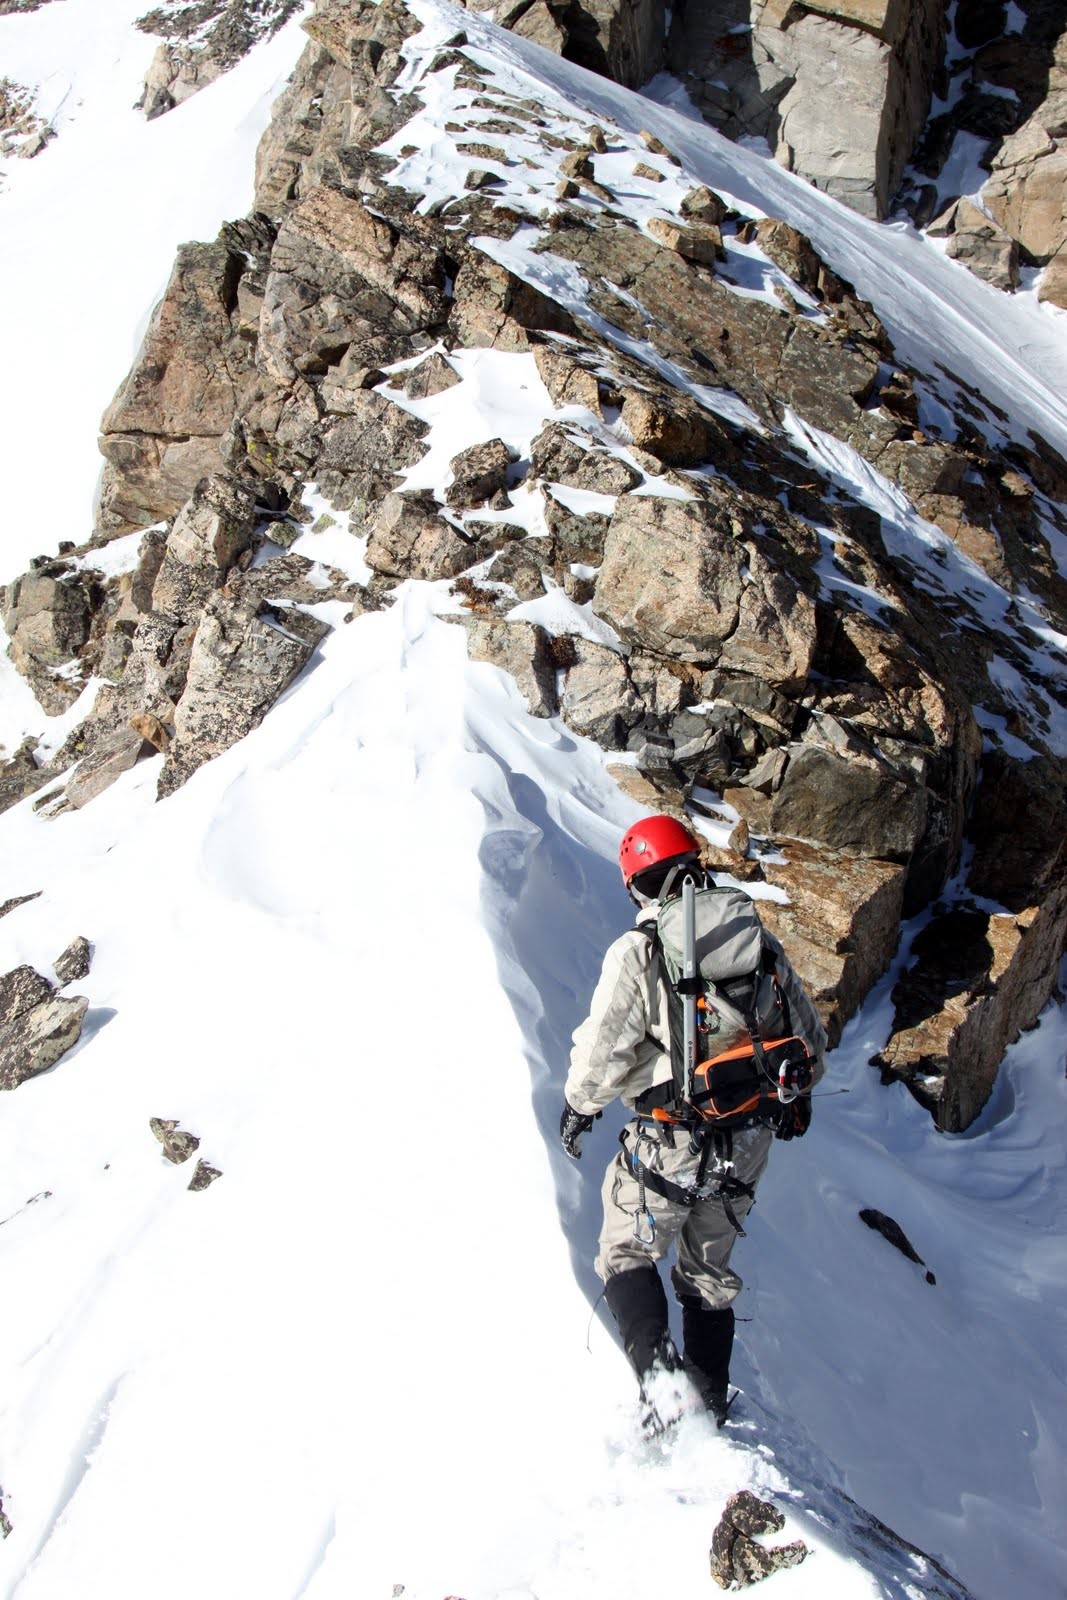
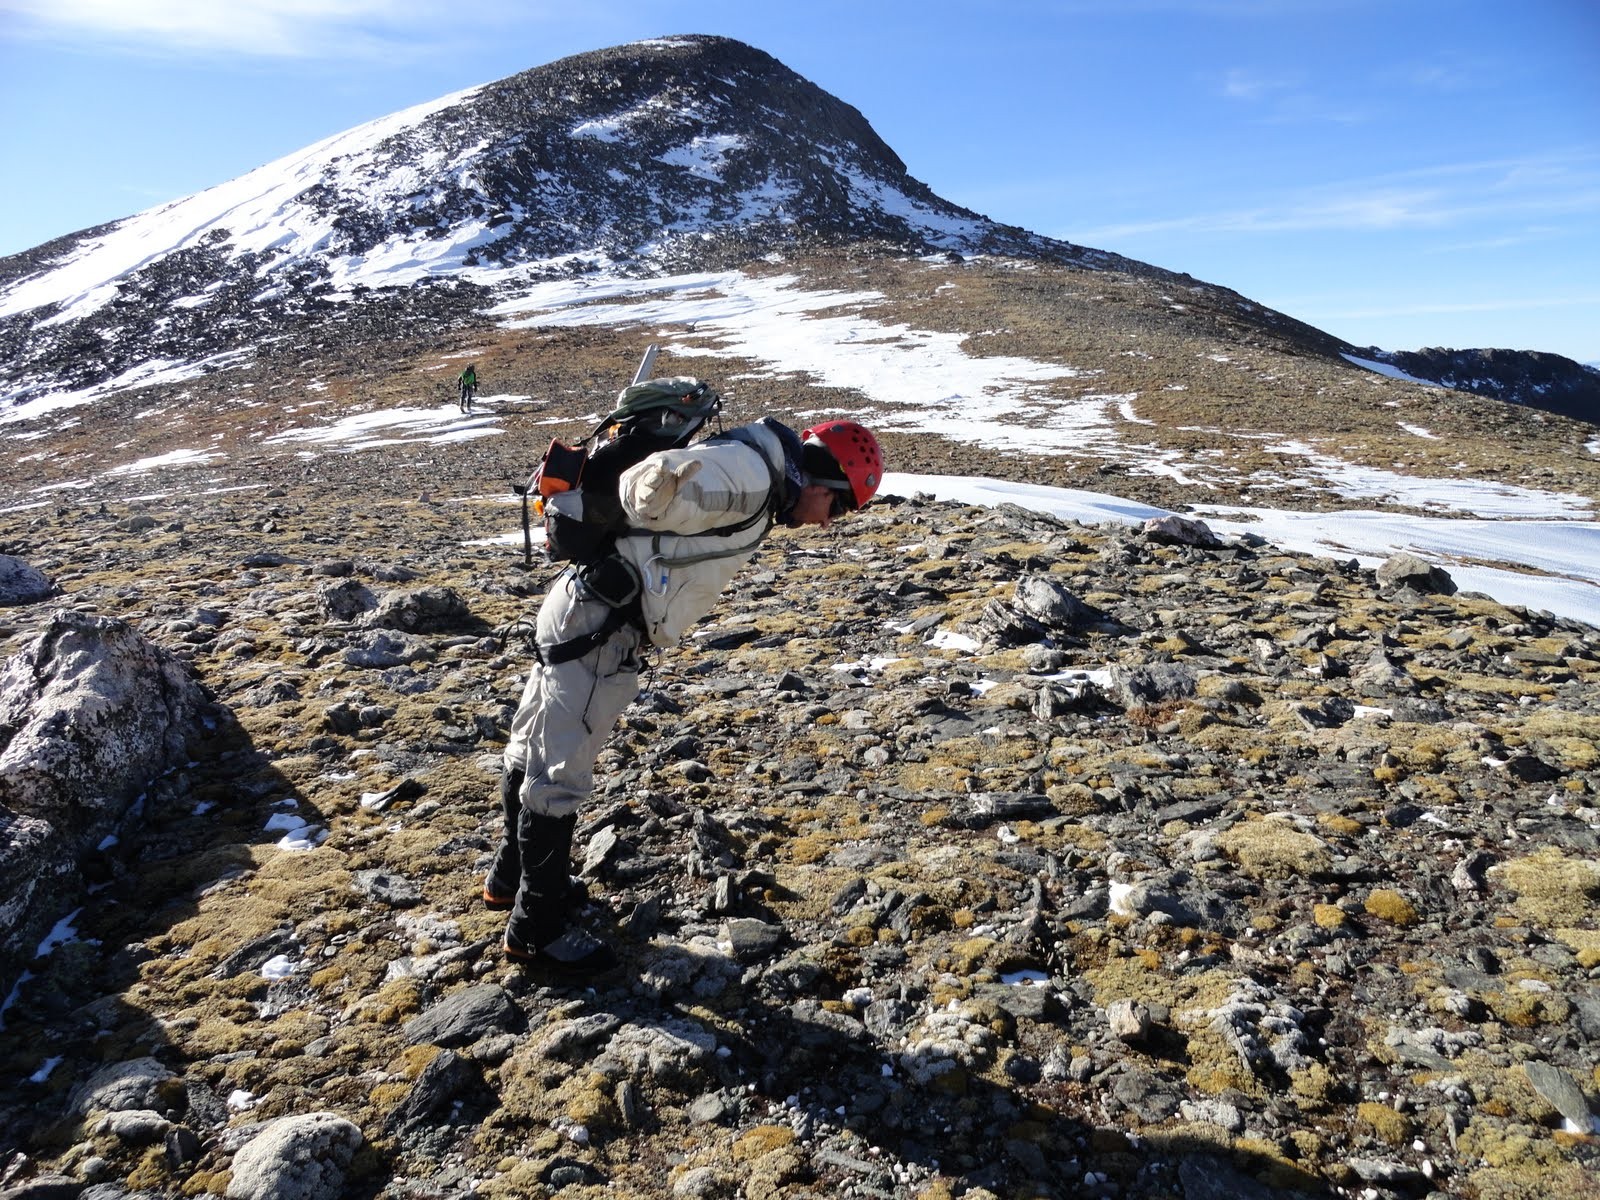
We then set out for Peak P. This section of ridge between J & P was definitely much easier and shorter than from H to J, yet still fun all the same.
Baba climbing a relatively easy tower en route to Peak P
Leaving Peak J behind
J skywalking on the way to Peak P

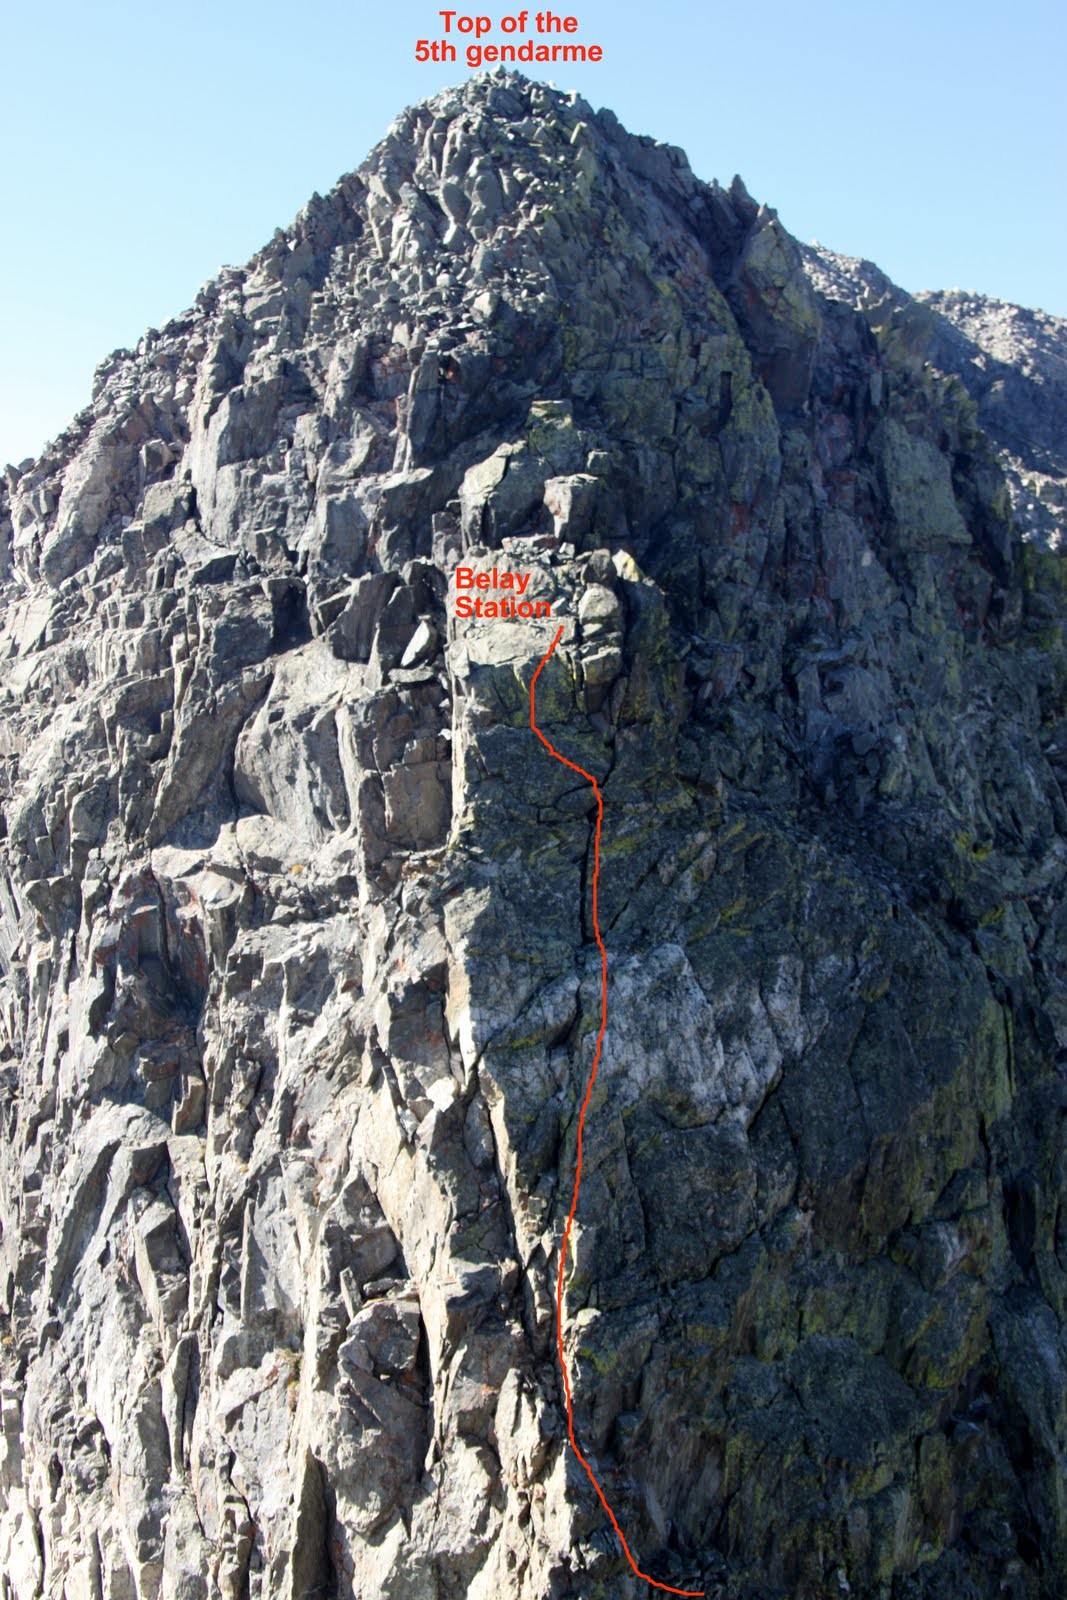
Chuck & Baba climbing up the one significantly exposed tower with tougher moves
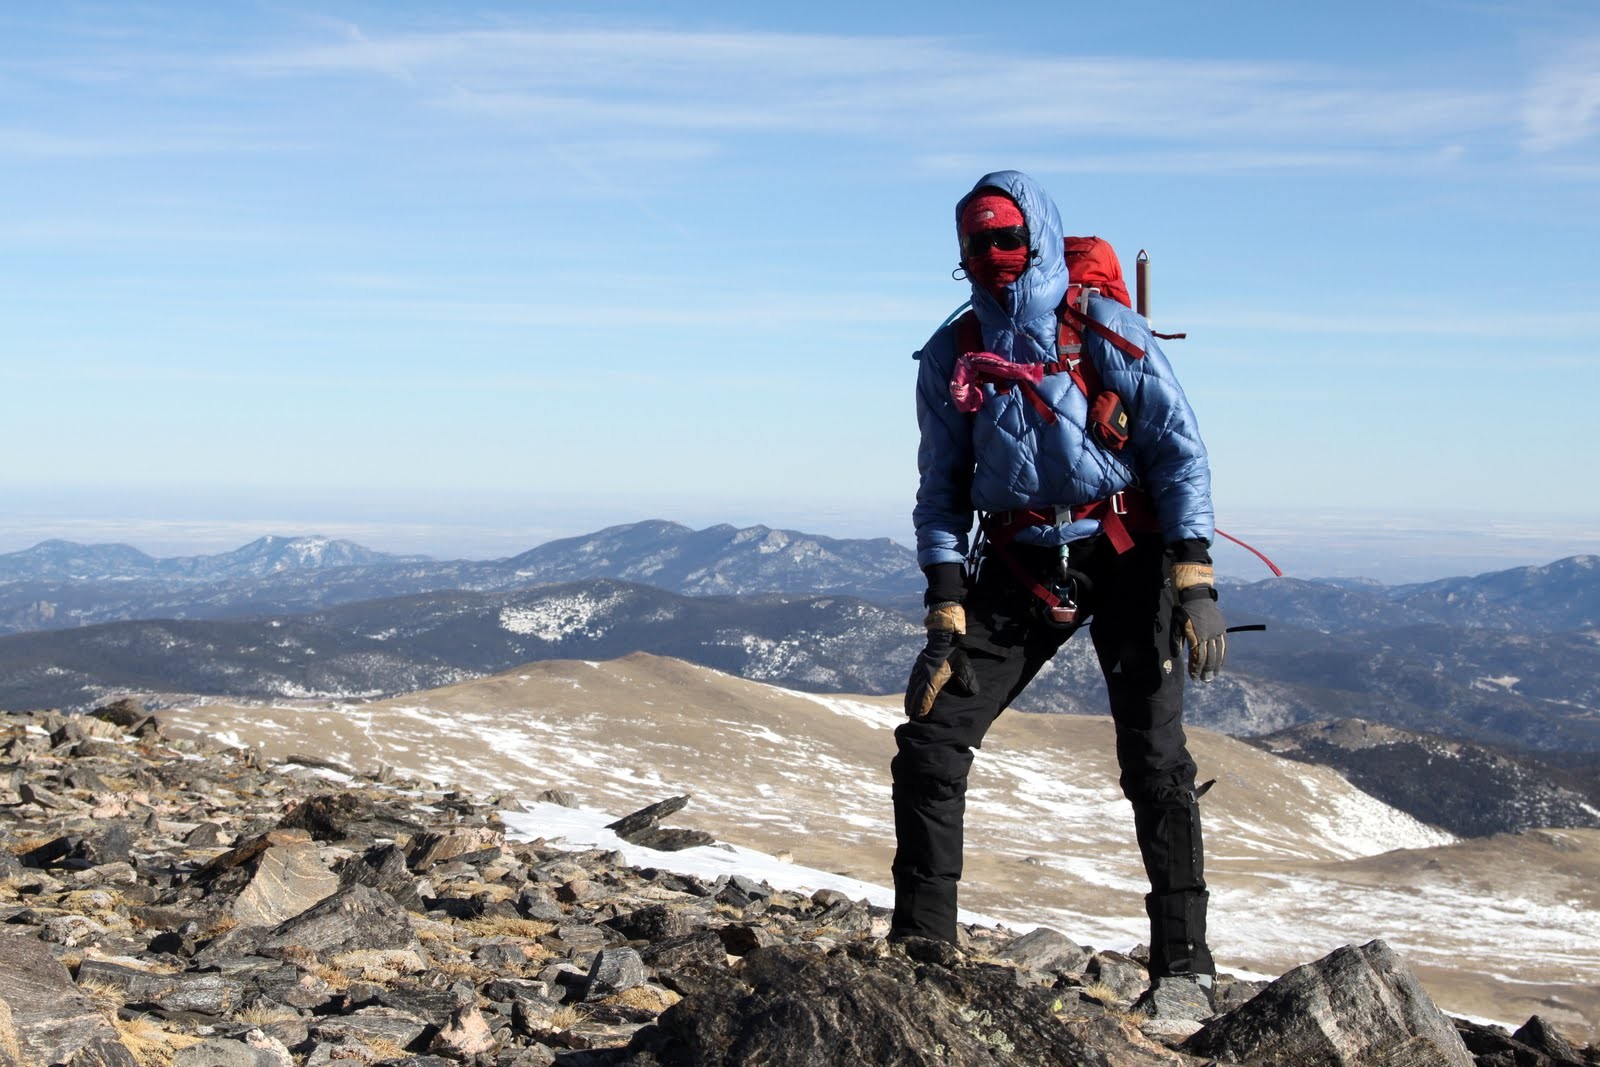
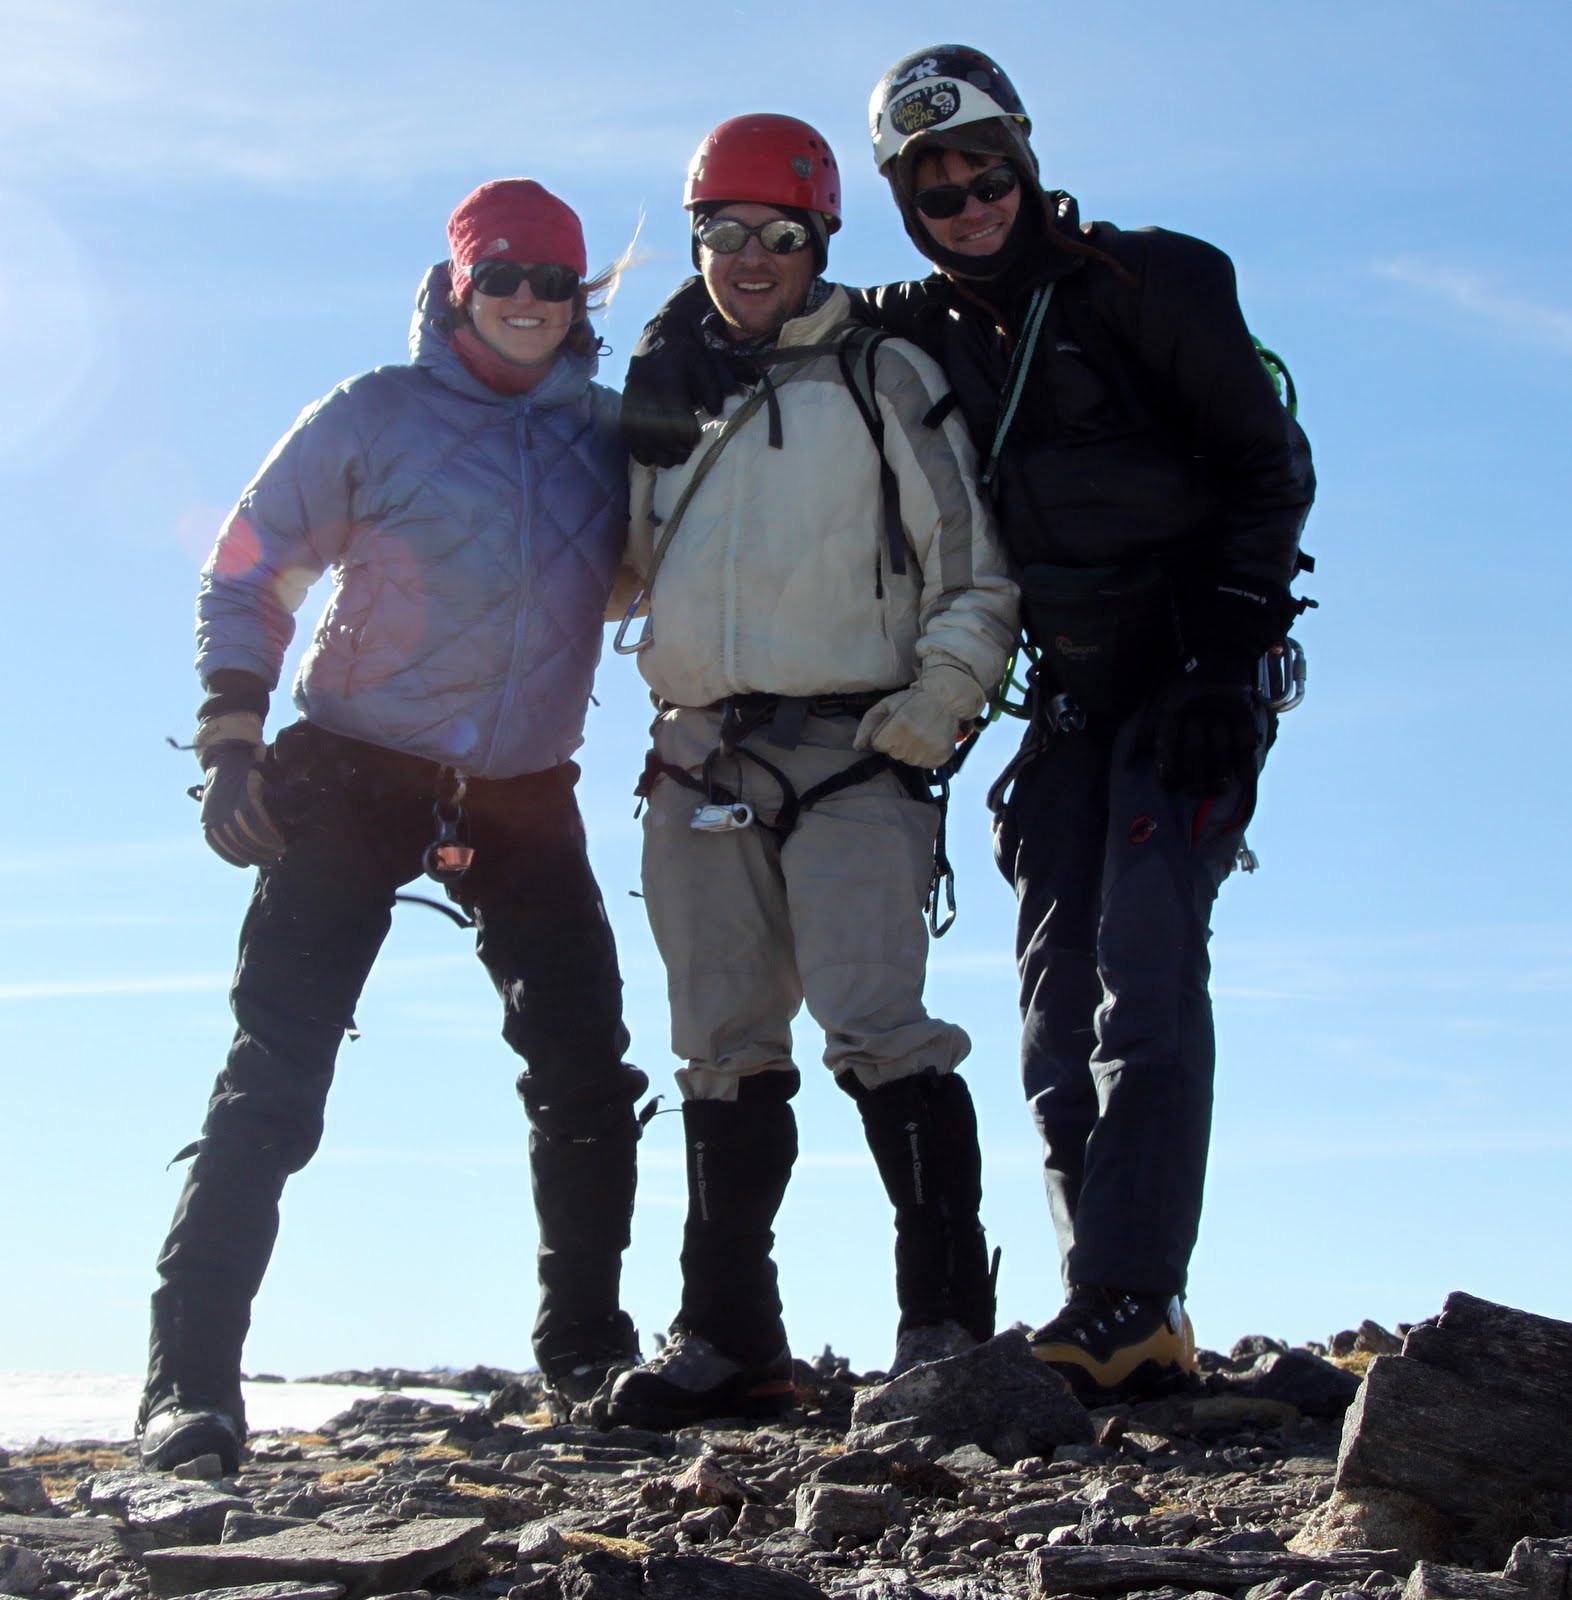
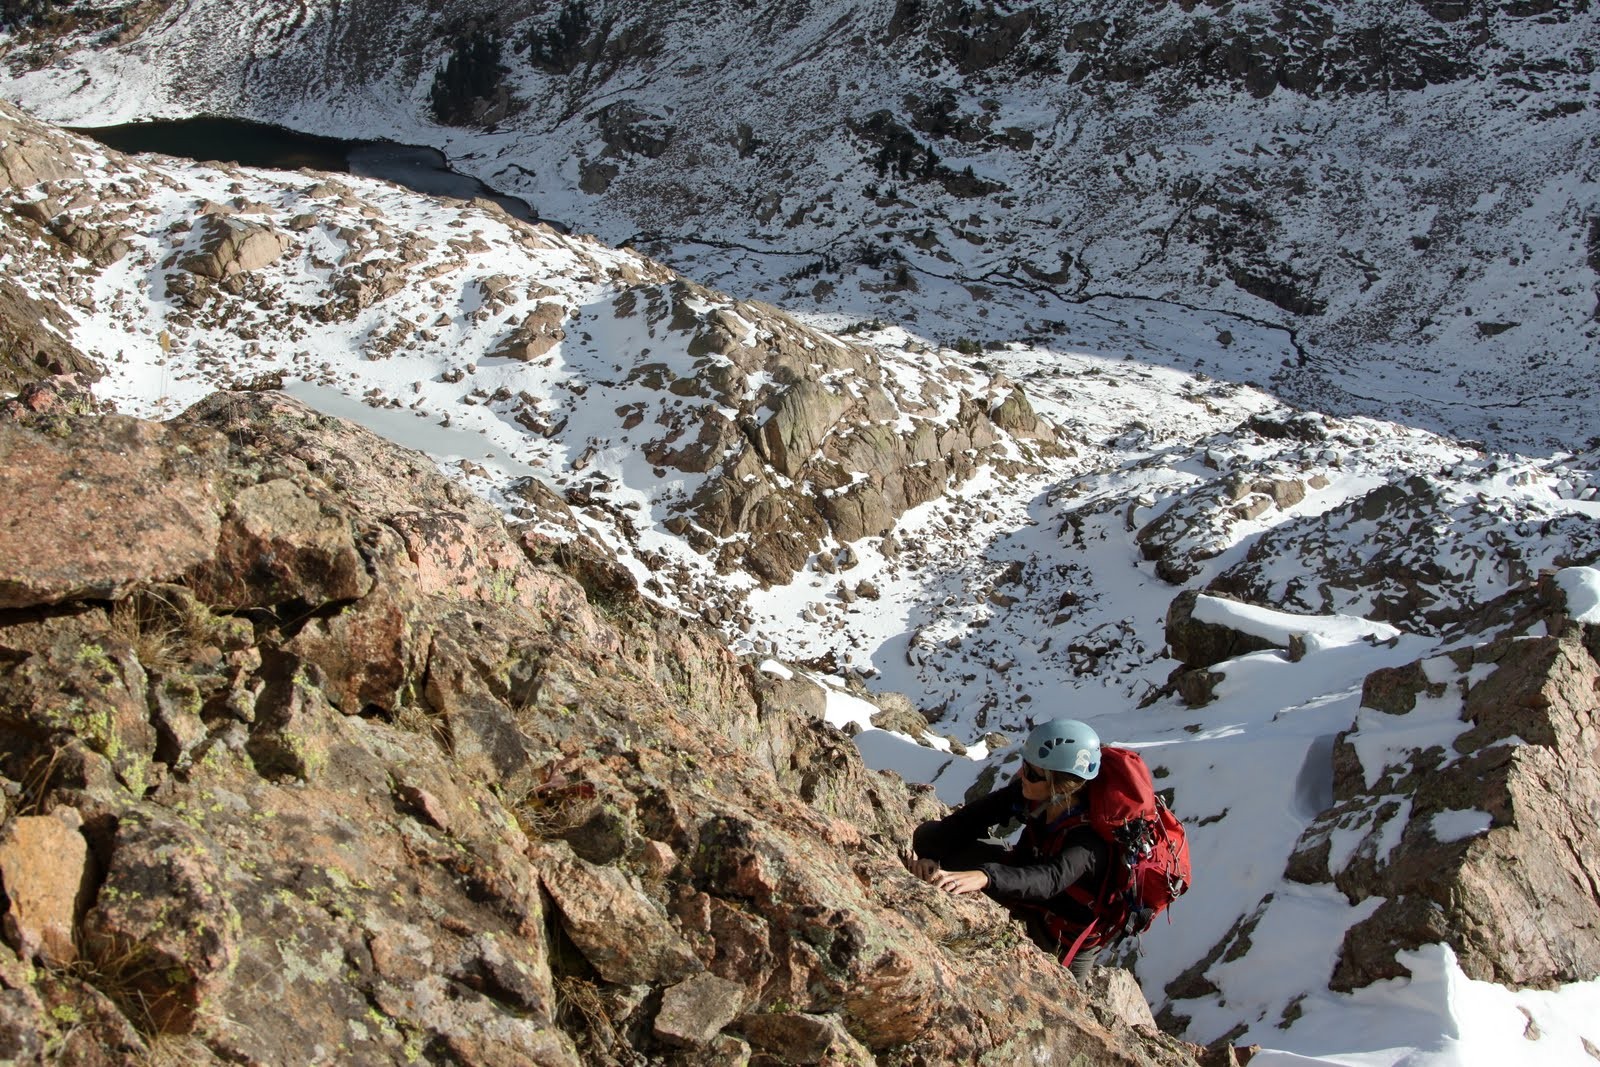
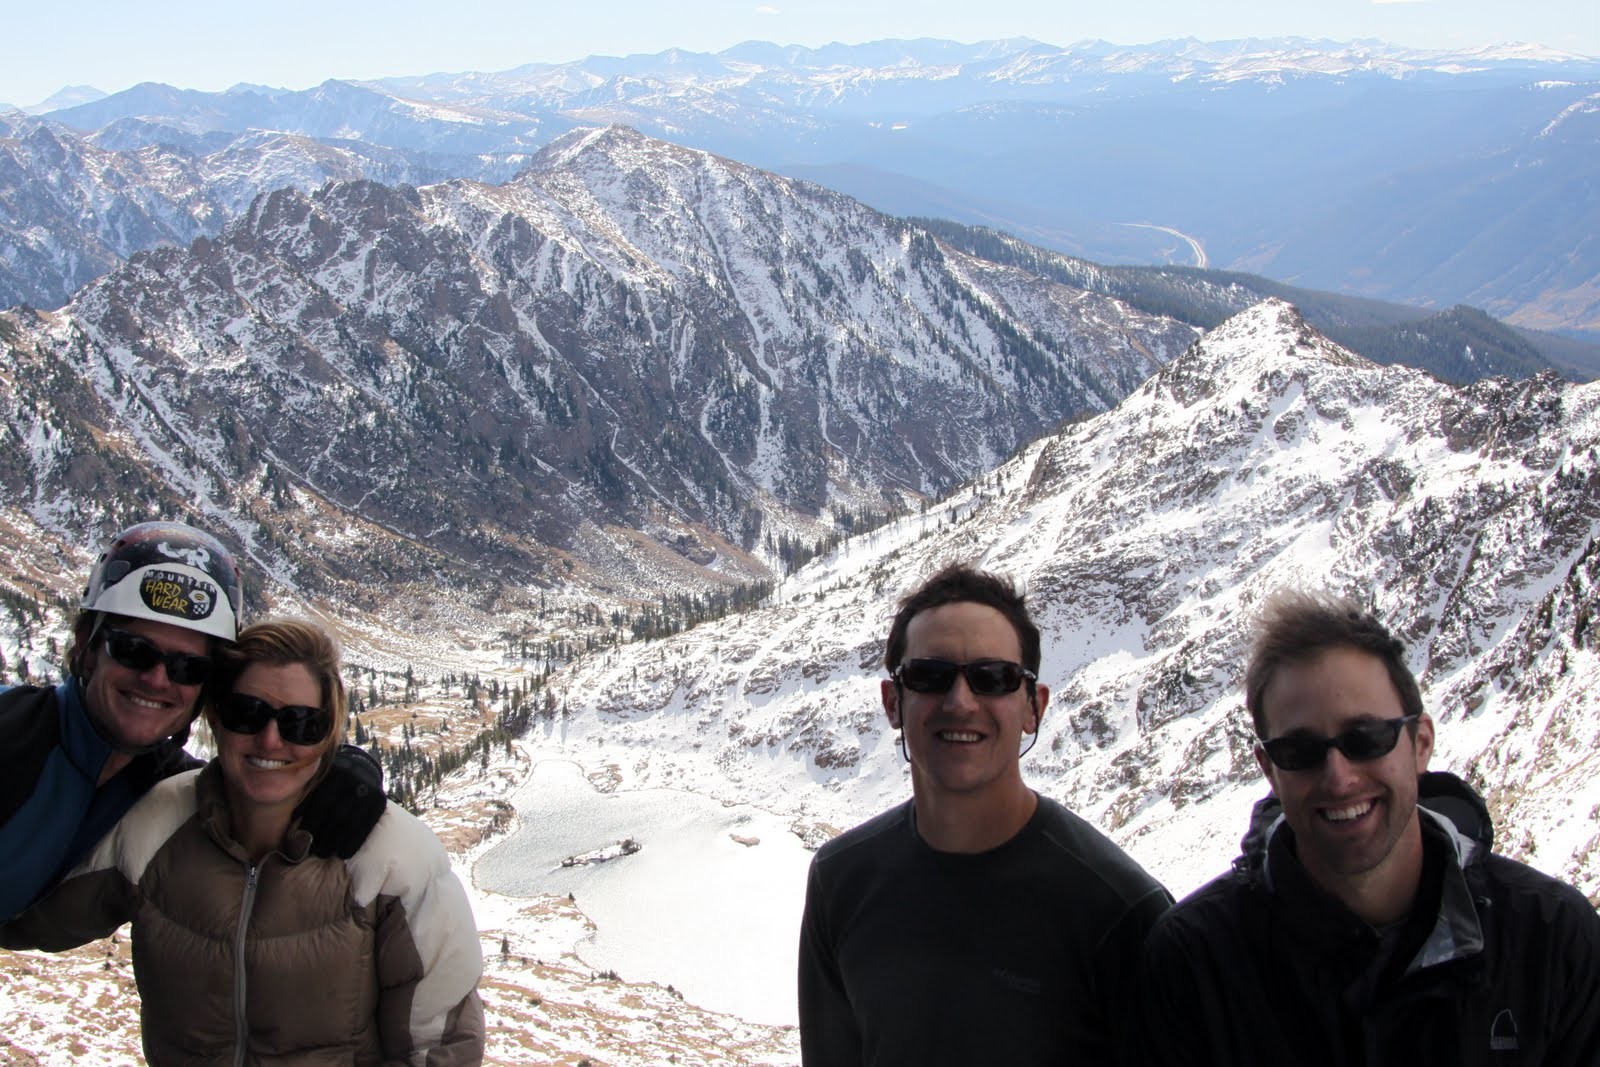
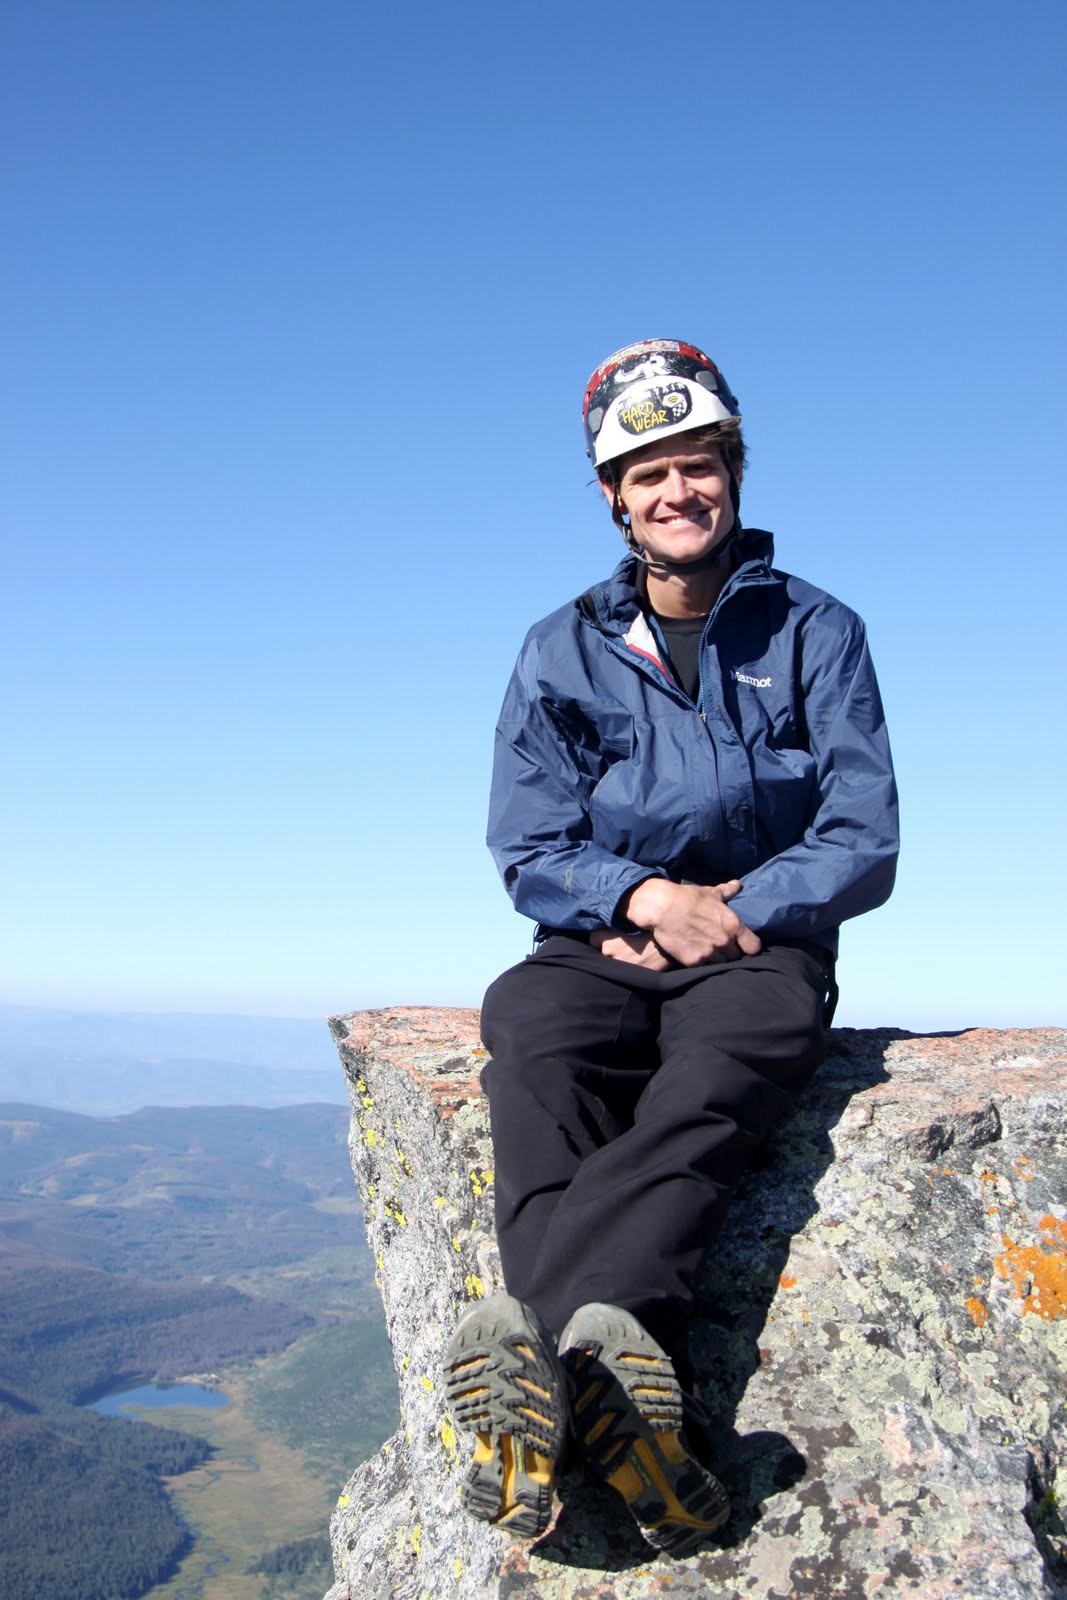
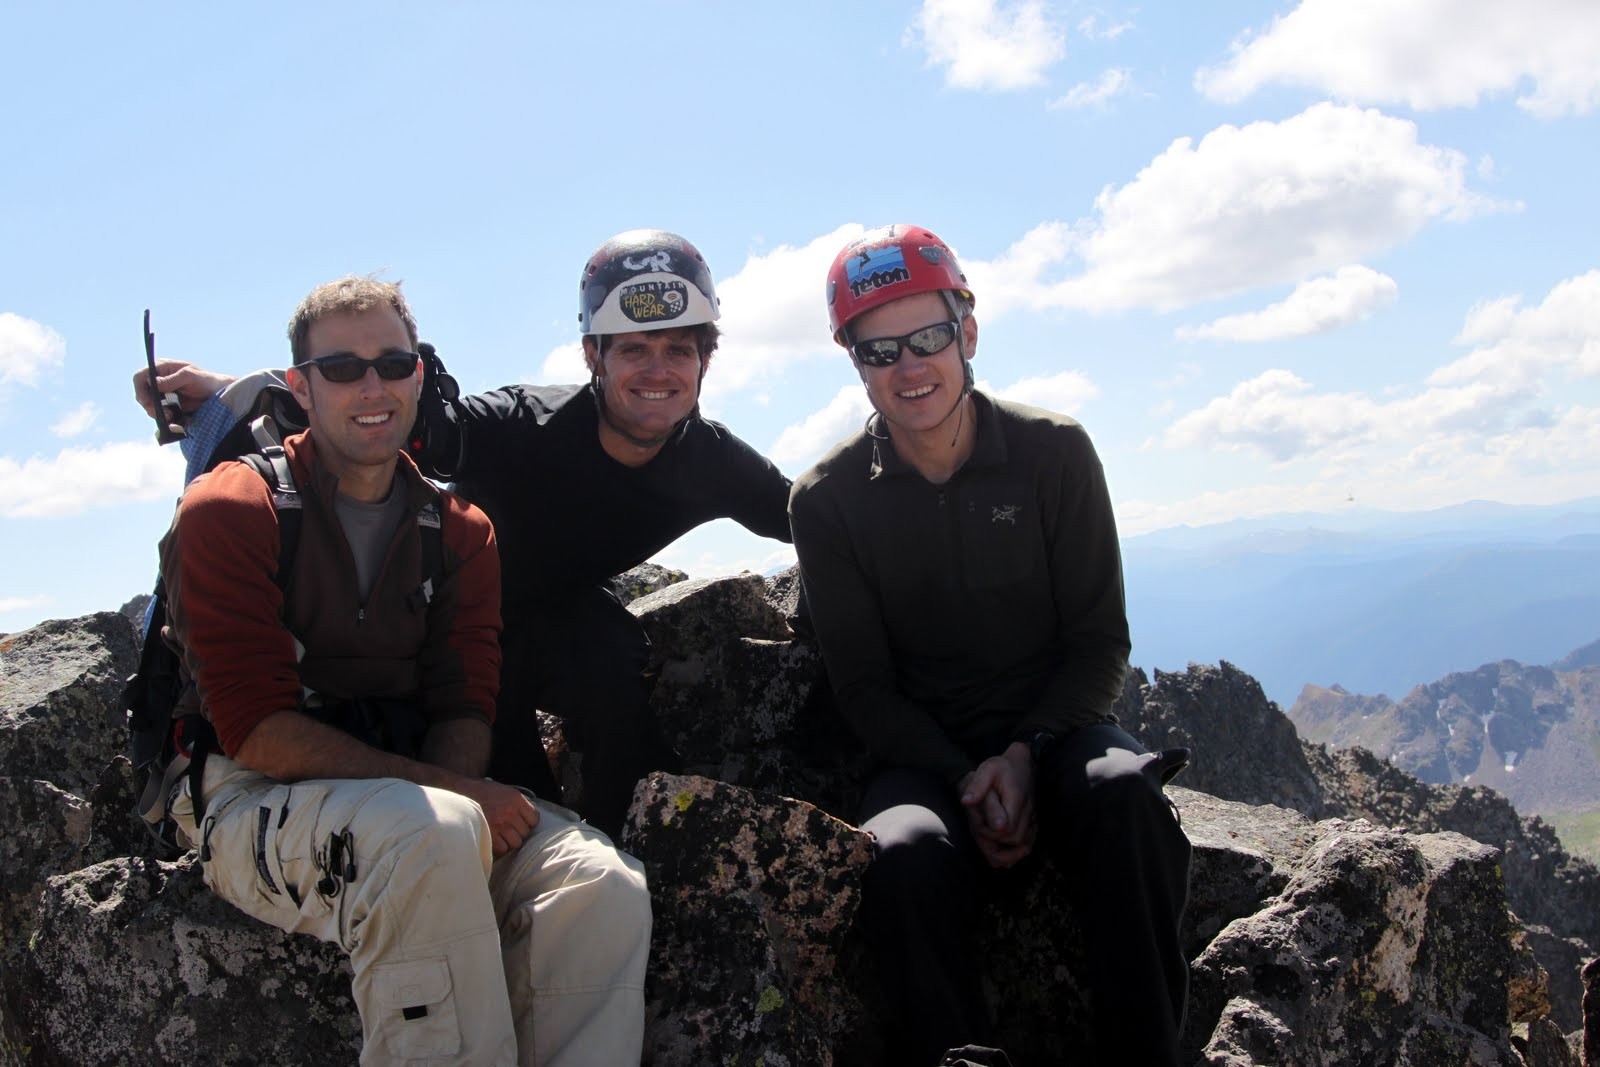
After some easier class 2/3 terrain, we reached Peak P’s summit around 1pm. I had heard of folks using the west slopes from Upper Piney Lake to reach Peak P, so this was always a descent option in the back of my mind. If we were going to stay another night out, Rockinghorse Ridge up to West Partner would have definitely been on our agenda, but we had made up our mind we were going to pack out to Piney Lake that day b/c there was nothing worse than the swarms of mosquitos in the Upper Piney Lake Basin. Even Rockinghorse Ridge was worth saving for another day in order to not have to spend another night out with the mosquitos.
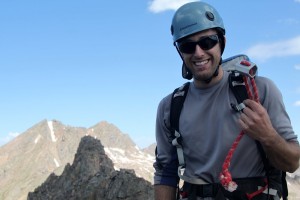
Summit of Peak P with West Partner behind

Looking back from the summit of Peak P to where we came with Ripsw Ridge & Mt. Powell beyond
We then headed south towards West Partner over easy class 2/3 terrain and found some manageable terrain to descend down to Upper Piney Lake from the Peak P/West Partner lowpoint (better & safer than the descent gully between Peaks F & G to the west for those that know that one).

Rockinghorse Ridge to West Partner Peak from the Peak P/West Partner saddle
On the descent, we were all admiring the fun that Rockinghorse Ridge up to West Partner looks to be – another day.

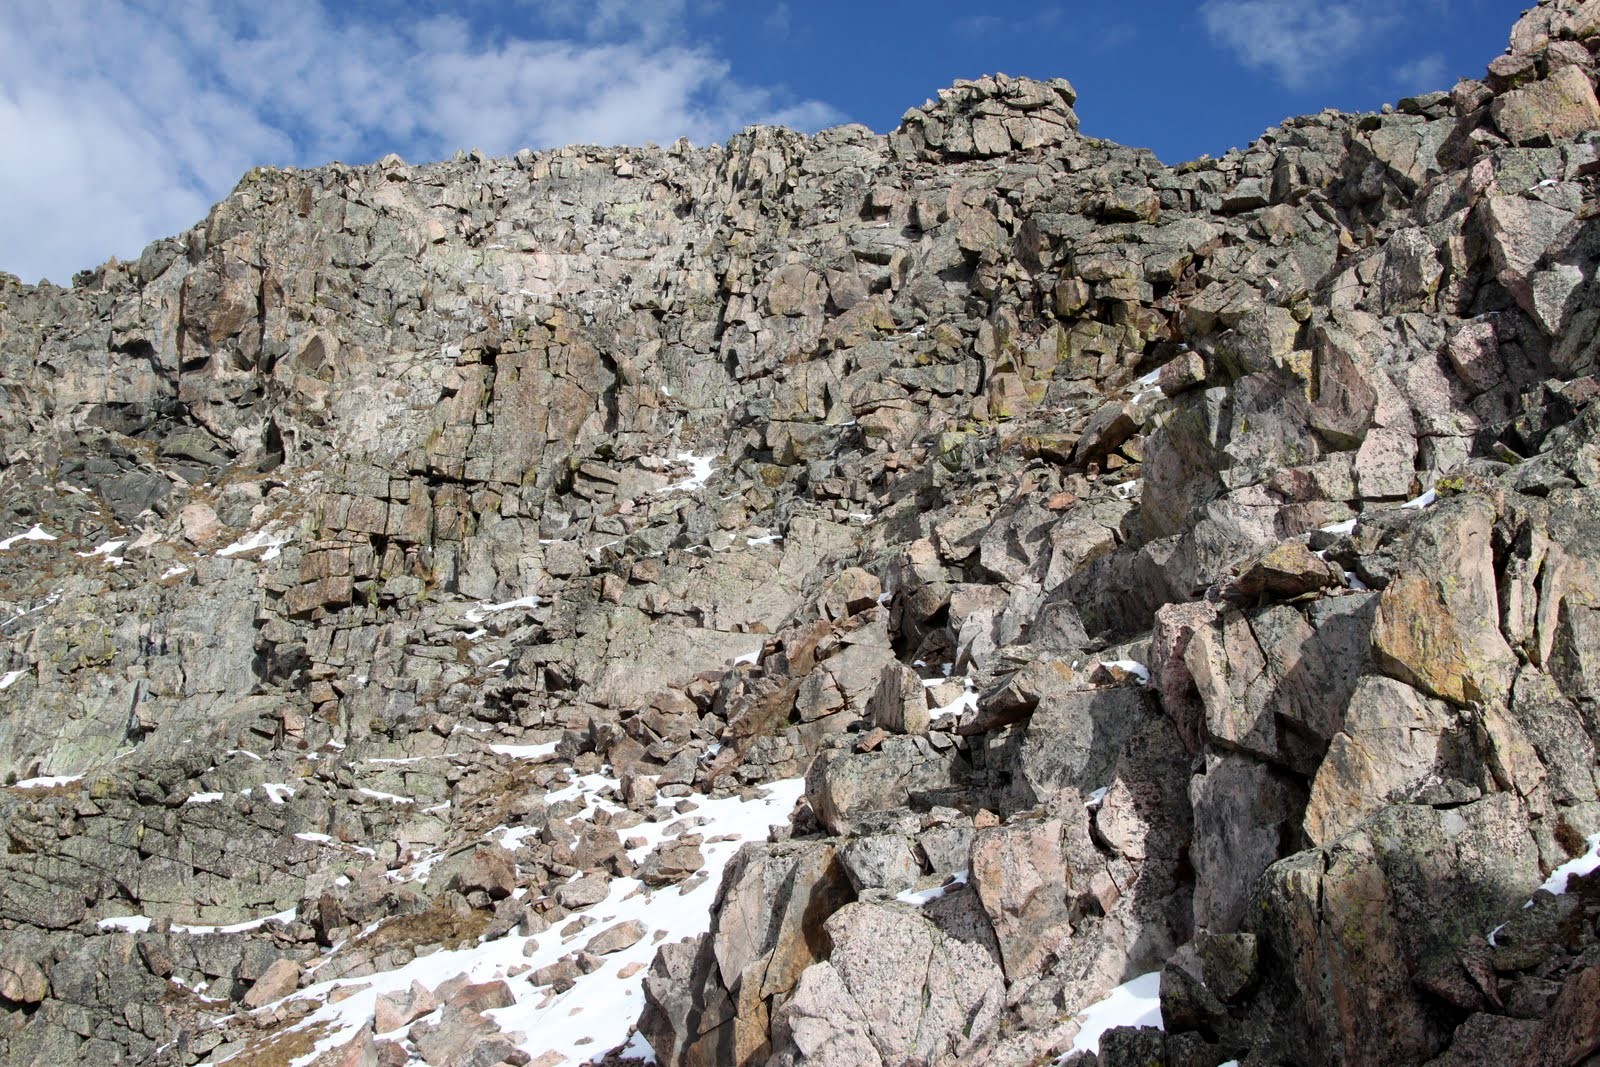
Our descent routes from the Peak P/West Partner saddle to Upper Piney Lake (several options)
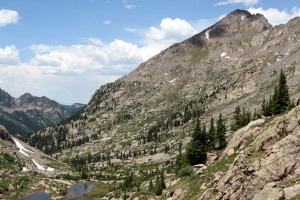
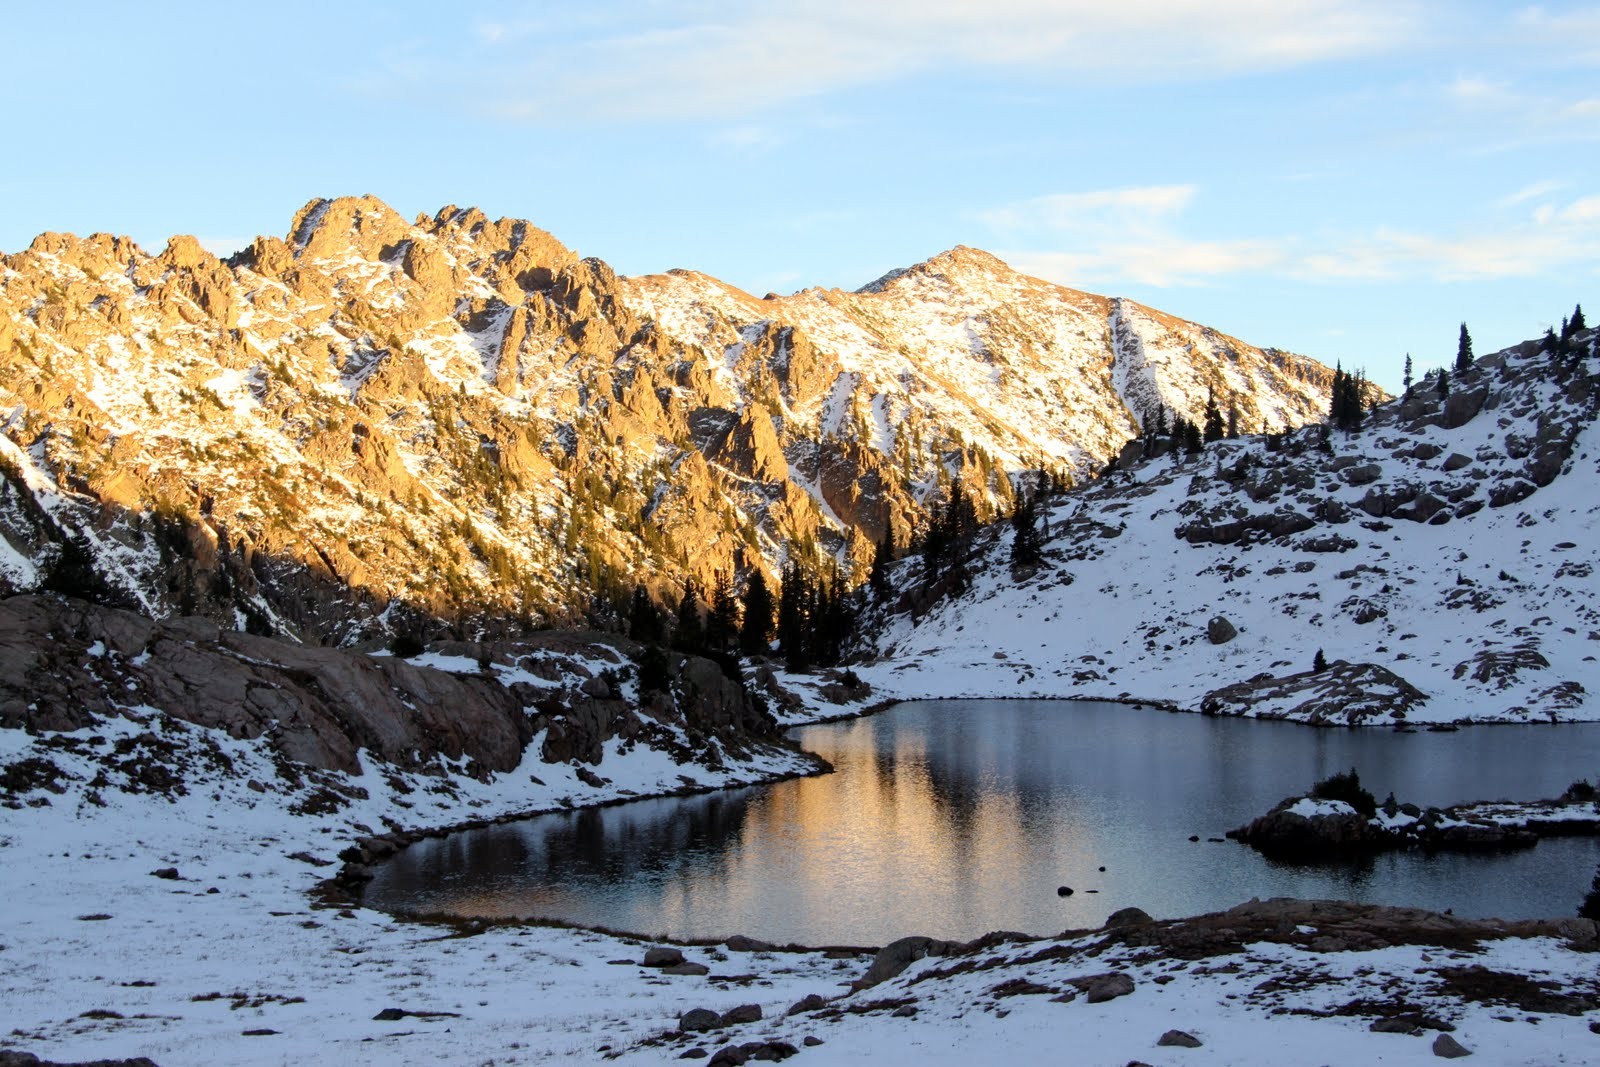
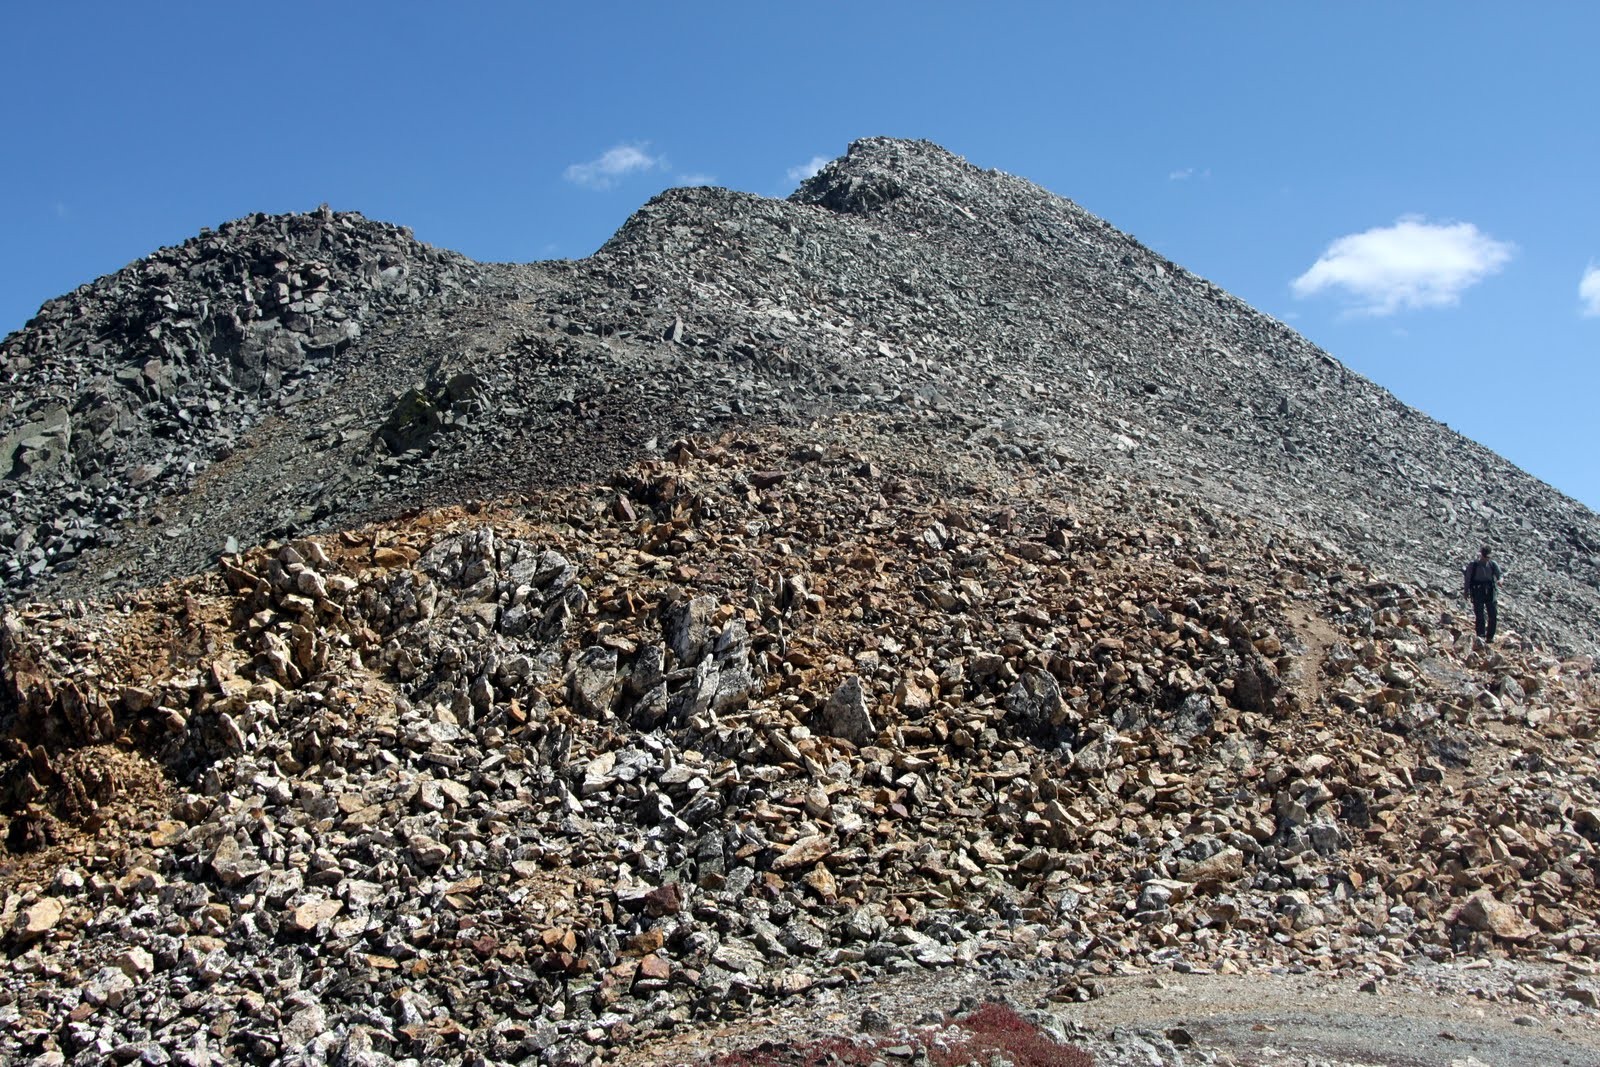
Upper Piney Lake Basin with Peak H to the right
Upon being back in the hot, mosquito infested Upper Piney Lake basin, a dive into Upper Piney Lake was just what the doctor ordered for all of us.
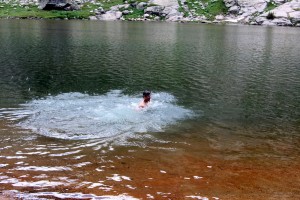
Had to do this – Upper Piney Lake dunk
After a 30 min swampy hike back to our bivy, we packed up for the long haul out to Piney Lake finally arriving back at the trucks around 6:30pm for a 12 hour day. Despite our ill-preparedness for the mosquitos, this was a wonderful trip with great friends in the remote heart of the Gore Range. Truly a spectacular area and if you are willing to put in a long haul and bushwhack into the Upper Piney River basin, you will be rewarded with solitude and very remote peaks and ridges. I think all of us would recommend The Saw for a ridge run you can have all to yourself full of high quality scrambling. One of our favorites thus far. Its always exciting not having any beta on ridge runs yet finding a way through.


 to West Partner (far right)")


")

")


 Follow


")