Ever since first visiting Telluride in 1998, I had heard of this infamous peak called “Lizard Head” at the base of the Wilson Group. I didn’t even know it was “climbable” for years. Then even when I did find out people climb it, I didn’t think Kristine & I would be attempting to climb it. Lizard Head is generally regarded as Colorado’s hardest 13er to climb by its easiest route with the standard southwest chimney, aka “south crack”, rated at 5.8+. Lizard Head is fairly easy to access off of Lizard Head Pass at the Cross Mountain trailhead yet its still about 4 miles and 2,800′ of elevation gain to reach the base of the tower. So, a bit more effort than going to your local rock climbing crag. Per John Kirk, Lizard Head is the hardest peak in Colorado above 12,461′ with 300′ of vertical rise. He notes that Twin Peaks at 12,461′ rated at 5.9 and Turret Ridge at 12,260′ also rated at 5.9 are harder to climb. The Index at 13,340′ is more difficult, but only has 240′ of vertical prominence. Lastly, there are other peaks in Colorado with over 300′ of vertical rise harder than 5.10 yet much lower in elevation.

Lizard Head from the Cross Mountain trail on the hike out
Now, a quick note about the history of this tower. From the book Climbing Colorado’s San Juan Mountains by Robert Rosebrough: “Lizard Head has an intriguing climbing history. At the time of its first ascent in 1920 by Albert Ellingwood and Barton Hoag, Lizard Head was probably the hardest rock climb then completed in the United States. Armed with three soft iron pitons, hemp rope, and nailed boots, Ellingwood and Hoag made a couple of abortive attempts on cracks near the southwest corner before rounding the corner to the west face. Ellingwood reported that ‘most of the enticing small holds crumbled at a touch, and large masses of the loosely compacted pebbles would topple dangerously at a slight pull.’ In spite of the difficulties, they struggled up and placed two of their rustic pitons in the lower cliff, saving one for the higher cliffs.” (note: the FA was via a different route than the present-day standard southwest chimney route.)

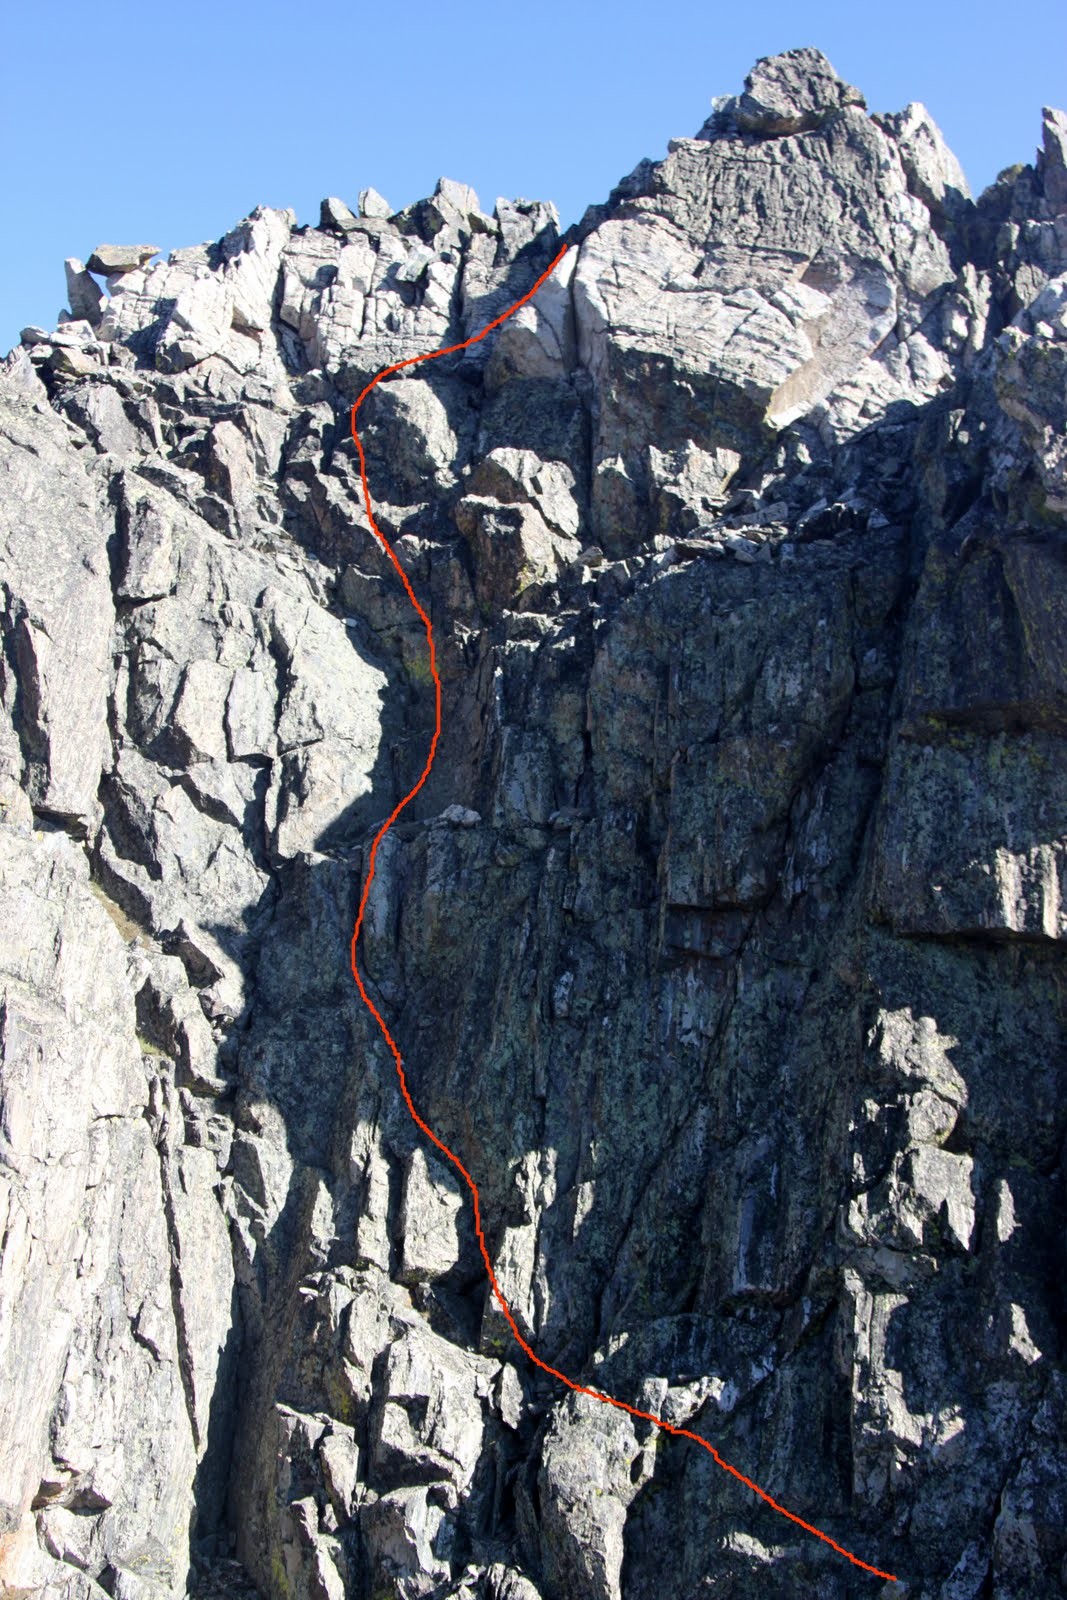
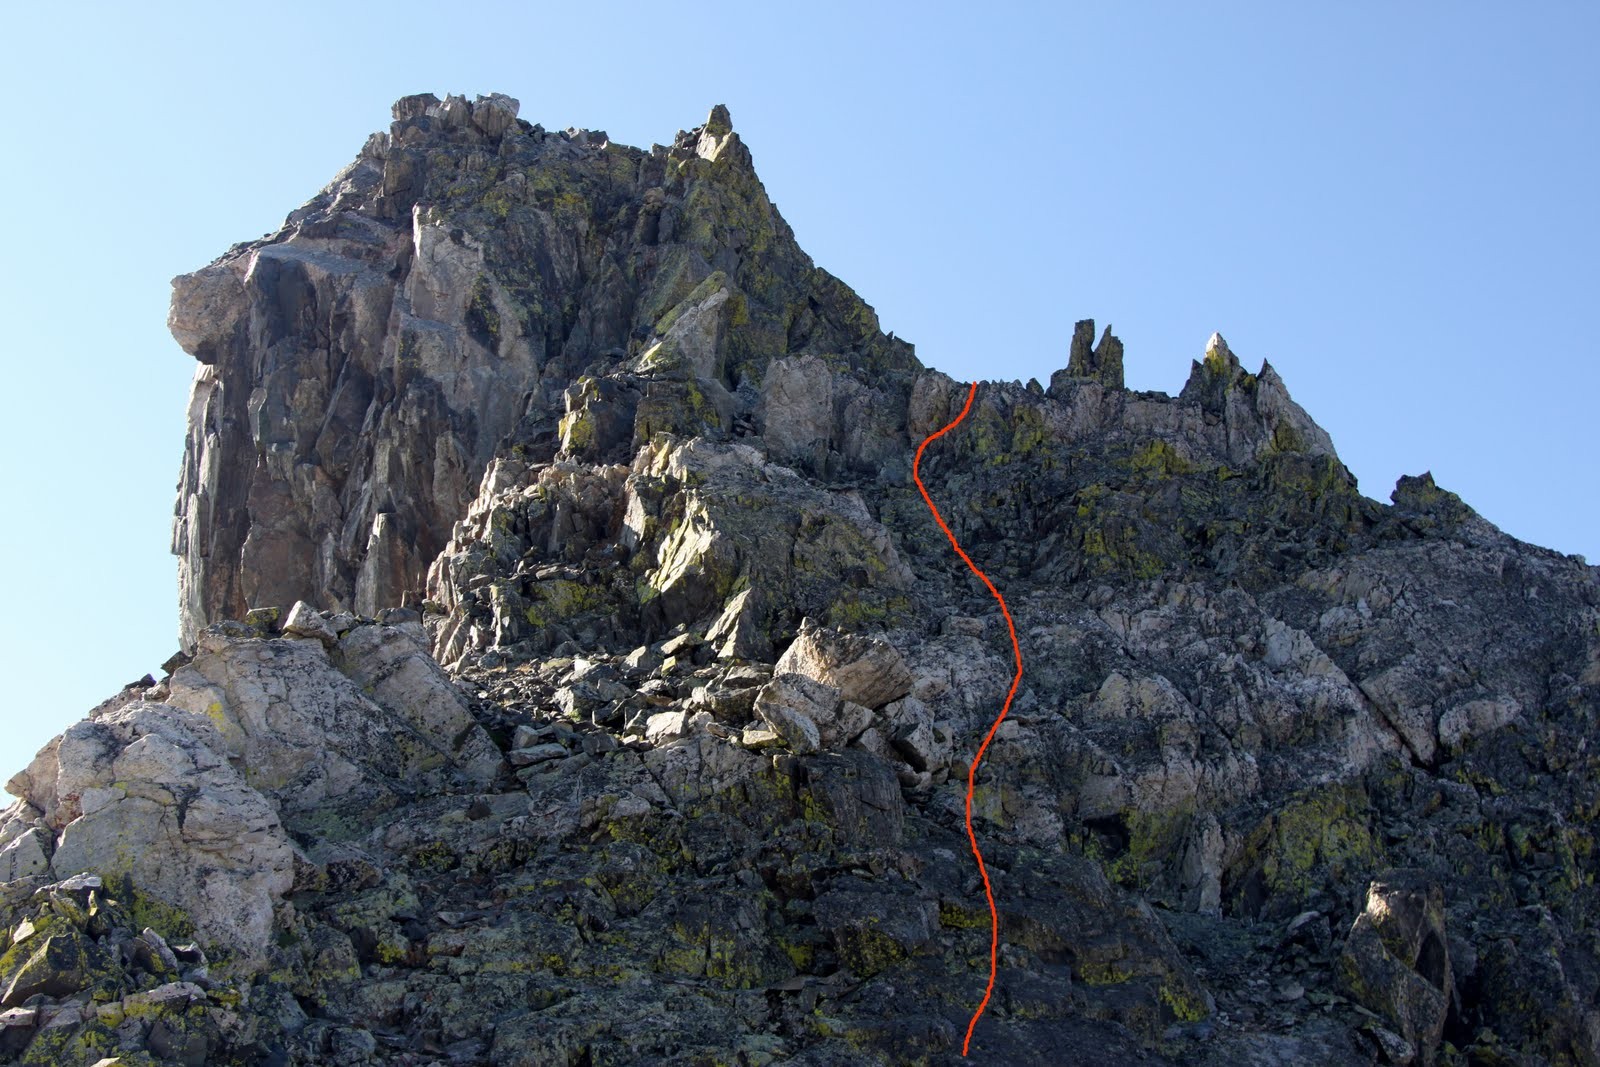
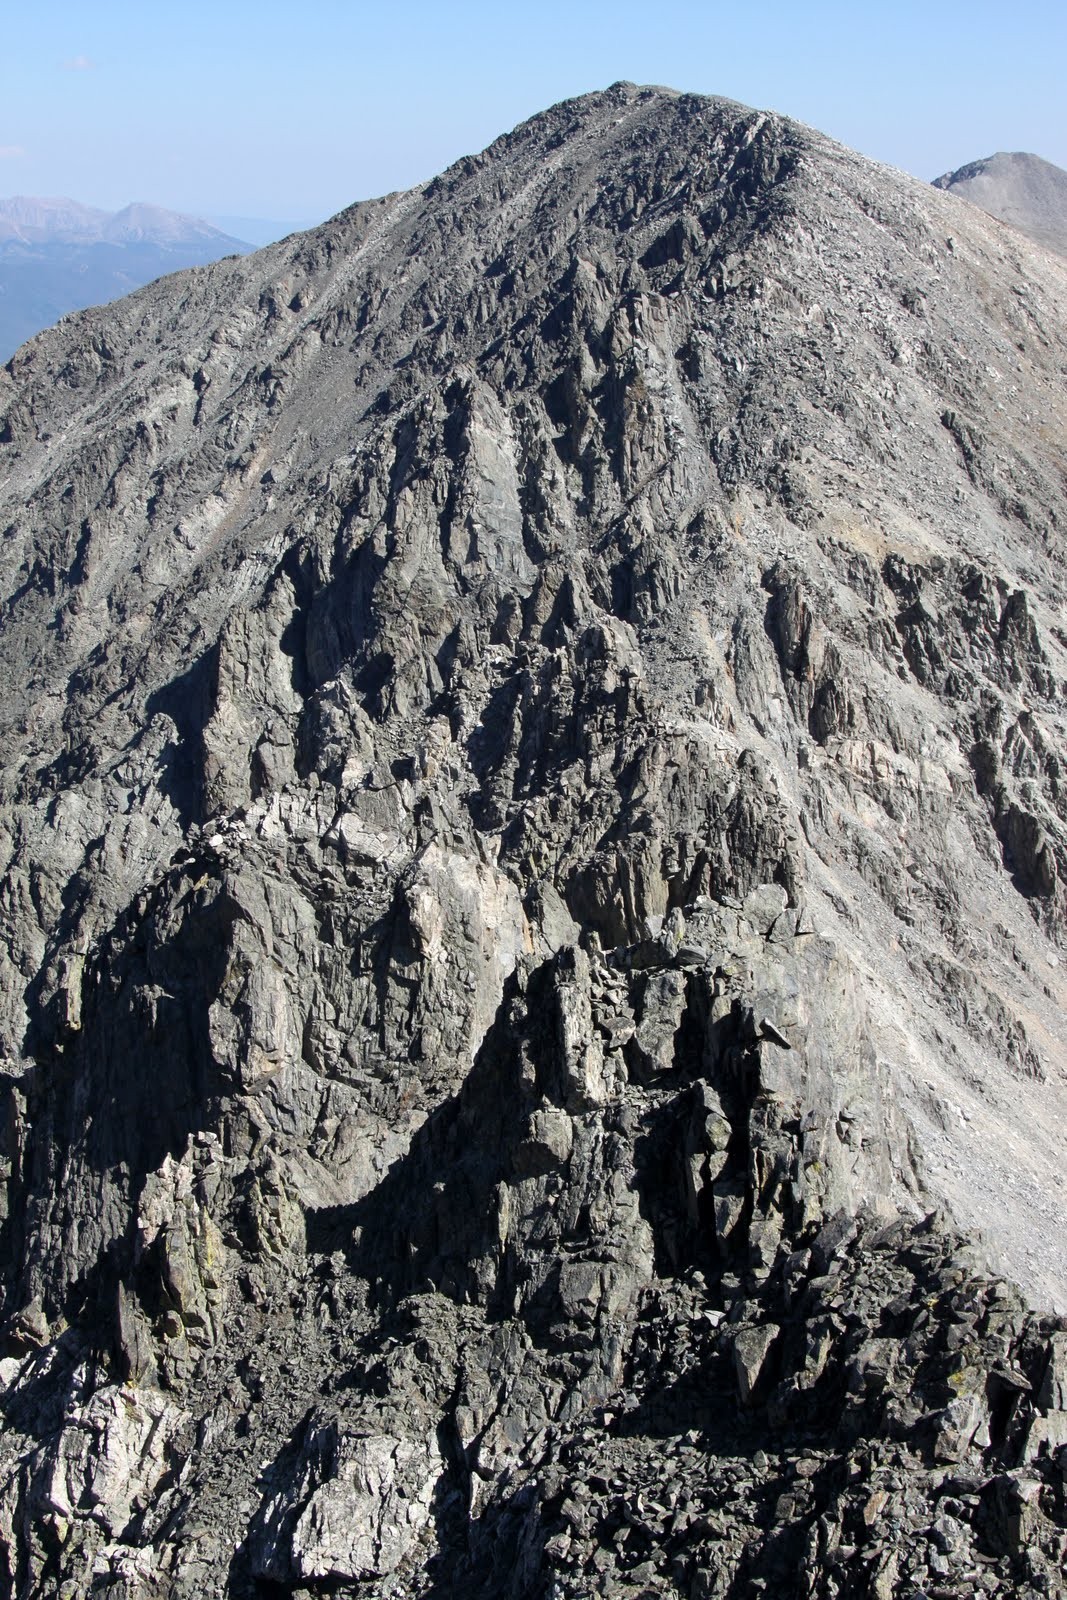
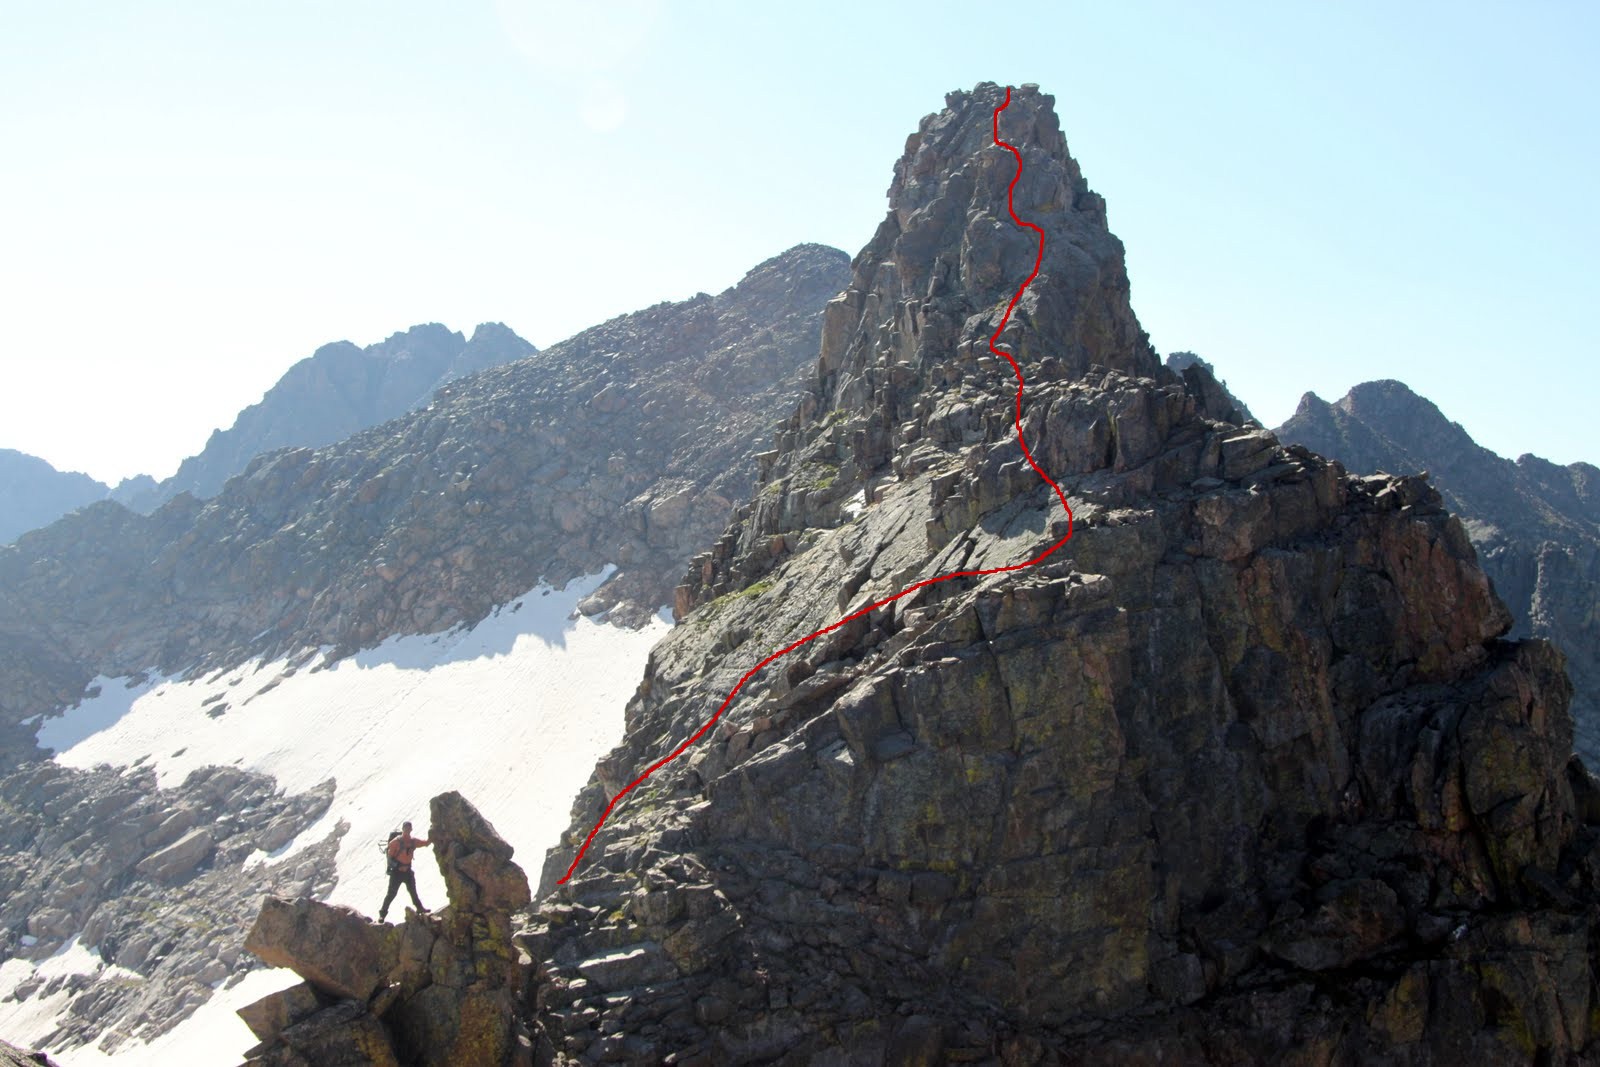
Our route up the southwest chimney, aka “south crack”, as seen from Lizard Head’s west shouler on the approach

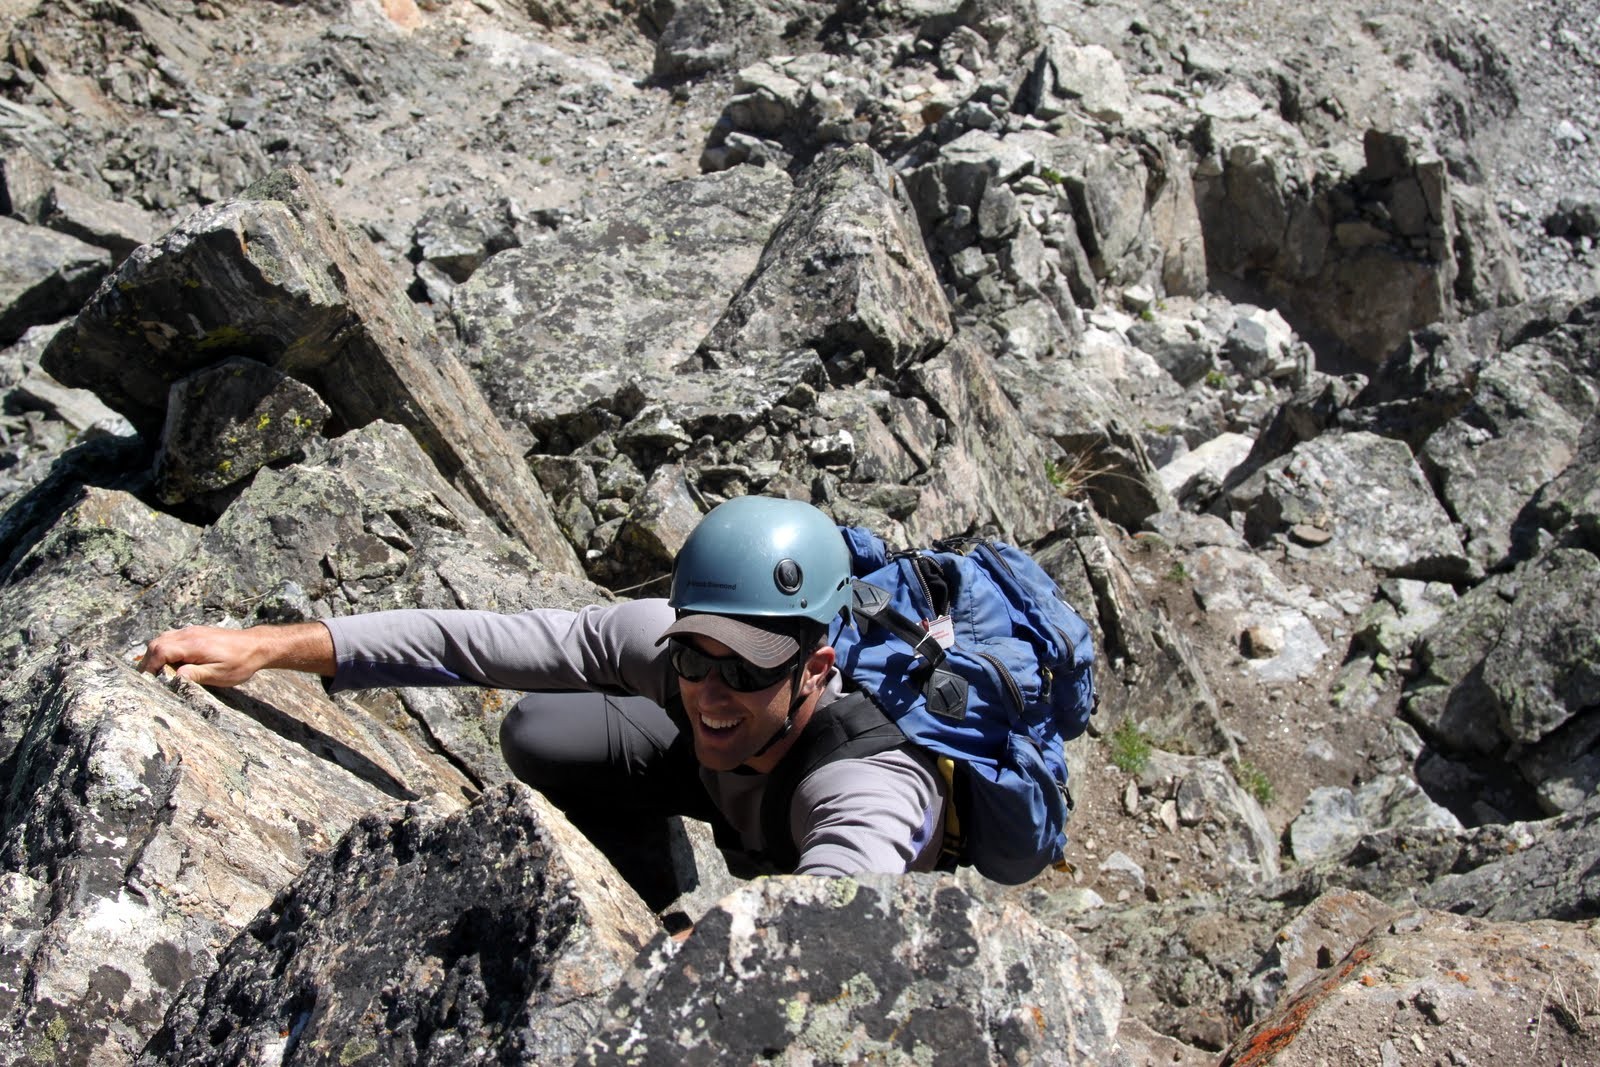
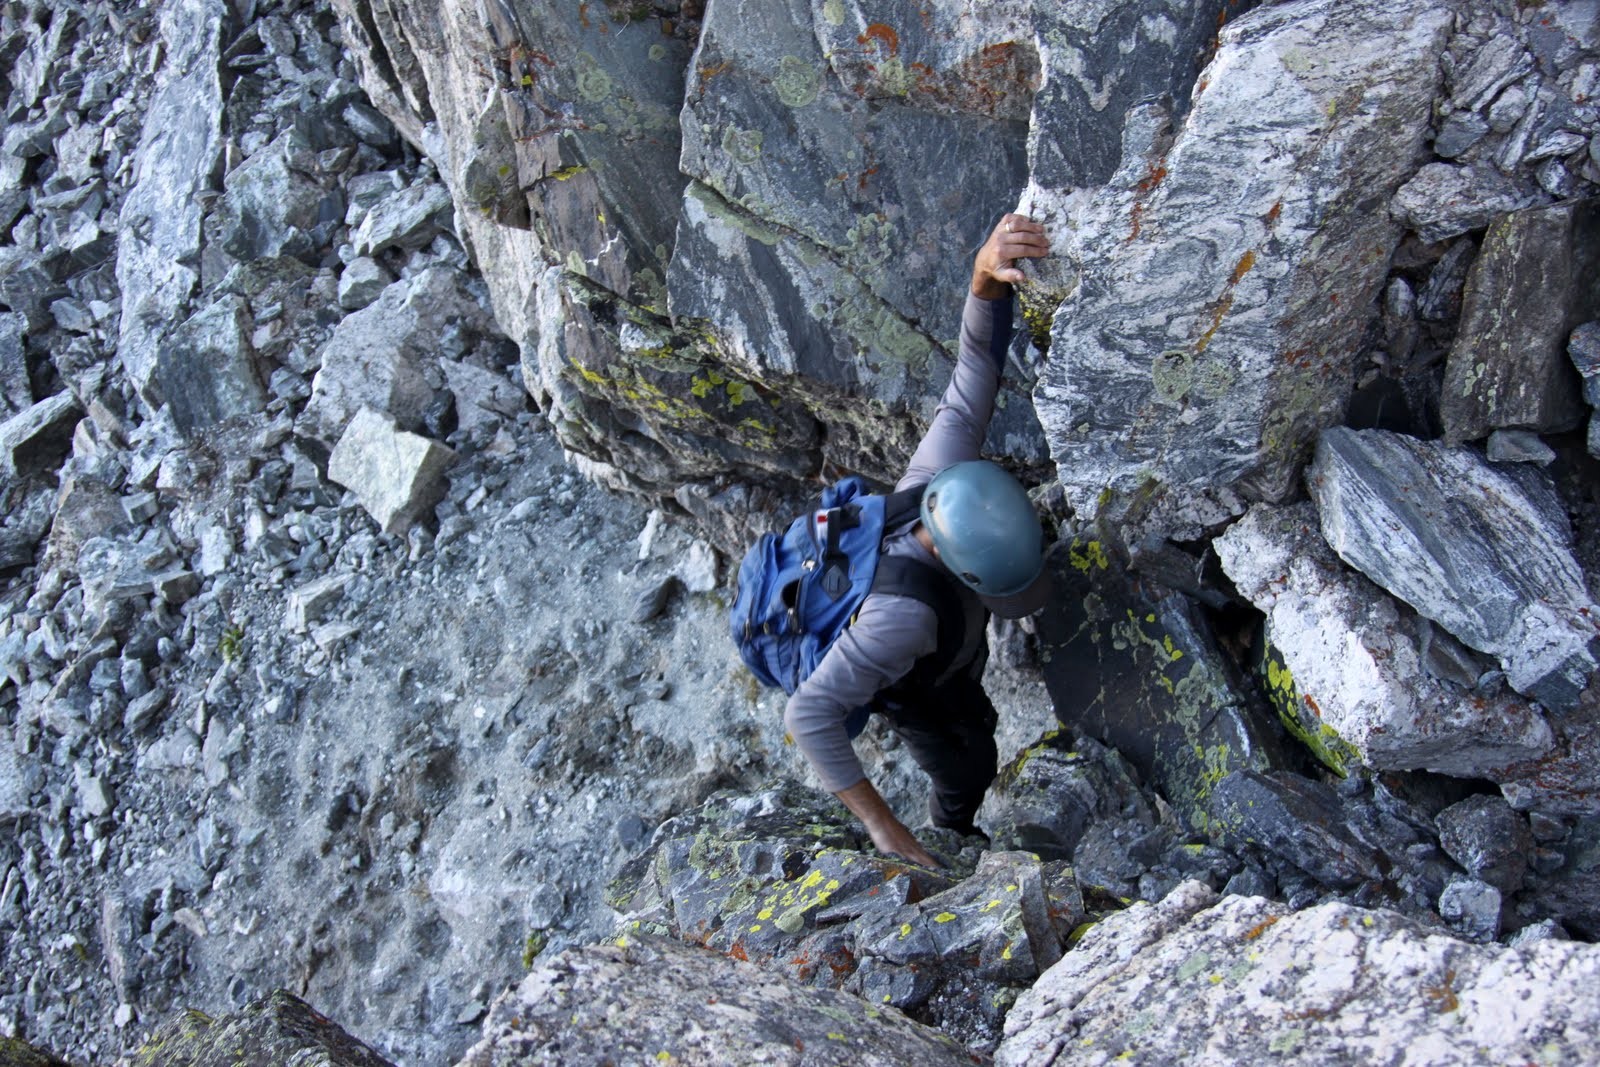
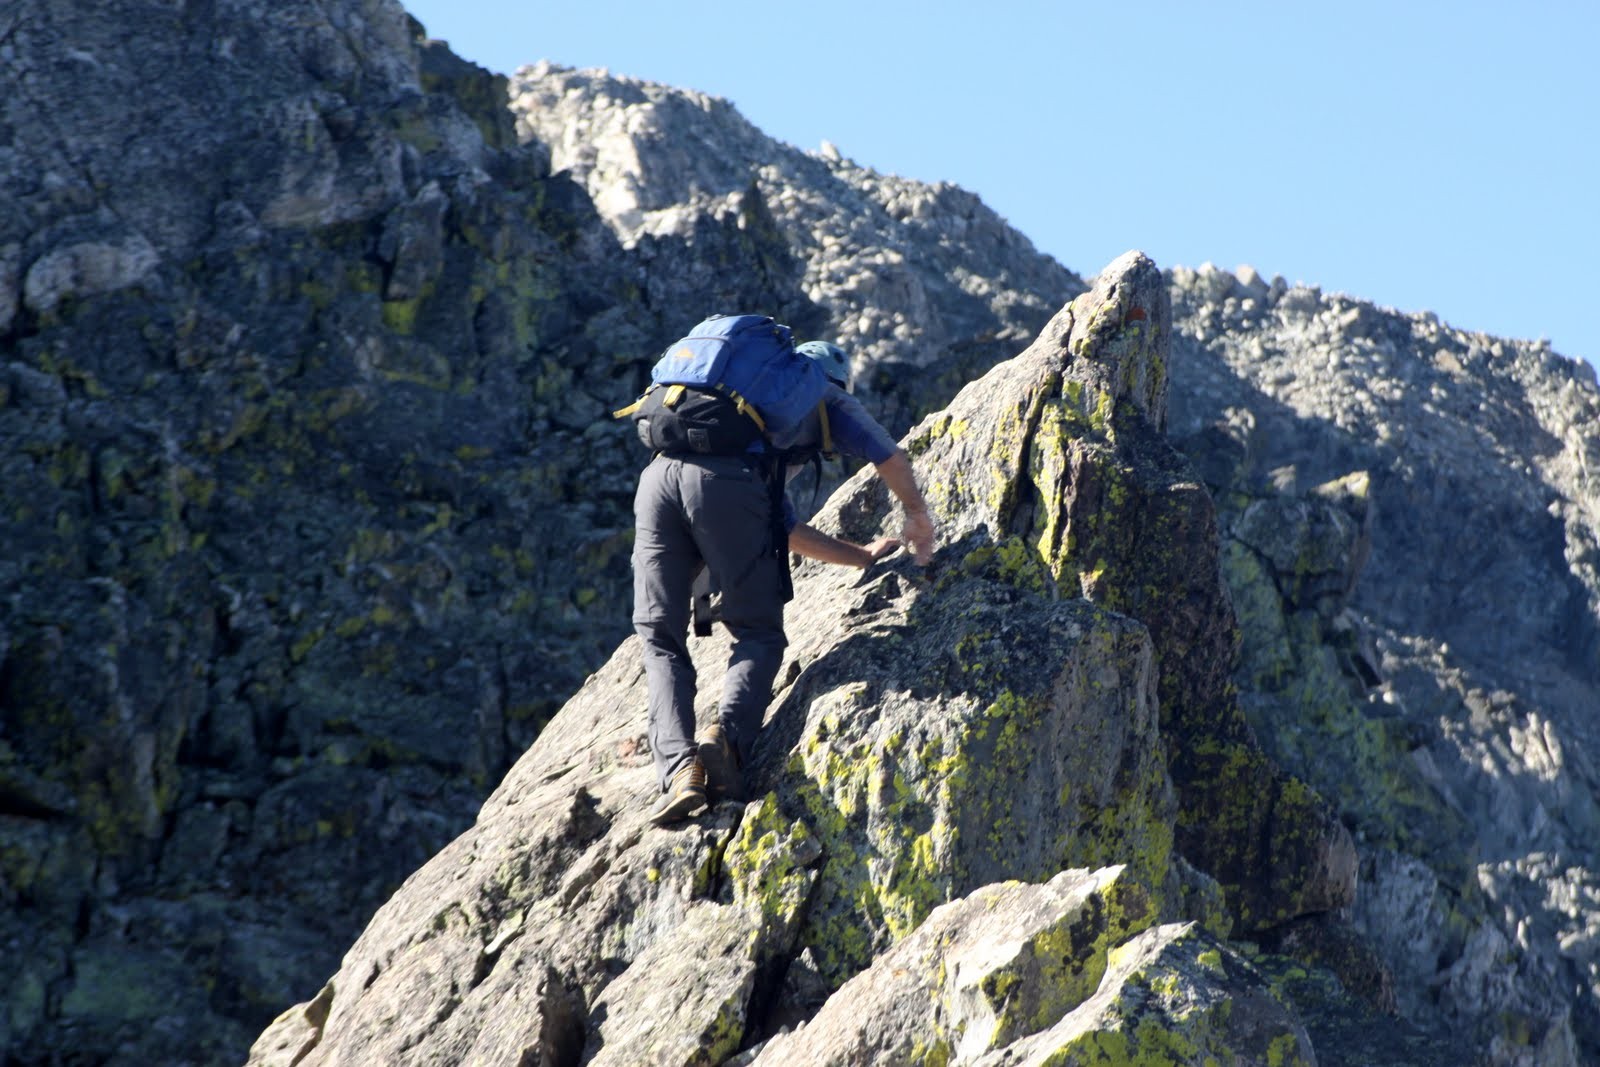
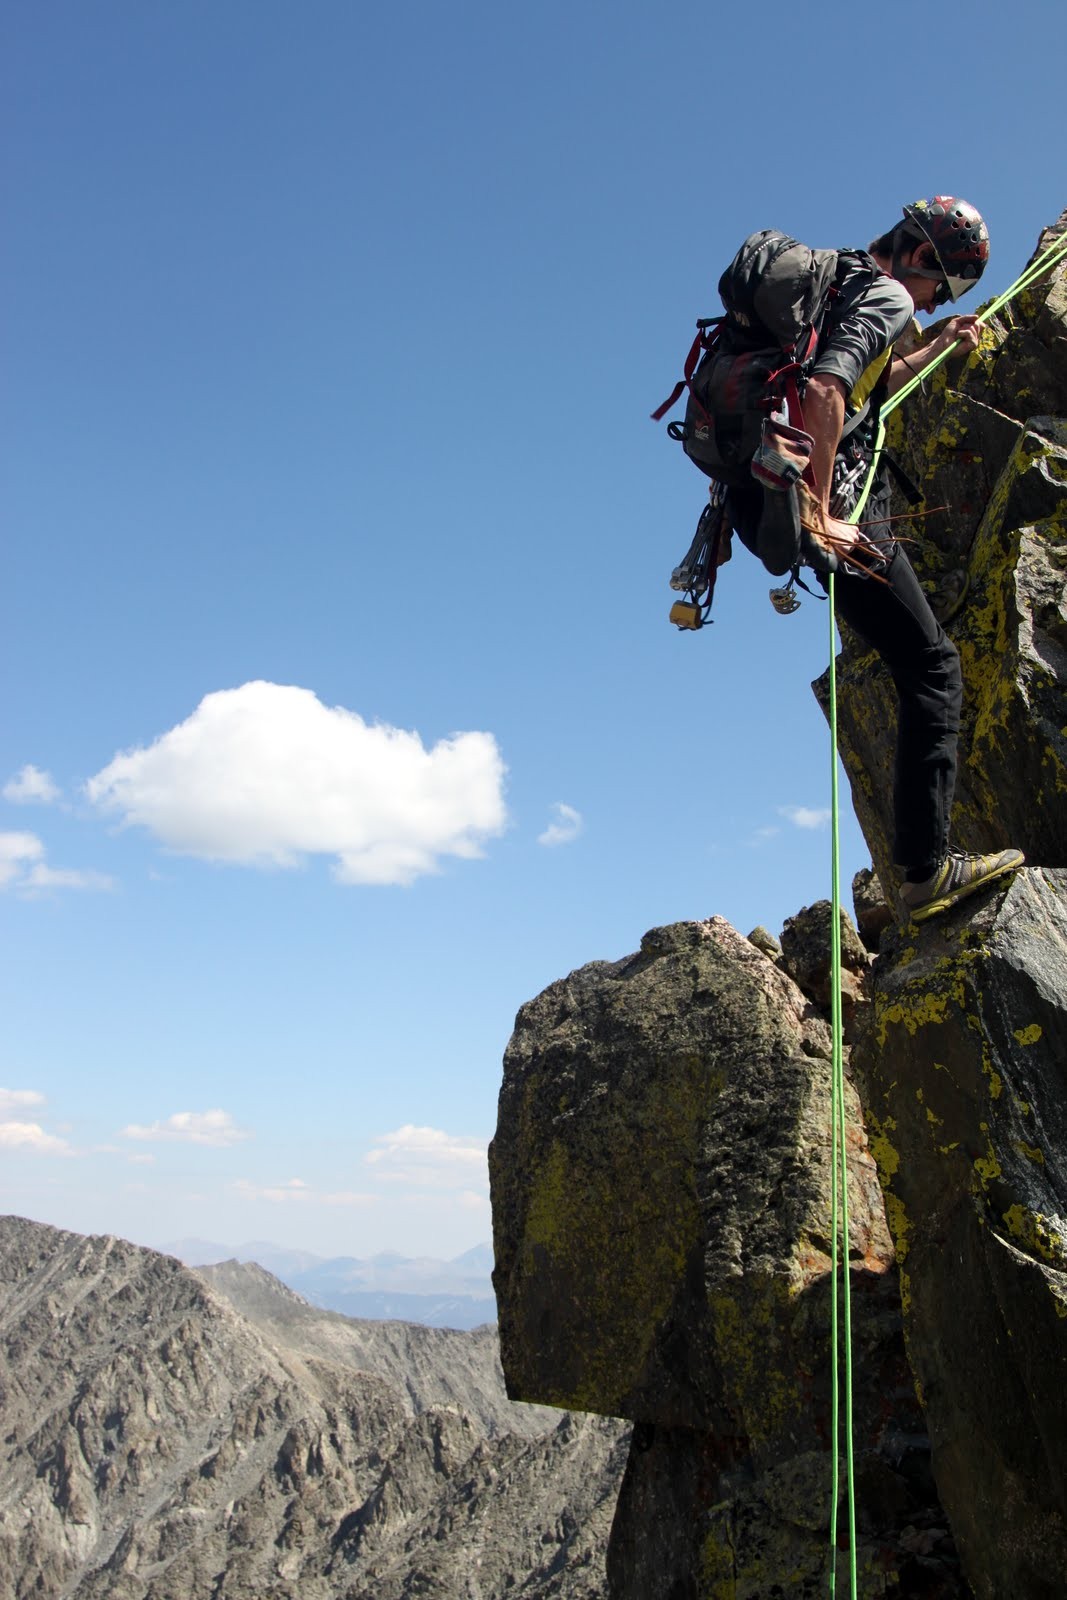
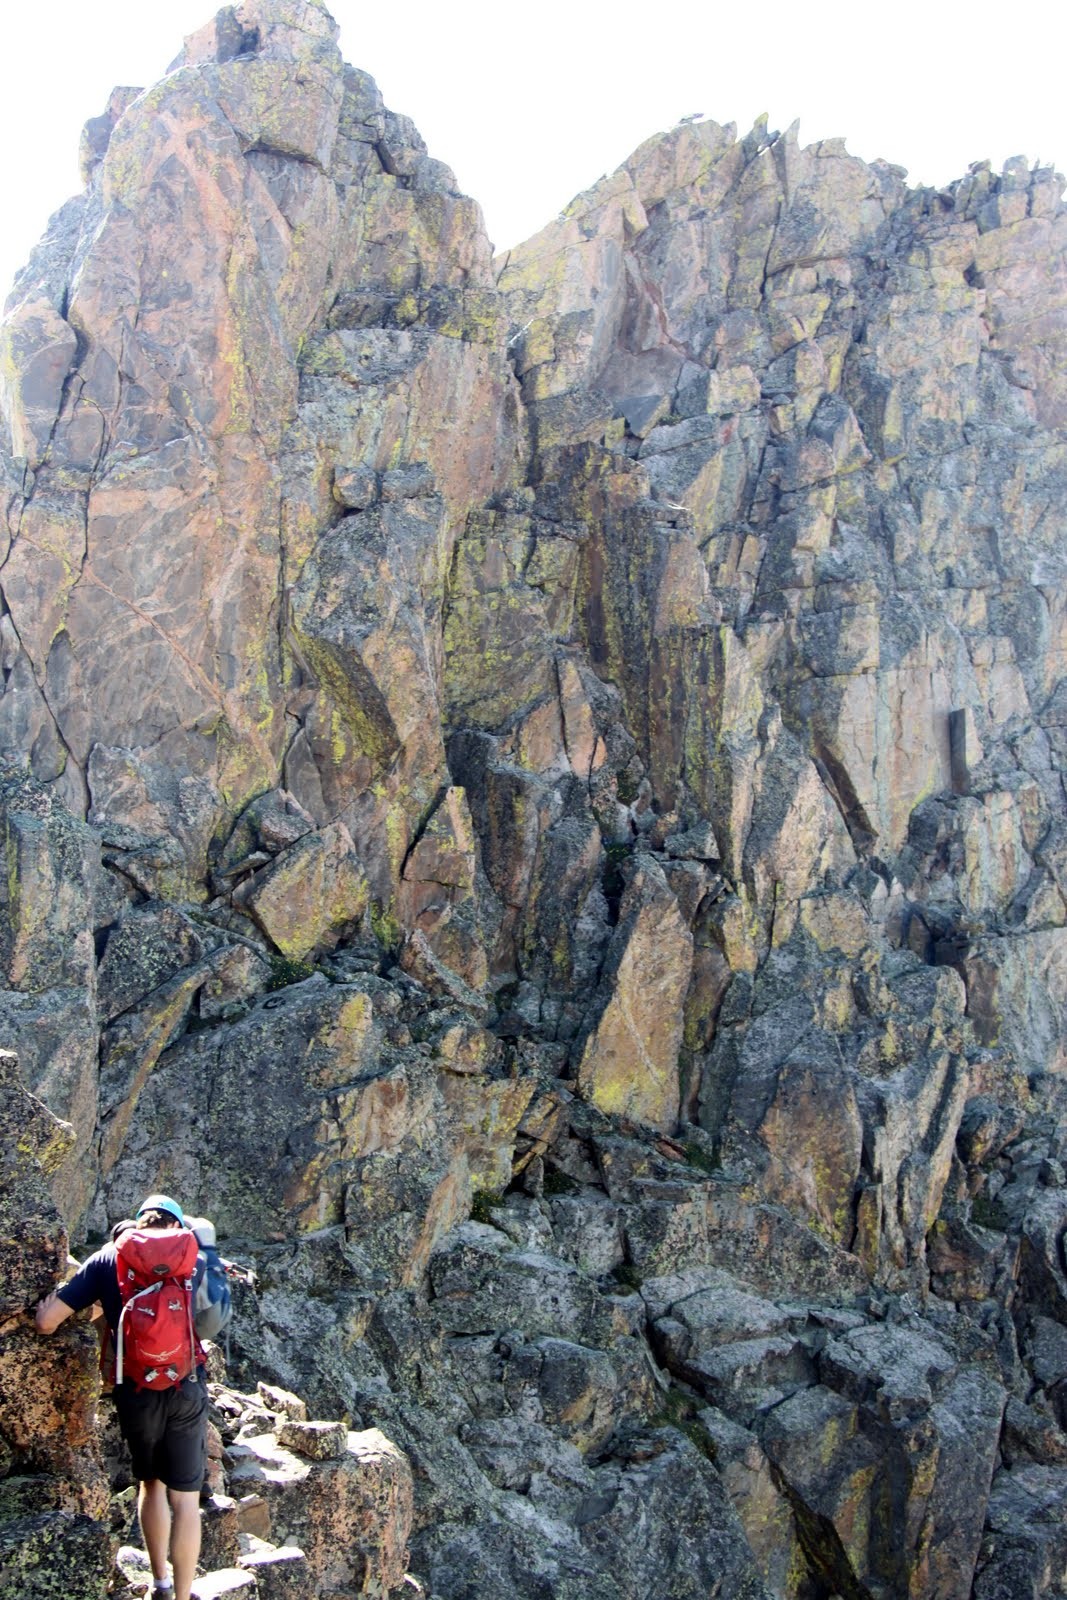
Me starting up Pitch 1
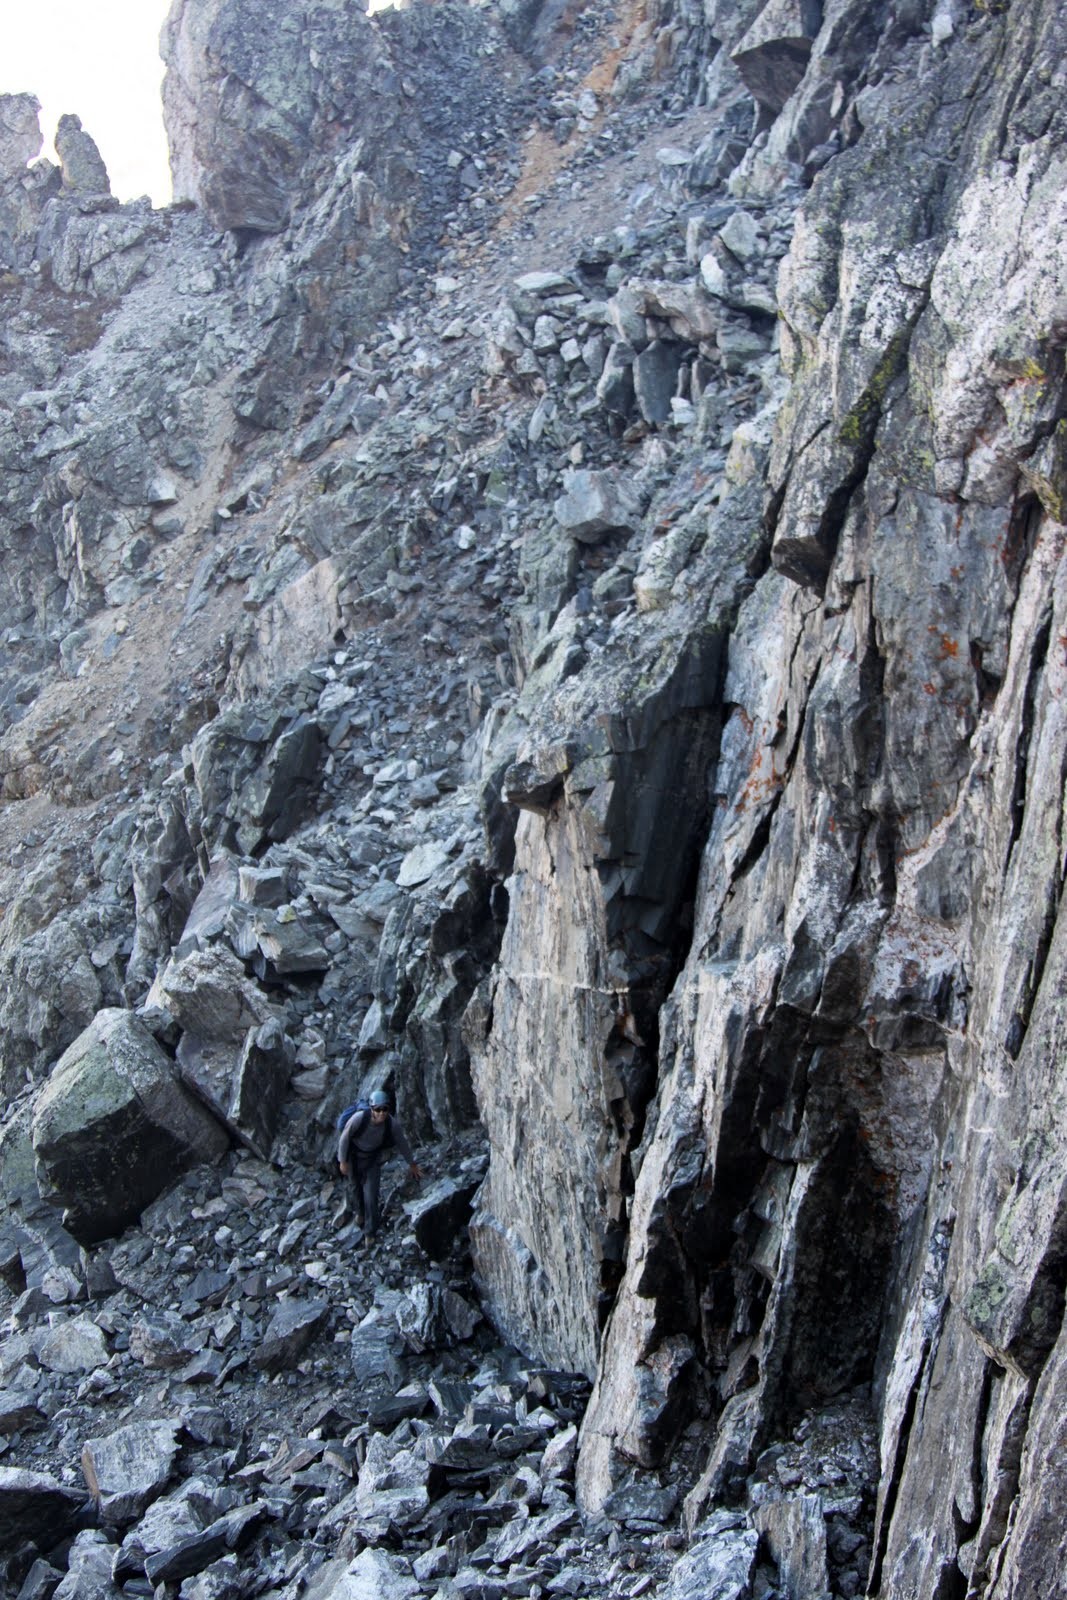
Kristine & I hit the trail with fairly heavy packs (due to all of the climbing gear, rope, etc) at around 7:45am on what turned out to be a beautiful Fall day. A duo from Denver were at the trailhead when we arrived (I believe they slept in their car) intent on climbing Lizard Head as well and we got the feeling they were not too pleased with us showing up since they thought they would have the tower to themselves. Kristine & I booked it up the trail immediately and came upon a guided group of three about 45 minutes into the approach and quickly passed them as well. We figured if we got to the base of the tower first with plenty of distance between us and the groups behind, it would be safer and quicker and less waiting. We got to the base at around 9:20am, racked up, flaked out the rope, and I was off up Pitch 1 by 9:45am.

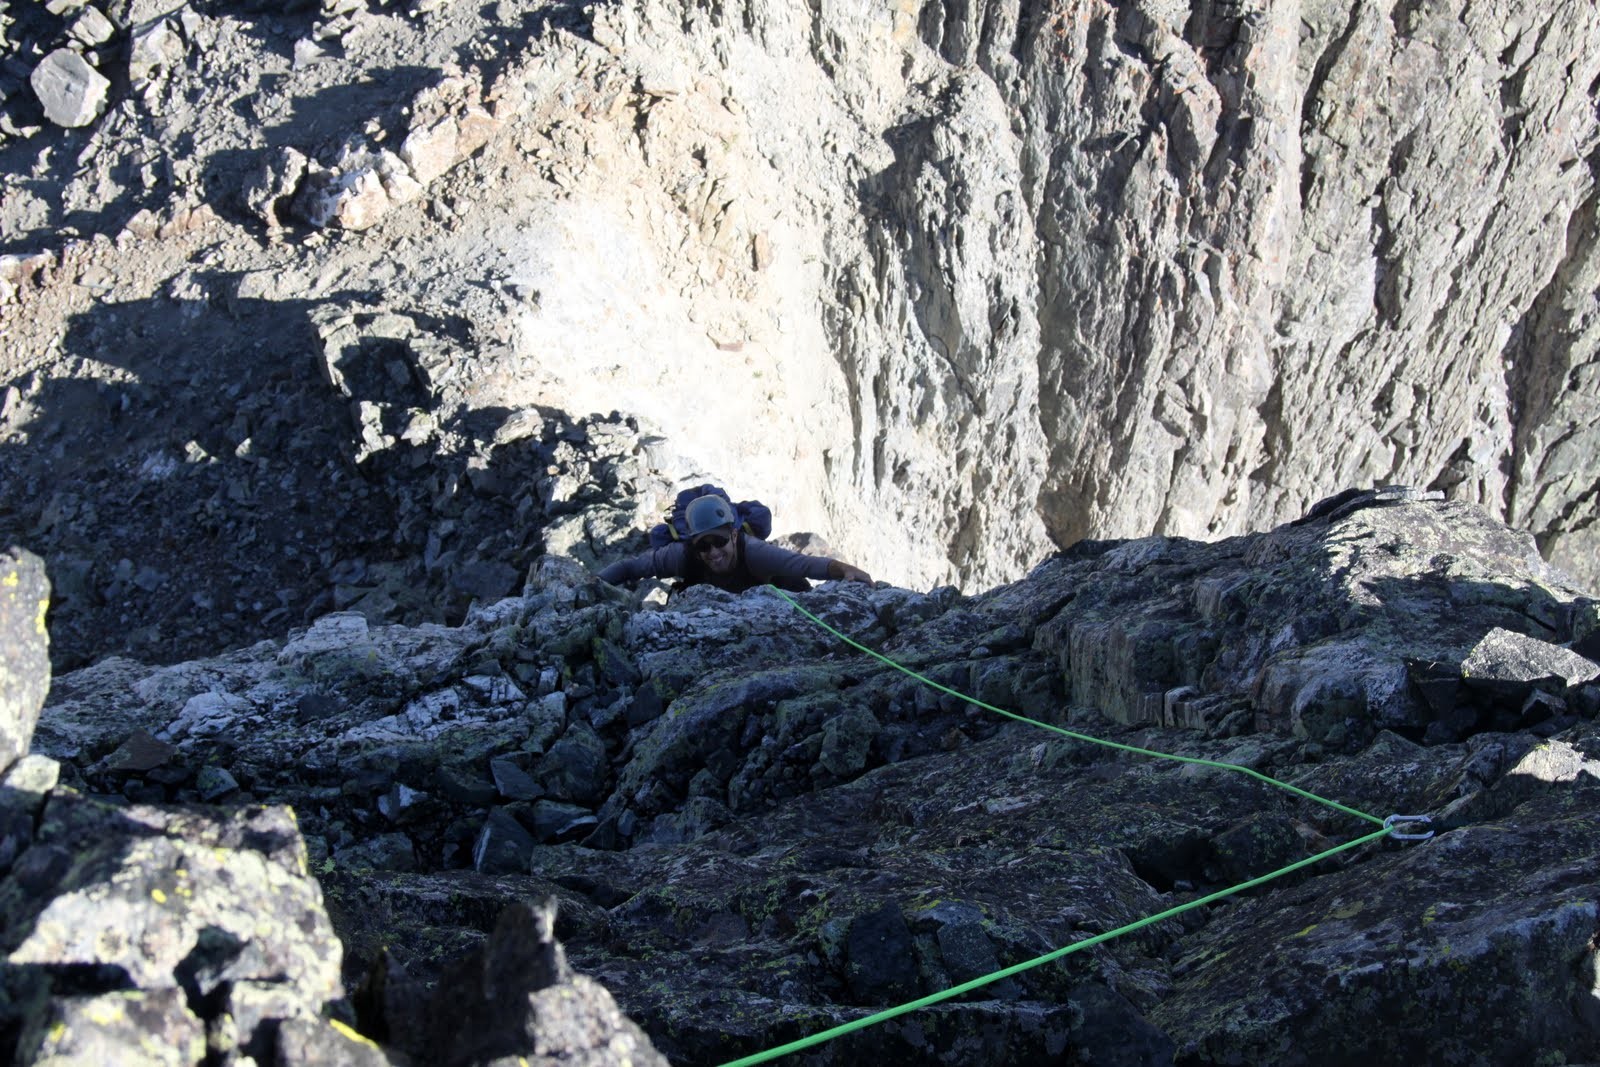
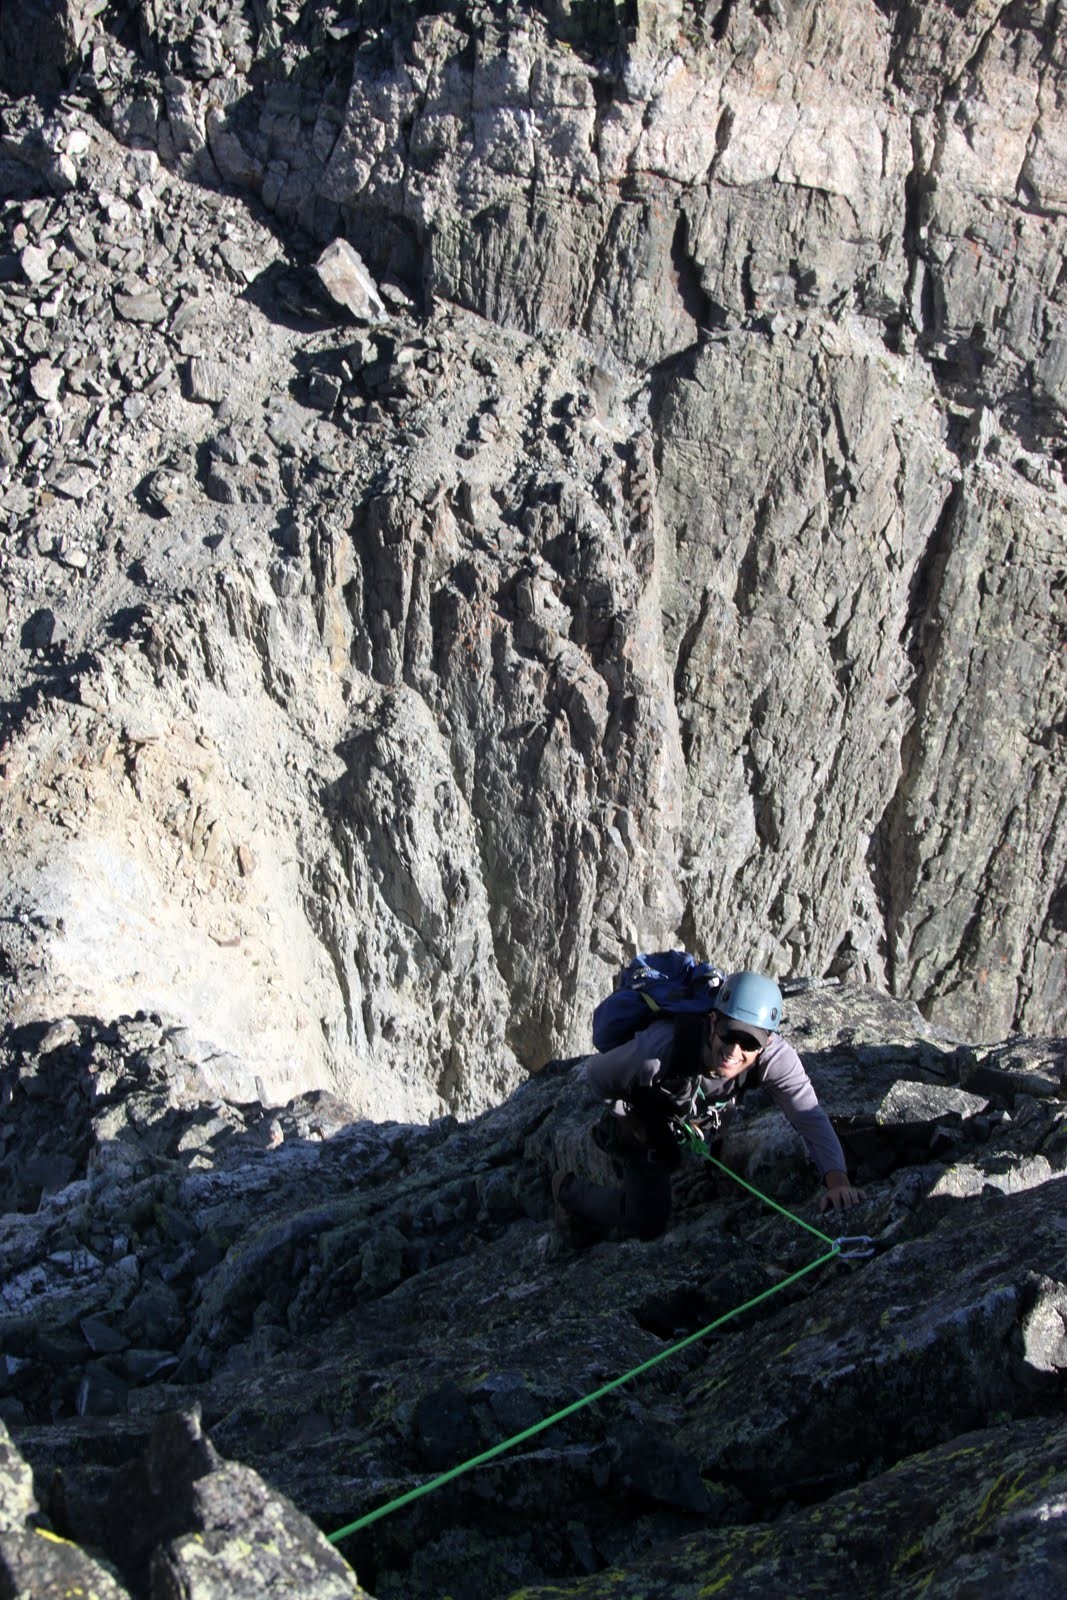
Pitch 1

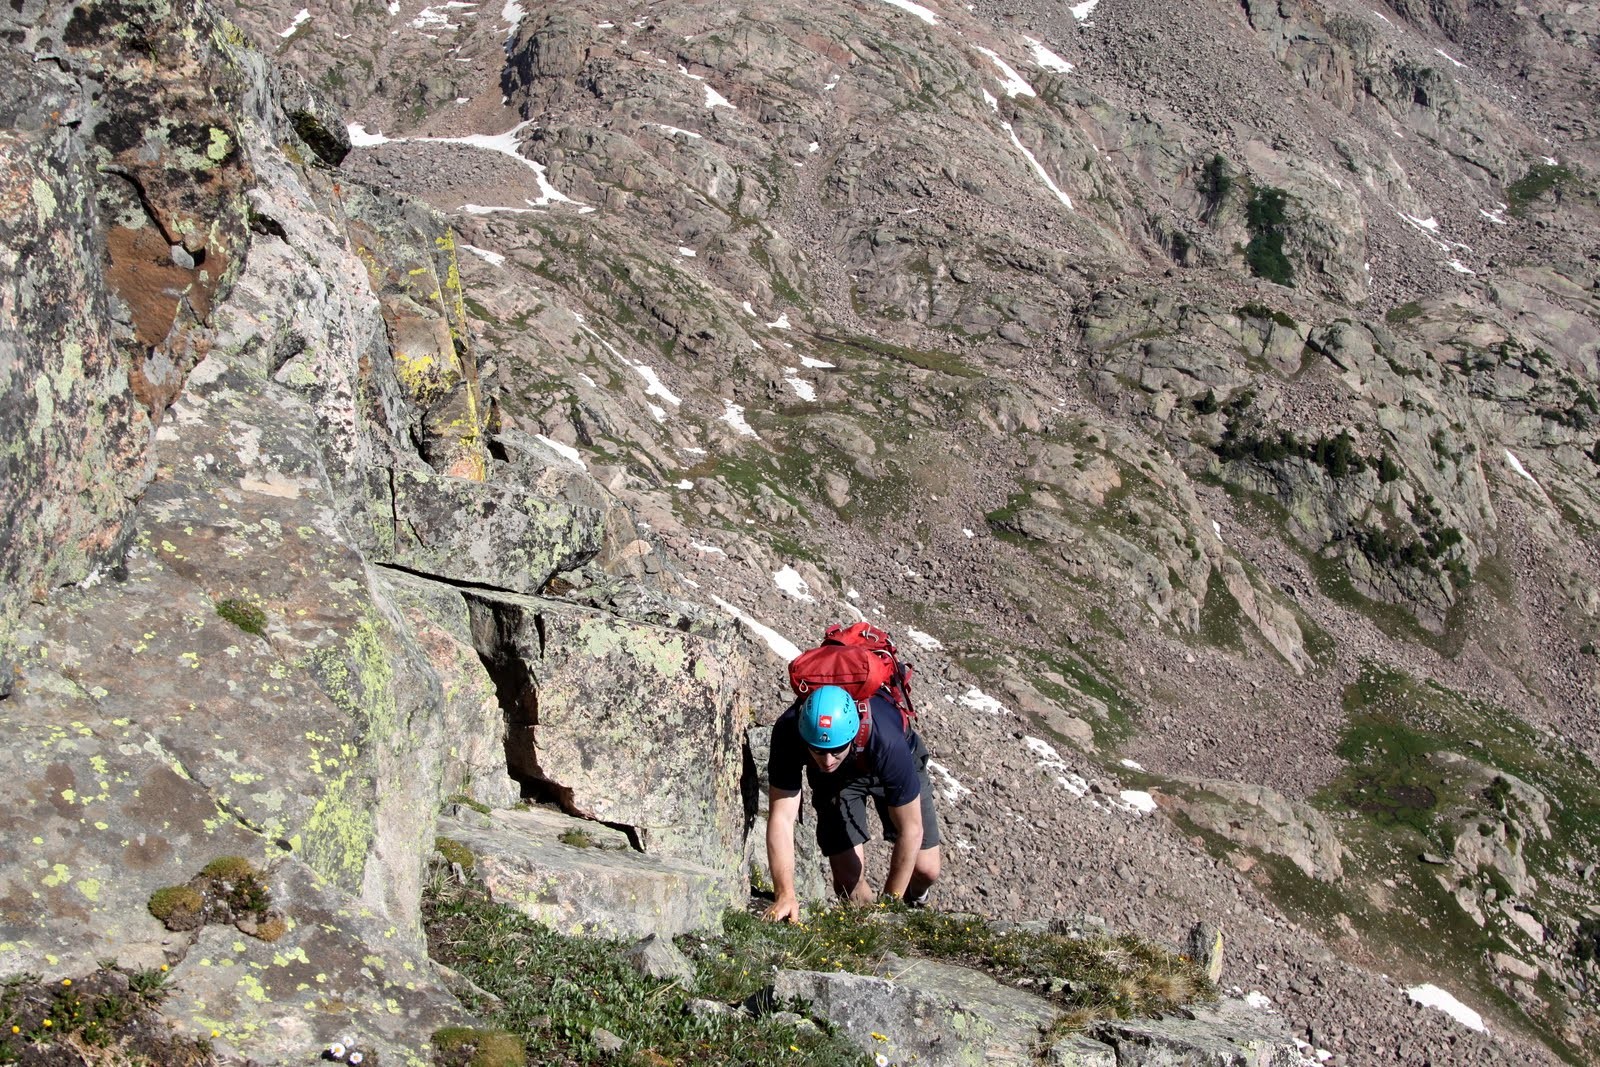
Kristine all smiles almost up to me at the belay ledge
It was definitely some chilly climbing as we were in the shade rock climbing at 13,000′. We had to stop about every five moves and warm up our hands. Kristine then belayed me up the tougher Pitch 2 from the belay ledge. I started out by crossing onto the face to my left and clipping an old piton. I worked my way up the face for 20′ or so placing a few cams and a nut. This climbing was one of the sections rated 5.8+, but almost felt 5.9ish to me. There were definitely some tough moves – harder than I expected. I then was able to traverse back to the right side of the southwest chimney, place a few more solid cams in the crack, and top out at the webbing and rappel rings at the notch. I then belayed Kristine up to me and she agreed that there were some really tough moves on Pitch 2.

Kristine climbing Pitch 2
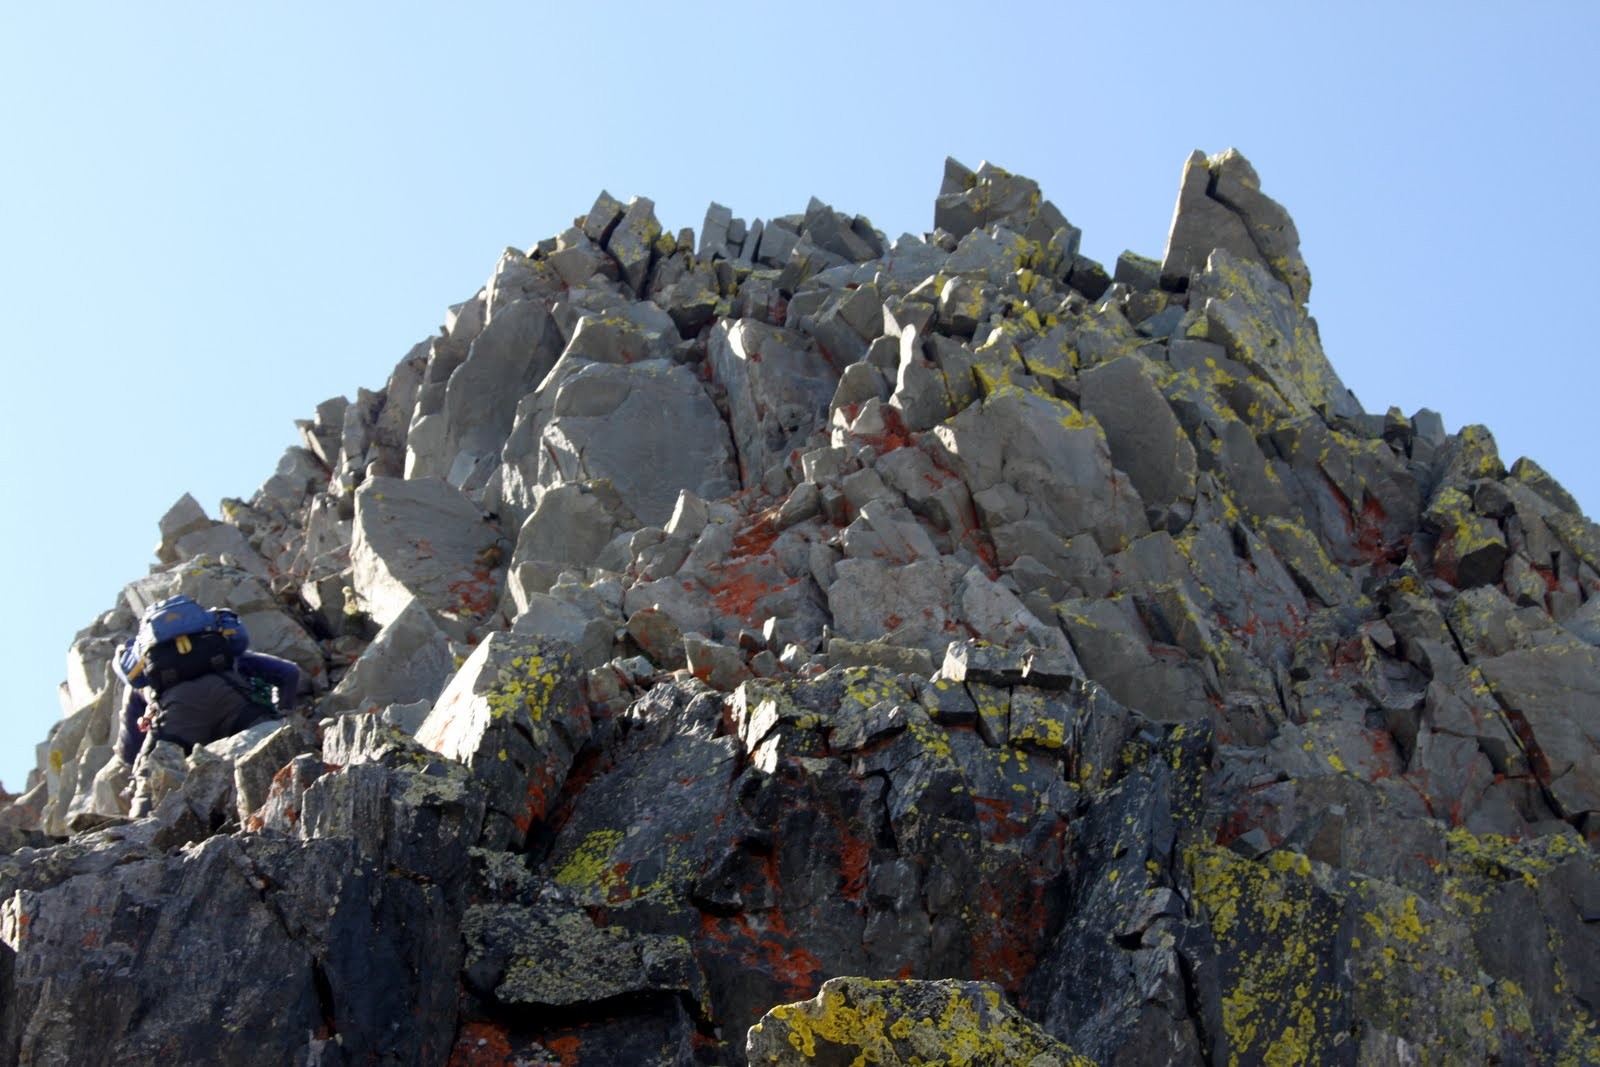
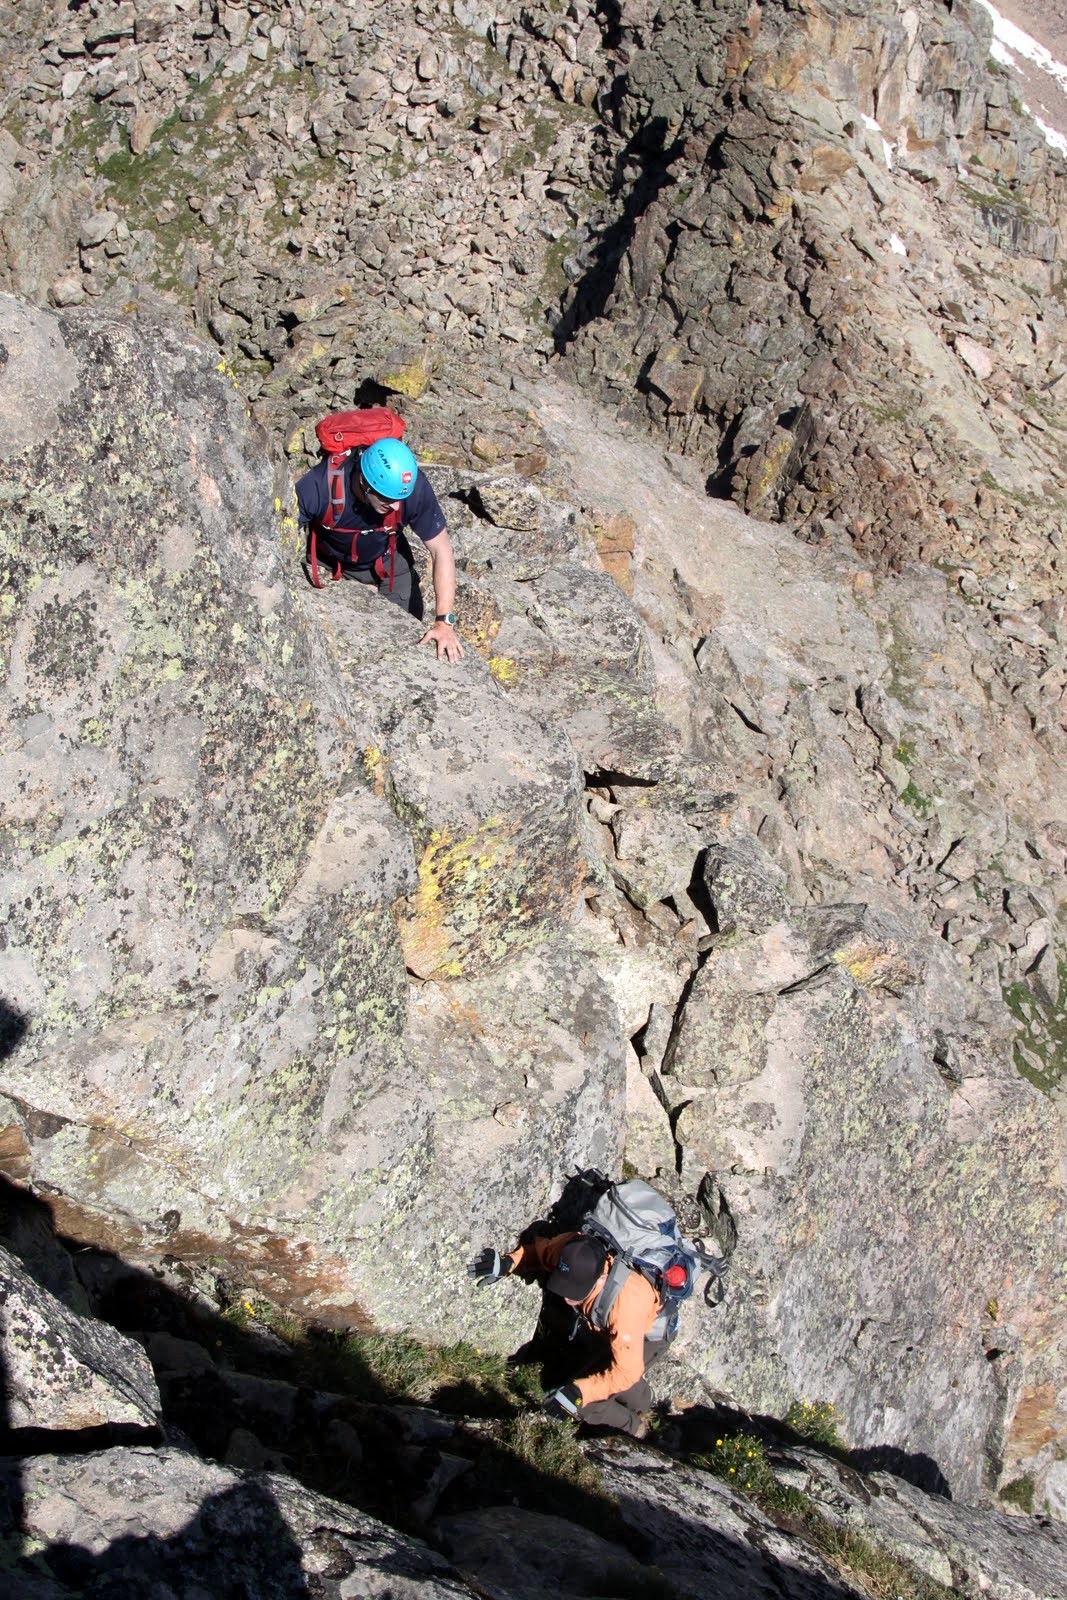
While we were climbing Pitch 1, the guided group of three had reached the base of the tower and were just going to wait for us to get to the base of the final Pitch 4 as the class 3 scrambling Pitch 3 is extremely loose and any loose rock would funnel directly down onto Pitches 1 & 2. Kristine then set off up a 5′ headwall above the notch at the top of Pitch 2 and then traversed across & up the class 3 section while on belay from me in the notch.

Kristine trying to stay on solid rock amongst all of the loose volcanic rubble on Pitch 3
Kristine slung a large, apparently solid, boulder at the top of Pitch 3/base of Pitch 4 and belayed me up the scrambling class 3 pitch. I did my best to tip-toe up this section being careful not to send down any large rocks, though small pebbles were unavoidable. We yelled a big “hoot” at the base of Pitch 4 to let the guided group know we were across the loose scrambling Pitch 3 and to signal it was safe for them to begin climbing Pitch 1. I then began to lead the tough final Pitch 4. It begins with a large bulge about 8′ off the deck in which there is an old piton in a small crack to protect the moves over the bulge. I clip the piton, wedge myself in the right crack/chimney, place a large #3 cam as high as possible, and then make the tough 5.8+ moves to the top of the bulge. Again, these moves felt 5.9ish to me, but it could be the fact that we’re making these moves at 13,000′ and not at 7,000′ in Wolcott where we normally rock climb.

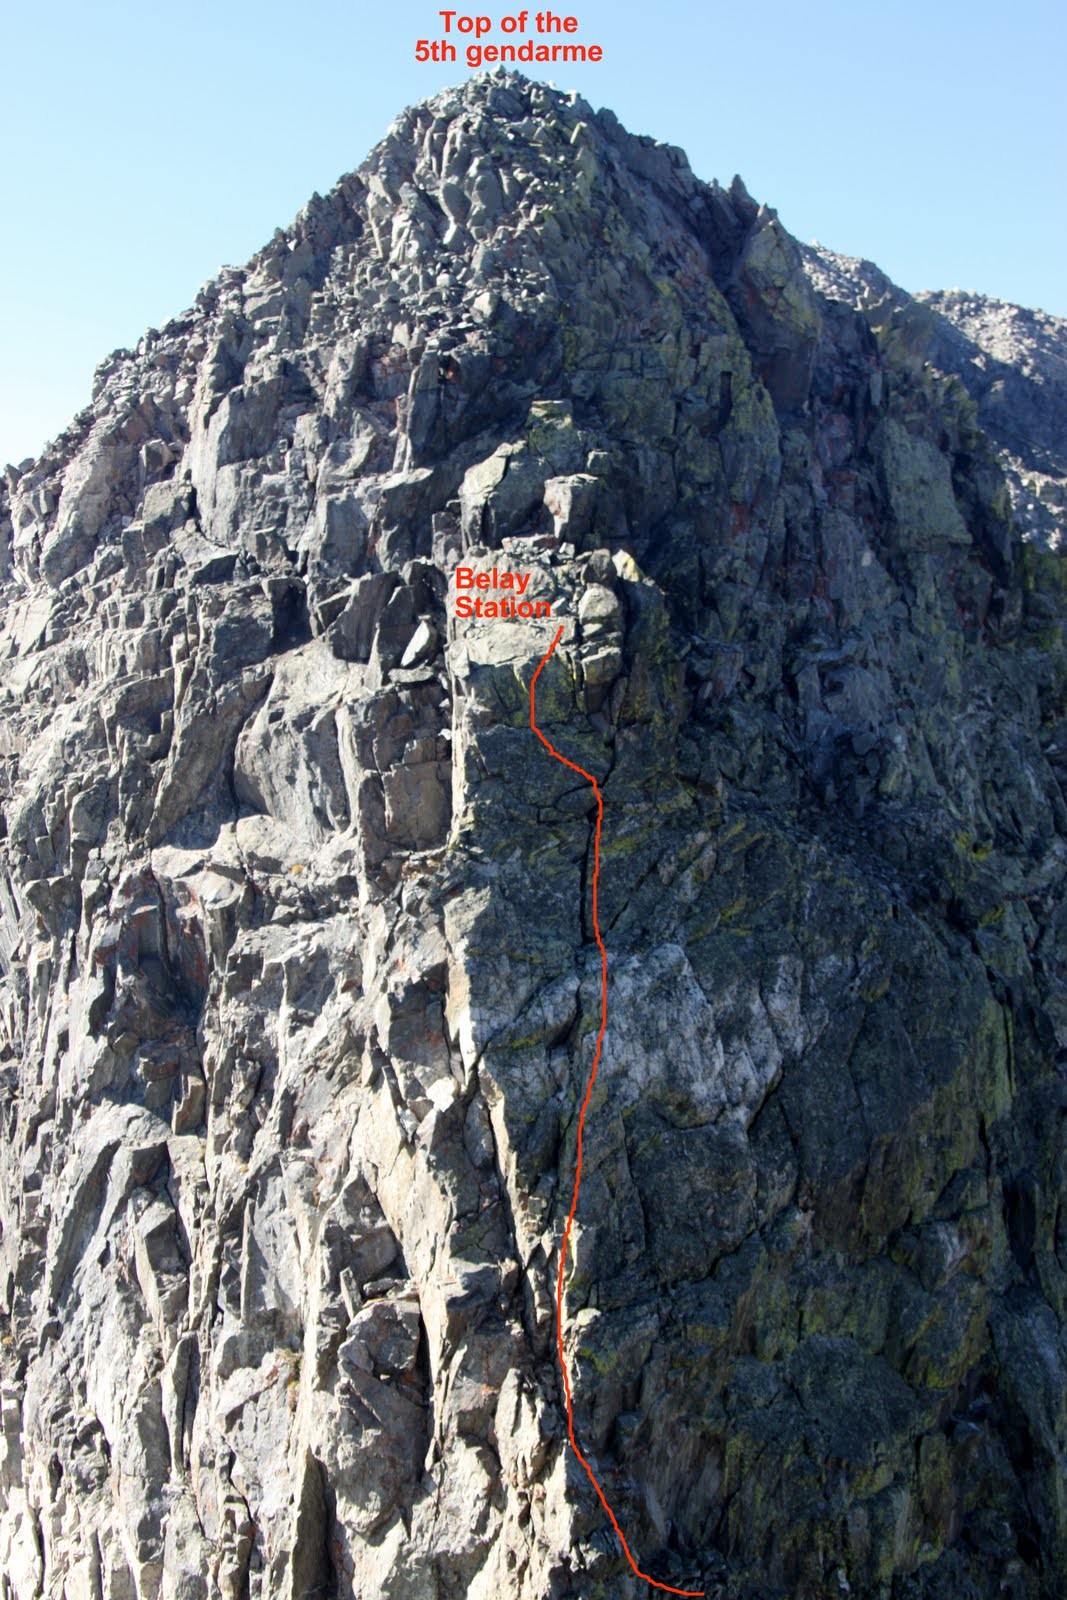
Looking up the 5.8+ Pitch 4 with the bulge and fixed piton shown
I continued straight up the obvious chimney, which I heard was very runout (no means of protection), but I was able to get three cams in the 50′ or so I climbed up to the anchors on the summit ridge. This chimney climbing was real full body climbing by wiggling my way up and stemming in the chimney.

Looking down the final Pitch 4
With my belay from above, Kristine then set off to conquer the 5.8+. After a few tries, she just couldn’t quite make the moves necessary to get over the bulge. It is a very tough 8′ section to overcome the bulge – much harder than your typical 5.8+ crag. We both thought she was just physically drained from a long week, lack of sleep, the almost 3,000′ and 4 mile approach to the base of the tower, and the climbing thus far. Everyone has their off days and this seemed to be one of Kristine’s off days. Nothing to be ashamed of or frustrated with, though, as I know from personal experience, it is disappointing in the moment. Kristine is pretty much 100% everytime we go on some adventure, so its ok to have an off day here and there. I think bottom line is she just wasn’t feeling strong. Its good to have off days as it just makes you appreciate the good days. I have no doubt in my mind that she’ll climb Lizard Head again – hopefully, with me if I am lucky! The summit was not far off and so Kristine put me on belay from below and I ran out the rope as I scrambled across the very exposed and airy summit ridge to the top.

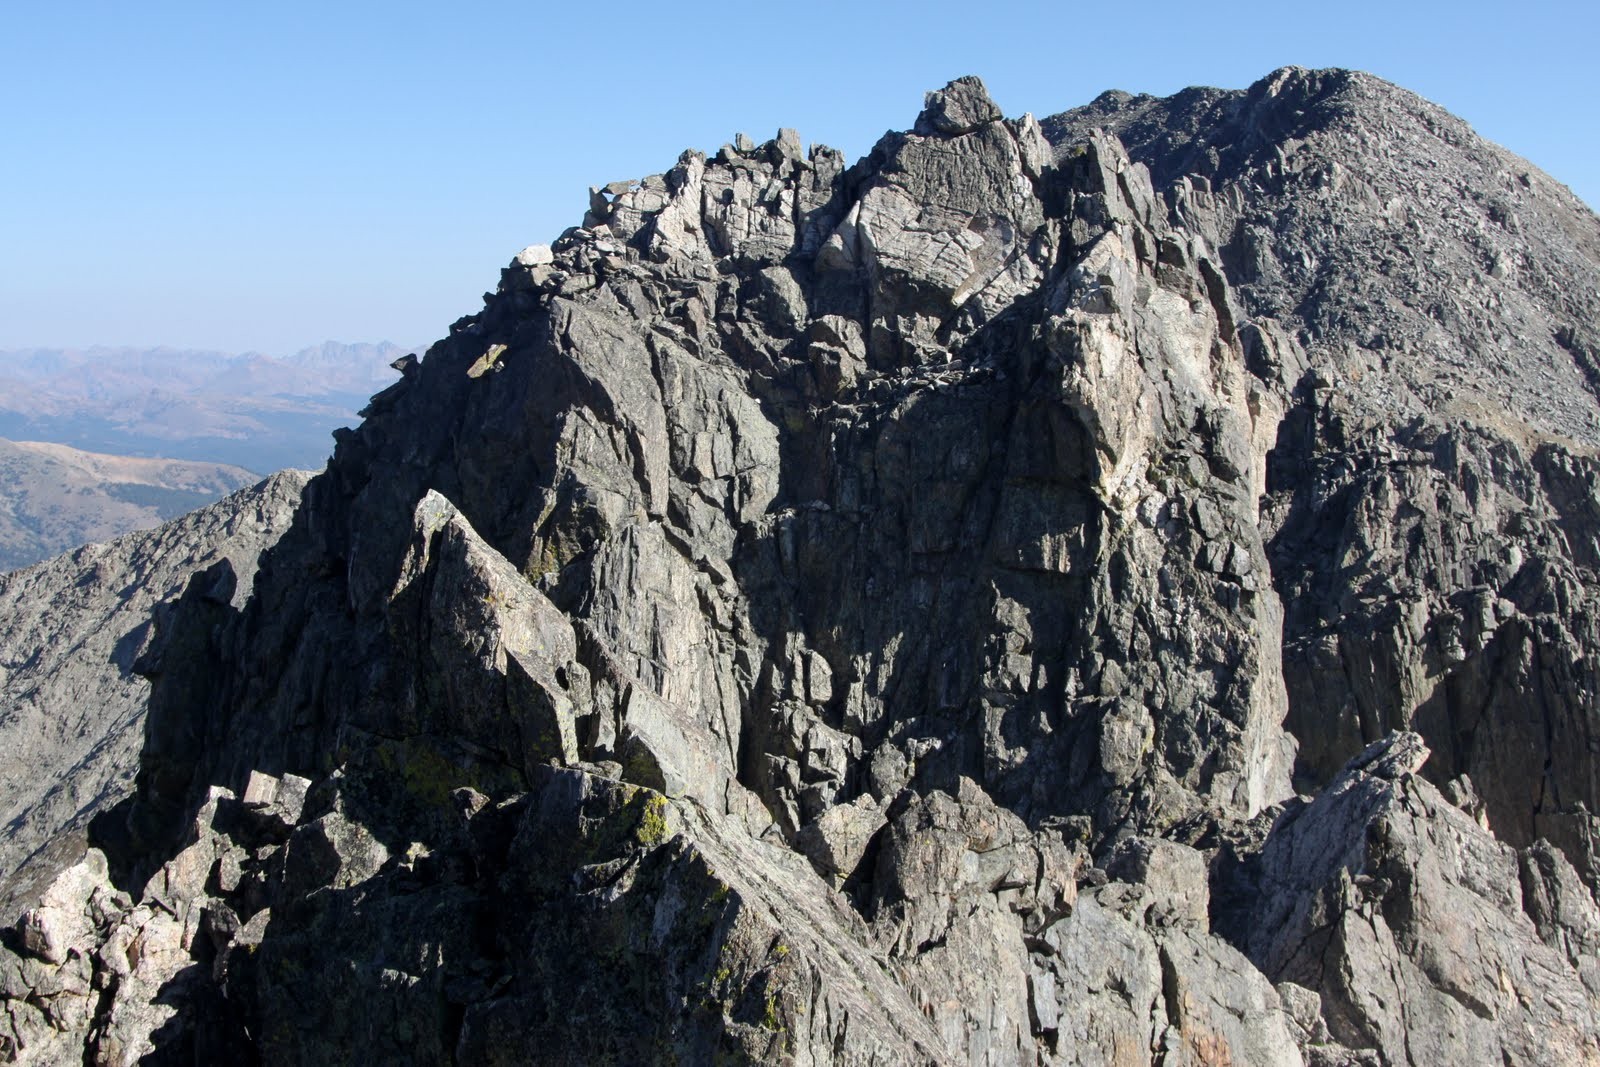
Lizard Head’s summit ridge from the summit with the final Pitch 4 anchors and my run out rope at bottom right

Old summit register atop Lizard Head

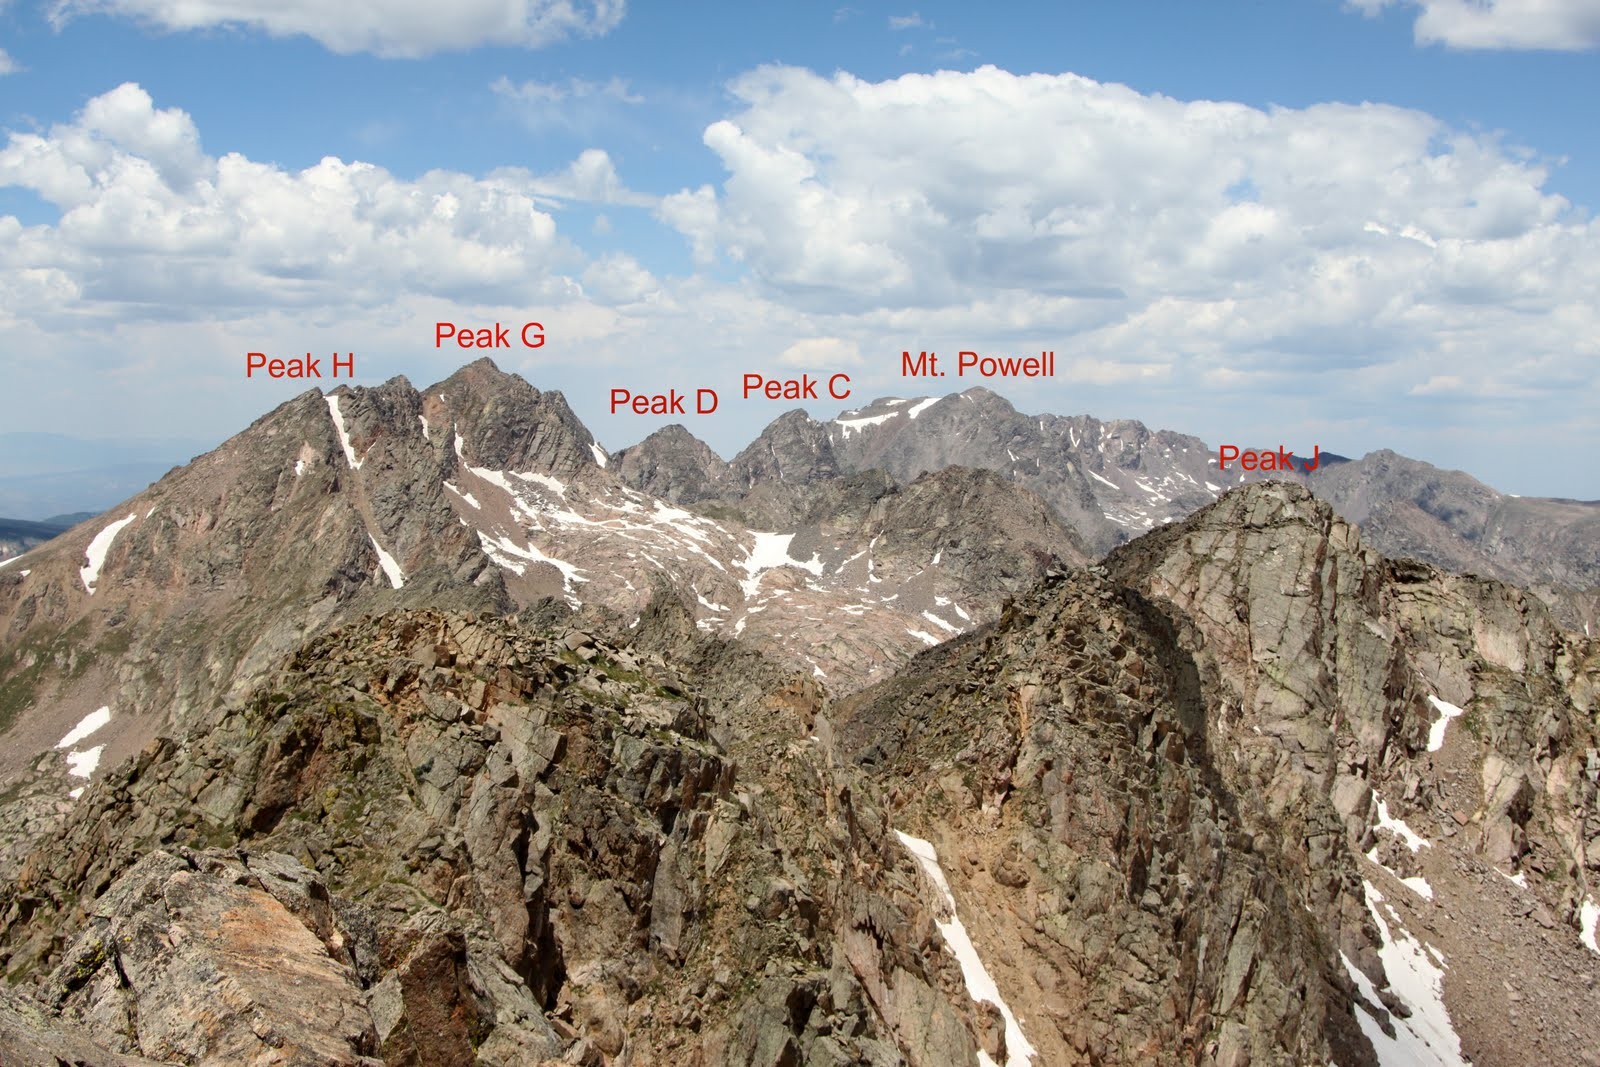
(L to R): Cross Mountain, South Mt. Wilson, Mt. Wilson, & Gladstone Peak from Lizard Head’s summit
")
Self-portrait on Lizard Head’s summit (13,113′)

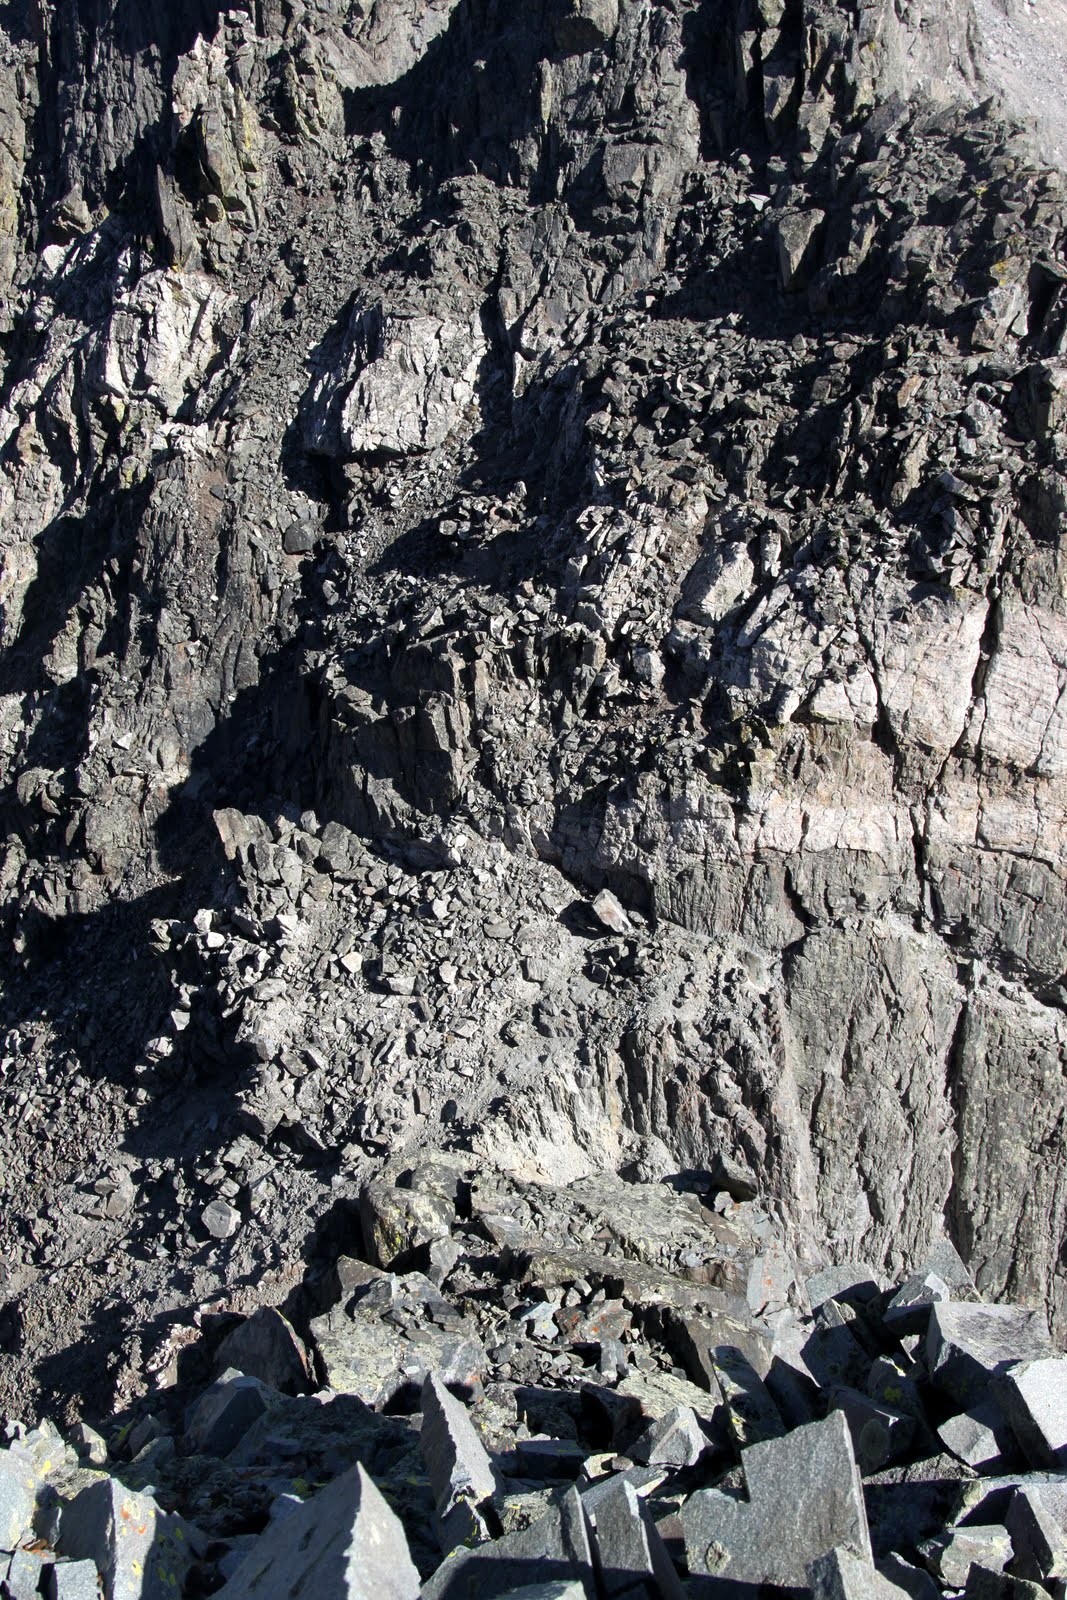
Peering down Lizard Head’s vertical northeast face from the summit ridge
It was a satisfying summit as I had been wanting to stand on top of Lizard Head for some time now though I so much wished Kristine was with me. Another day and time for sure. Kristine took in the rope as I traversed back to the top of Pitch 4 and then she lowered me down to her. Thankfully, the rope pulled through the chains and down the Pitch 4 chimney though not without some serious muscle. We then belayed each other down to a perch where we could see the guided group finishing up at the notch at the top of Pitch 2. We communicated with the guide and waited patiently where we were for a good 45 minutes until they passed us en route to the base of Pitch 4.

Kristine on a perch with a view patiently waiting for the guided group to climb above us

The guided group of three climbing out of the notch at the top of Pitch 2 as seen from our perch above
Kristine then belayed me down to the notch at the top of Pitch 2 after some careful scrambling and placing a #1 cam to protect a fall from Kristine when I belayed her to me. I then set up the rappel down Pitches 1 & 2 from the notch as the guys from Denver were going to wait to start climbing until we rappelled all the way down. We weren’t sure our 60m rope would reach the entire way to the ground, so I rappelled first down to the Pitch 1 belay ledge. I then flaked out and threw the rest of the rope down Pitch 1 and it landed within a few feet of the ground which was good enough! Kristine & I had alot of fun on this long rappel. Good piece of beta here is that a 60m rope is long enough to rappel Pitches 1 & 2 in one single rap.

Kristine on the fun rappel of Pitches 1 & 2
We then stowed our gear, packed up the rope, drank alot of water & gatorade as we were severely dehydrated, and gave the guys from Denver a little beta on Pitch 1 and the rest of the climb as they racked up. After wishing them well on their climb, we headed off down Lizard Head’s west shoulder. Looking back at Lizard Head from its west shoulder, I couldn’t help but think that it reminded me of The Black Fortress from the 1983 British-American sci-fi fantasy movie entitled Krull. Yes, this movie would appear cheesy nowadays, but back in 1983 it was a great sci-fi fantasy film. Even a young Liam Neeson is in the film, so it can’t be all that bad, right? What I really like about the film is the music. I like sci-fi films even if they are 25 years old, though Kristine would beg to differ.

Lizard Head – the Black Fortress

The Chalks on the descent on a warm Fall day
We then hiked out to the Cross Mountain trailhead arriving at our car by about 4pm for a total roundtrip time of just over 8 hrs. We booked it back to the Telluride condo for Rainie & Kona had been home alone since 7am that morning. However, the Aspen leaves appeared to be at “peak” color along Lizard Head Pass and the hillsides were gorgeous. I am really happy Kristine & I decided to pay Lizard Head a visit. Kristine will climb it again and I sure hope its with me! I’ve heard many climbers vowing to never climb it again due to the dangerous and loose nature of the route. I believe, yes, it is loose from a rock climber’s perspective. However, it is not loose from a mountaineer’s perspective. The Wilson Group and other San Juan peaks are every bit as loose as Lizard Head. As always, one just needs to be aware of what is below him when traveling across loose slopes. I look forward to climbing Lizard Head again someday.

Close-up of Lizard Head on the hike out. Climbers can be seen on the summit ridge as well as rappelling Pitches 1 & 2


 Follow


")


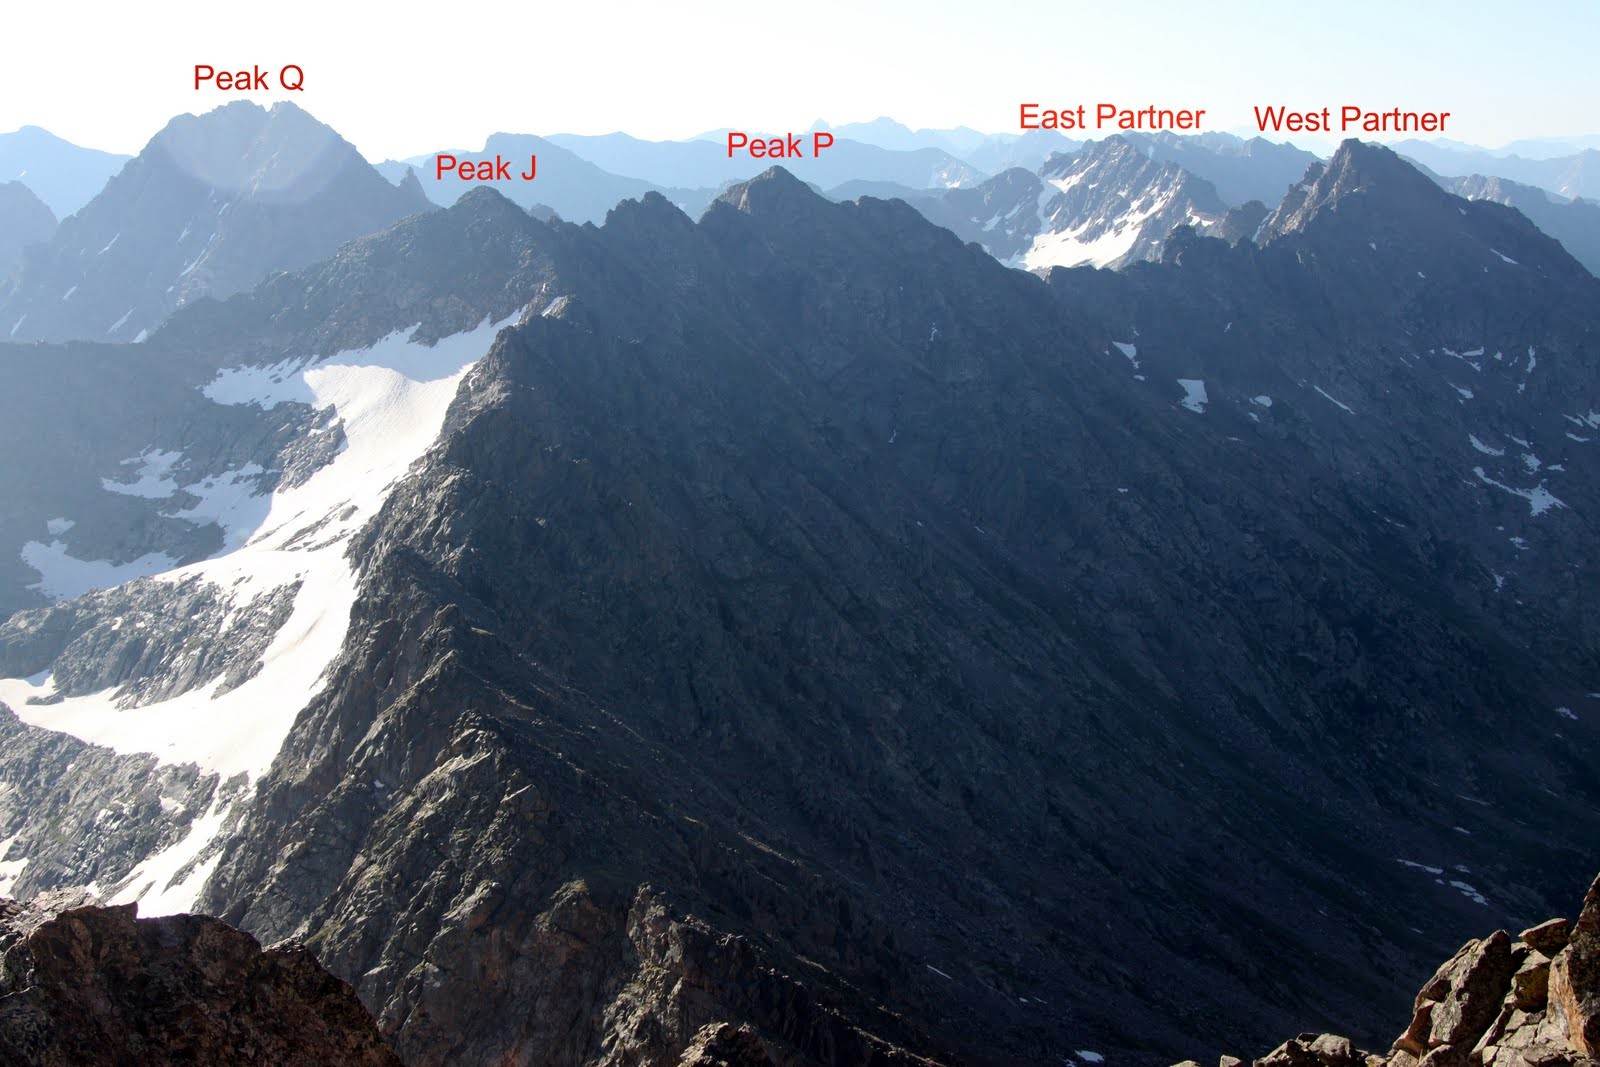
 to West Partner (far right)")


")

")