Mt. Bancroft: East Ridge Direct
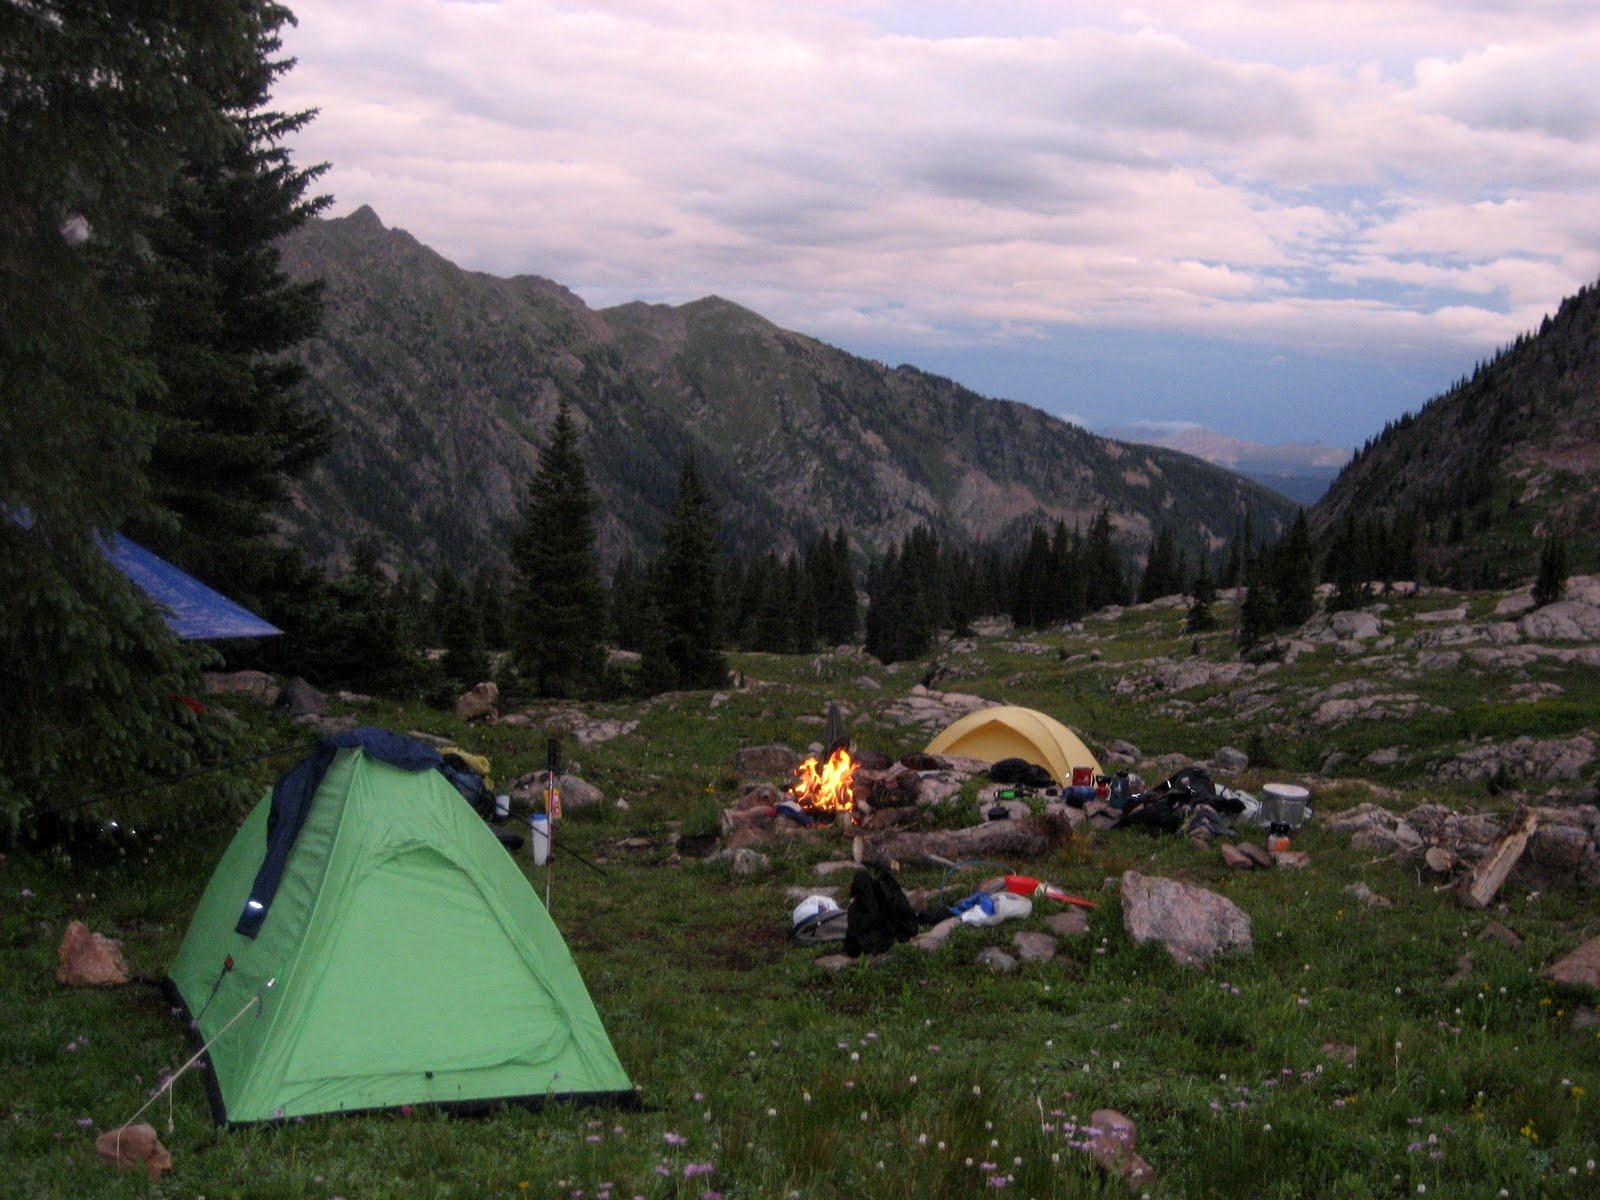
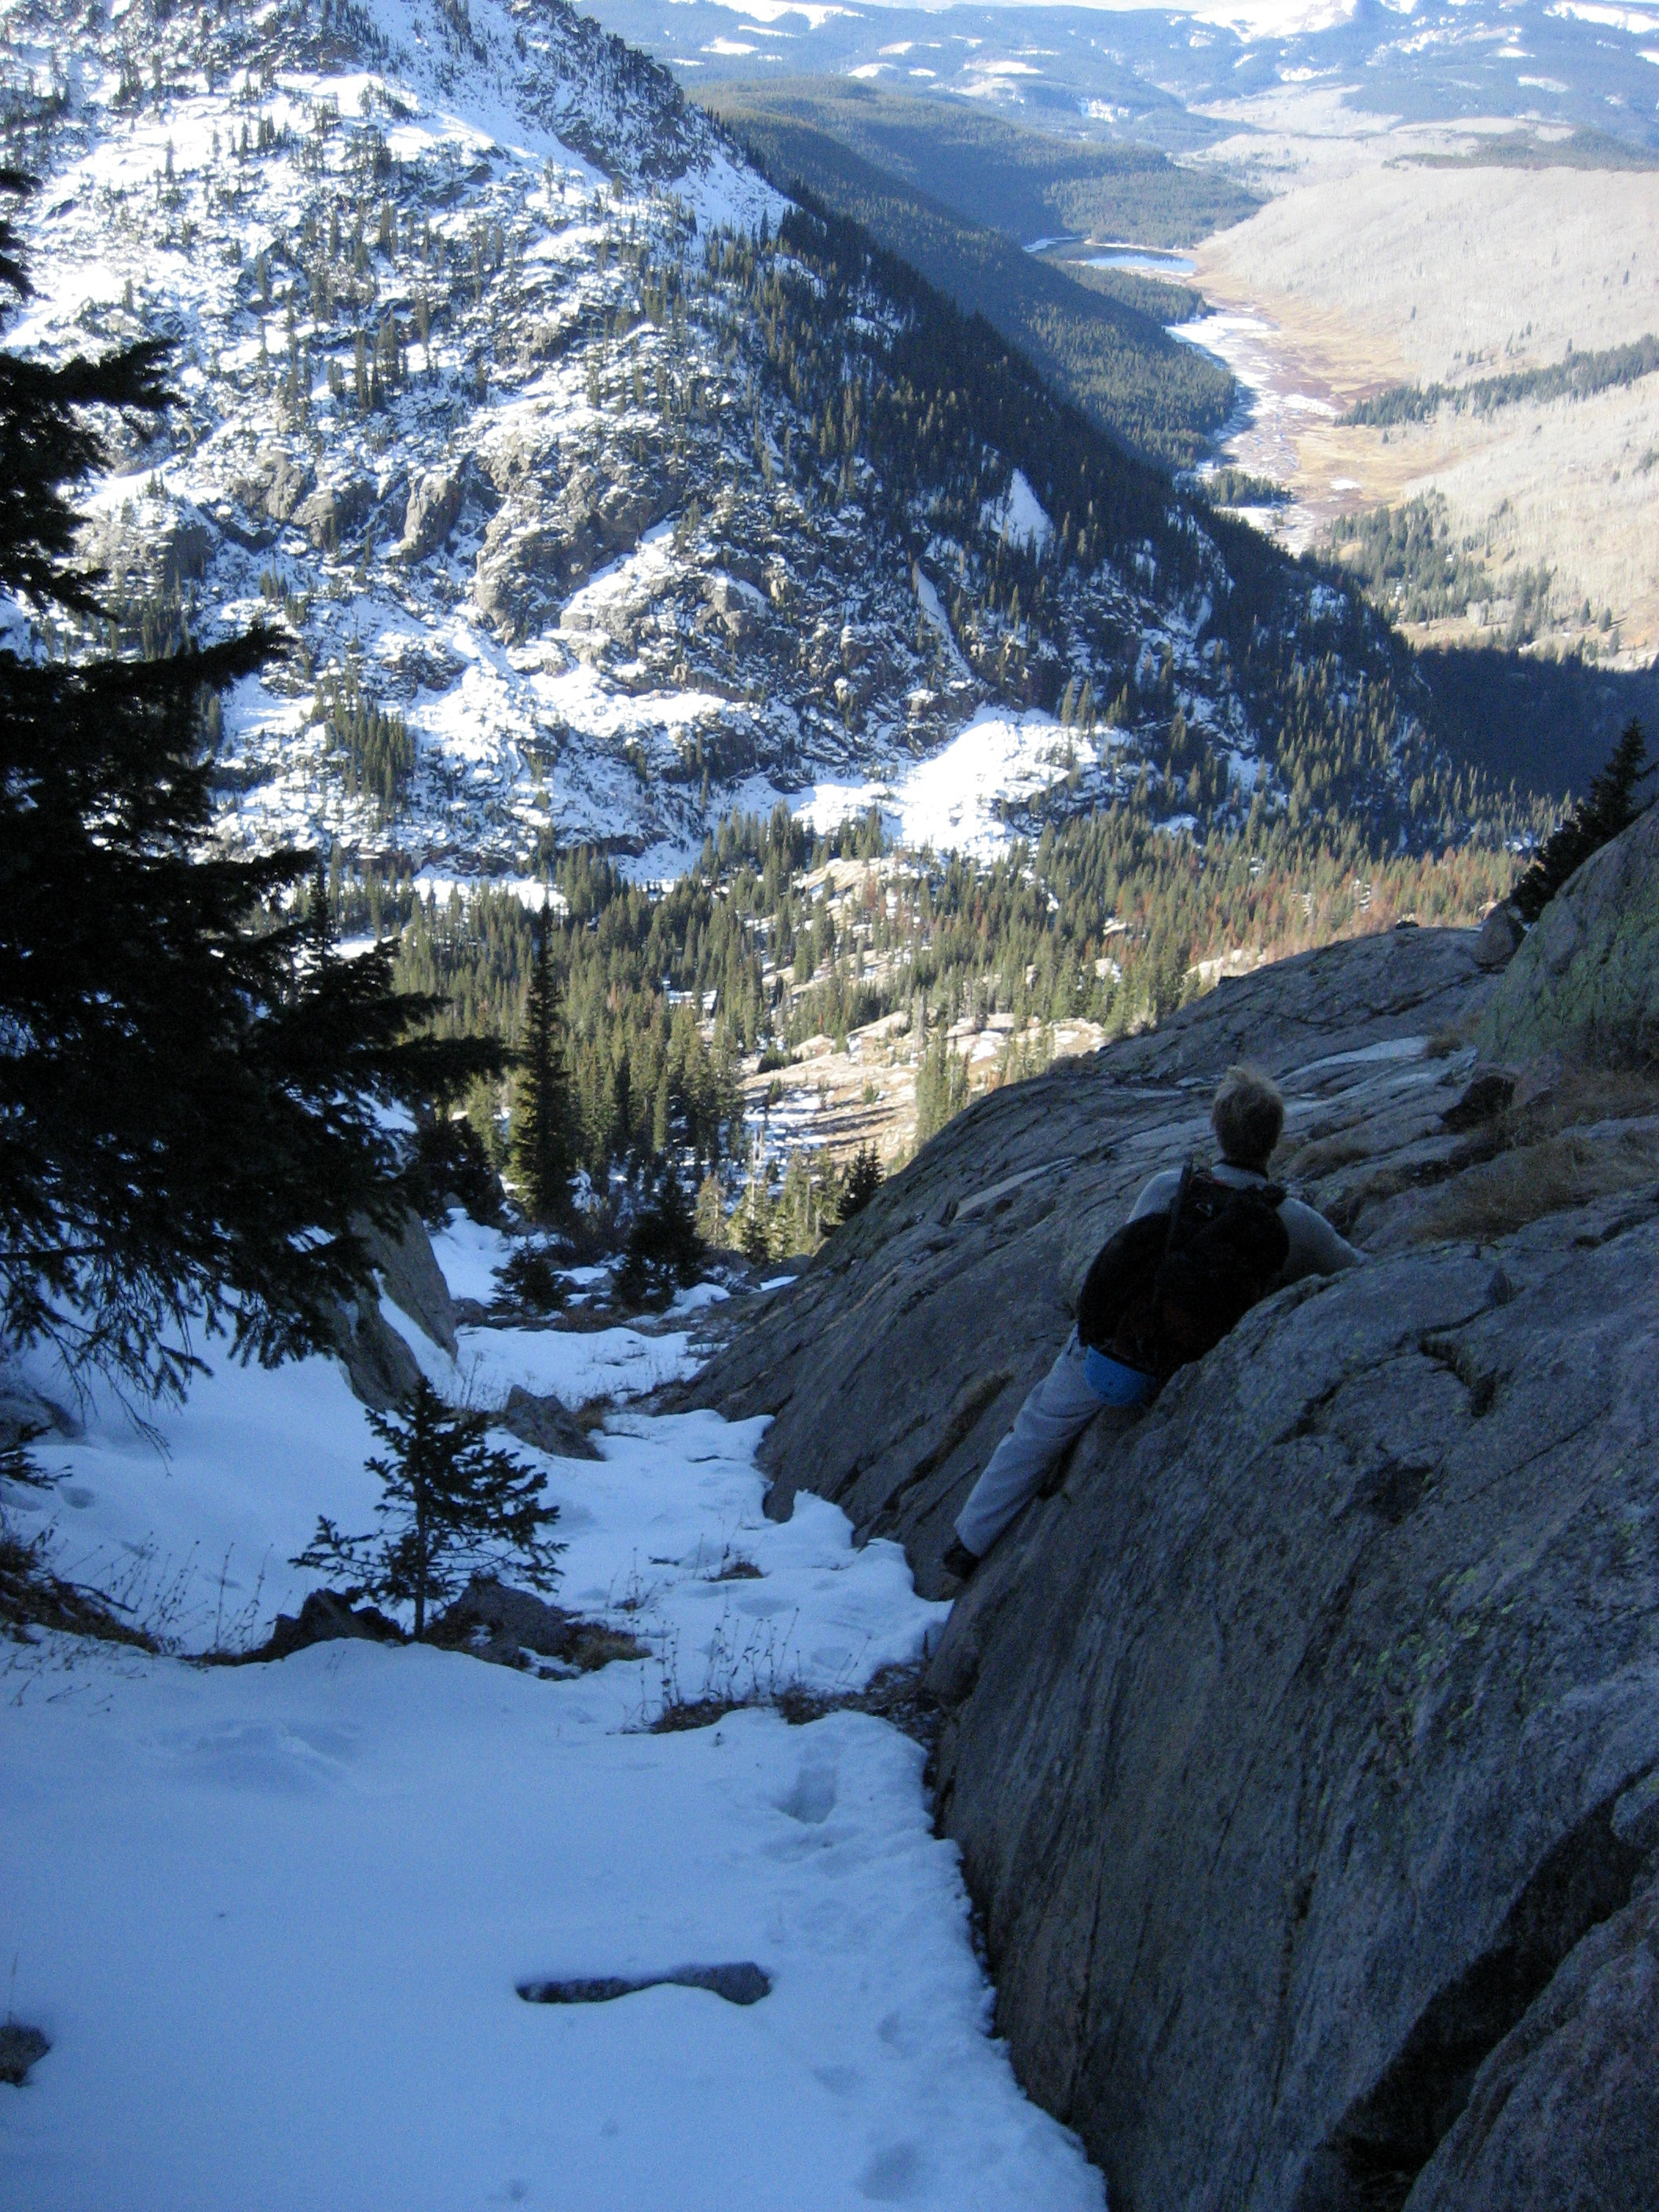
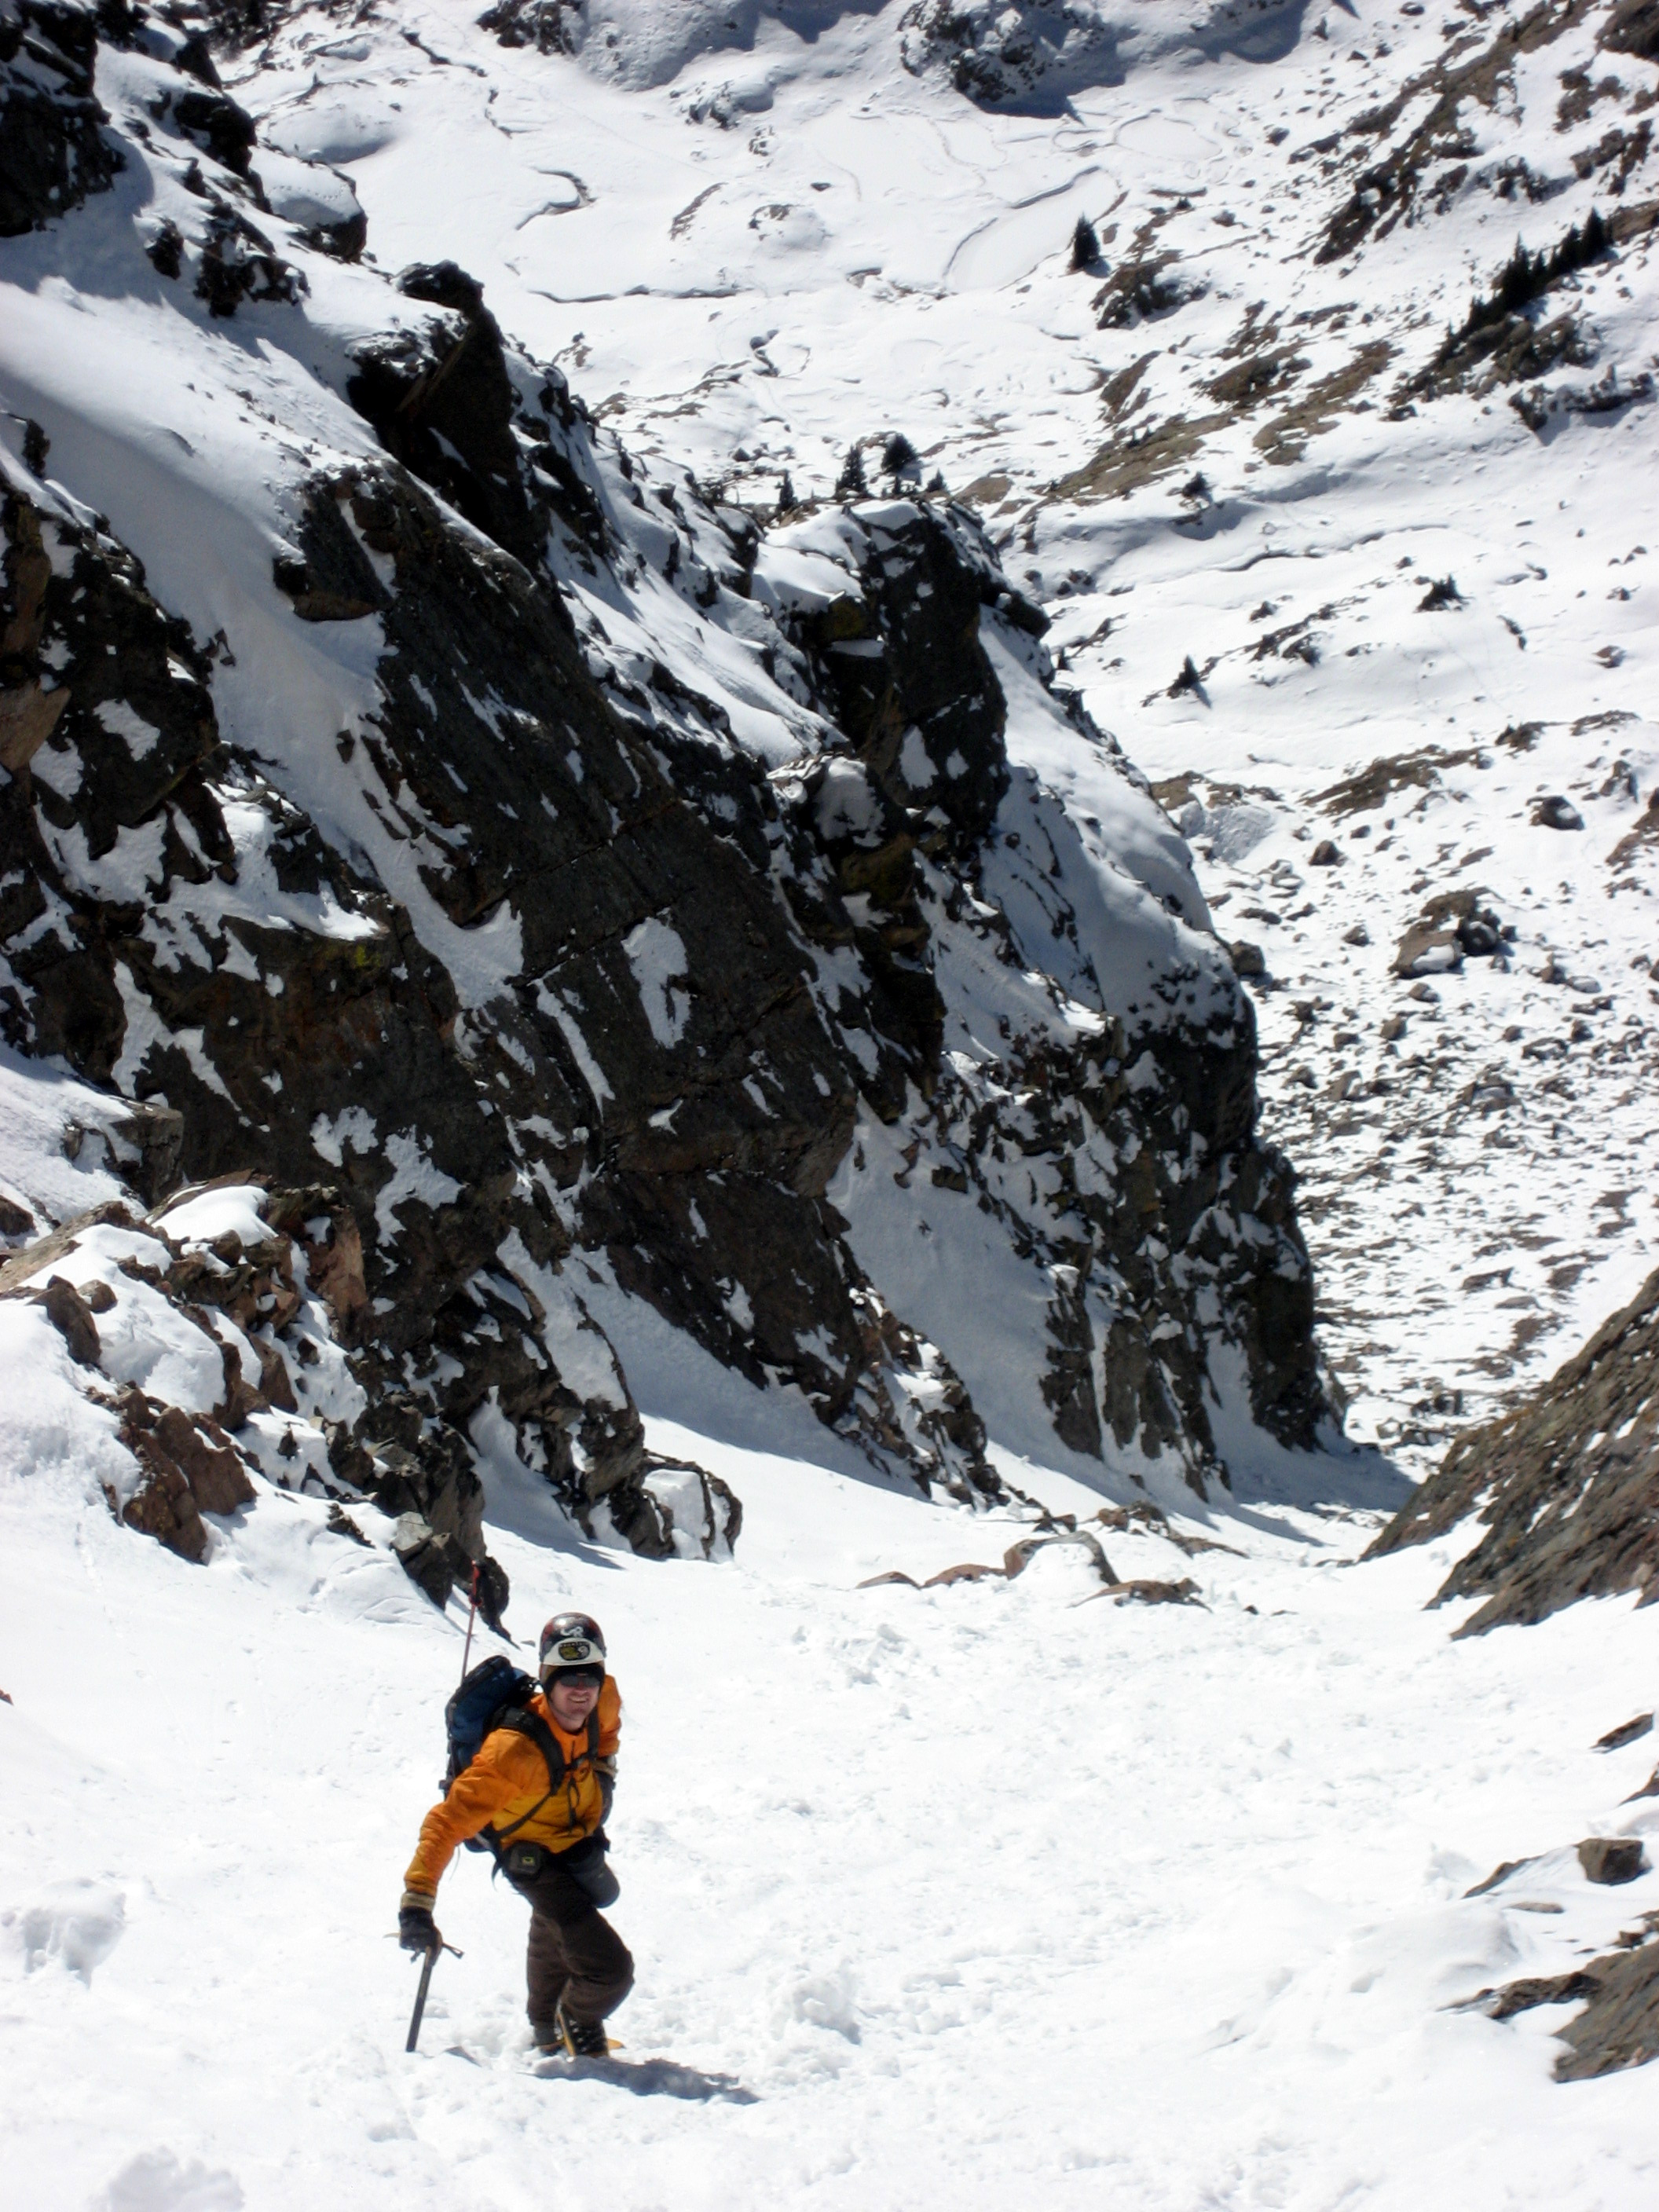
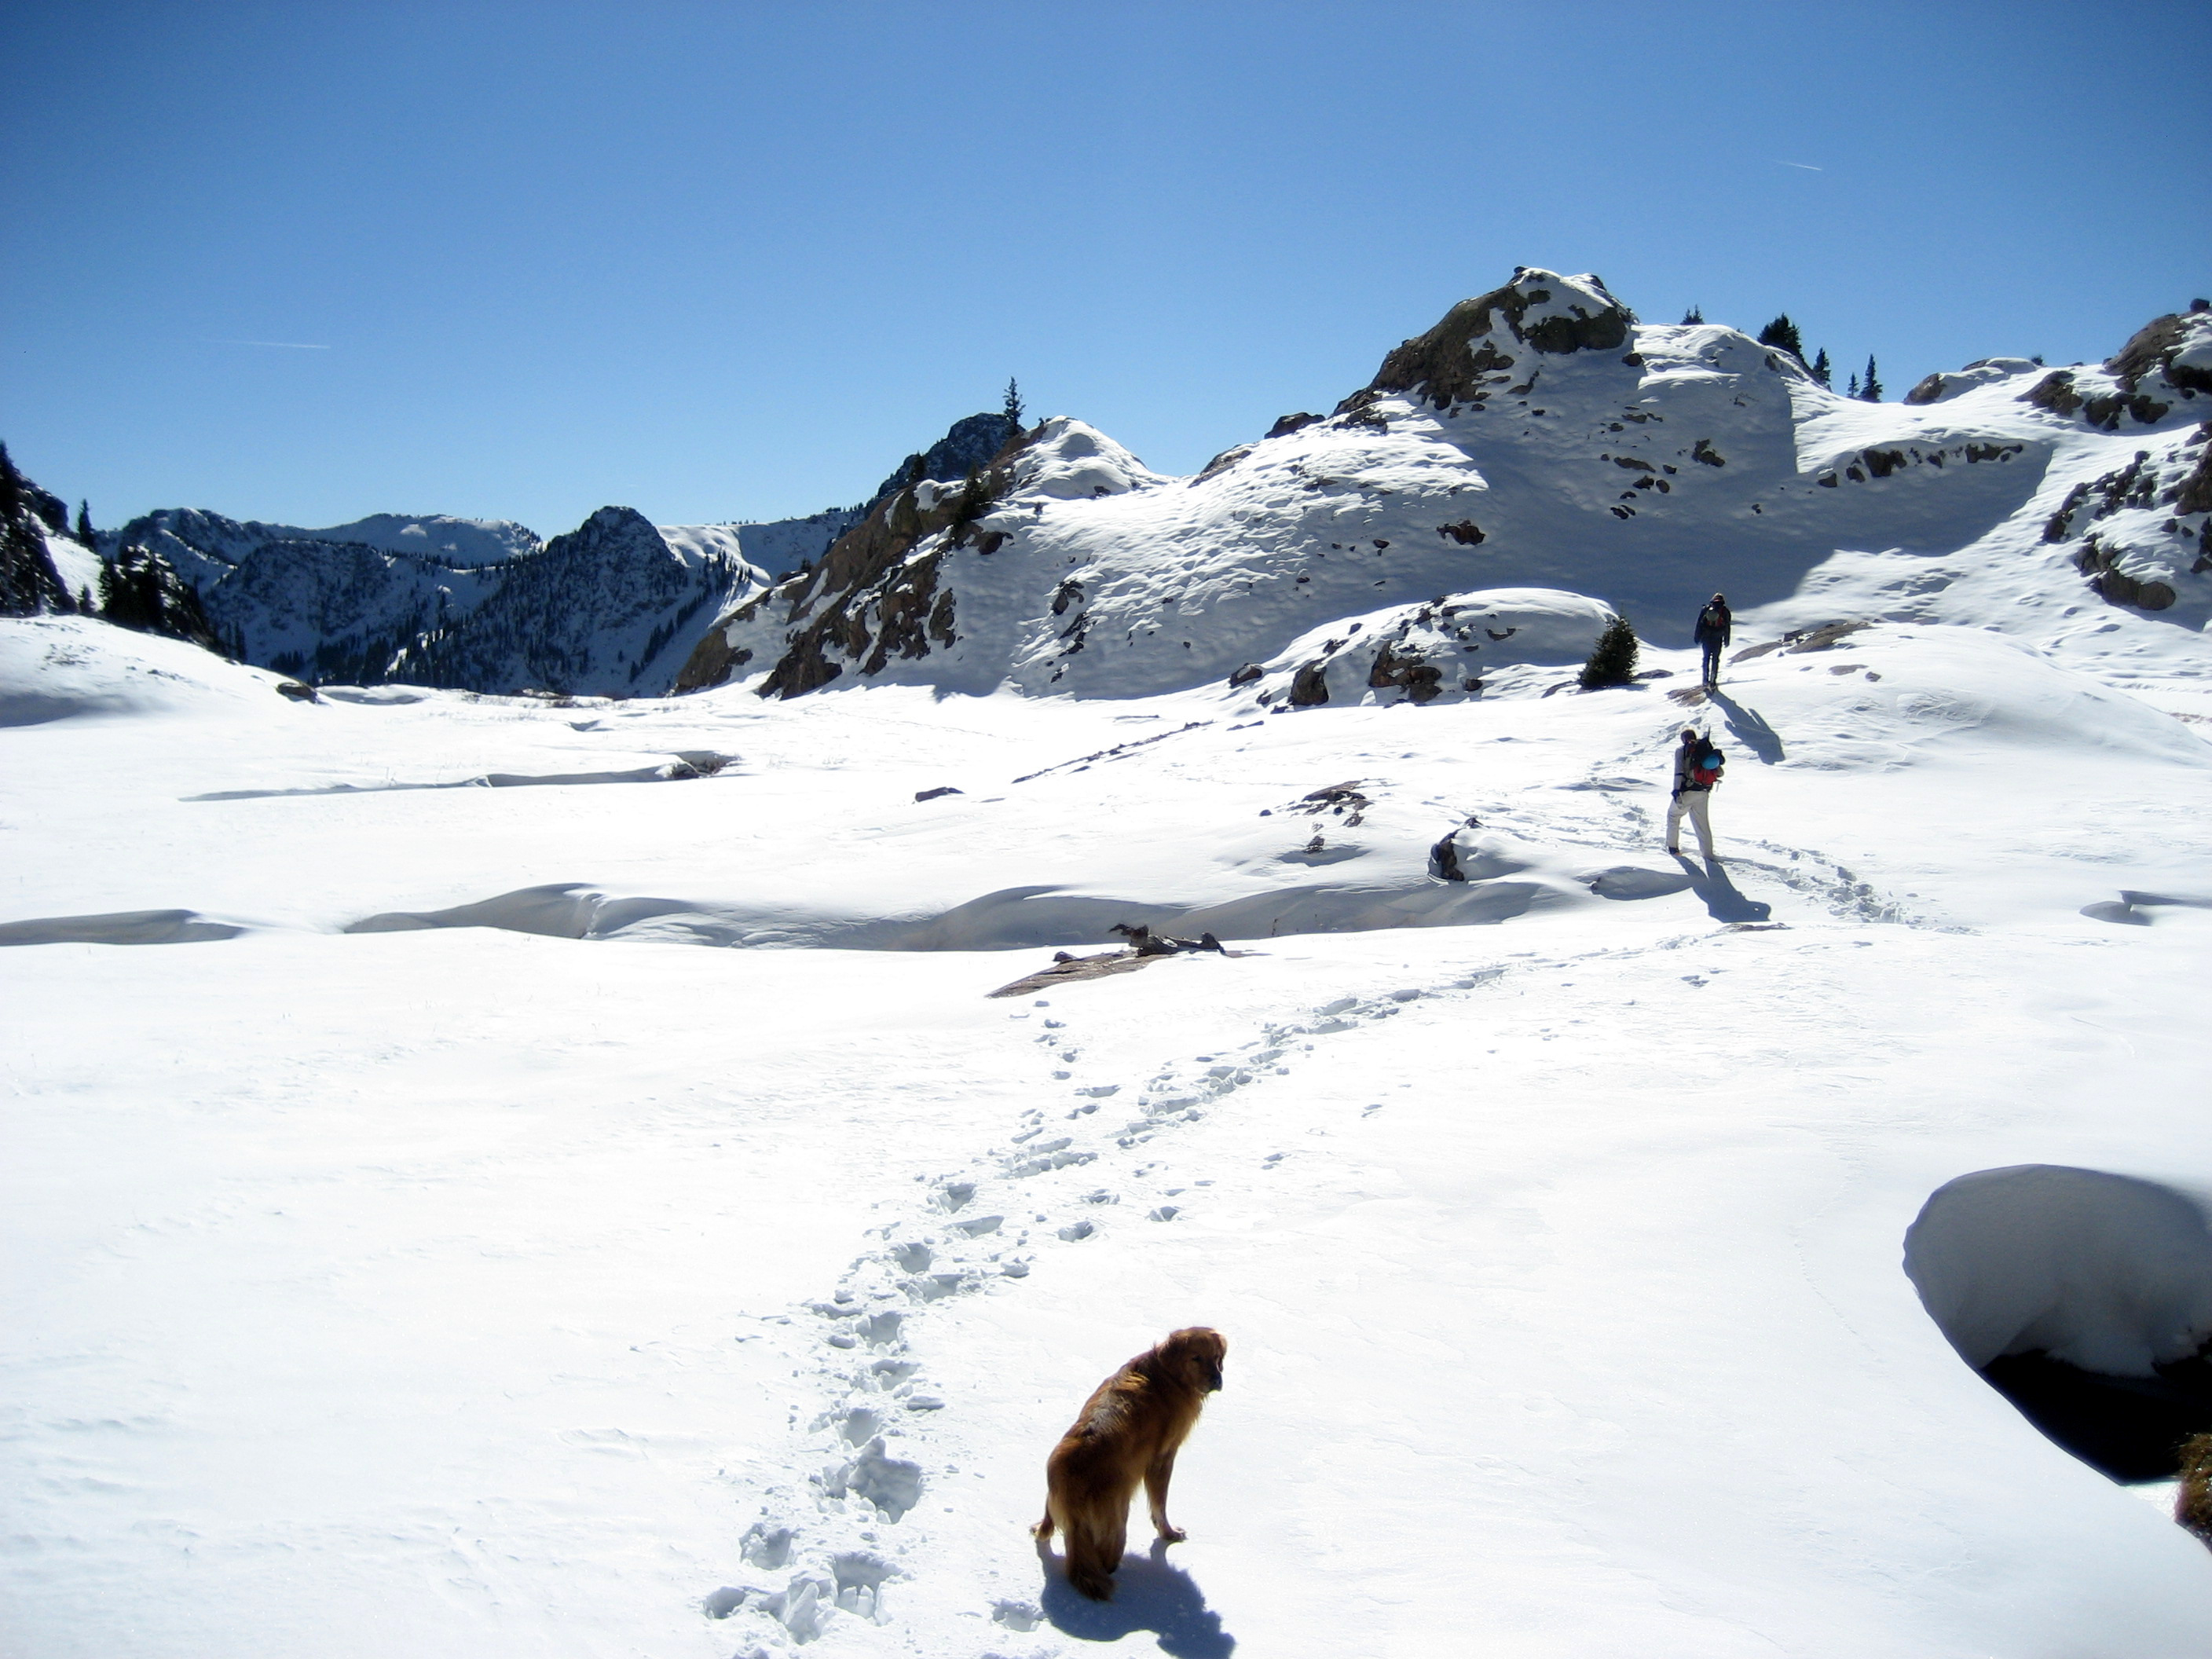
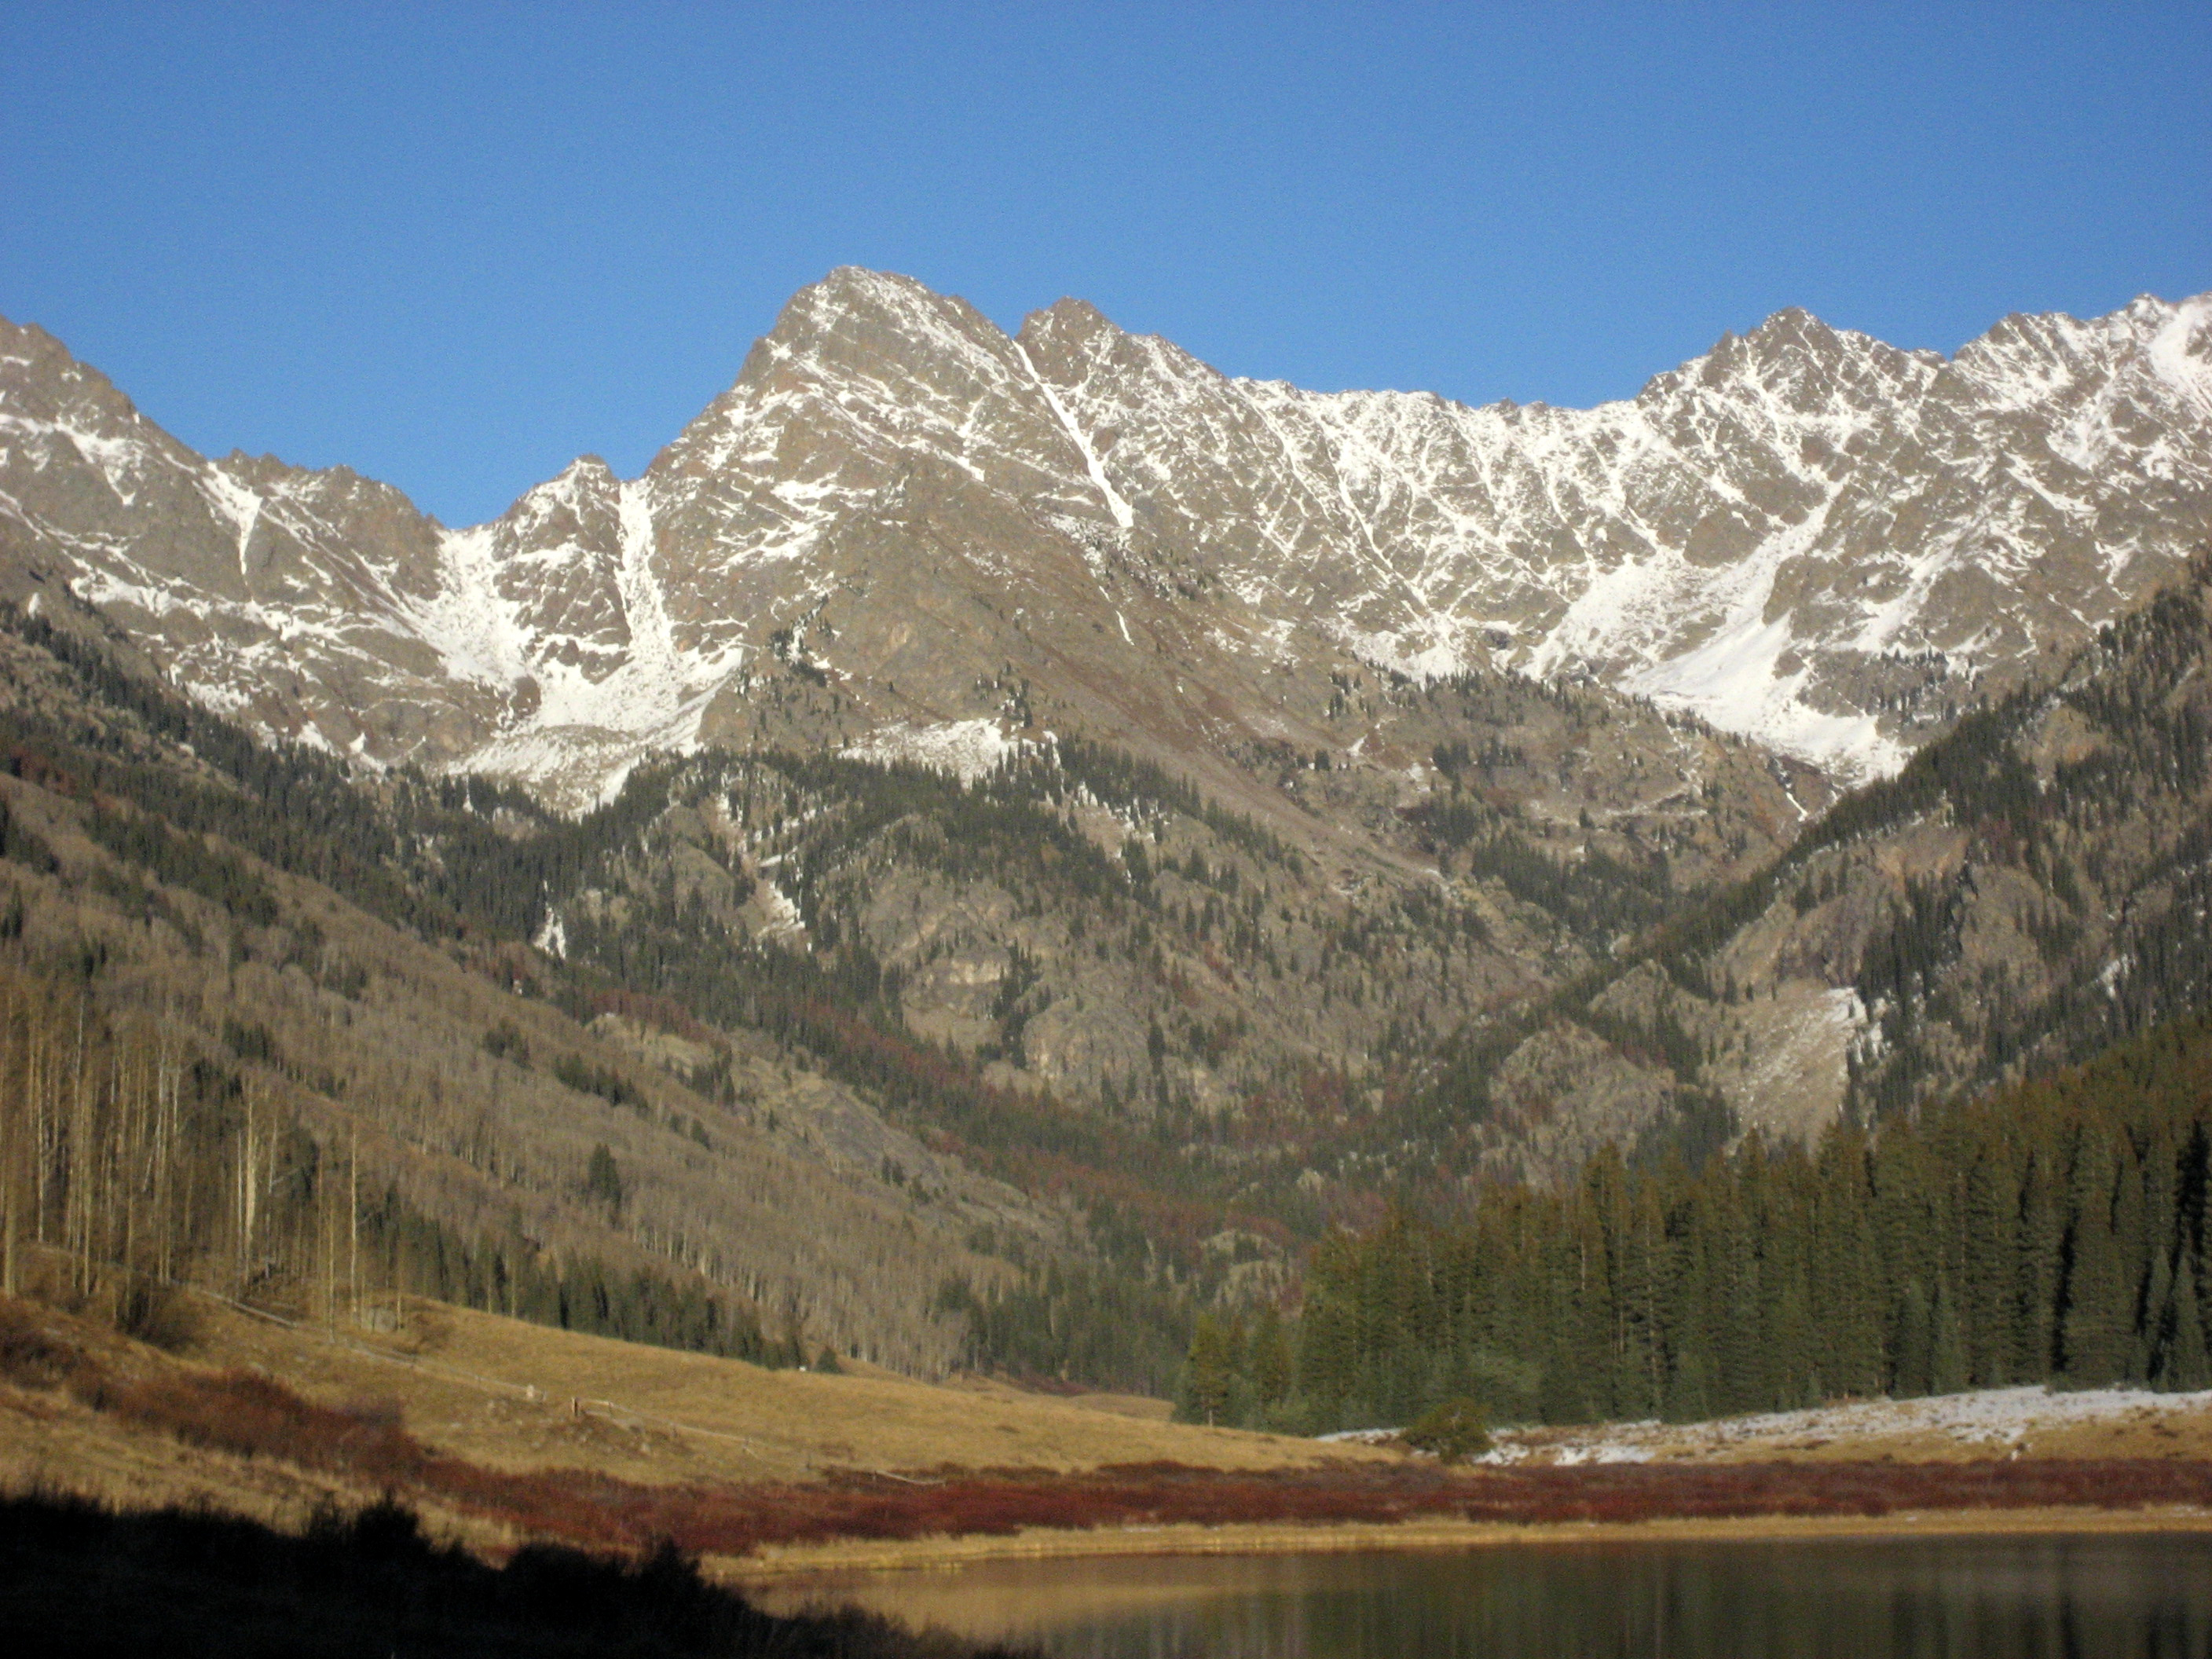
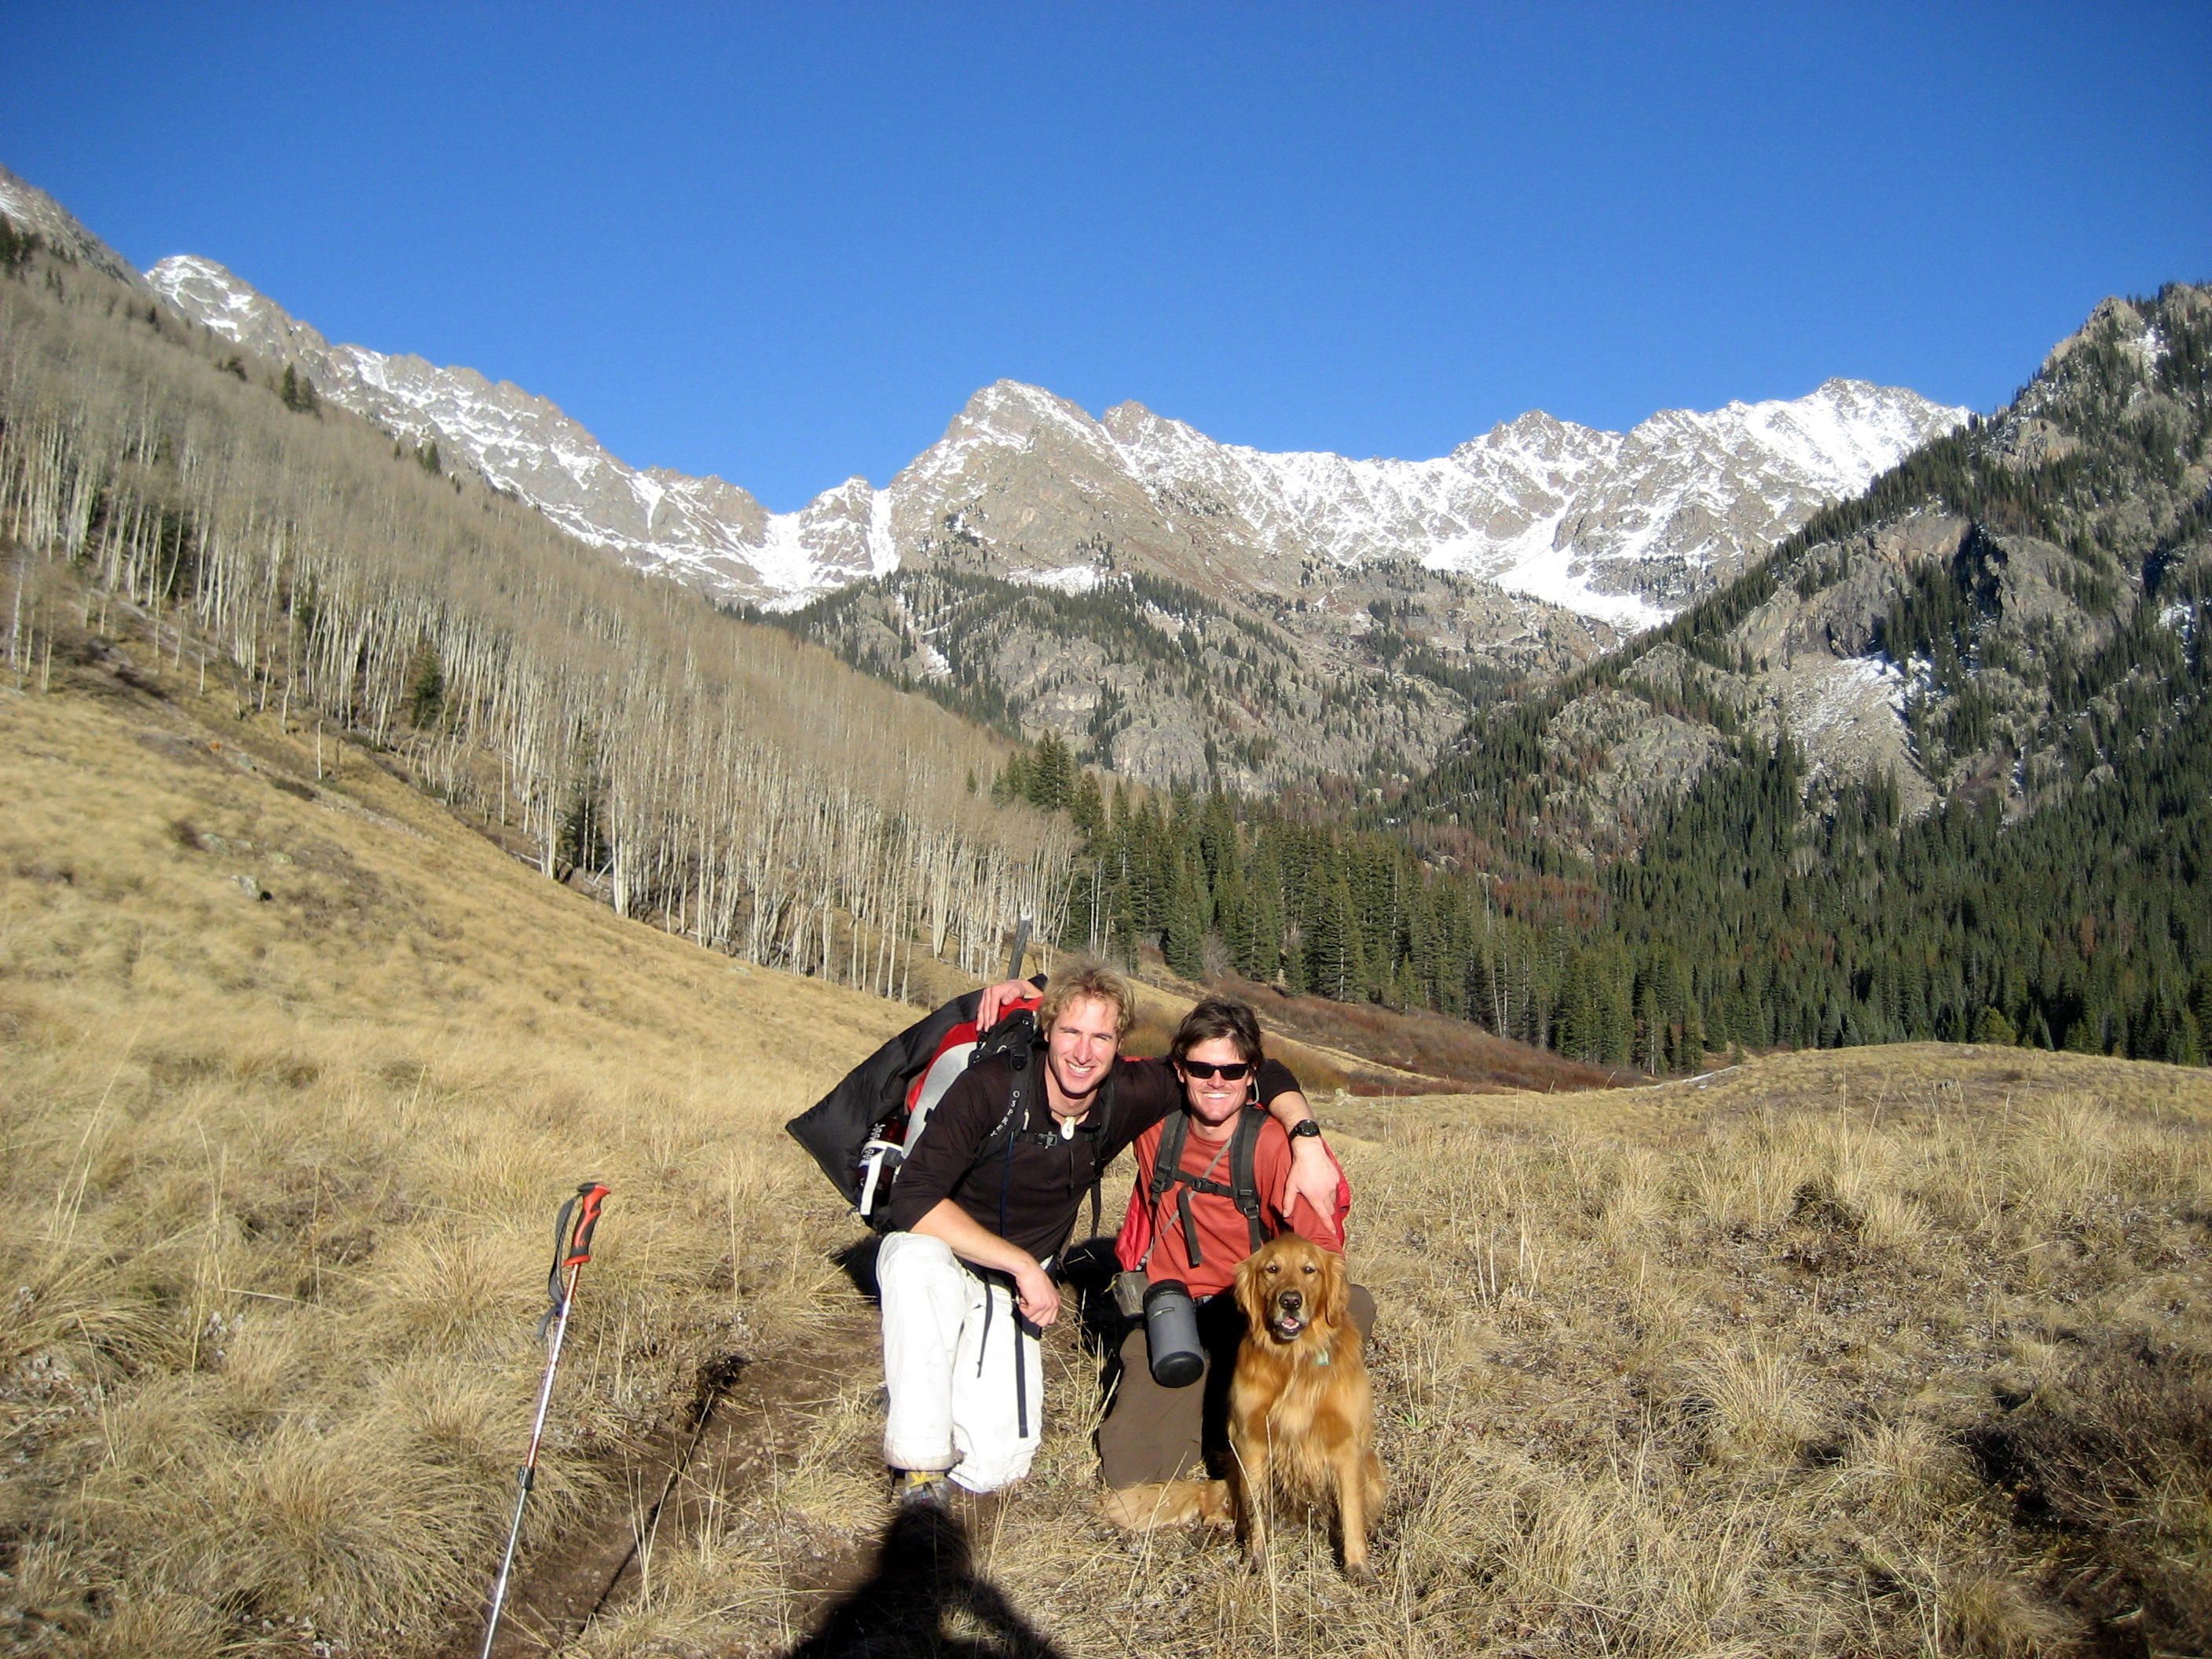
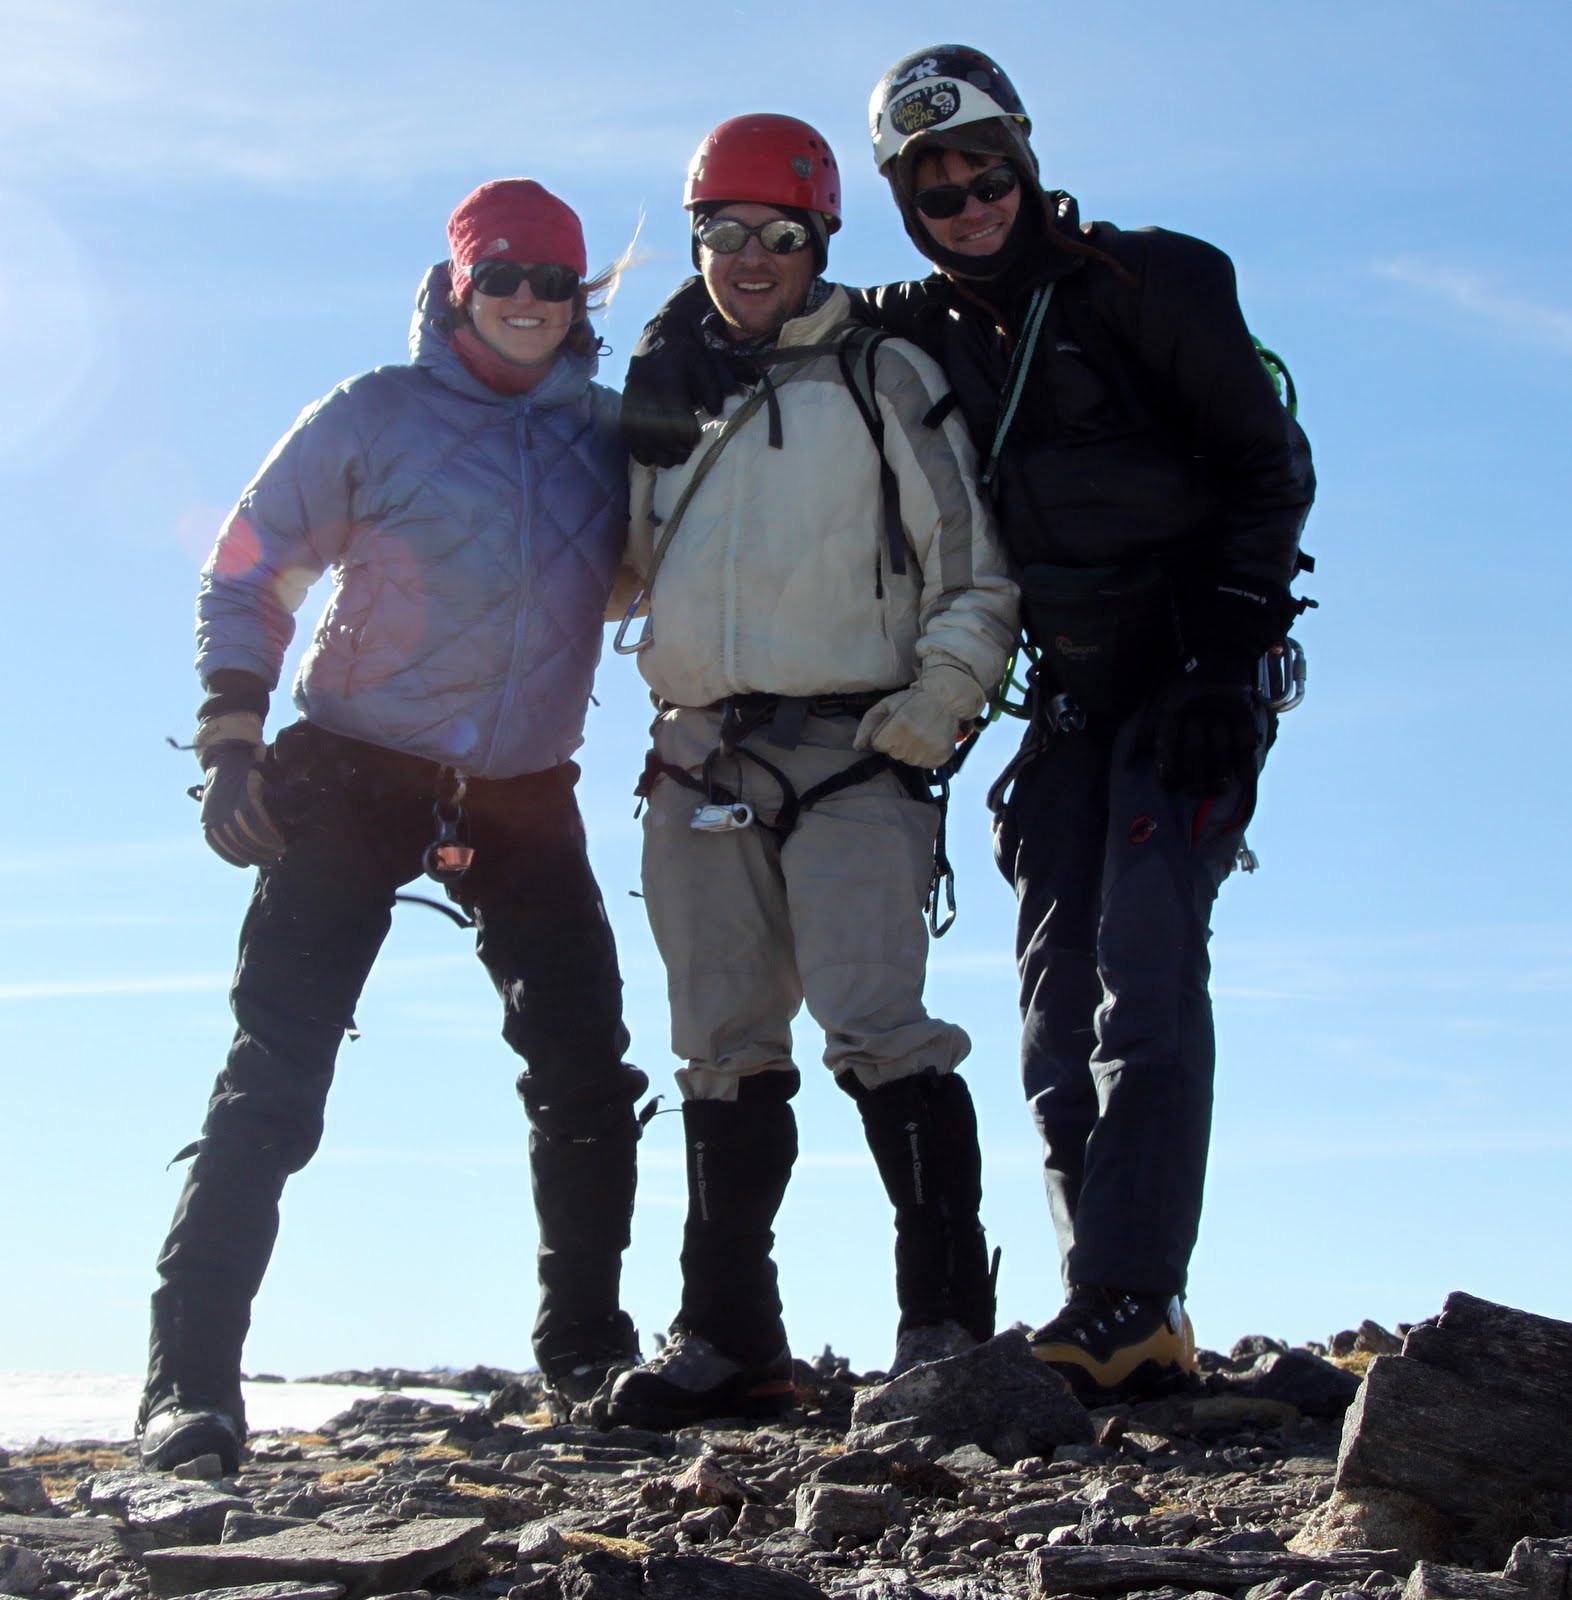
I don’t venture into the Front Range very much, but with a very dry season thus far and a favorable weather forecast, Kristine & I met our good friend Jesse Hill from Denver at the Bancroft TH for some east ridge direct fun. I know so many skiers are bummed with the current Colorao snowpack, but honestly I have been enjoying all of this dry, warm winter weather and taking advantage of it by rock climbing some and getting out high on some peaks. The skiing is just not worth it to me inbounds or in the backcountry right now until we get lots of snow, which is absolutely fine. Just means more climbing. I’ve heard this was a fun route in summer by some friends of mine and is in Cooper’s Colorado Scrambles book, but I thought it may be more interesting & exciting in winter. The ridge definitely did not disappoint and provided awesome winter scrambling with some technical spice thrown in. After parking on the Stewart Road at 8:30am, we hiked the mostly bare 2.2 miles up to the summer parking TH at Loch Lomond. There was some semi-deep snow before Loch Lomond, but it was manageable in our plastic boots without snowshoes. The wind was whipping in the valley, so my hopes were that it would die down before we hit the east ridge. Thankfully, it did. We then made our way up to the base of the east ridge in the howling wind.
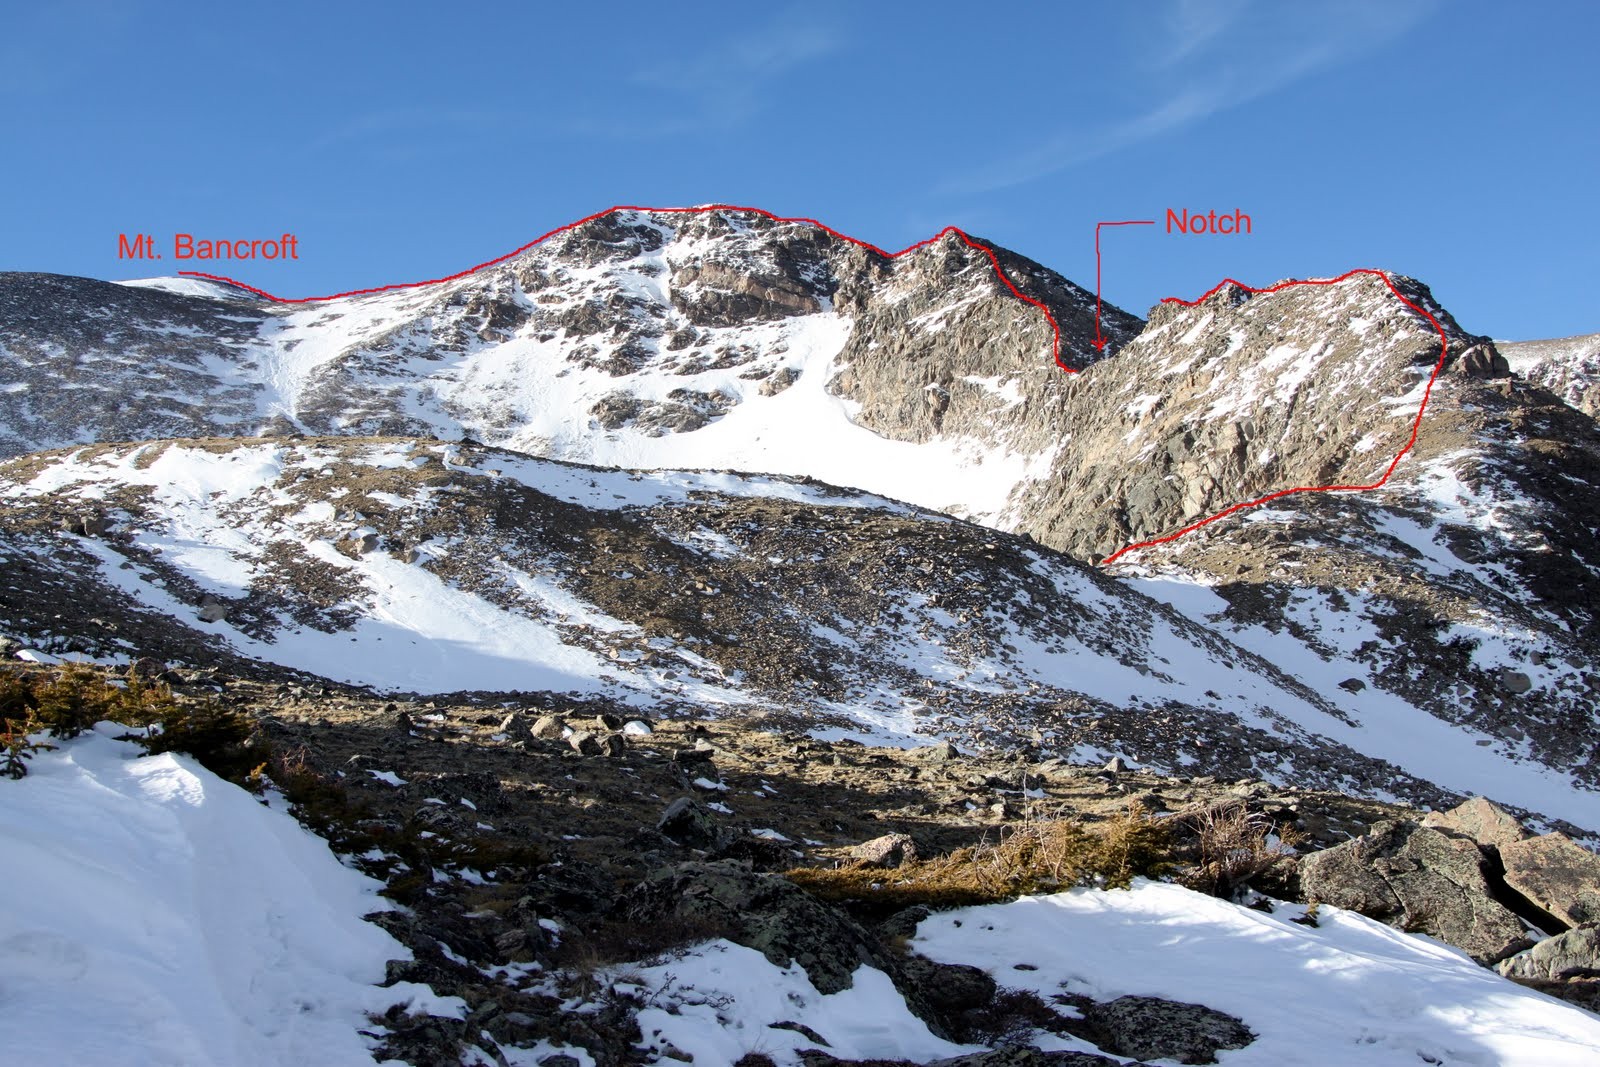
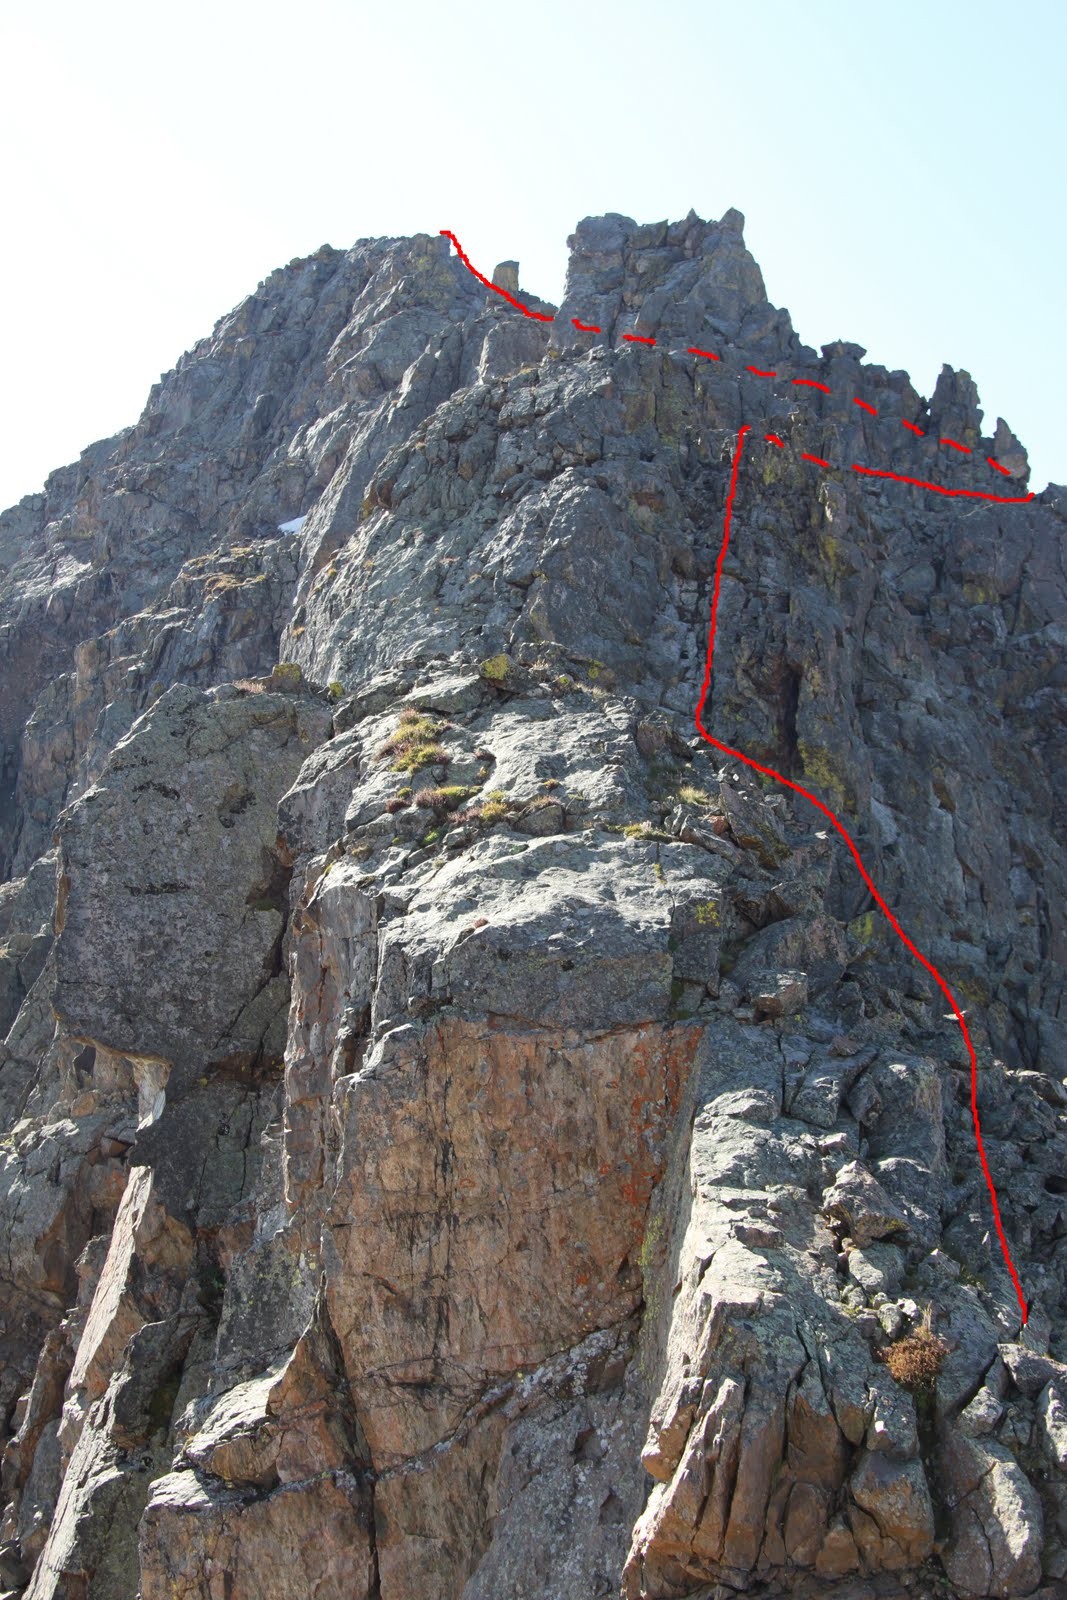
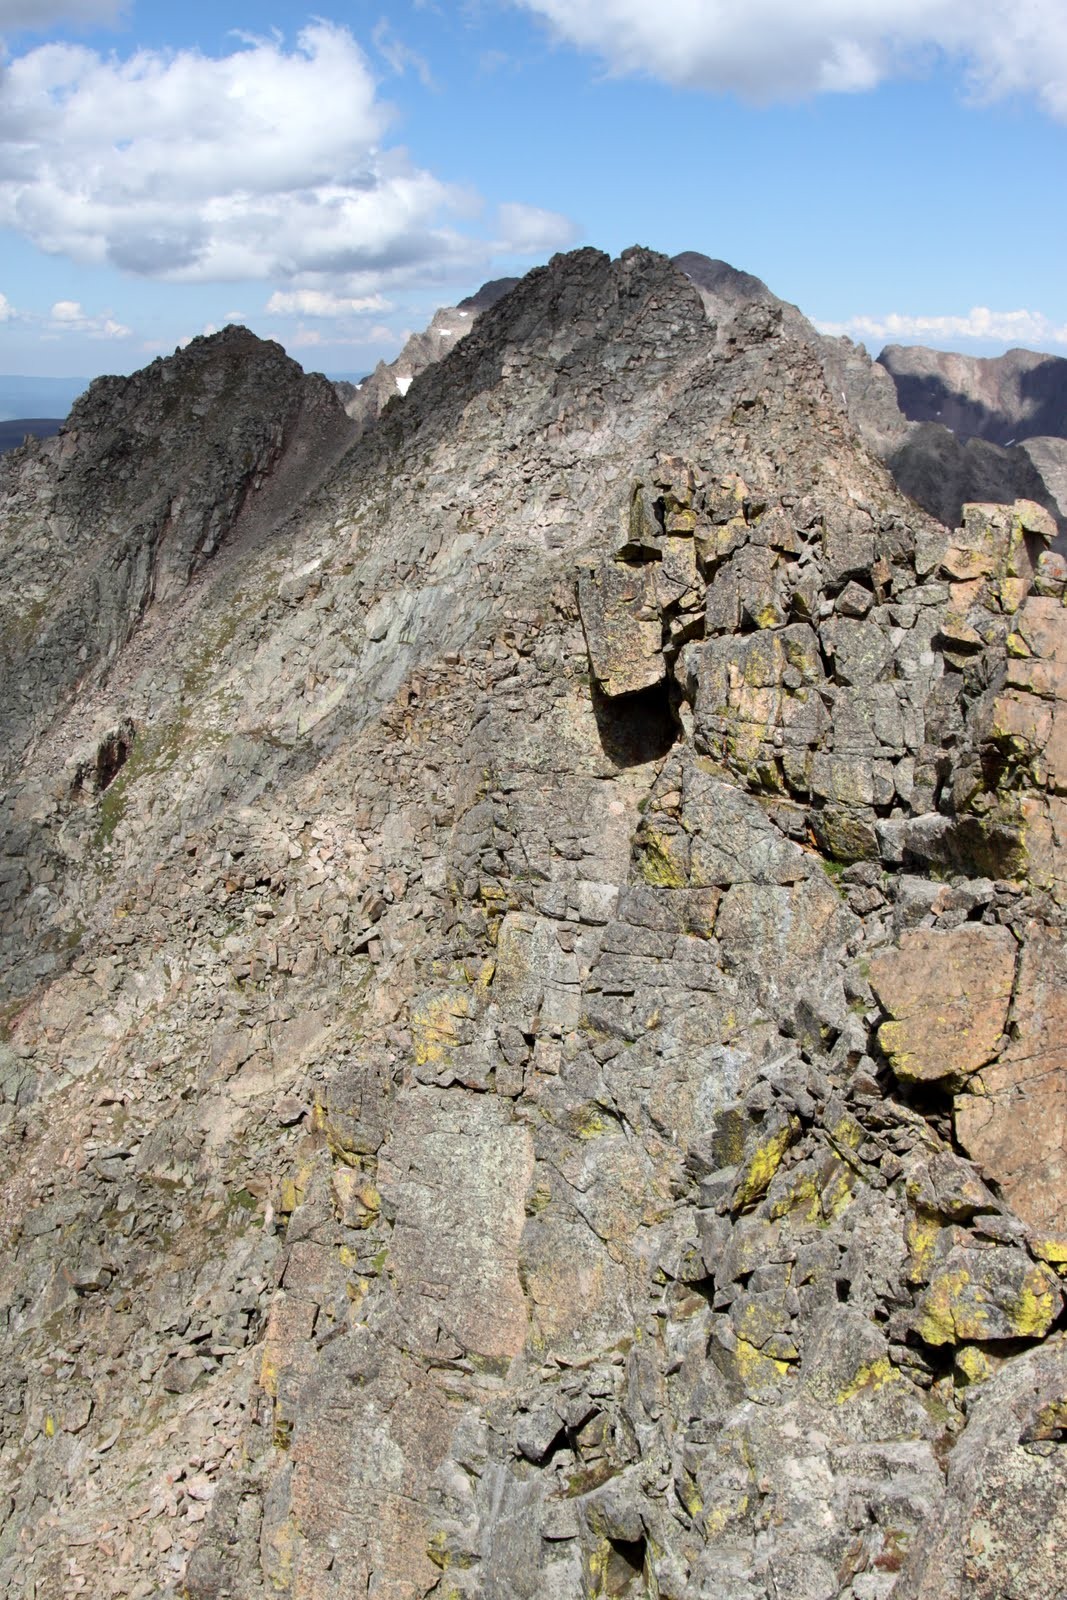
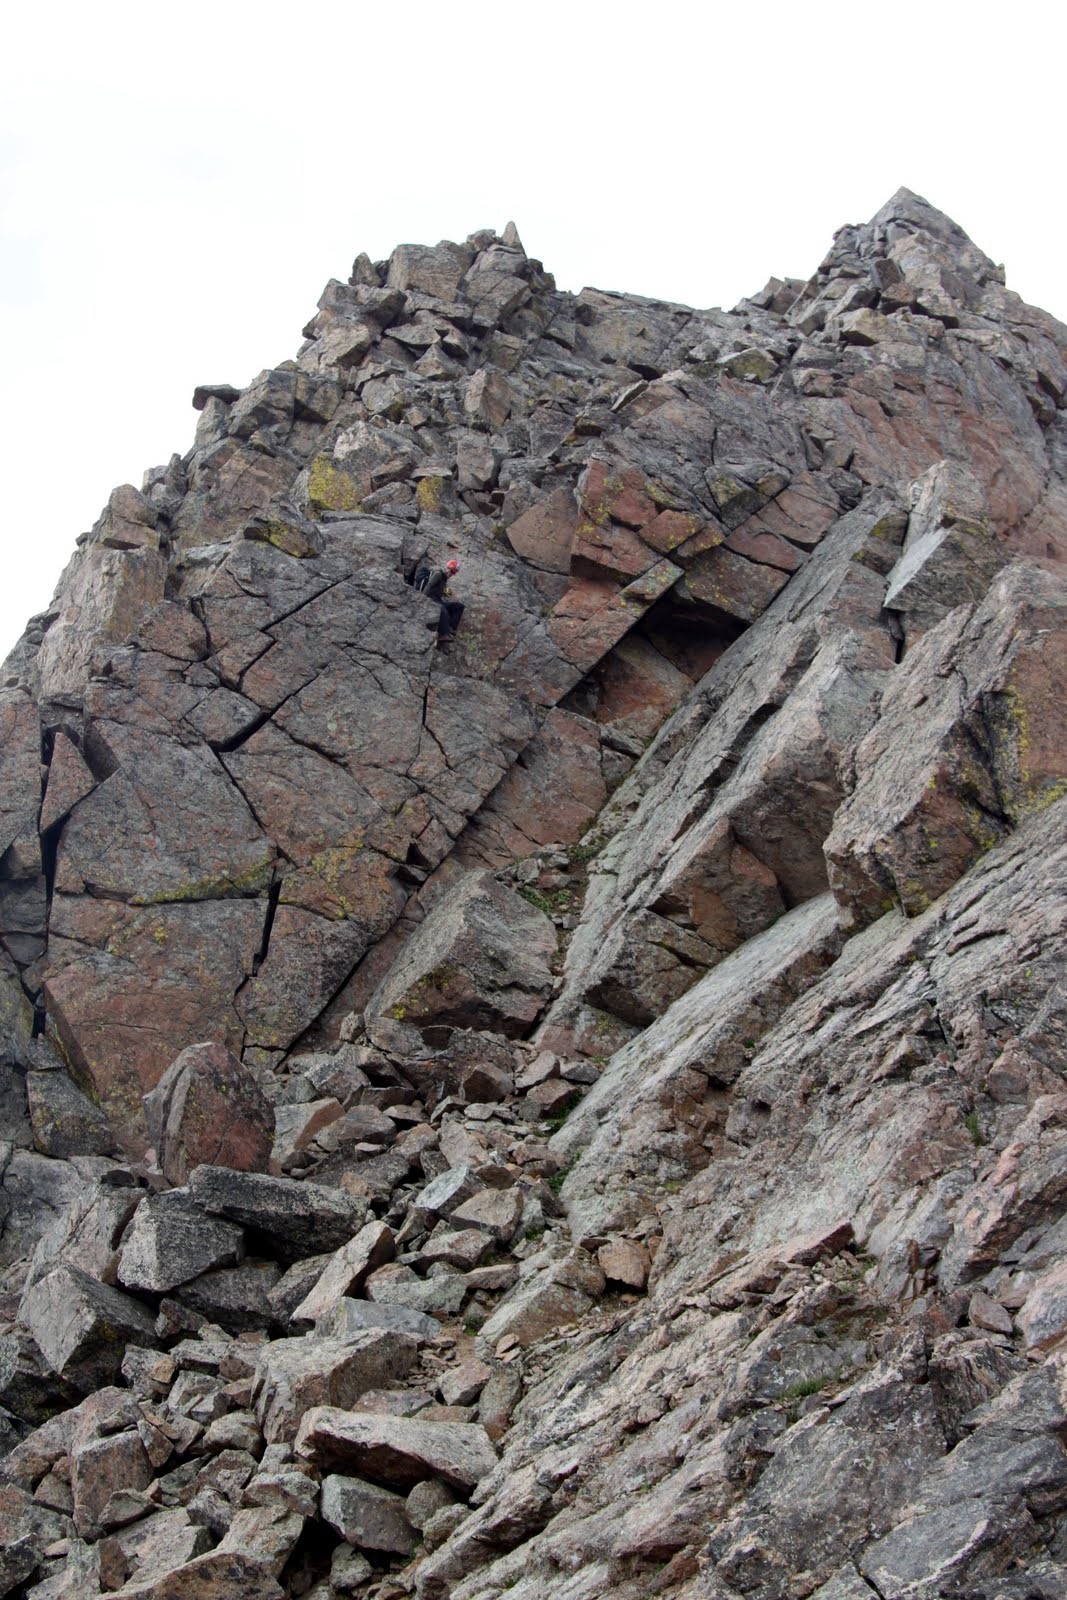
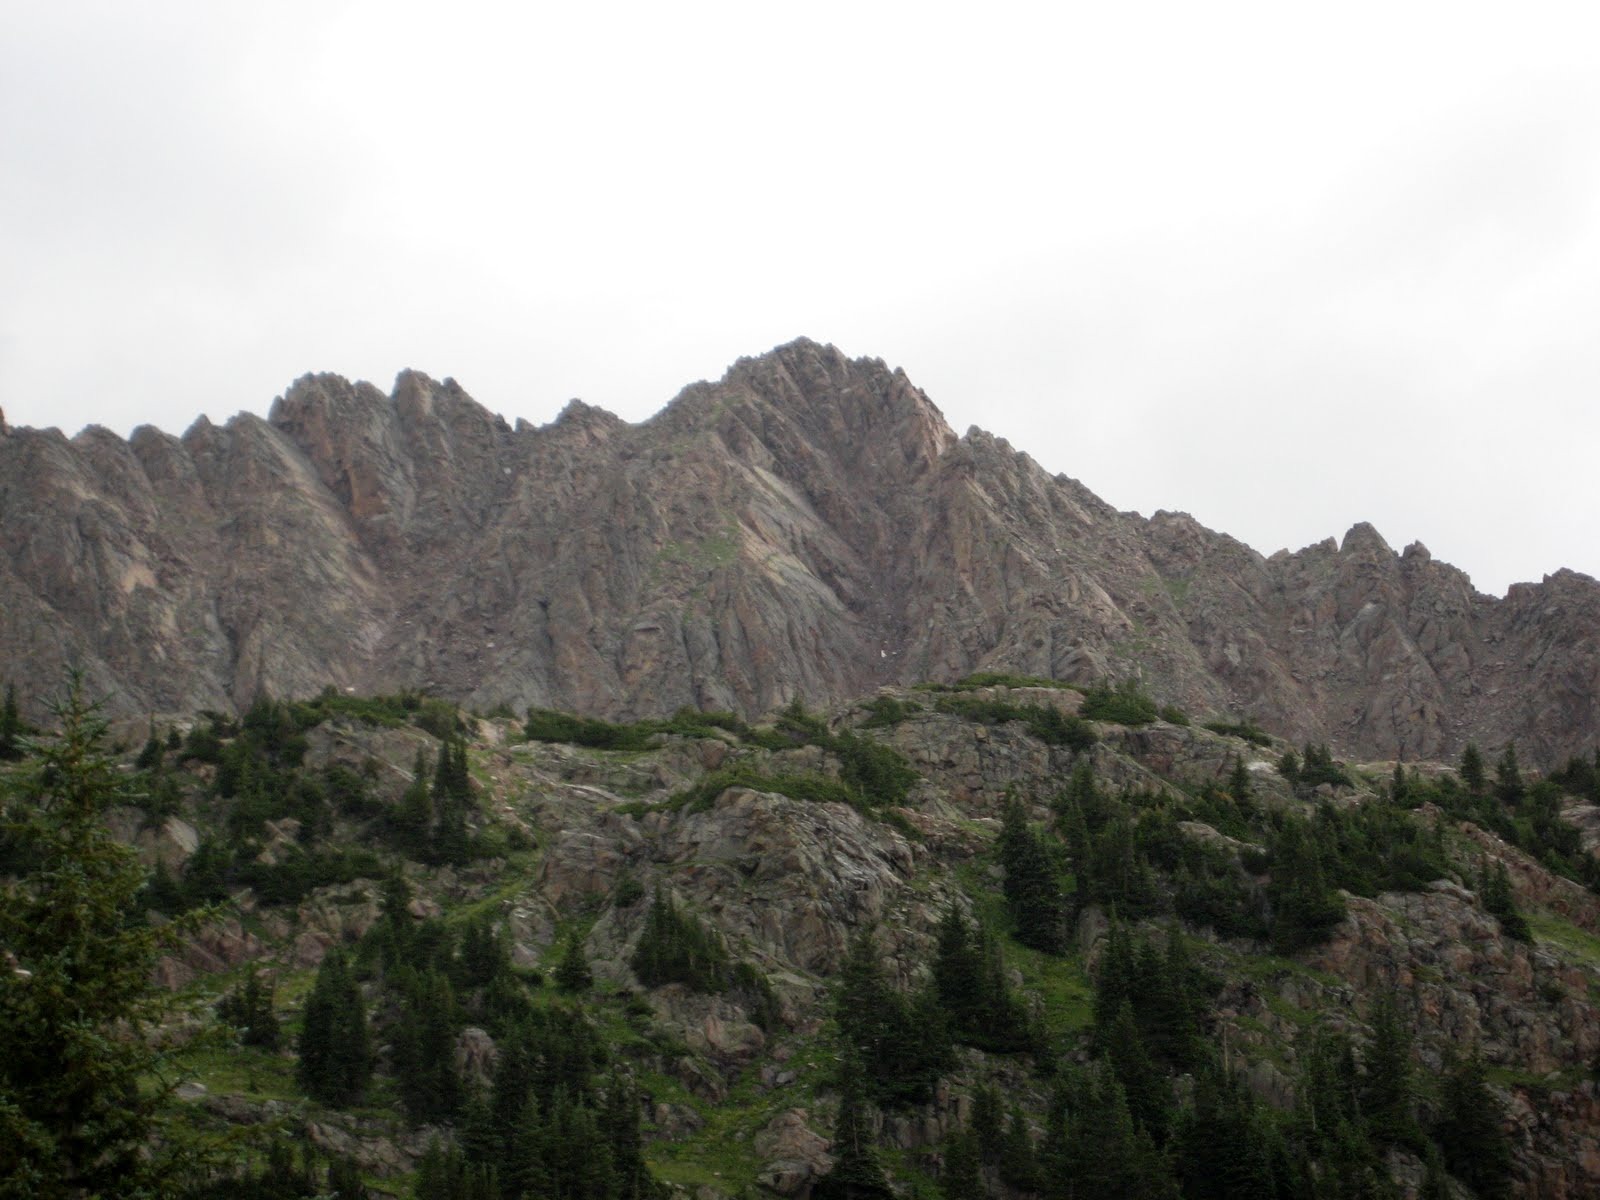
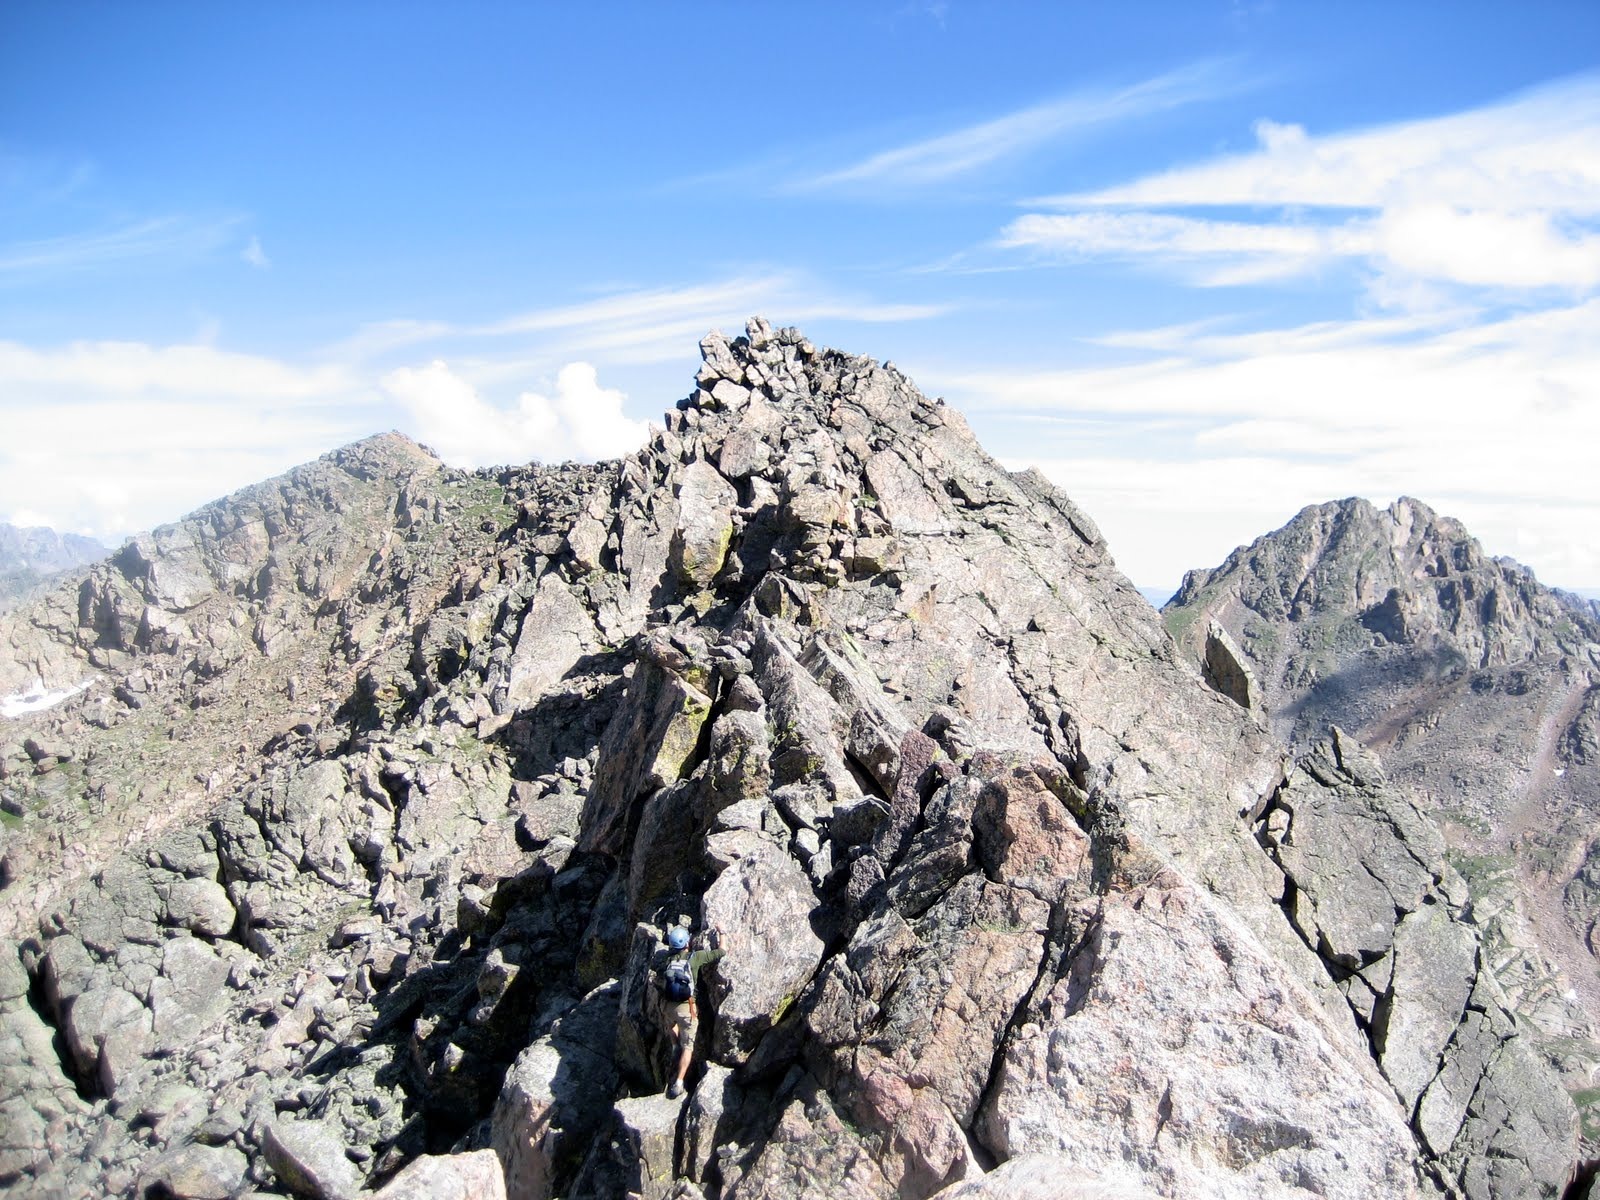
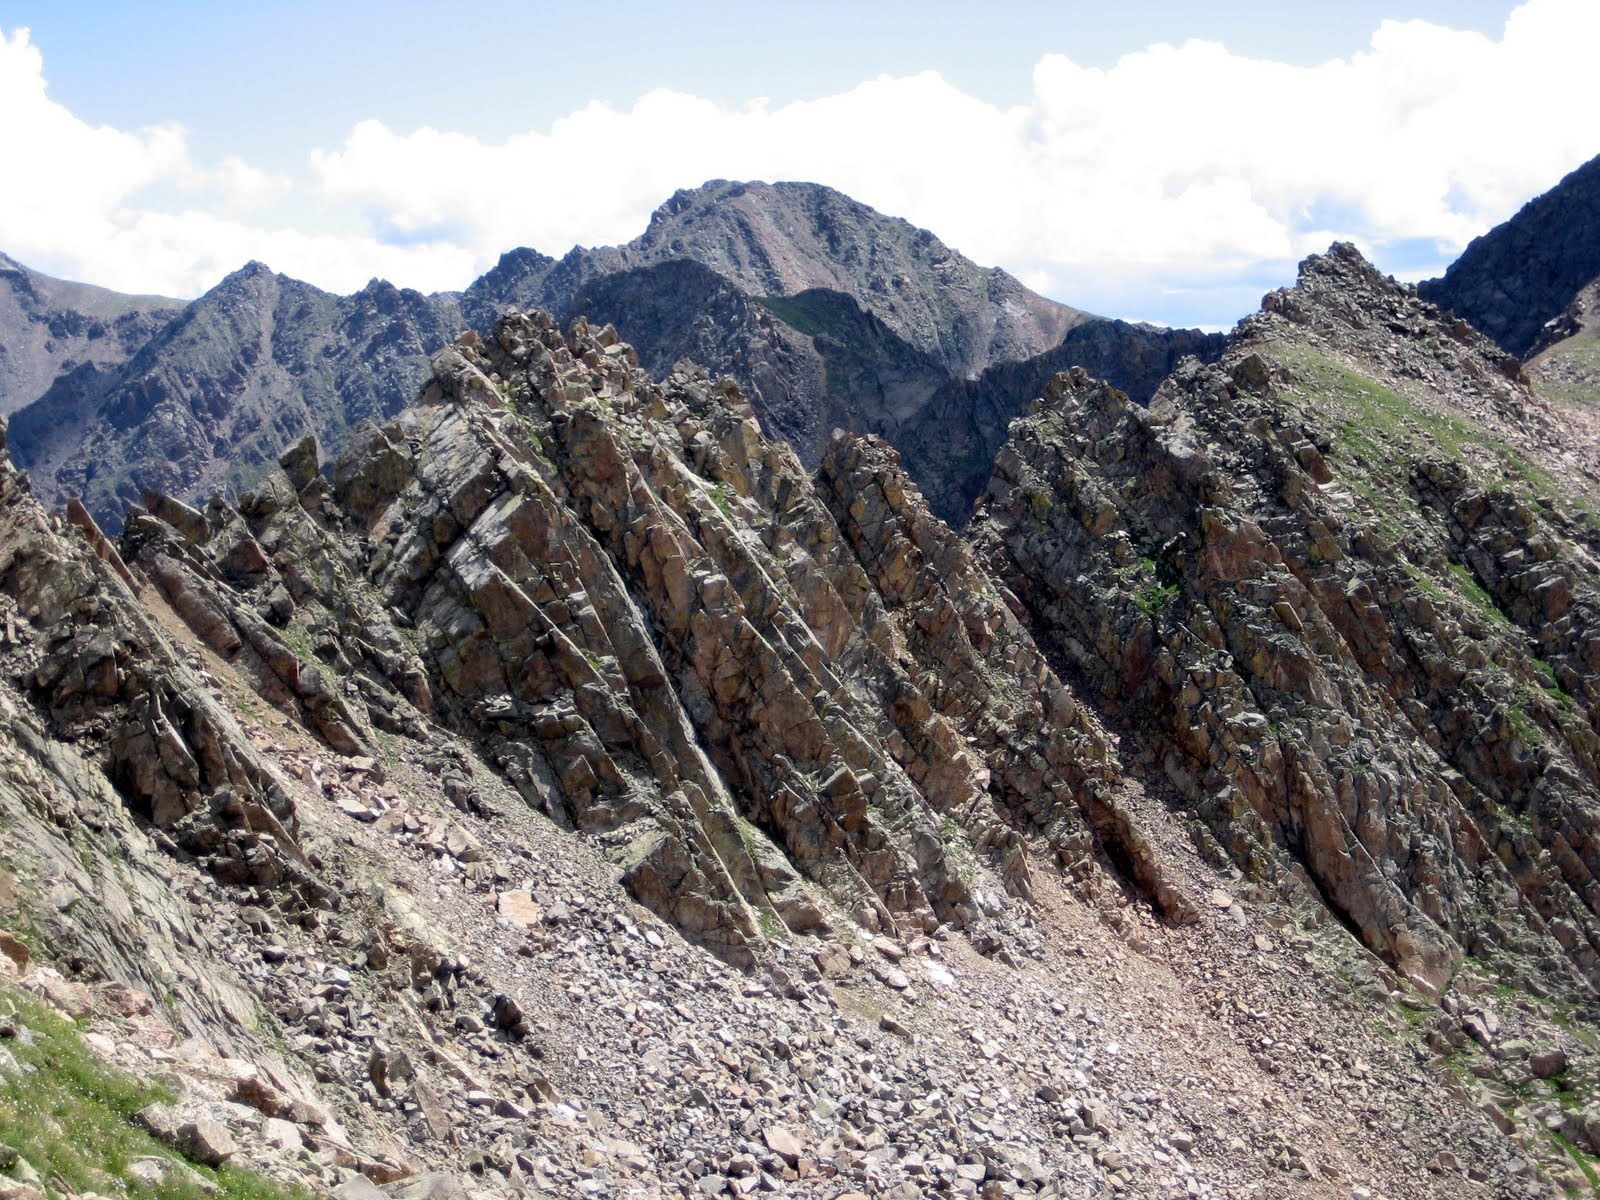
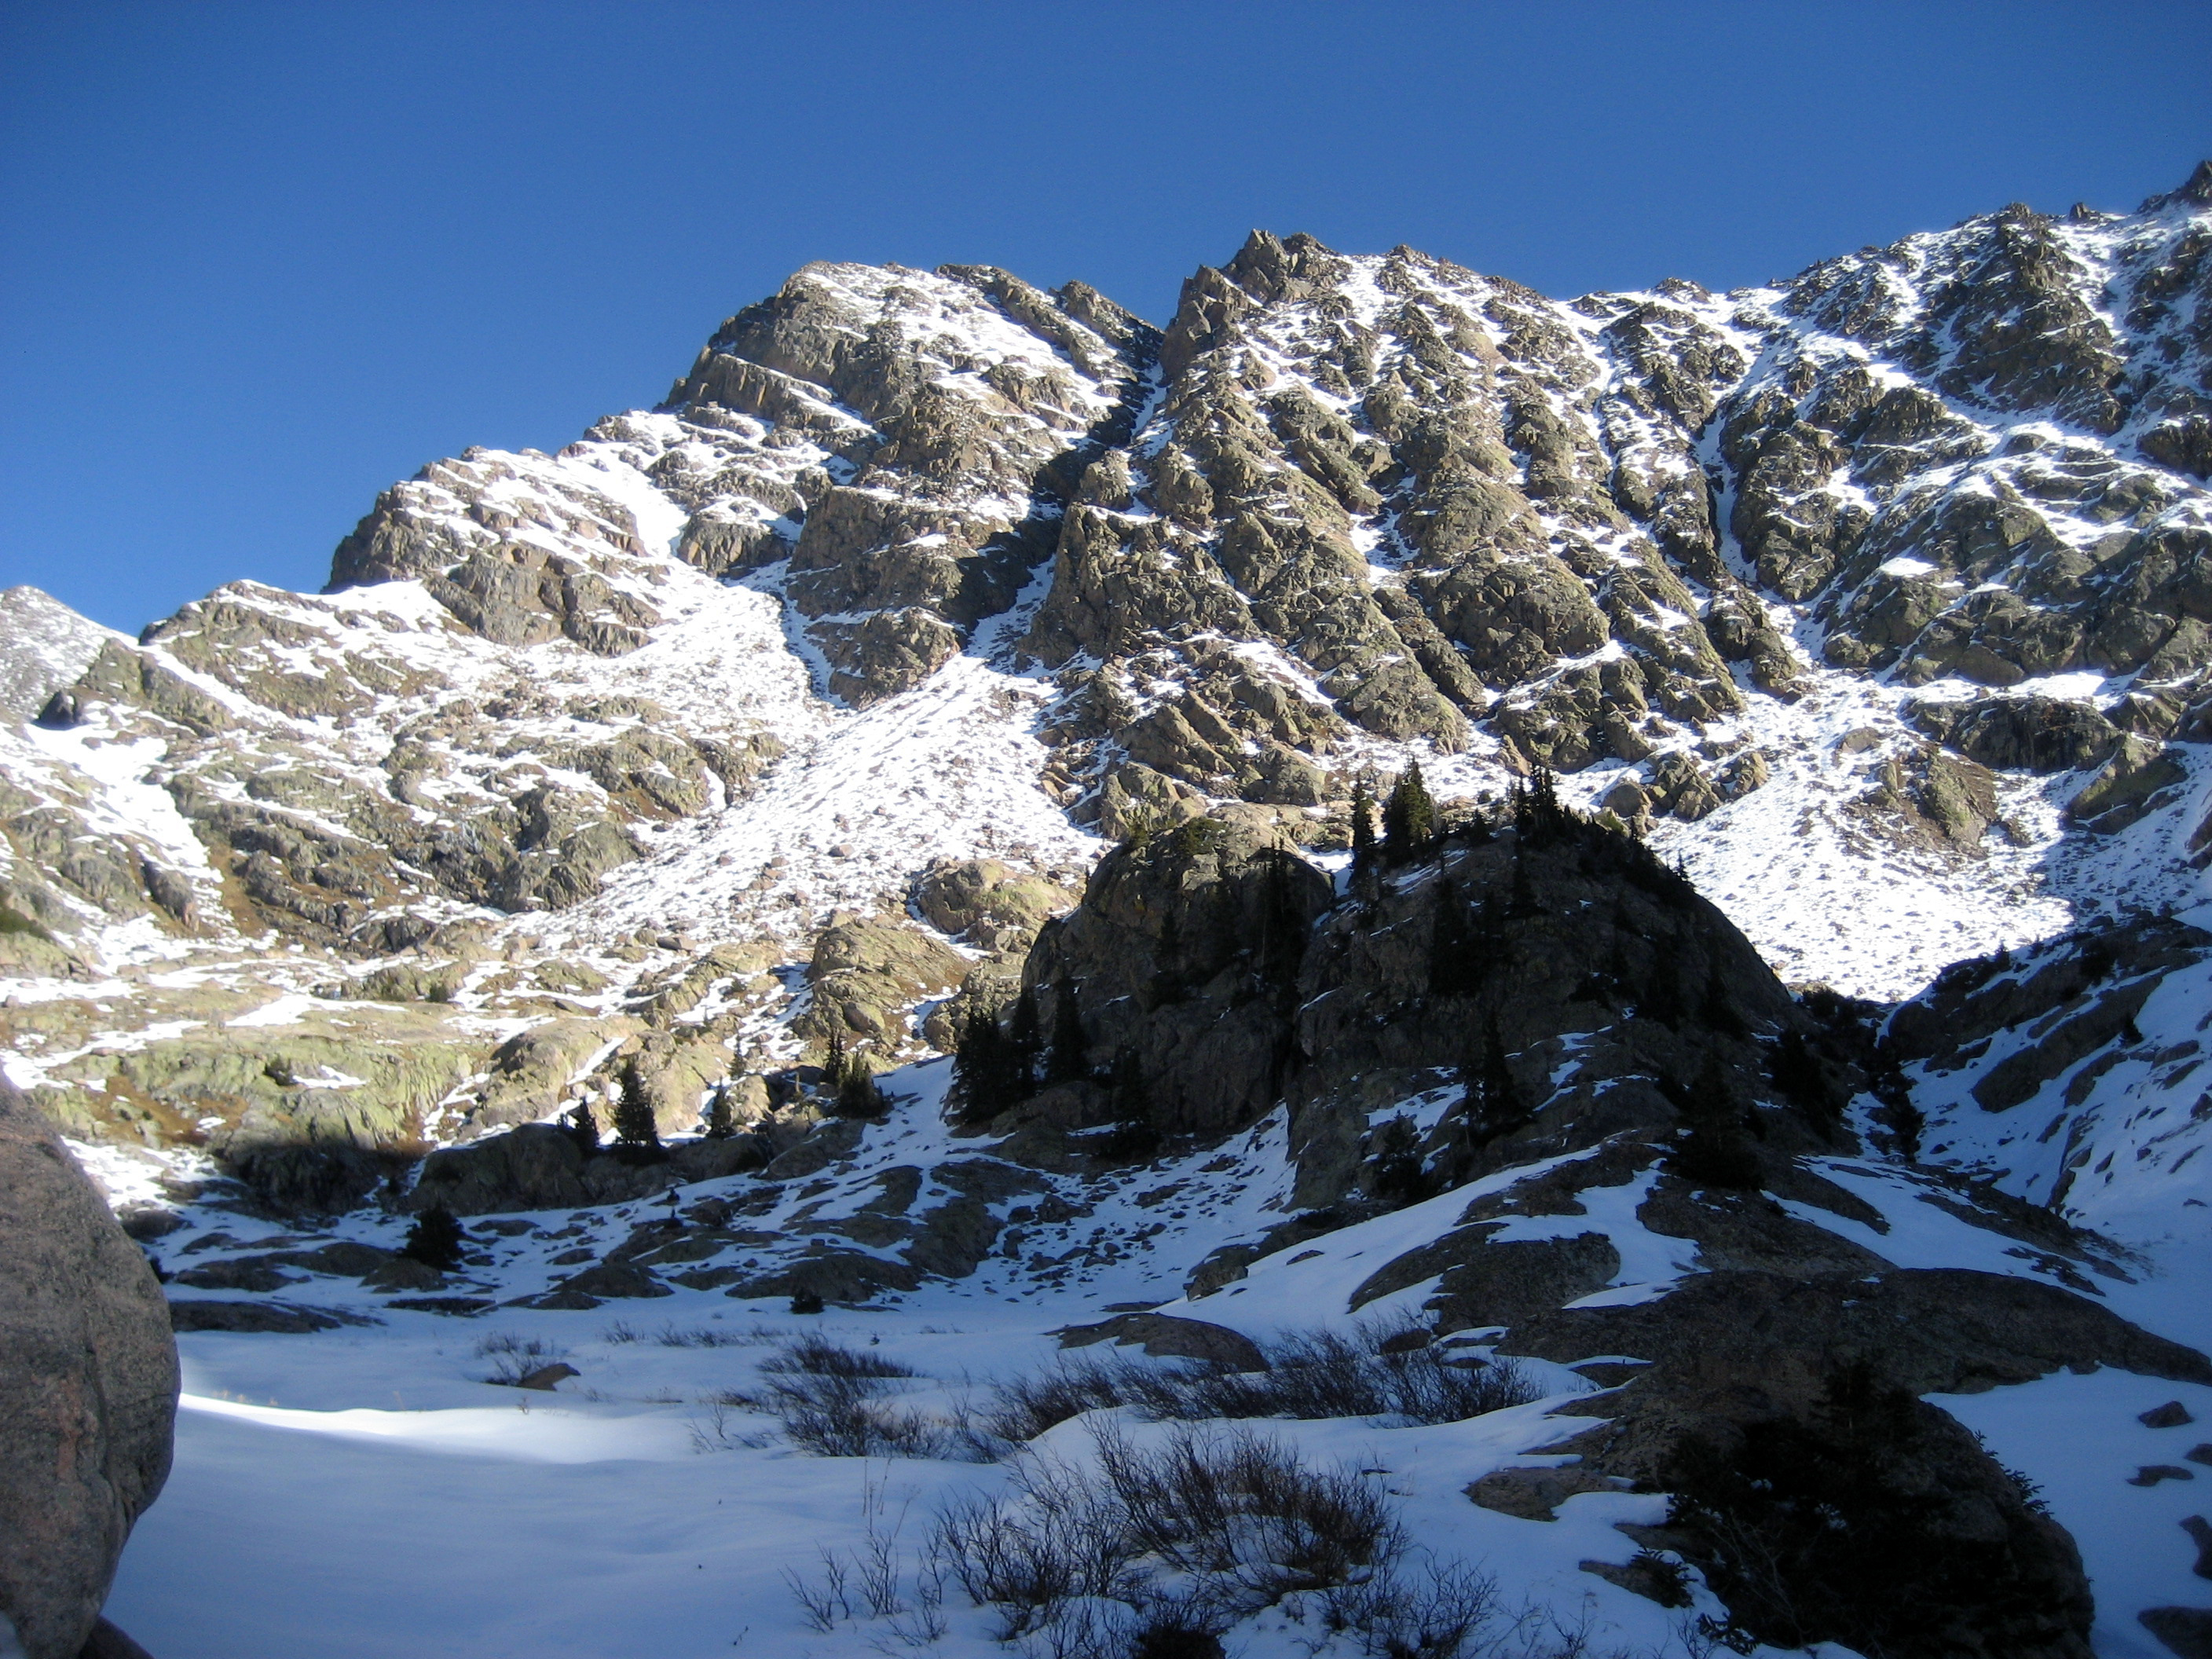
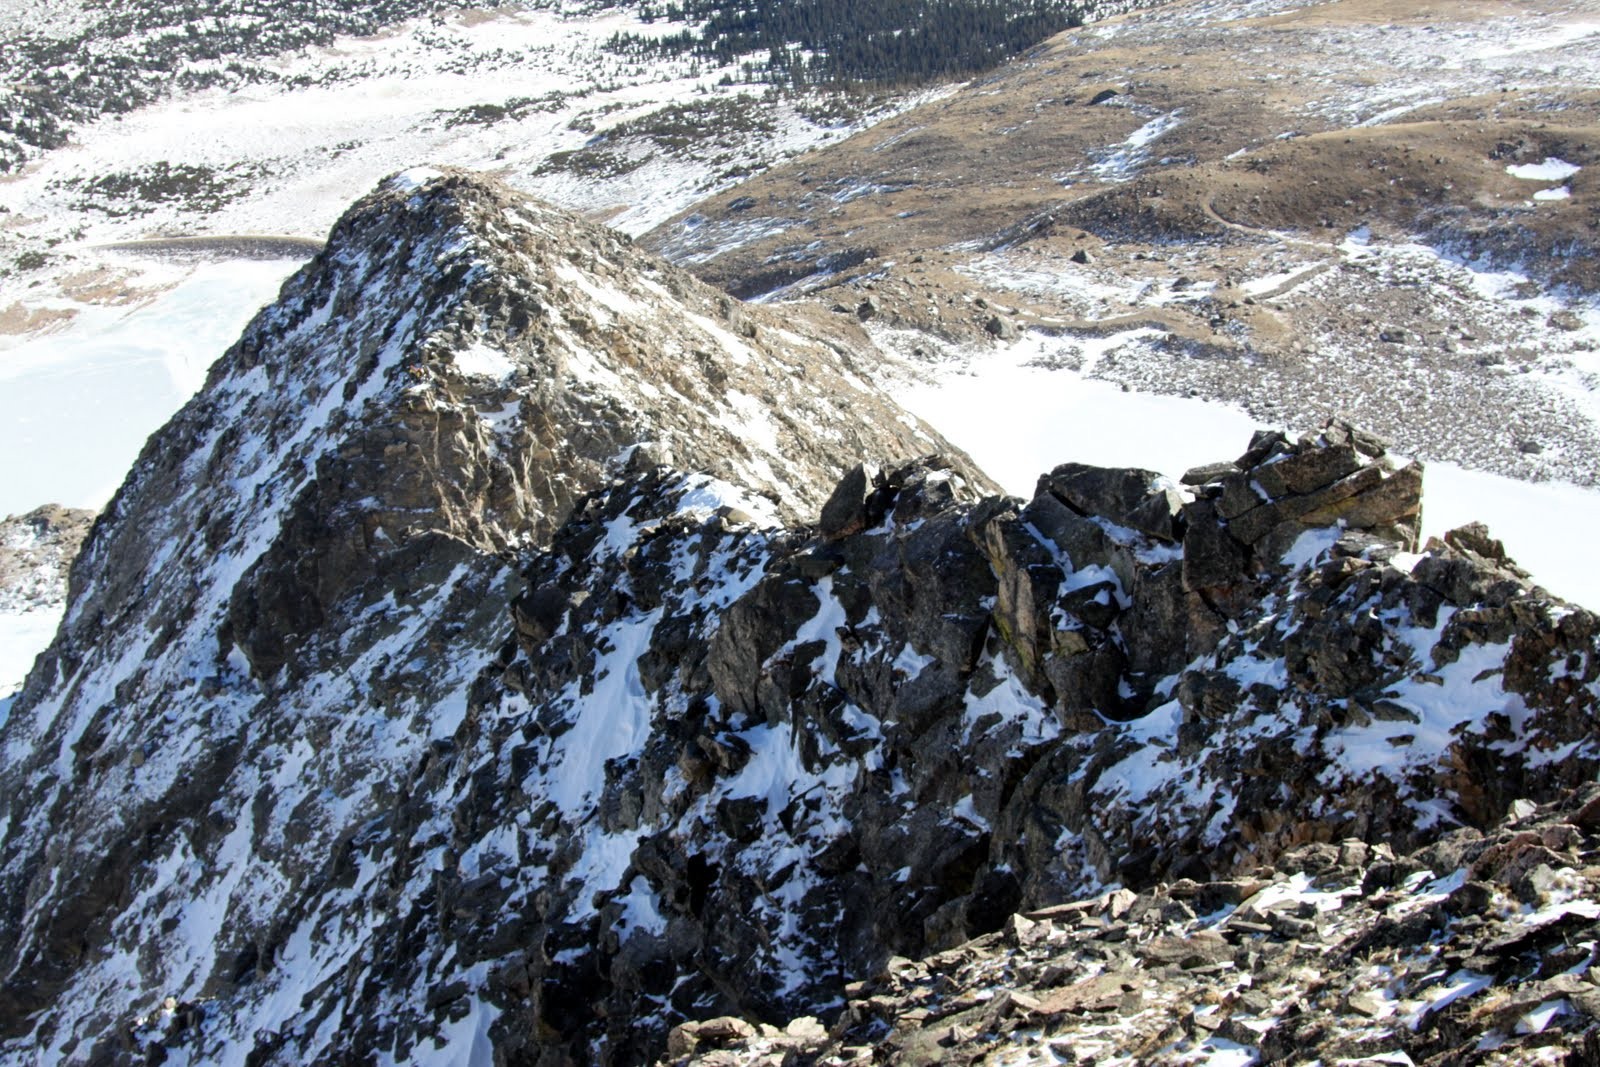
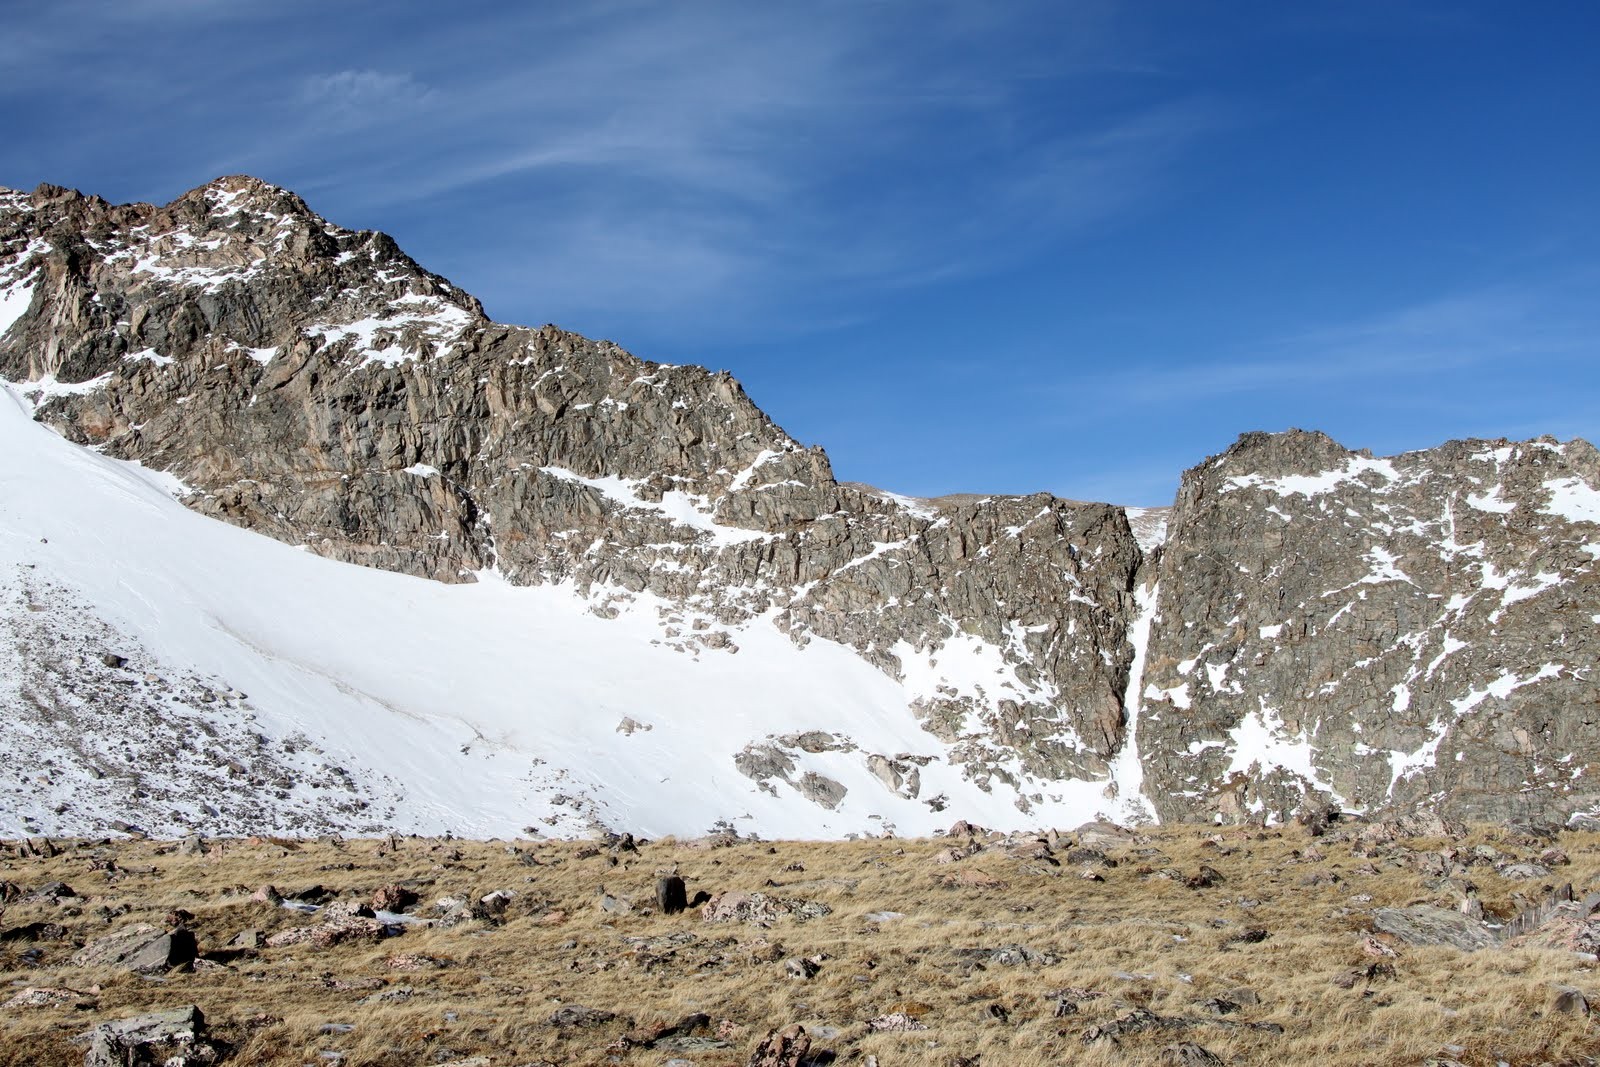
The east ridge direct route to Bancroft’s summit
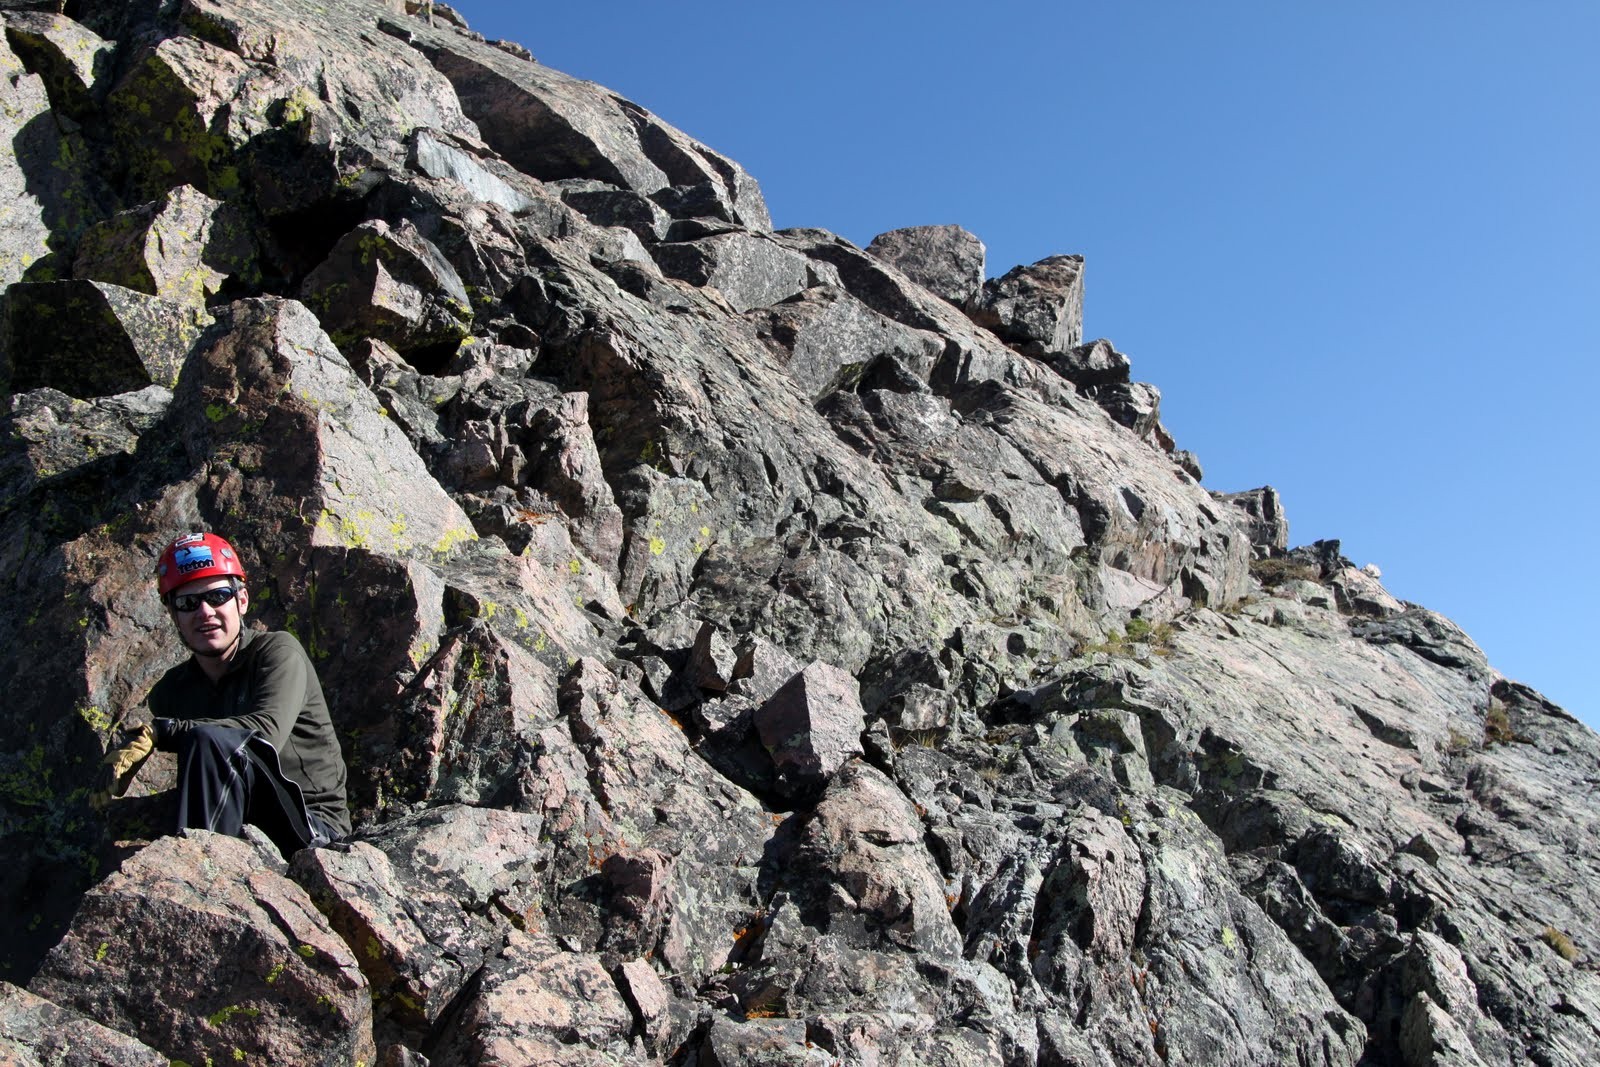
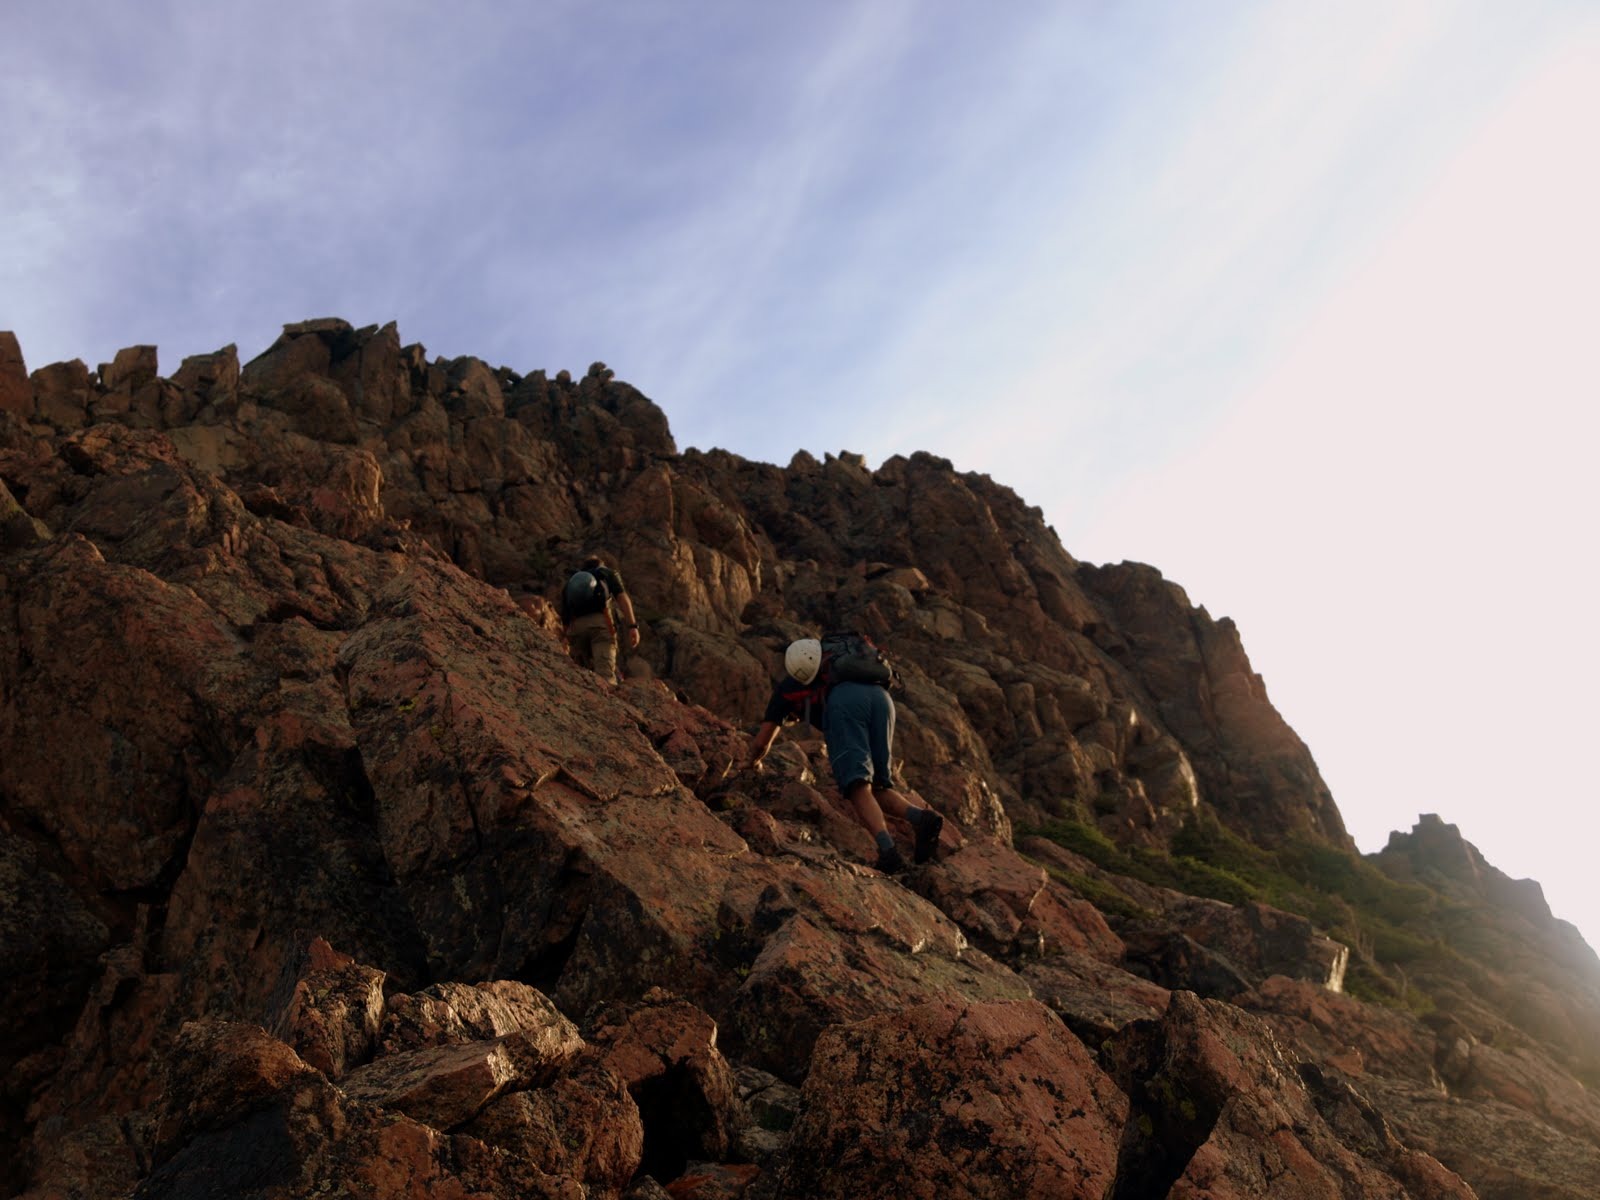
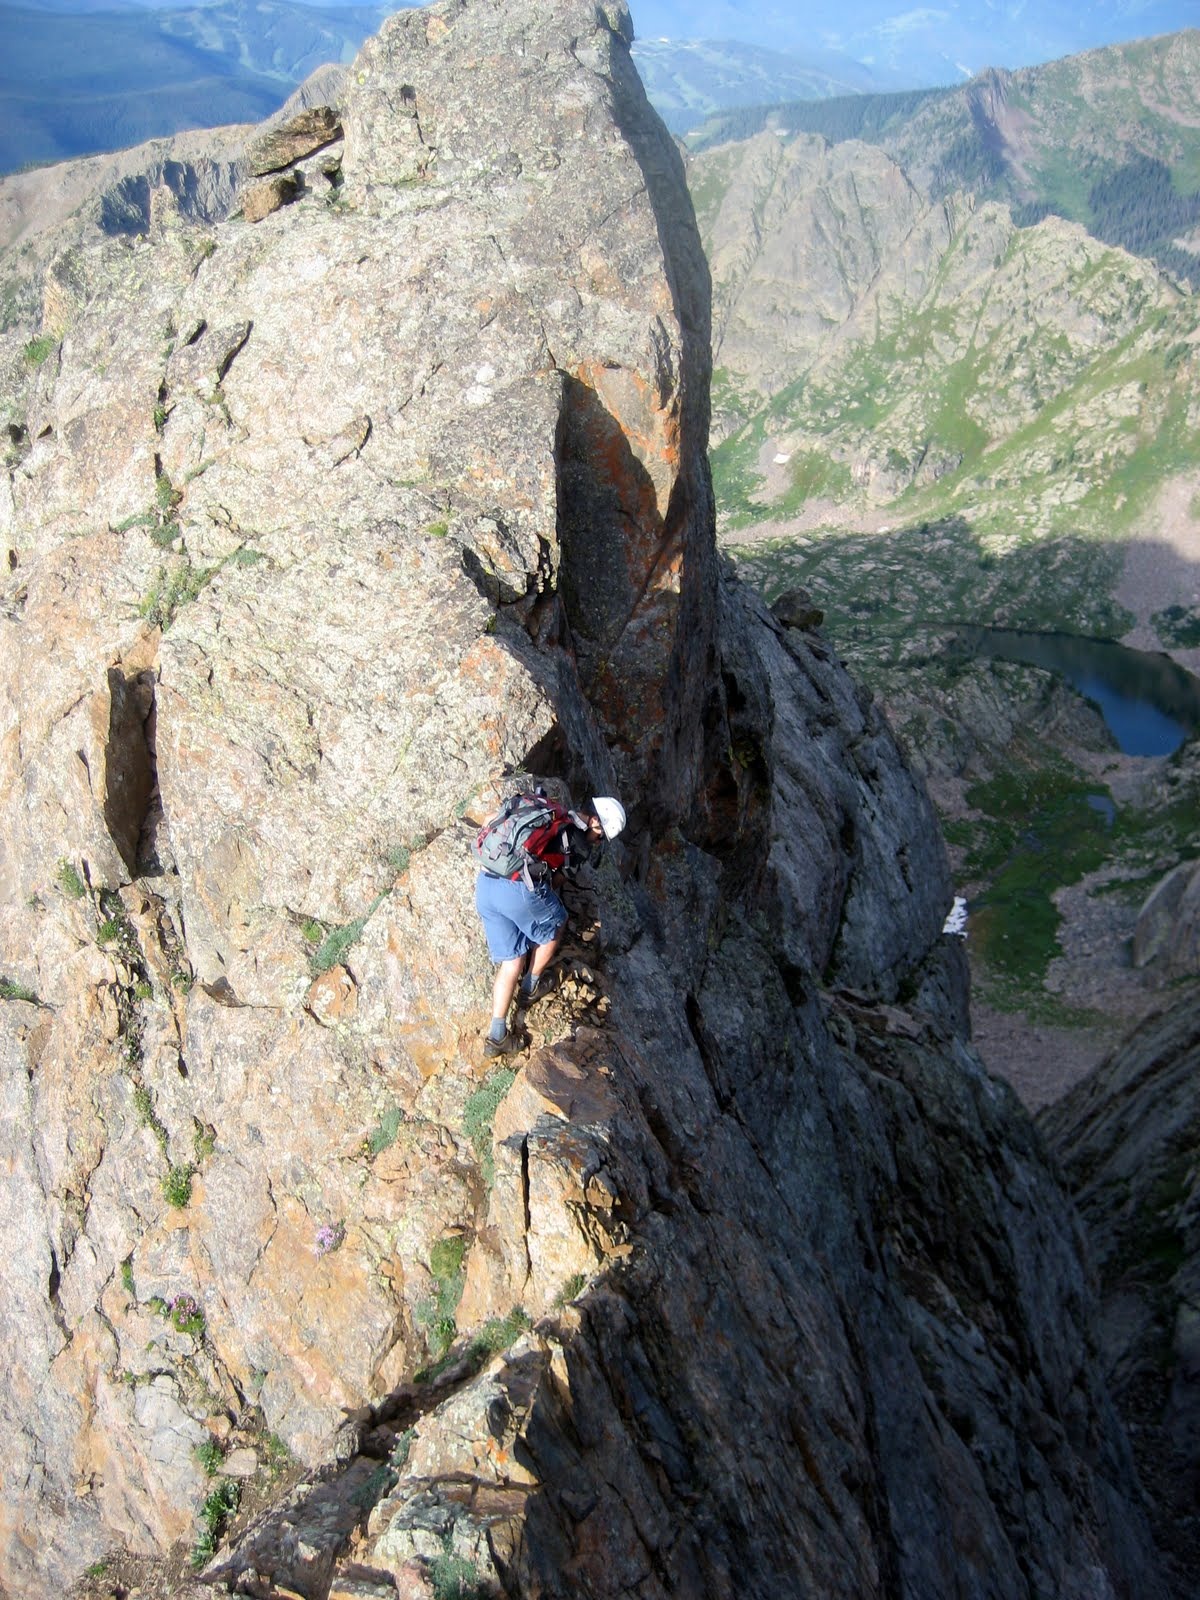
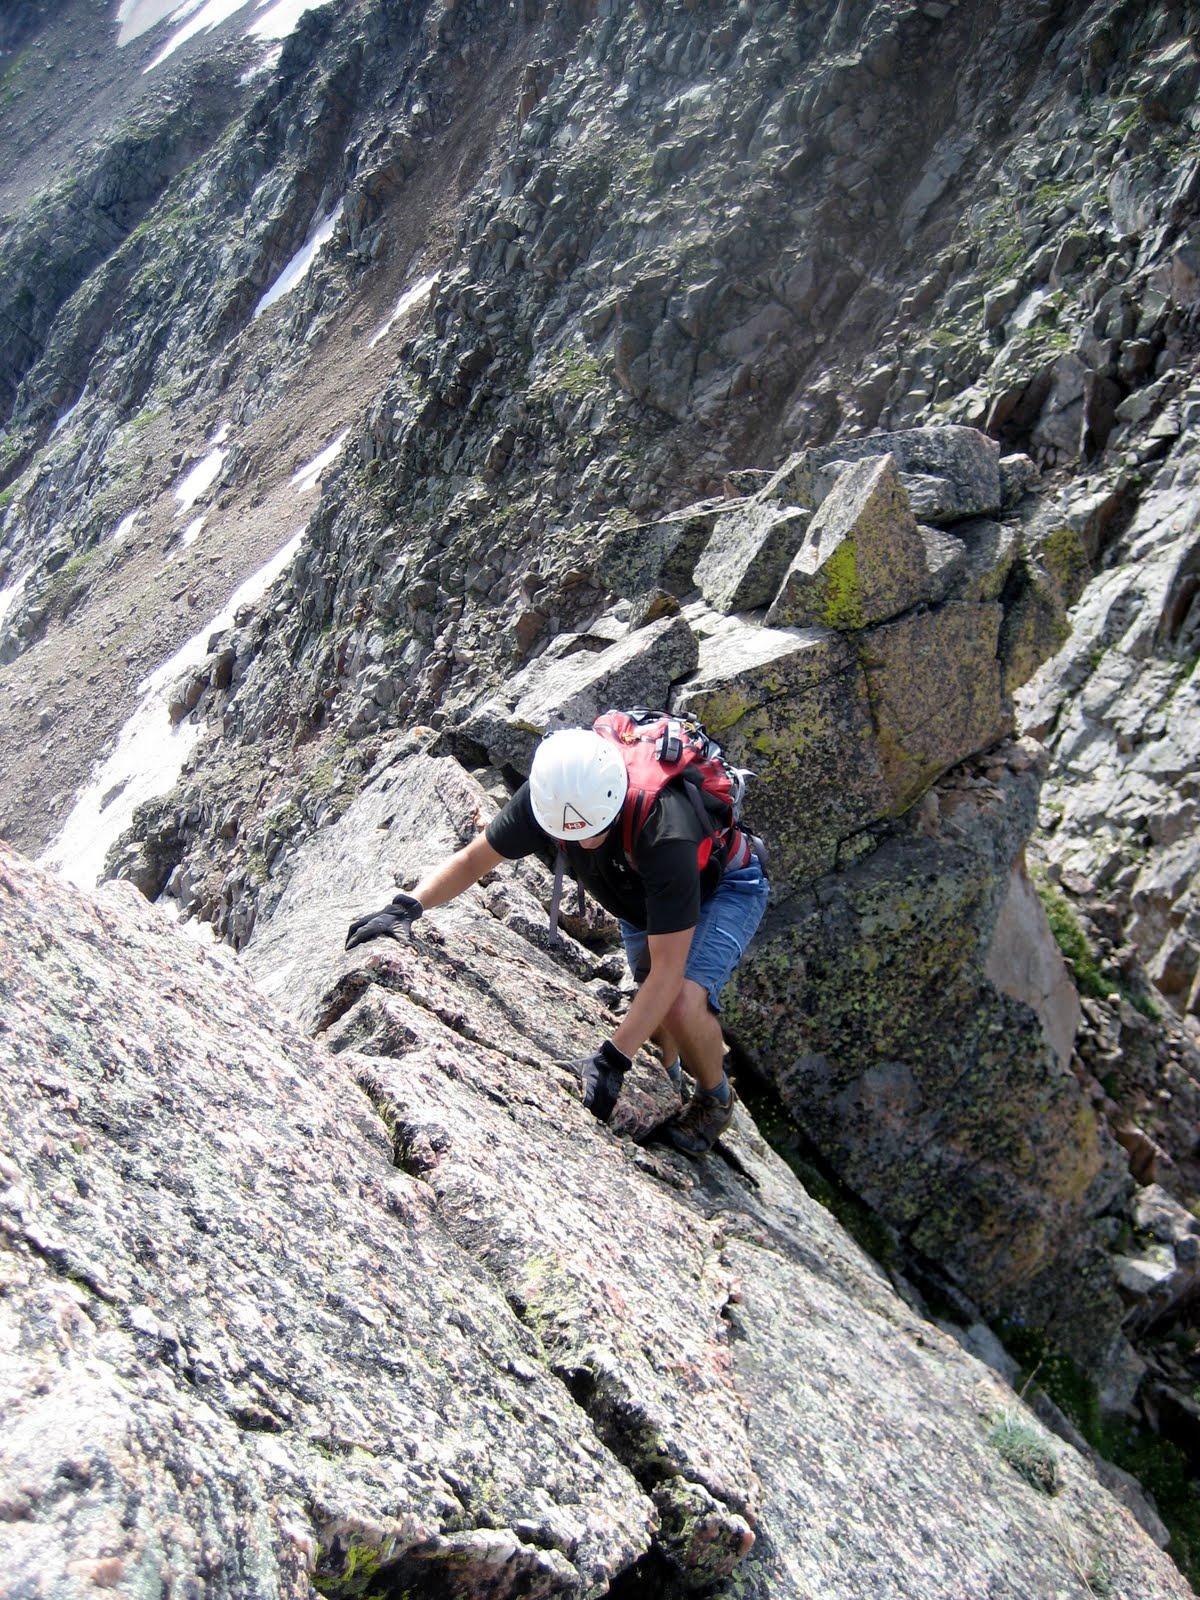
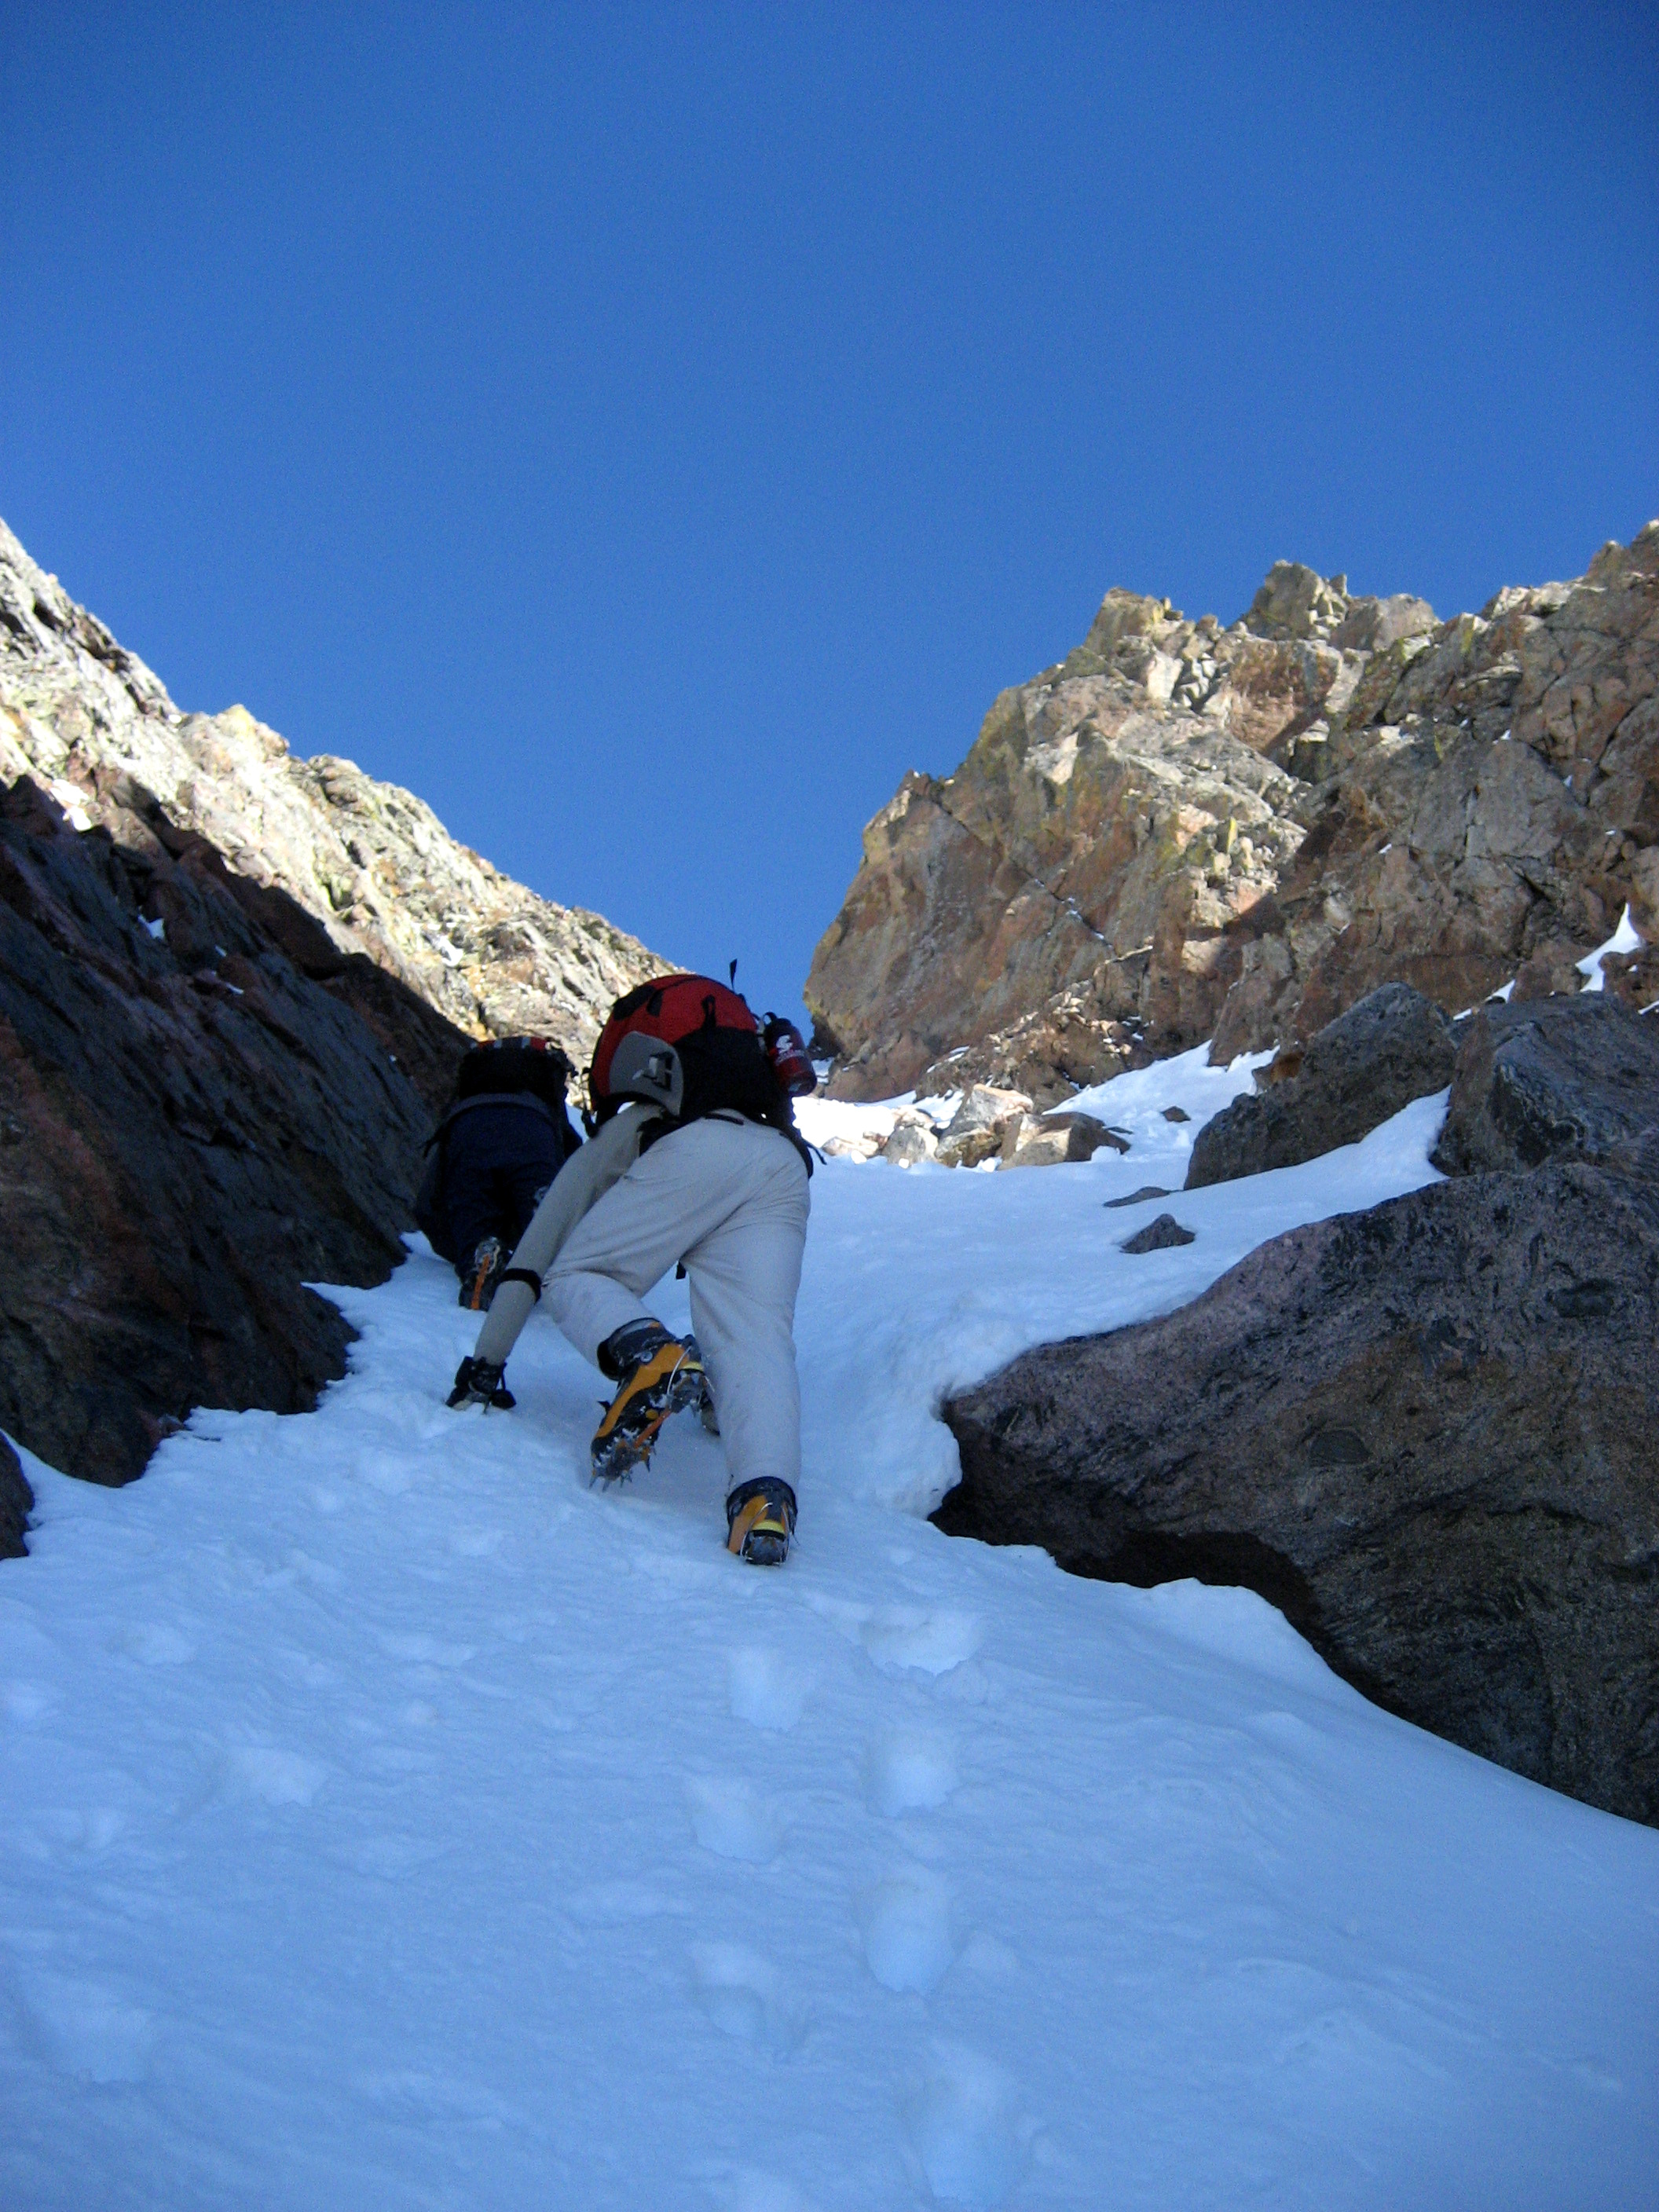
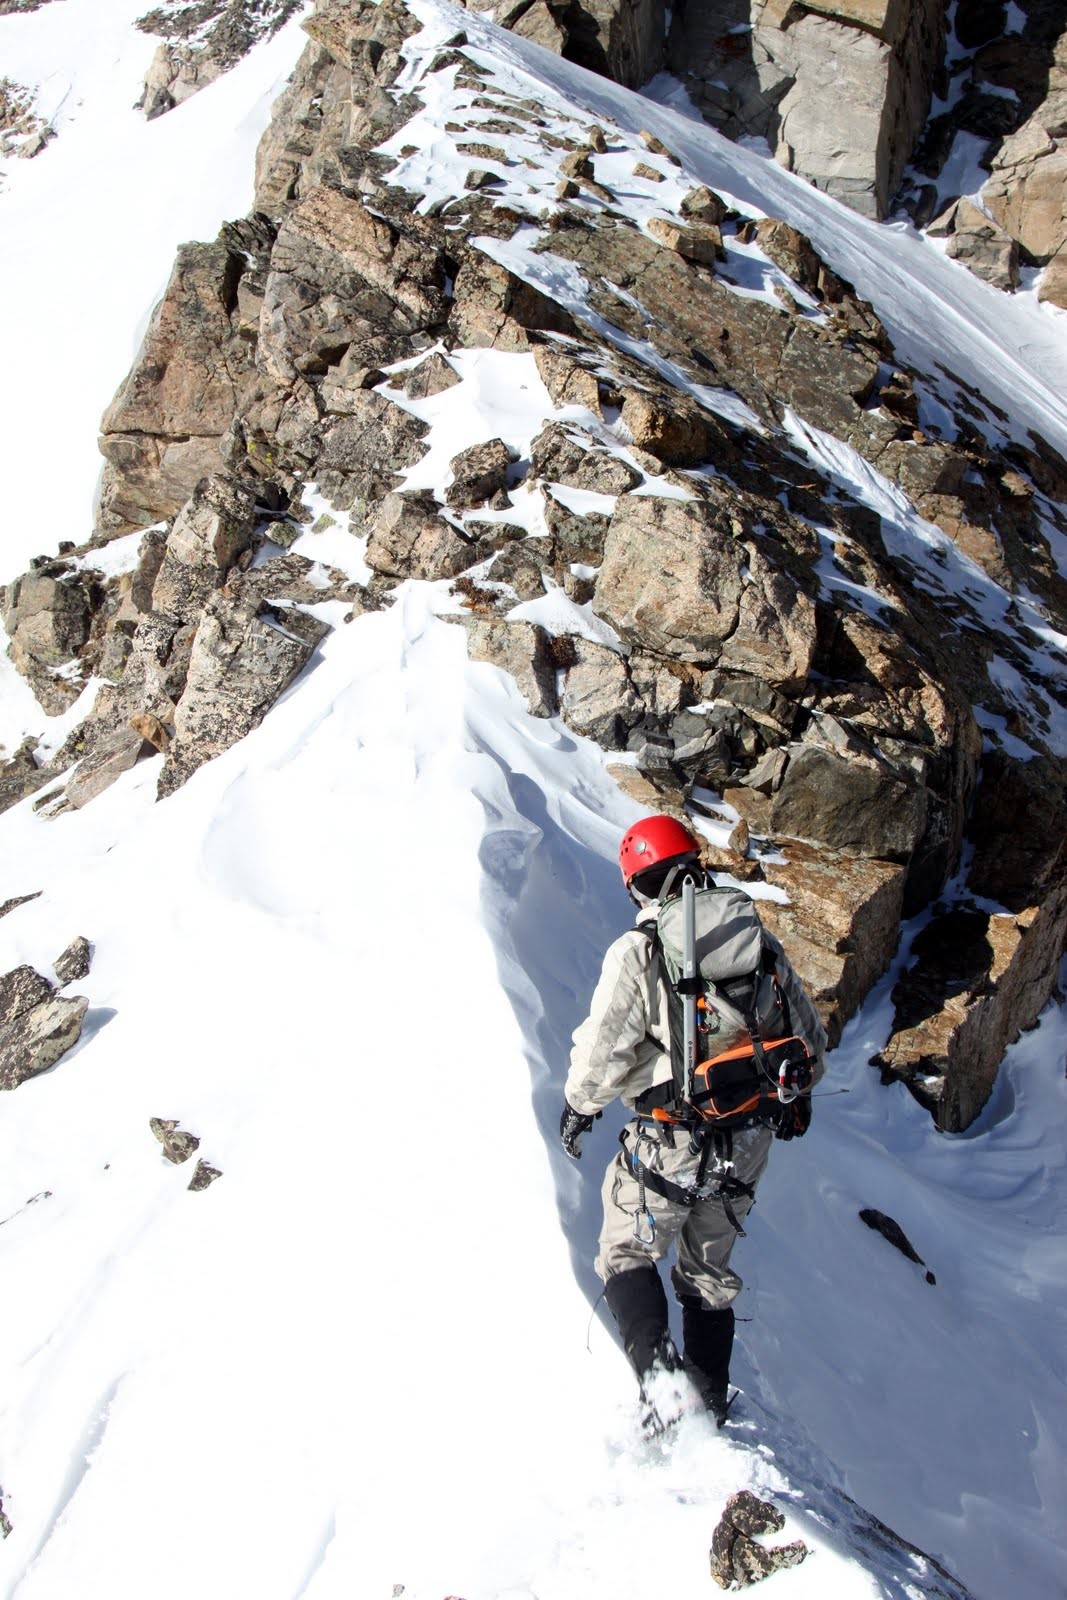
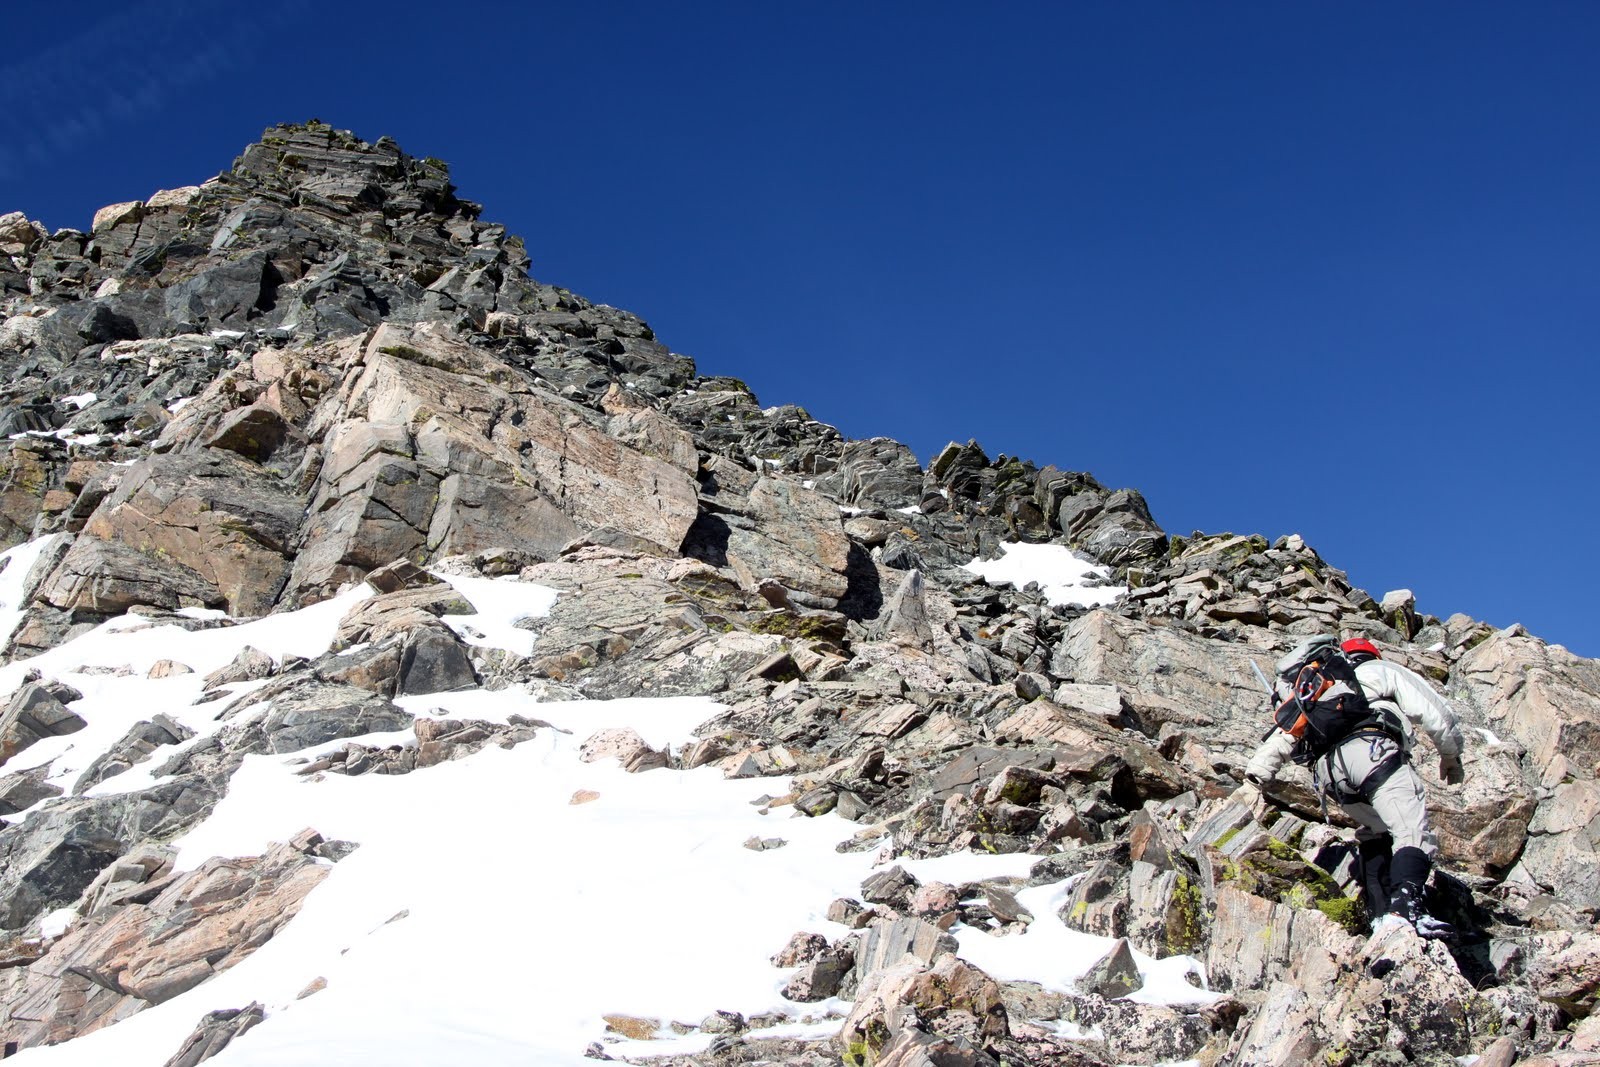
The initial portion of the ridge (up to the infamous notch) was fairly straighforward with some fun class 3 moves if you stayed on the ridge proper.
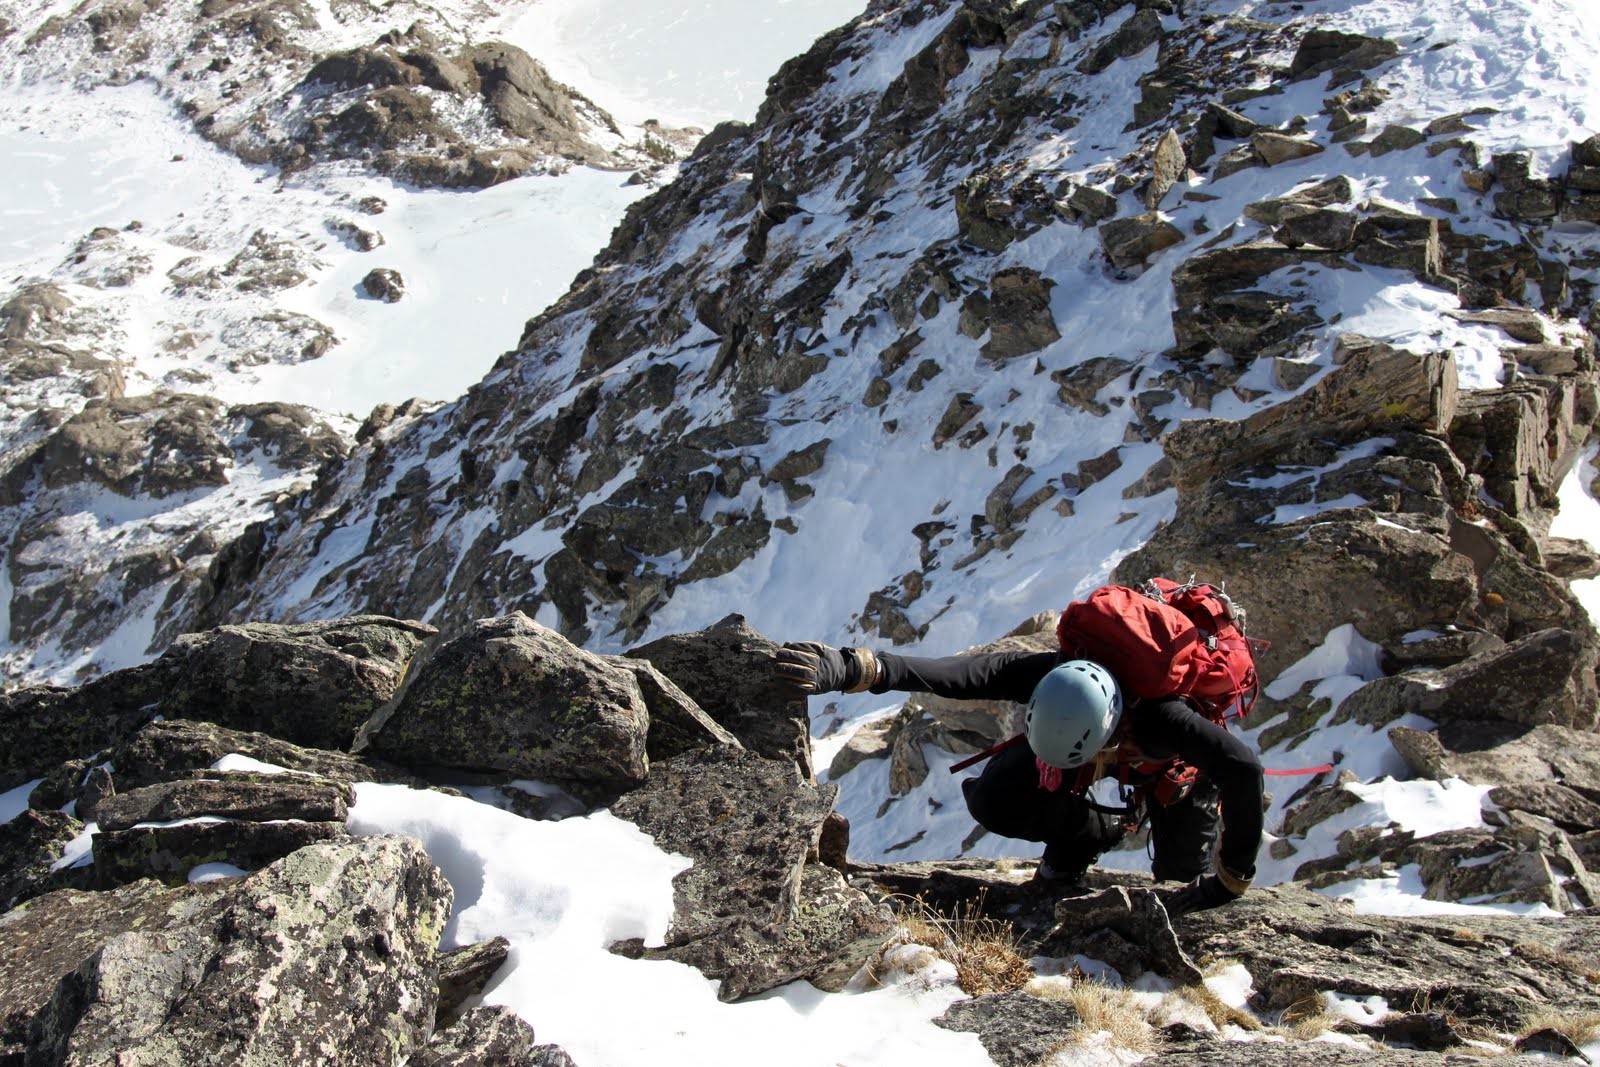
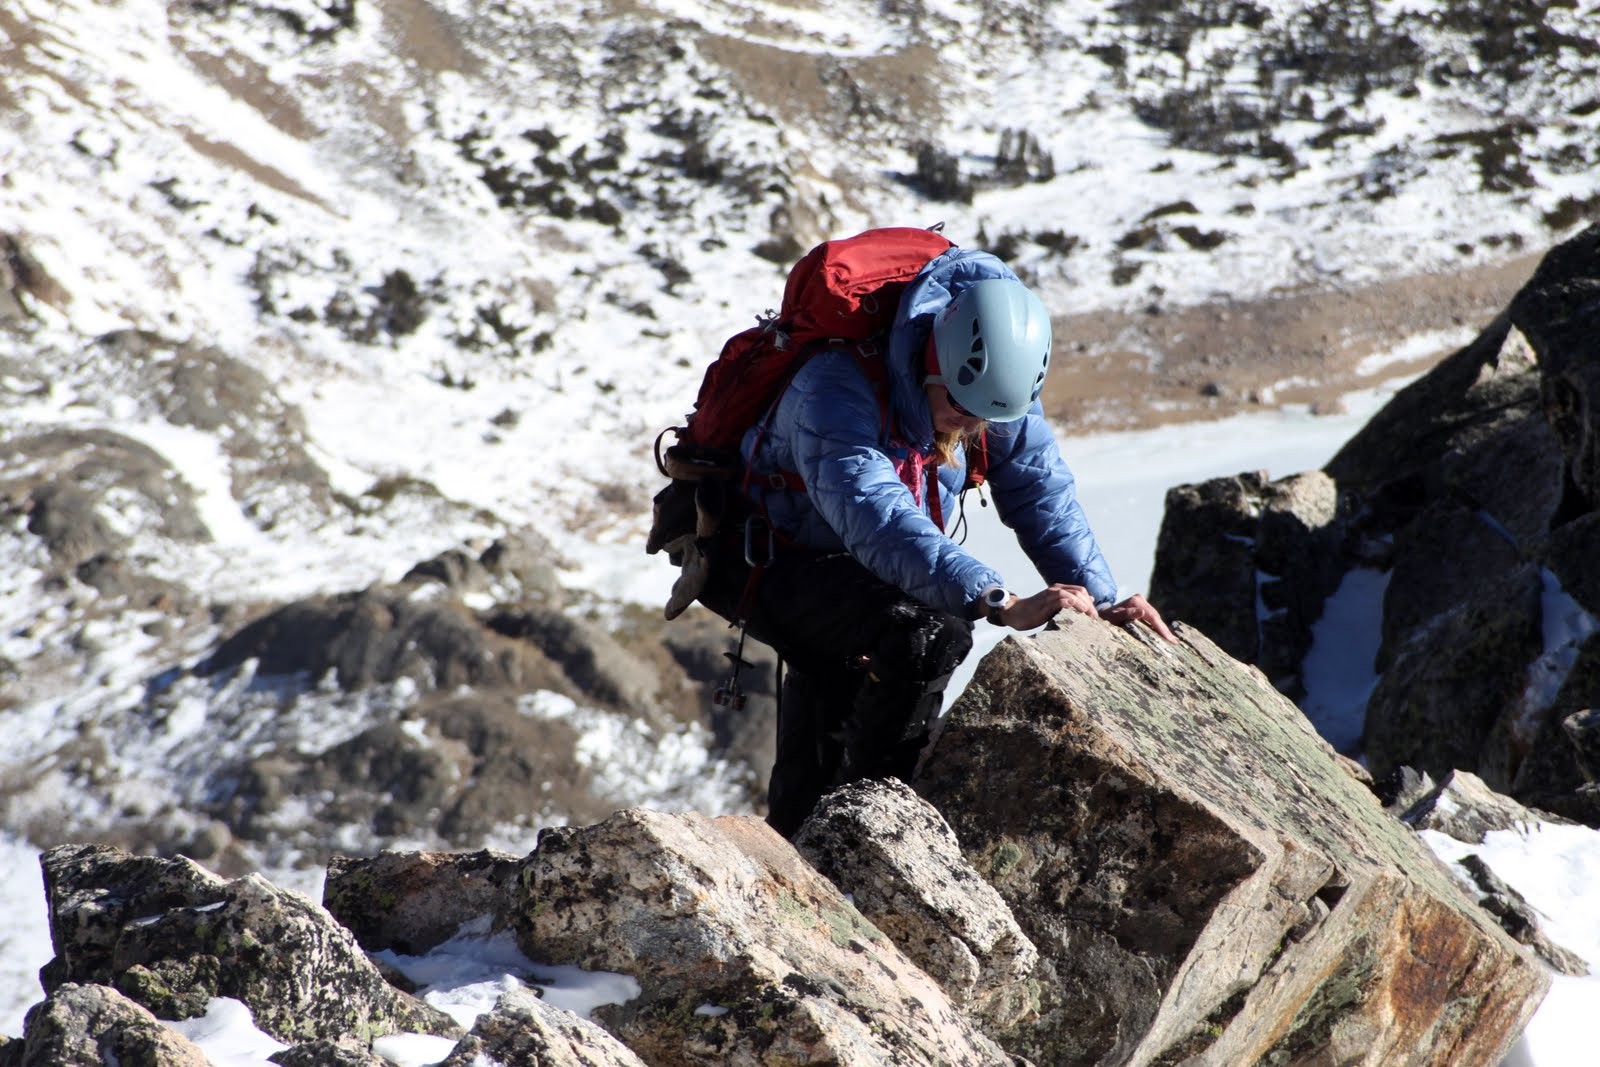
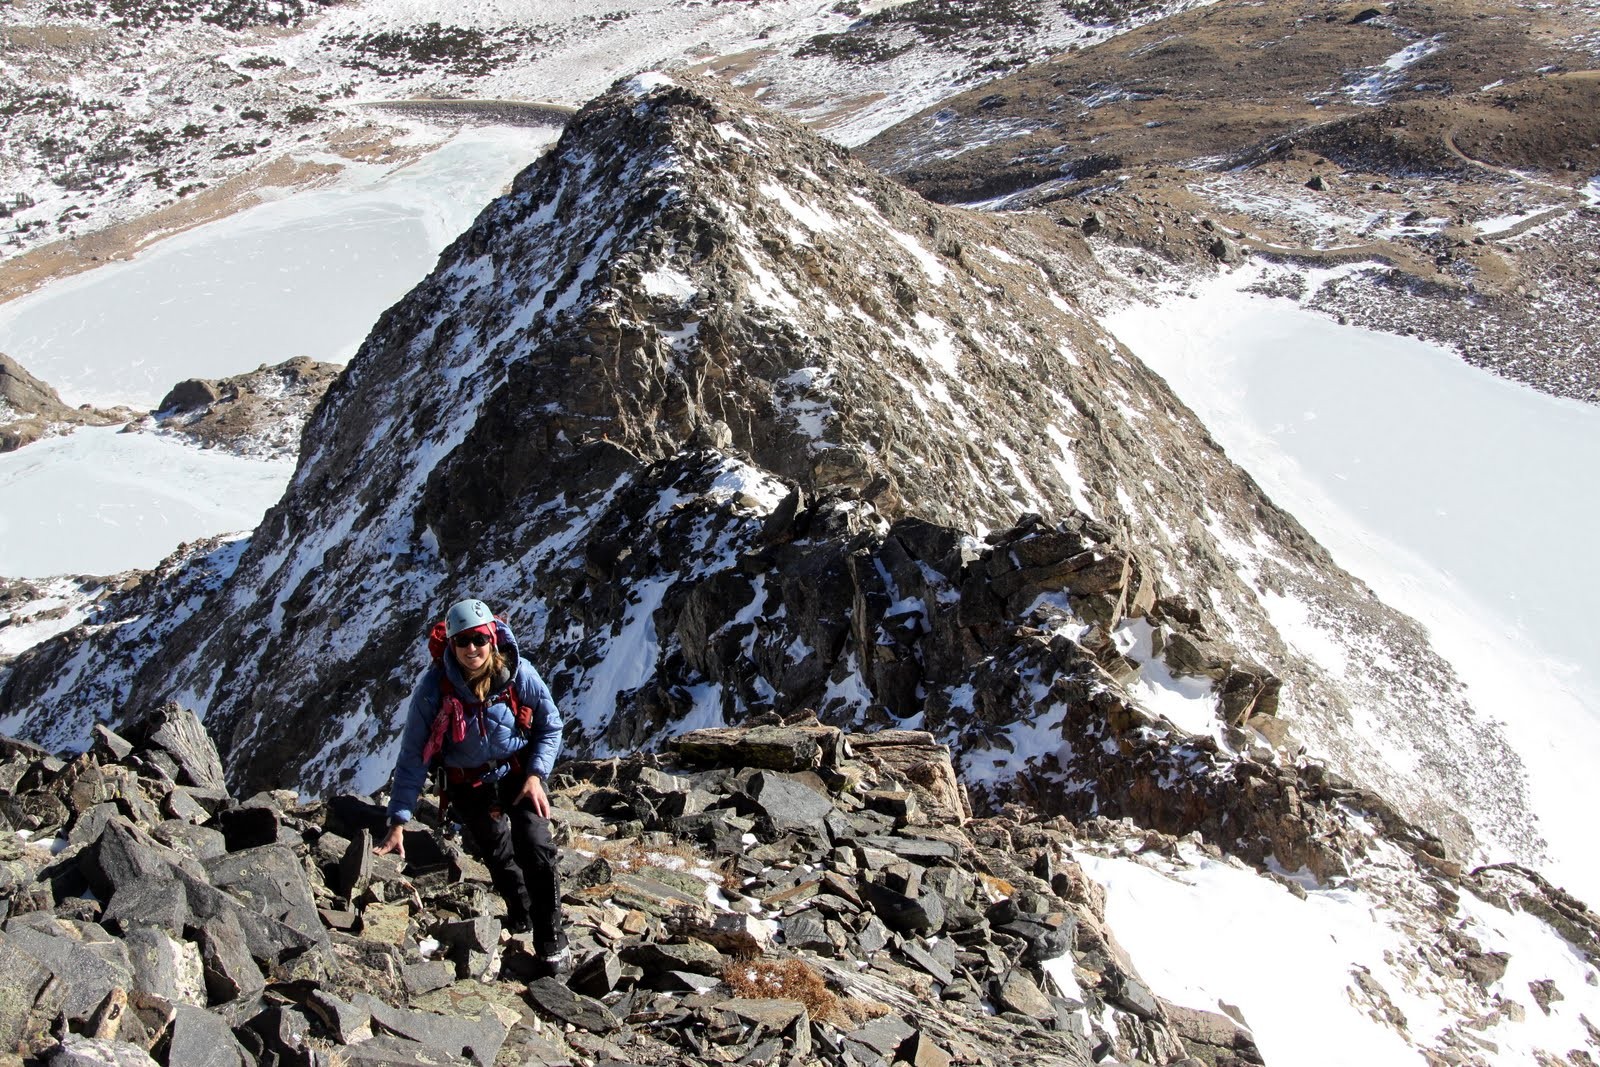
Kristine climbing the initial class 3 portion of the east ridge
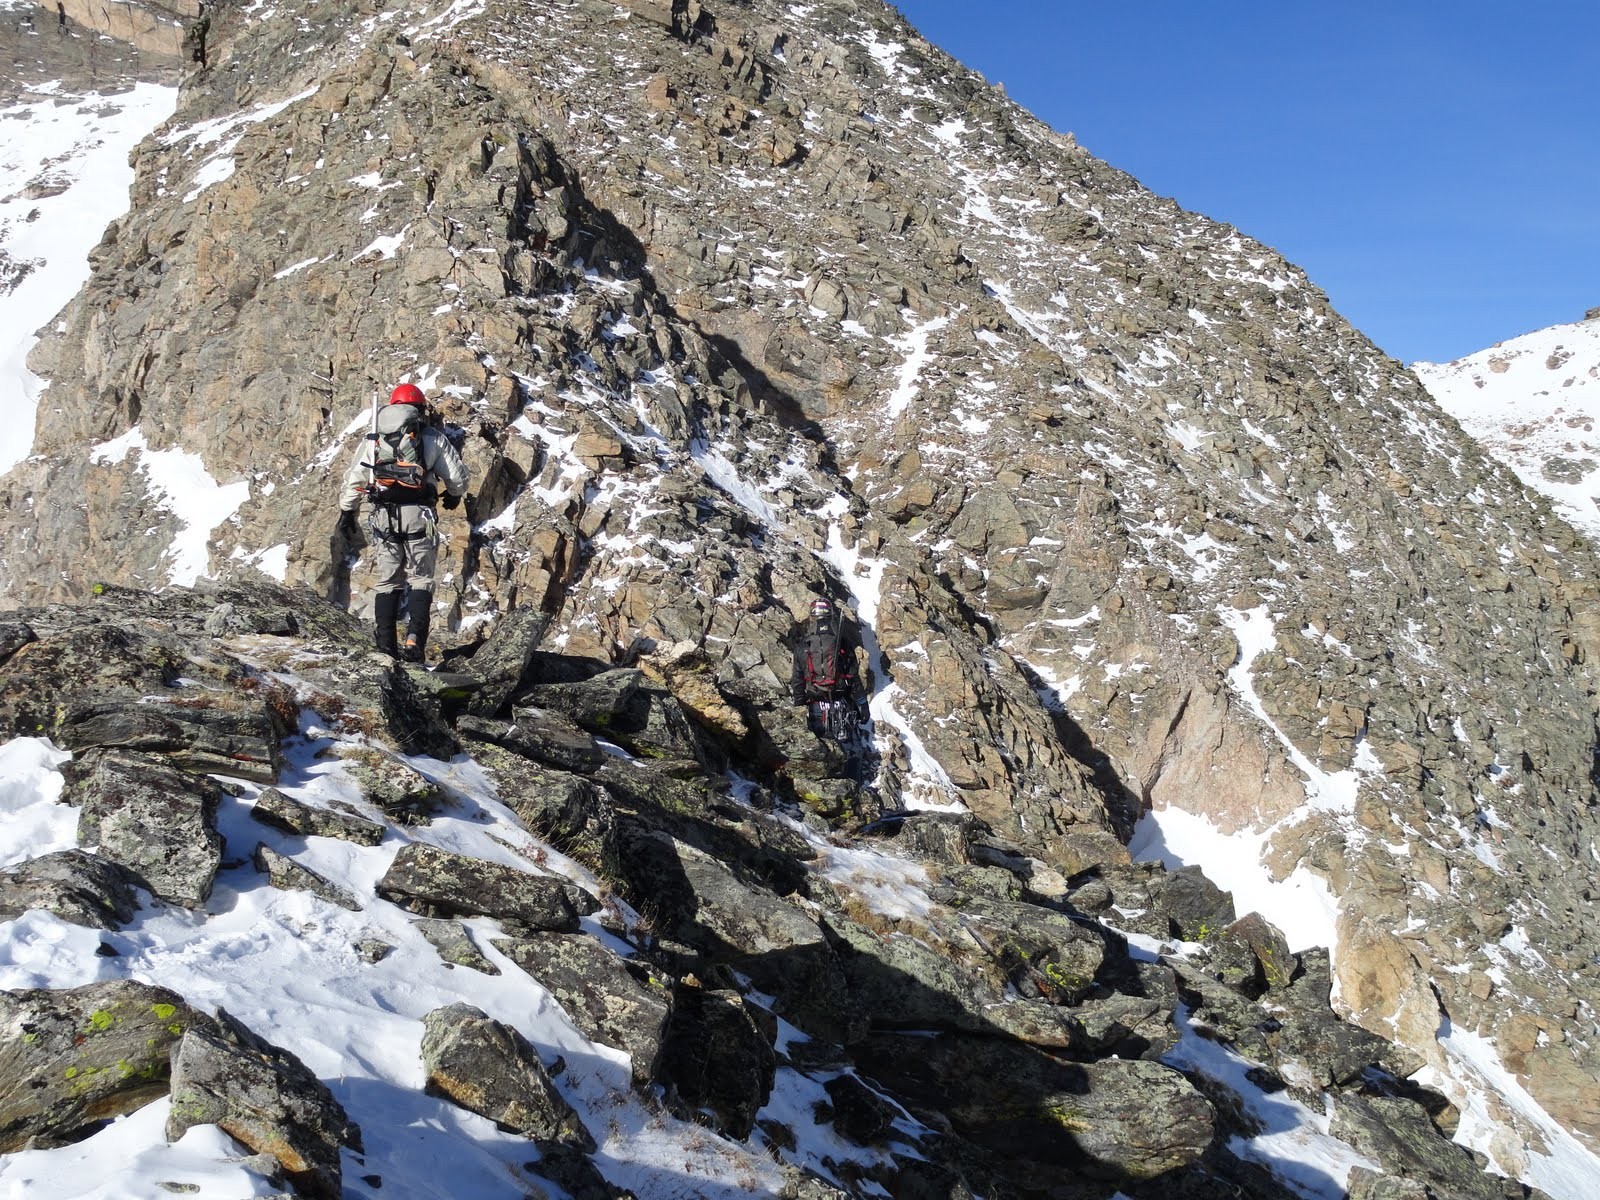
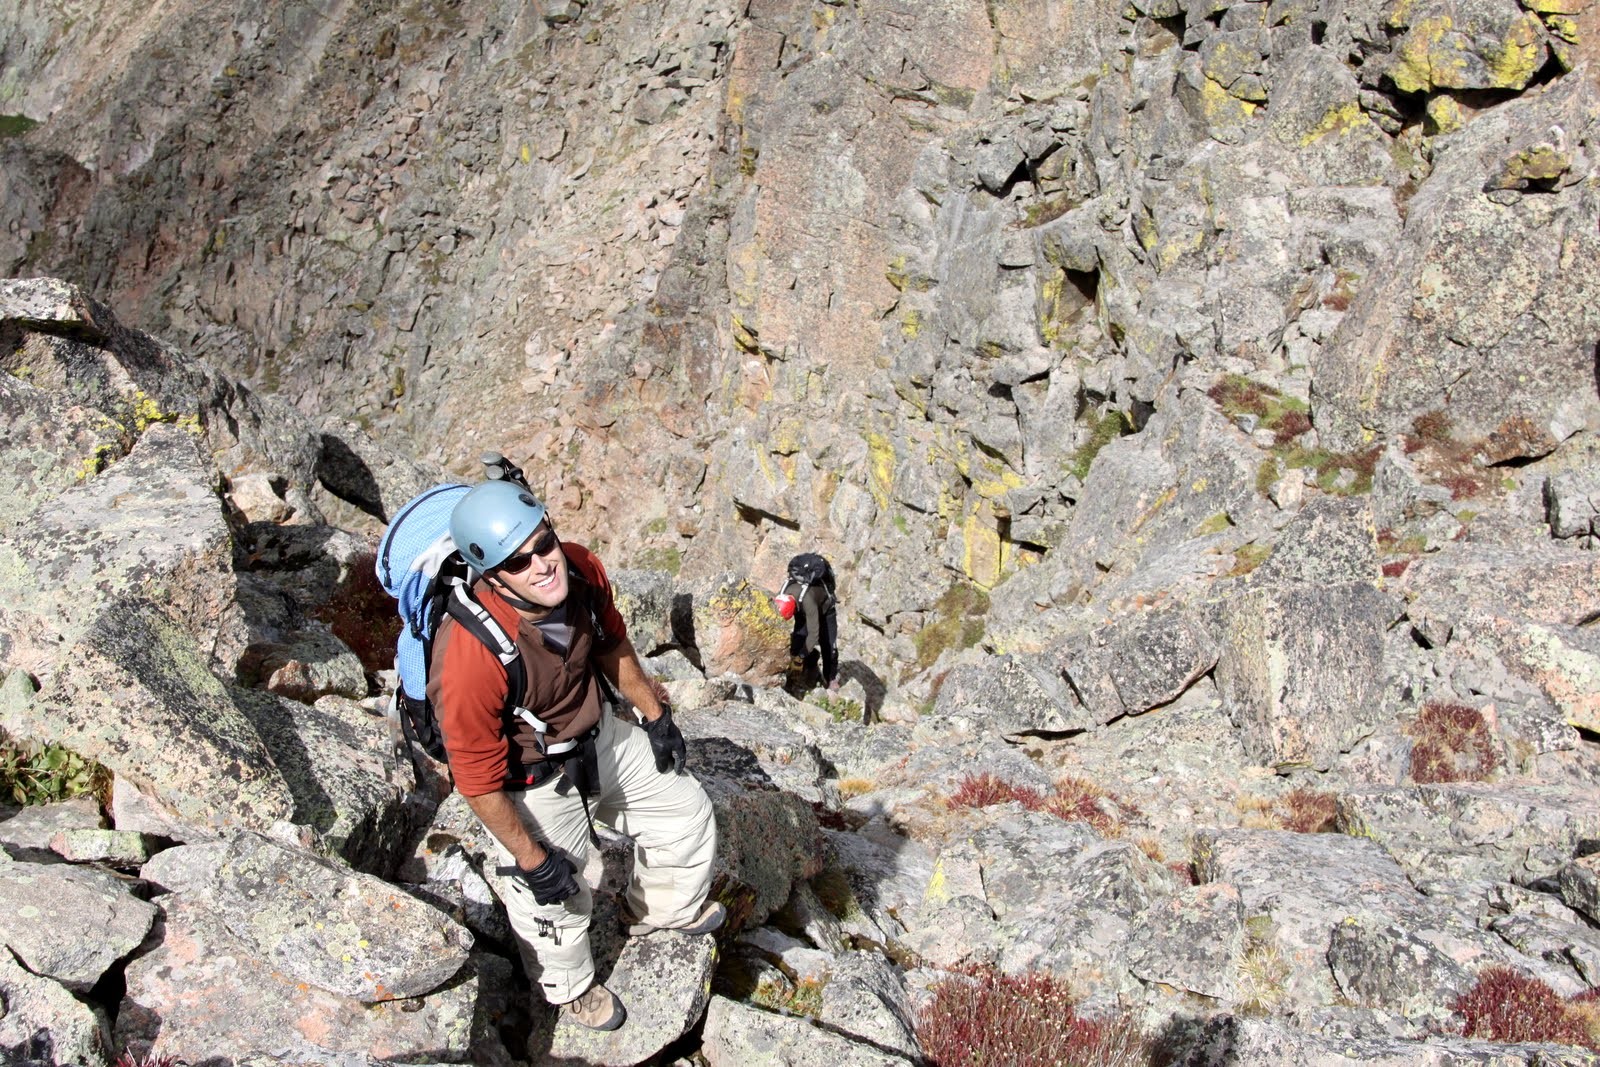
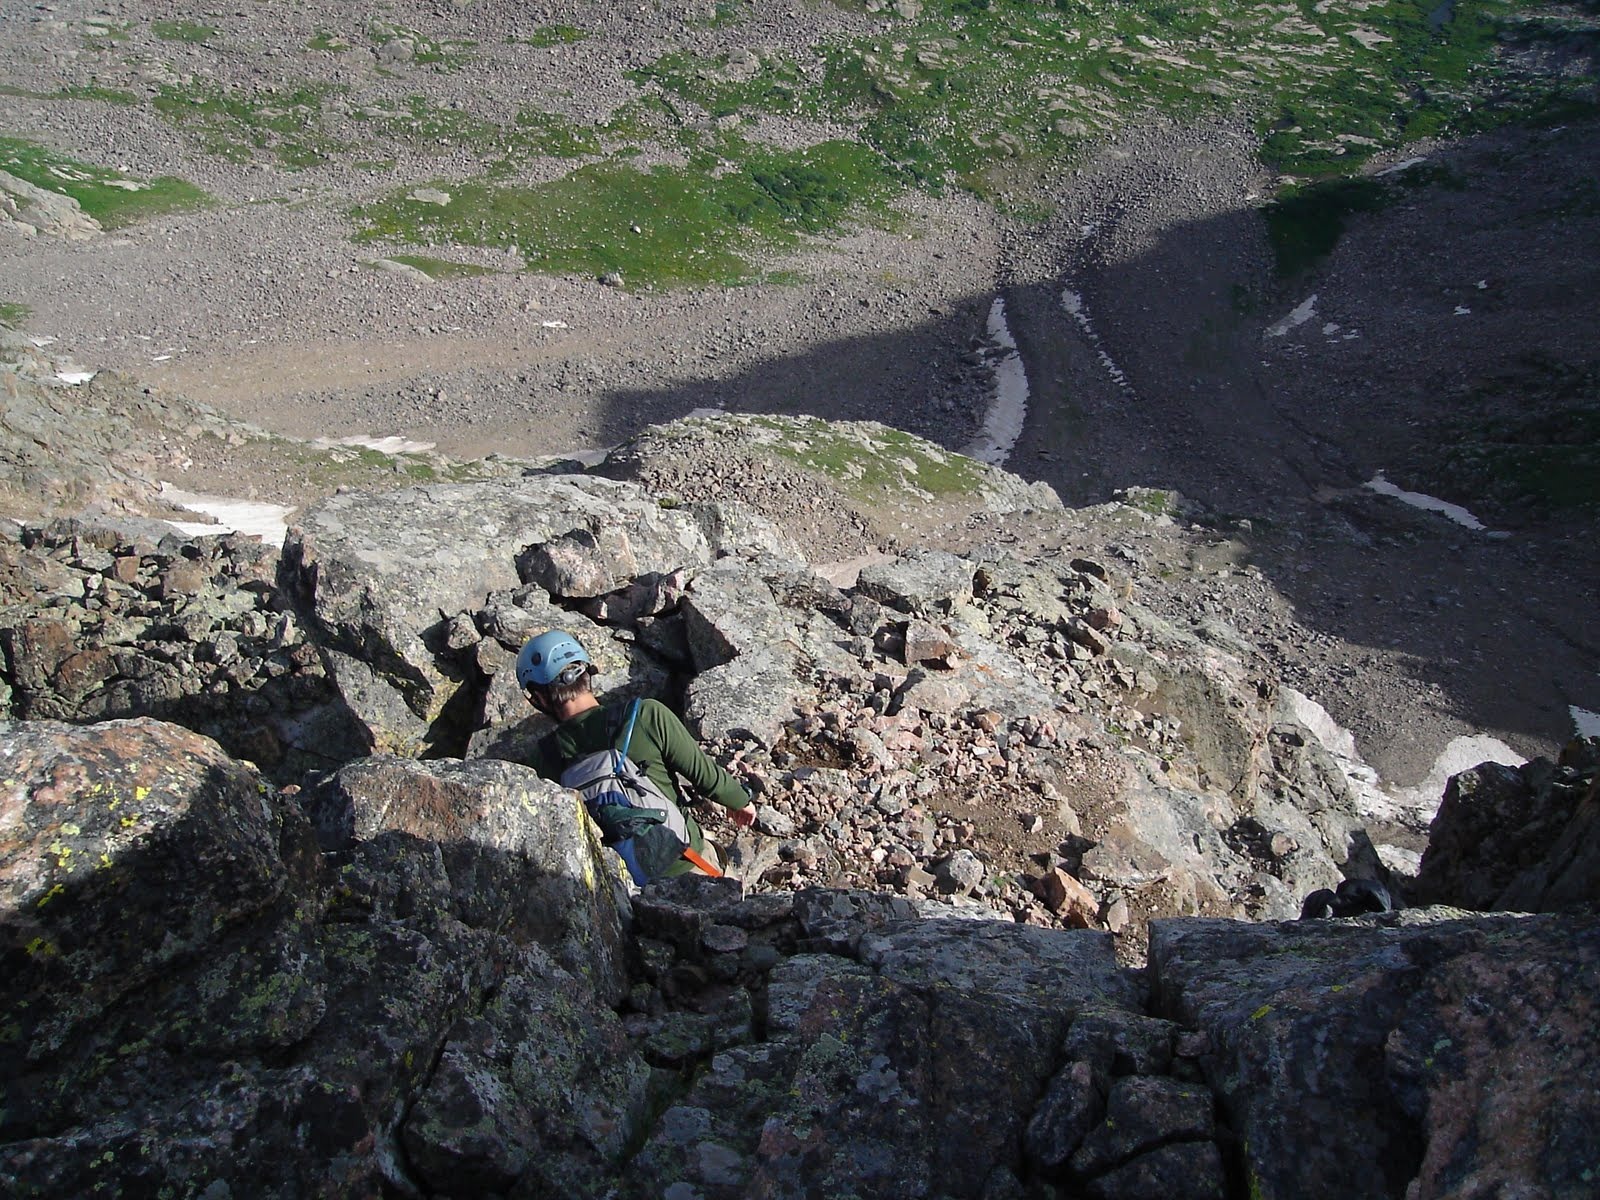
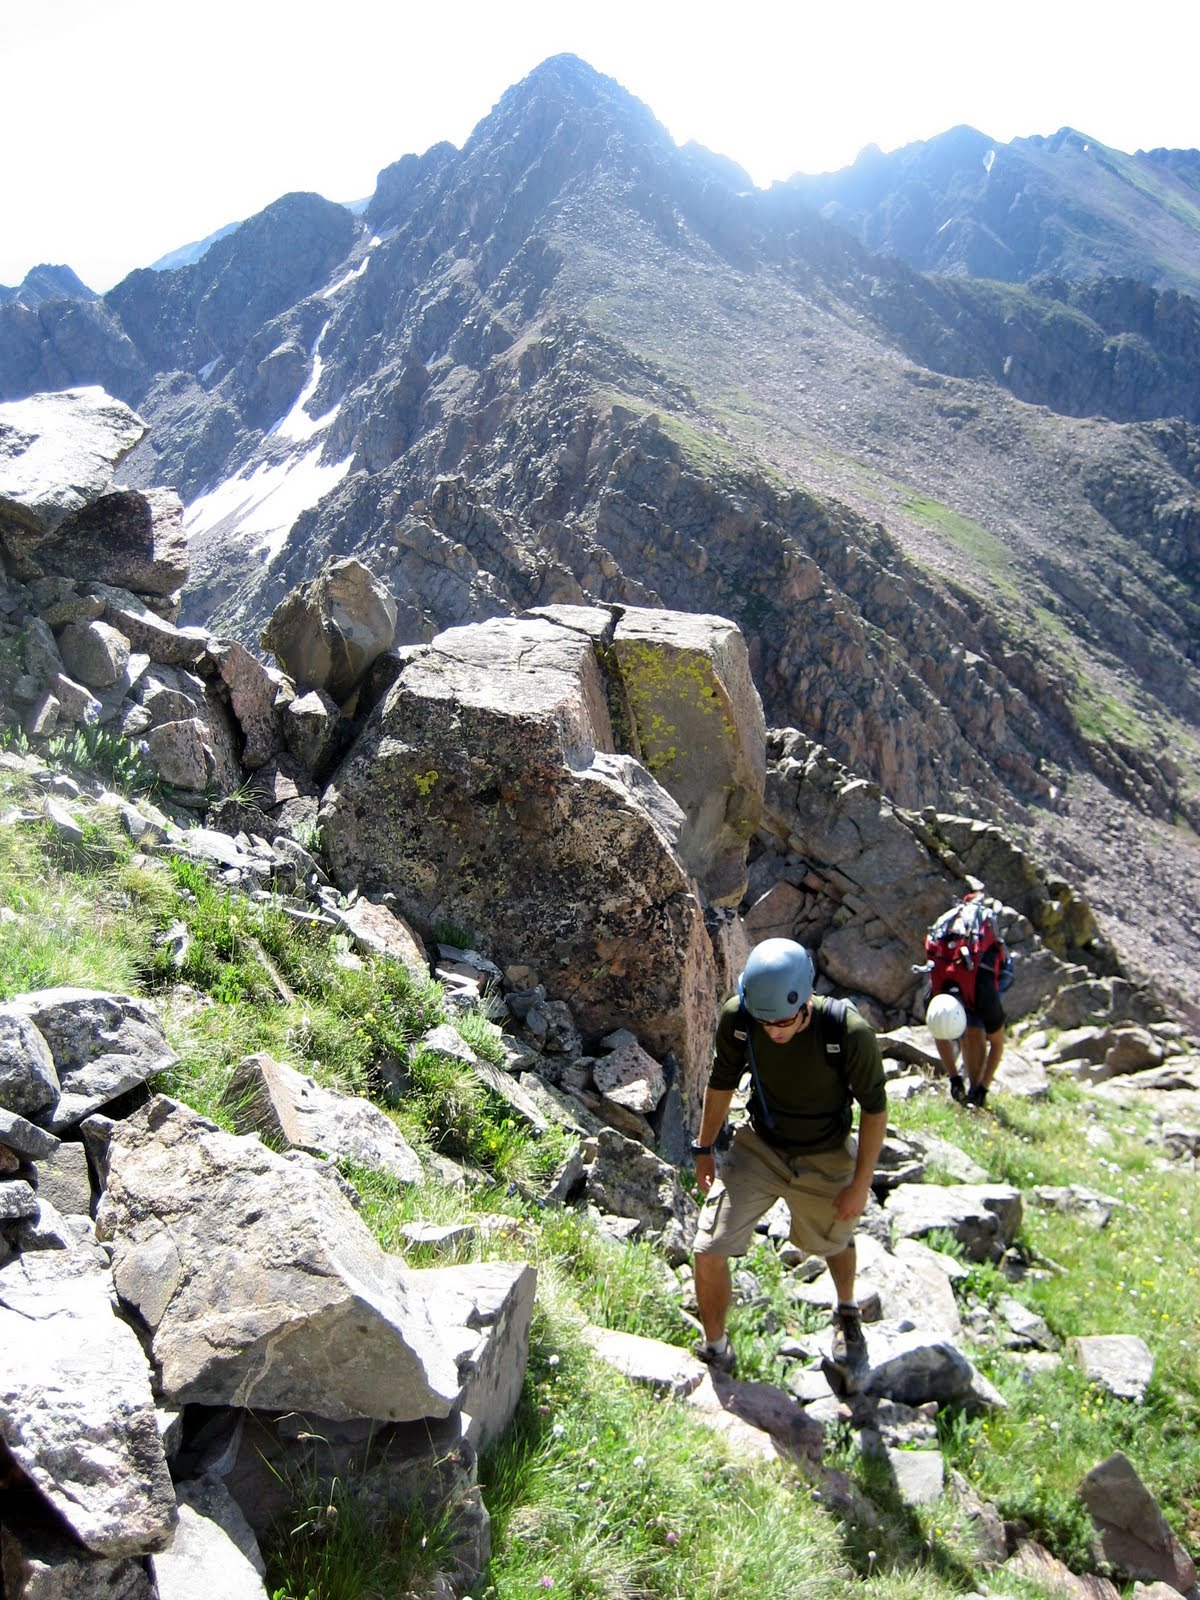
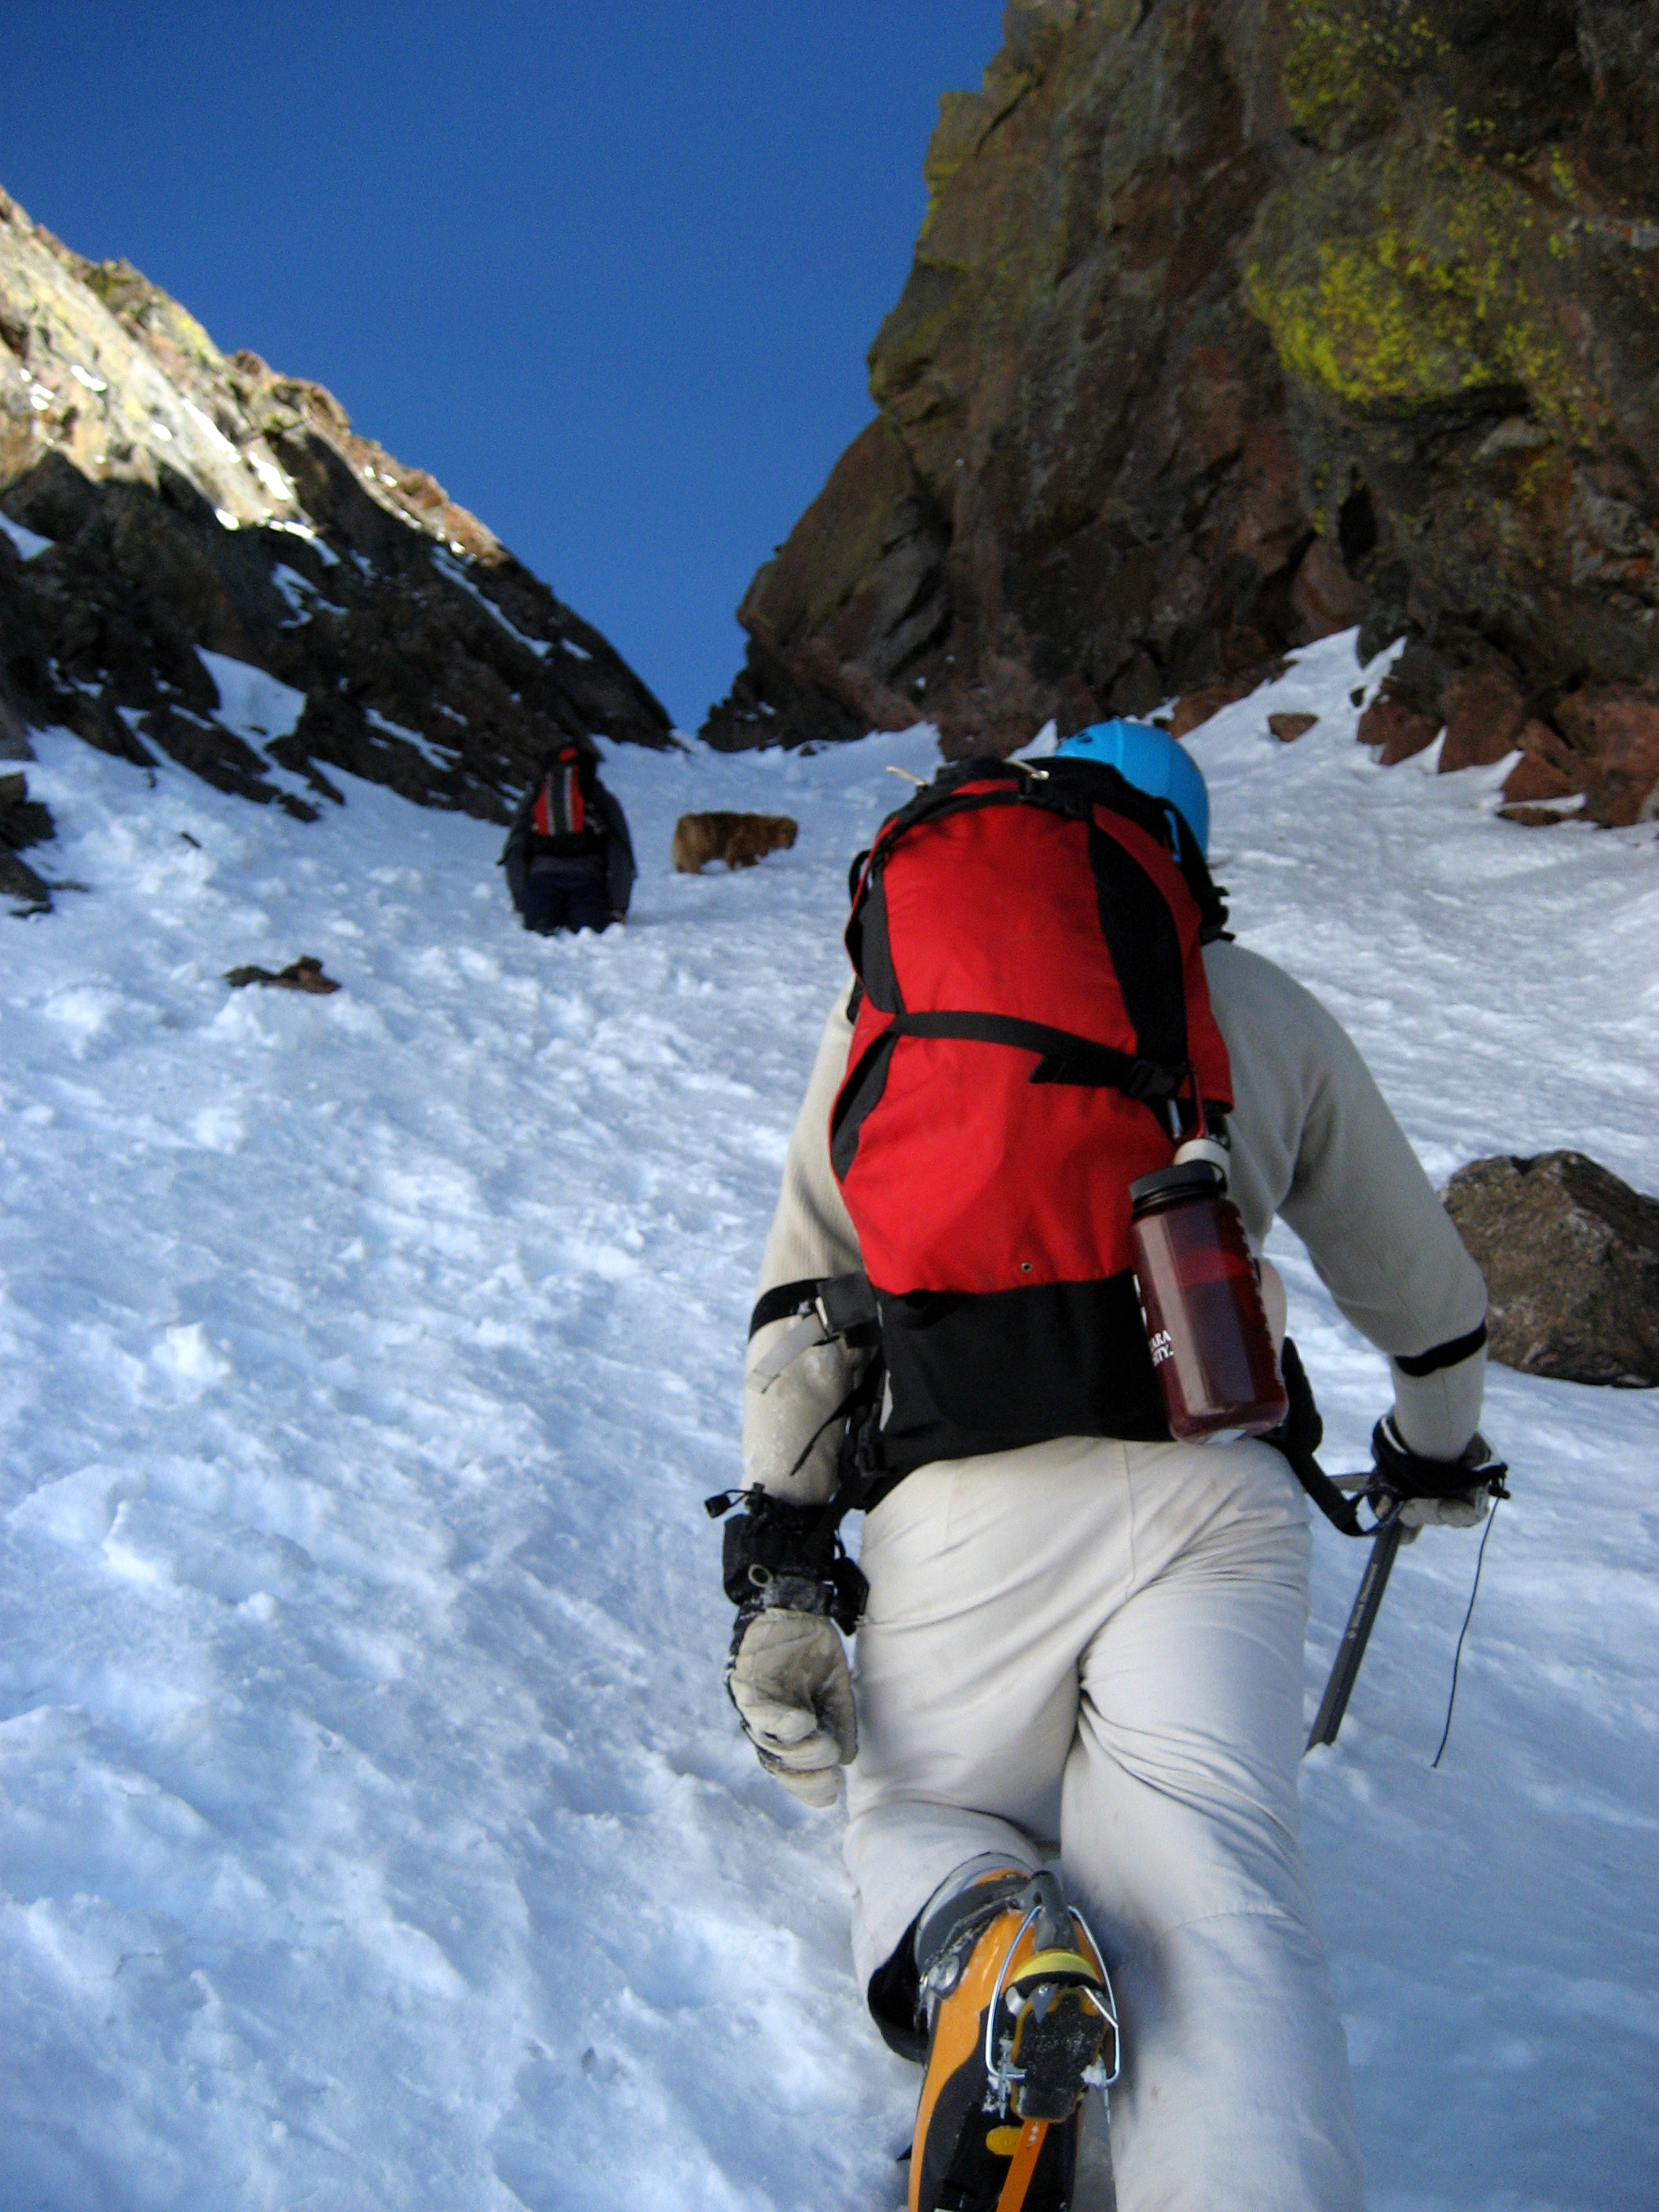
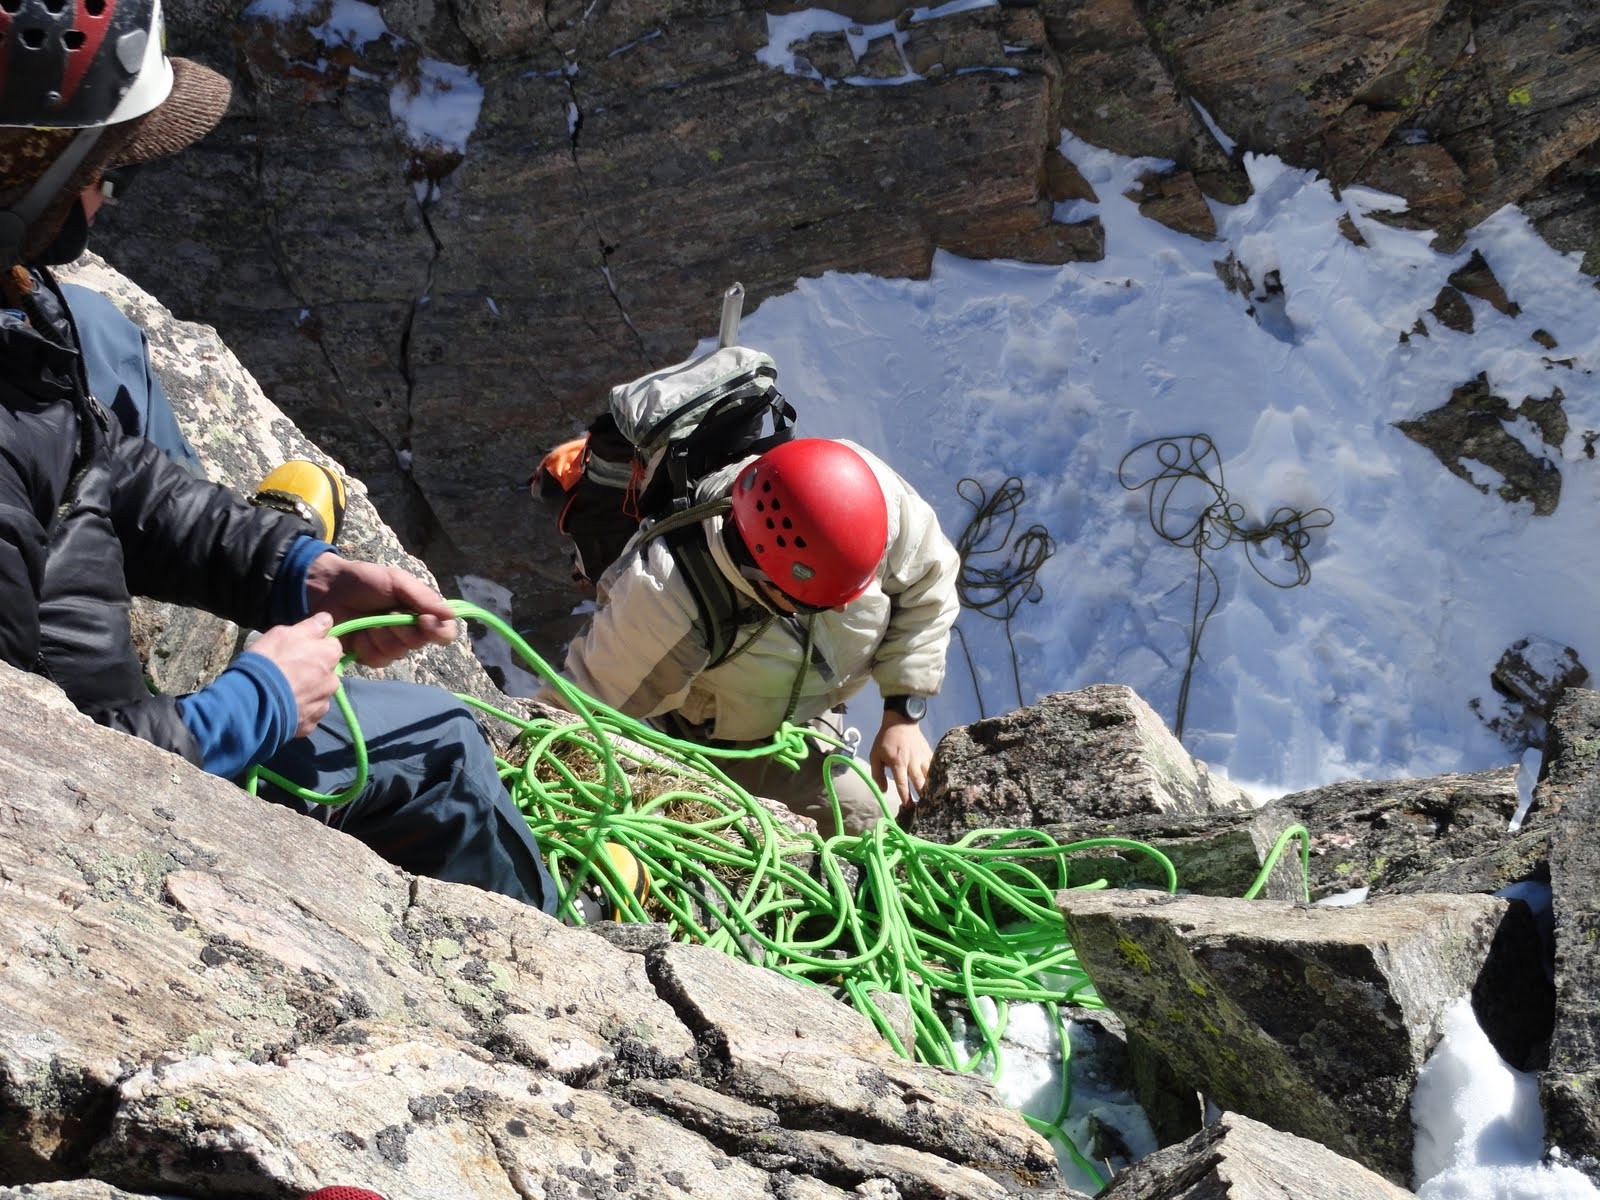
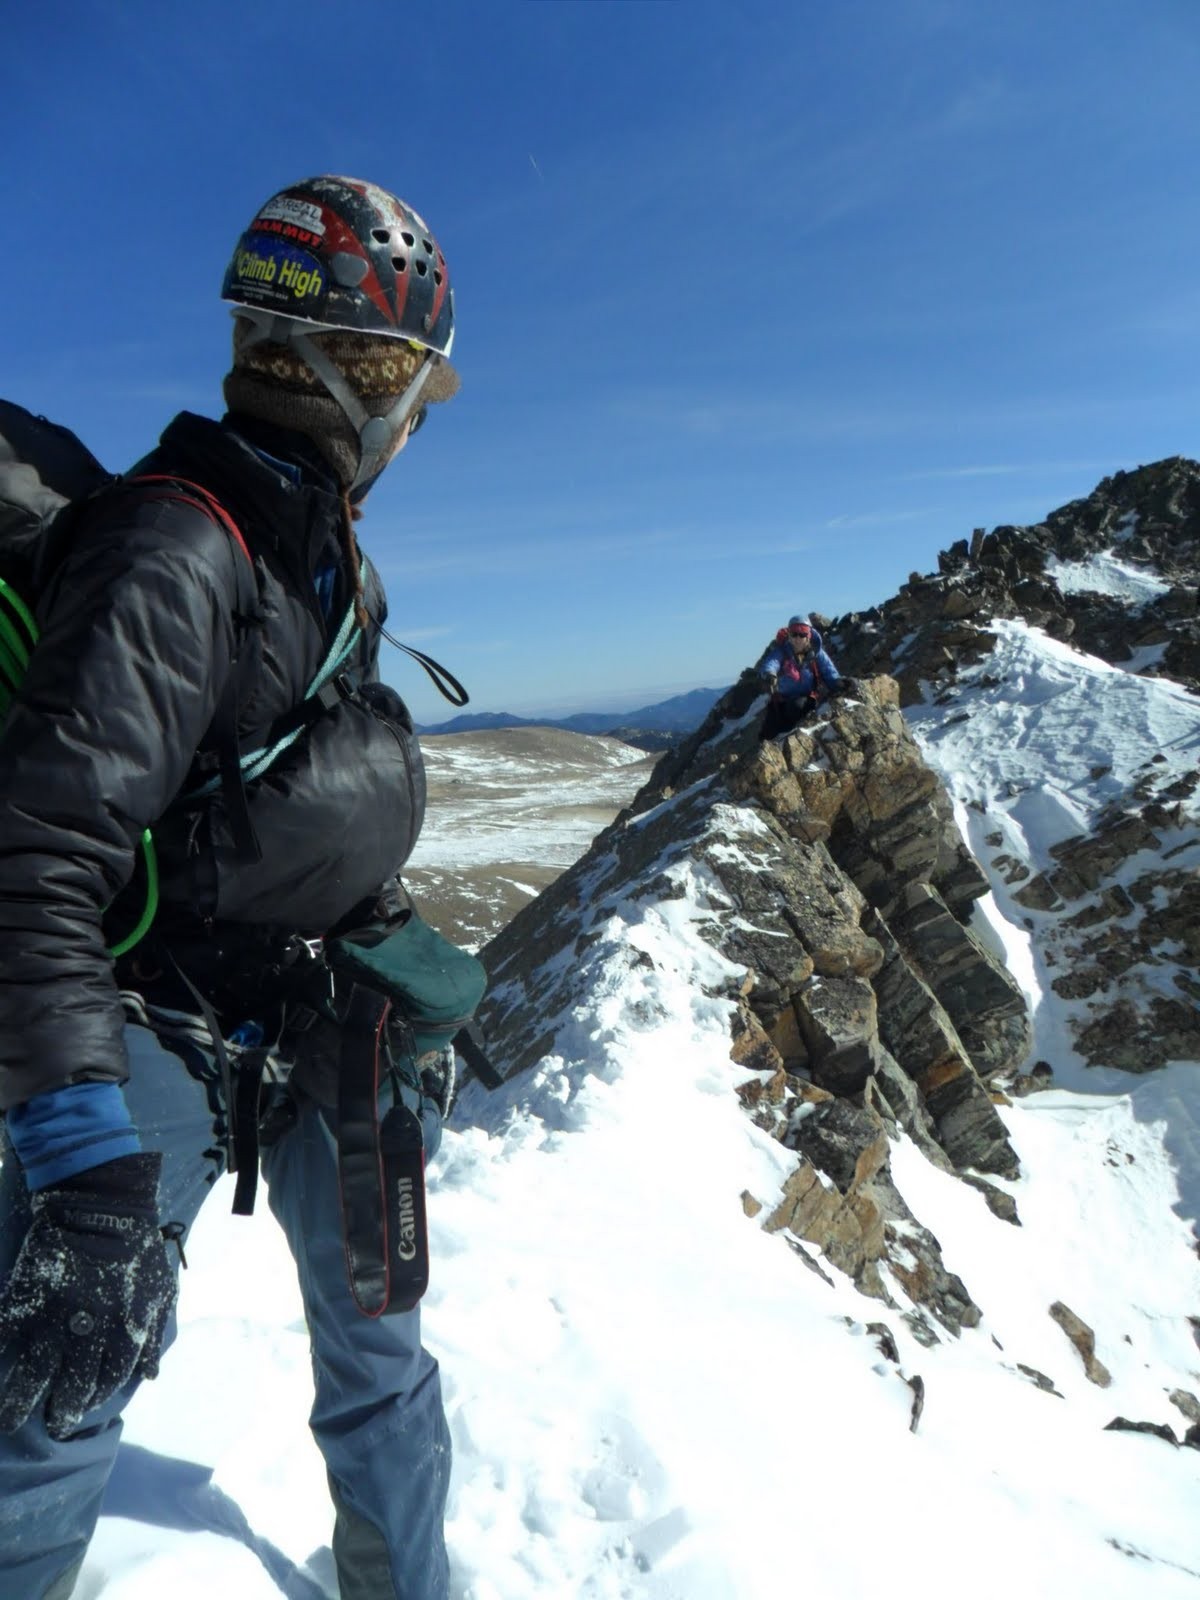
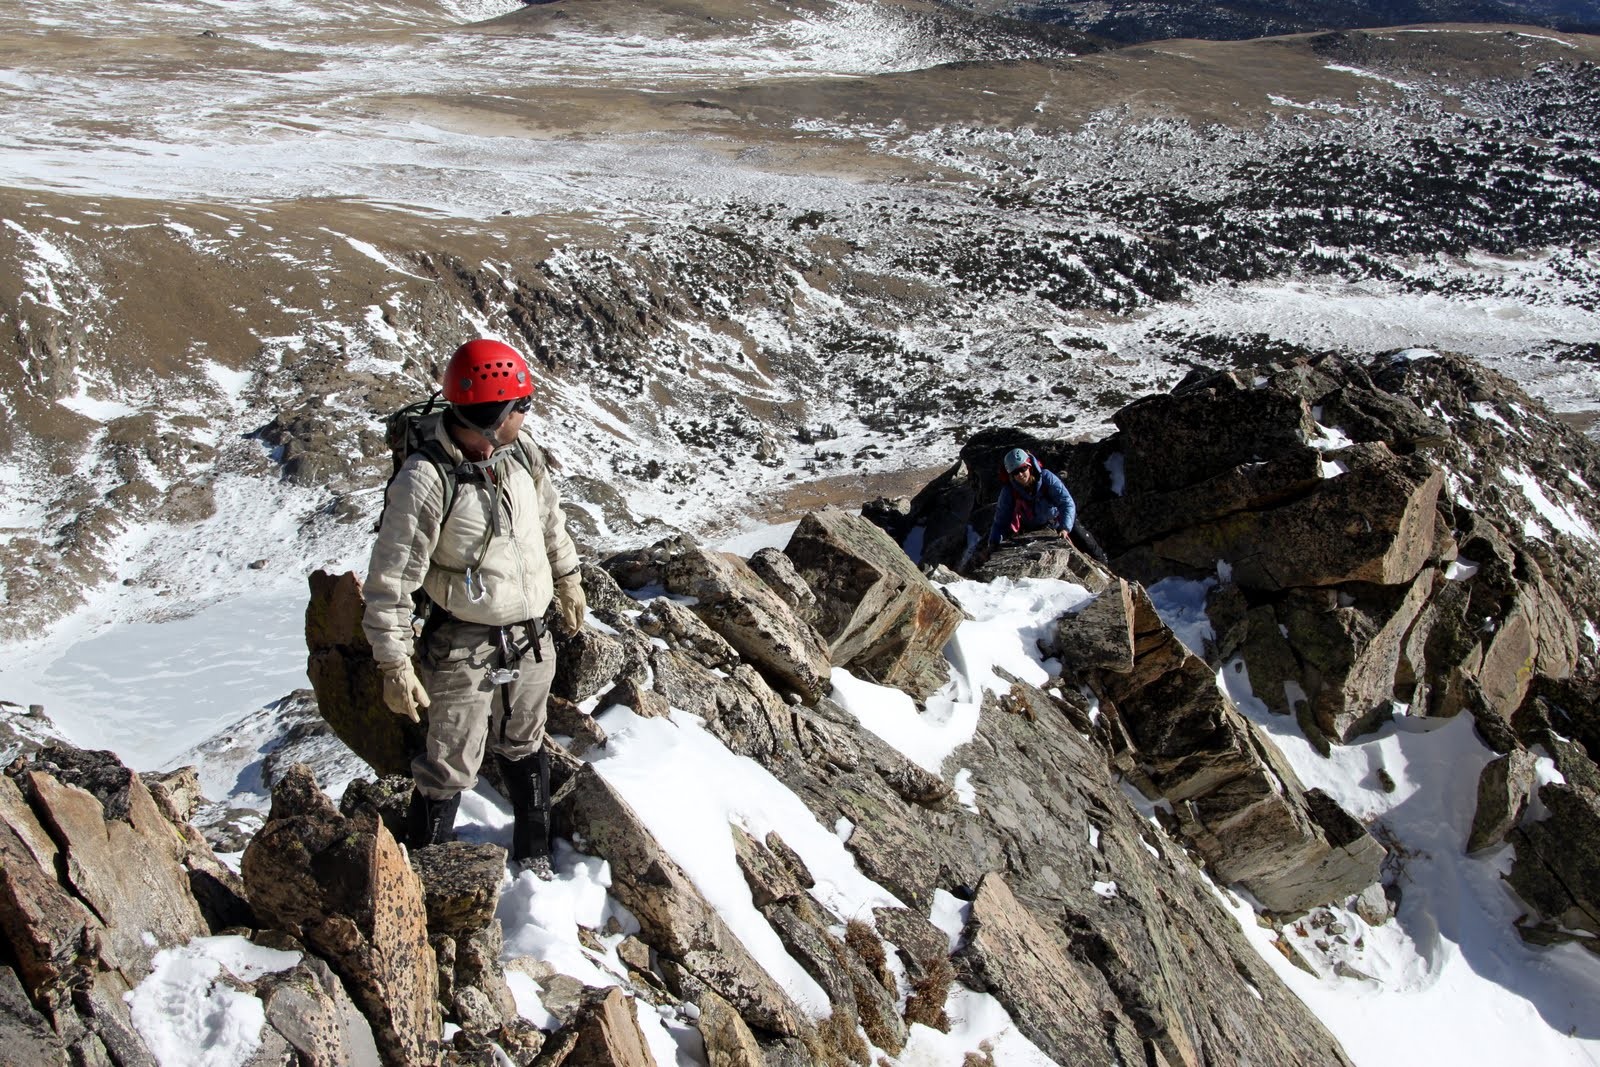
Jesse & I approaching the notch and rappel station
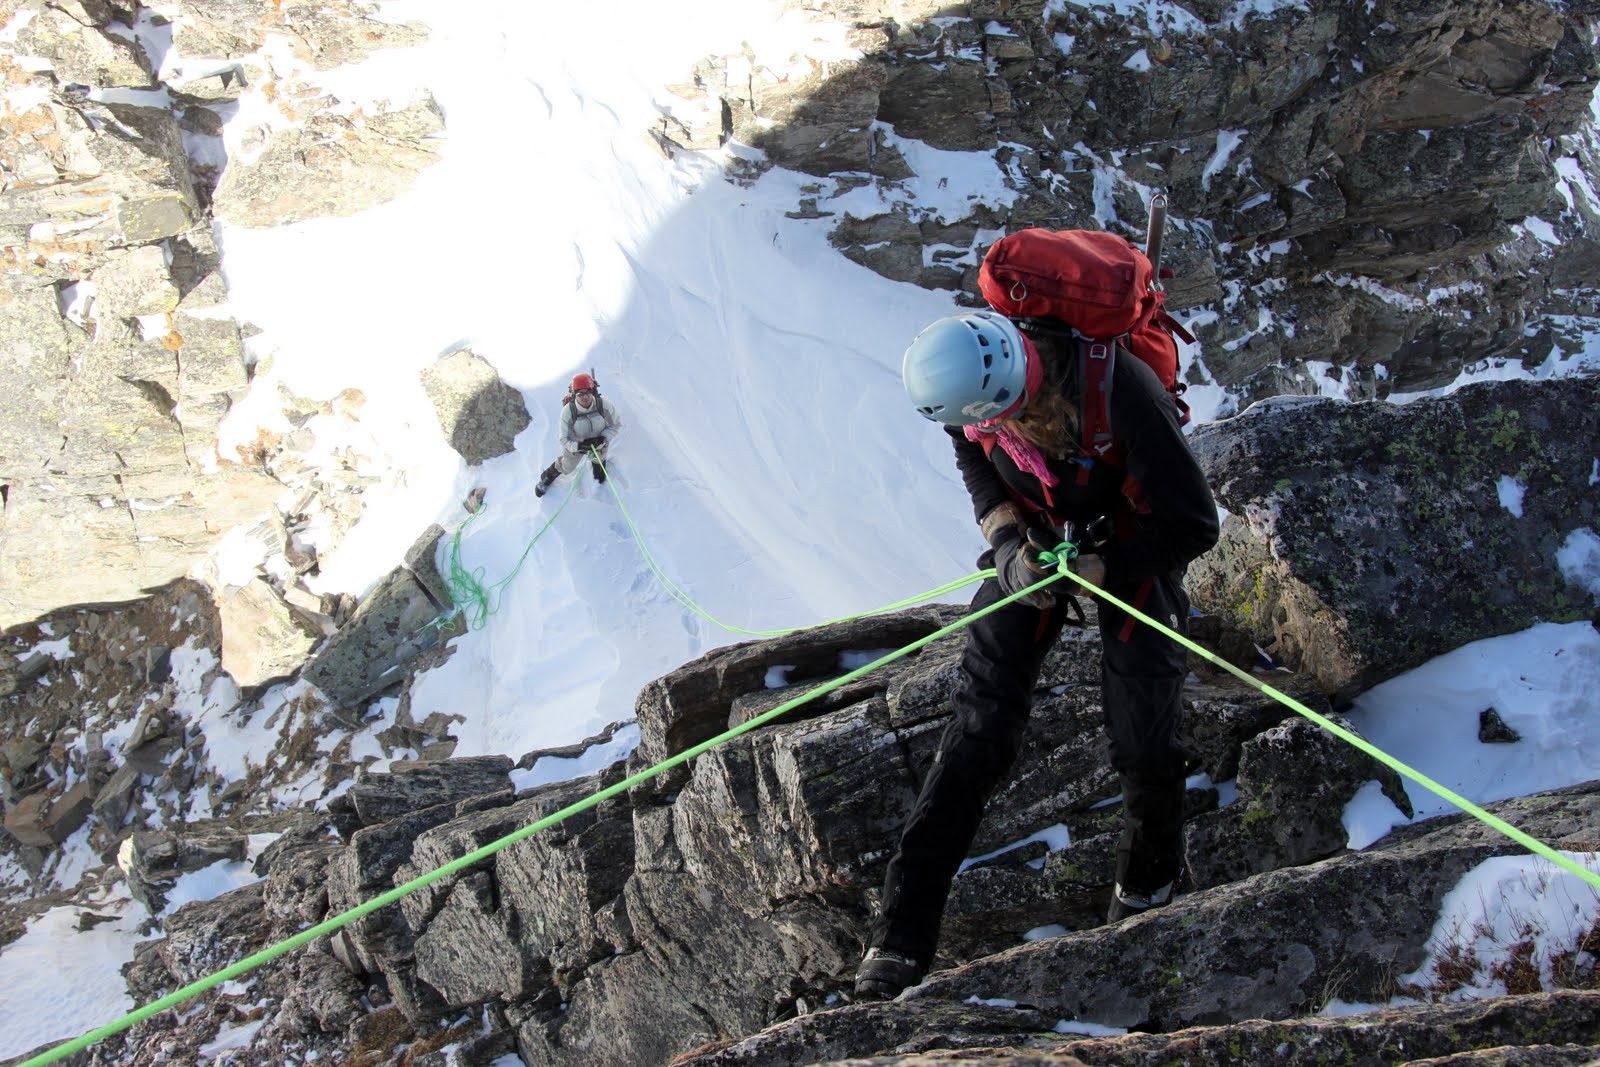
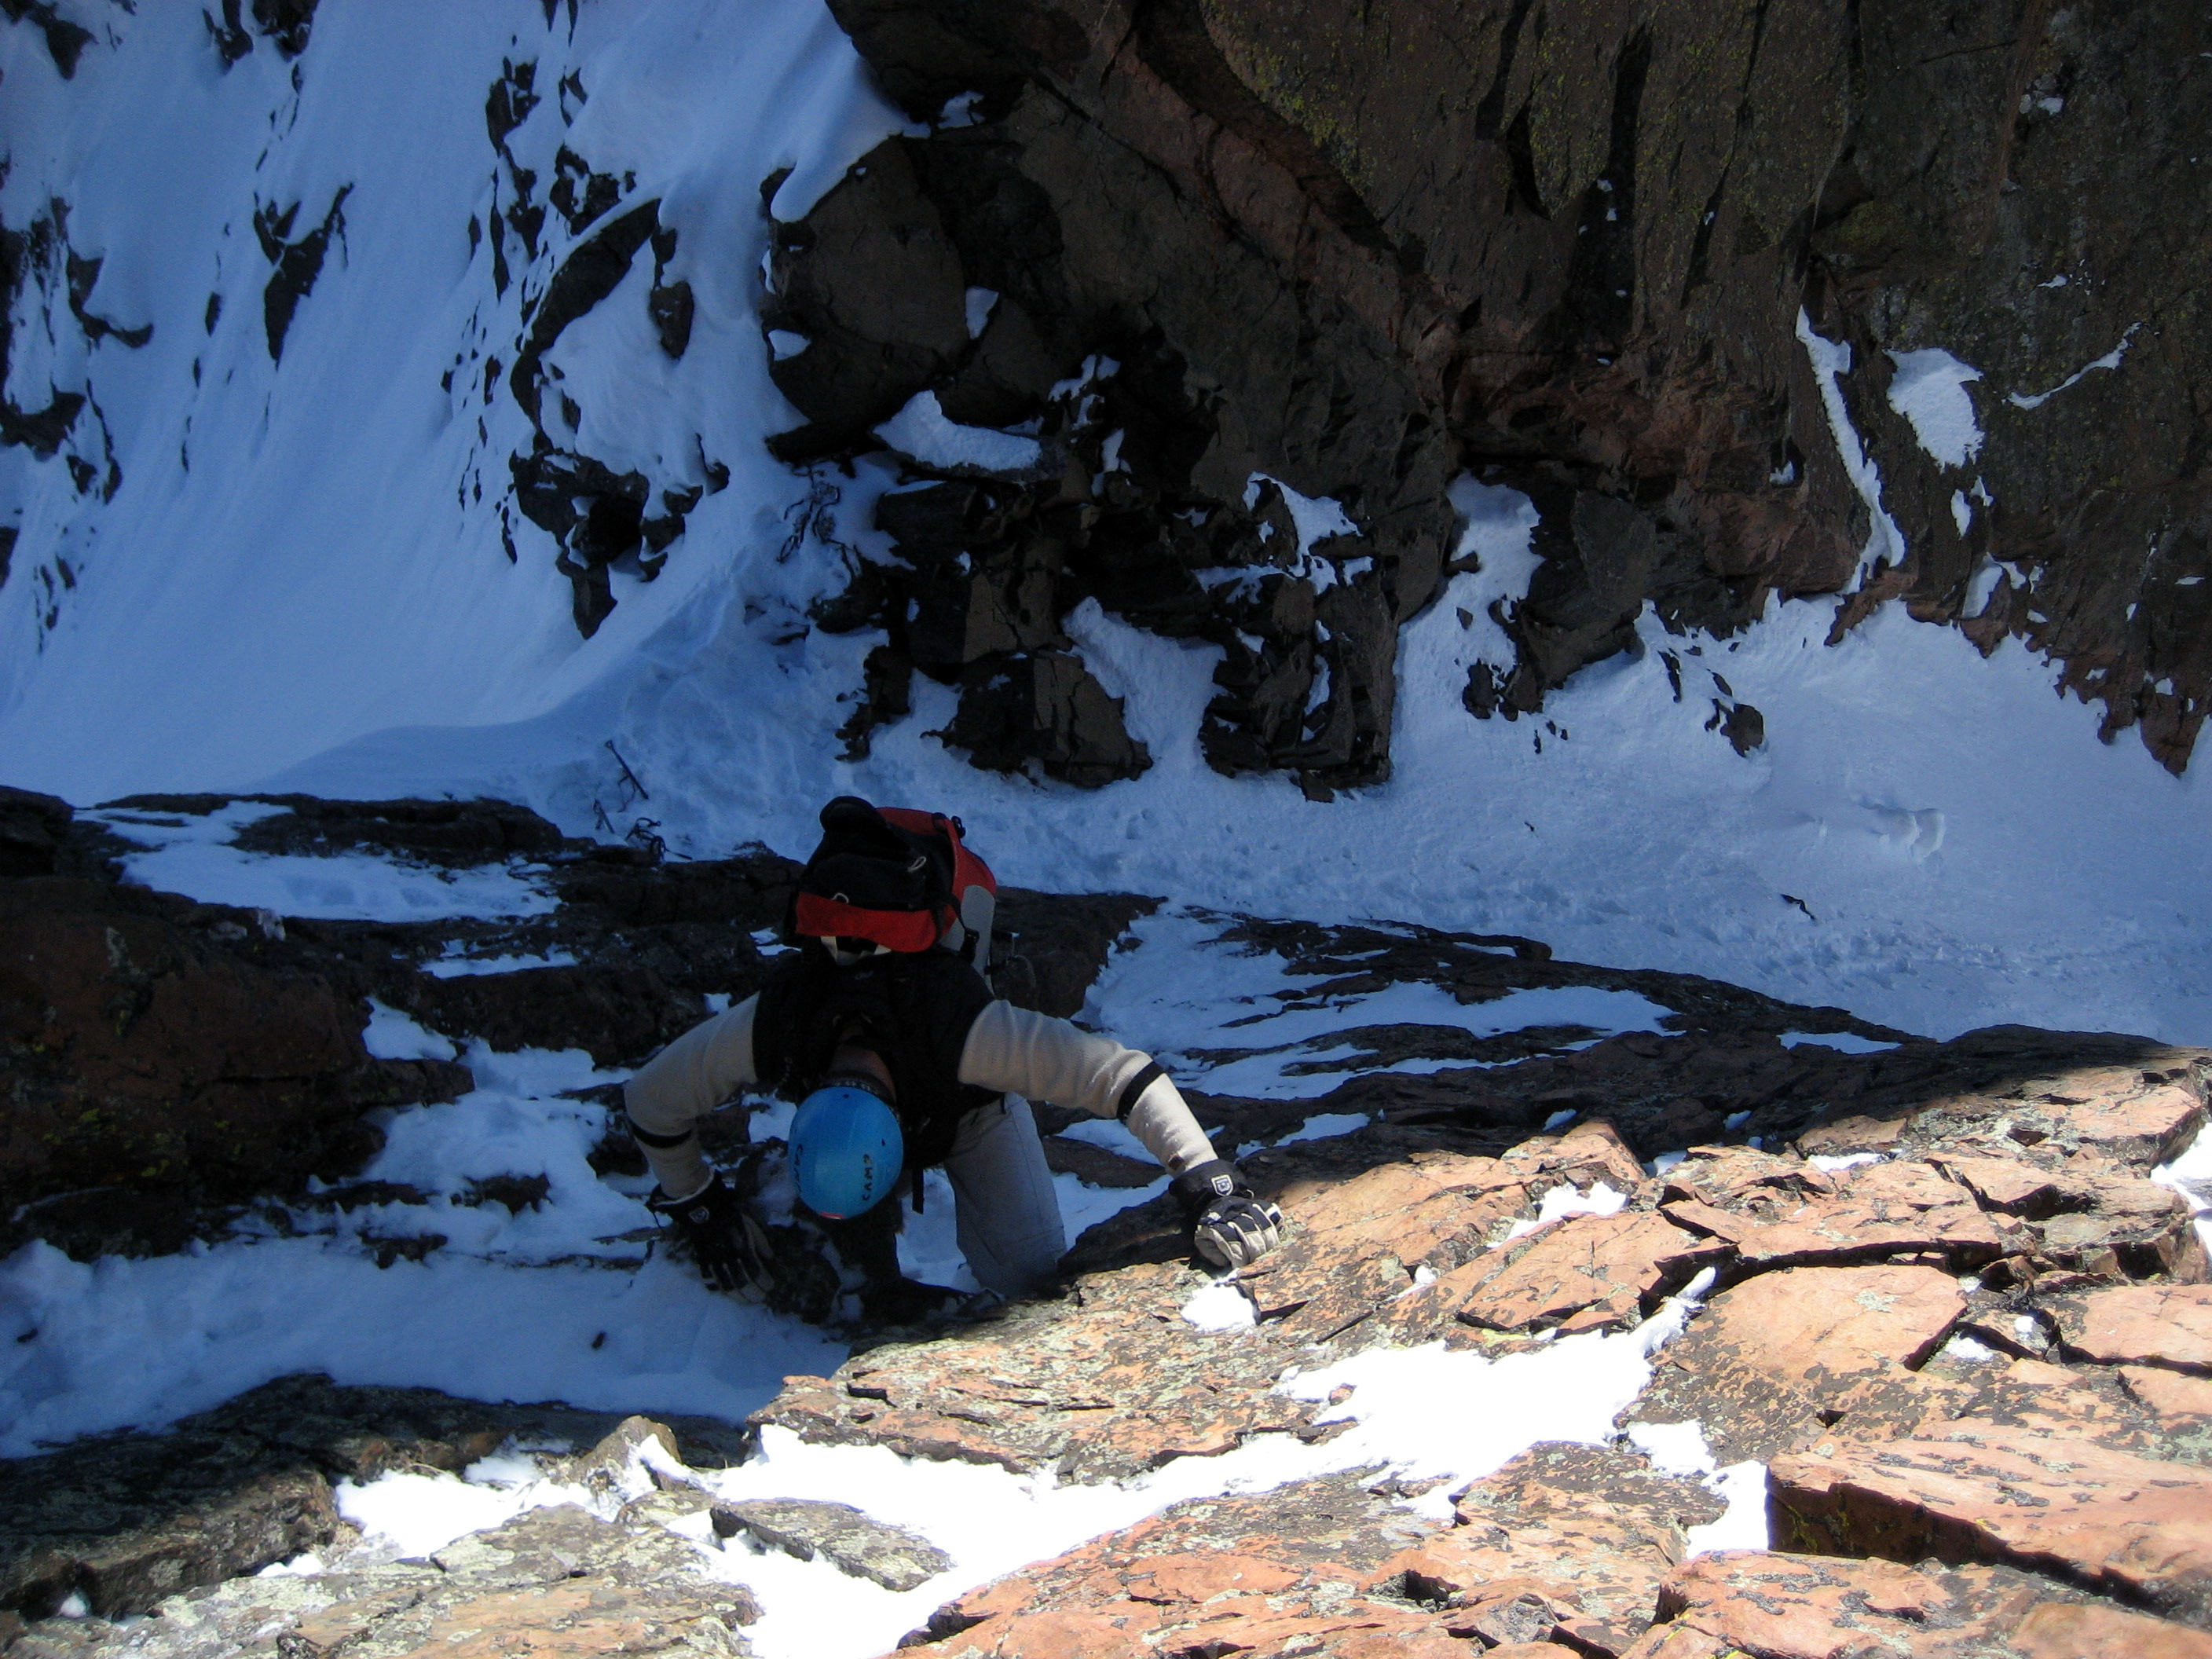
Kristine on rappel with Jesse below in the notch
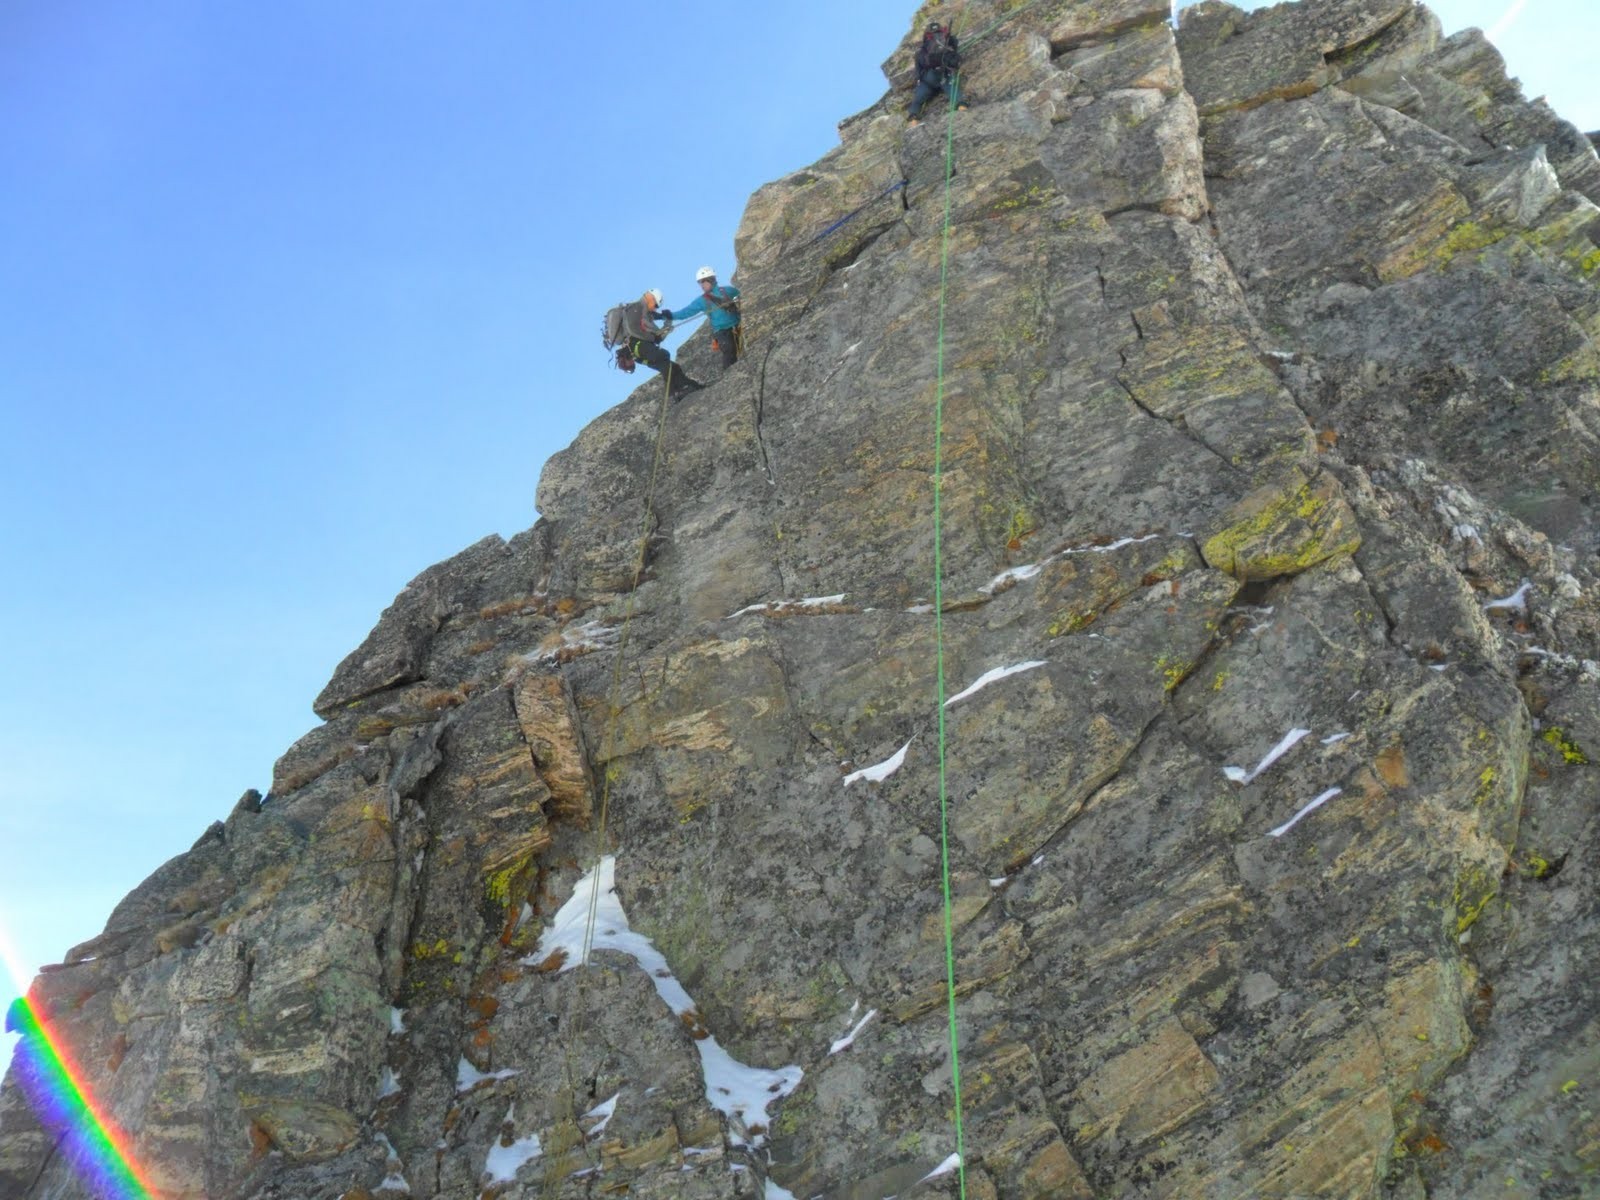
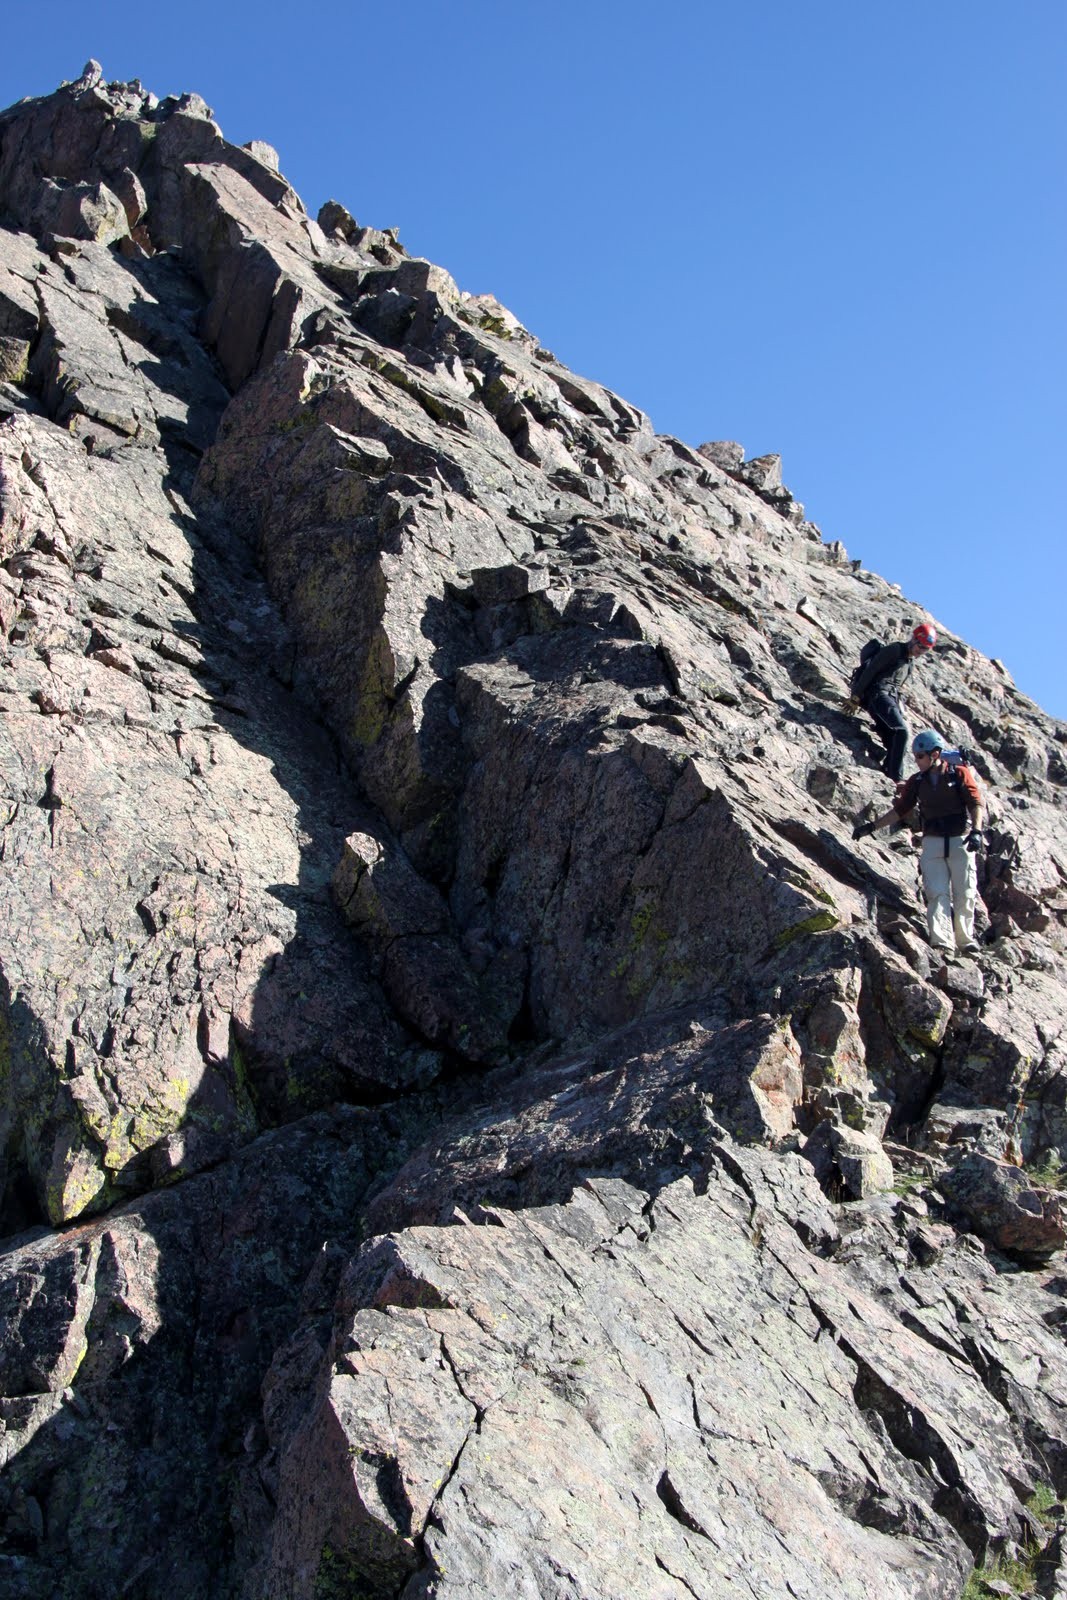
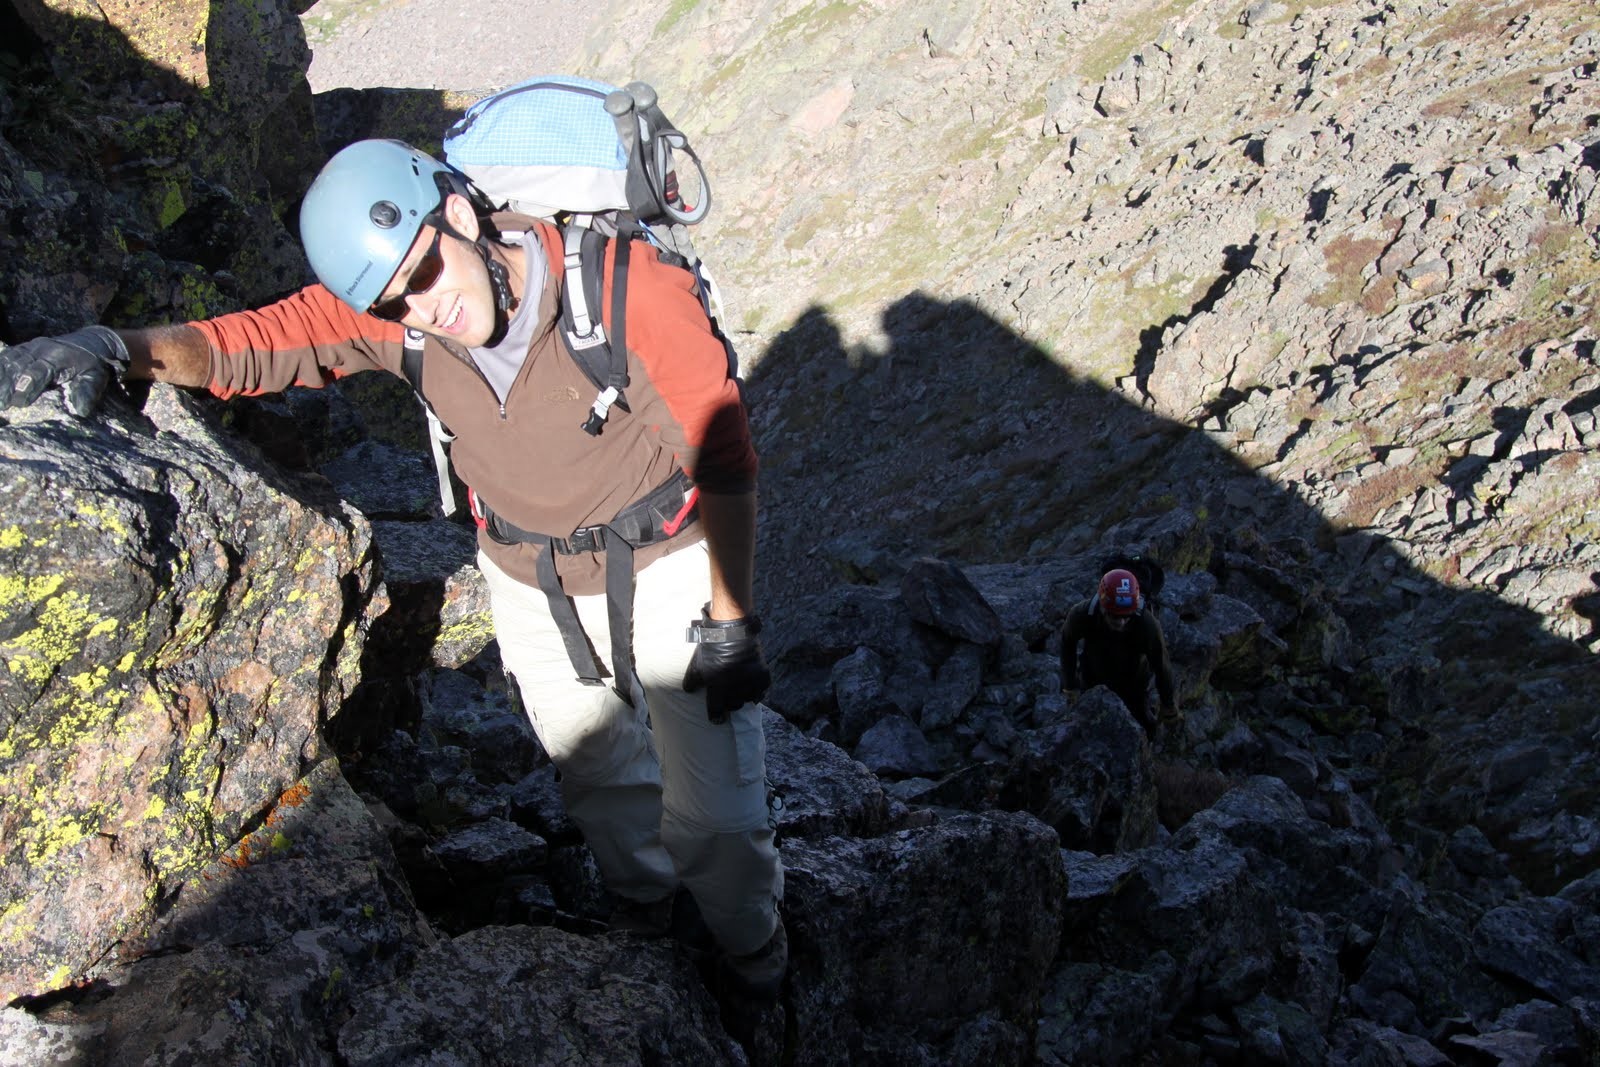
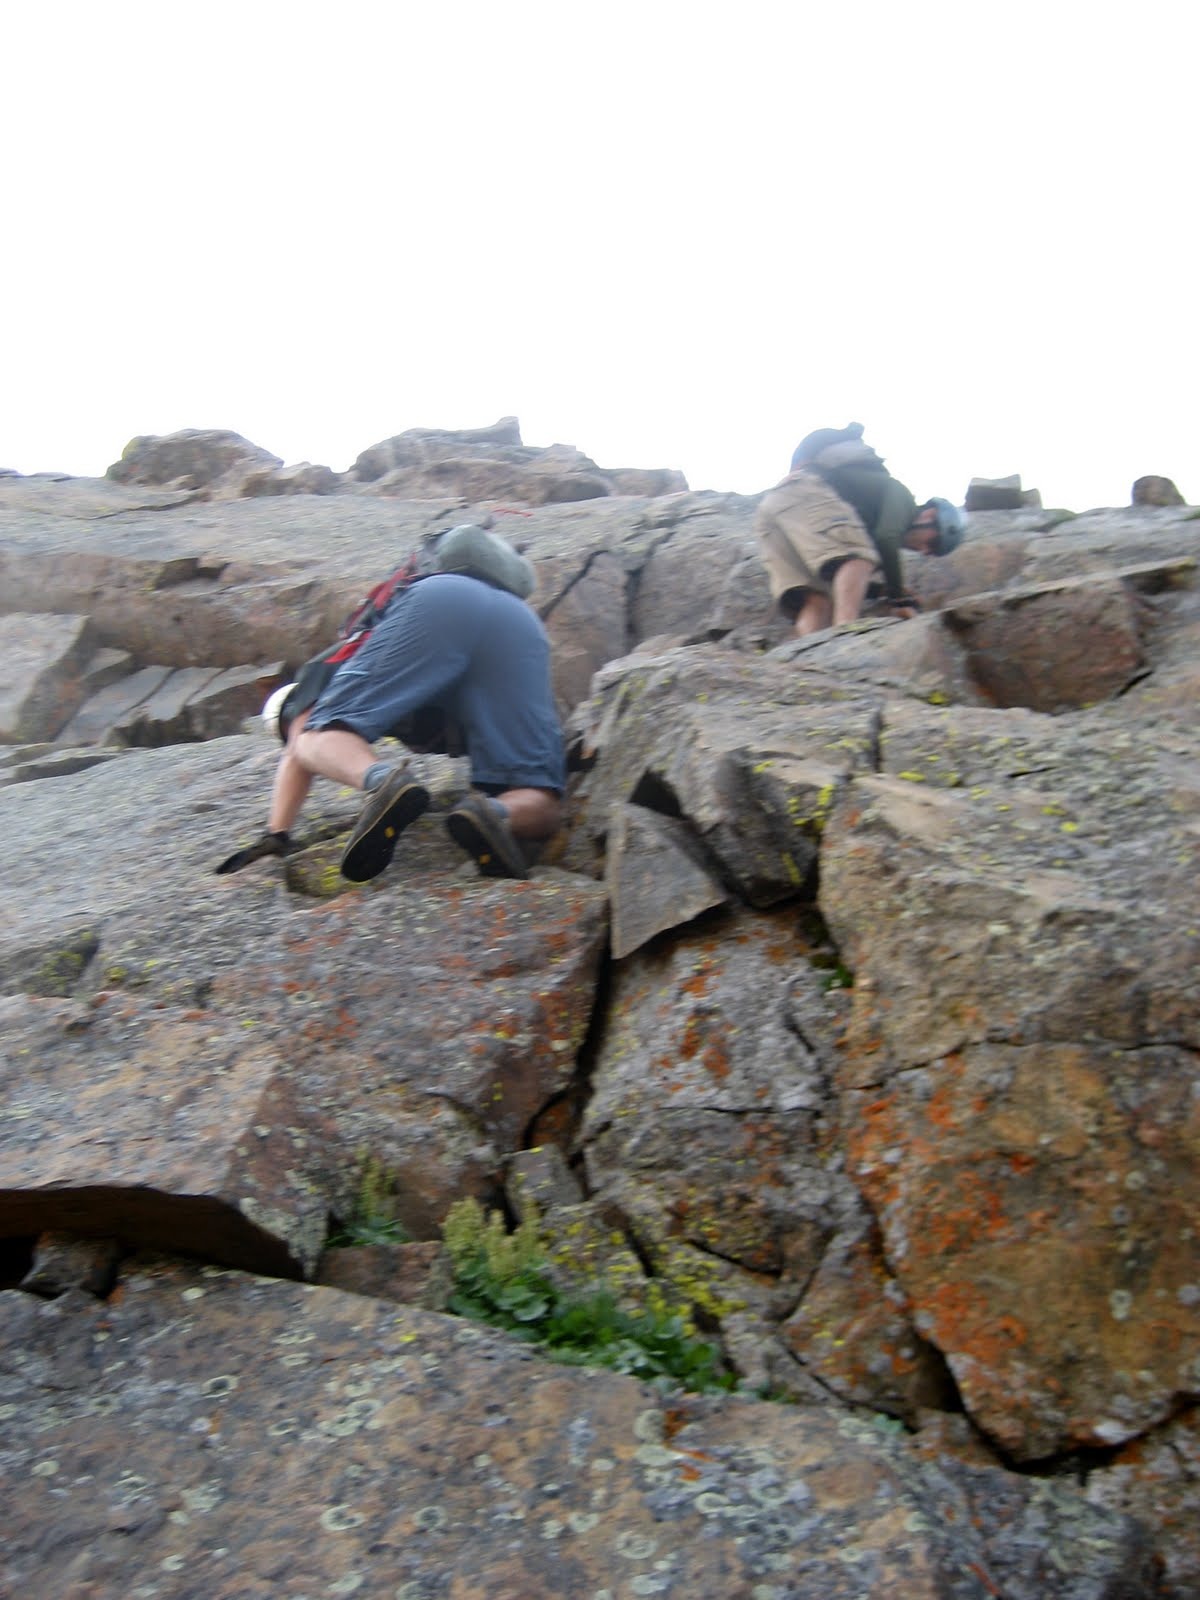
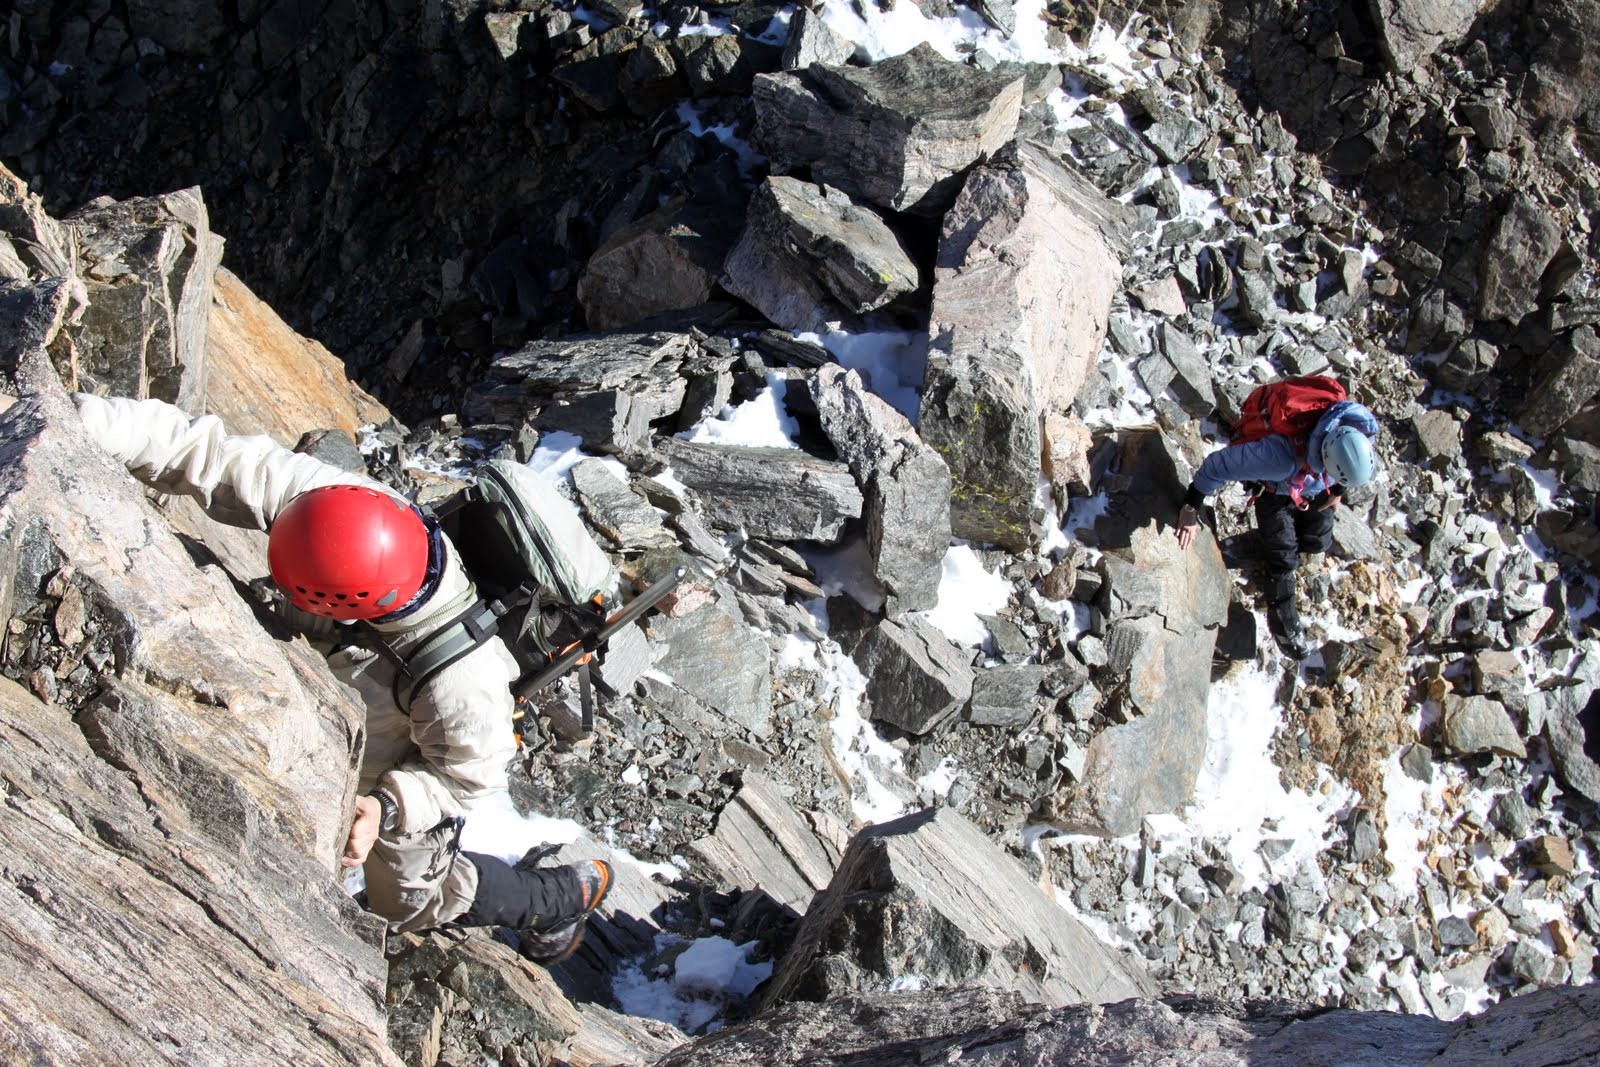
Me rappelling down past the party of two climbers on the left
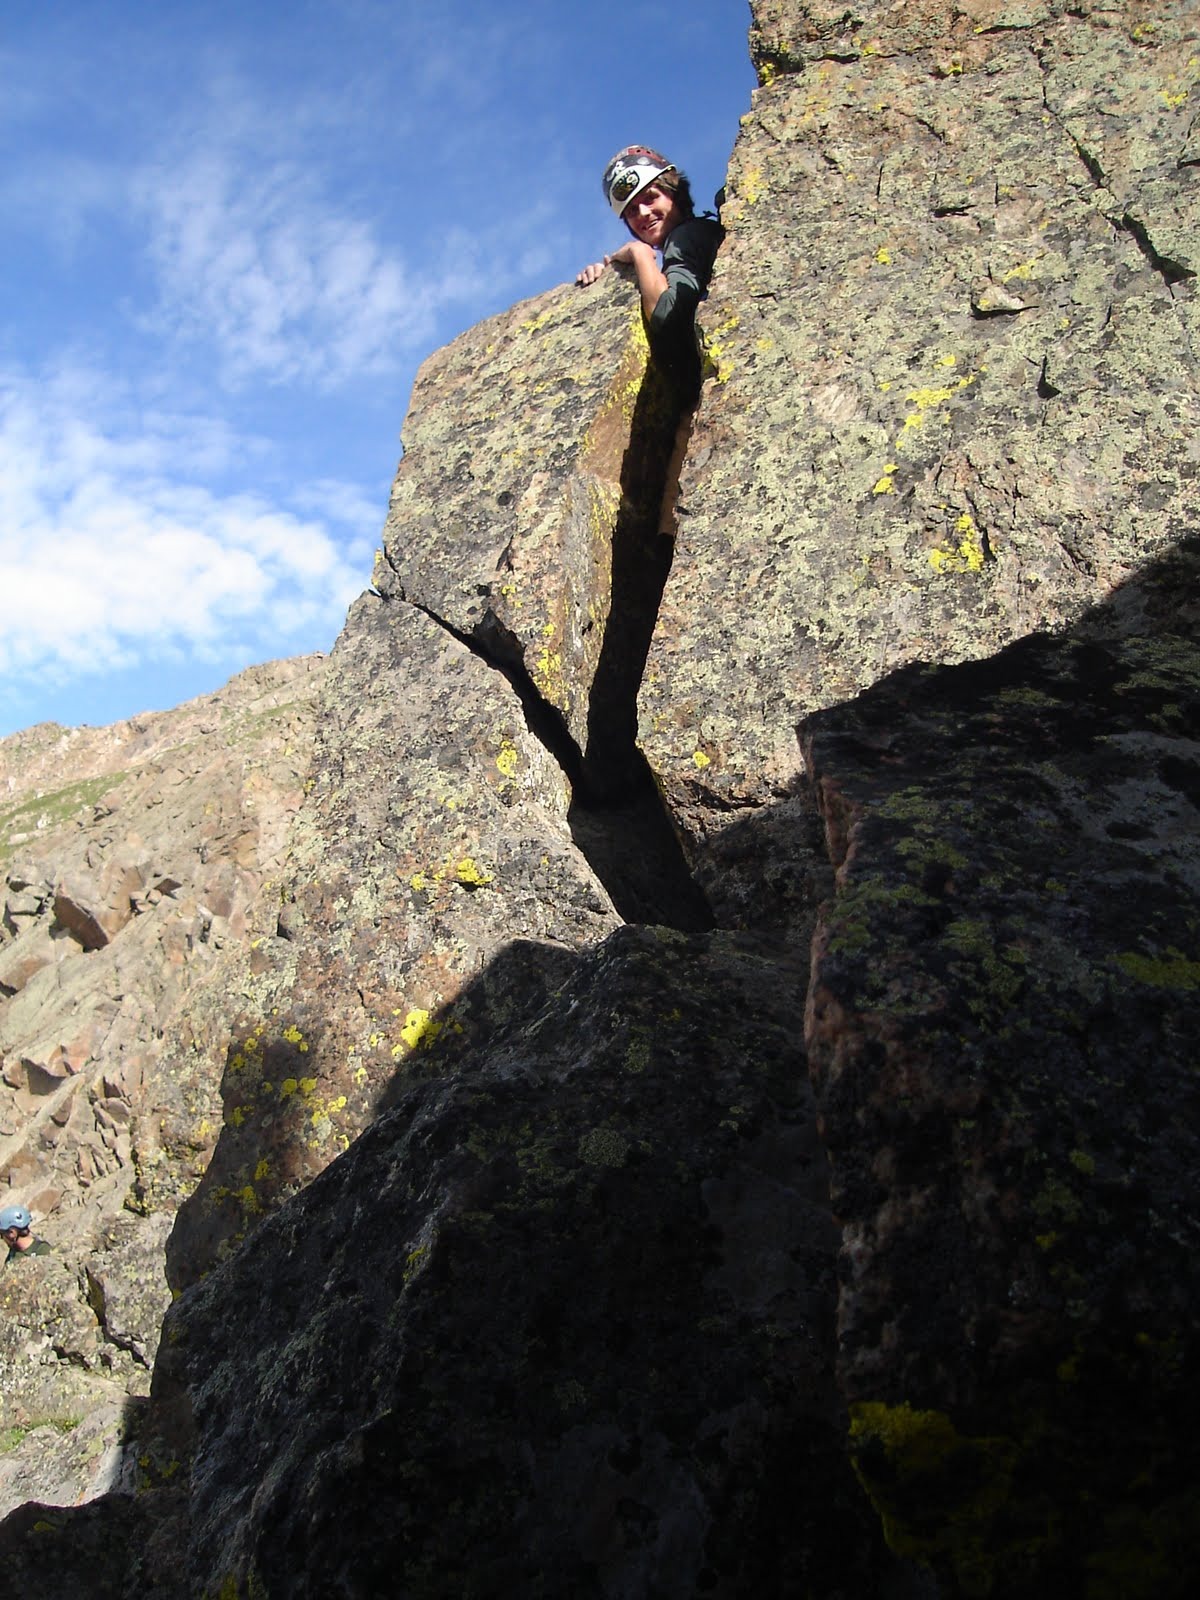
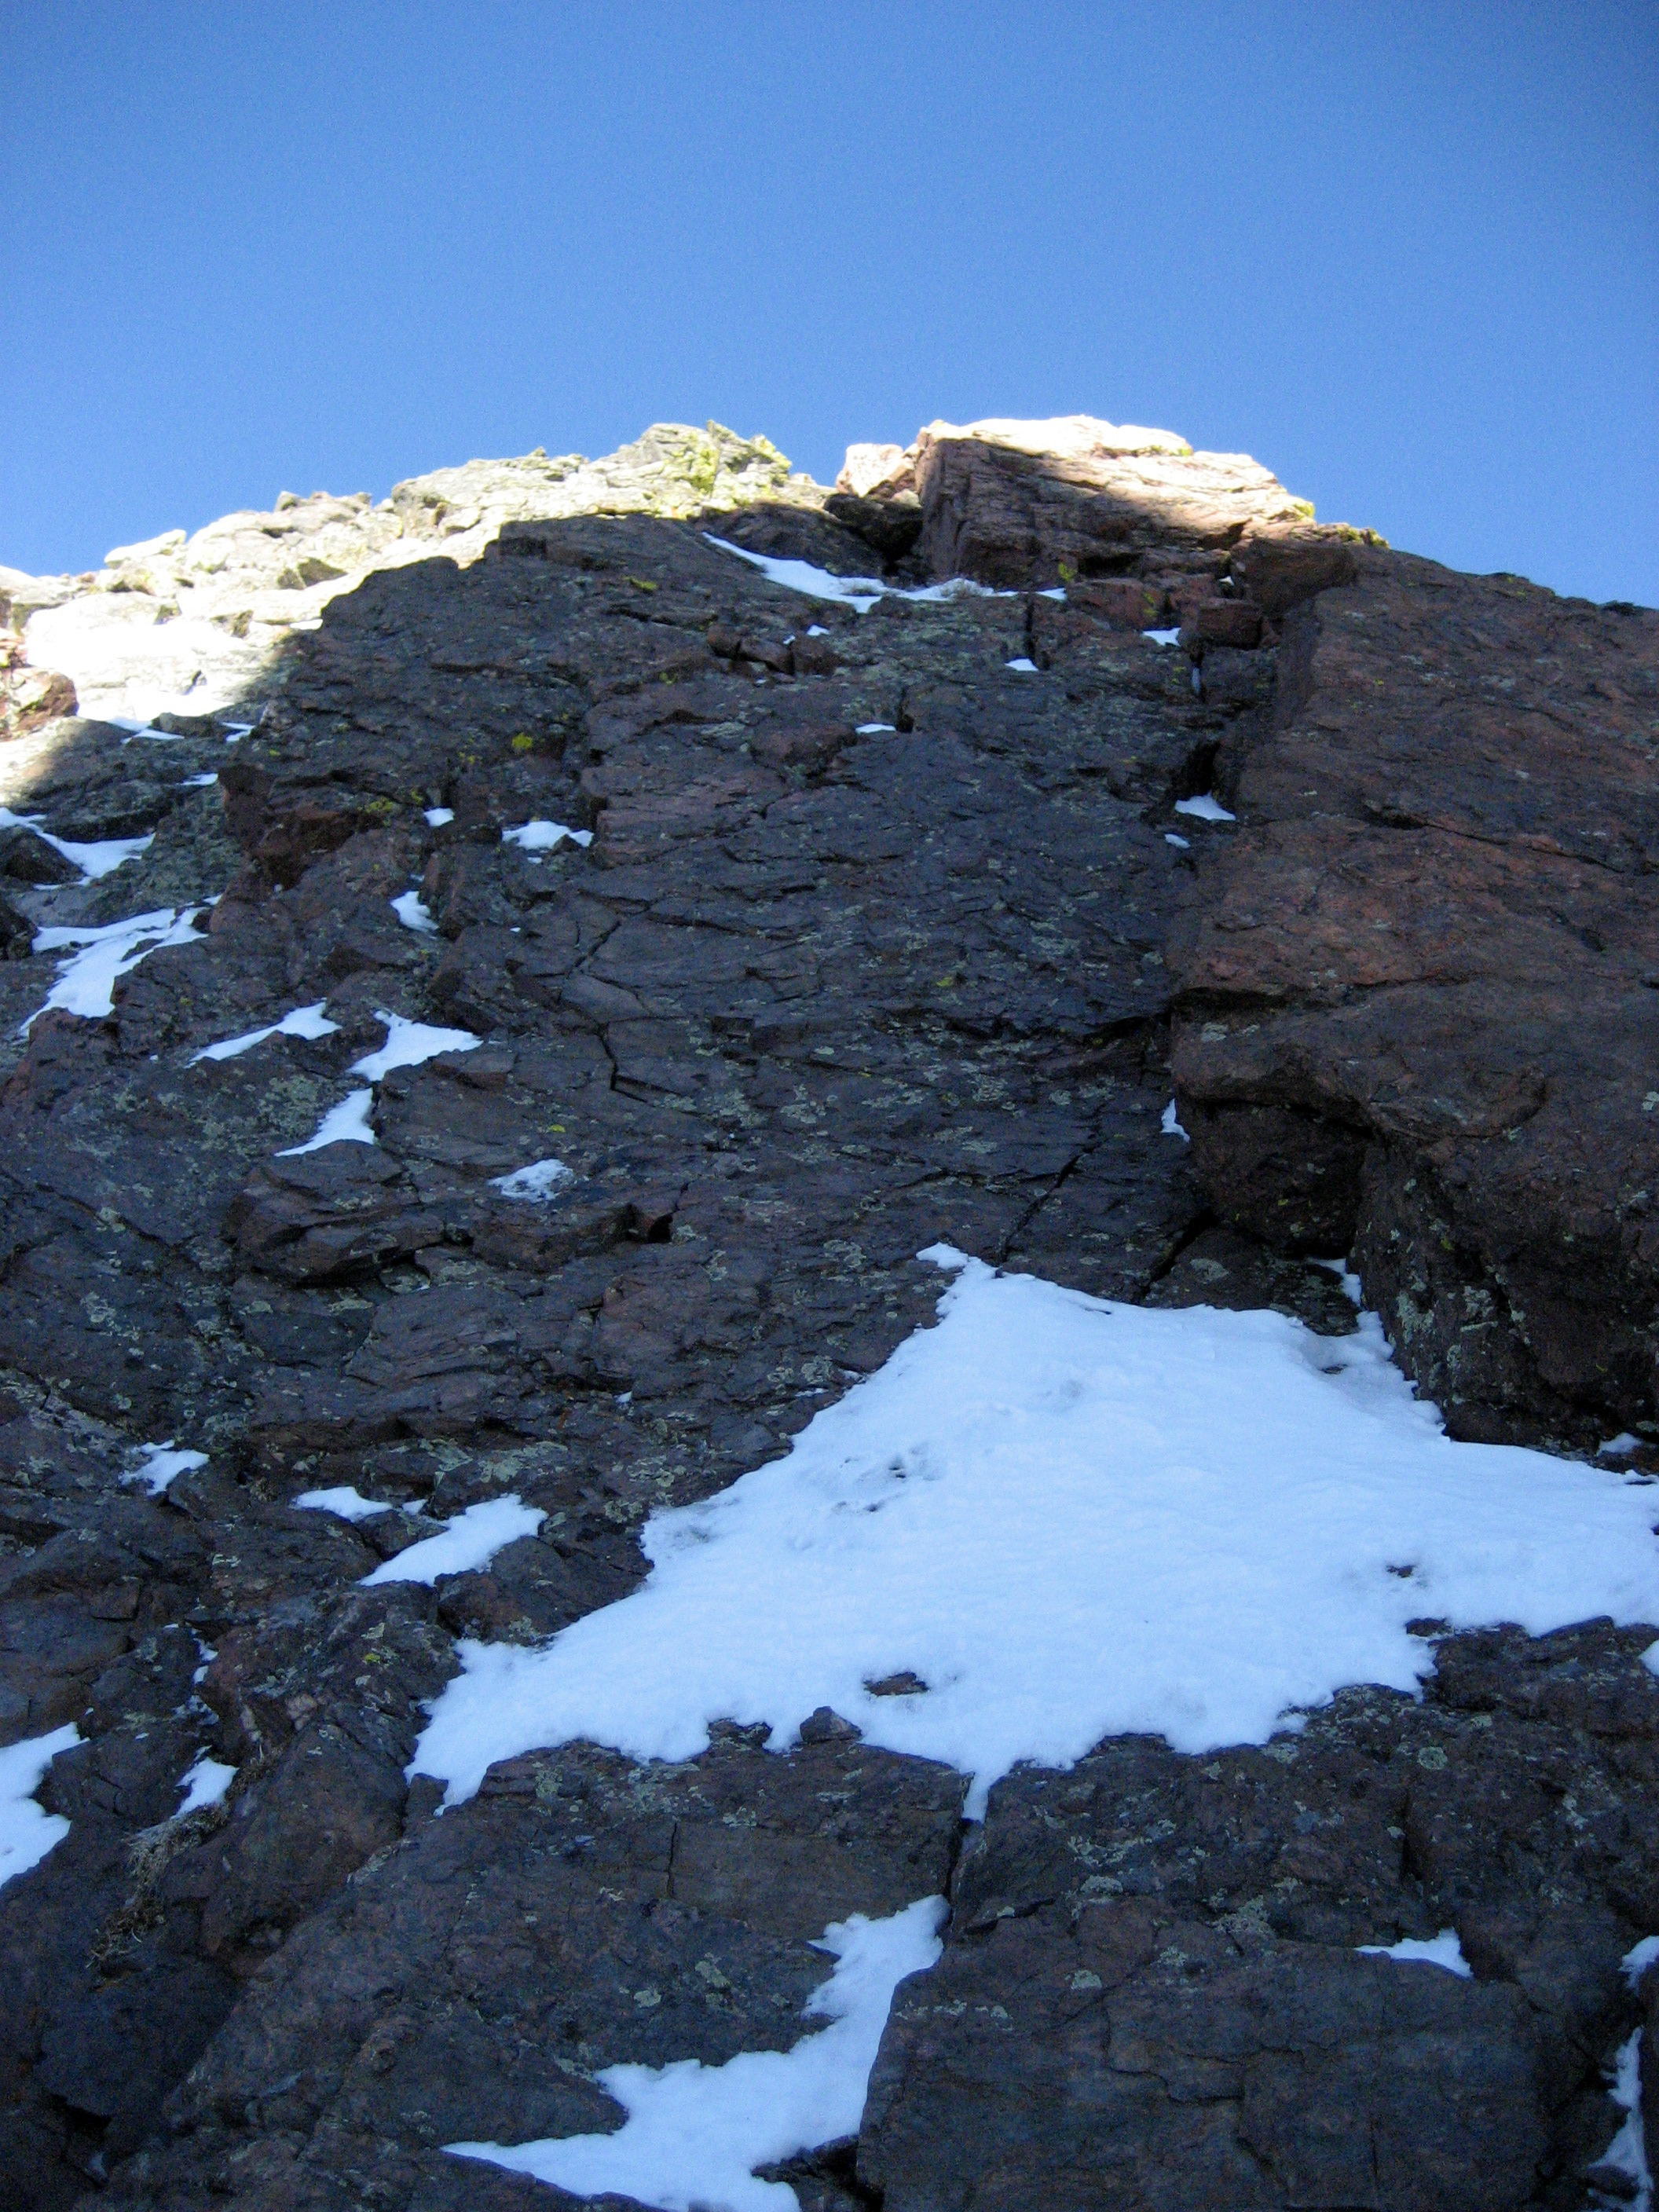
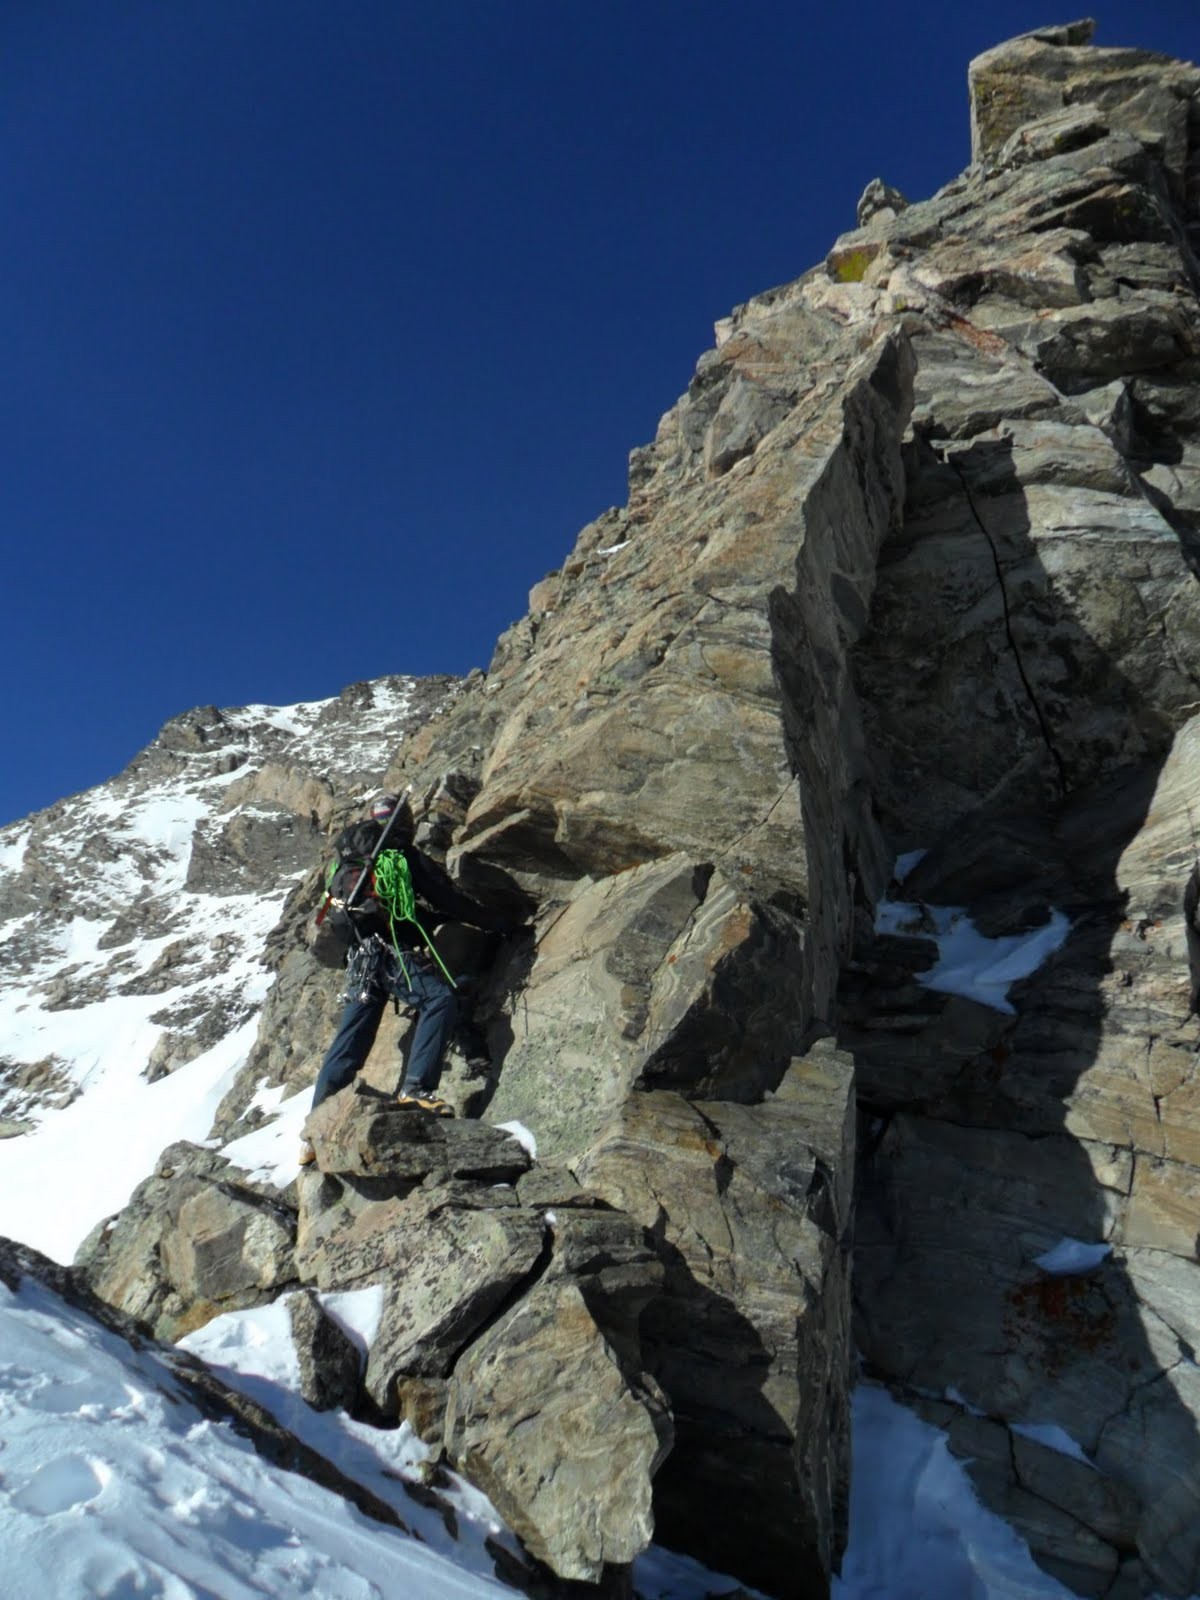
Me belaying Jesse up the 1st crux 5.2 headwall pitch out of the notch
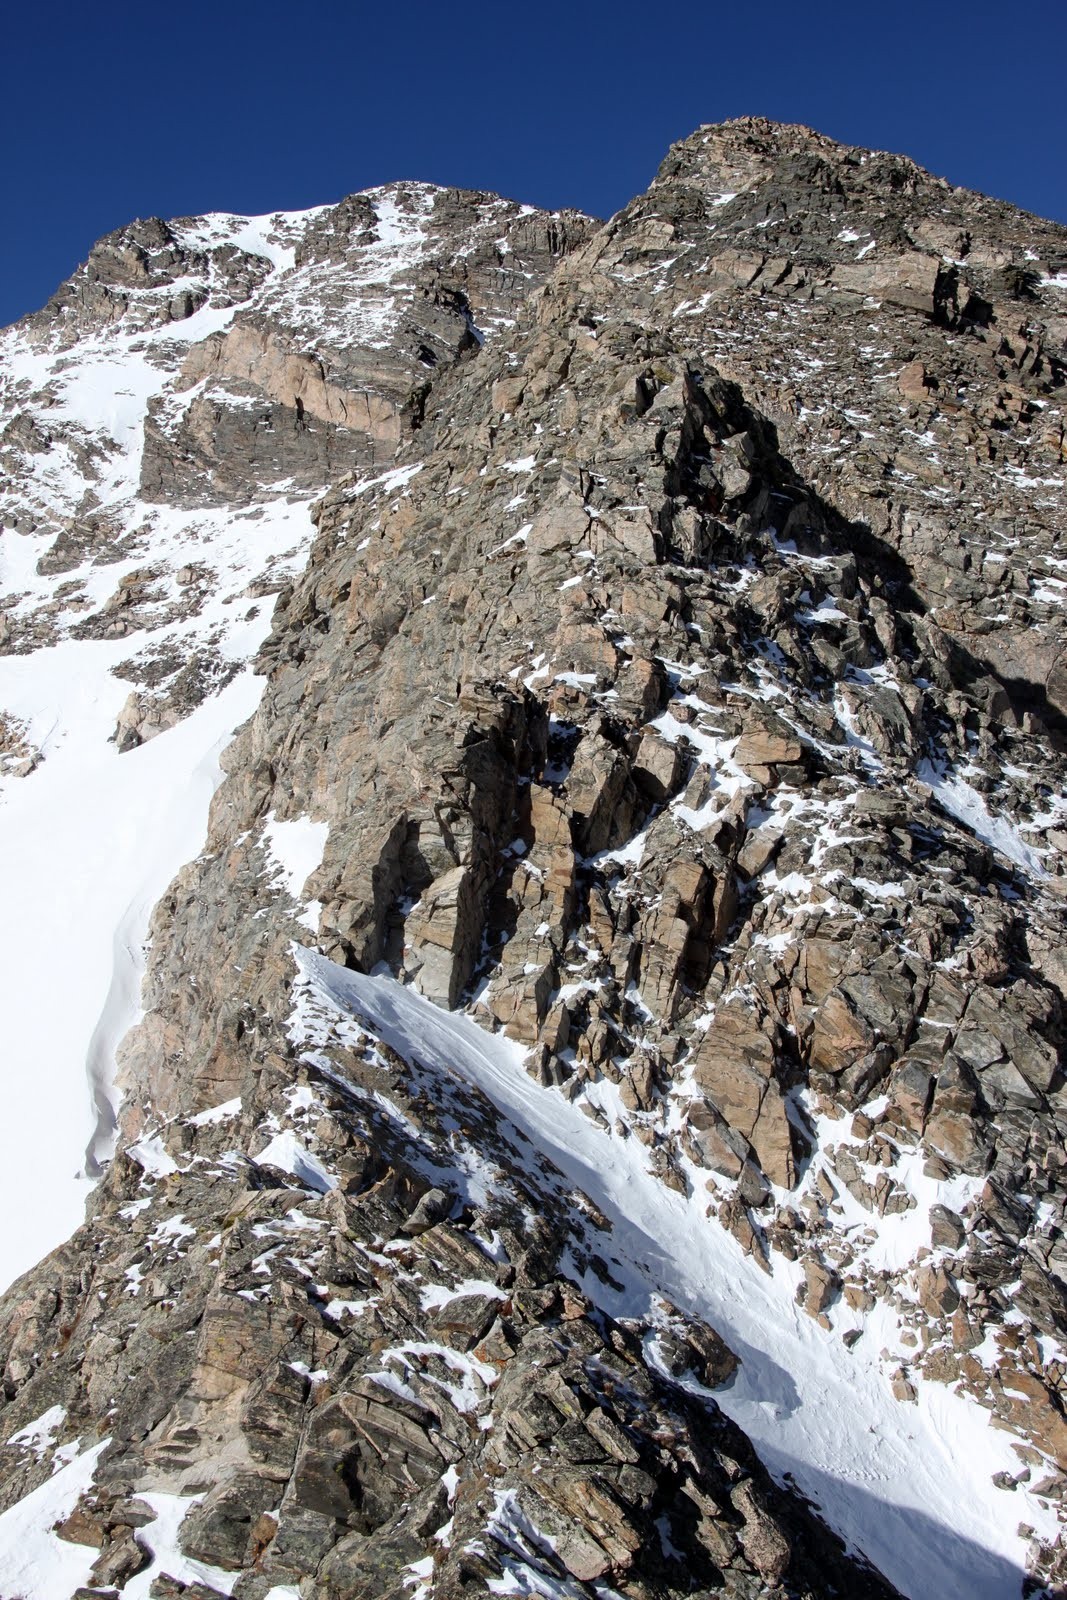
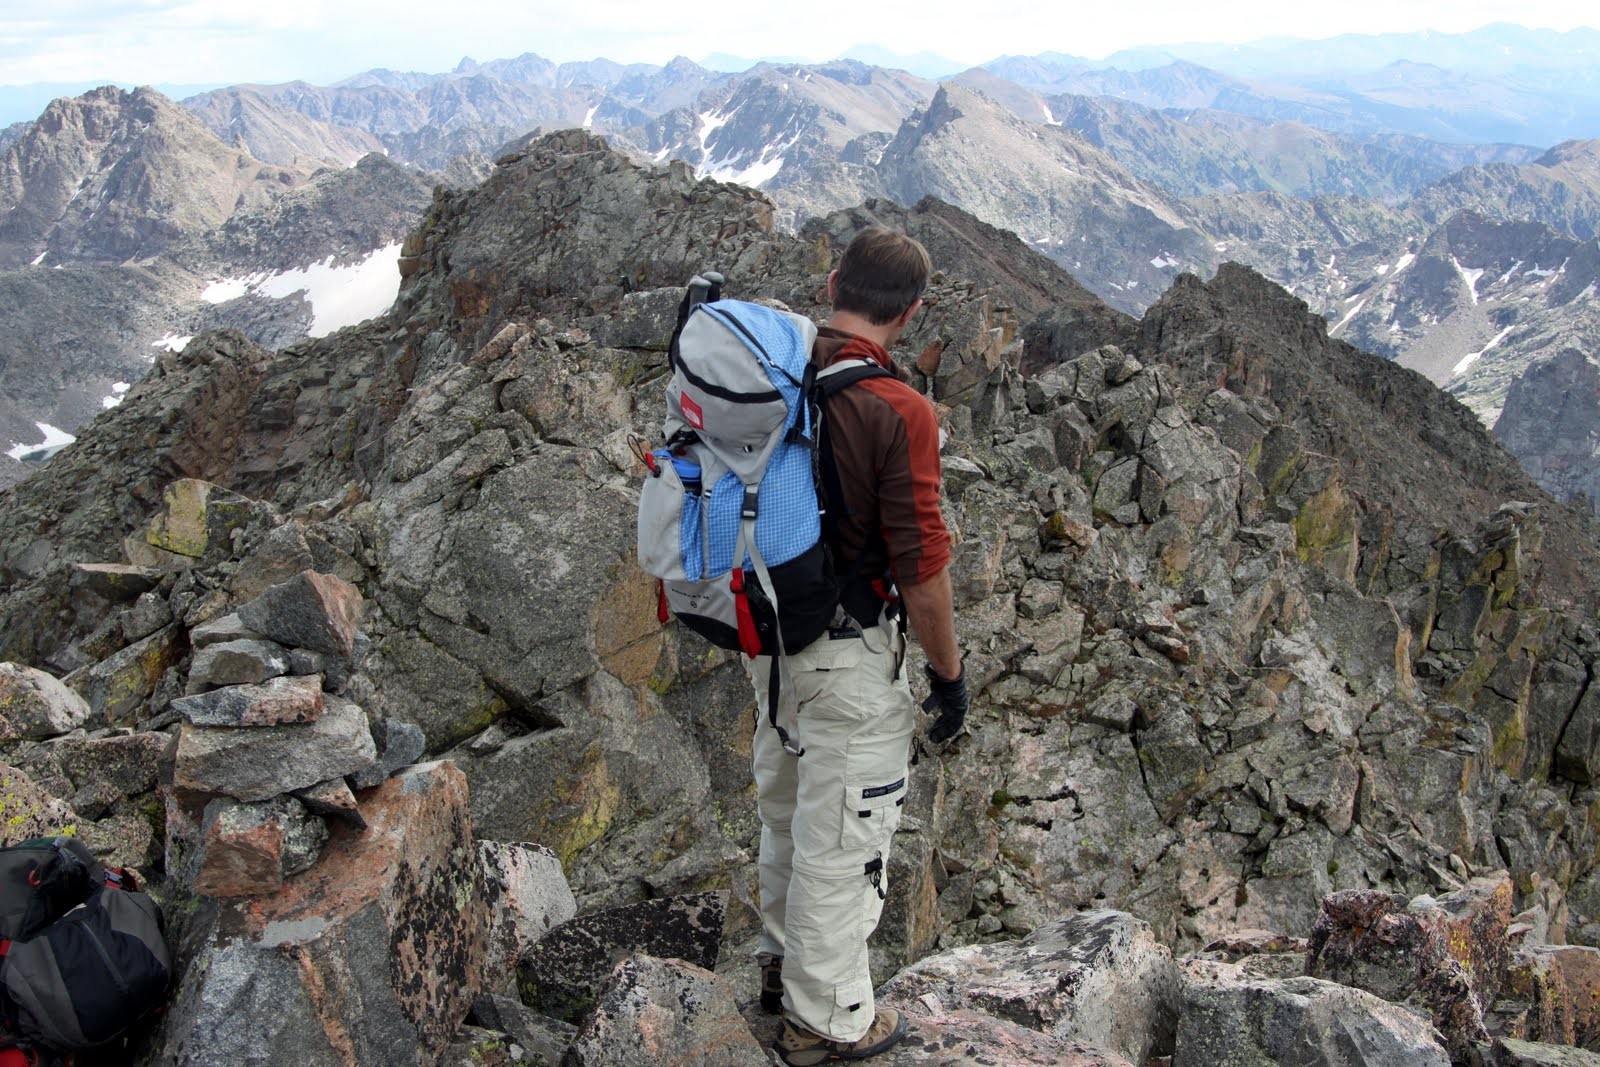
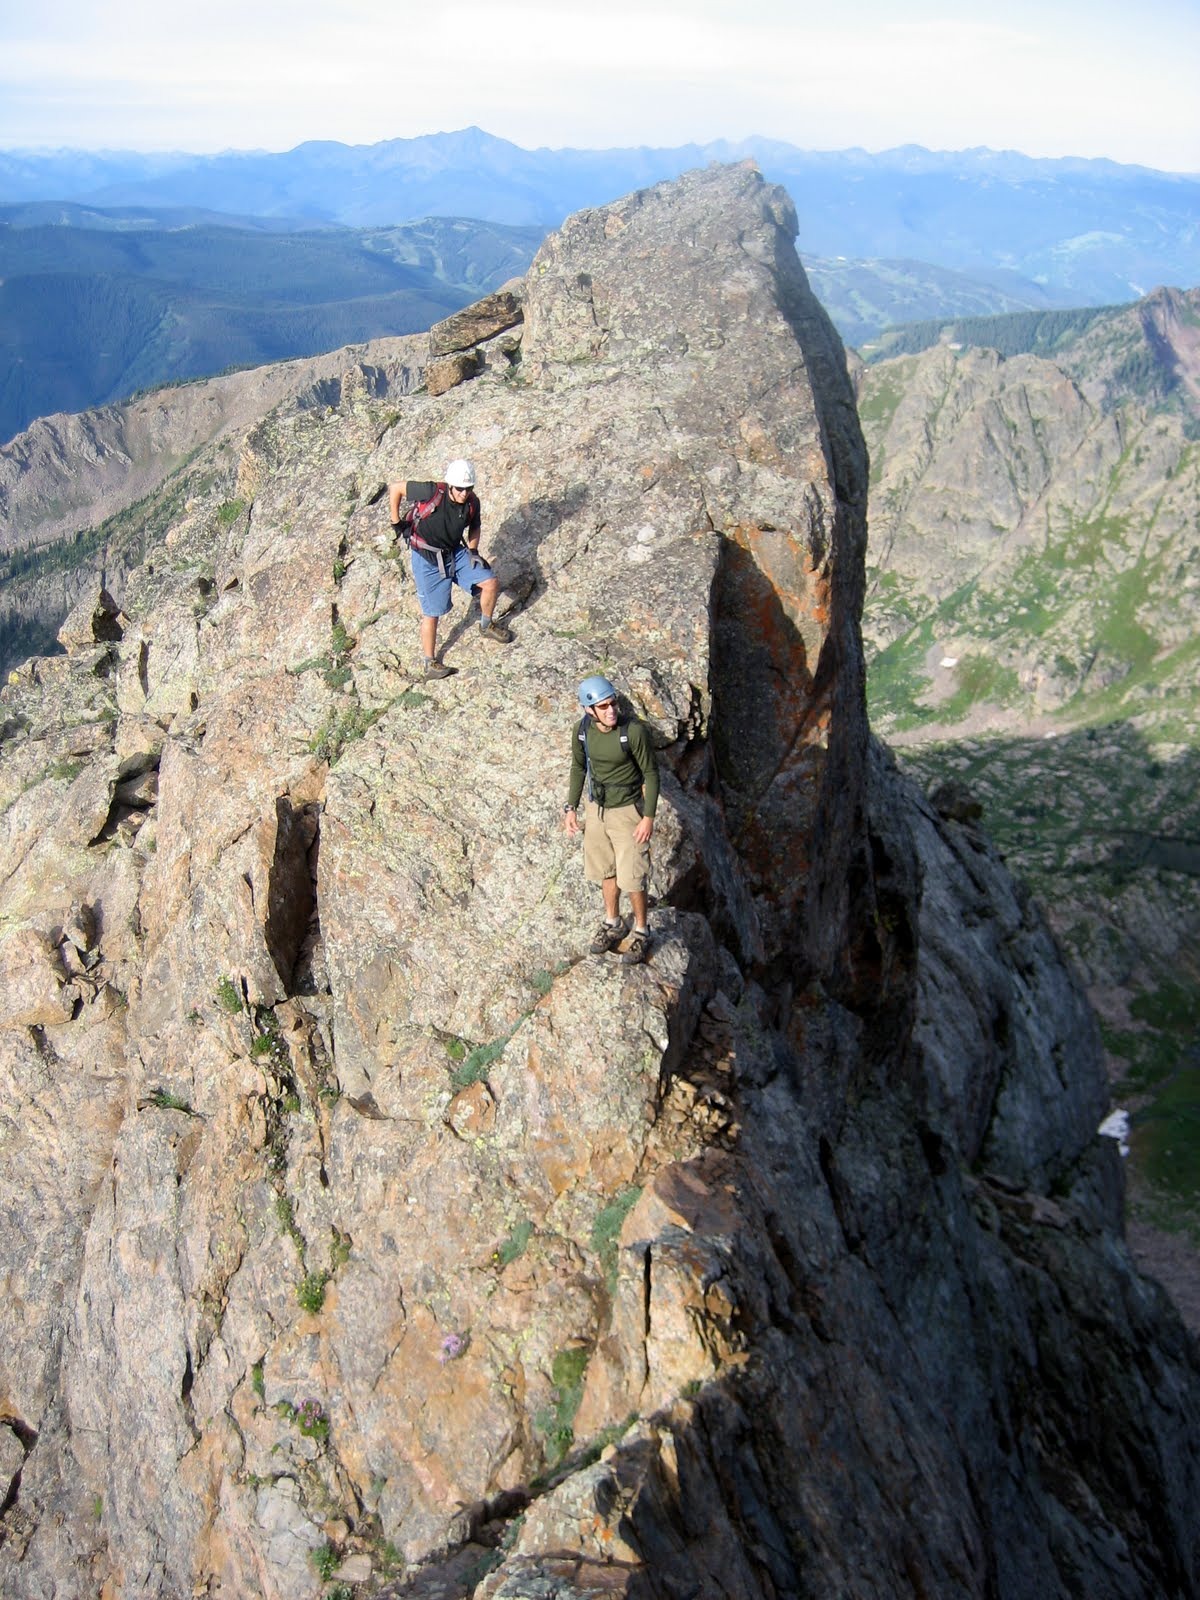
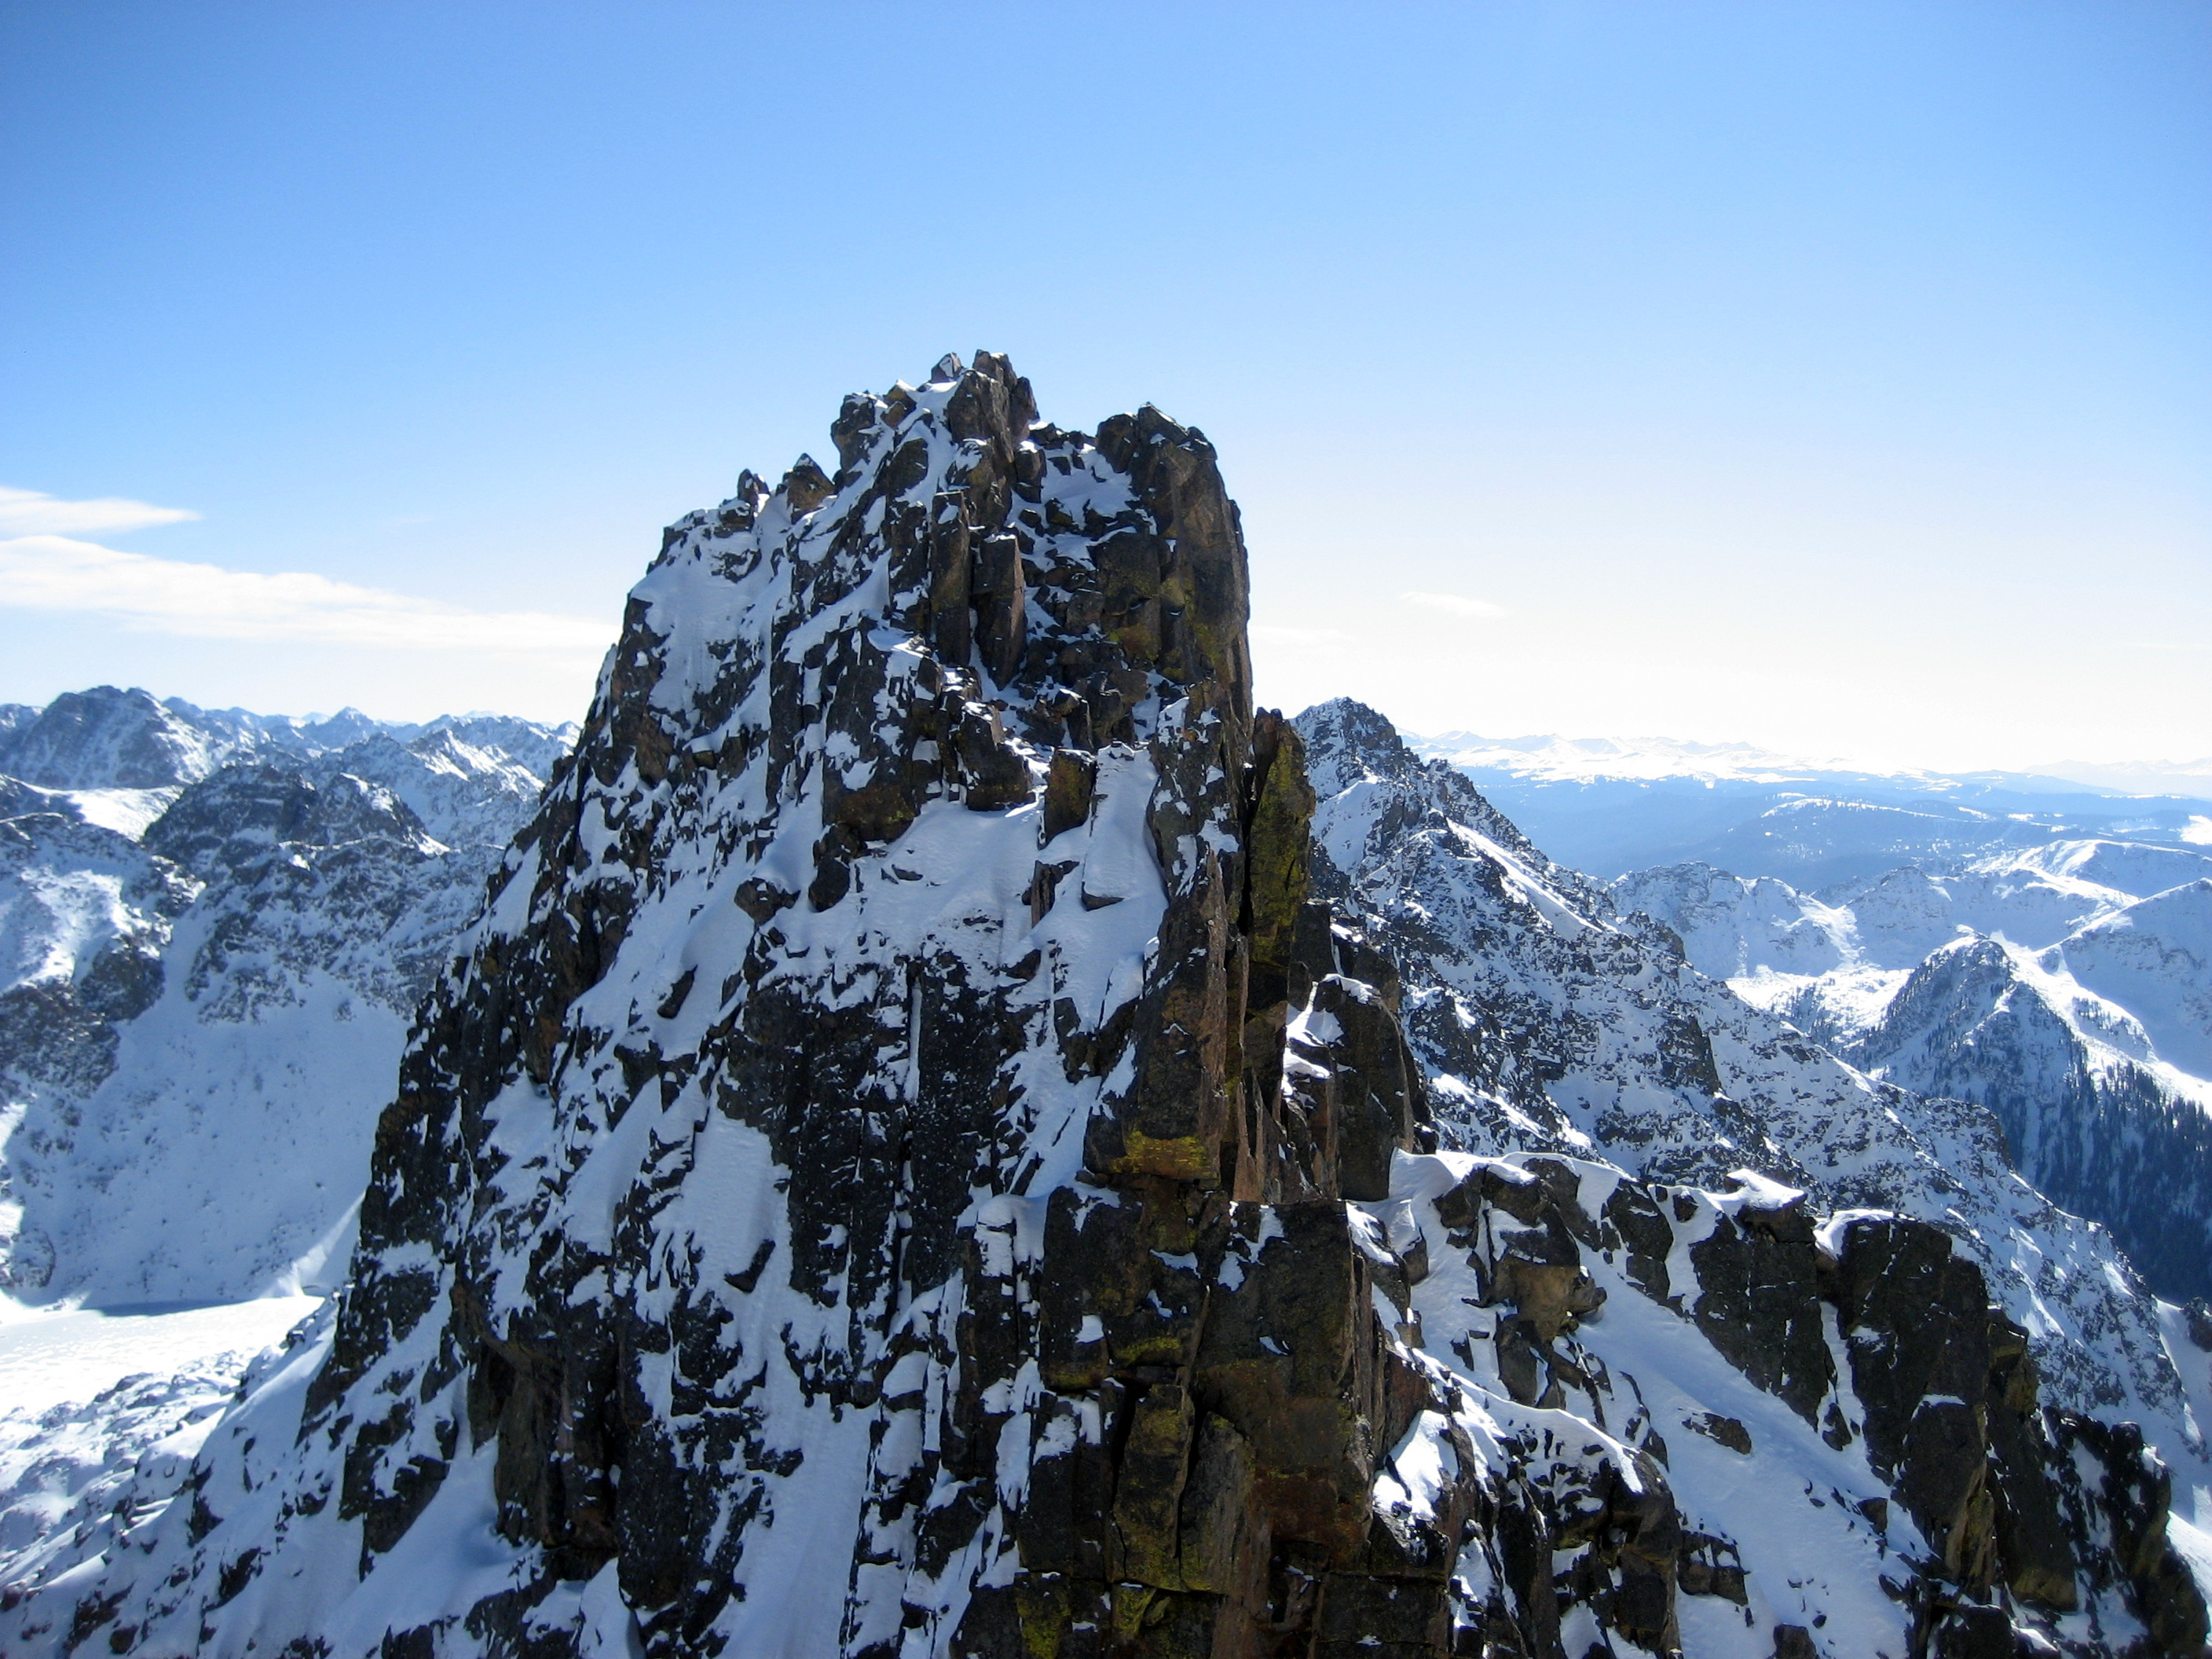
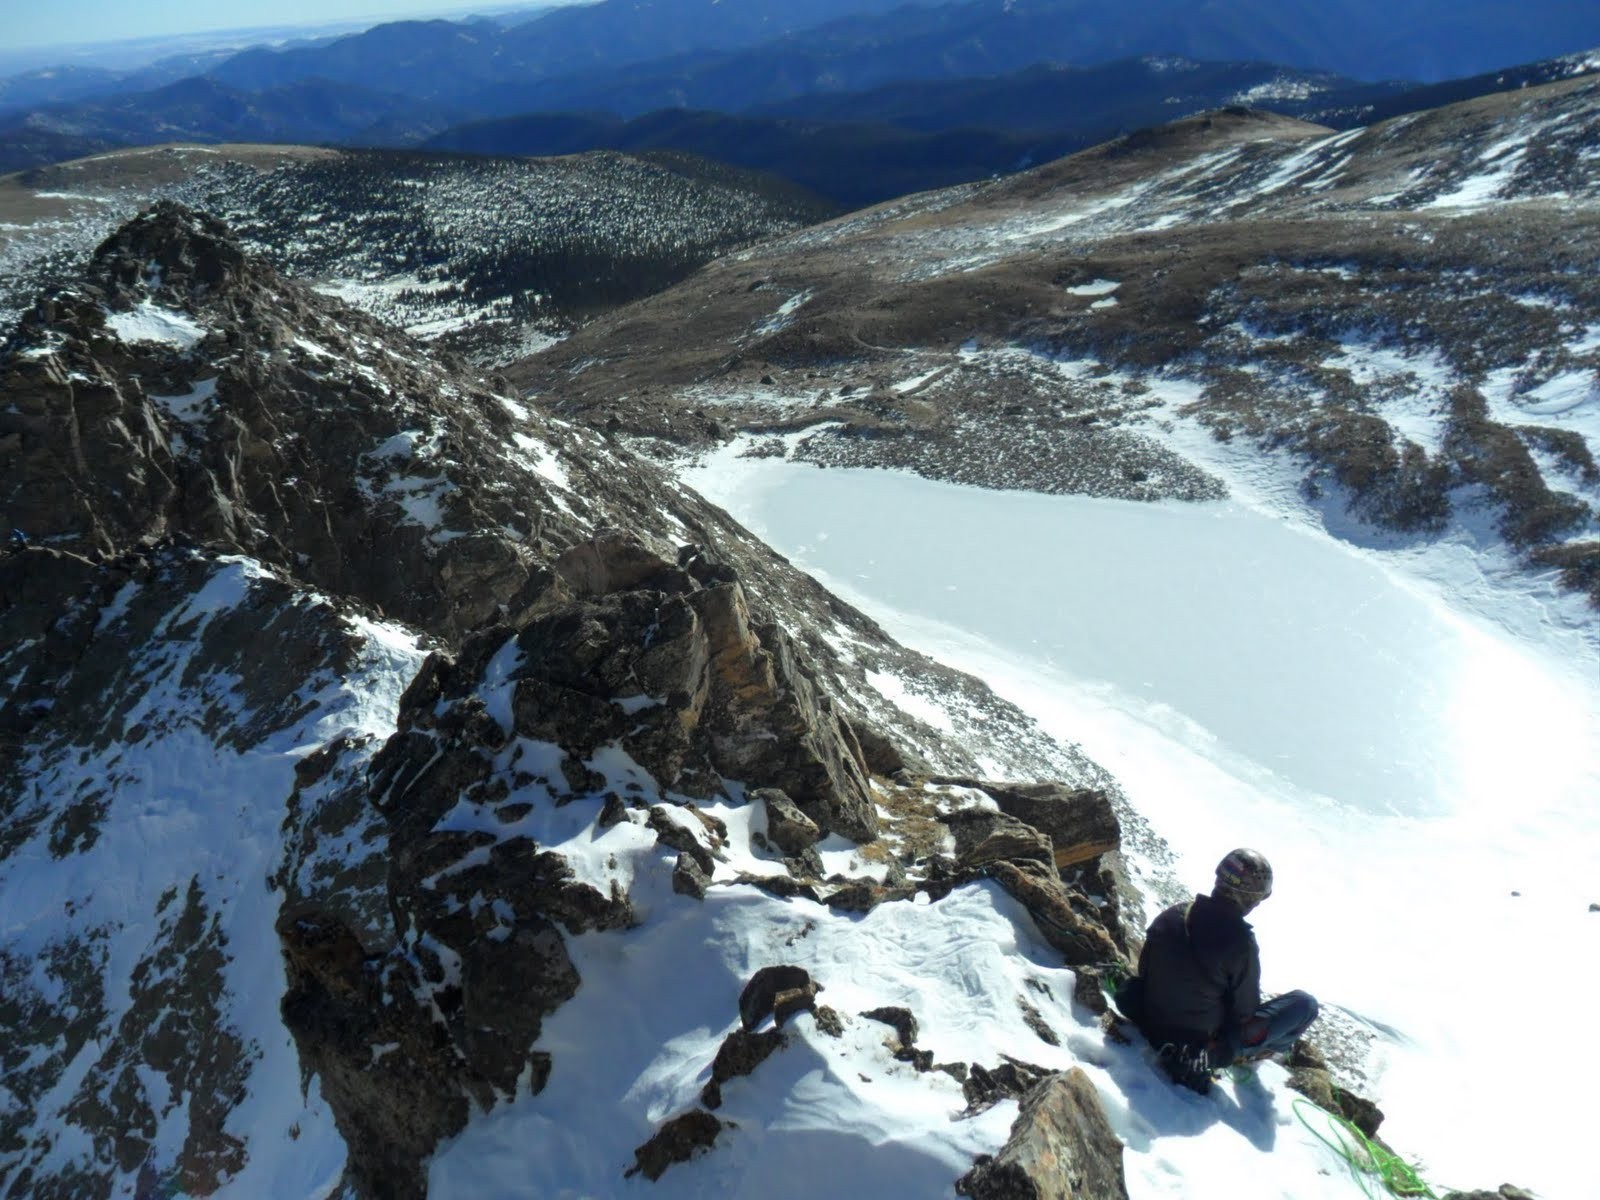
The remaining portion of the east ridge from the top of the 1st crux 5.2 headwall pitch
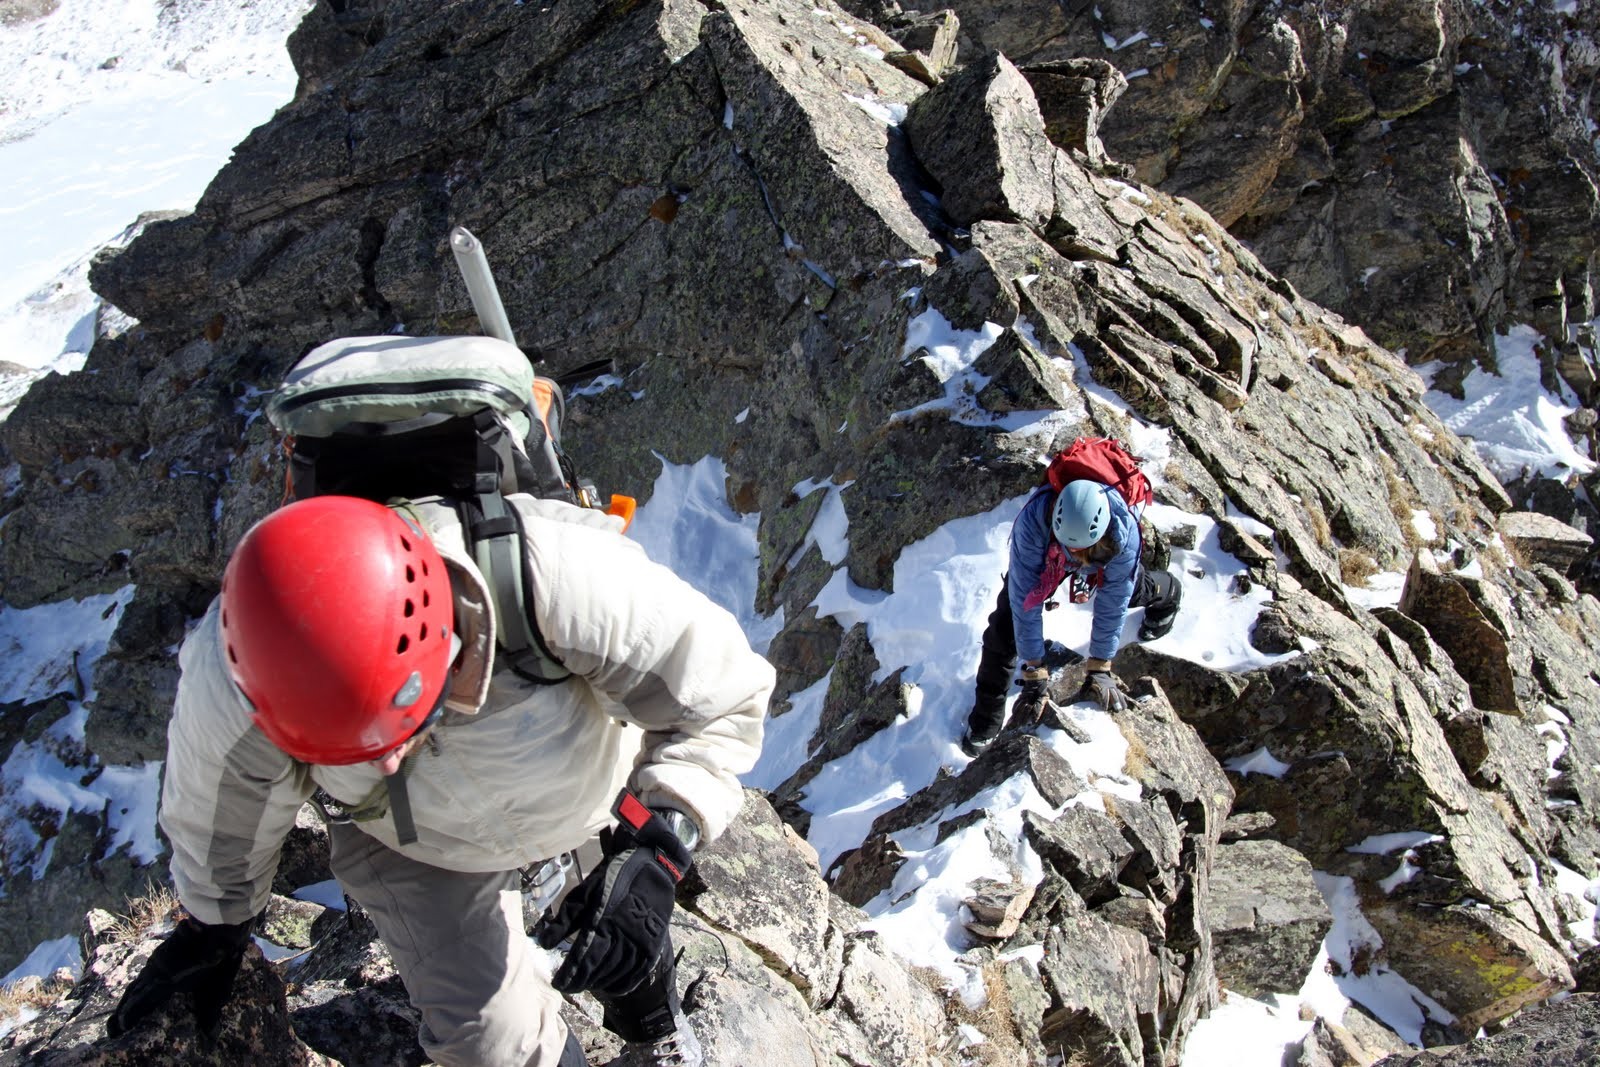
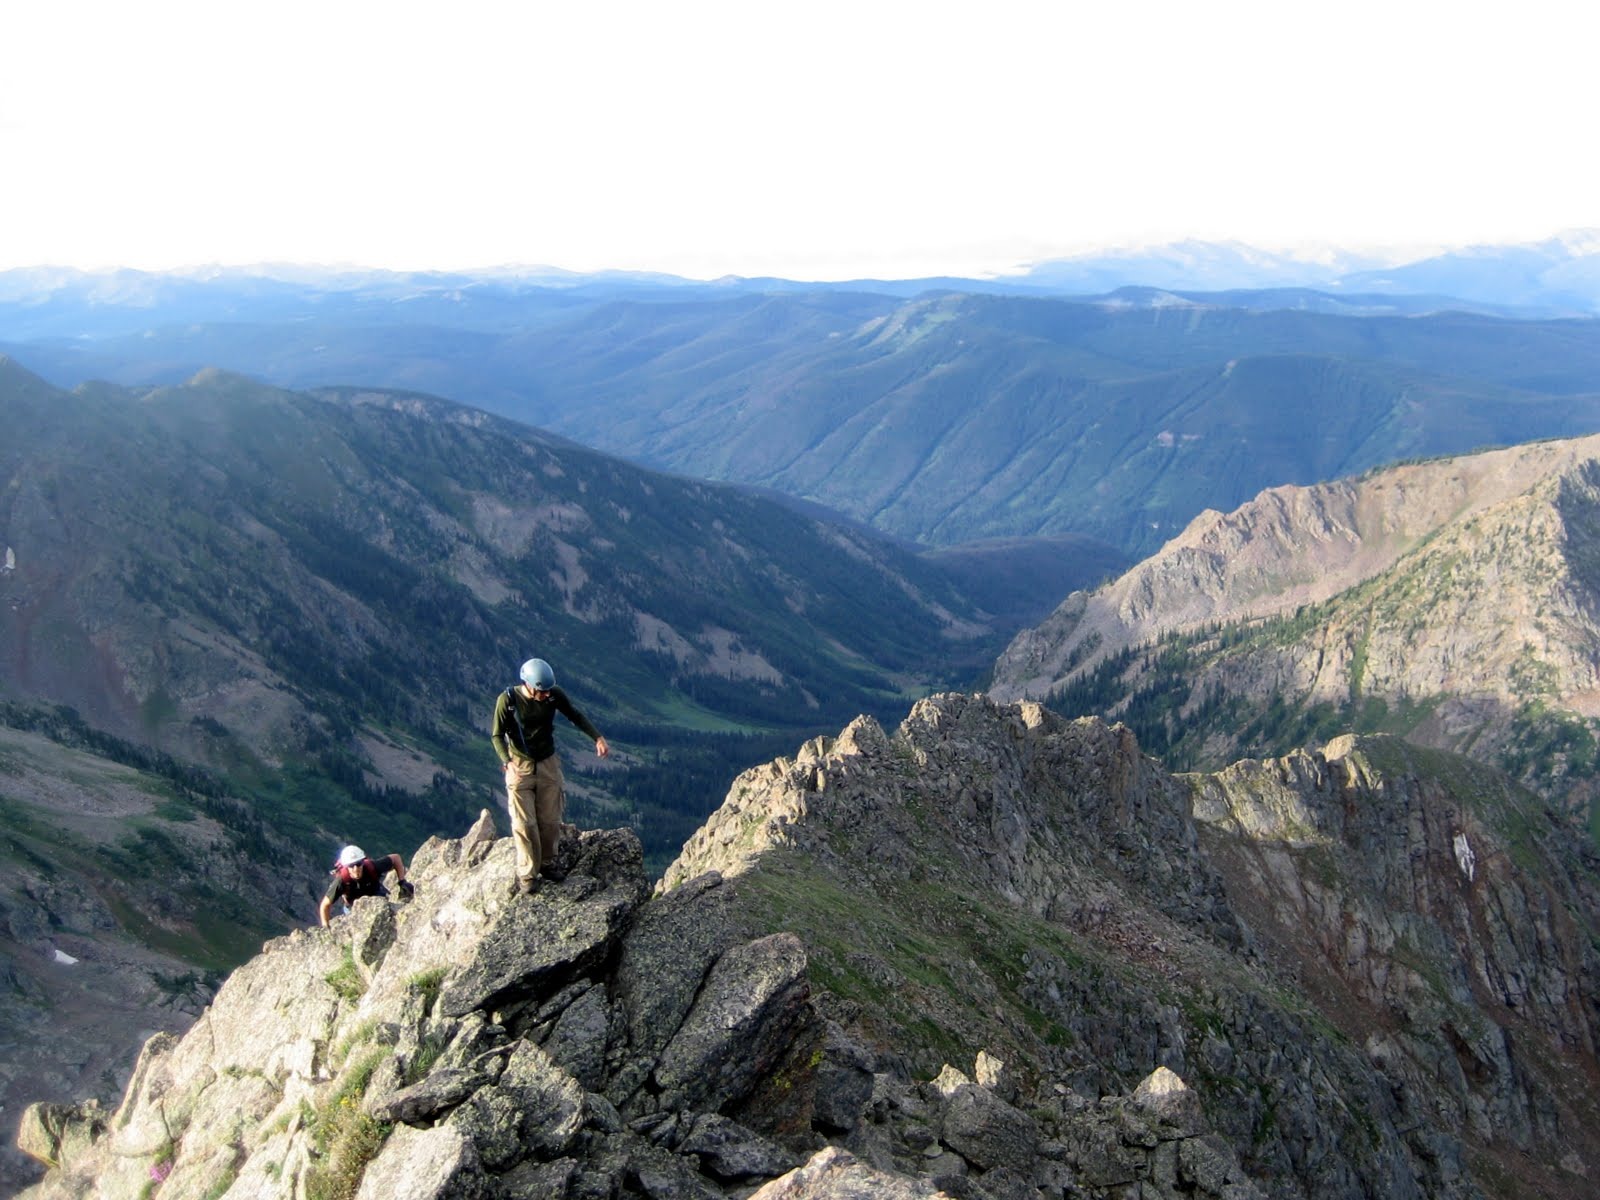
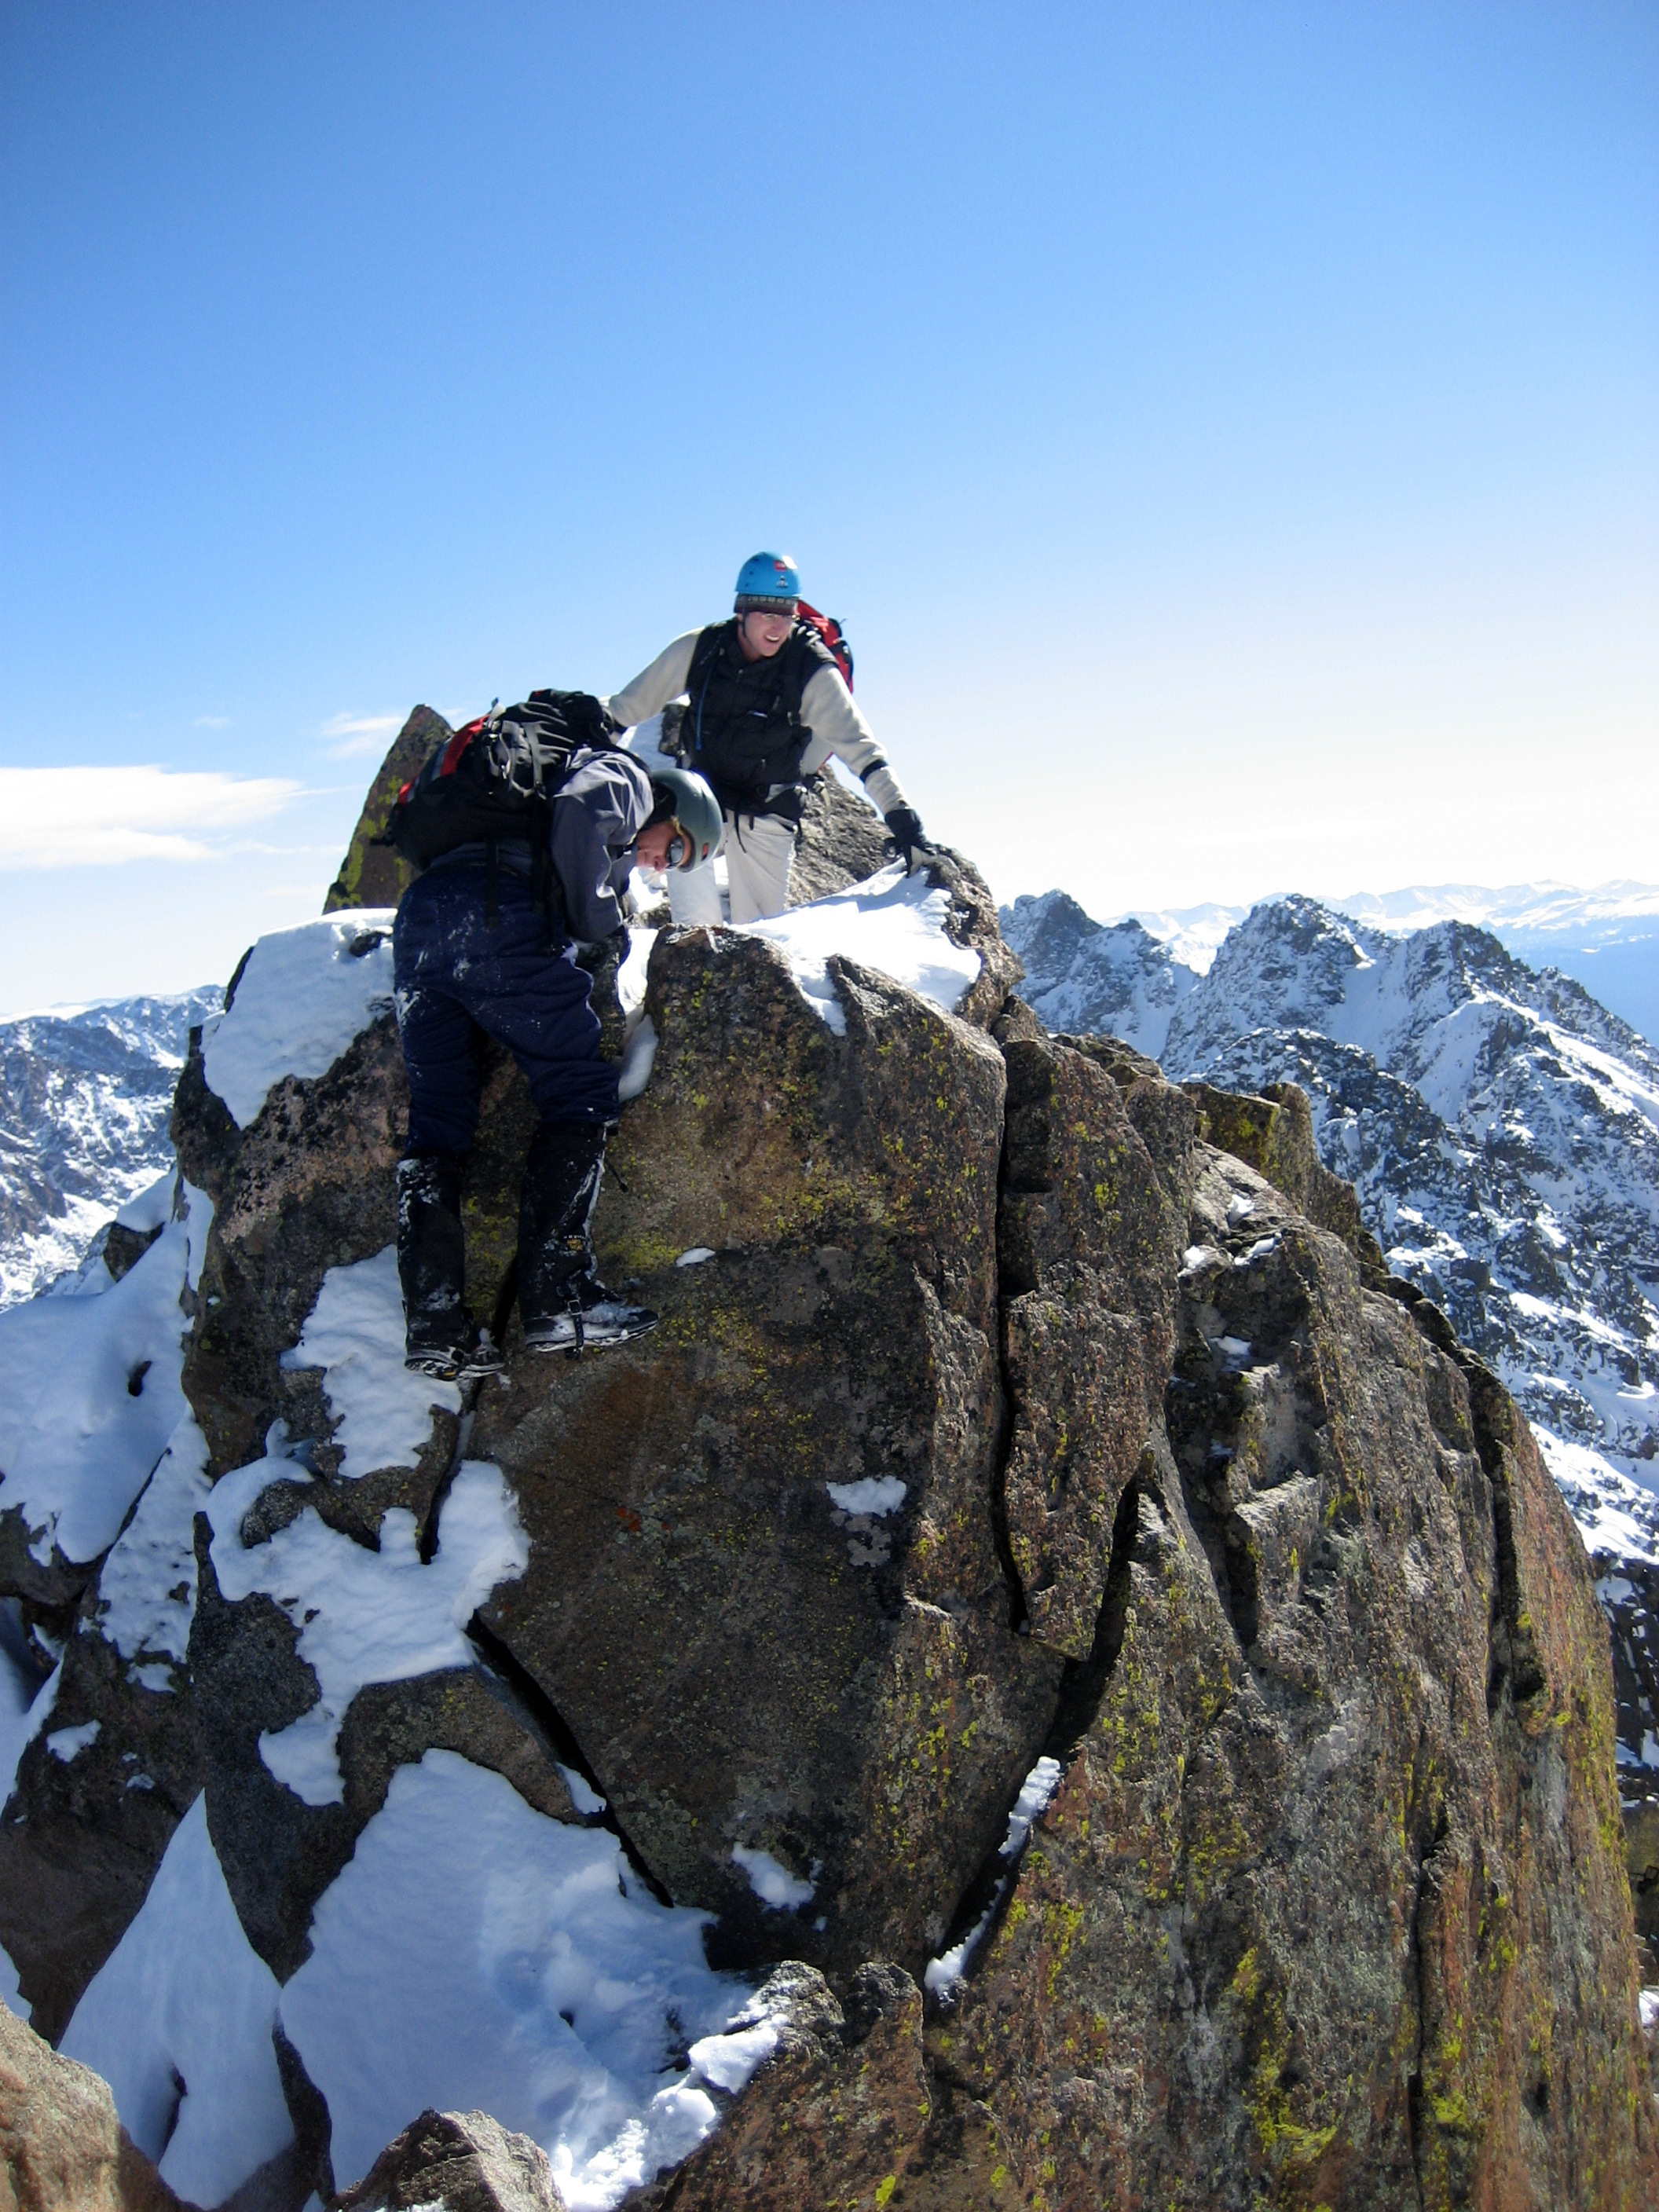
Jesse & Kristine on the ridge
Jesse crossing a knife-edge snow ridge
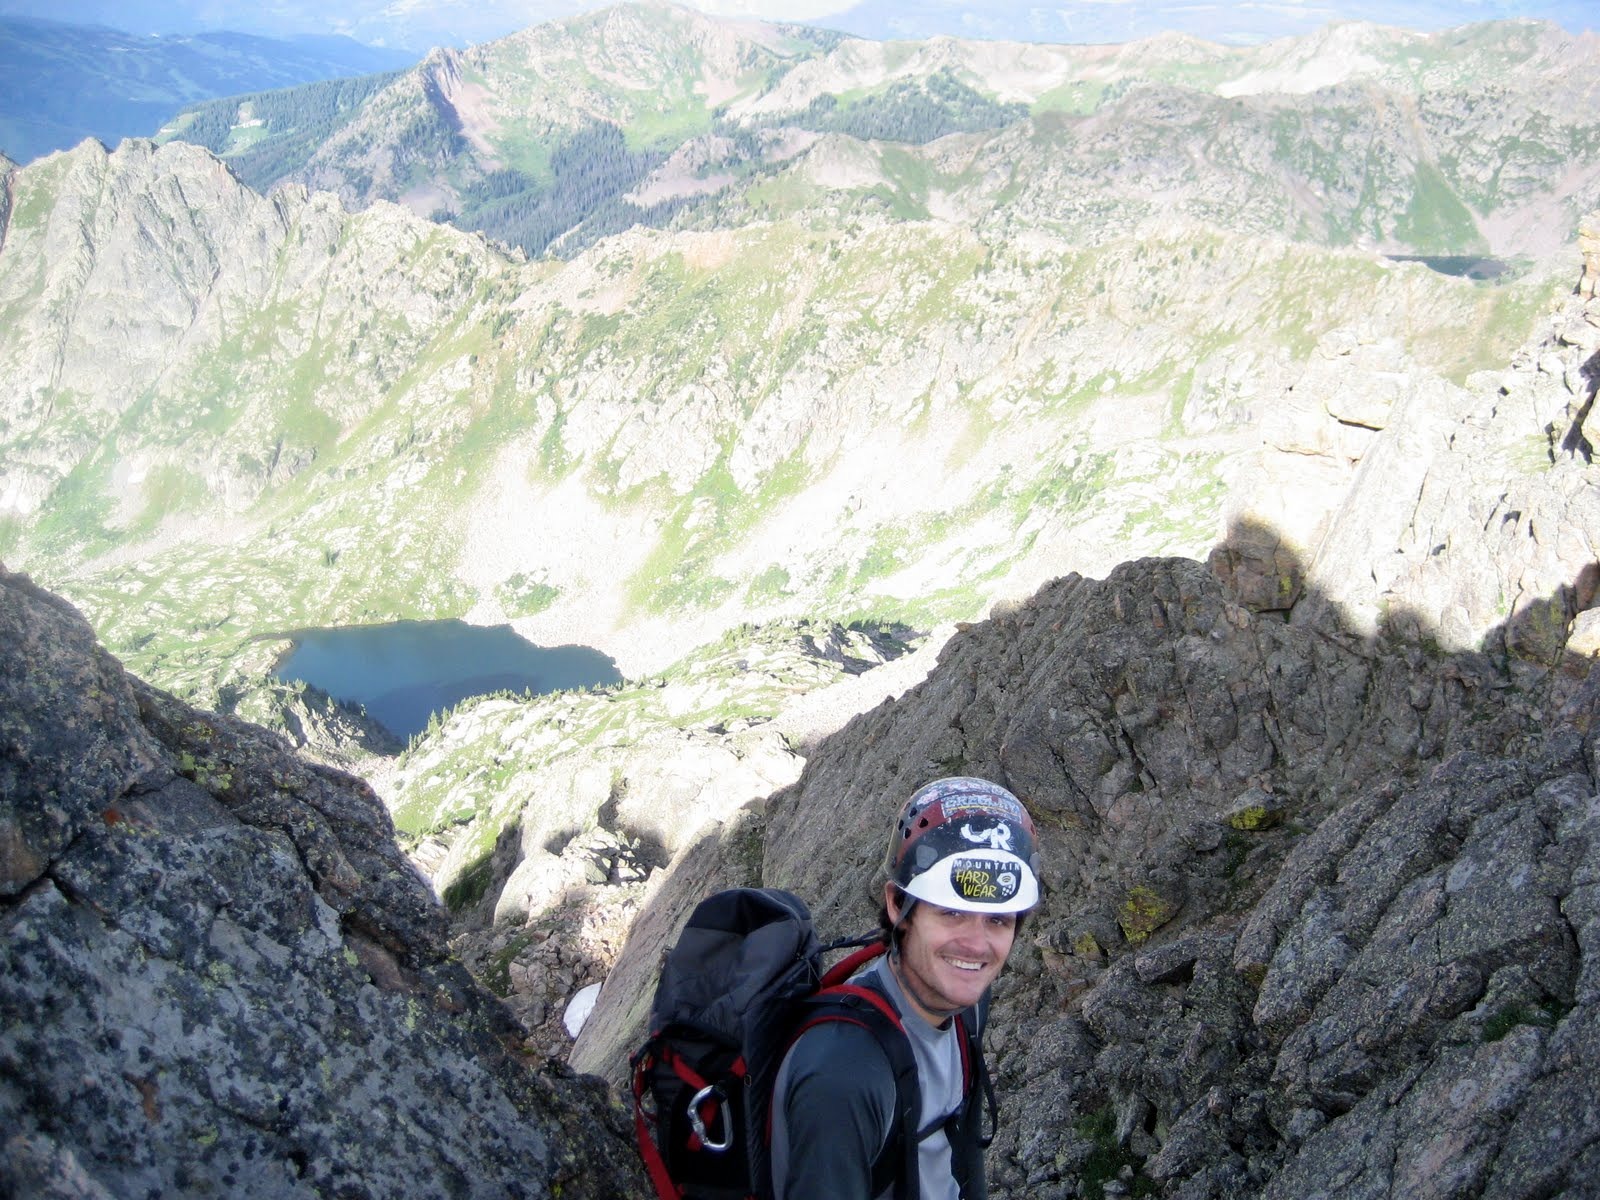
Me looking back at Kristine having crossed the knife-edge snow ridge

Jesse & Kristine almost done with the knife-edge ridge and to the base of the 2nd crux headwall pitch
Me scoping out the 2nd crux headwall – I climbed up around the corner to my left
Me belaying Kristine up the 2nd crux low 5th class headwall pitch

The party of two climbers seen from above the 2nd headwall crux

Kristine back on the ridge proper – a large party can be seen approaching the rappel into the notch right of center

Jesse & Kristine back on the ridge proper
More knife-edge ridge
Kristine
The easier class 3 terrain of the upper ridge
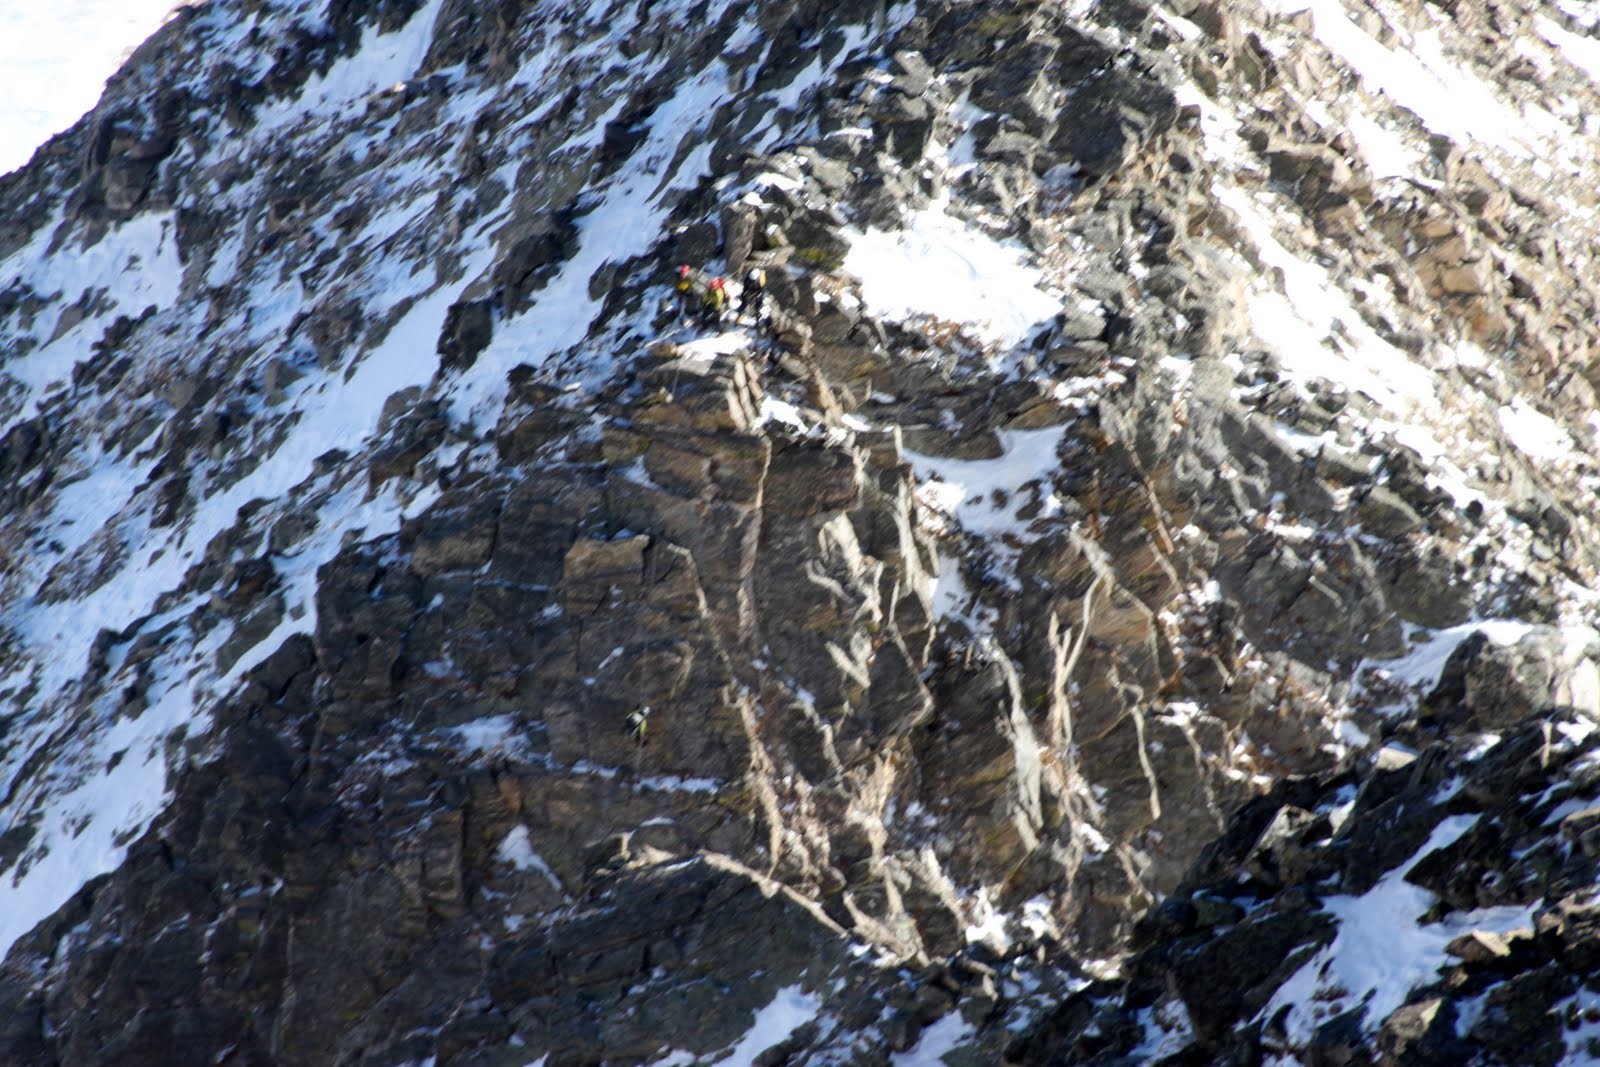
Close-up of the large party rappelling into the notch
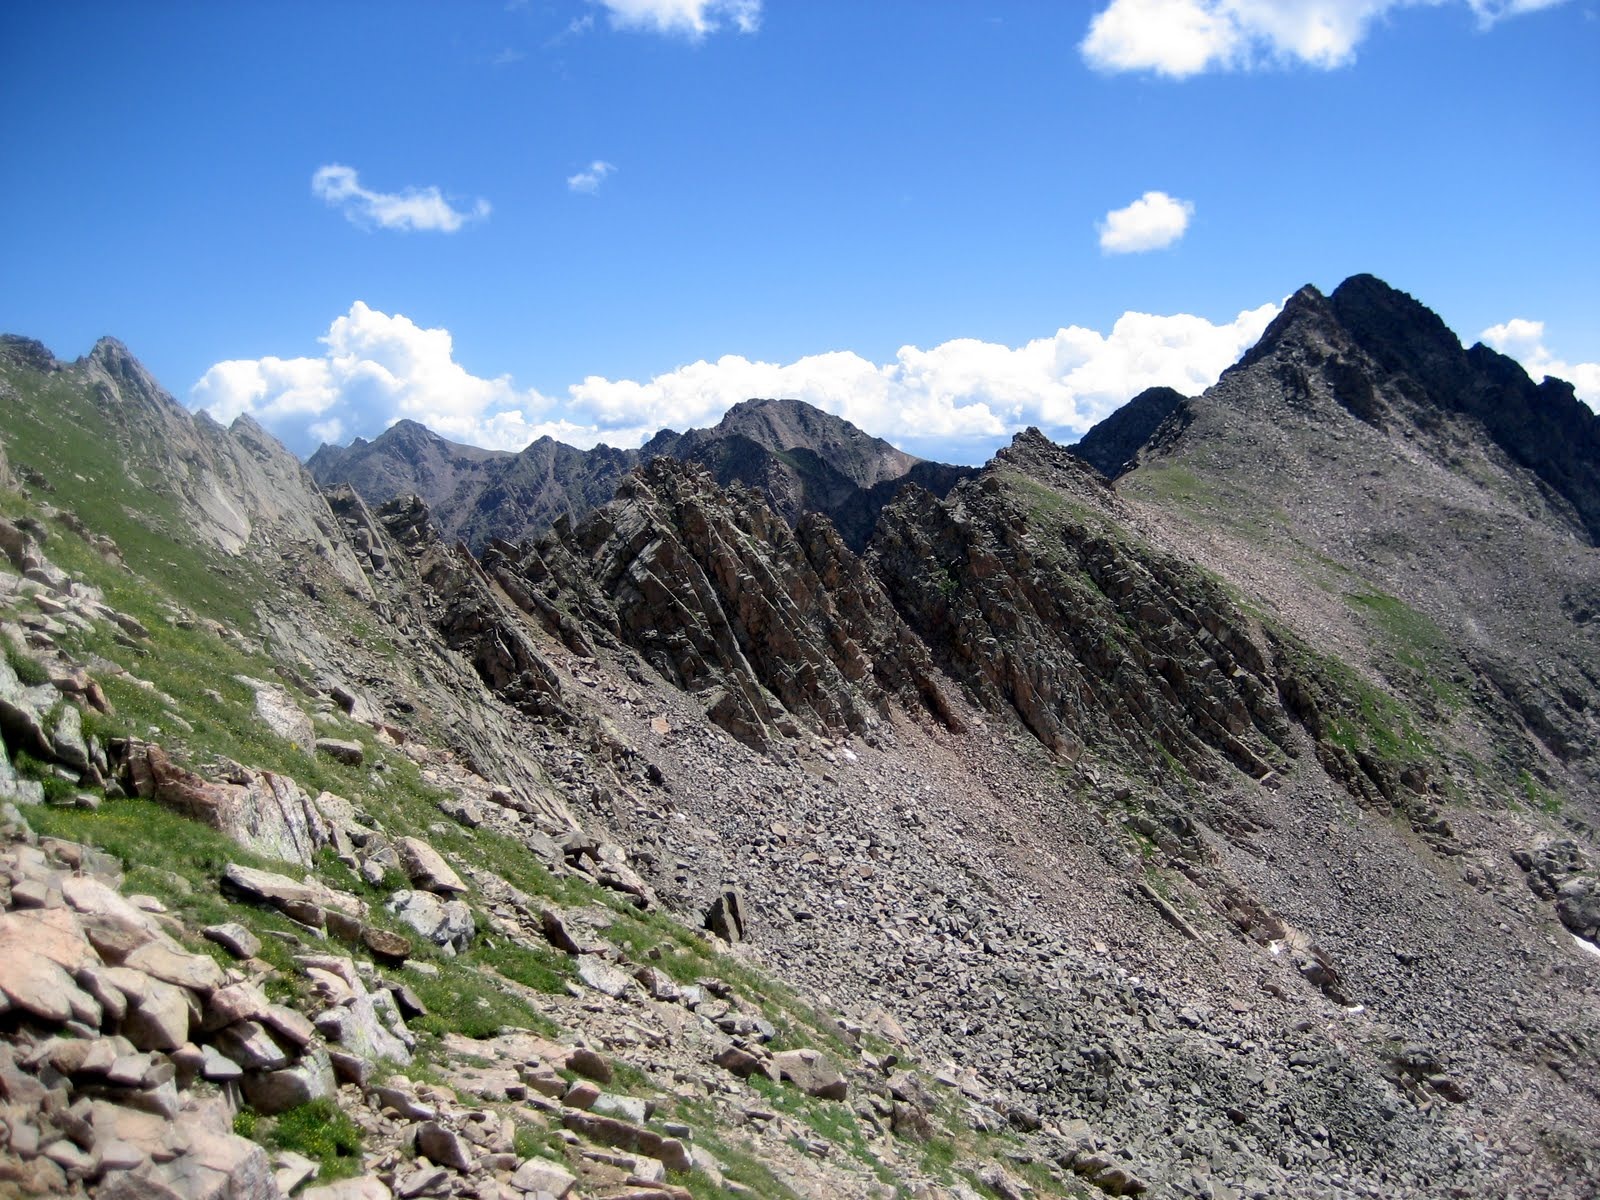
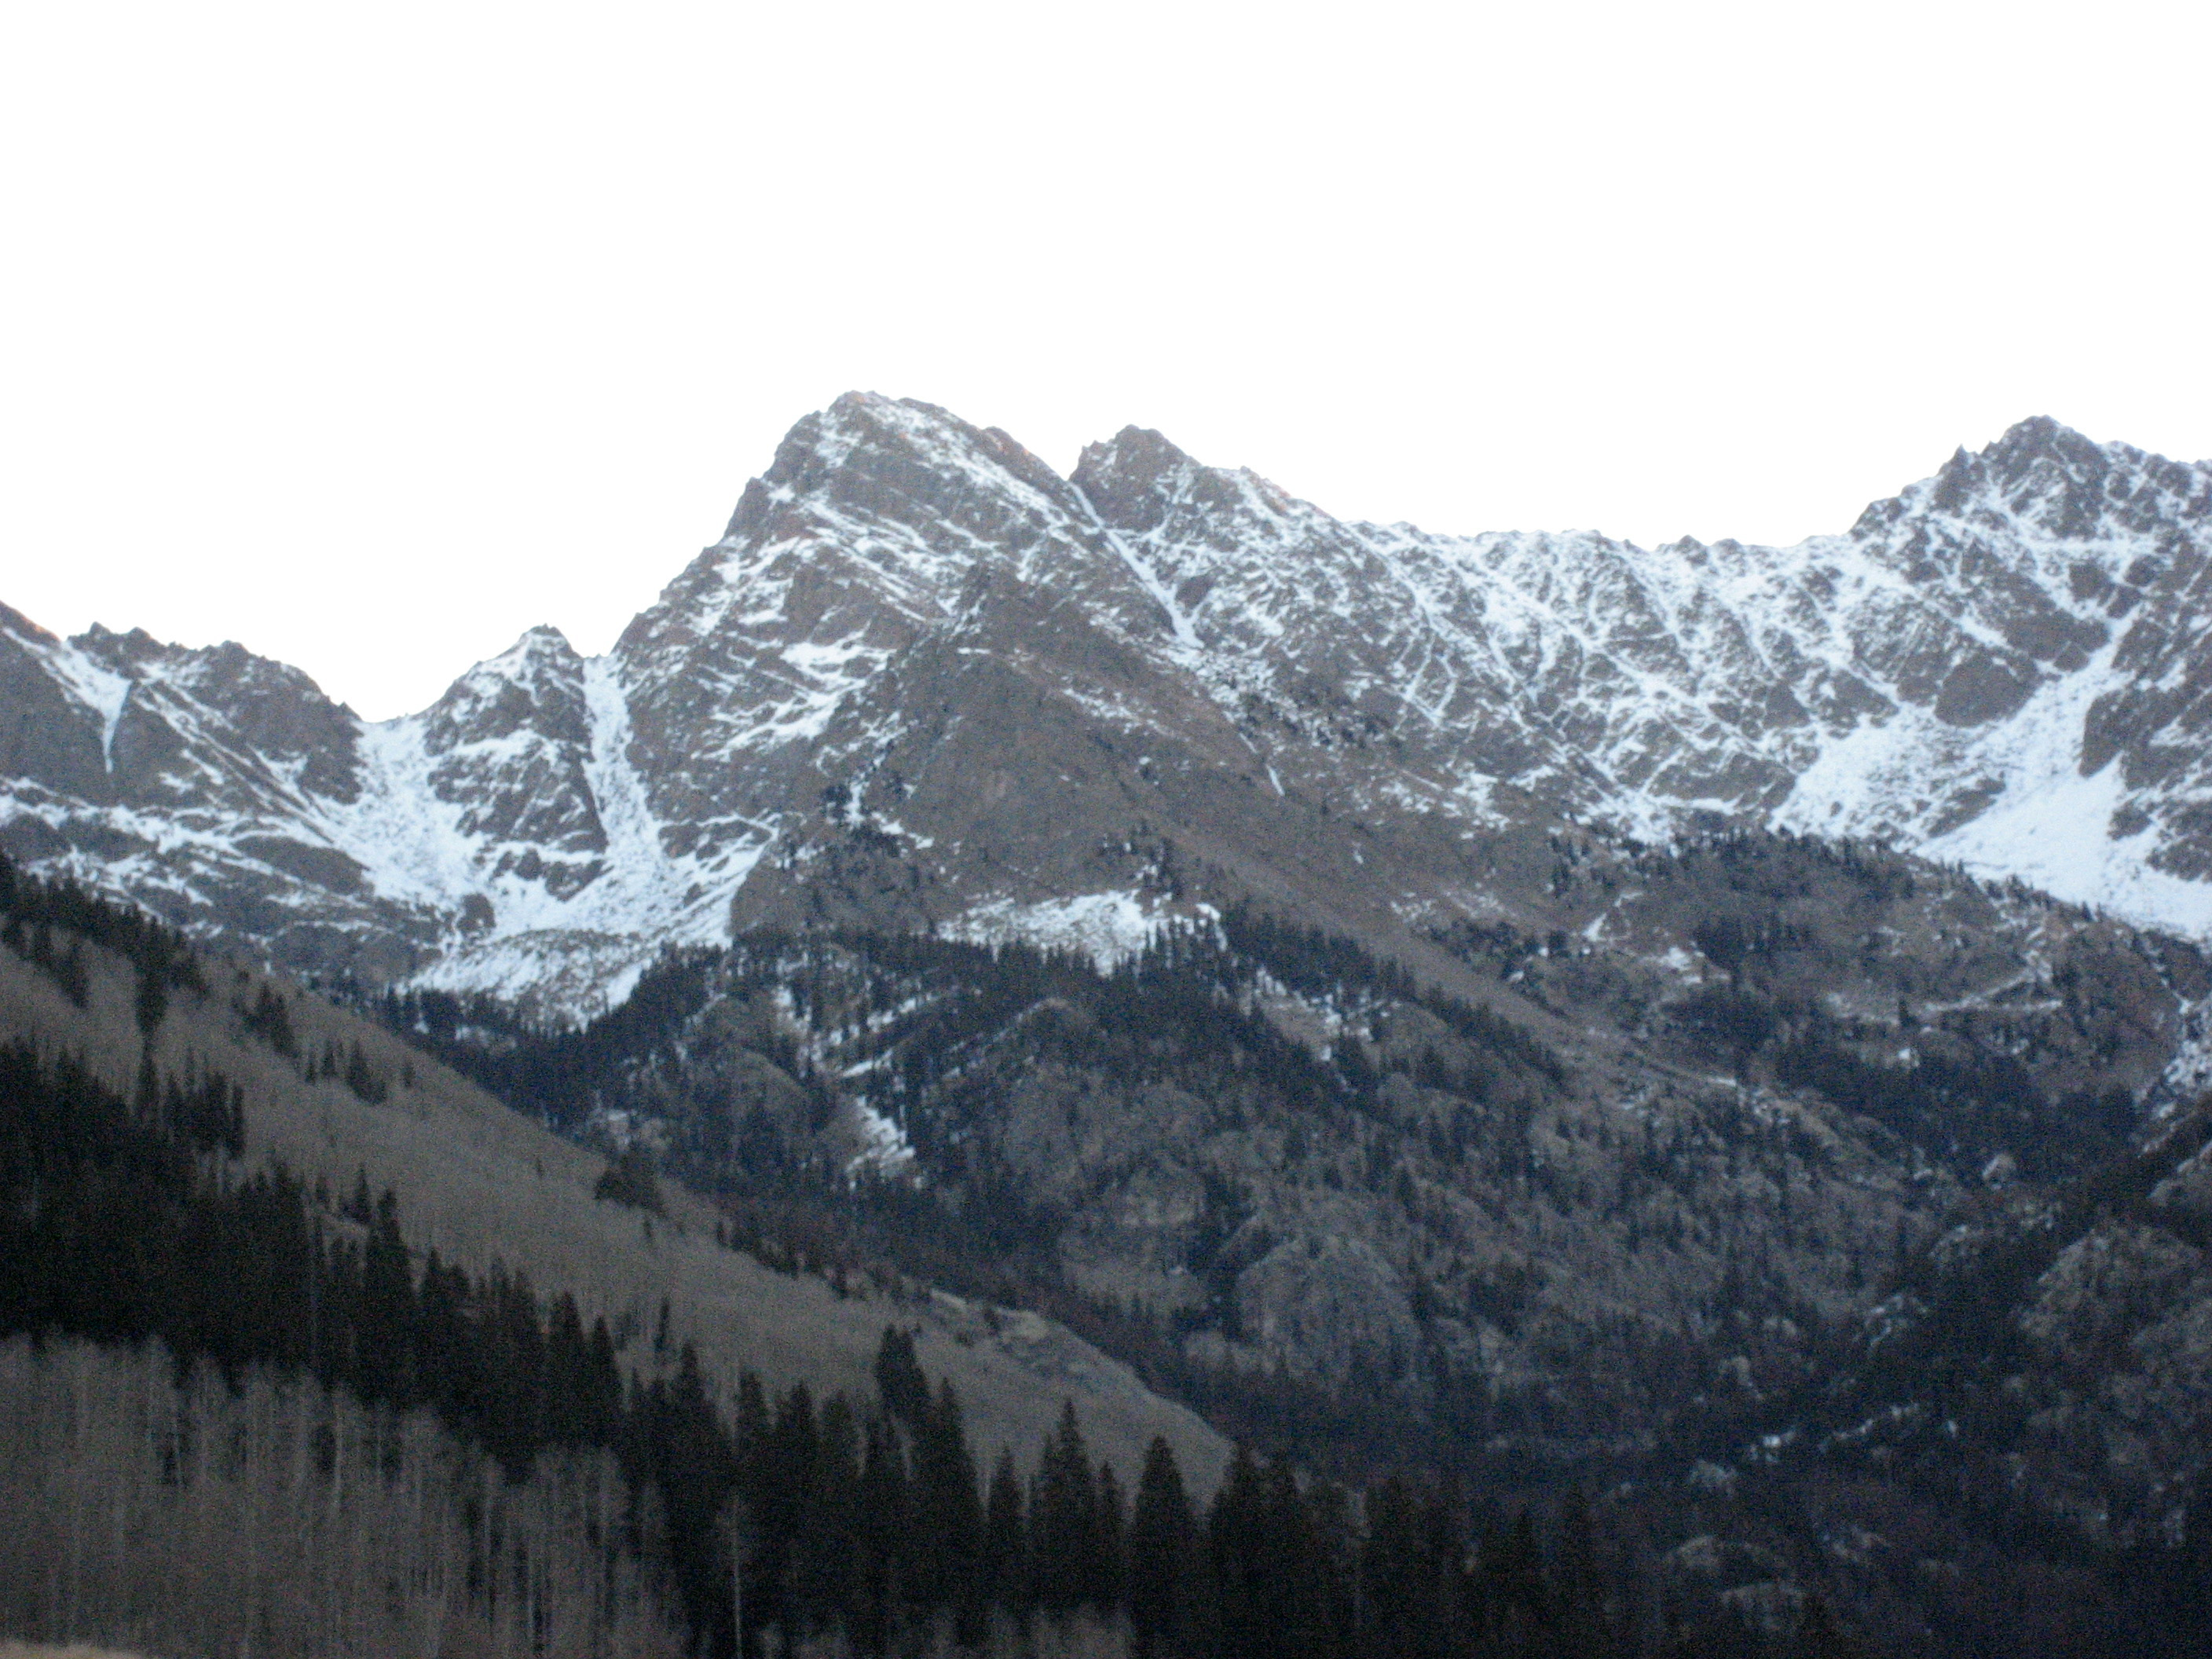
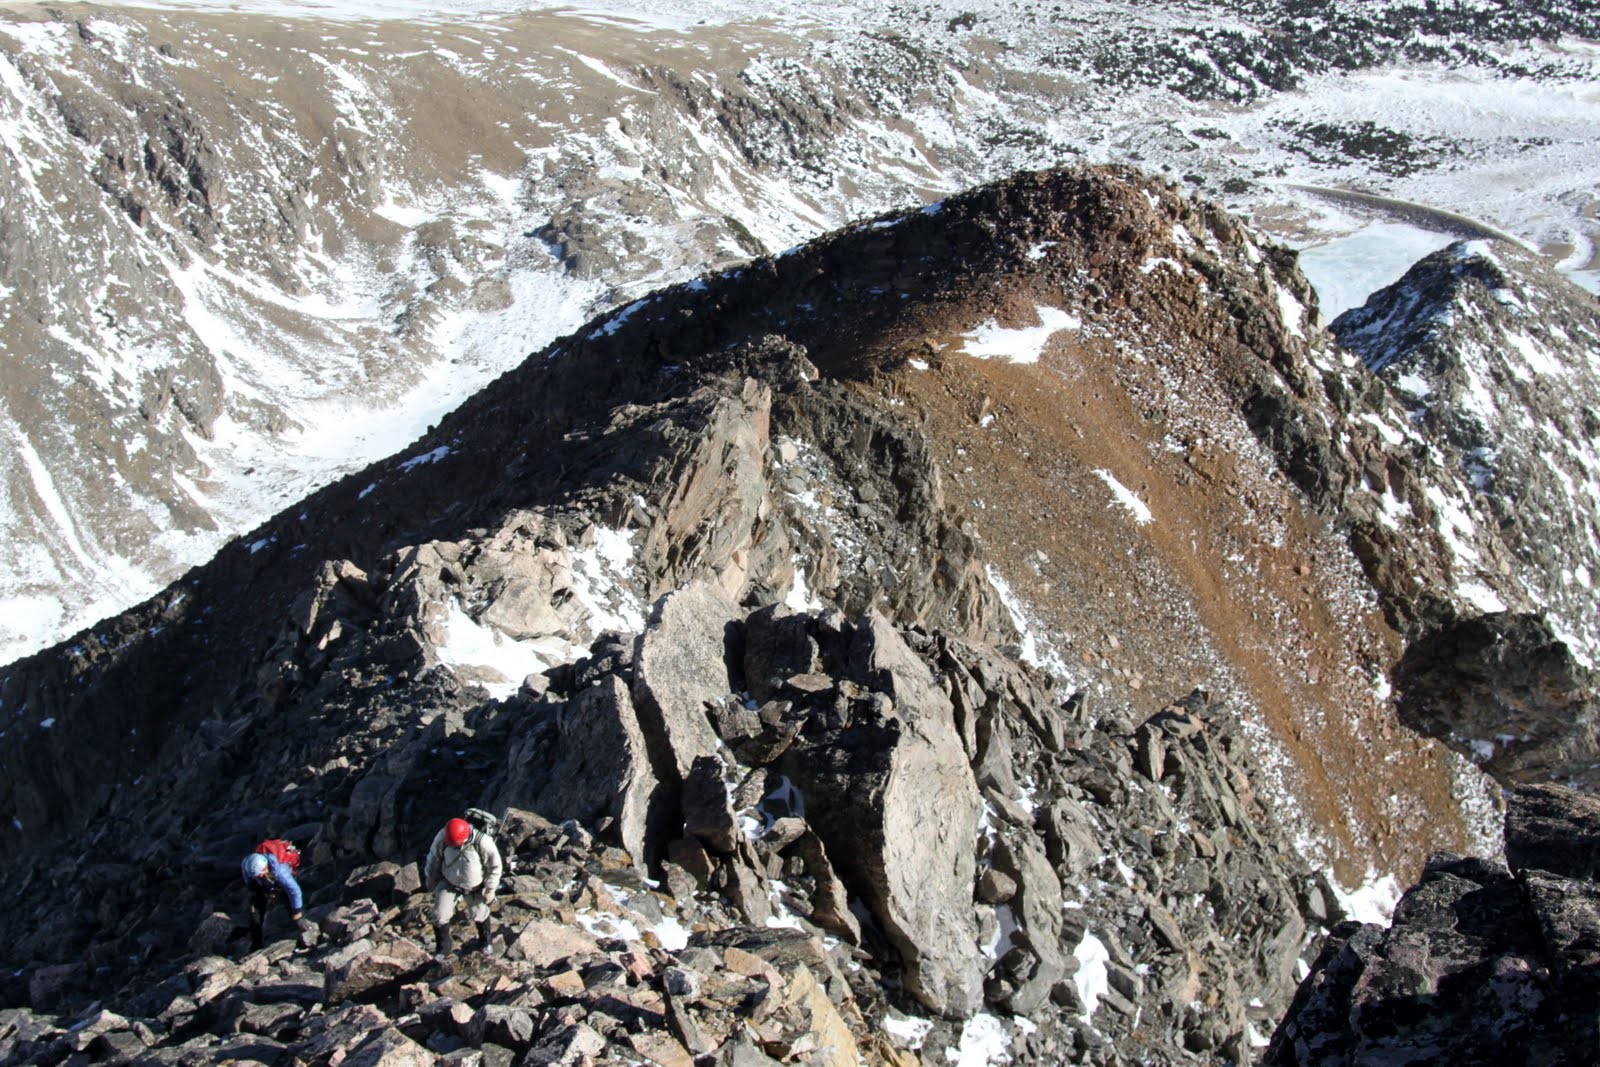
The east ridge from the class 3 terrain of the upper ridge
Kristine on the upper ridge
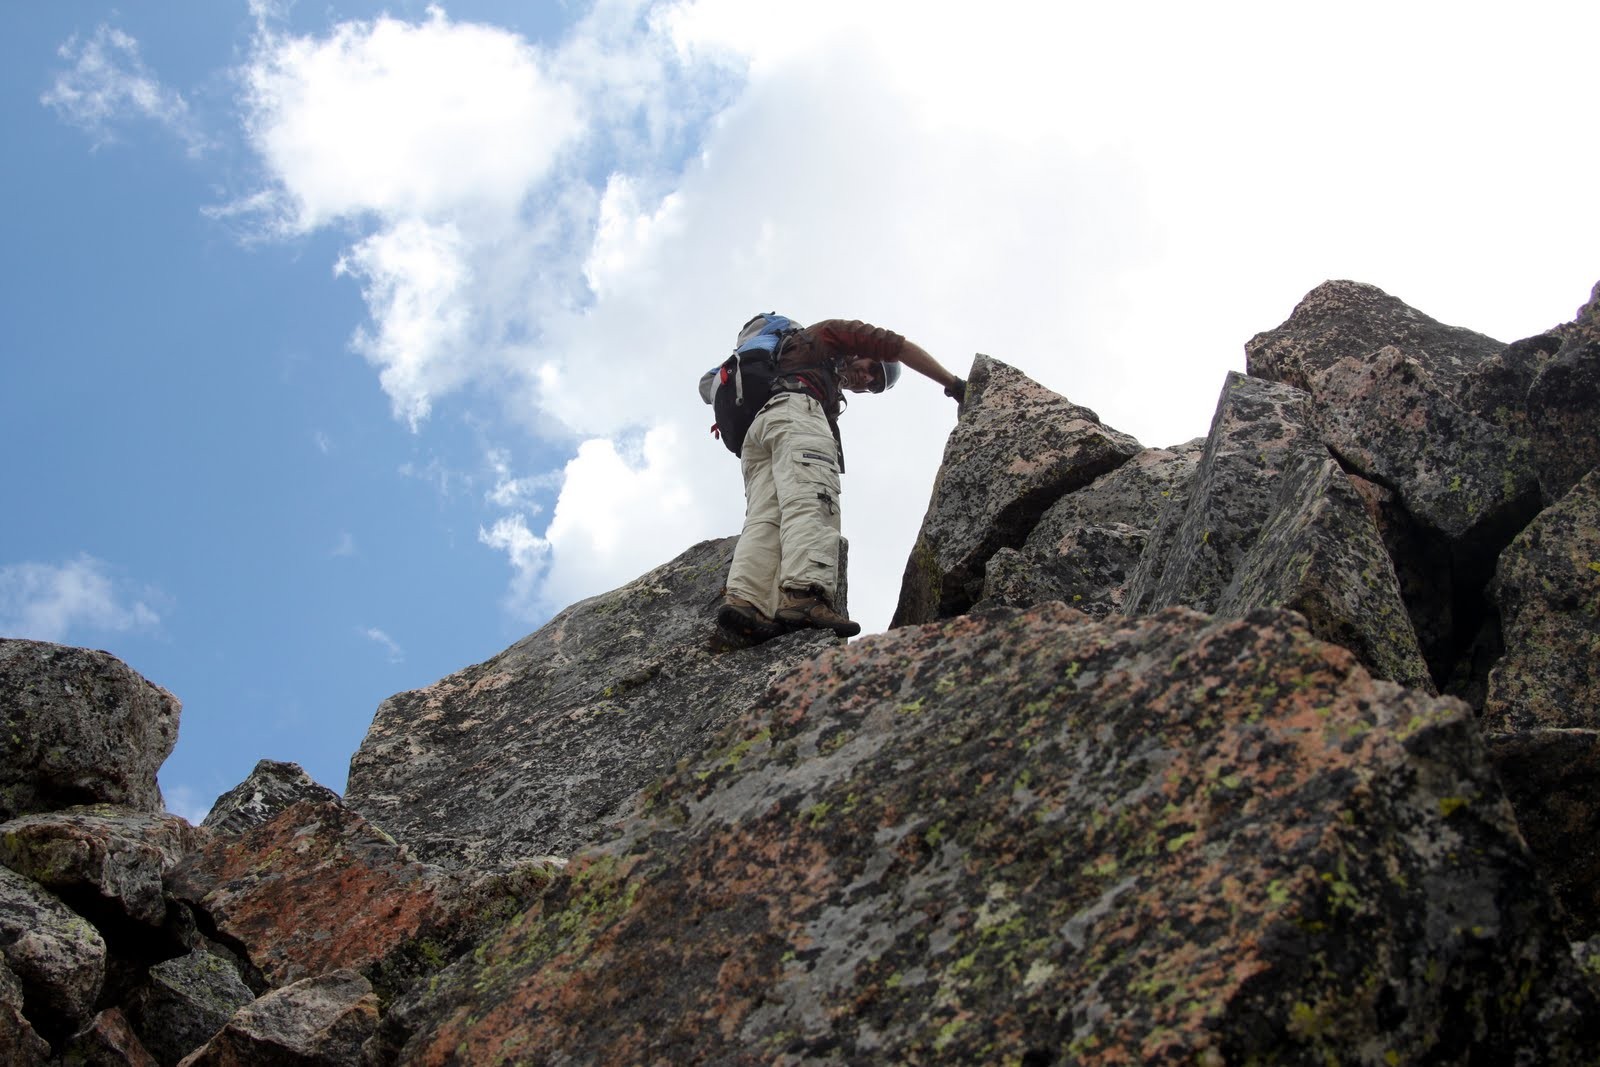
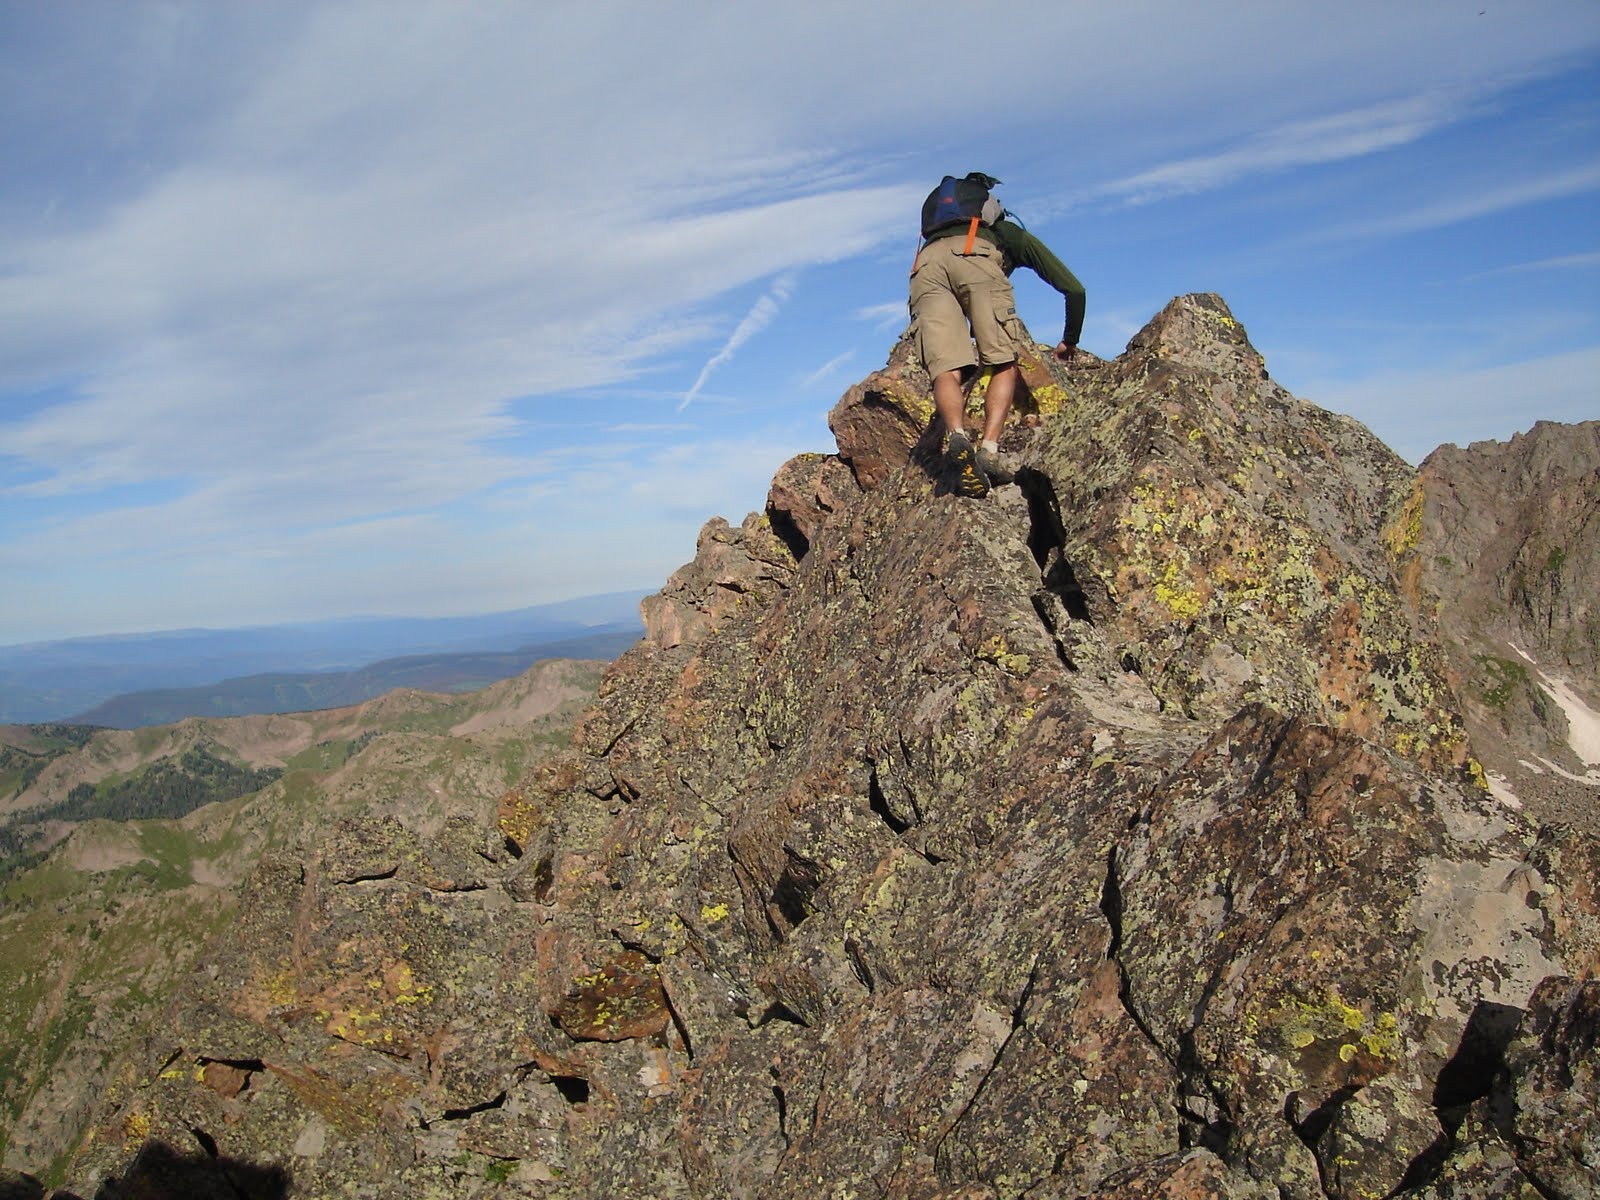
Jesse climbing a fun little class 4 section on the upper ridge
The easier class 2 section to the flat summit plateau
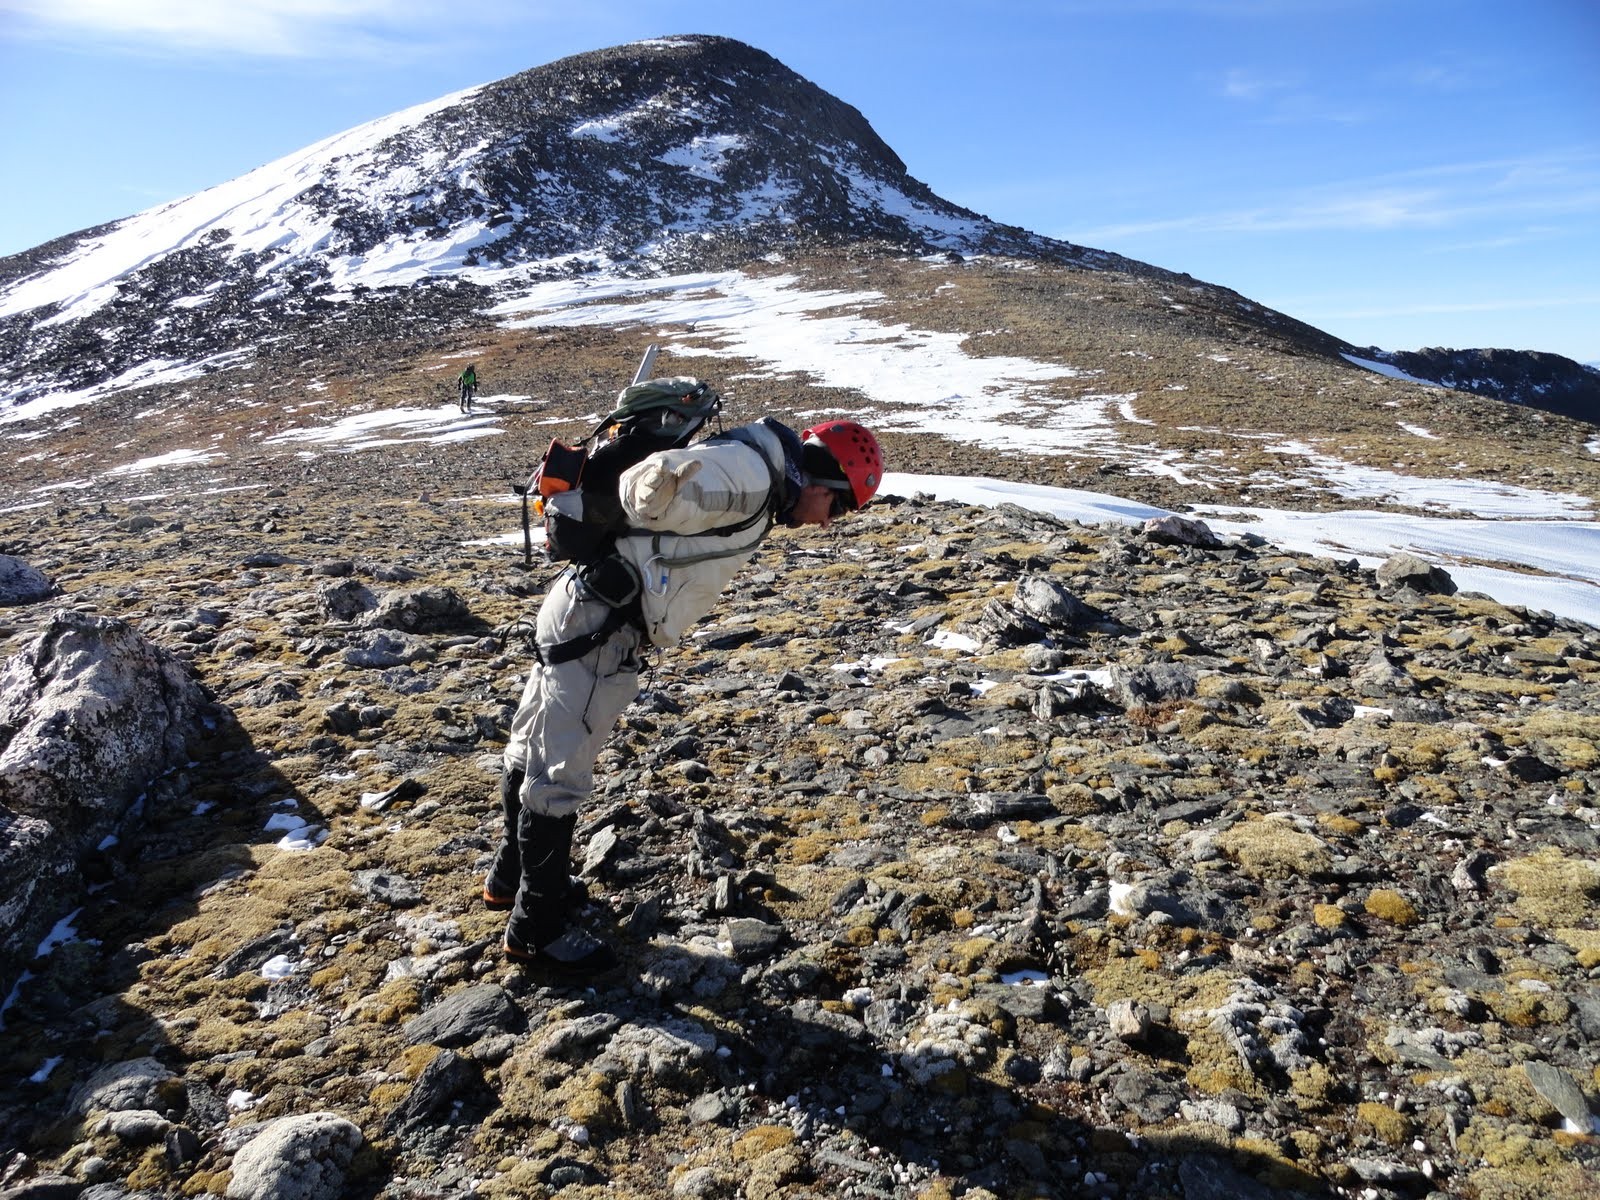
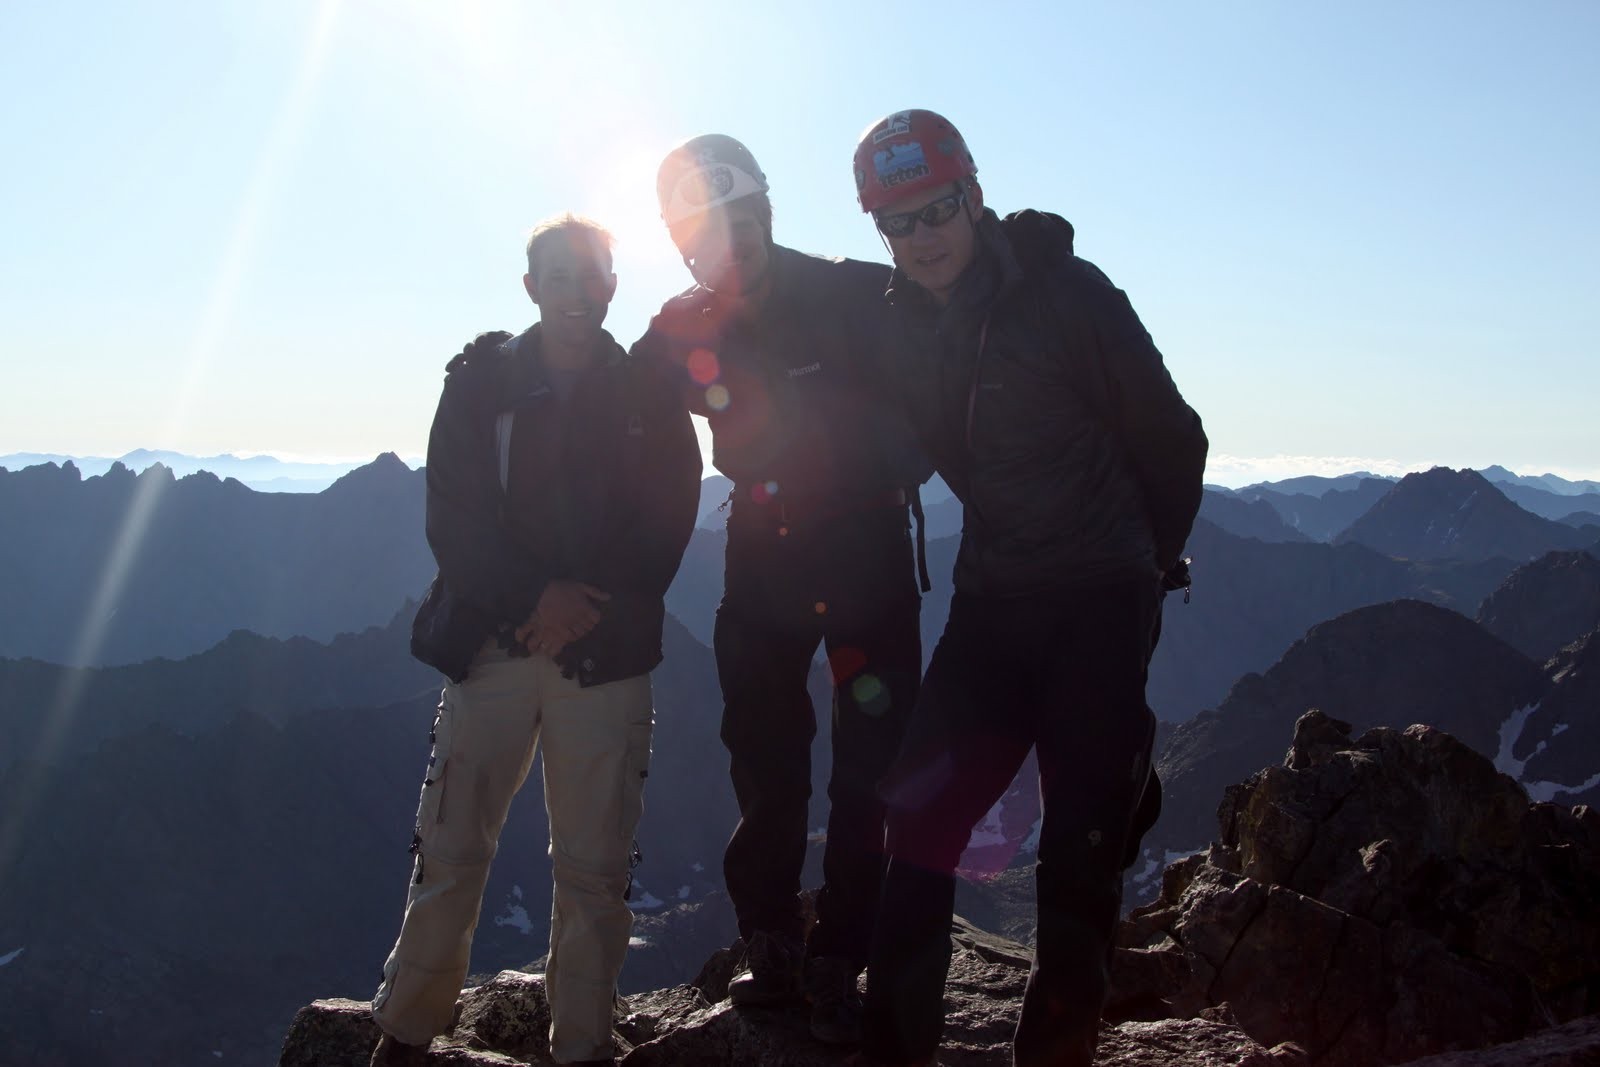
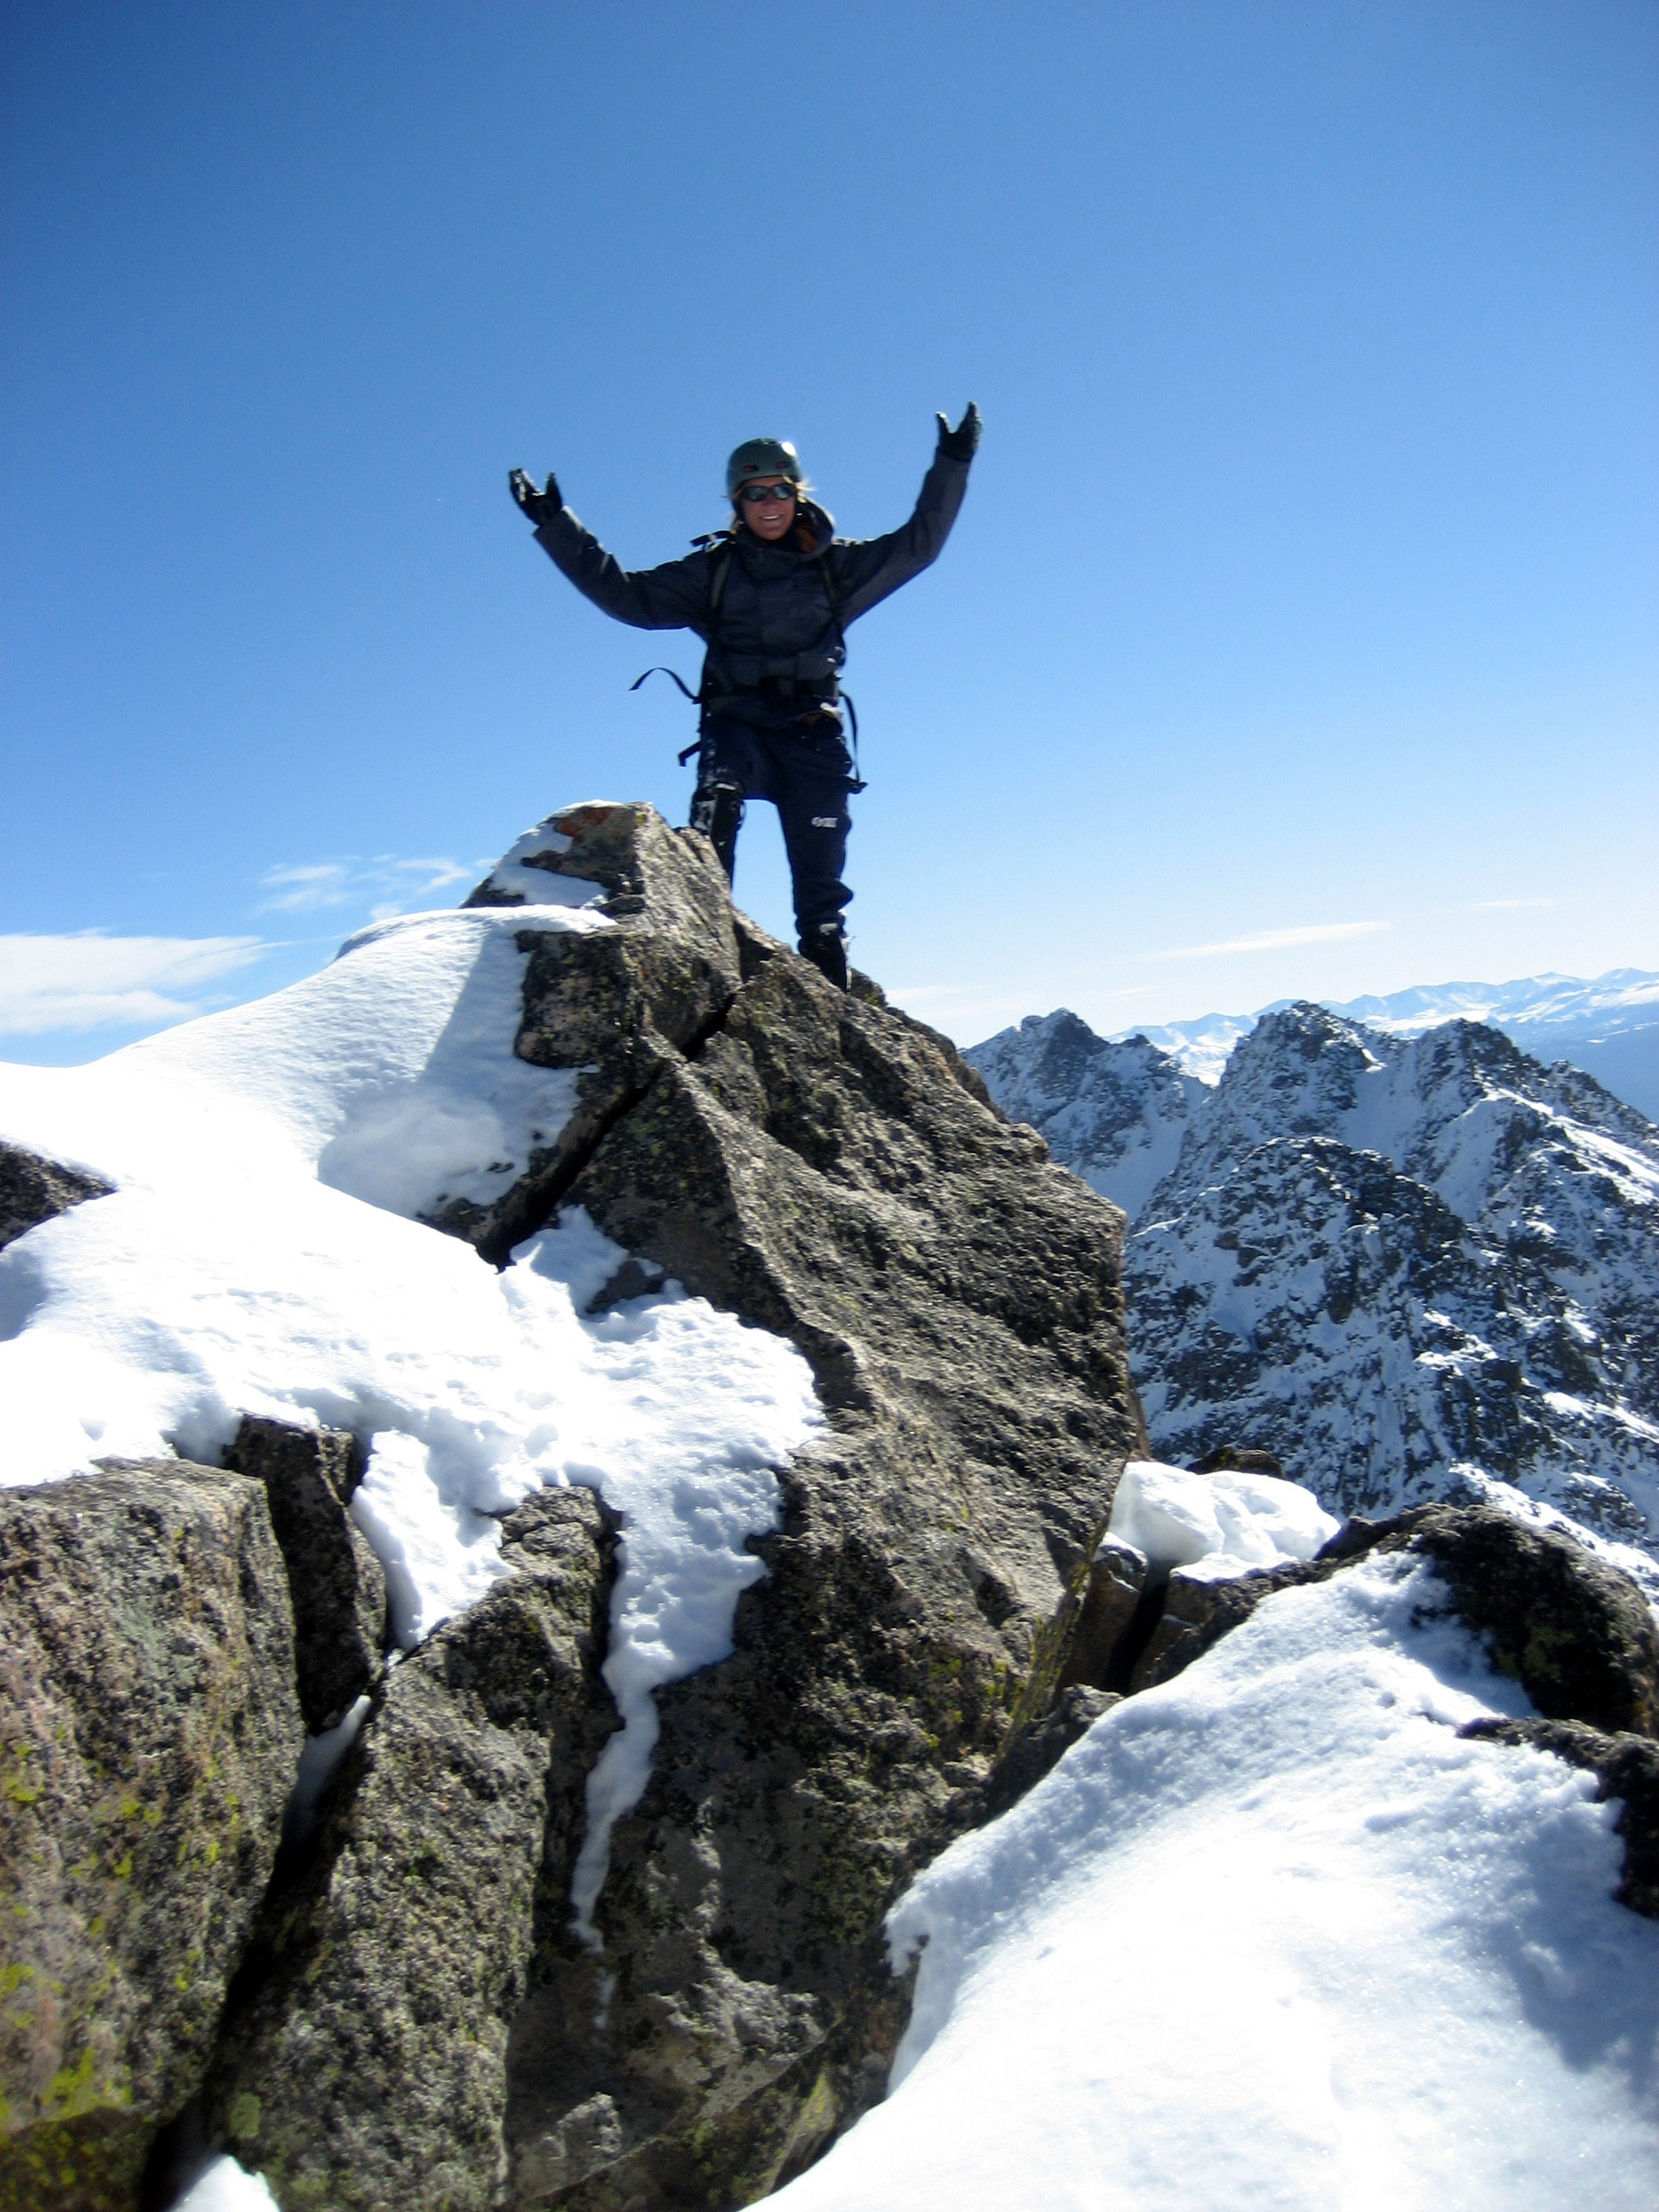
Jesse bracing against the strong winds
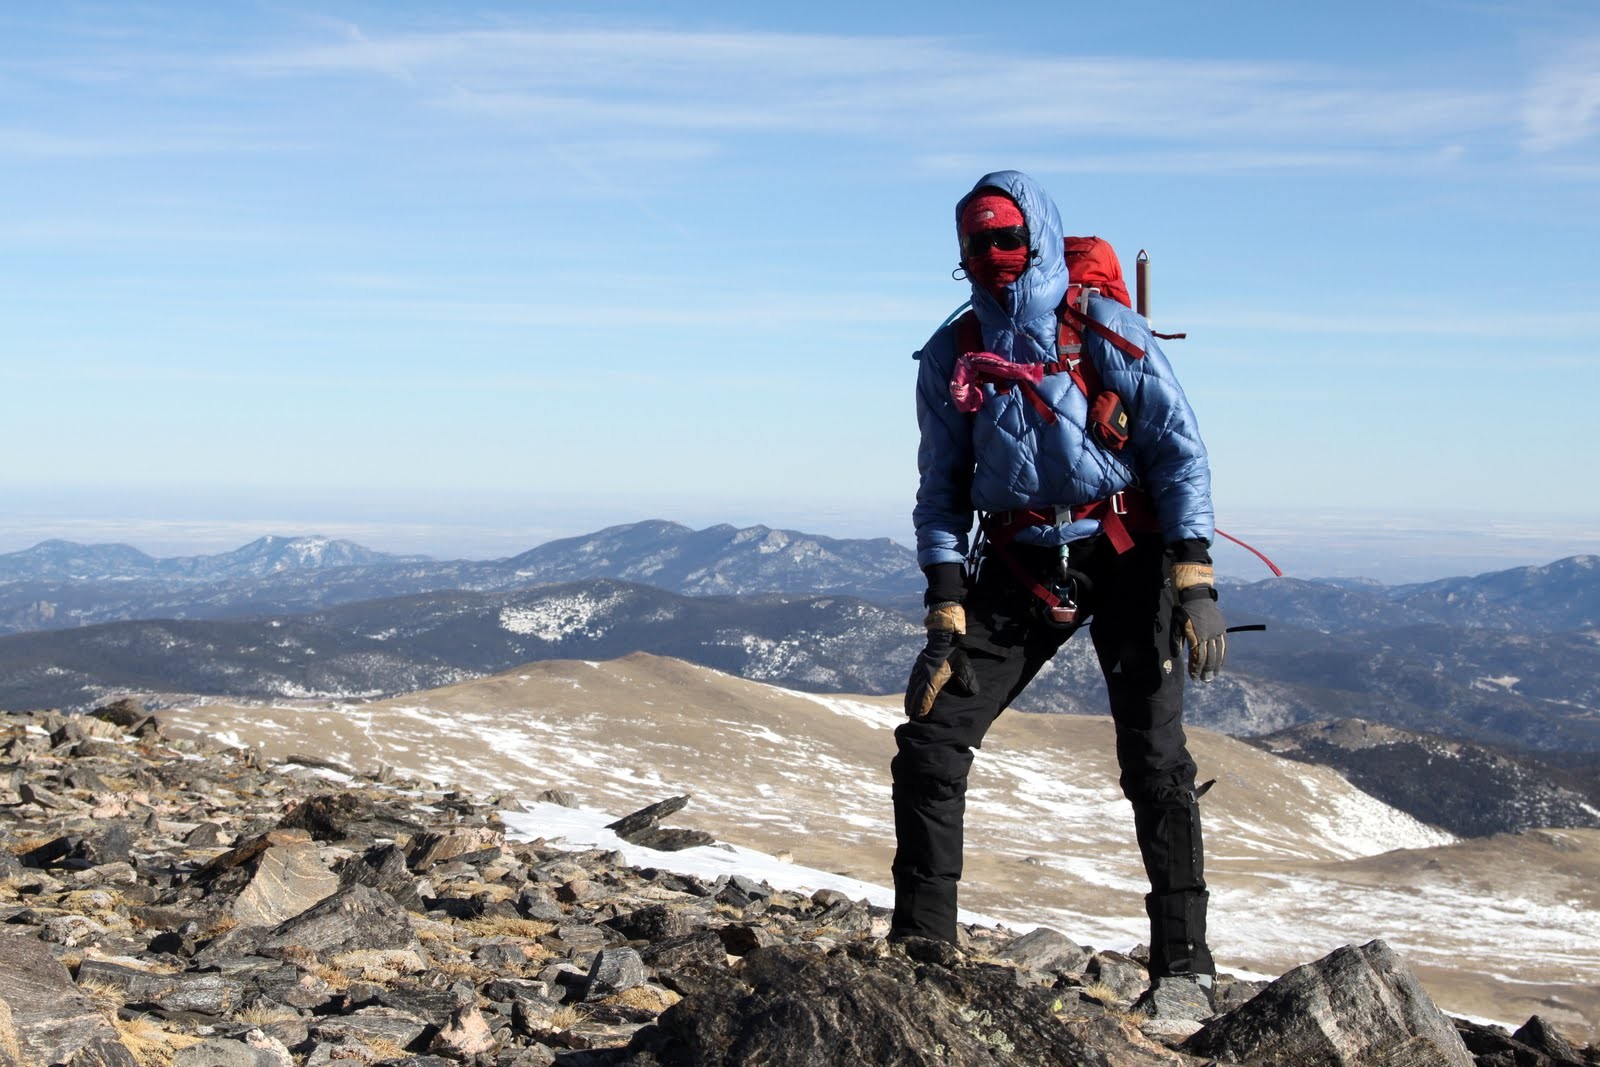
Kristine almost to Bancroft’s summit looking like a ninja
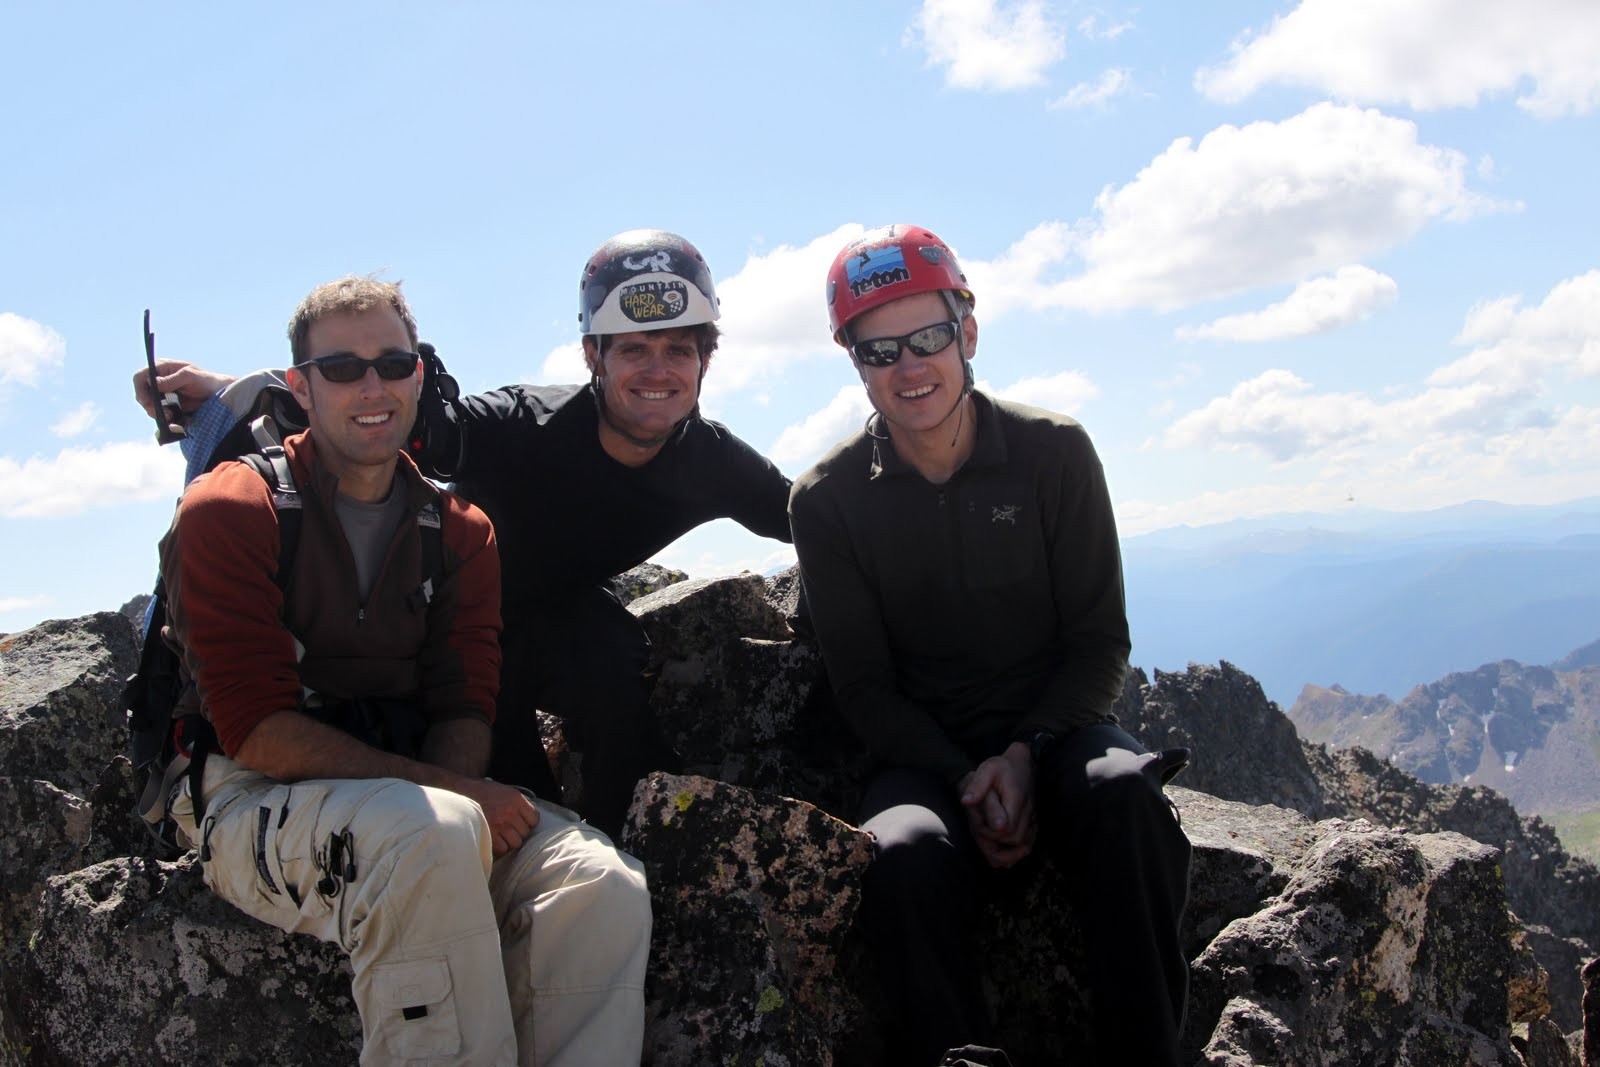
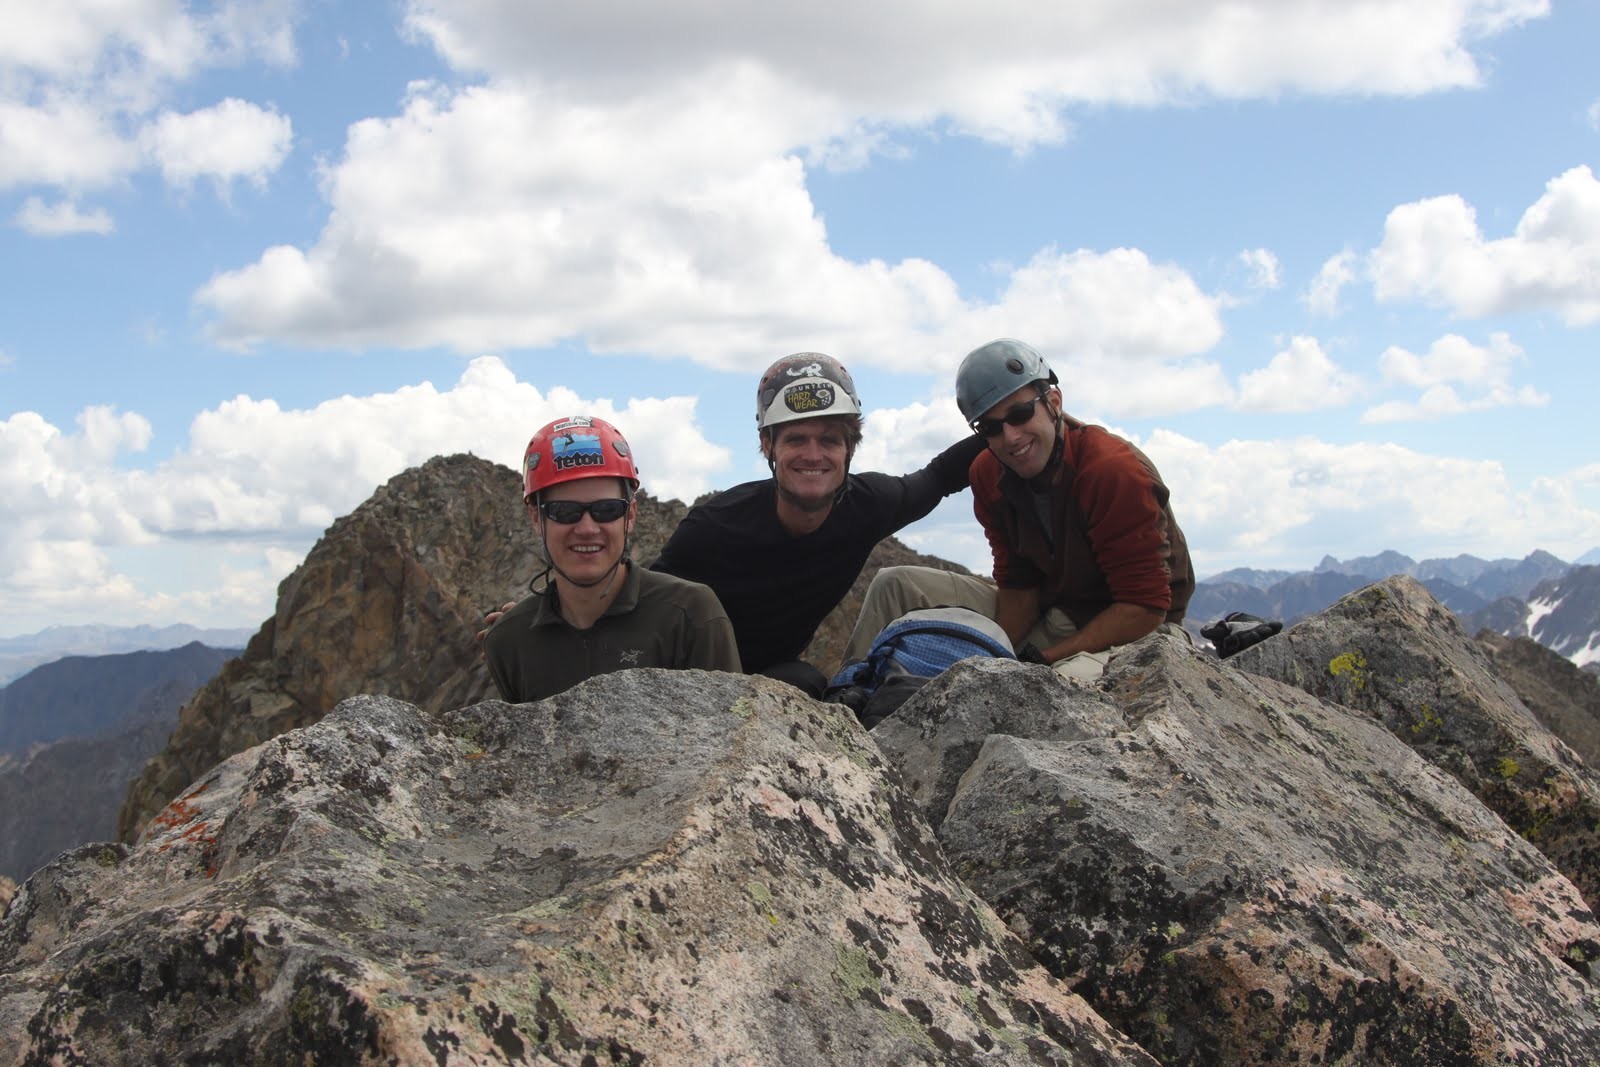
Mt. Bancroft summit (13,250′)
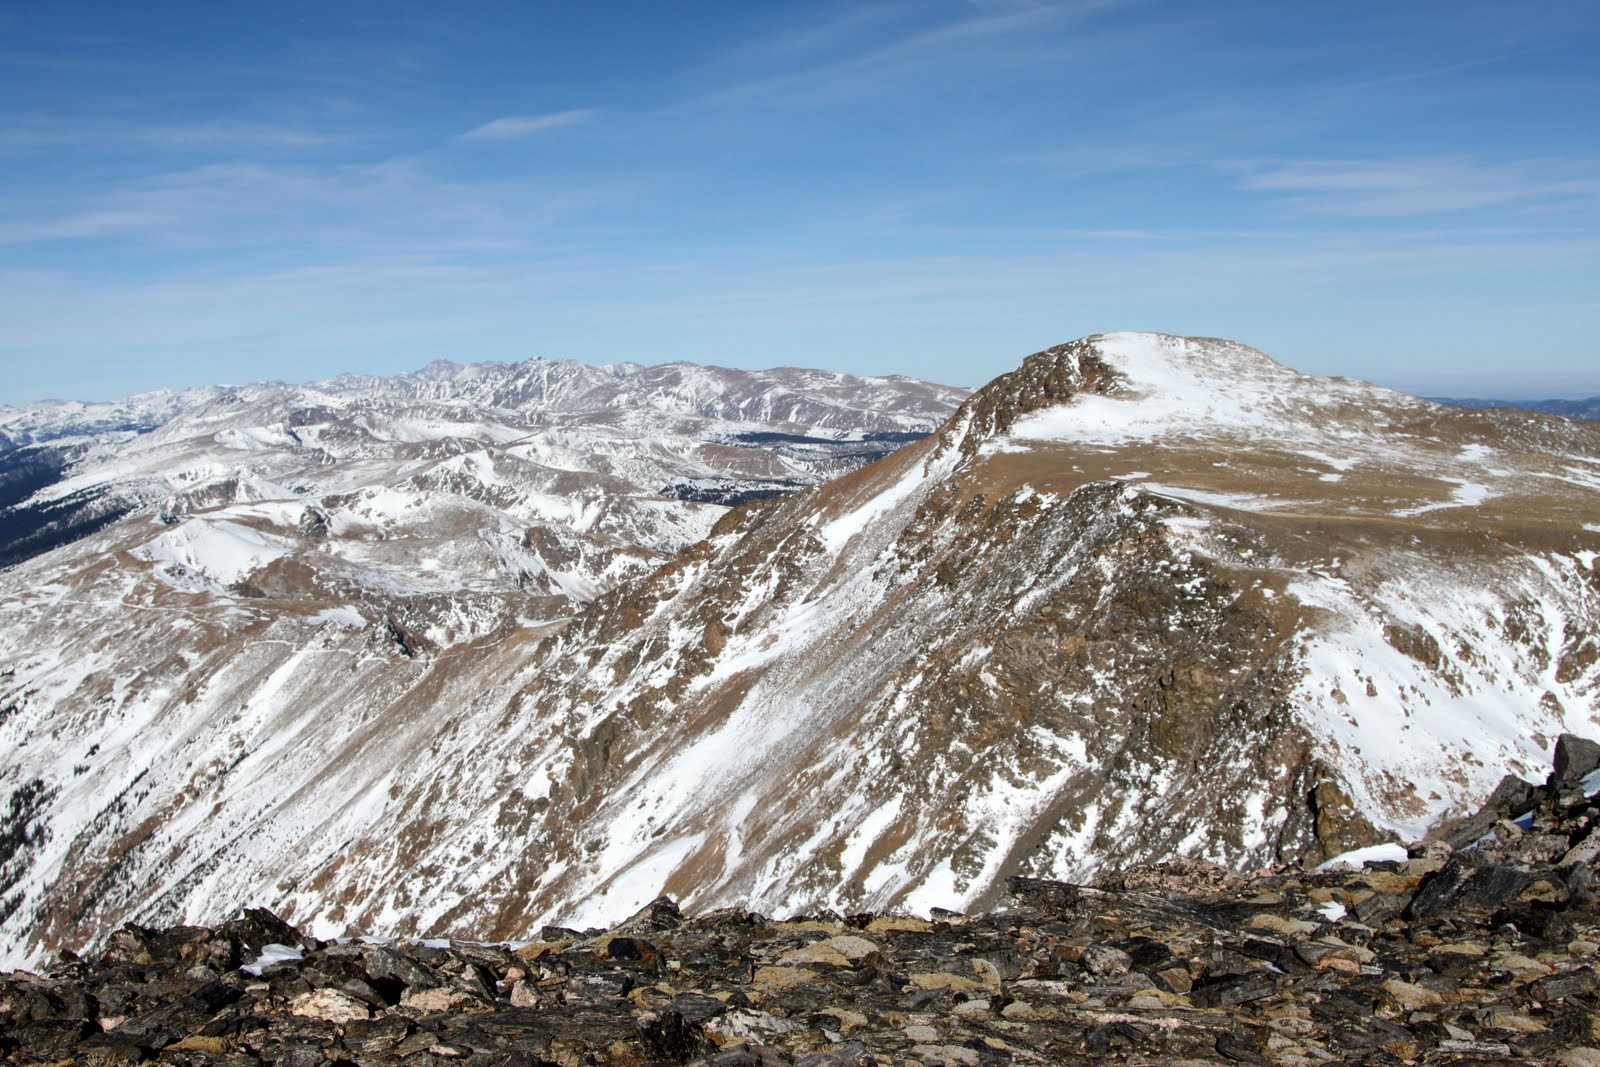
Looking north to James Peak from Bancroft’s summit
One last look at the majority of the east ridge with the obvious notch as viewed from the southeast on our descent
 Follow